cabour
Sr Member
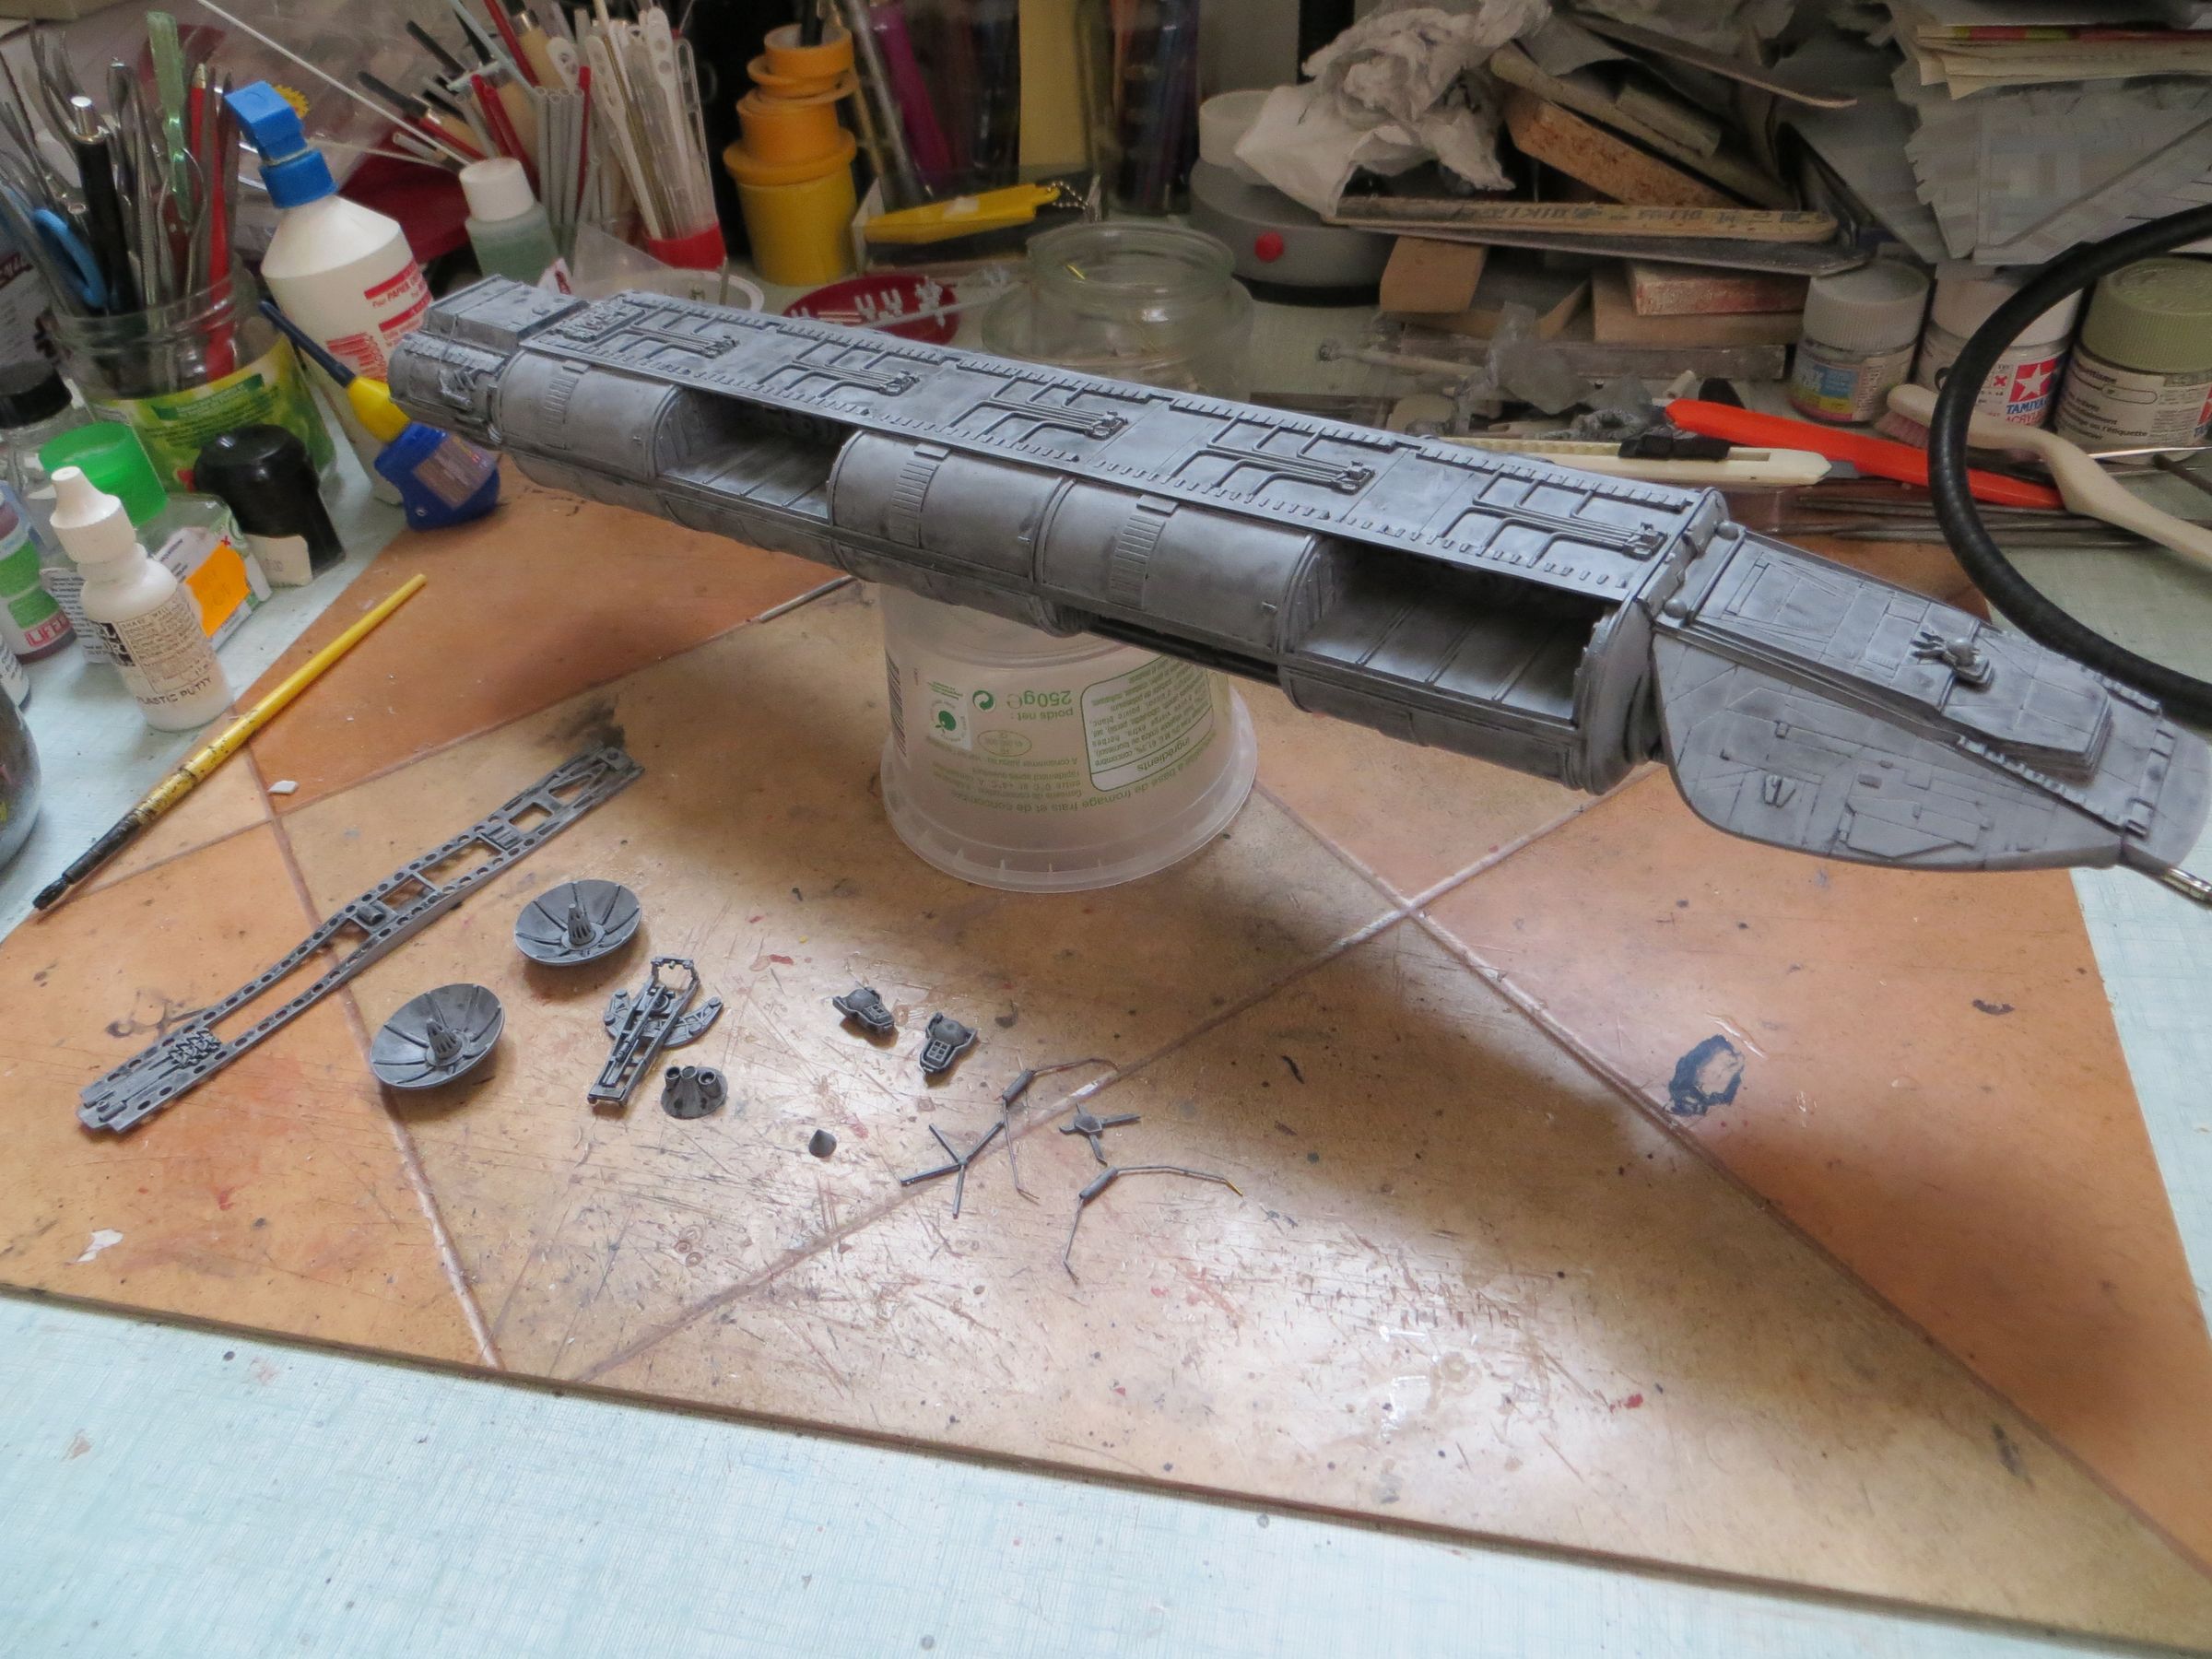
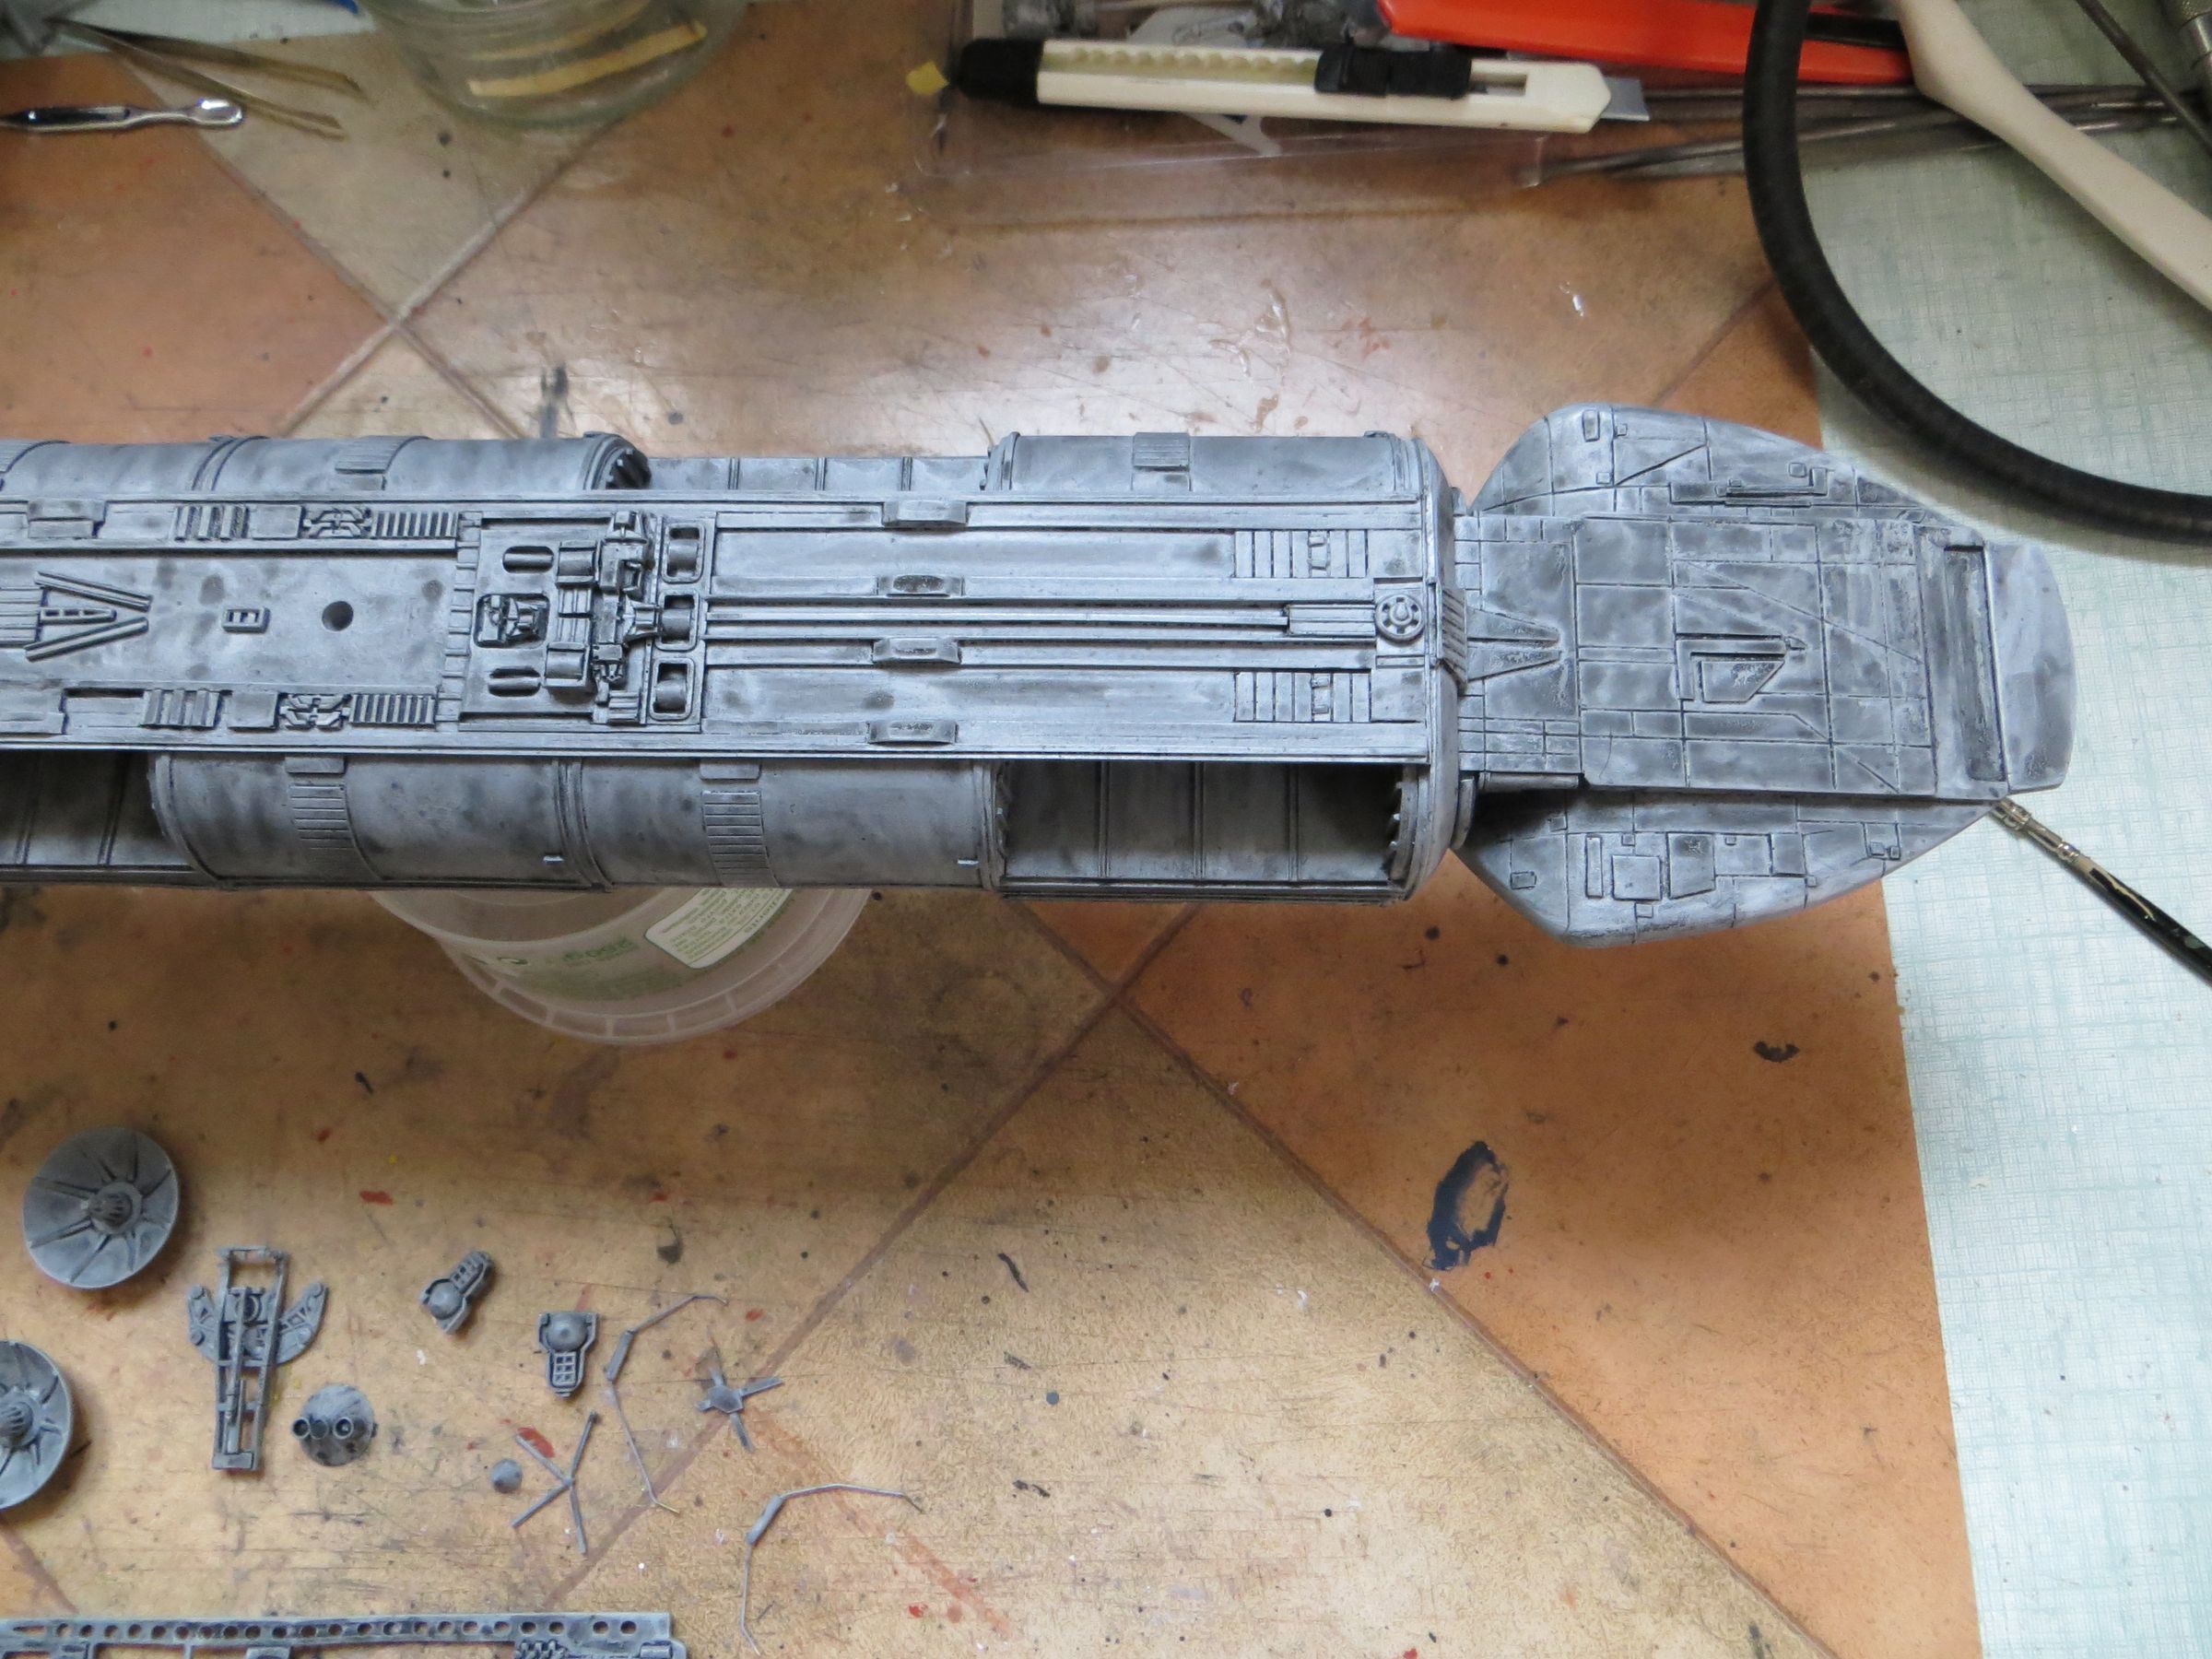
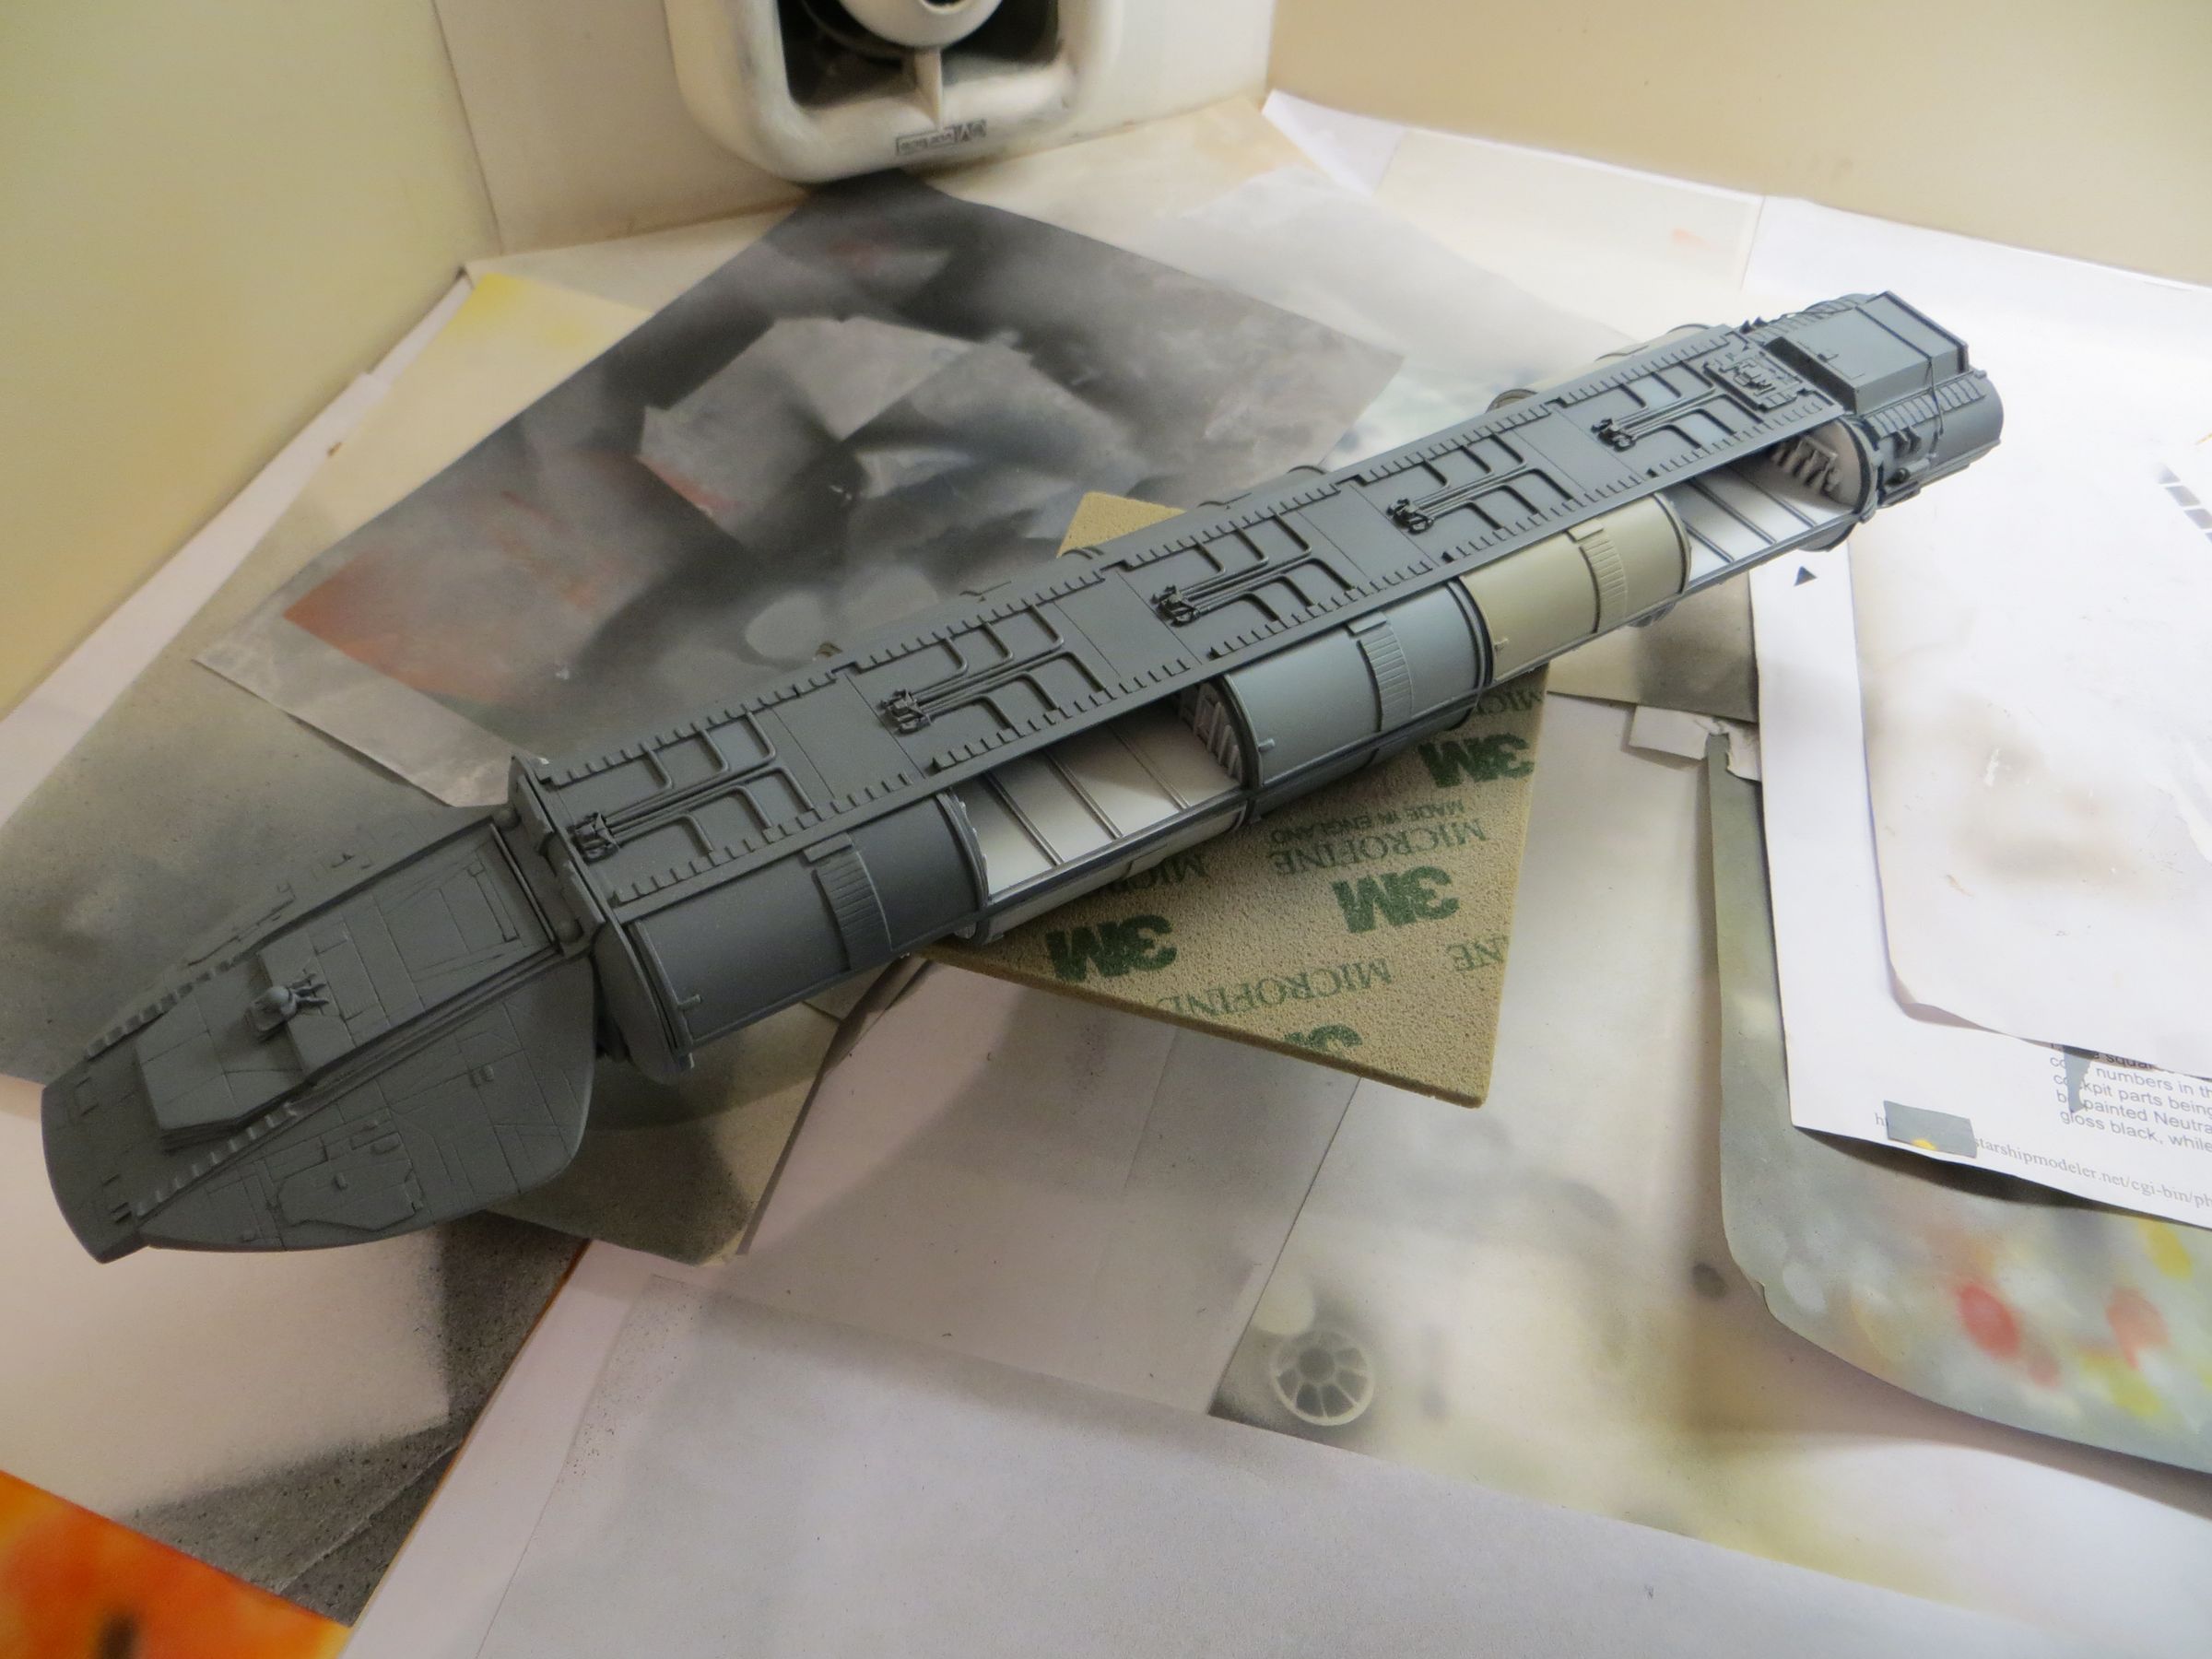
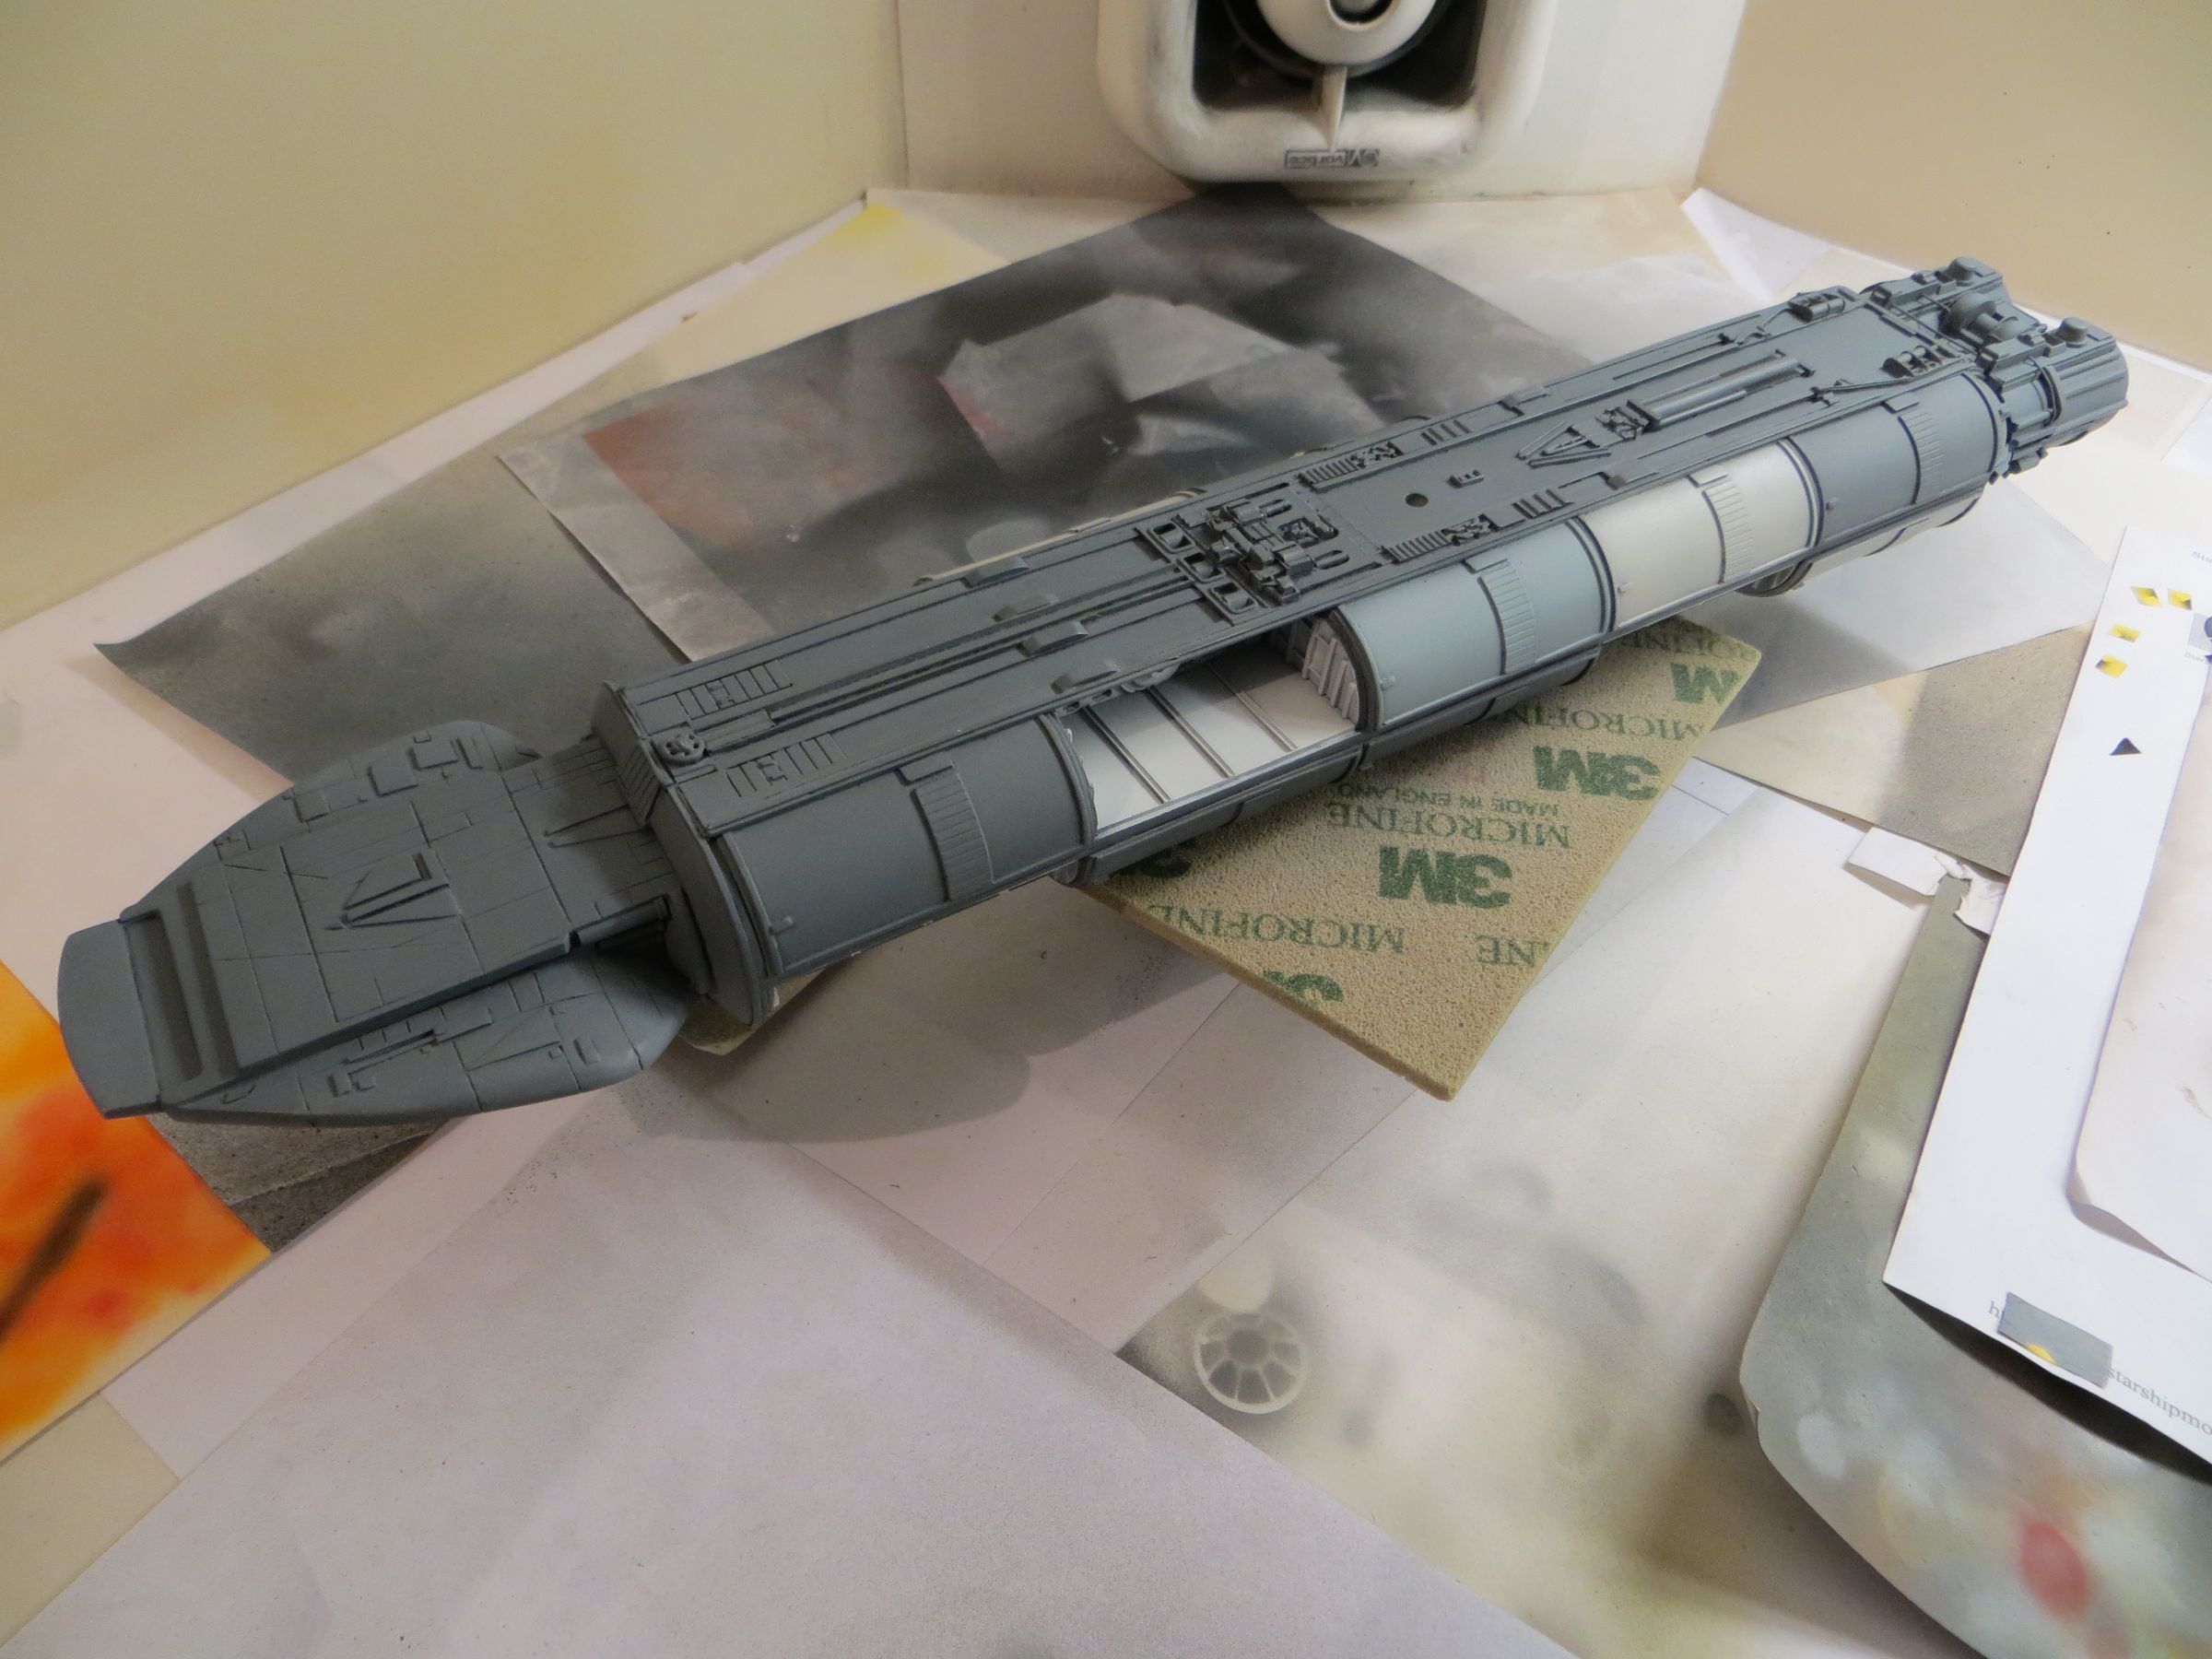
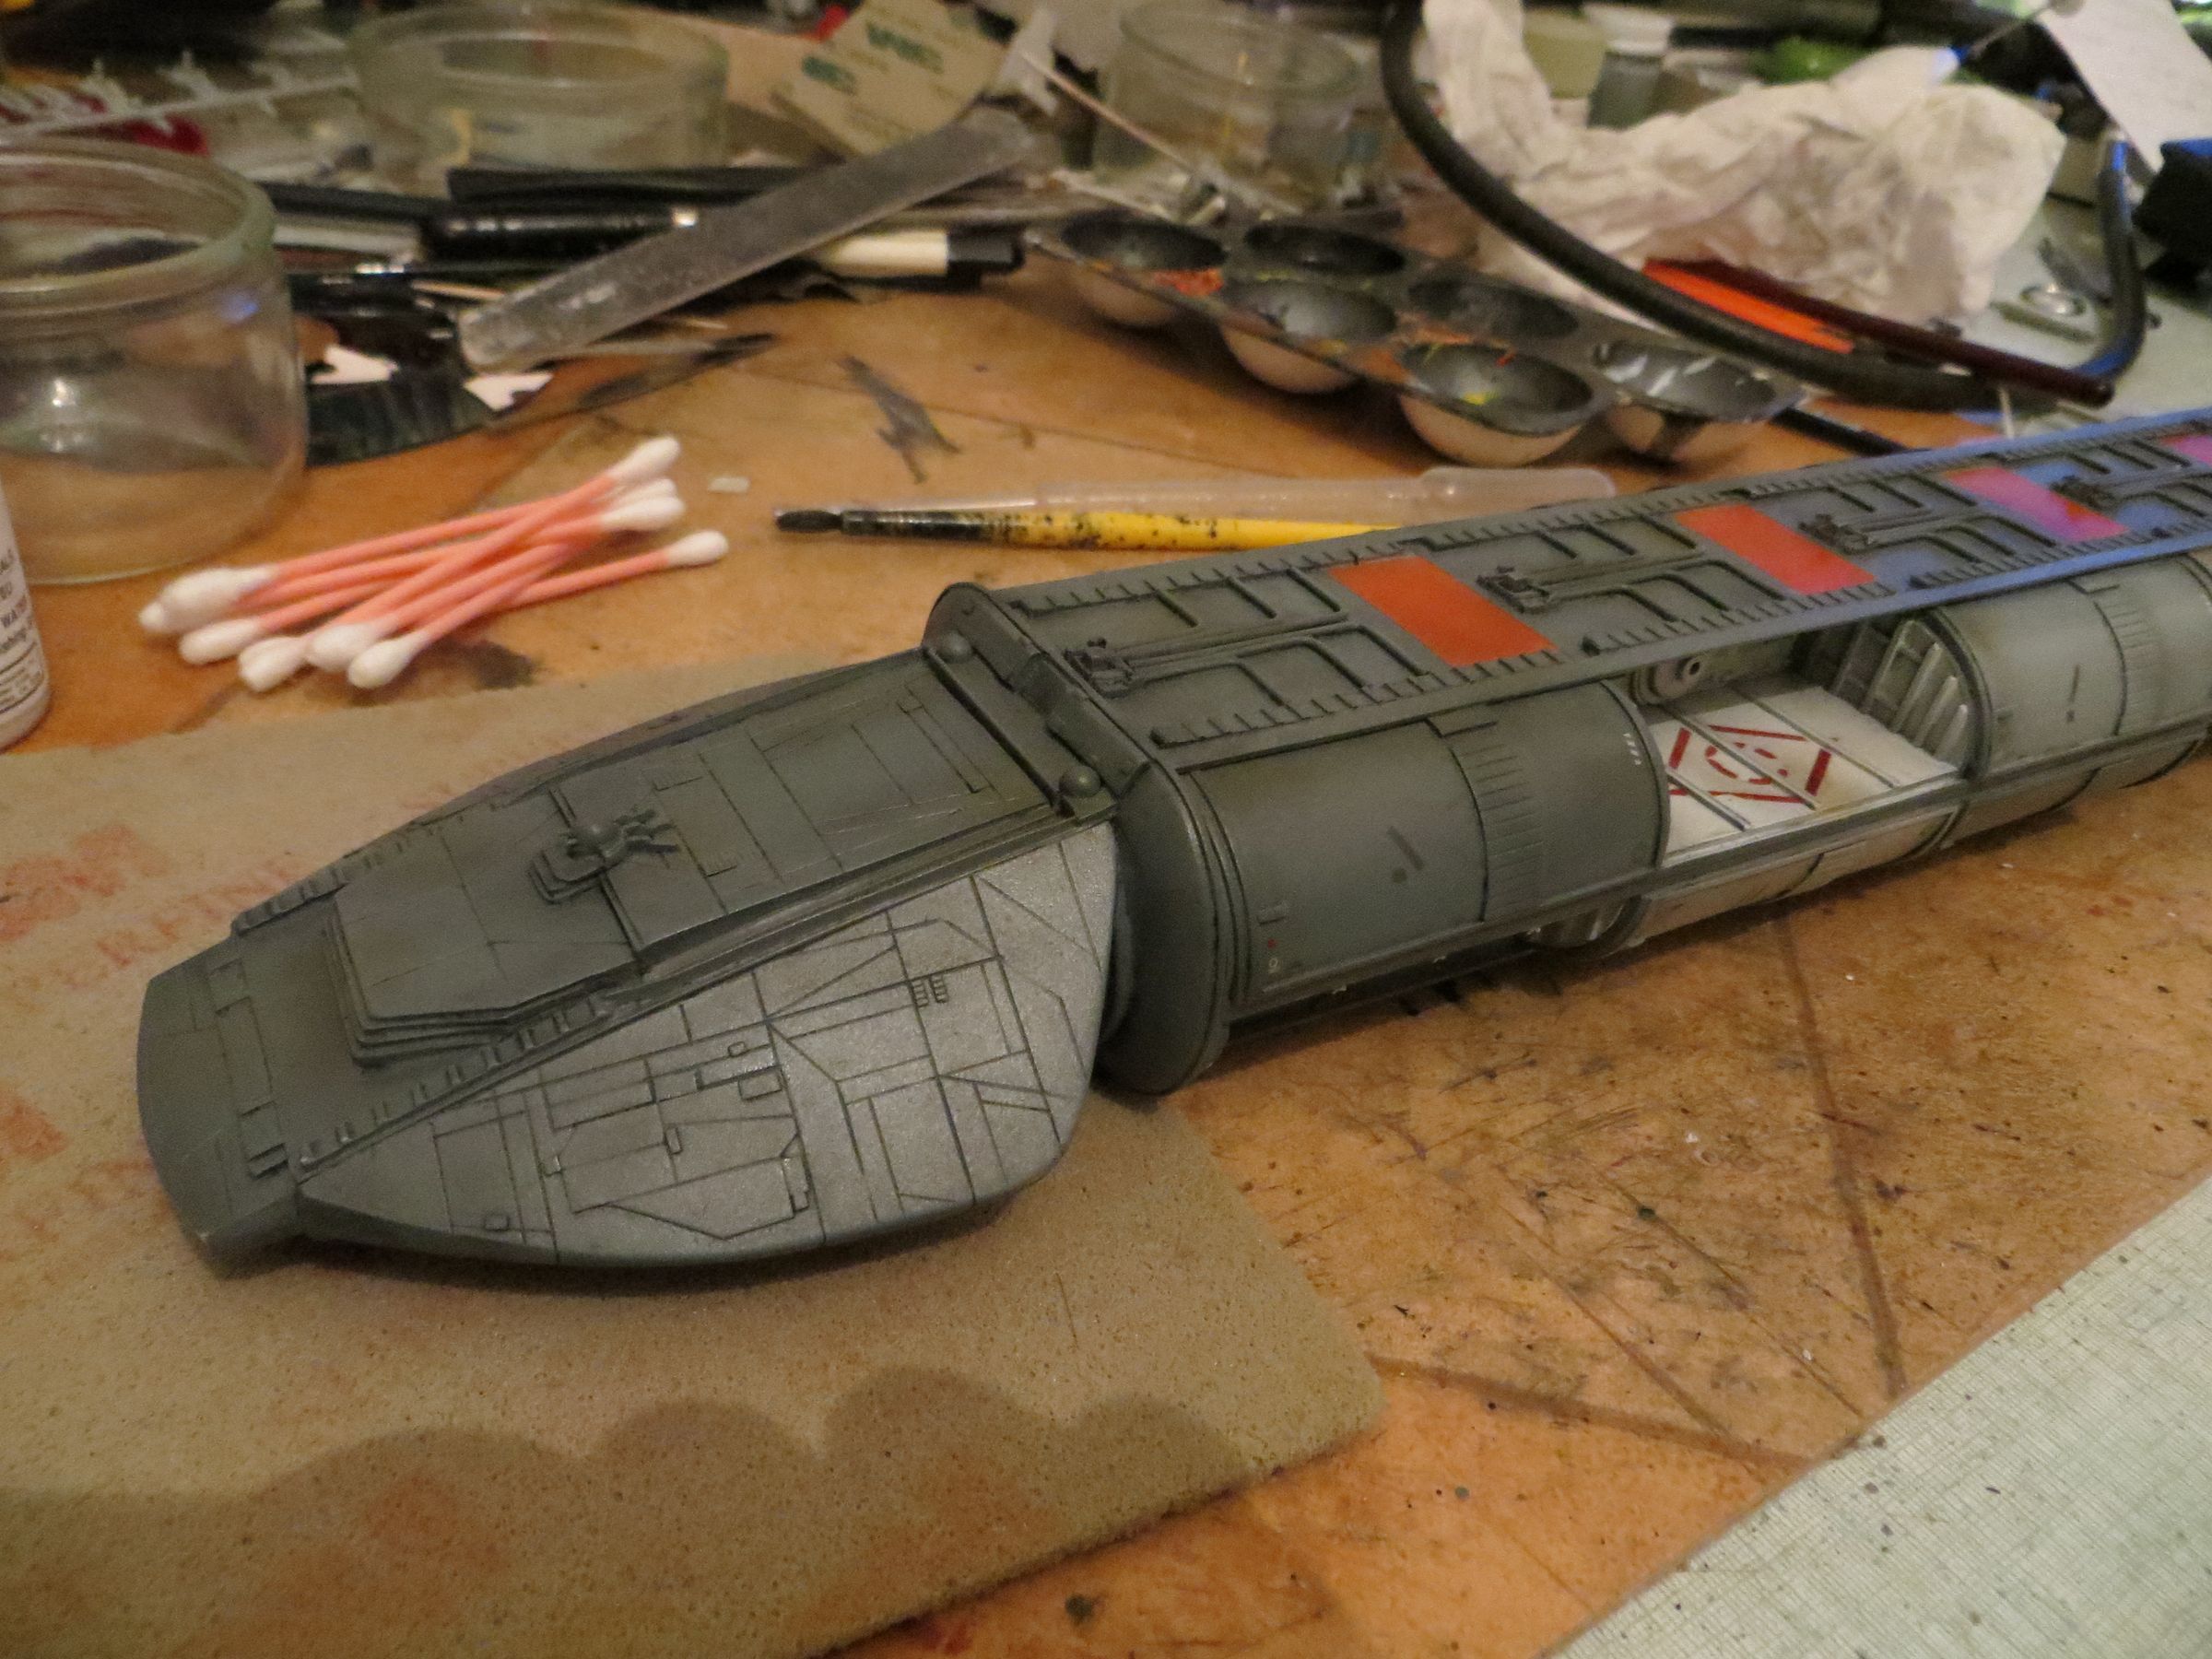
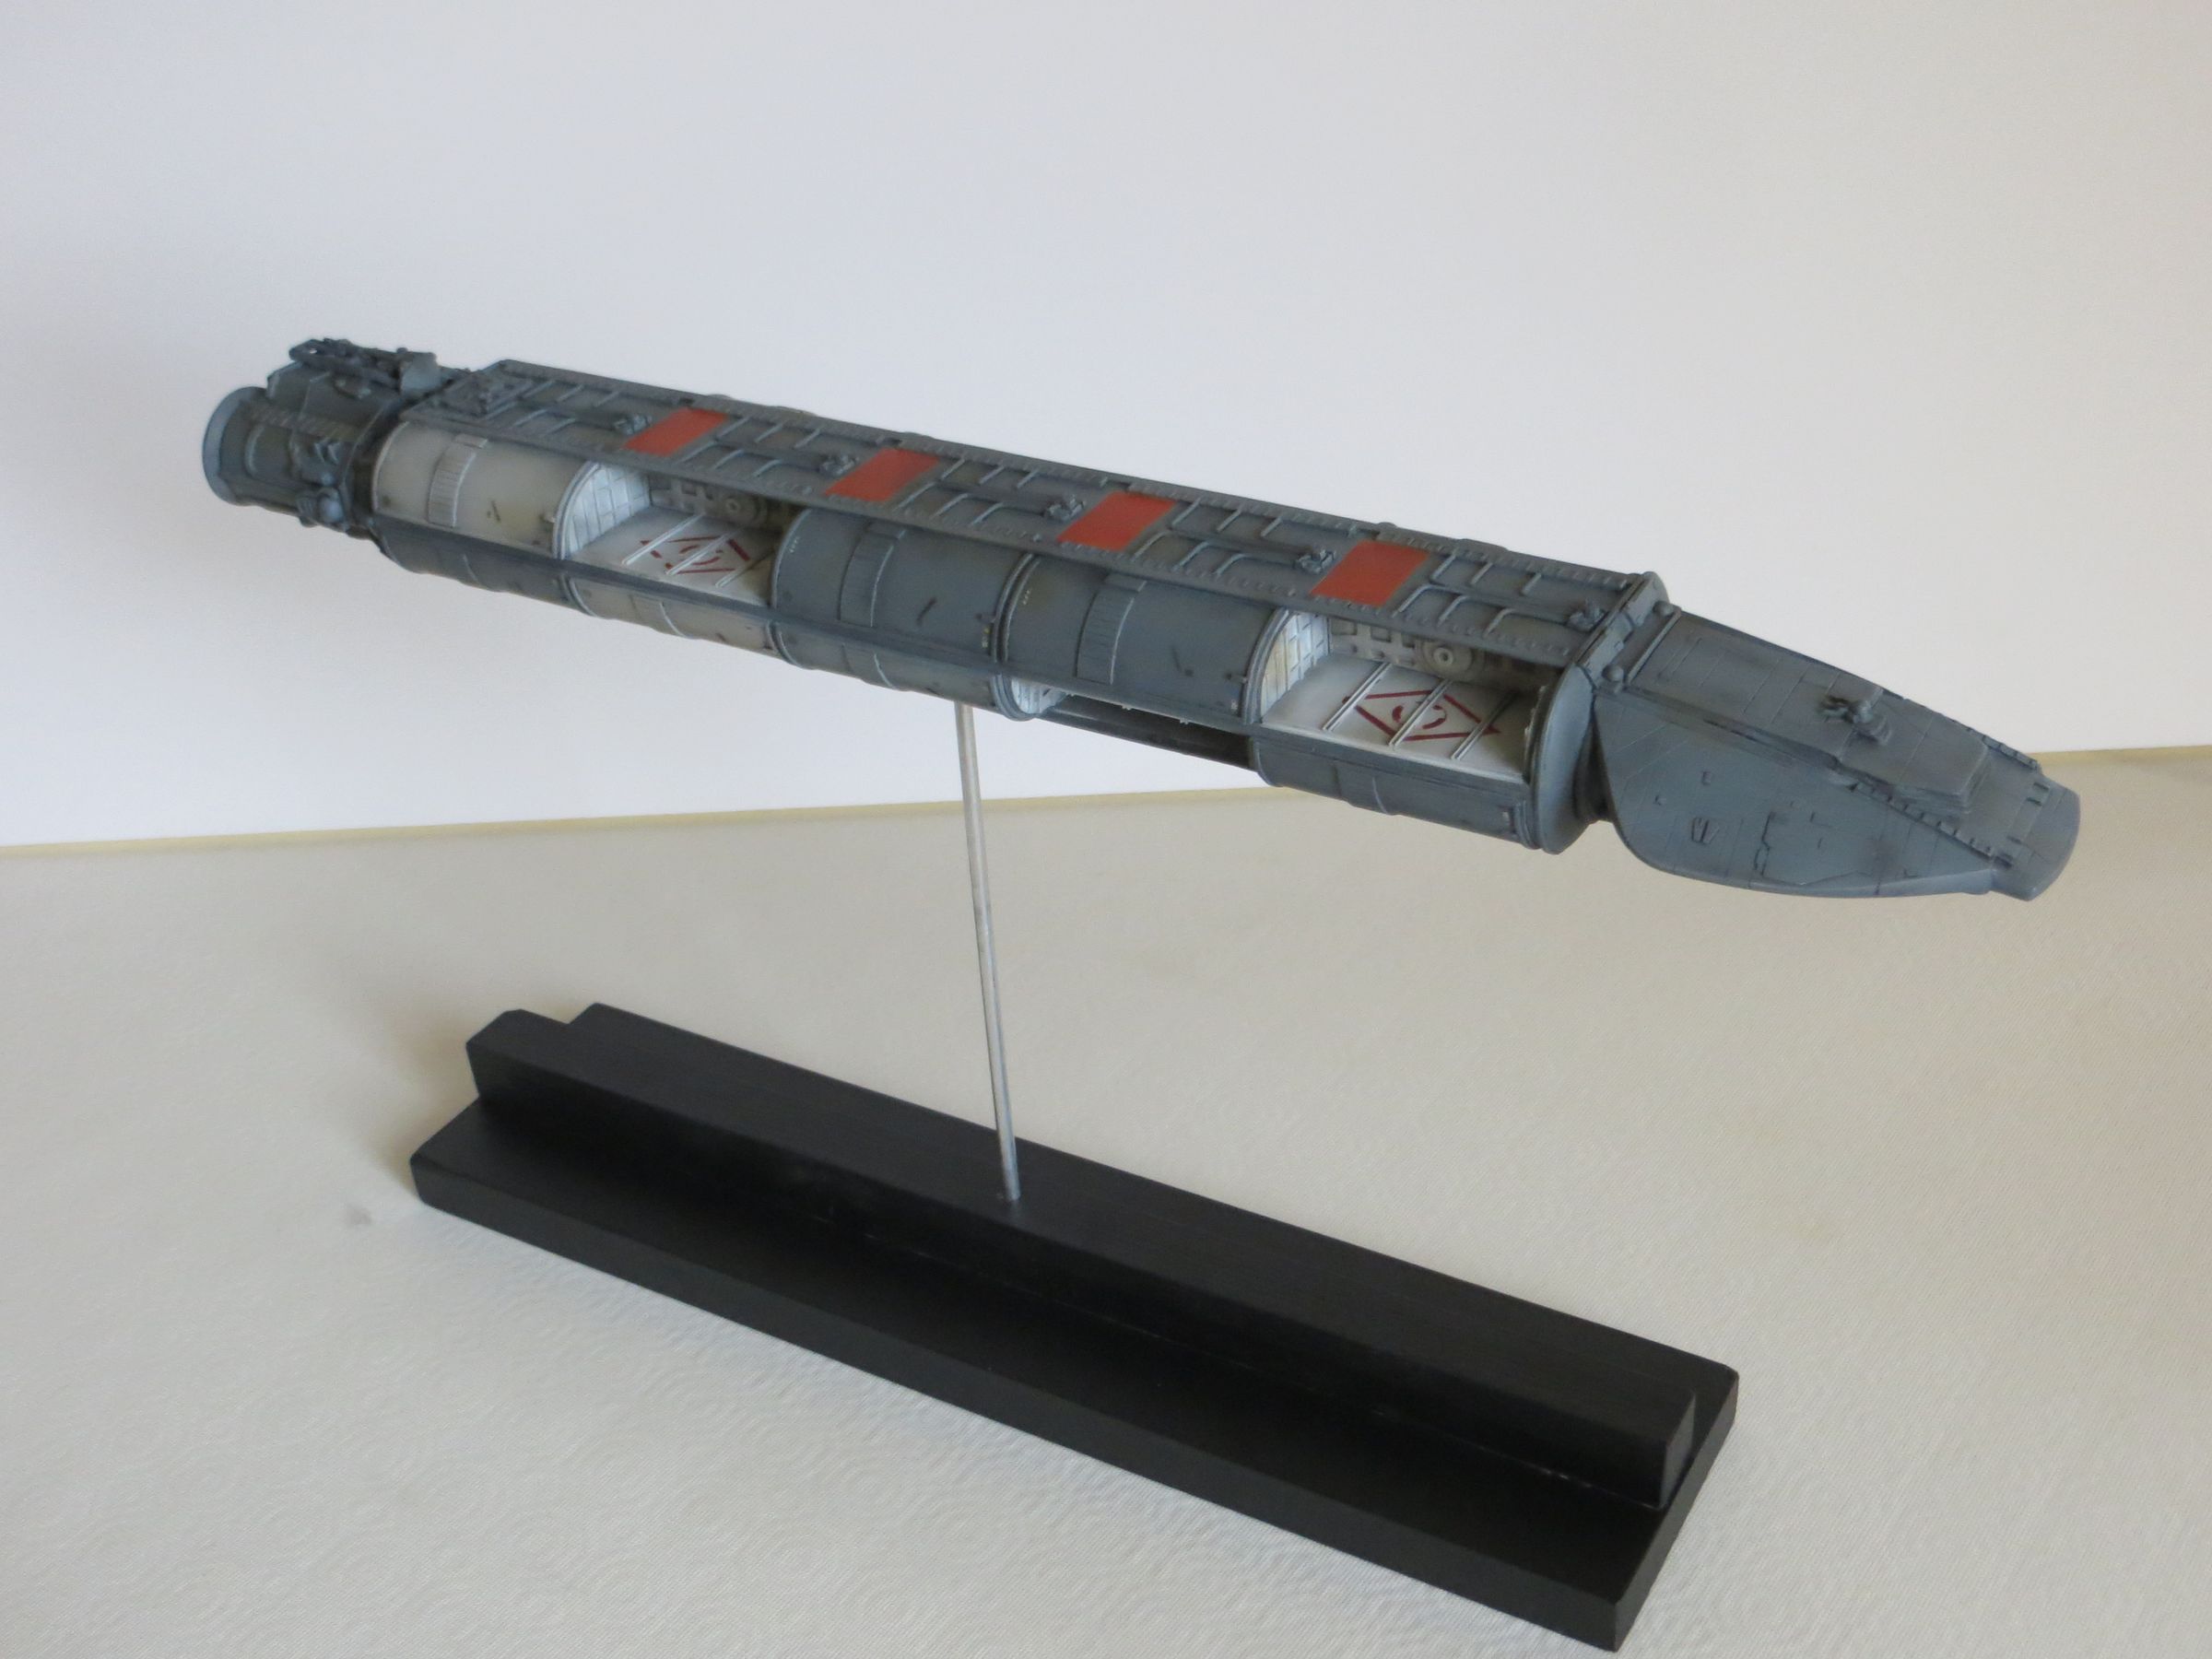
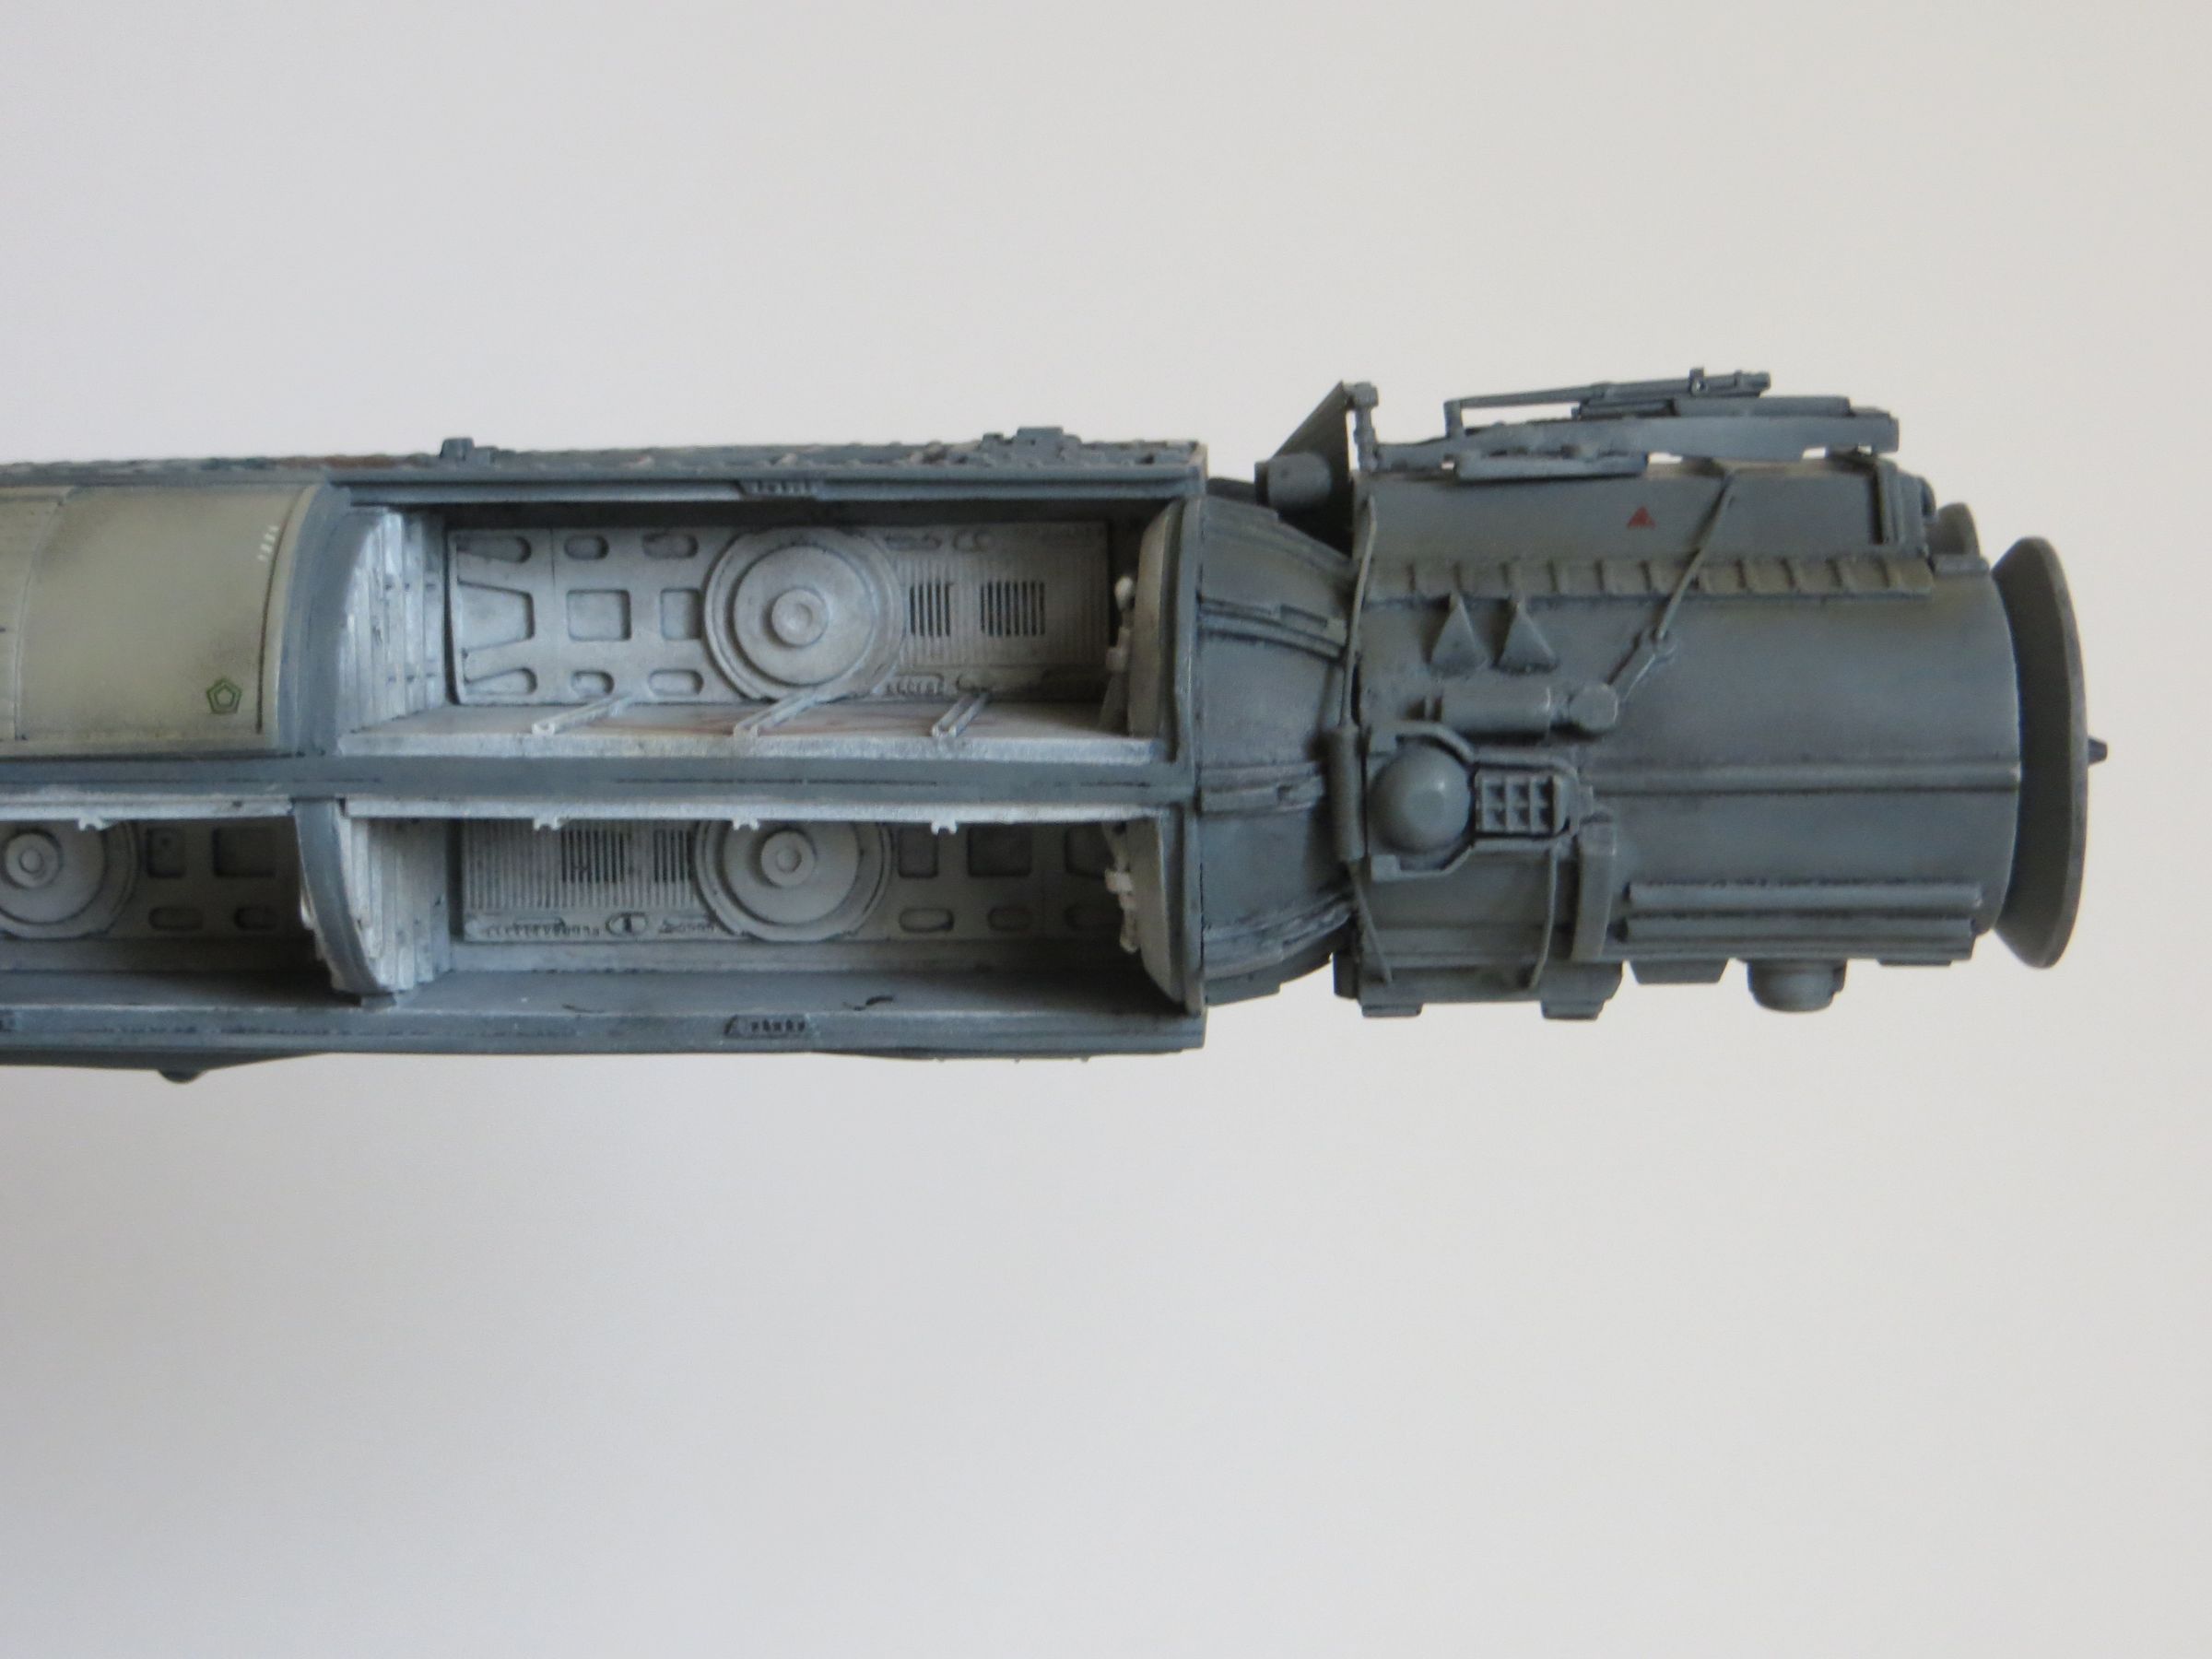
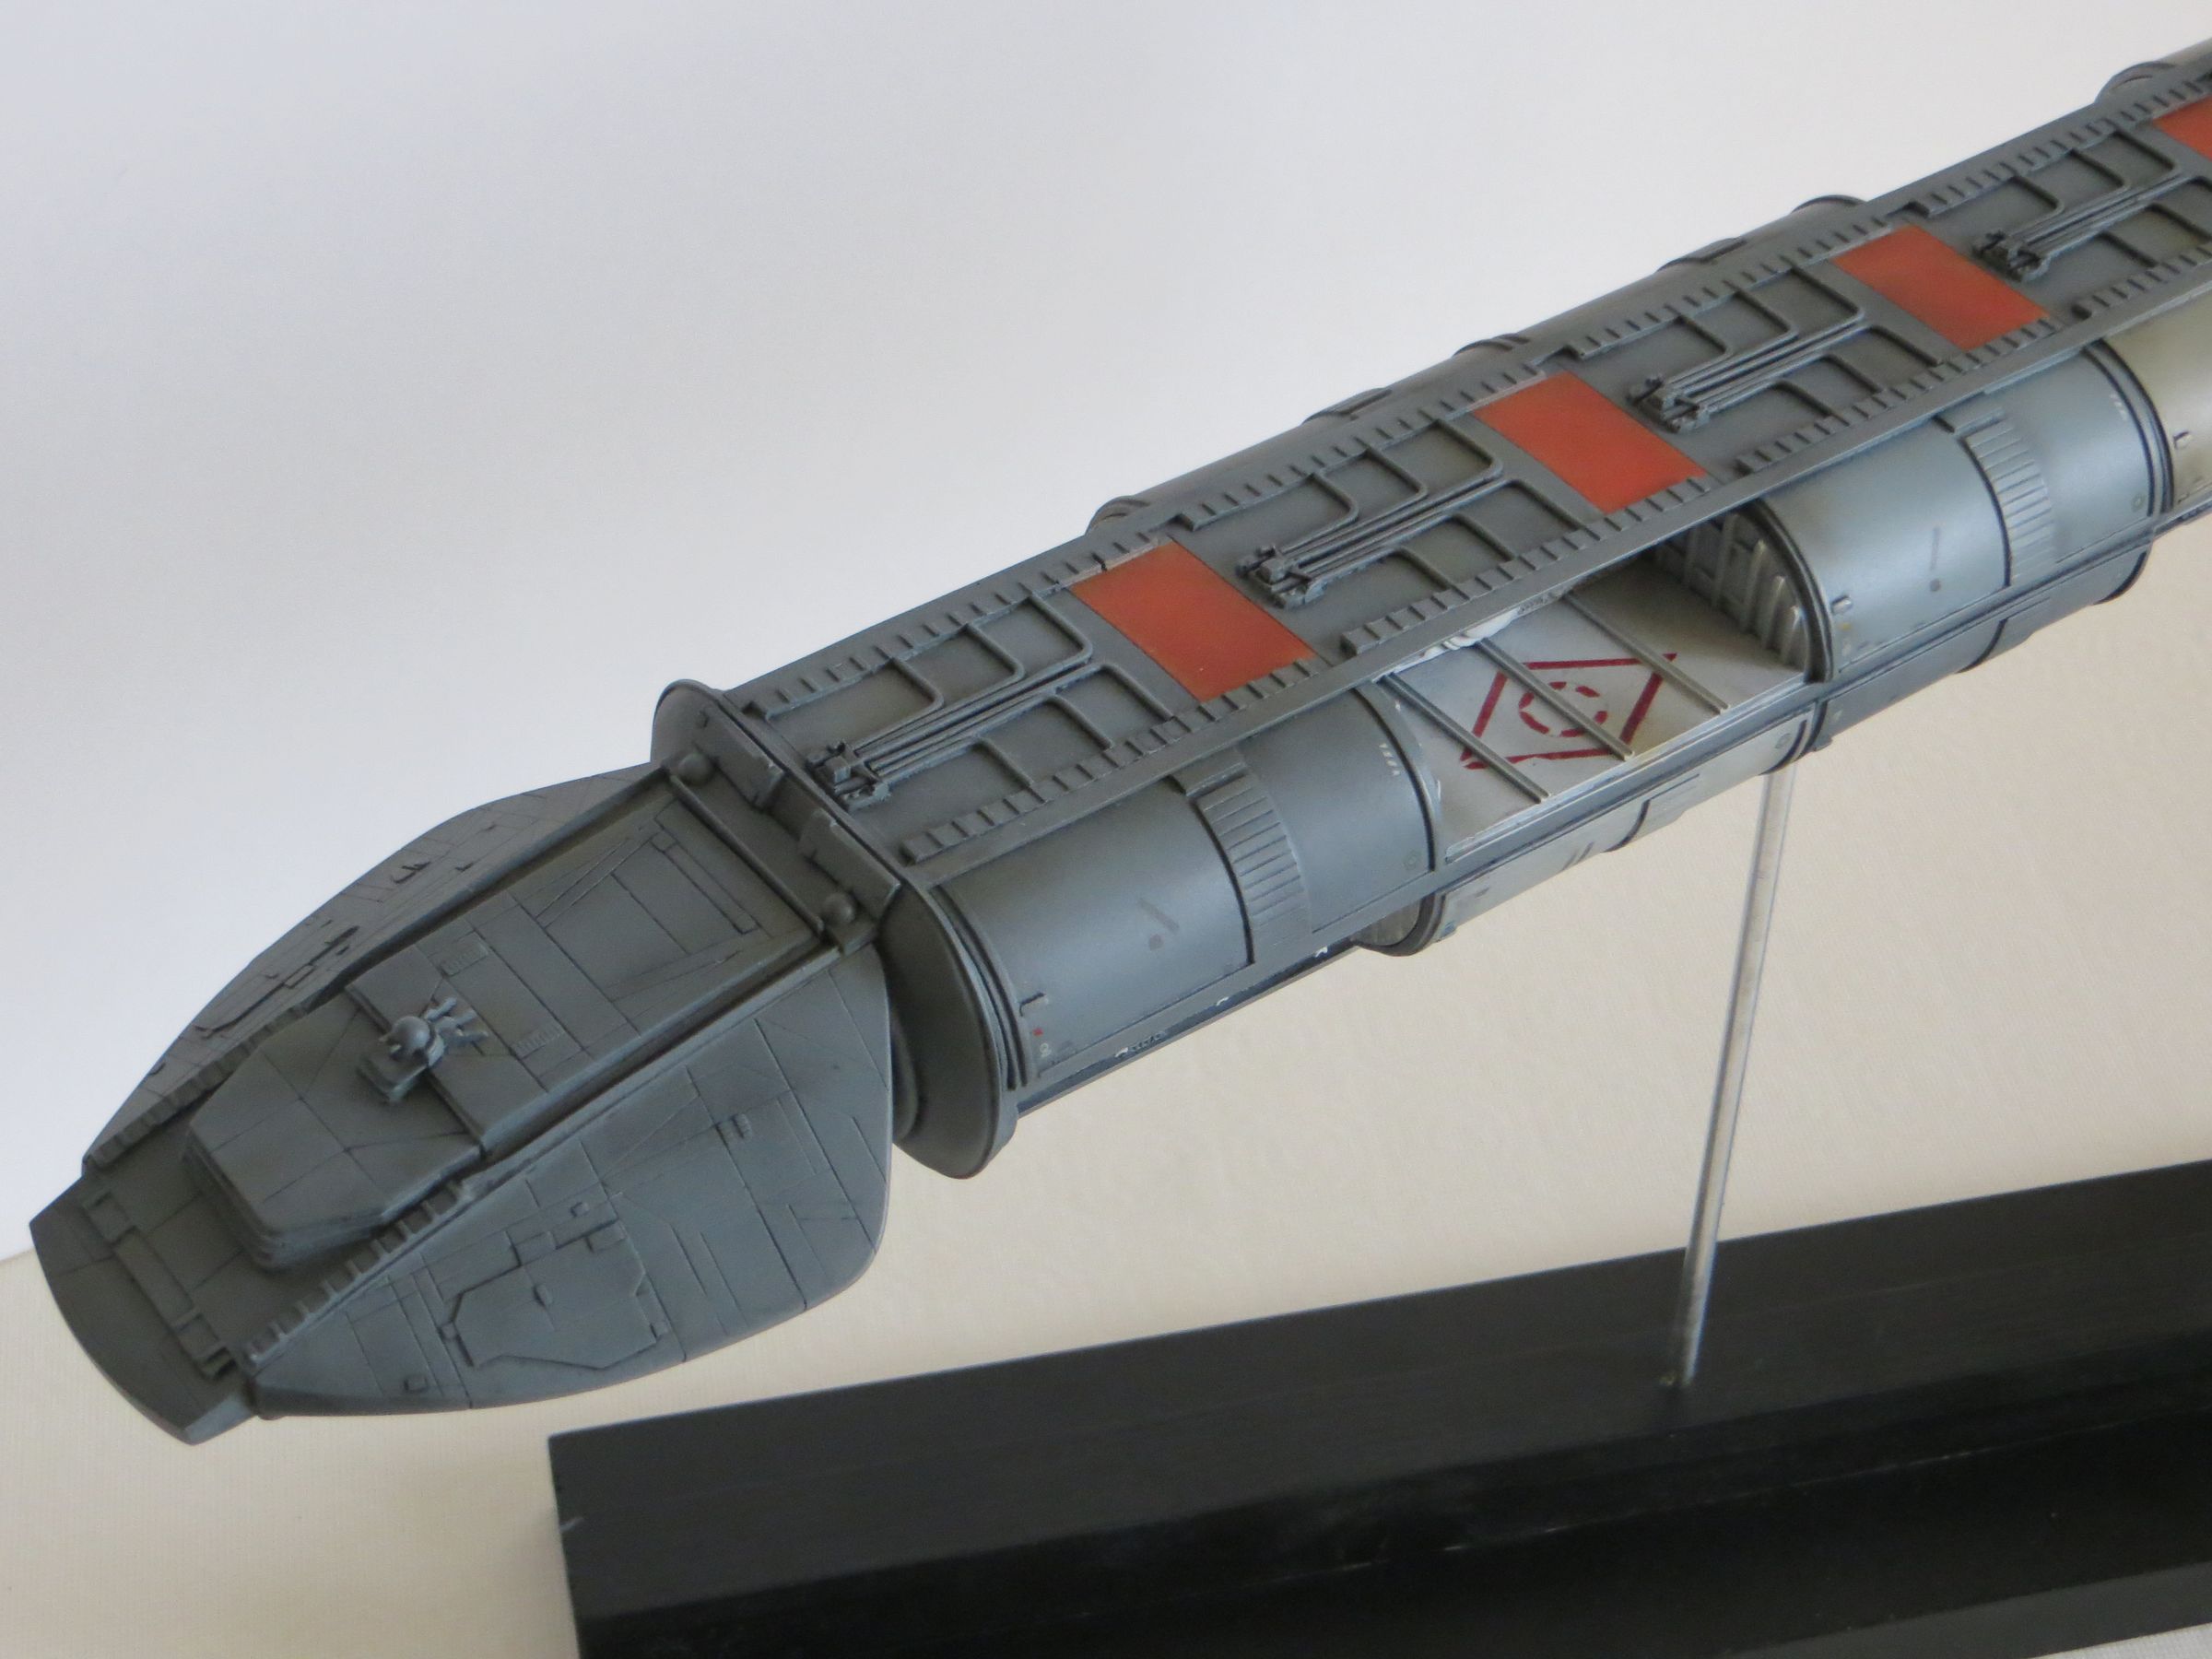
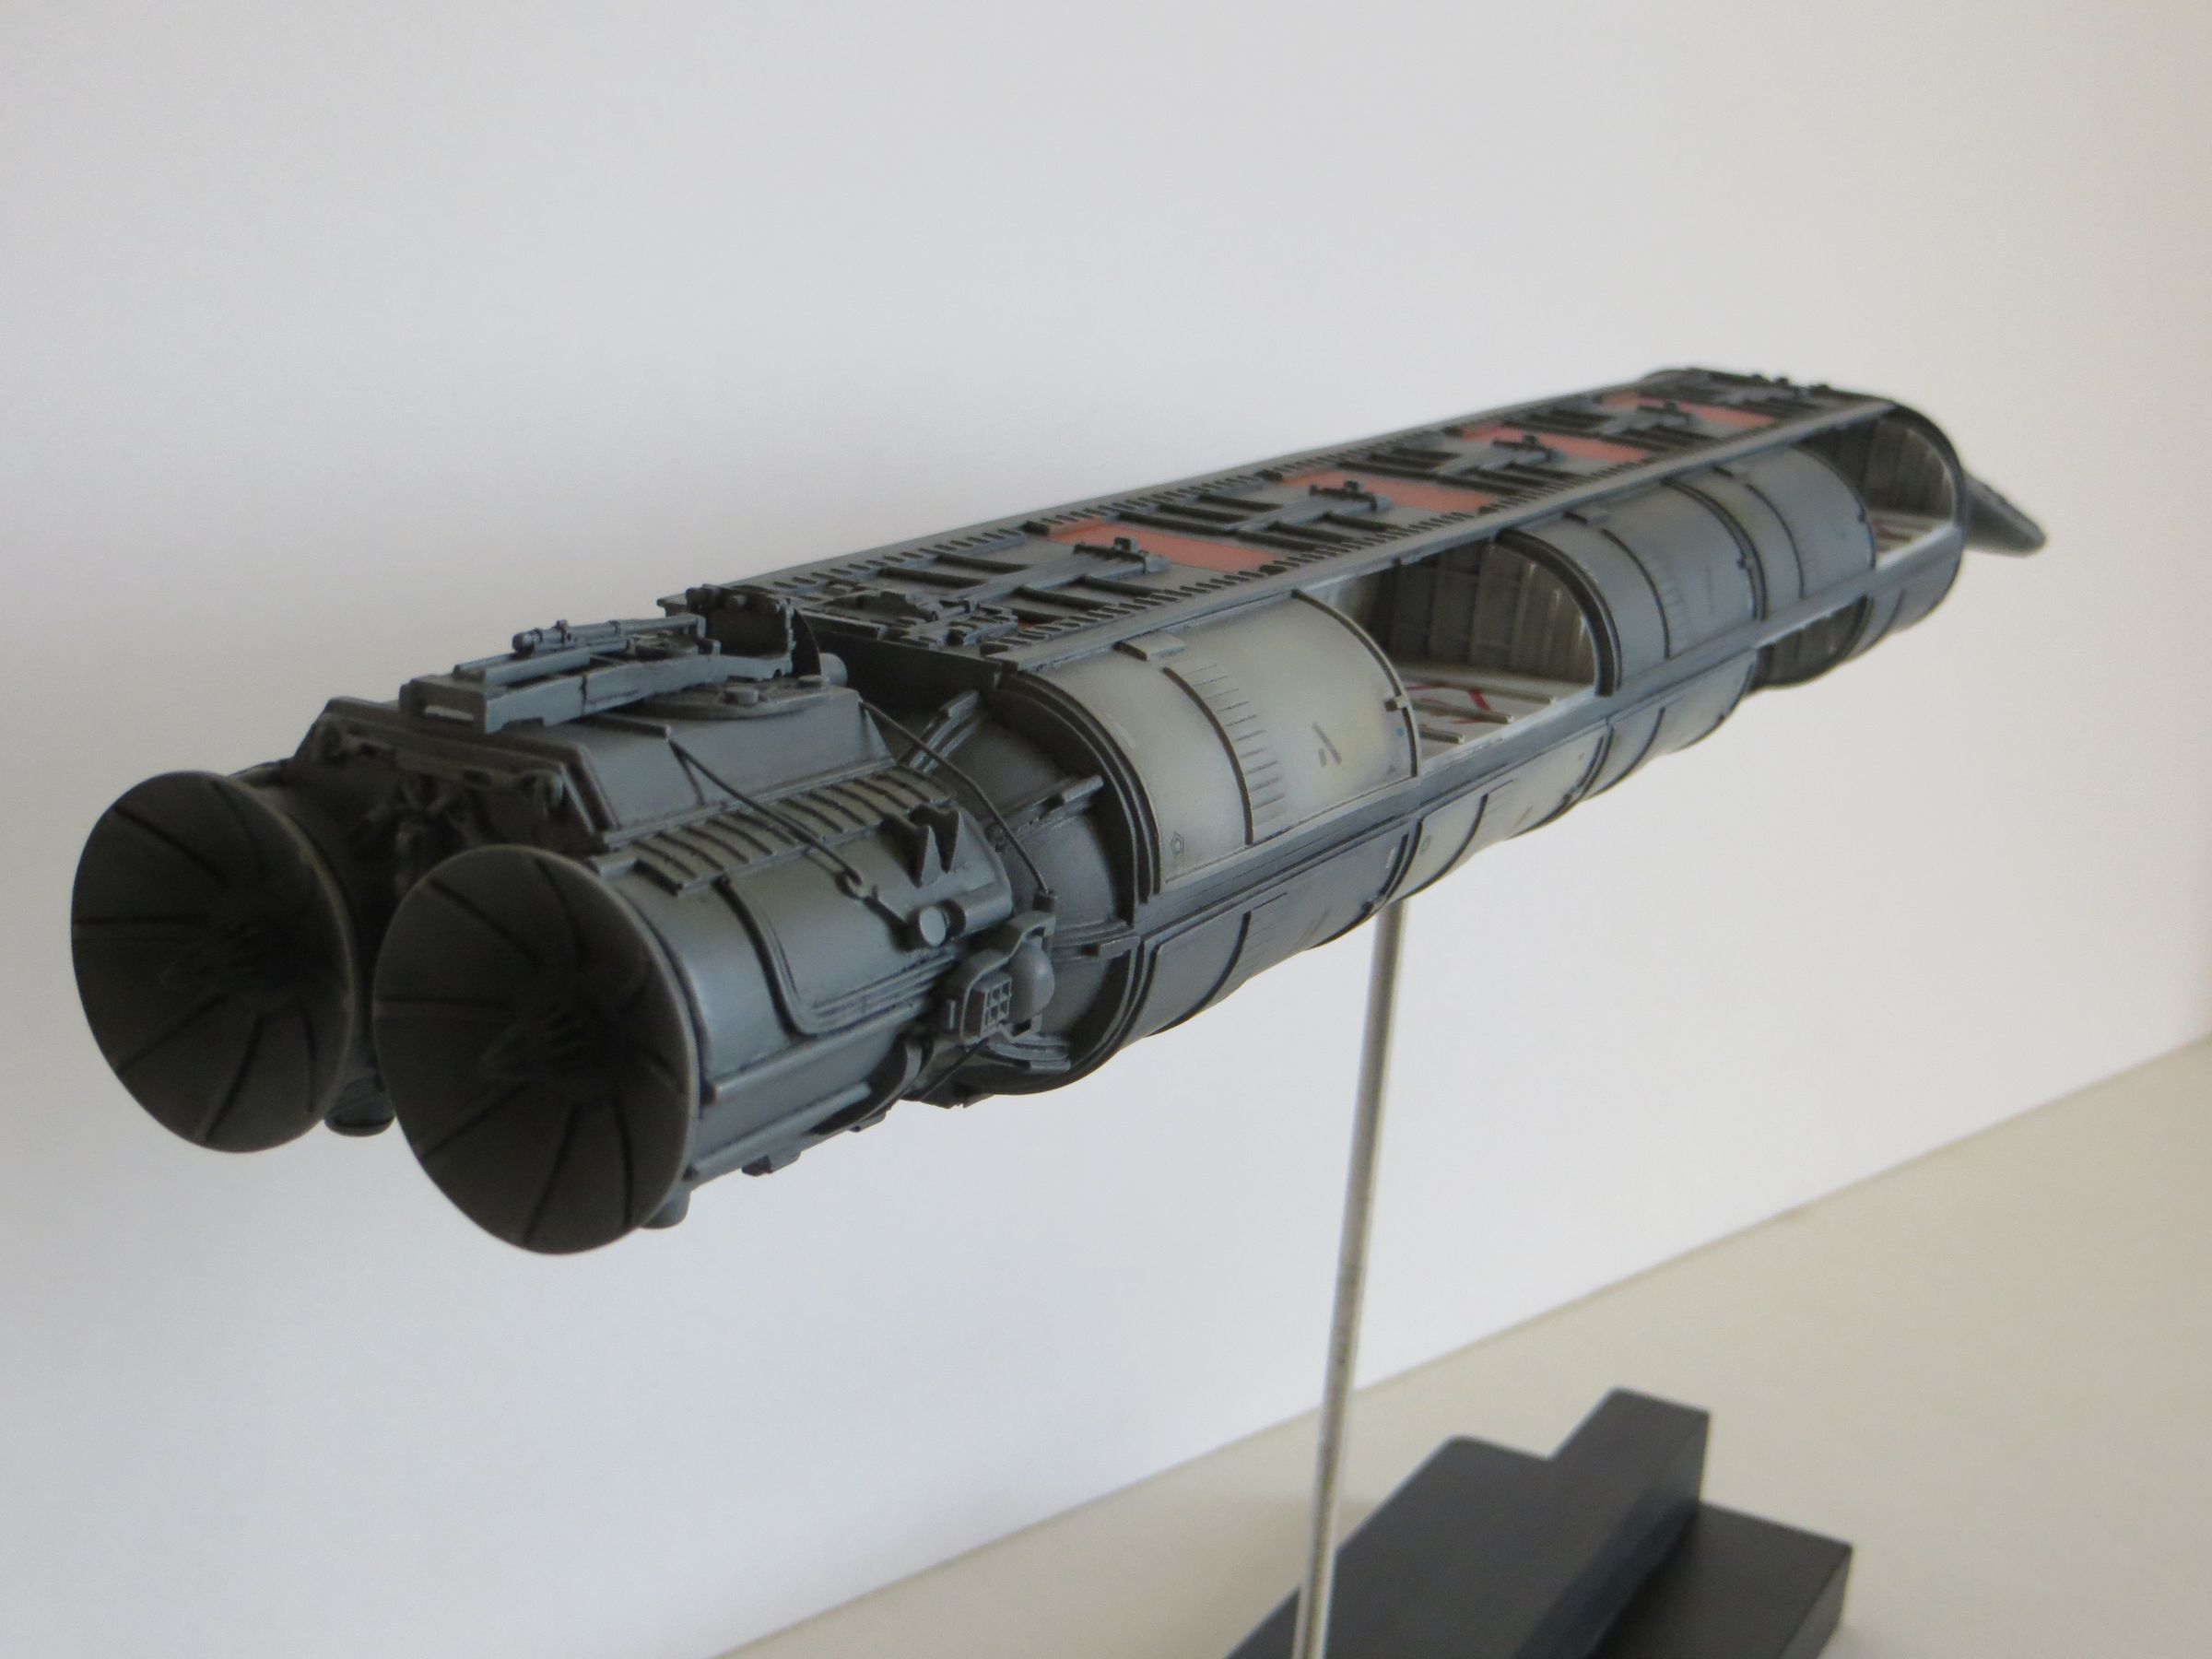
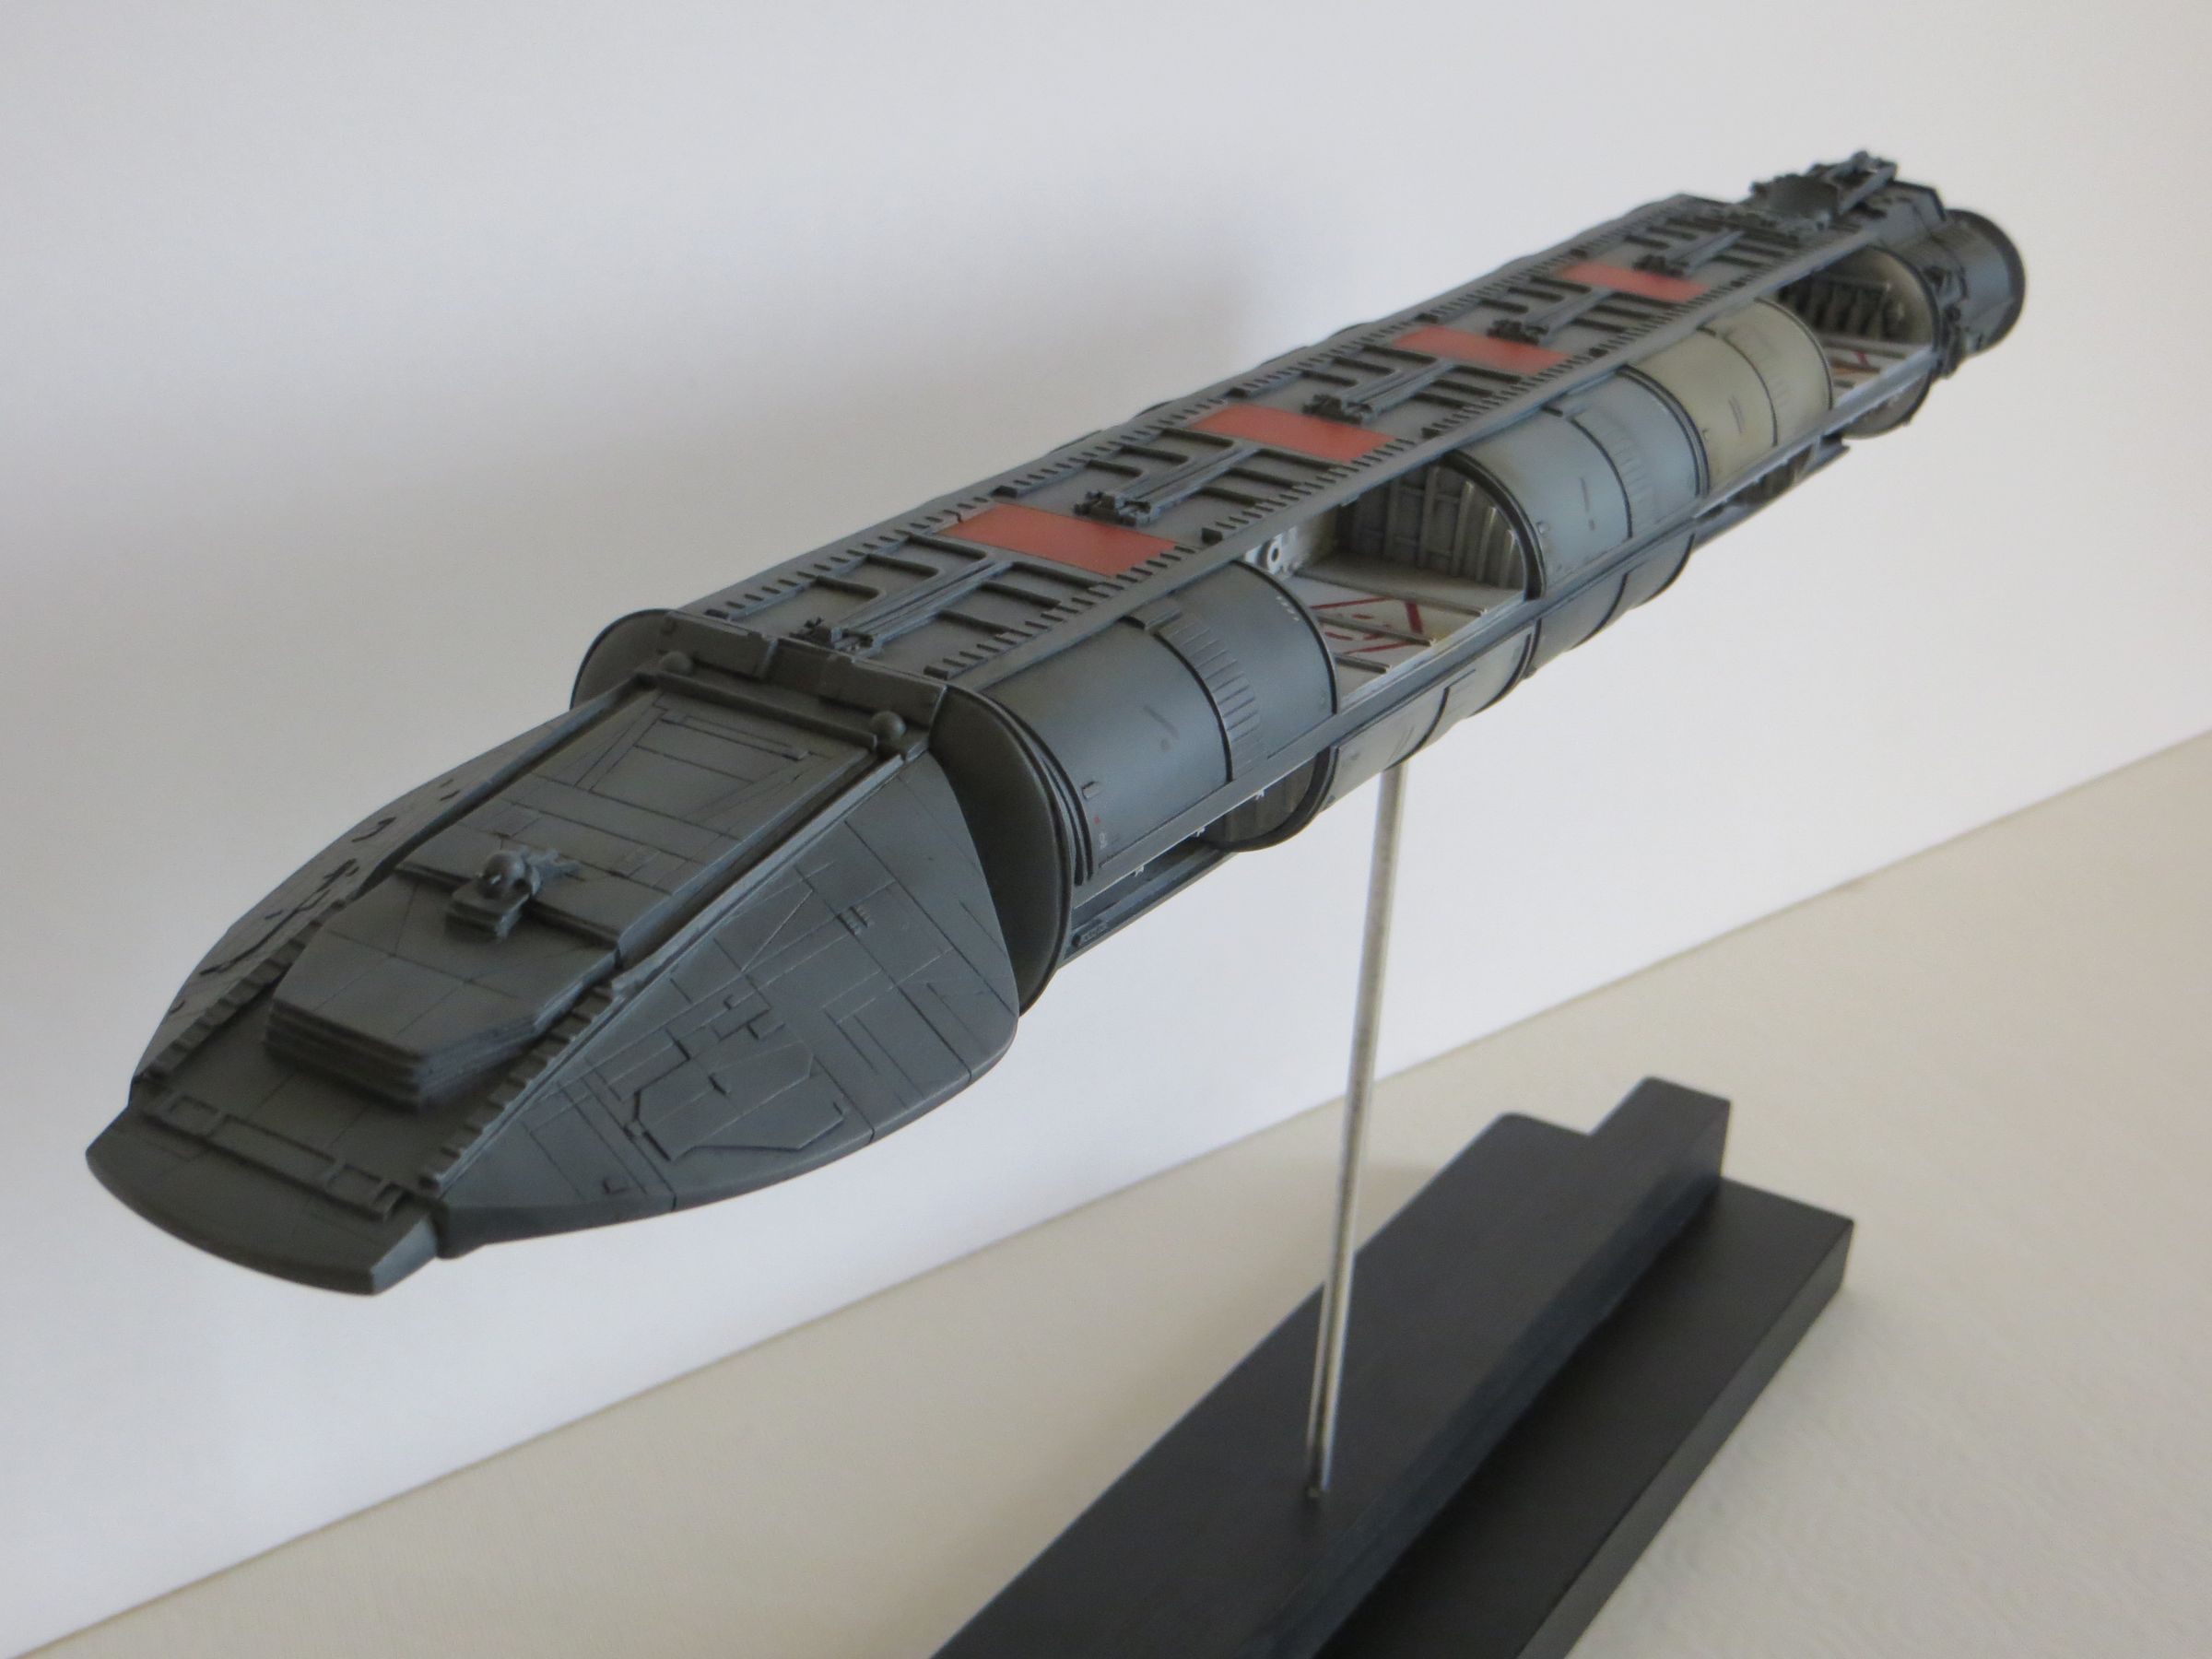
This is a bit exotic subject of a ship which, if I'm not mistaken, only appears very briefly in the pilot and in the Living Legend episodes of the classic serie Battlestar Galactica.These tankers carry squadrons of cylon raiders who annihilate the colonial fleet, allowing Cylon Basestars to destroy the colonies during this time.

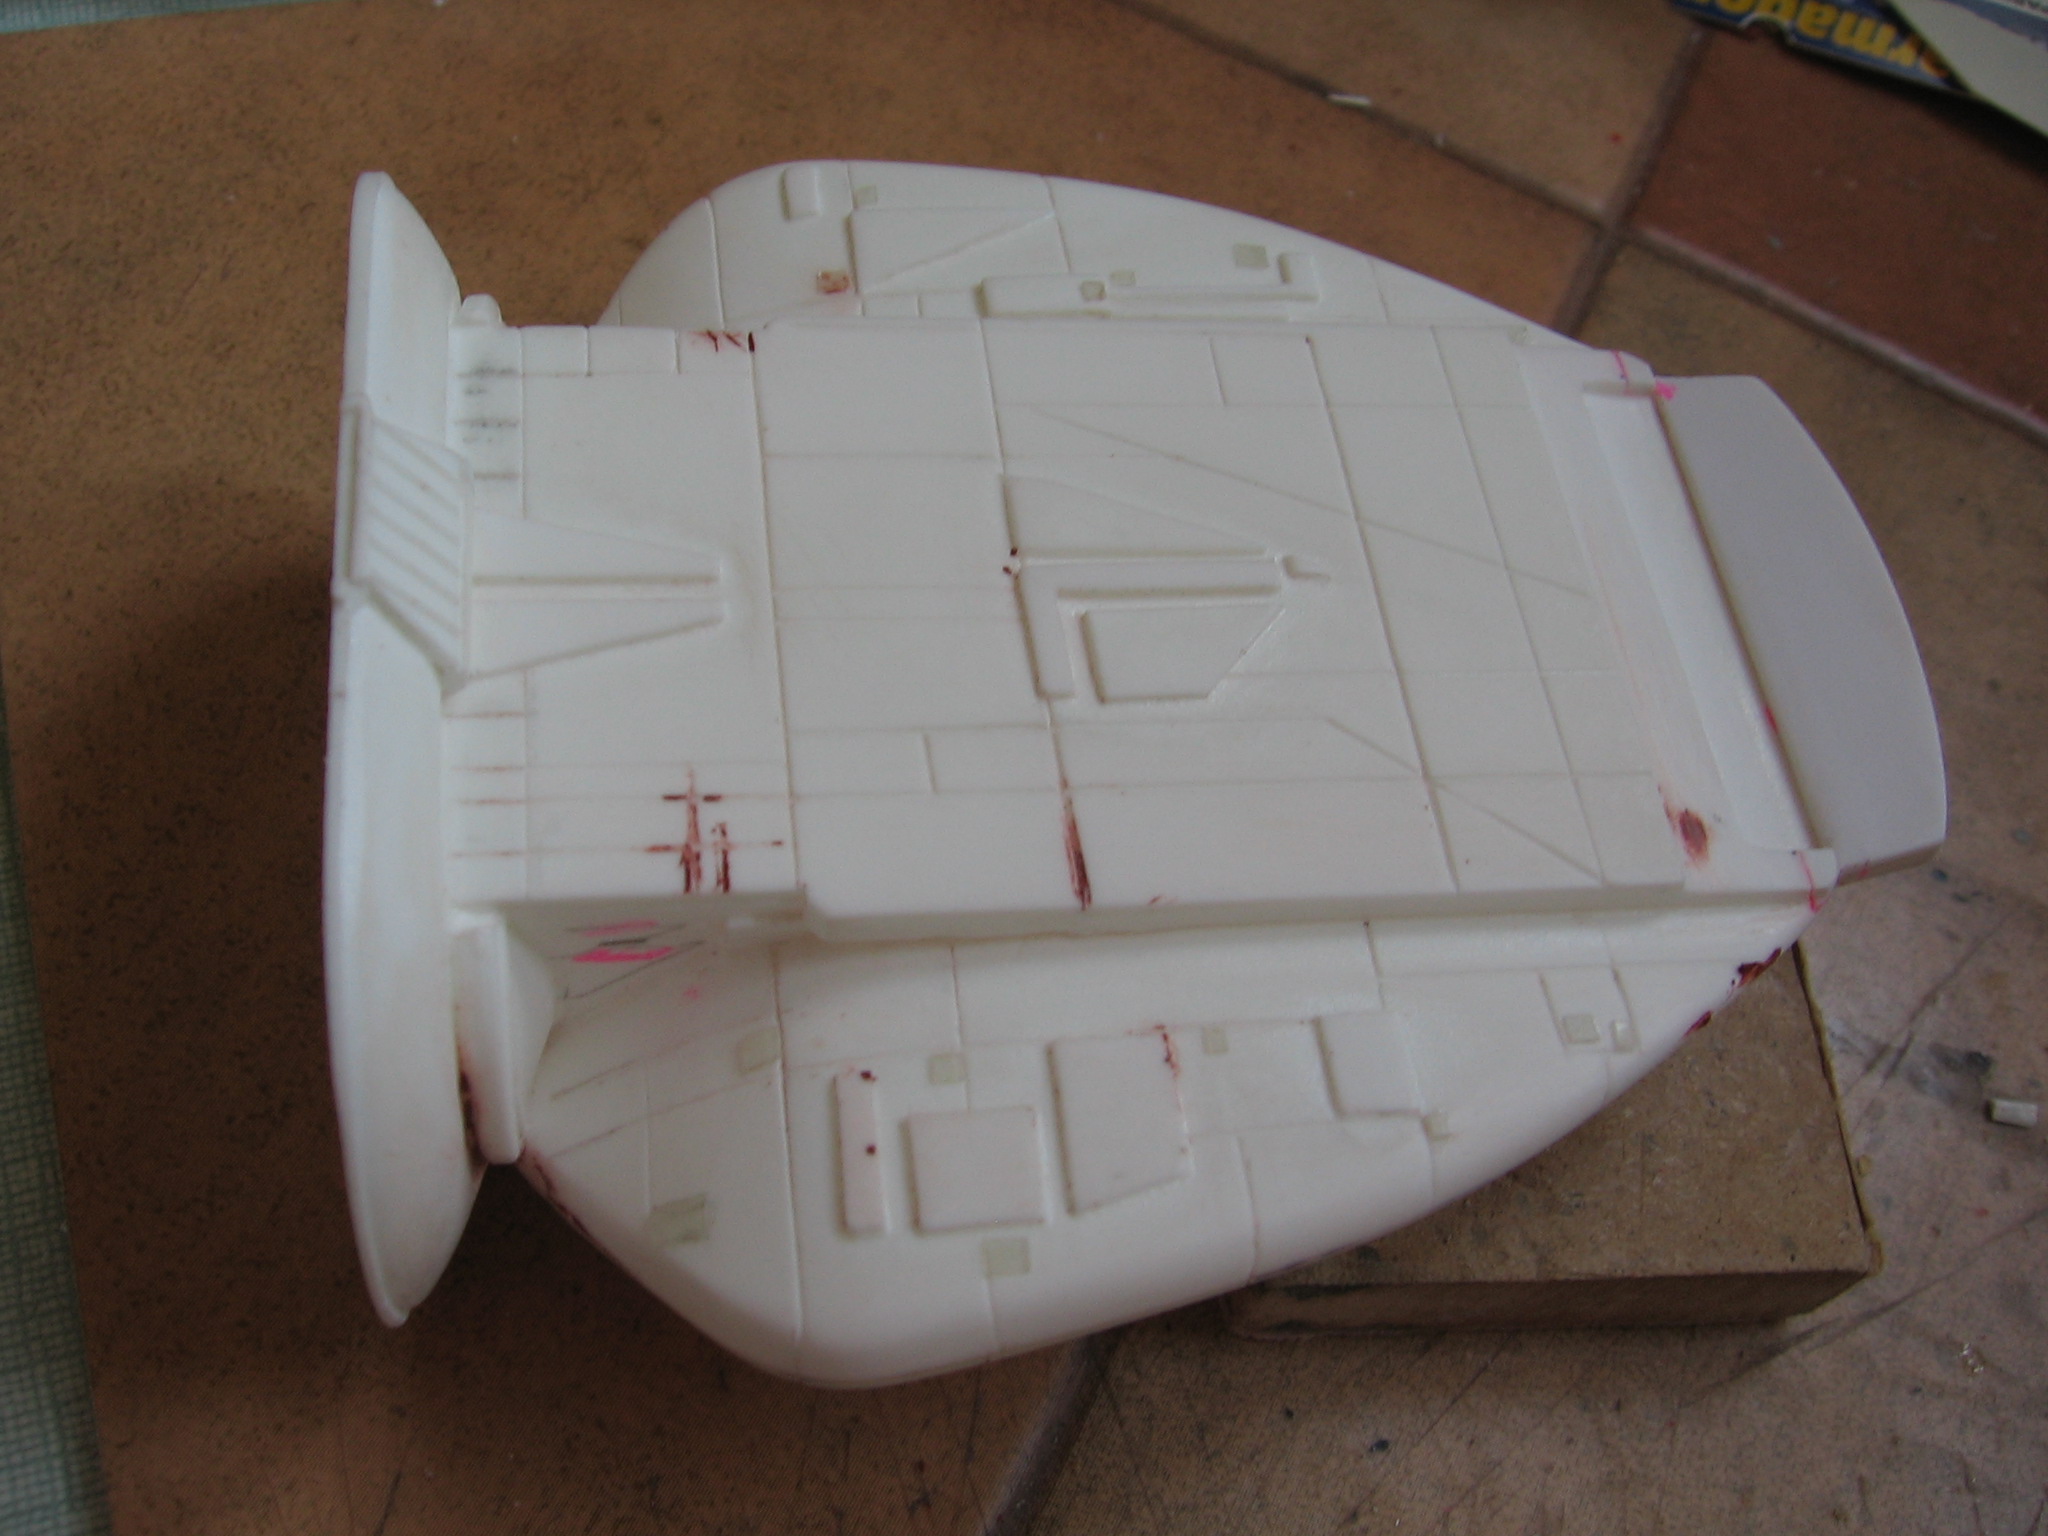
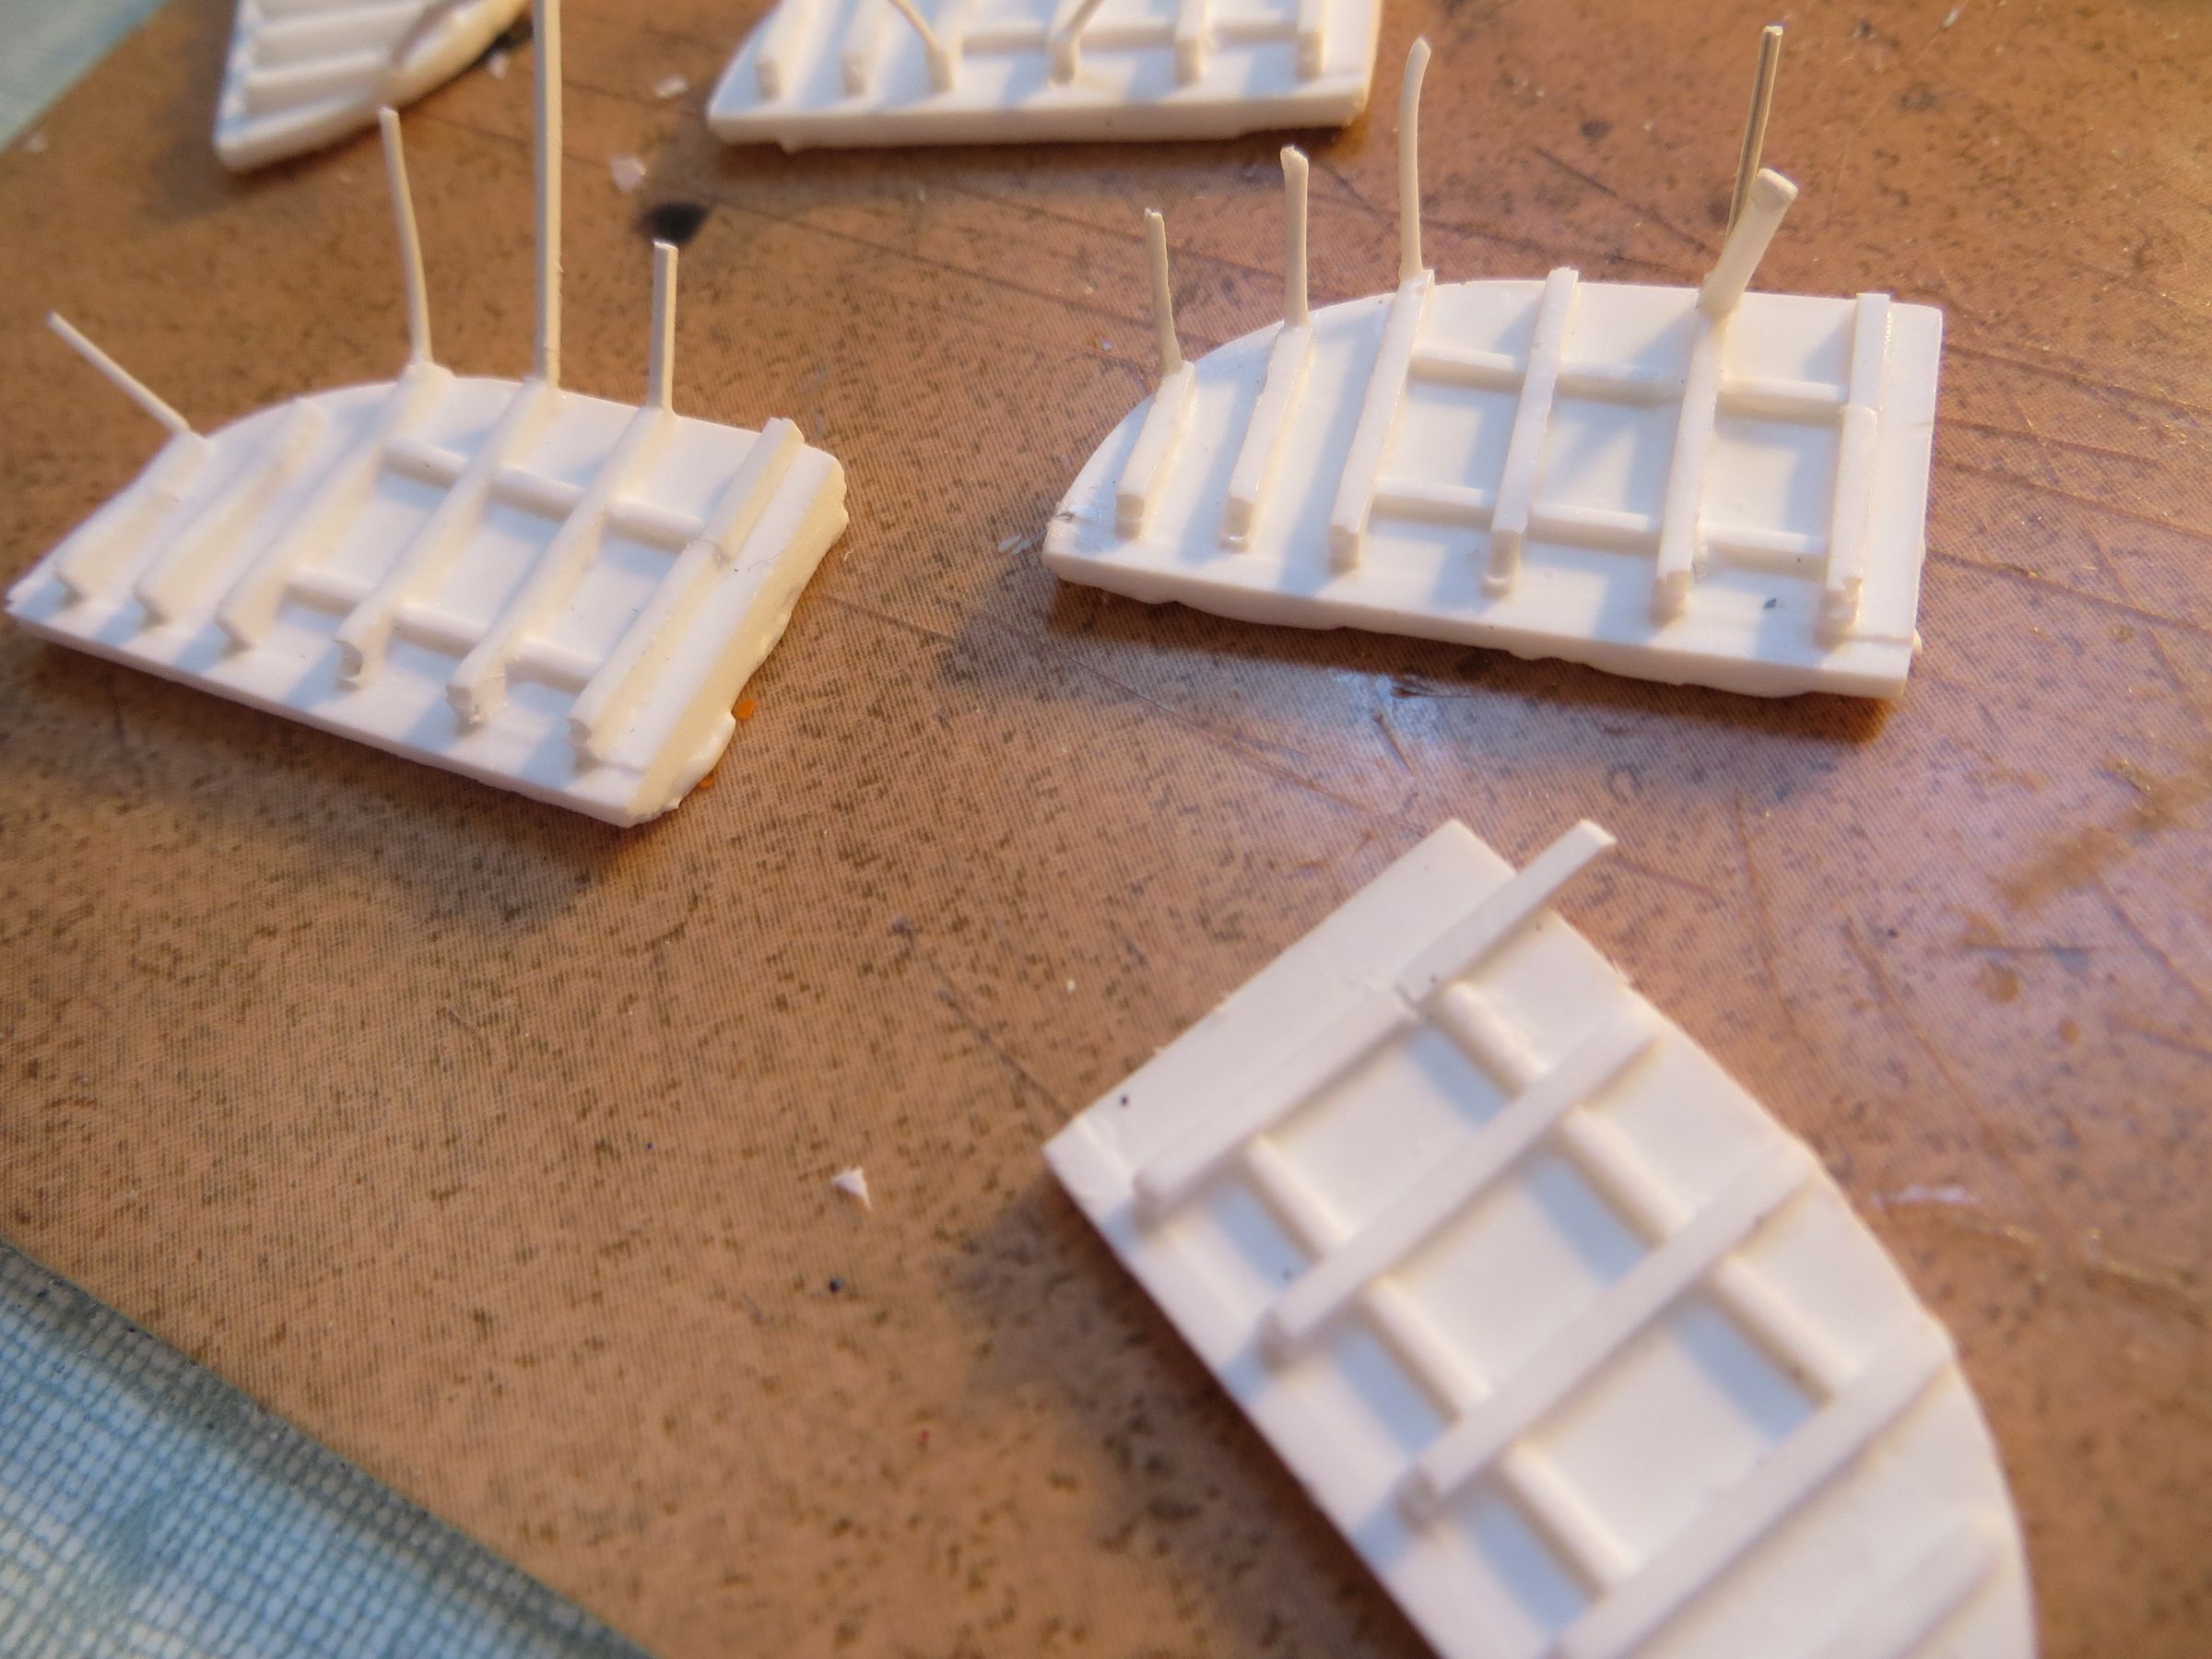
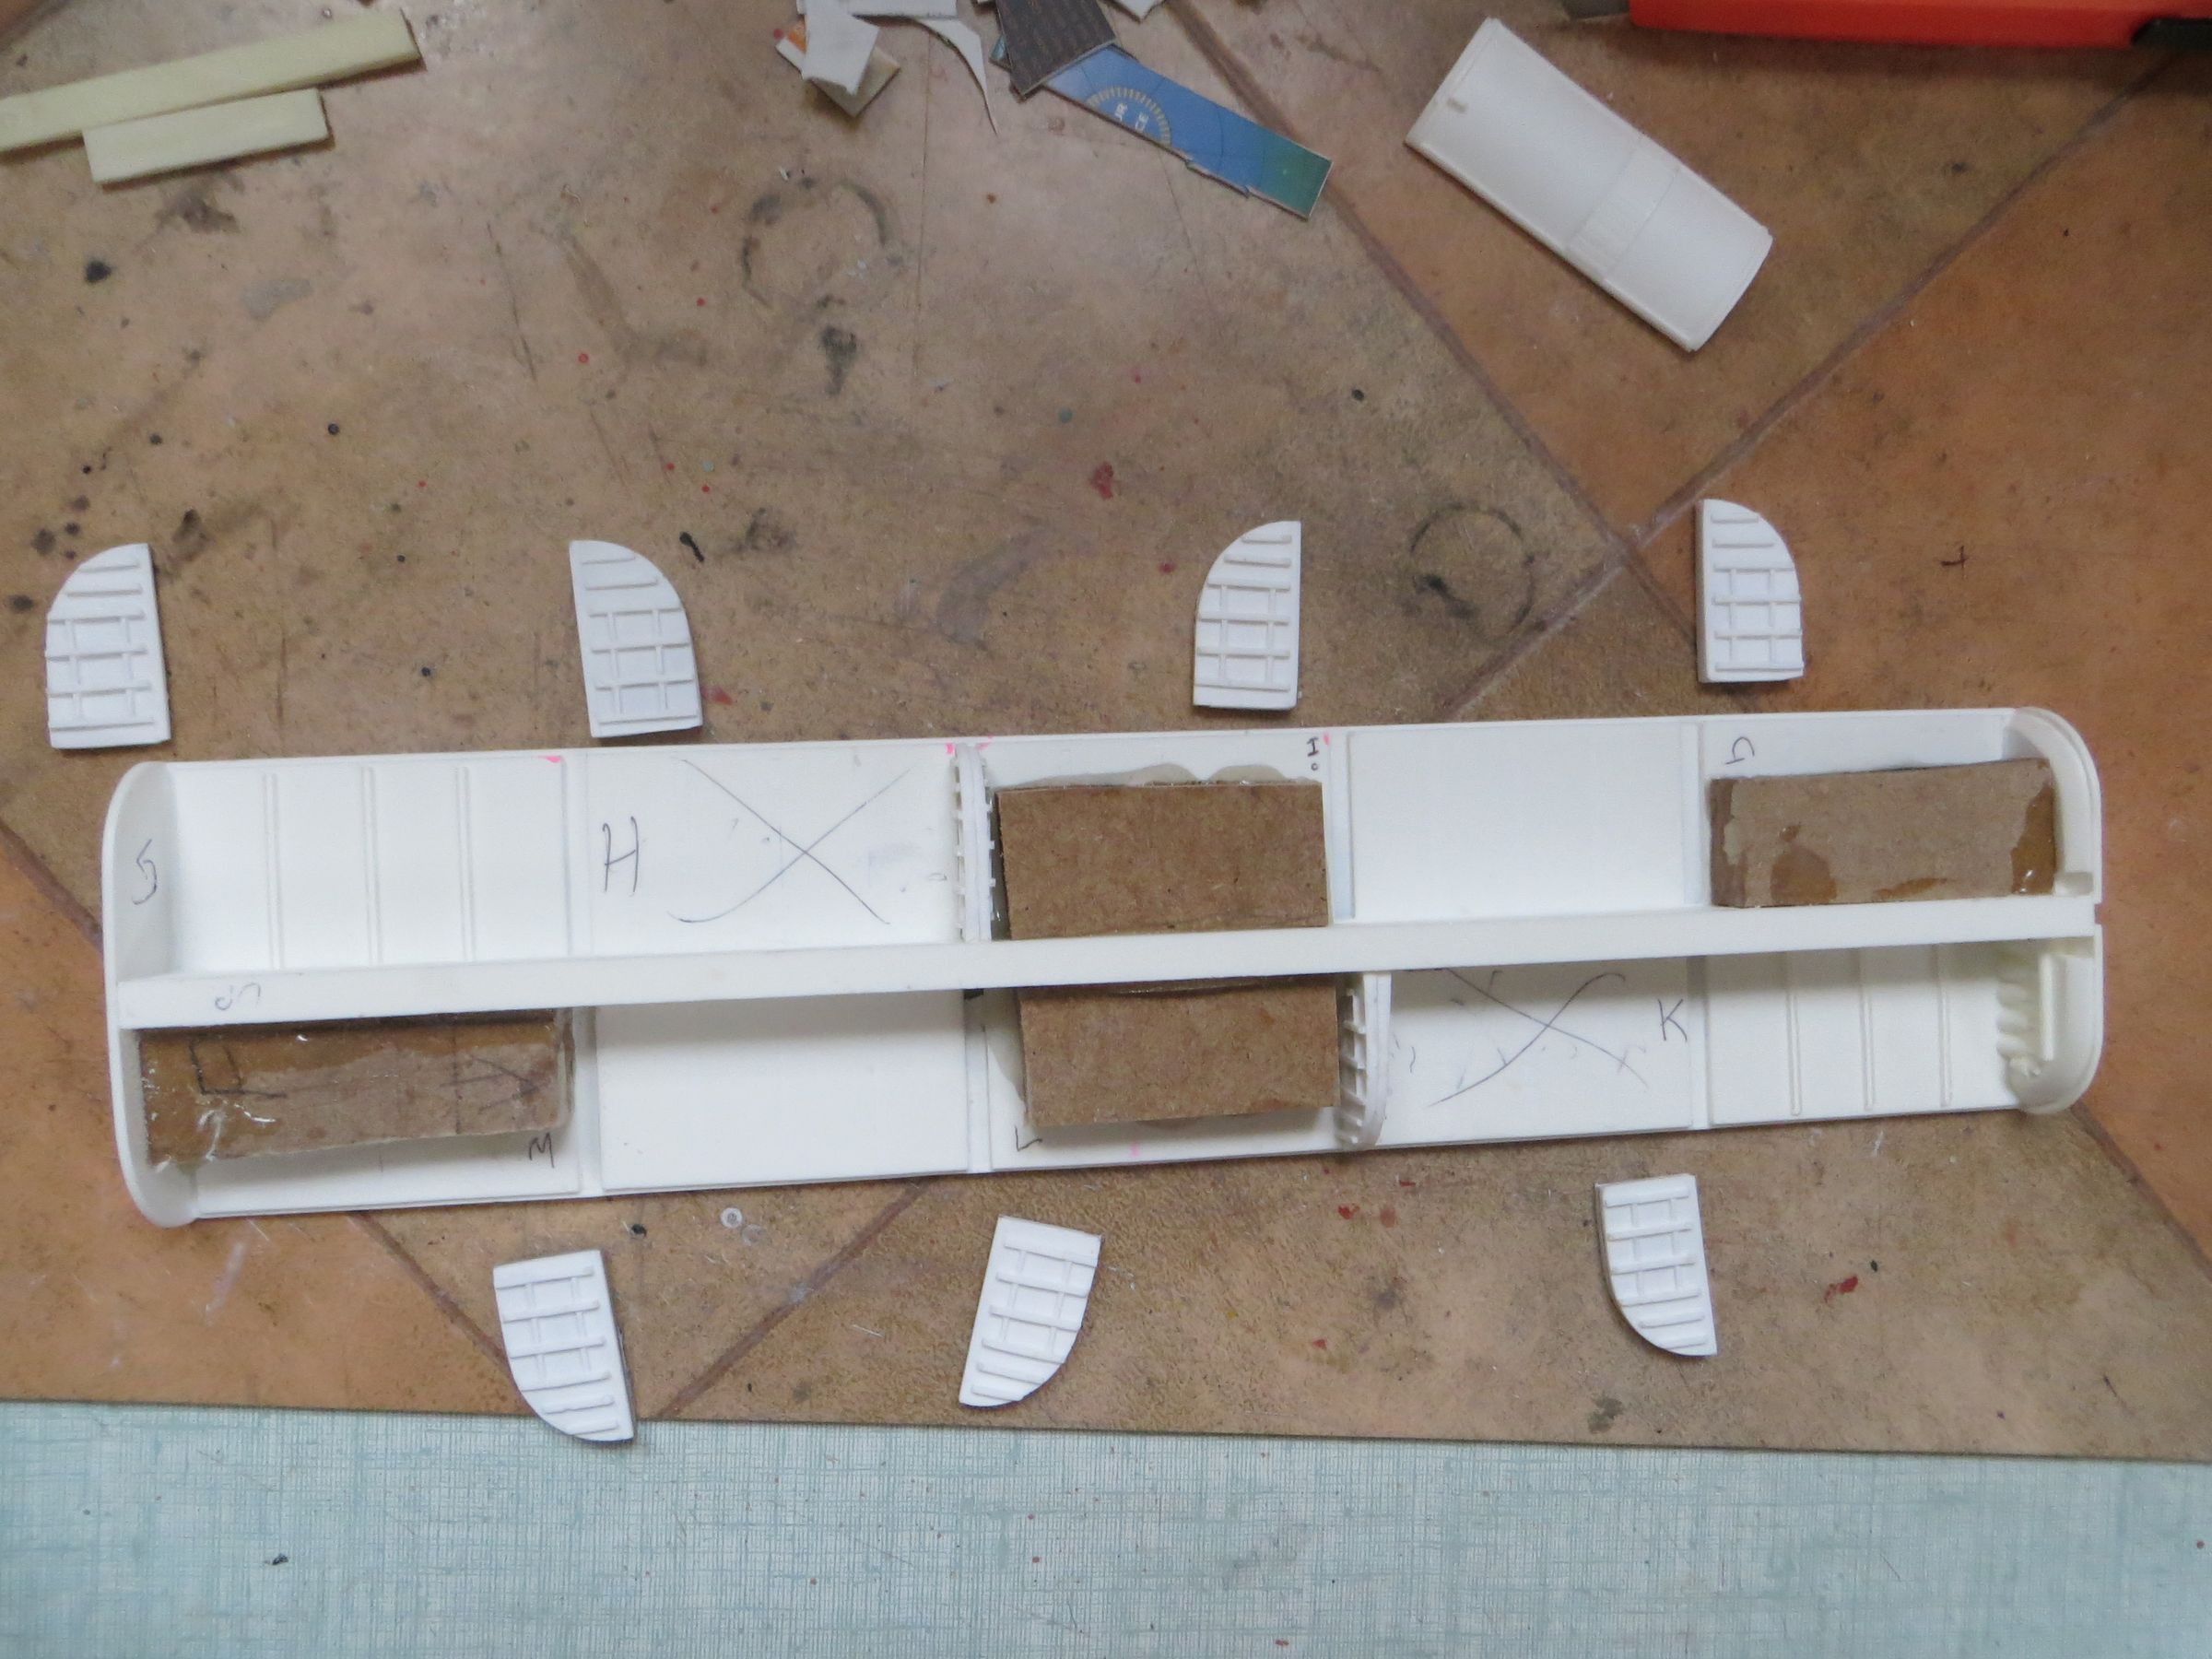
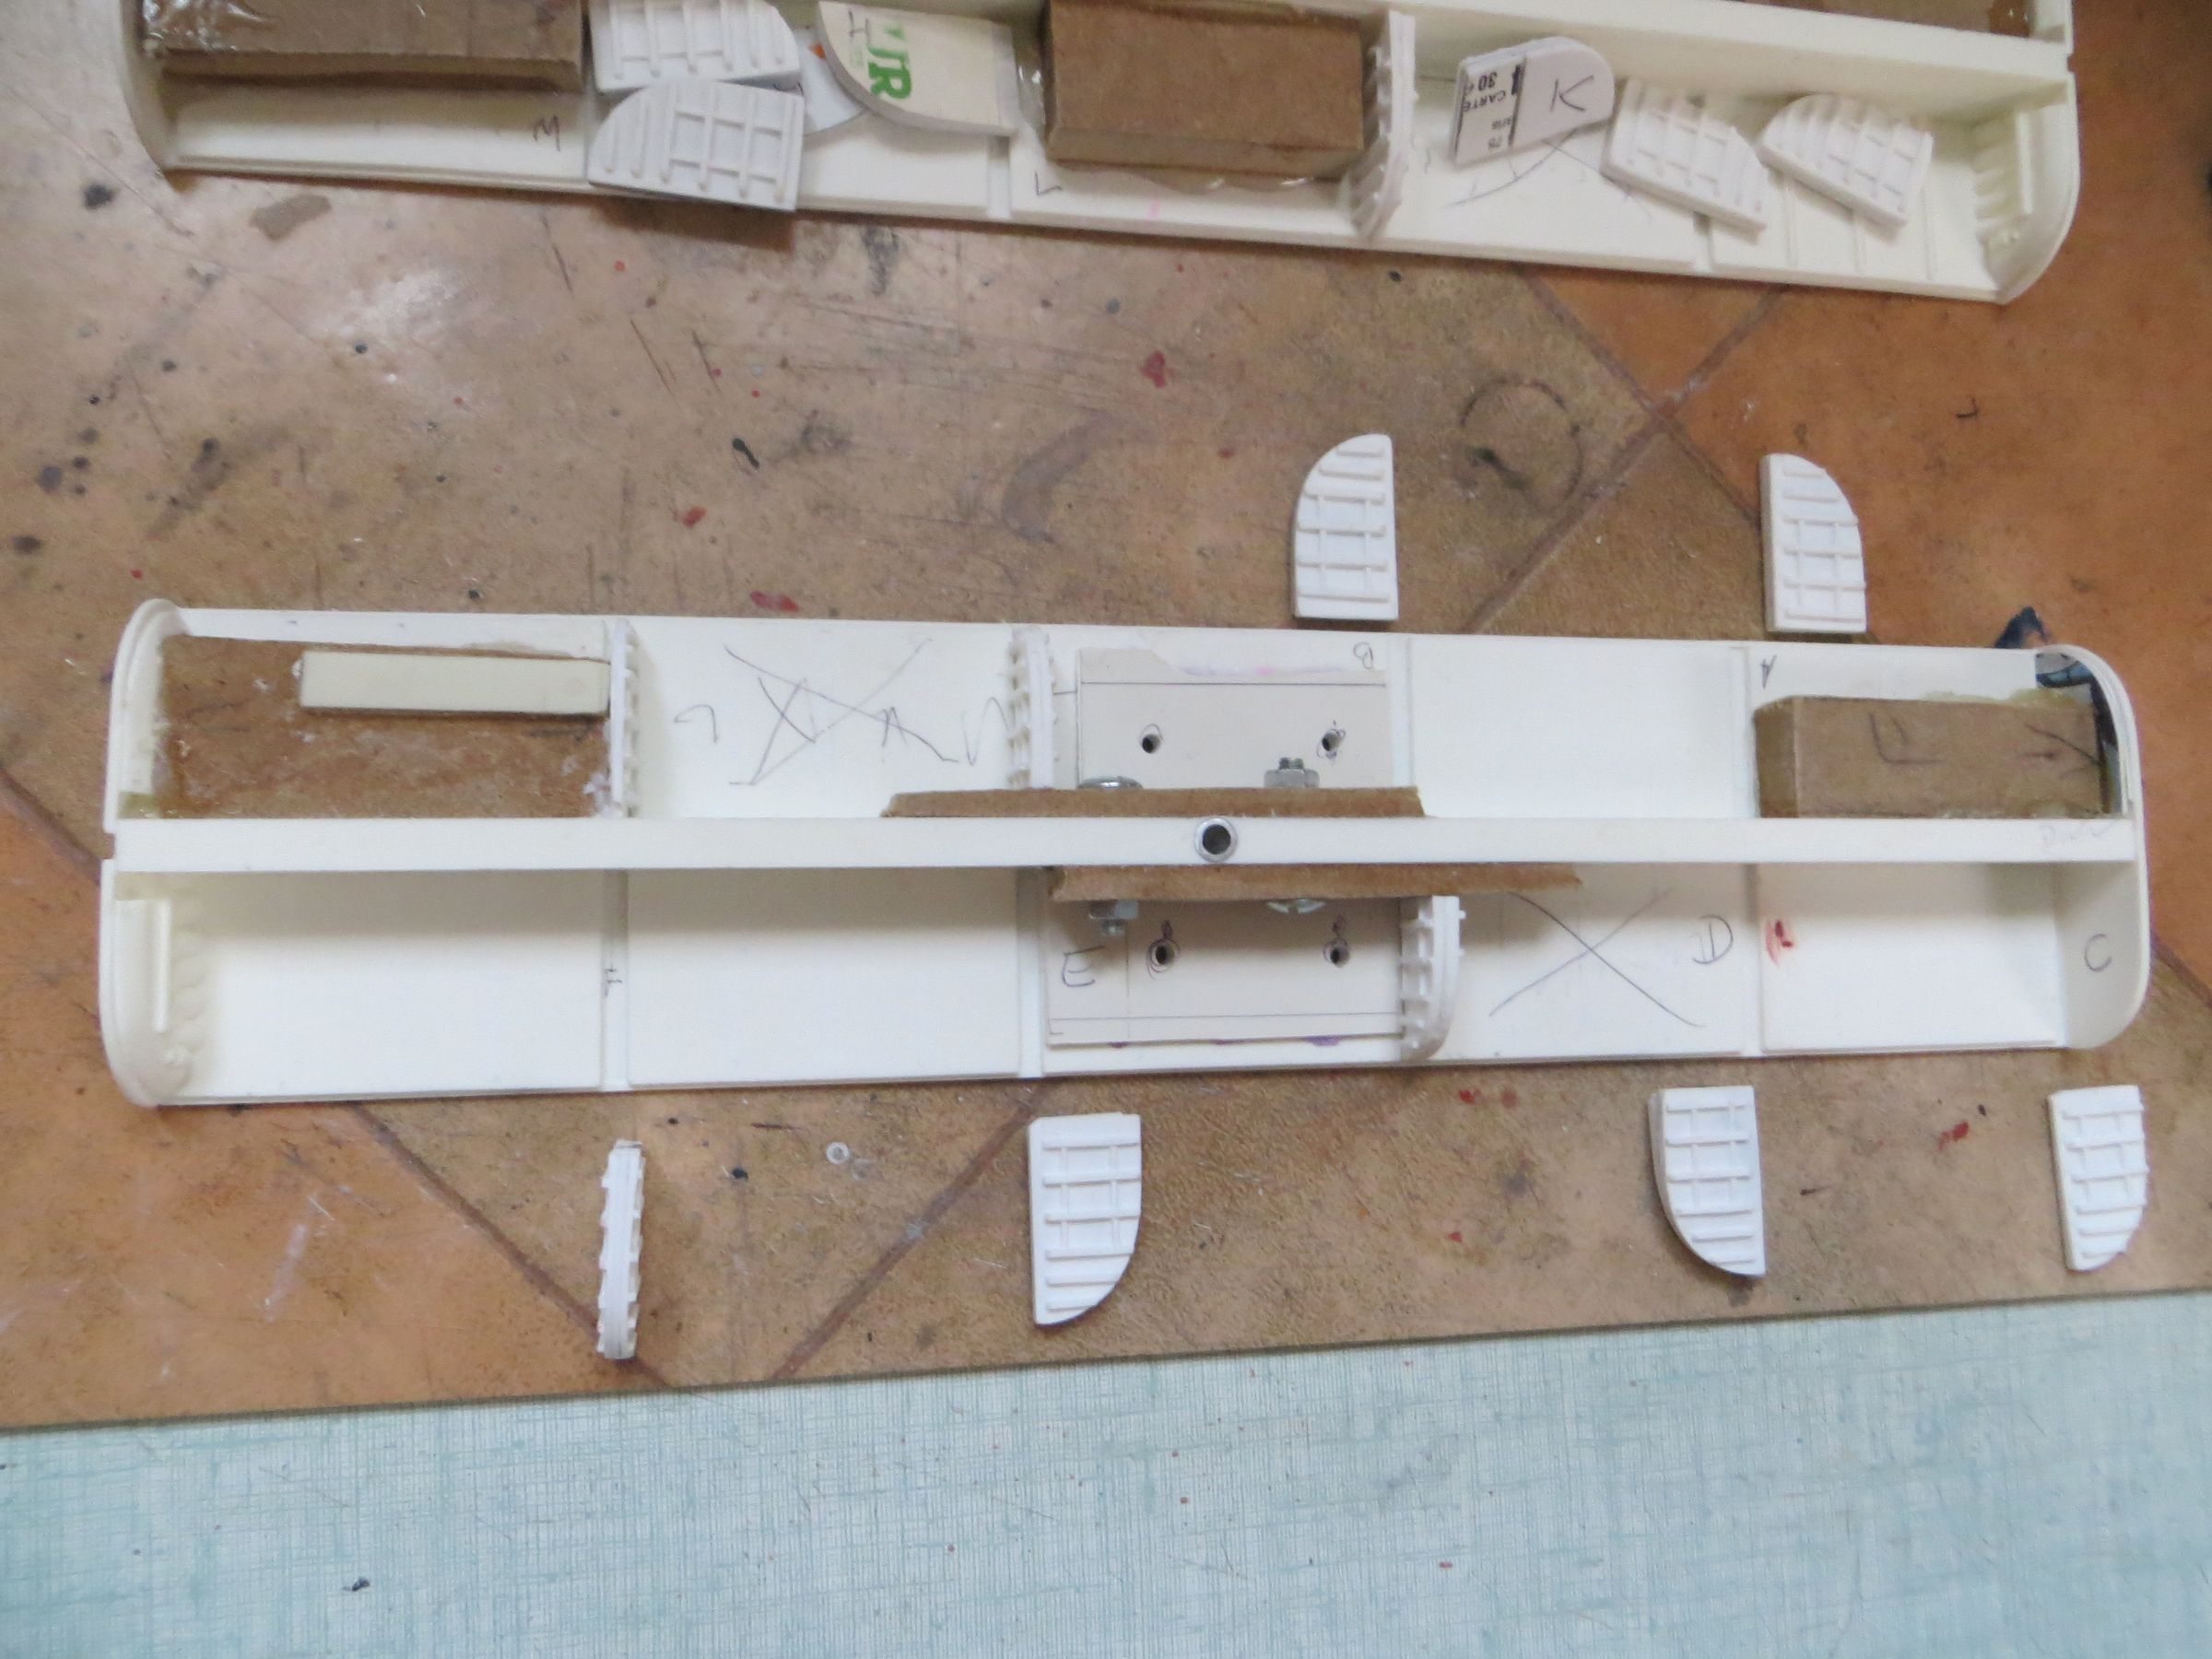
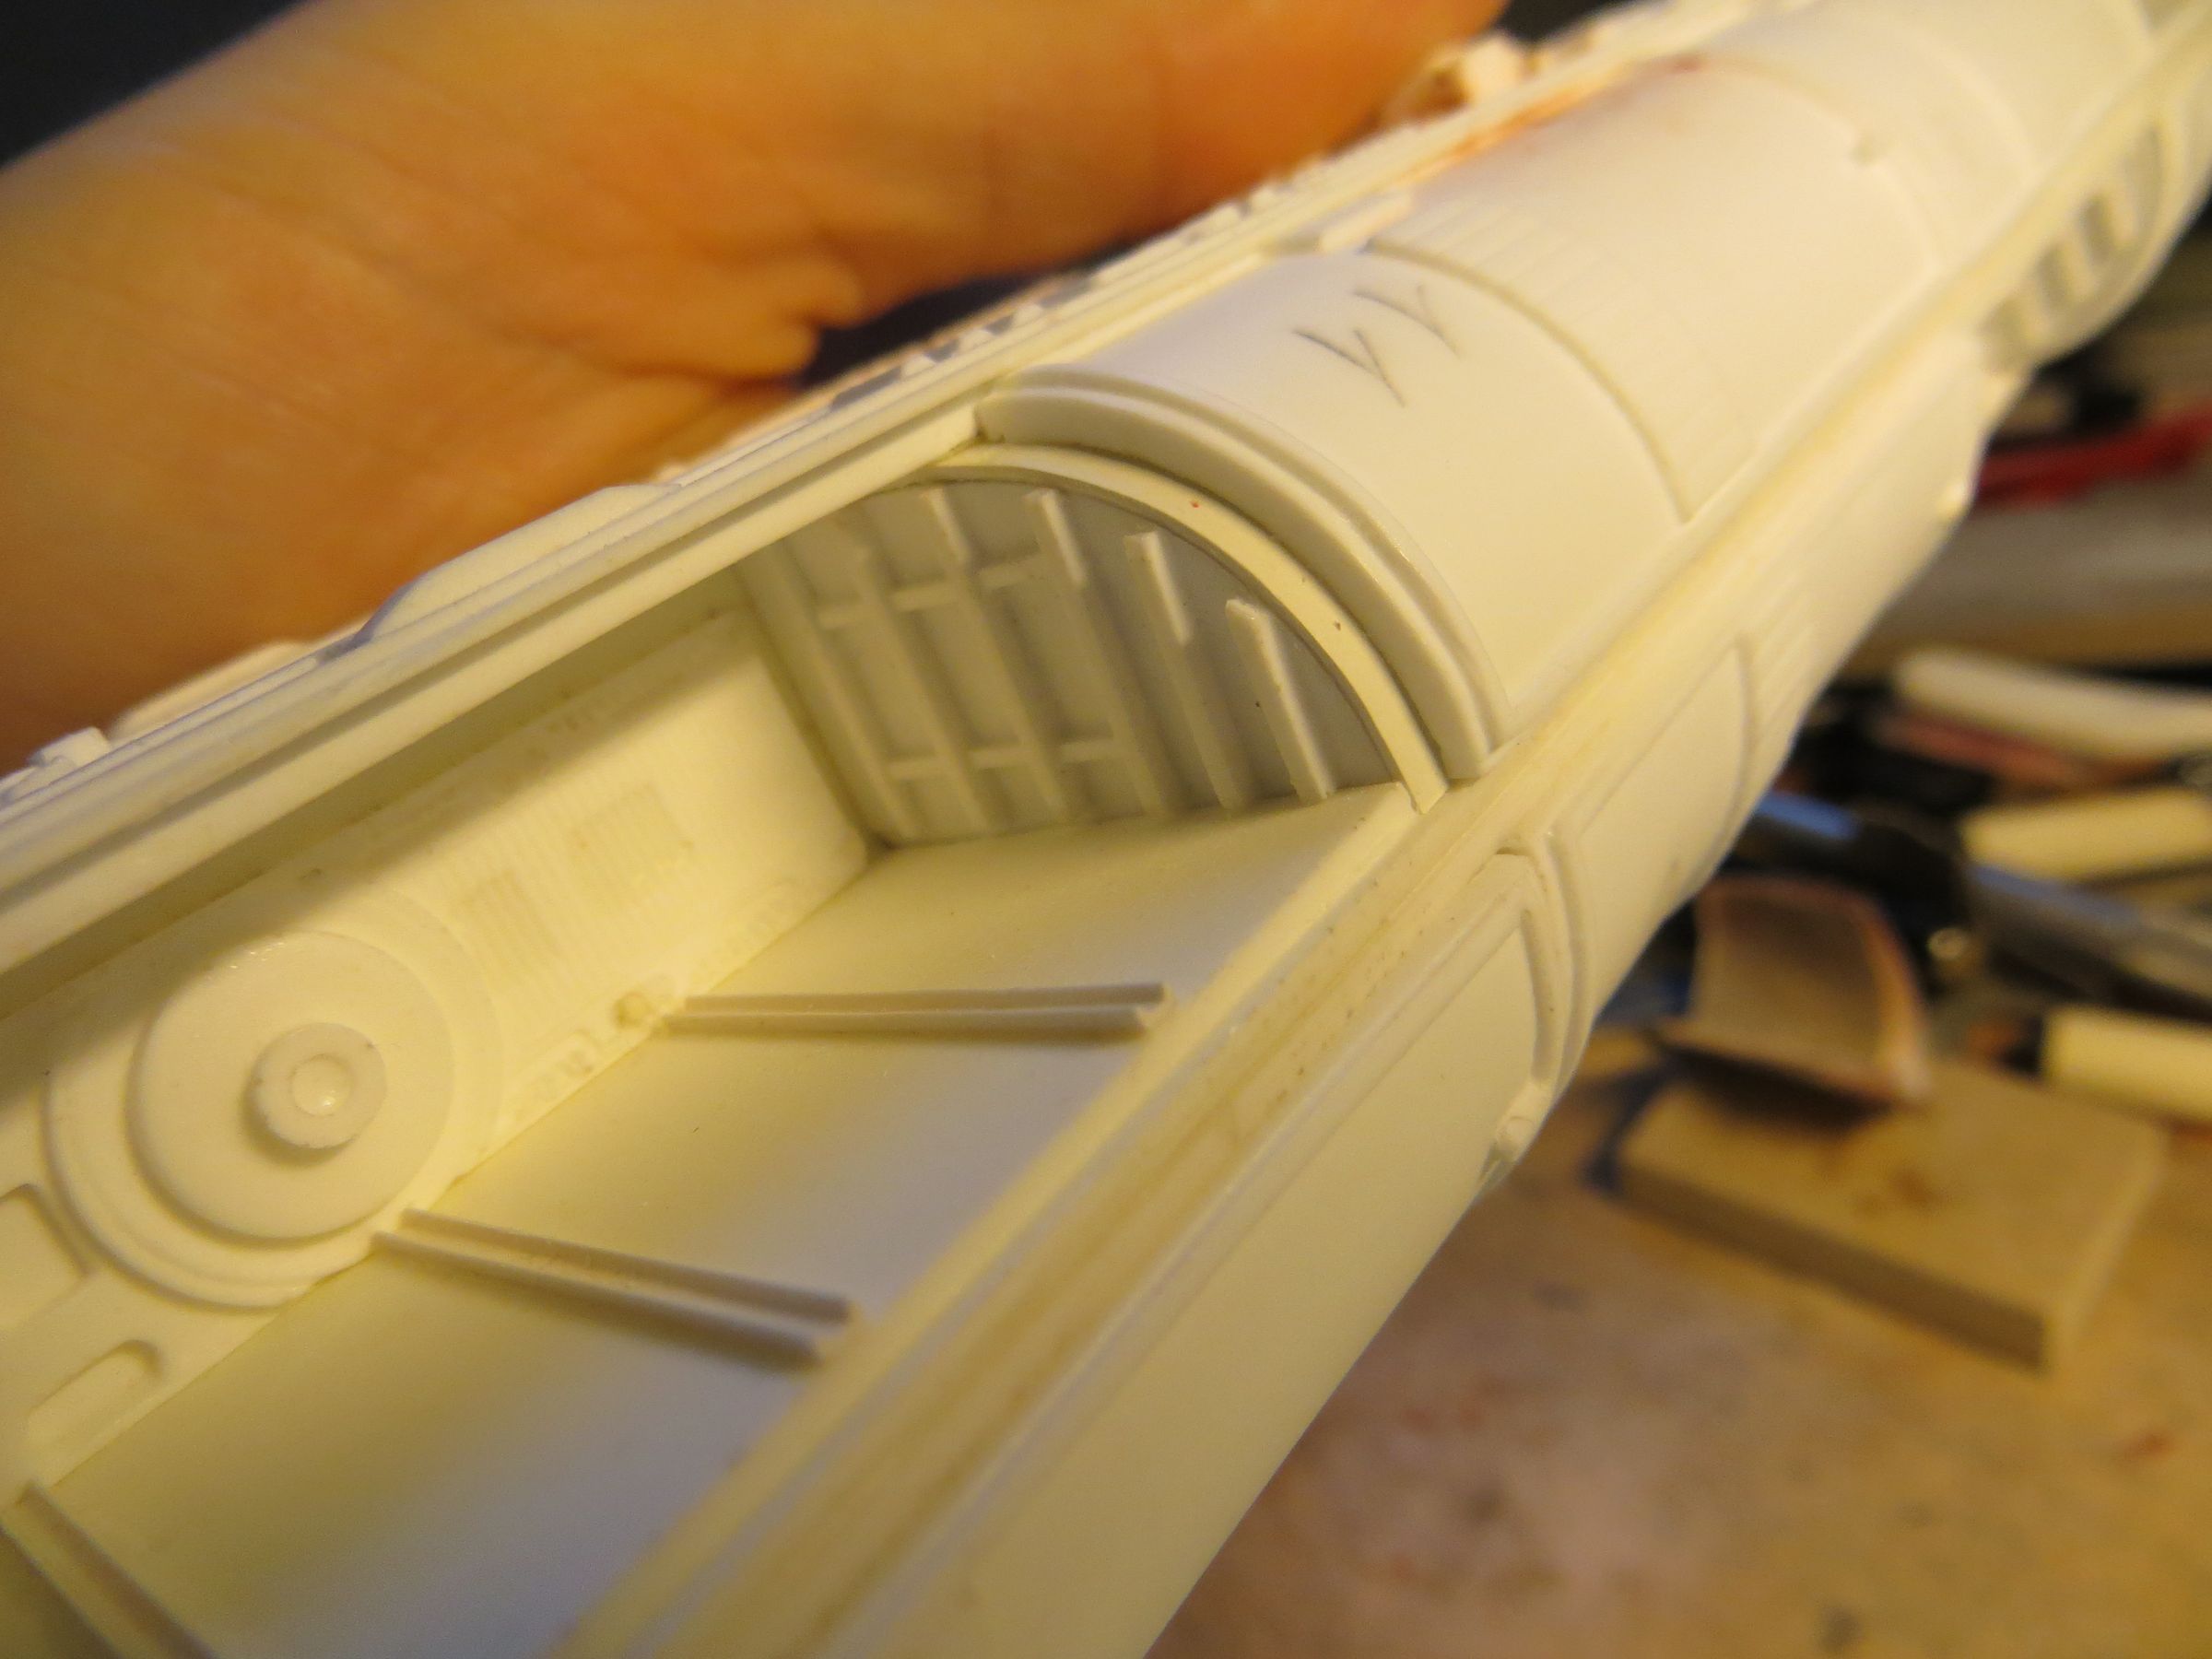
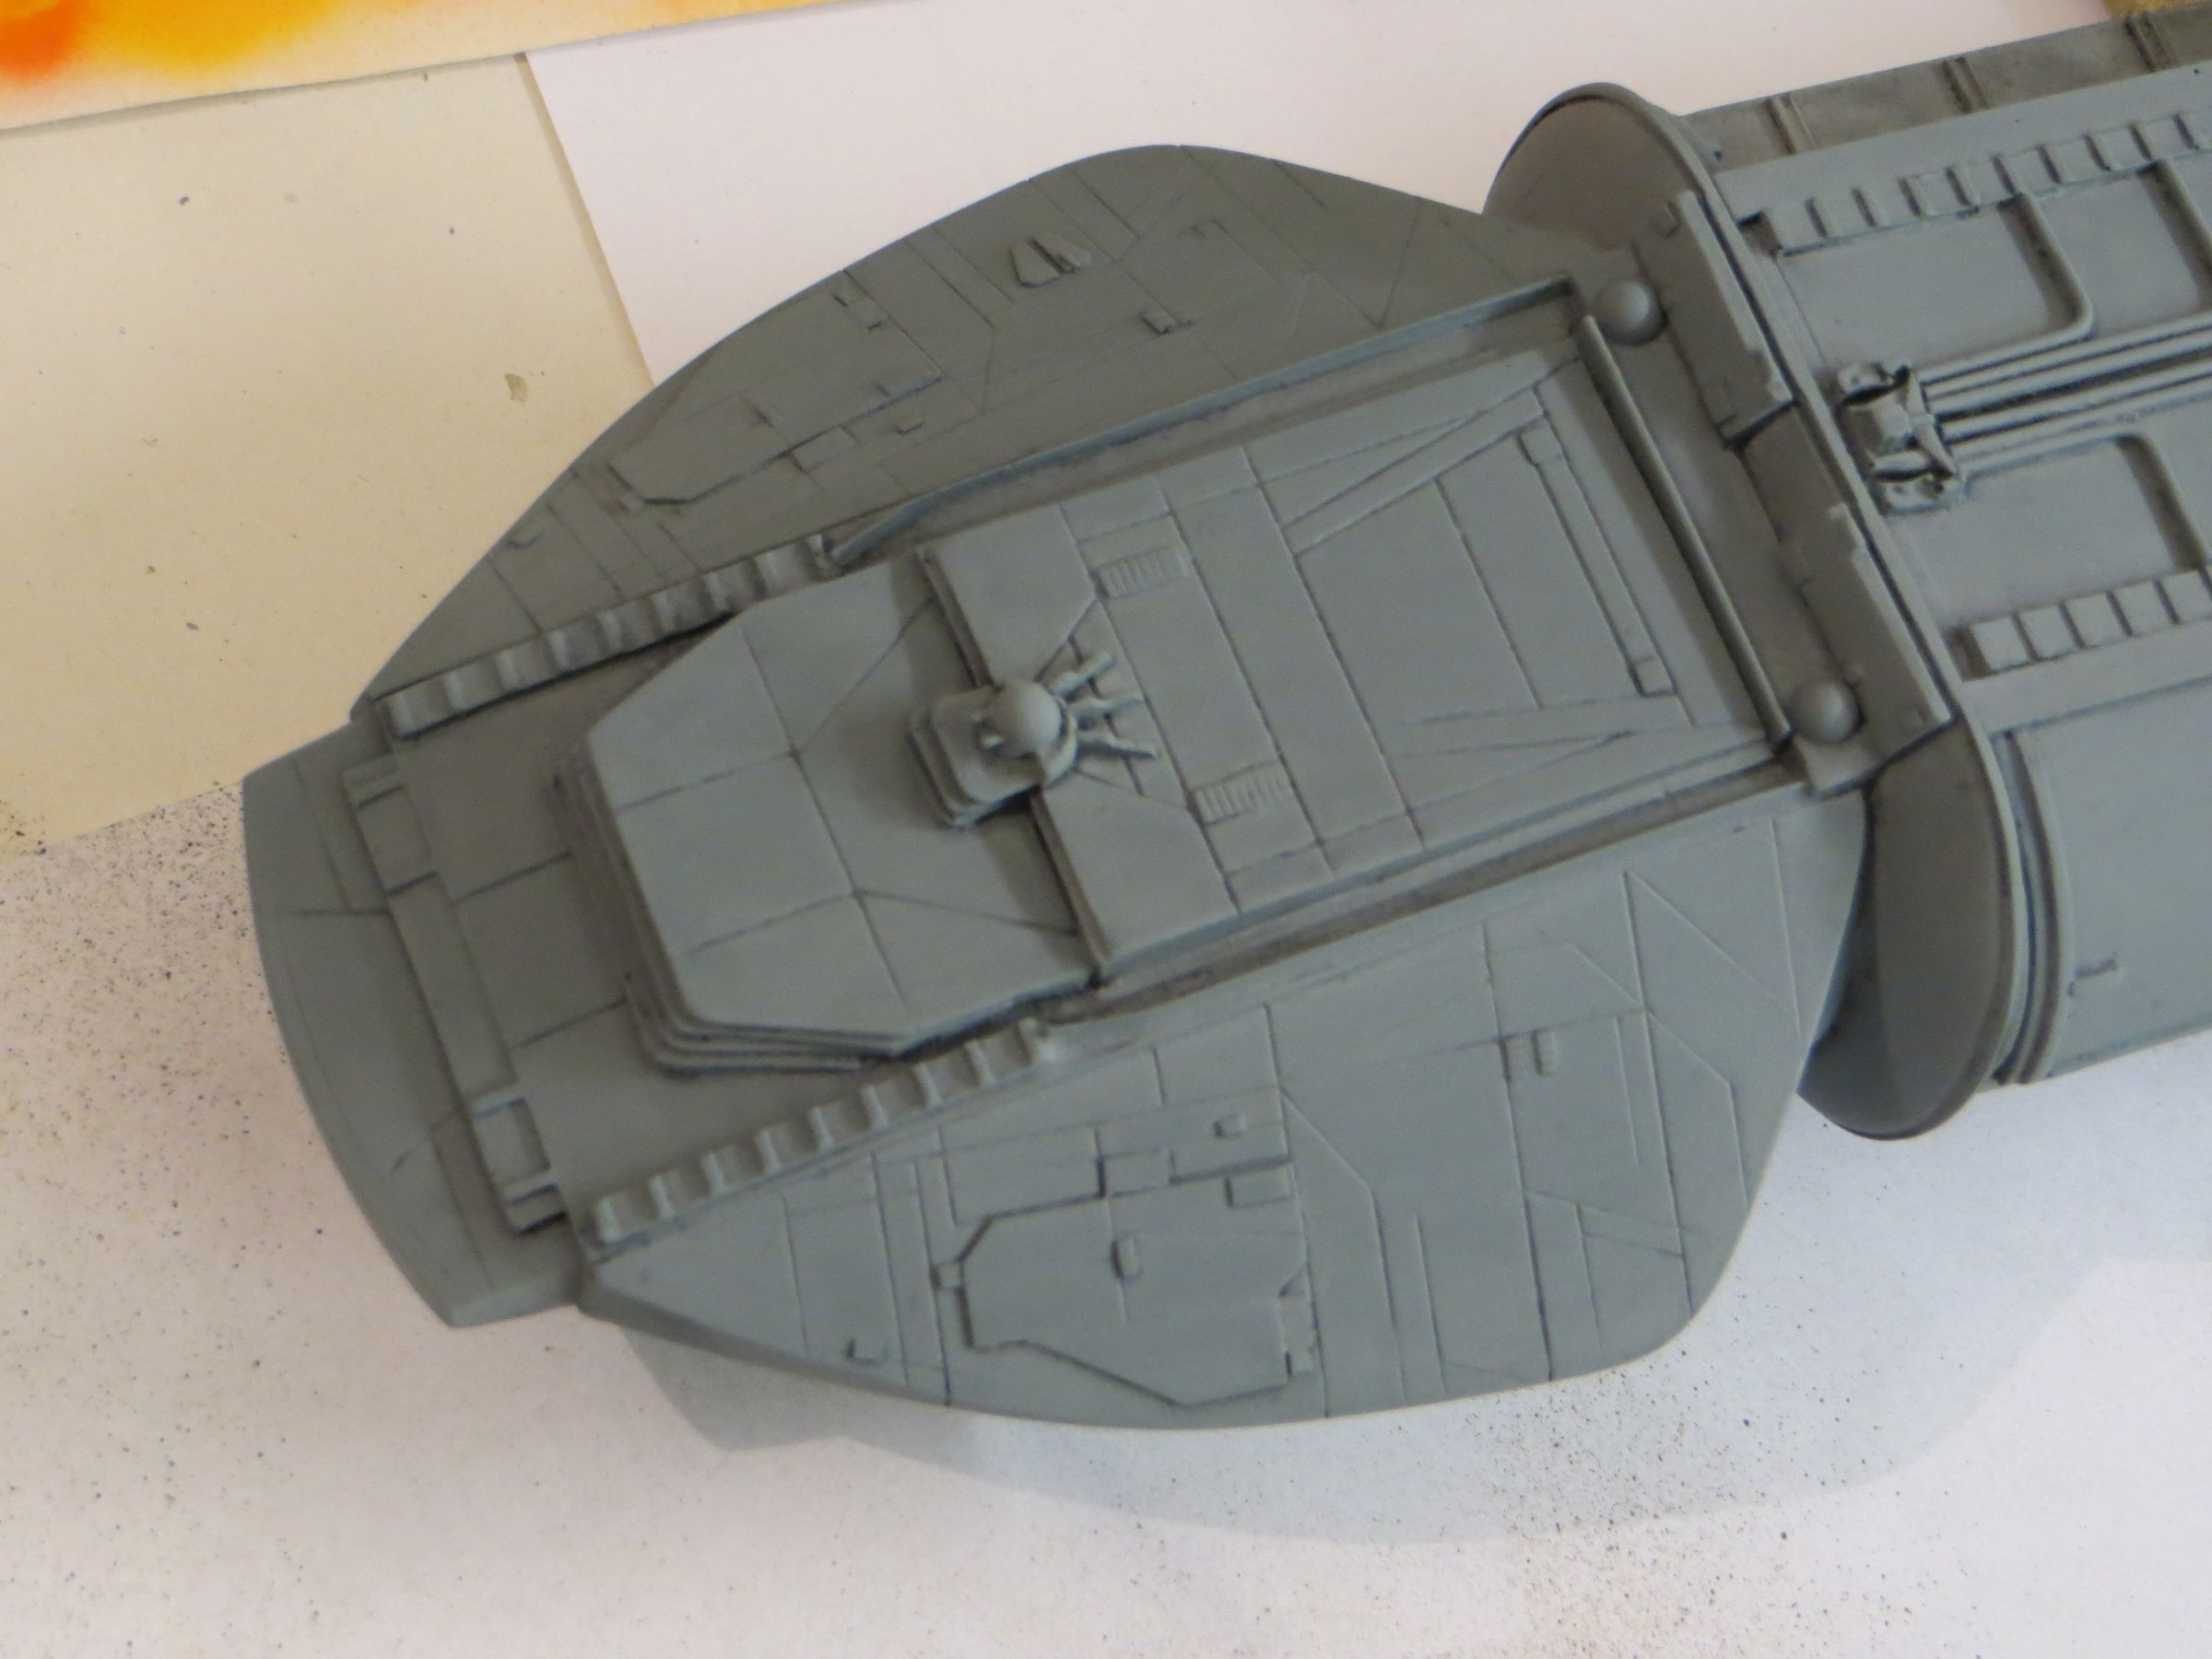
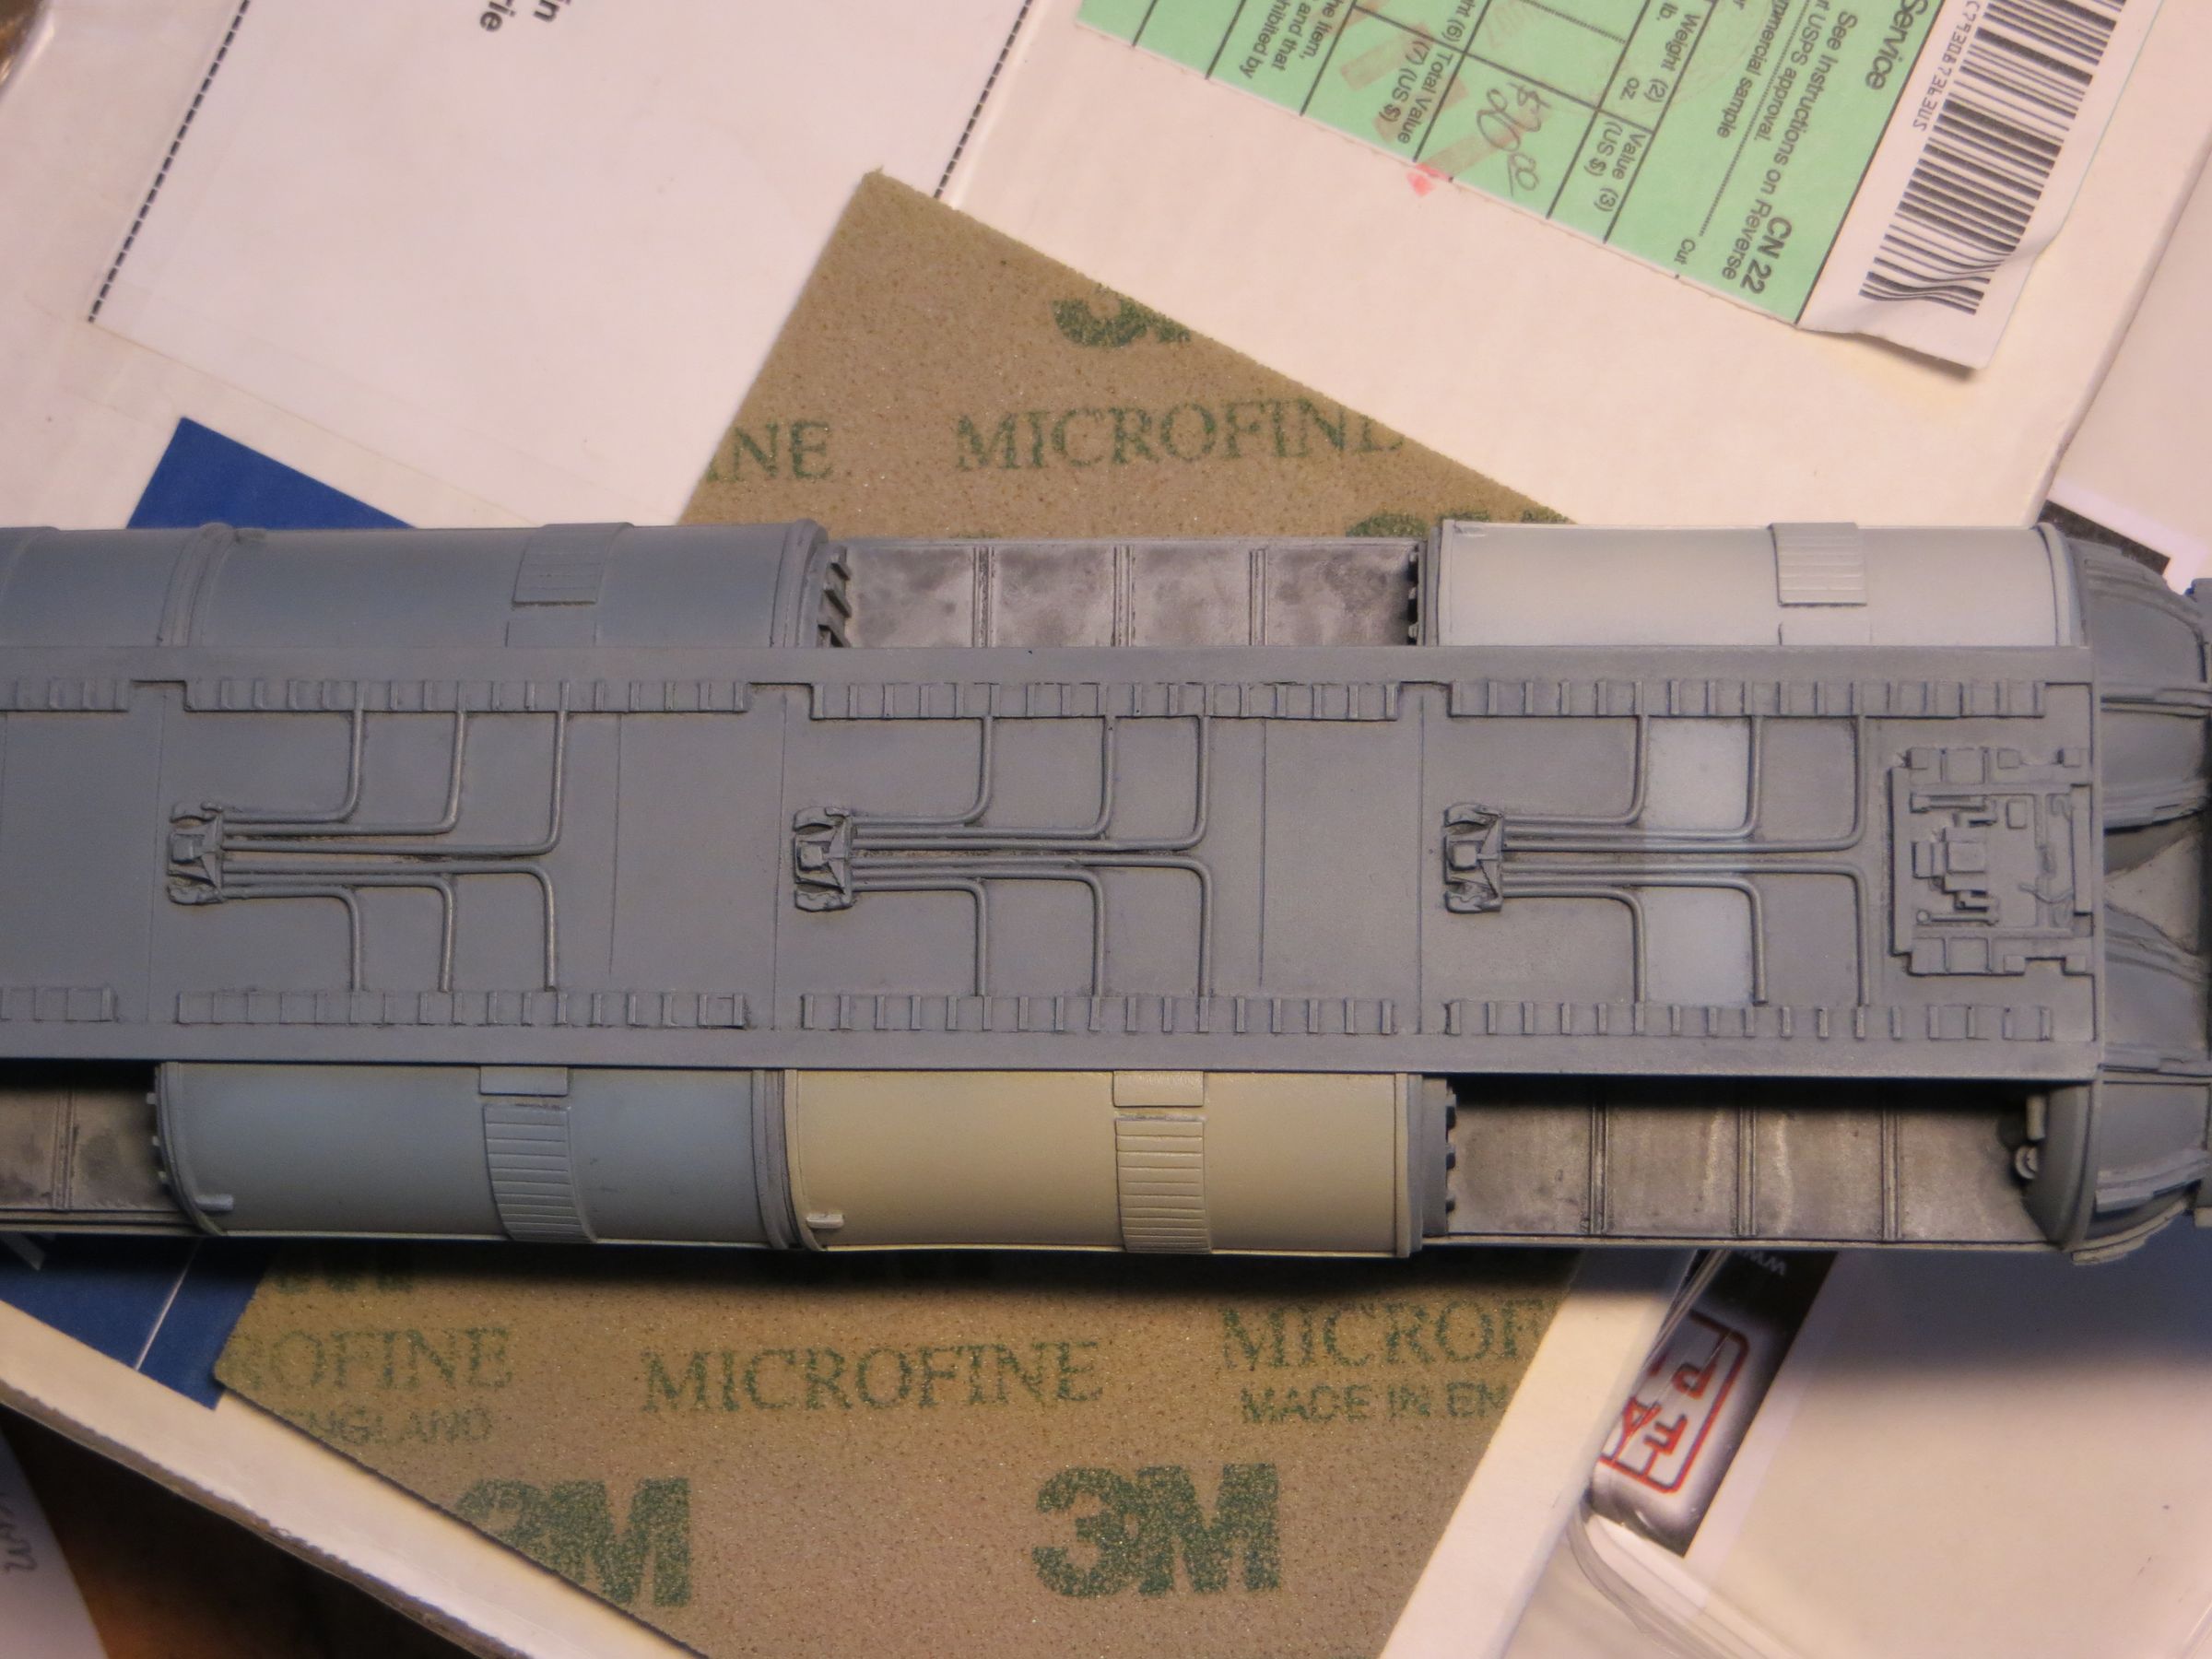
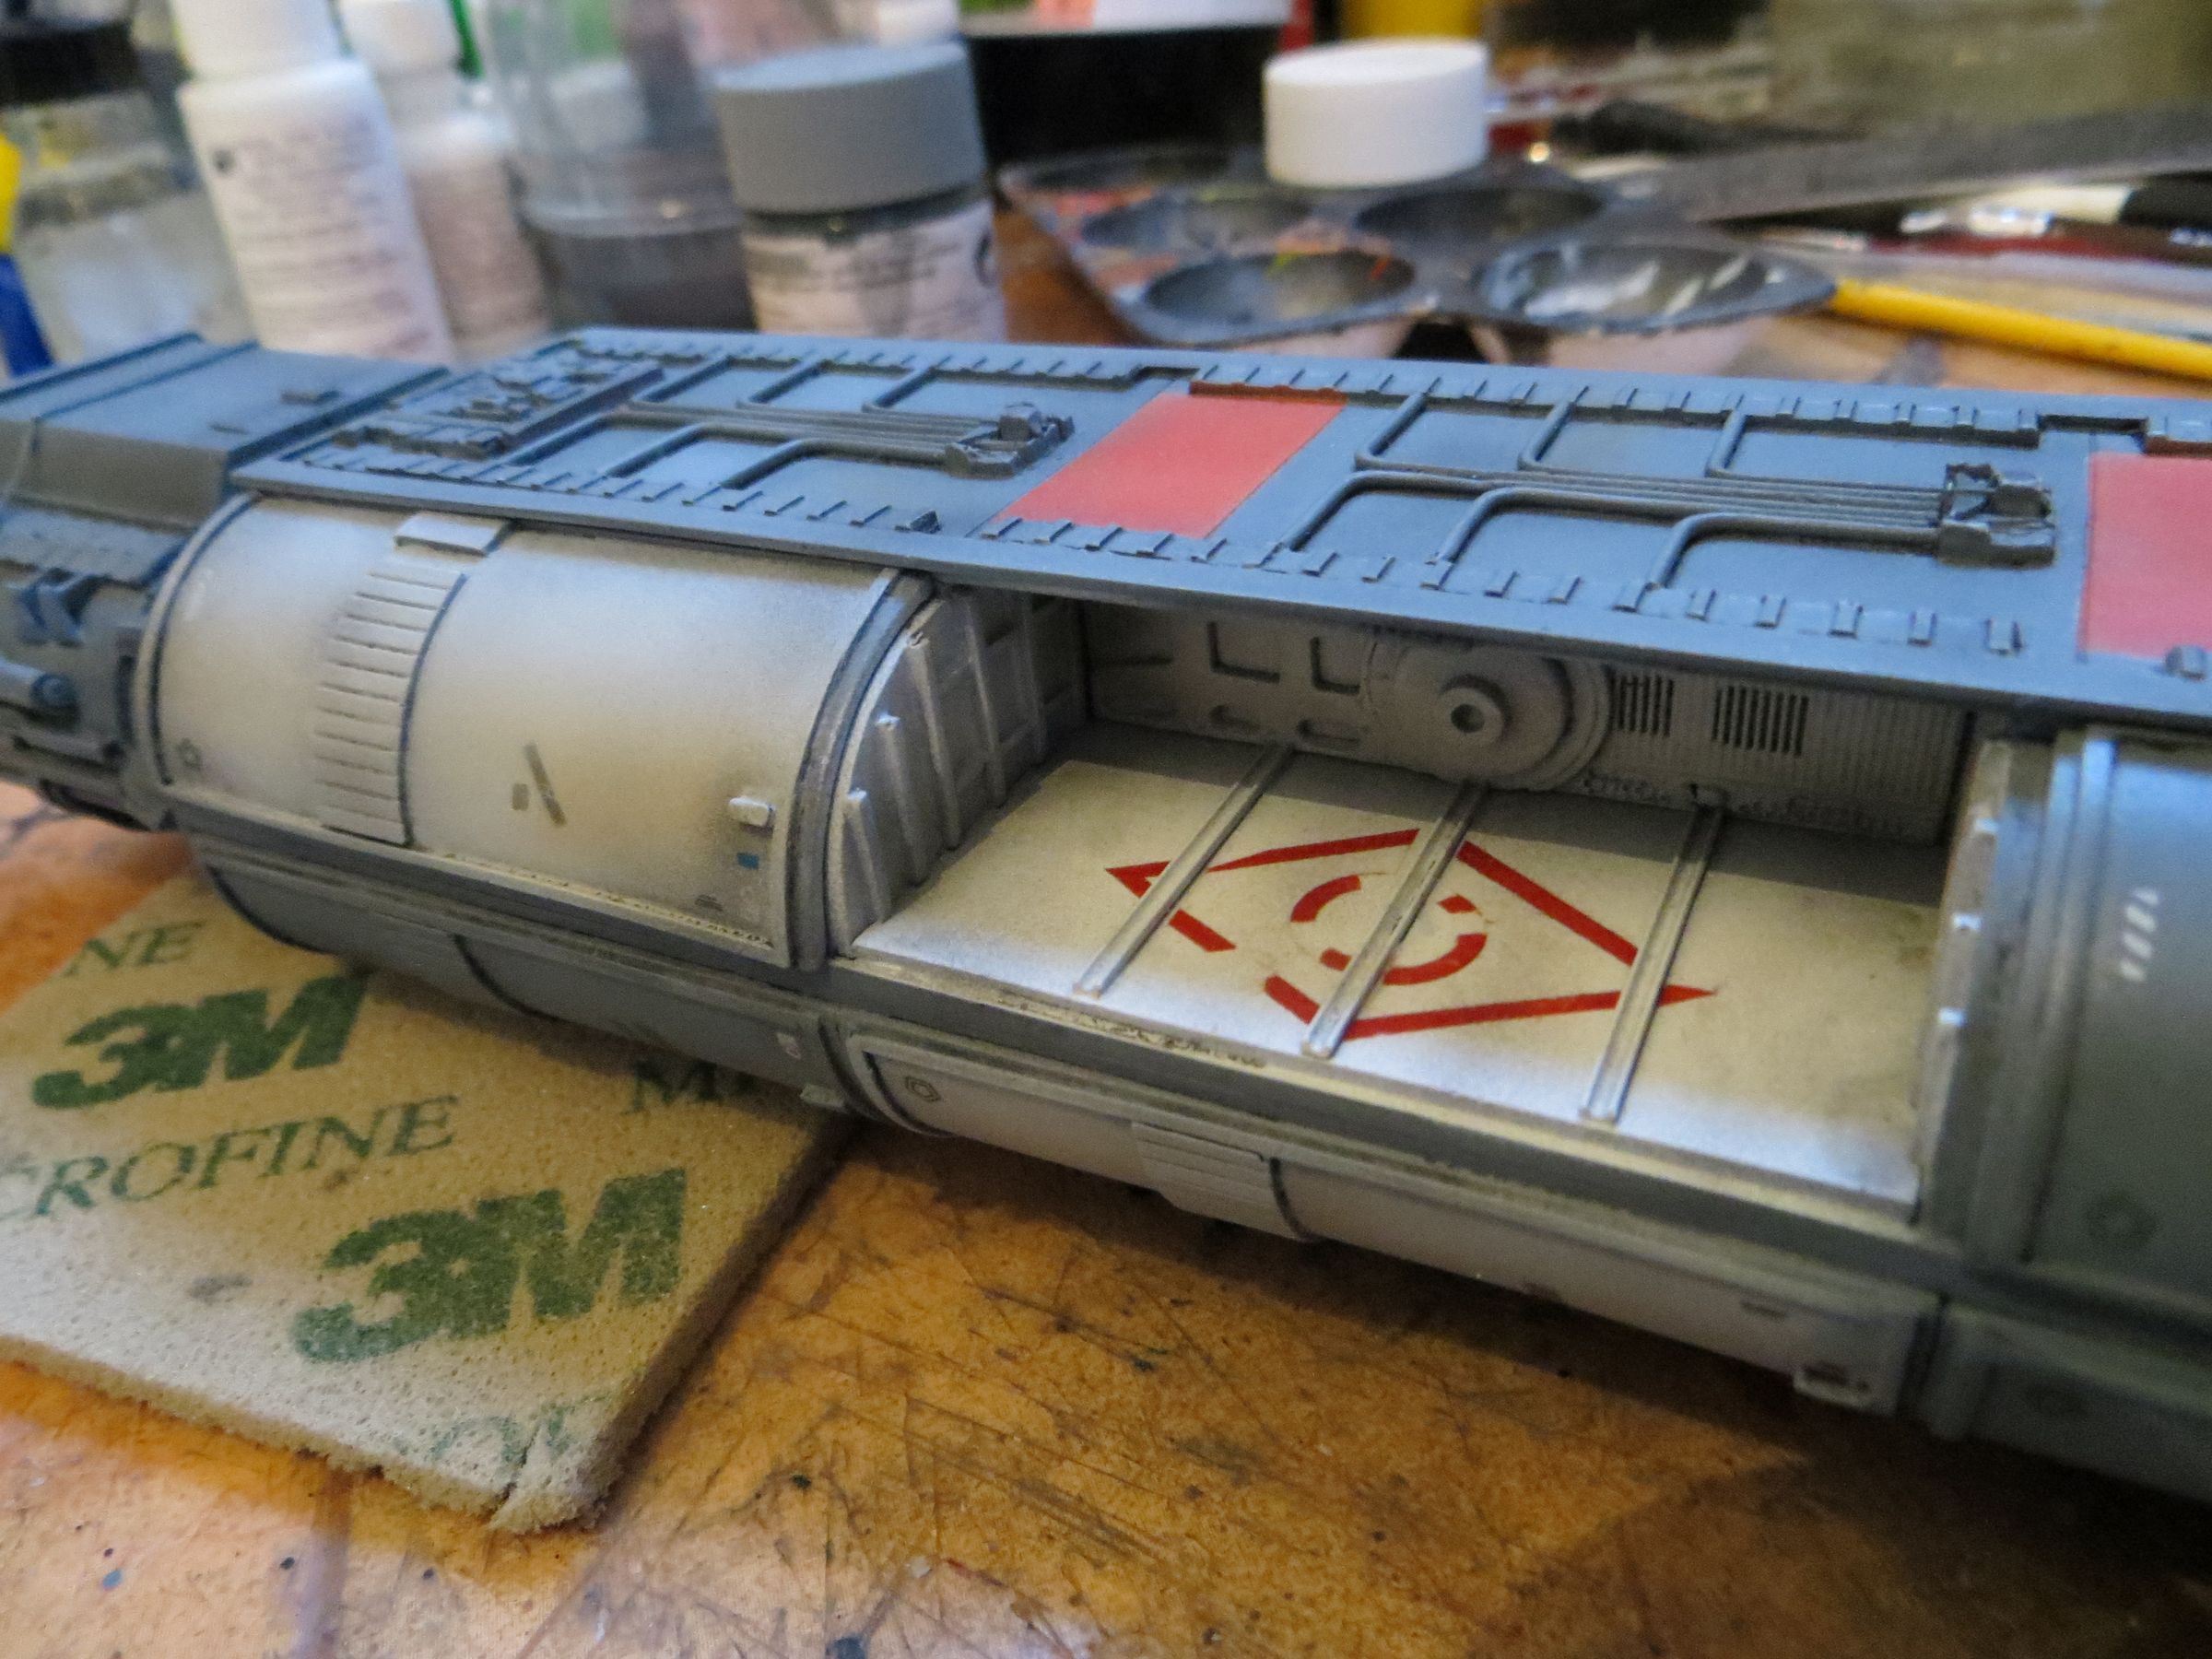
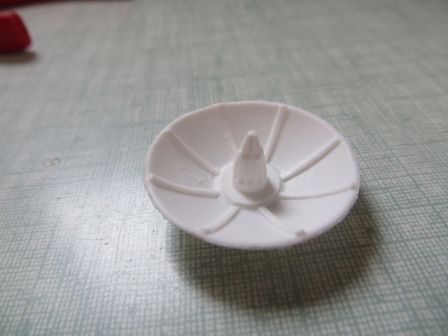
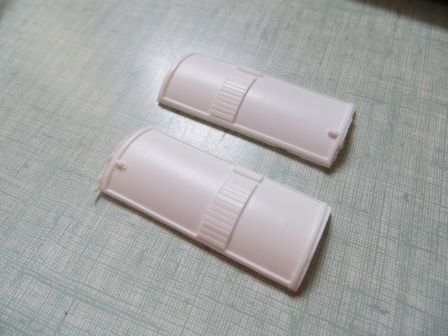
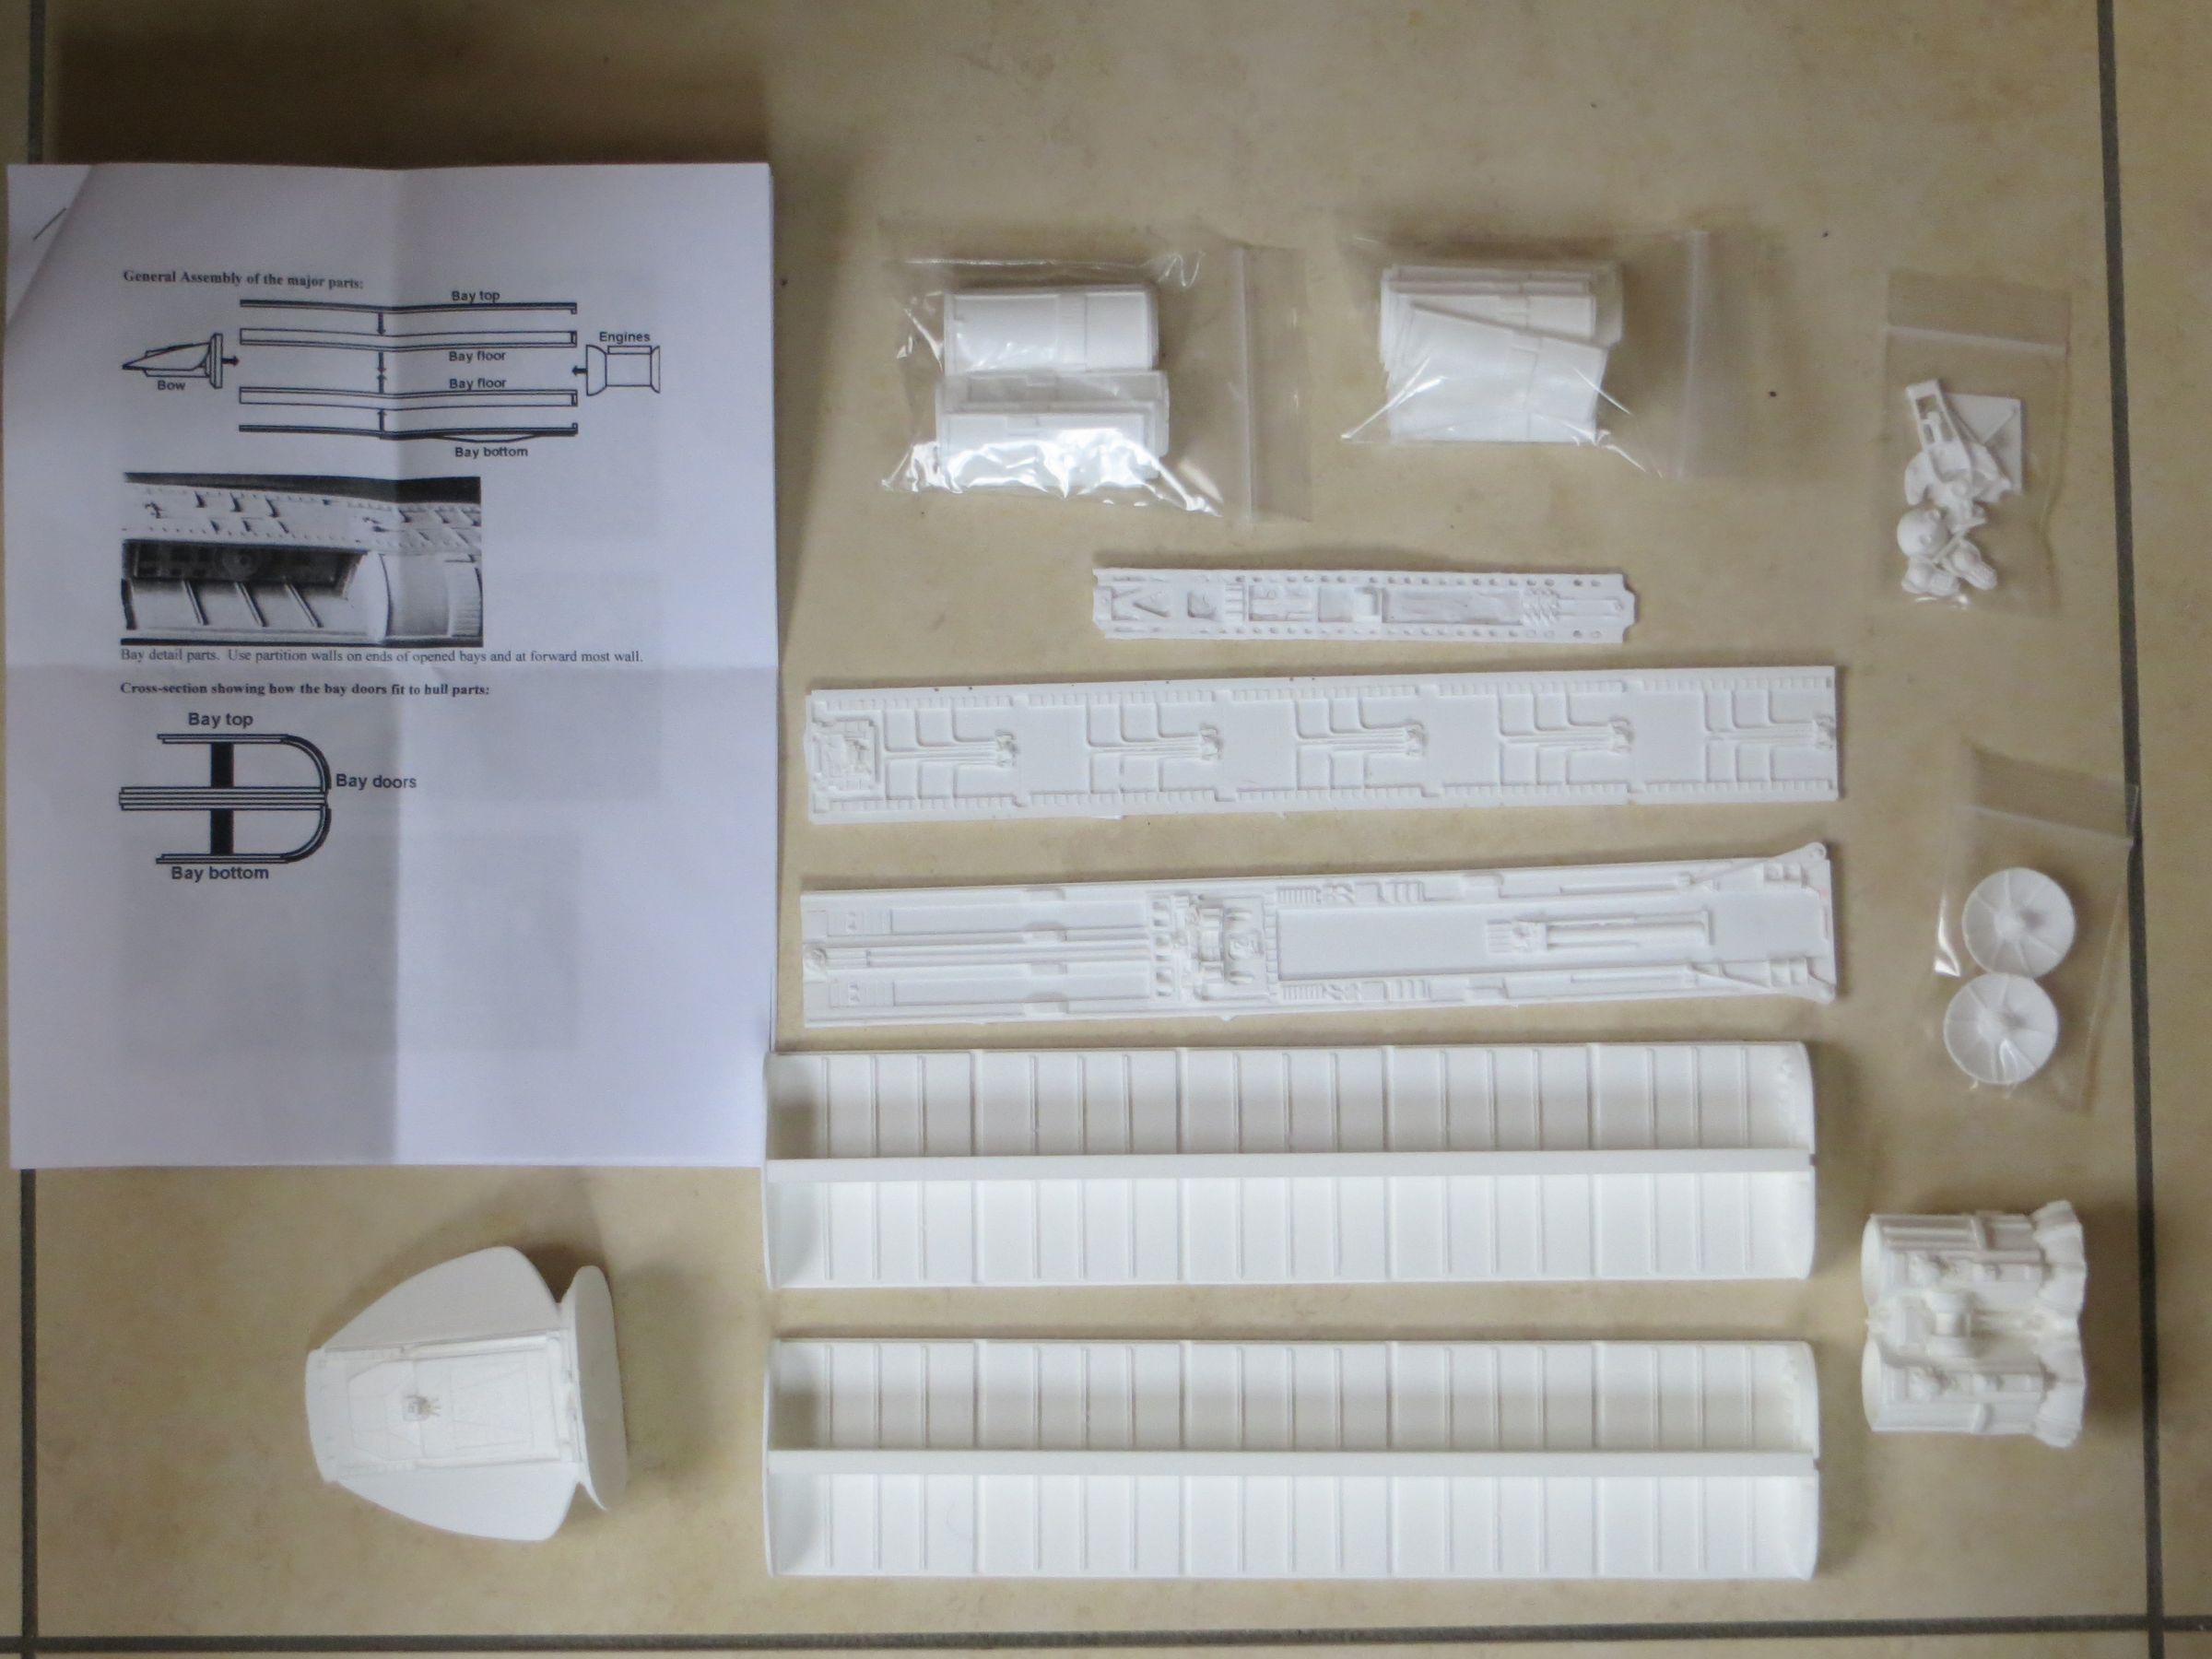
This resin kit comes from Larson Design (Kit Alert!! 18 Inch Battlestar Galactica Cylon Tanker from Larson Designs). It consists of 93 parts, where 76 are for dressing the containers (doors and internal walls).
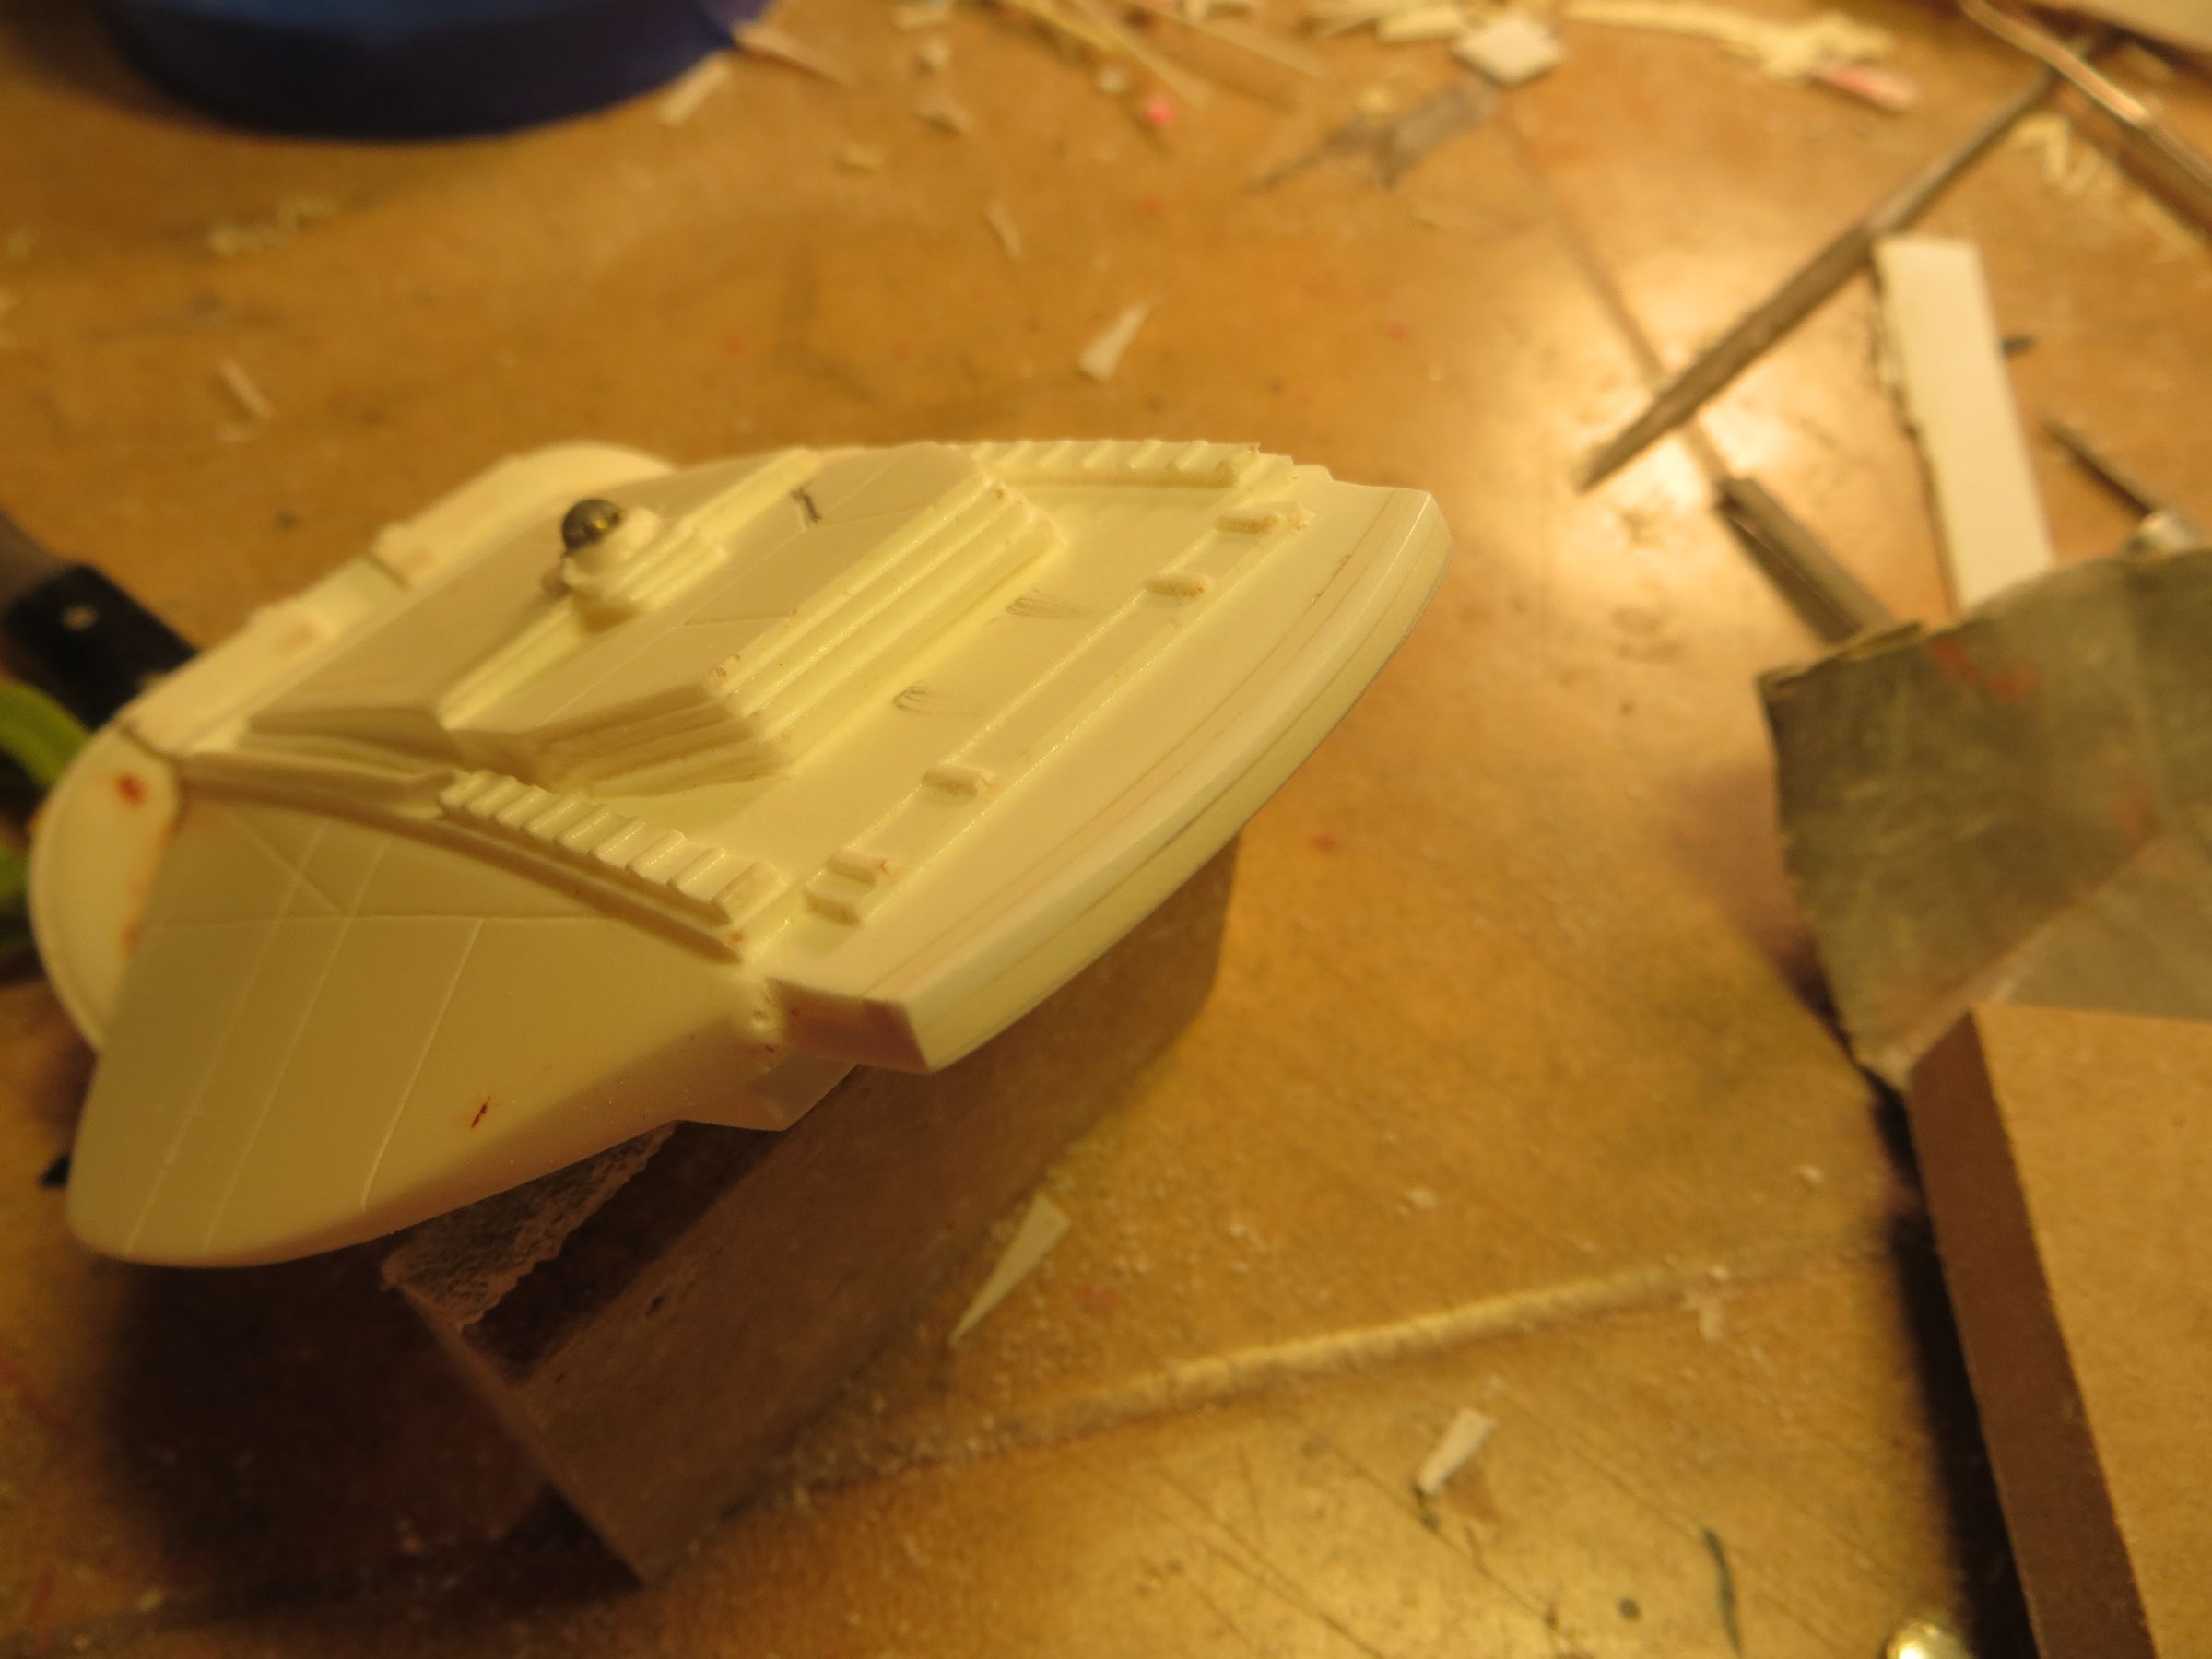
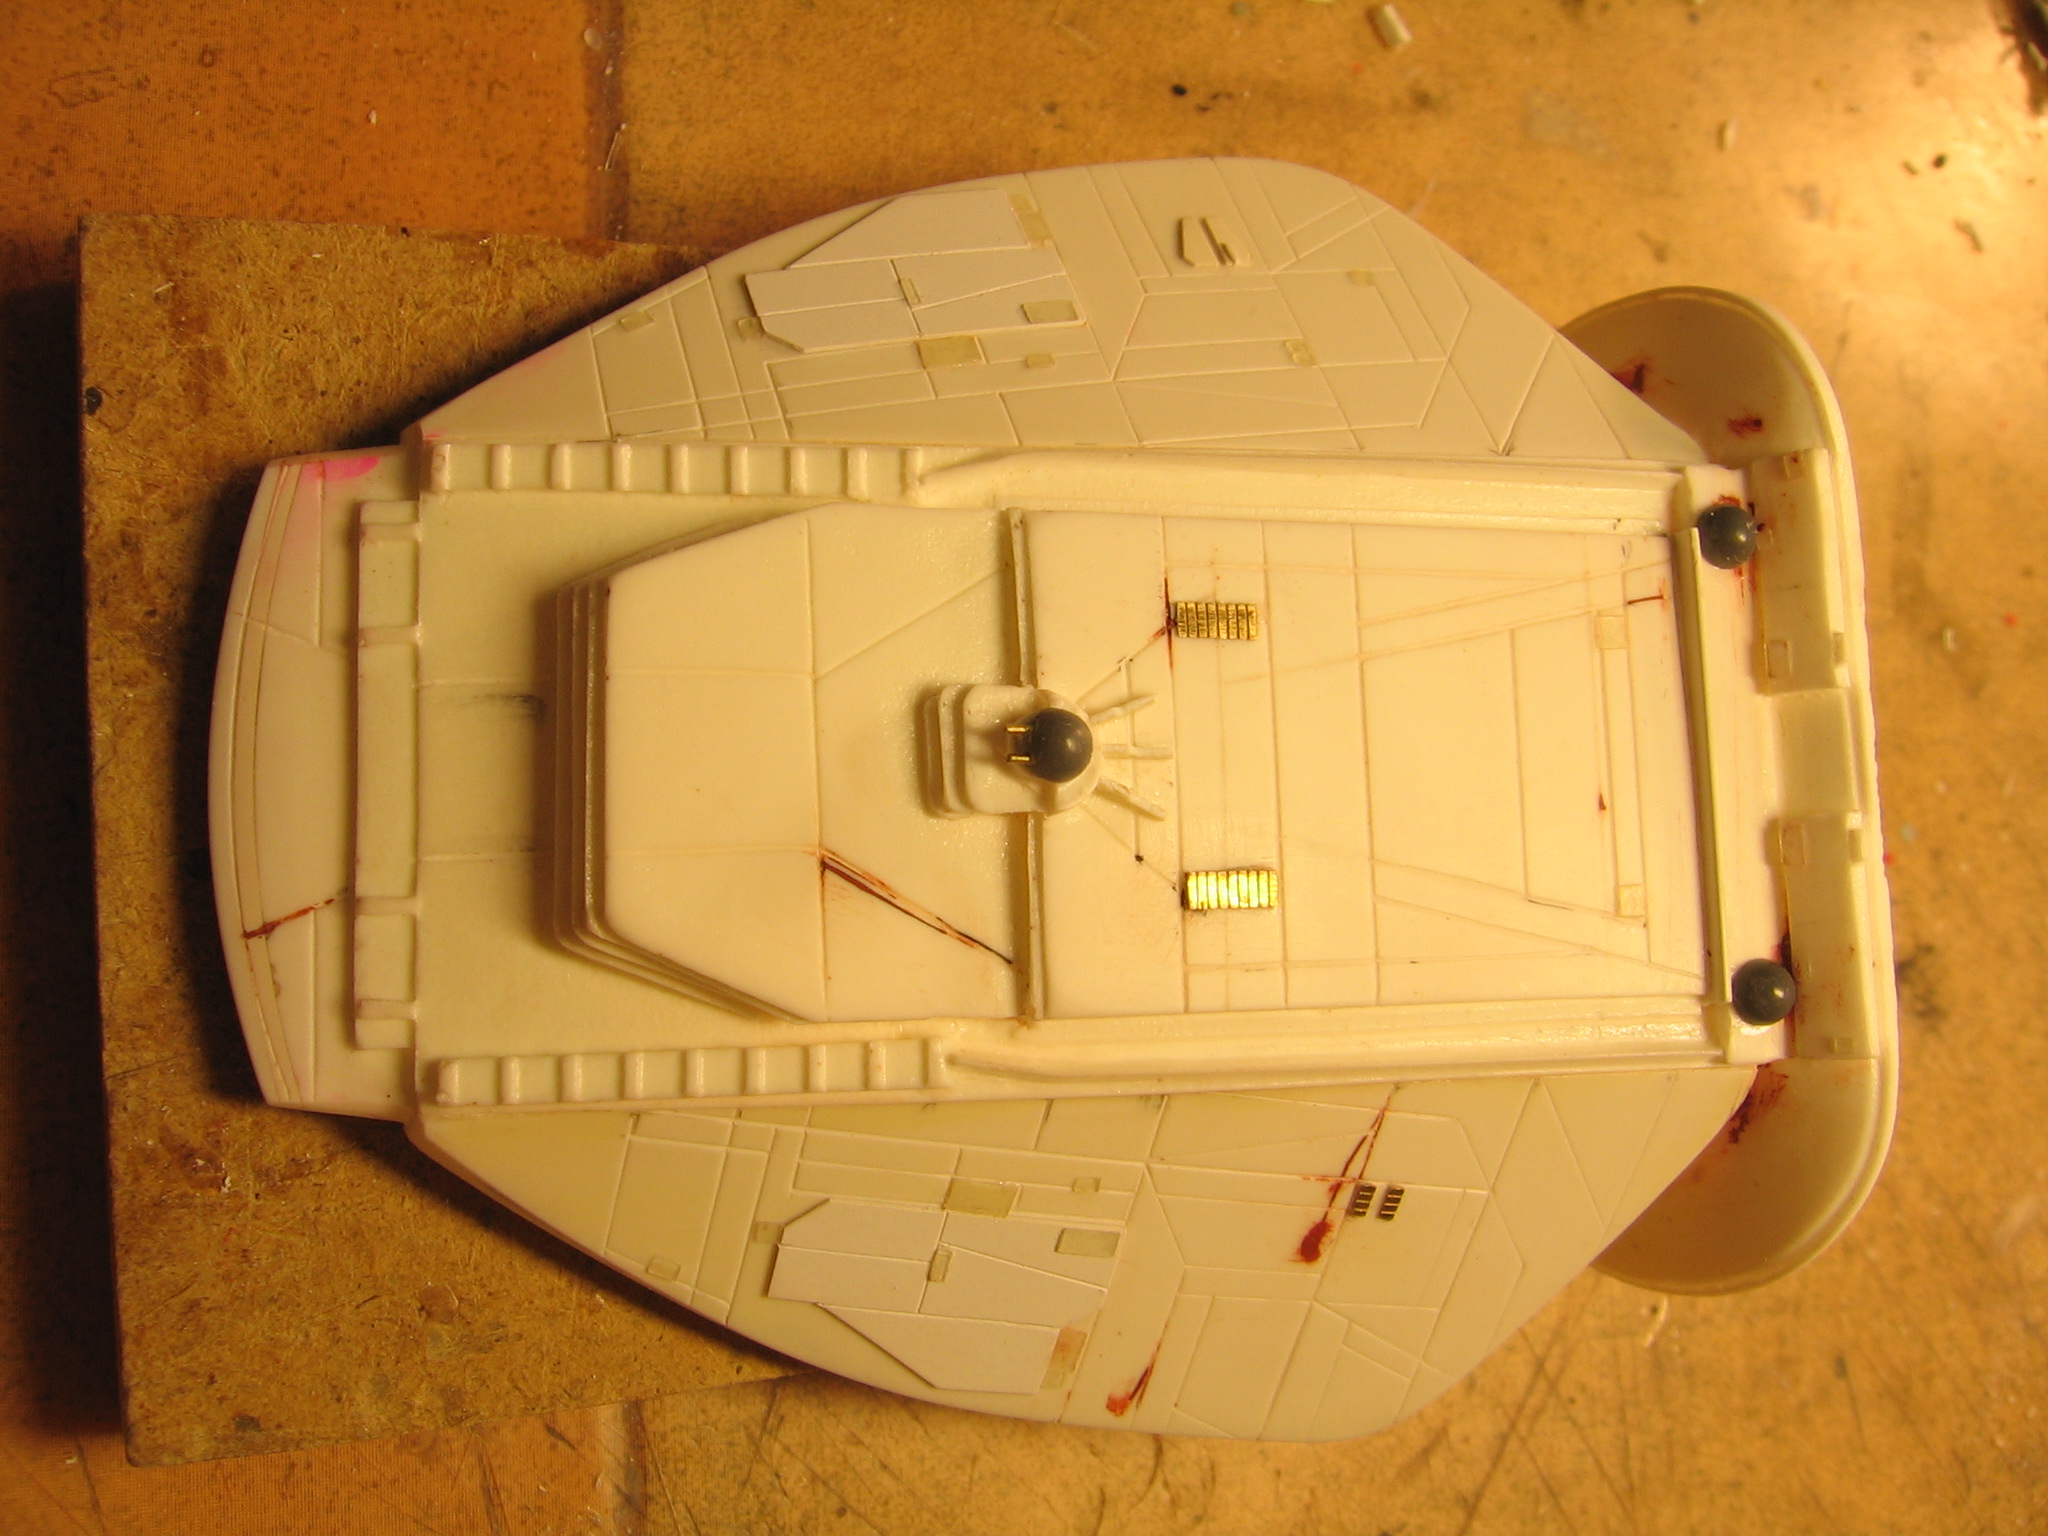
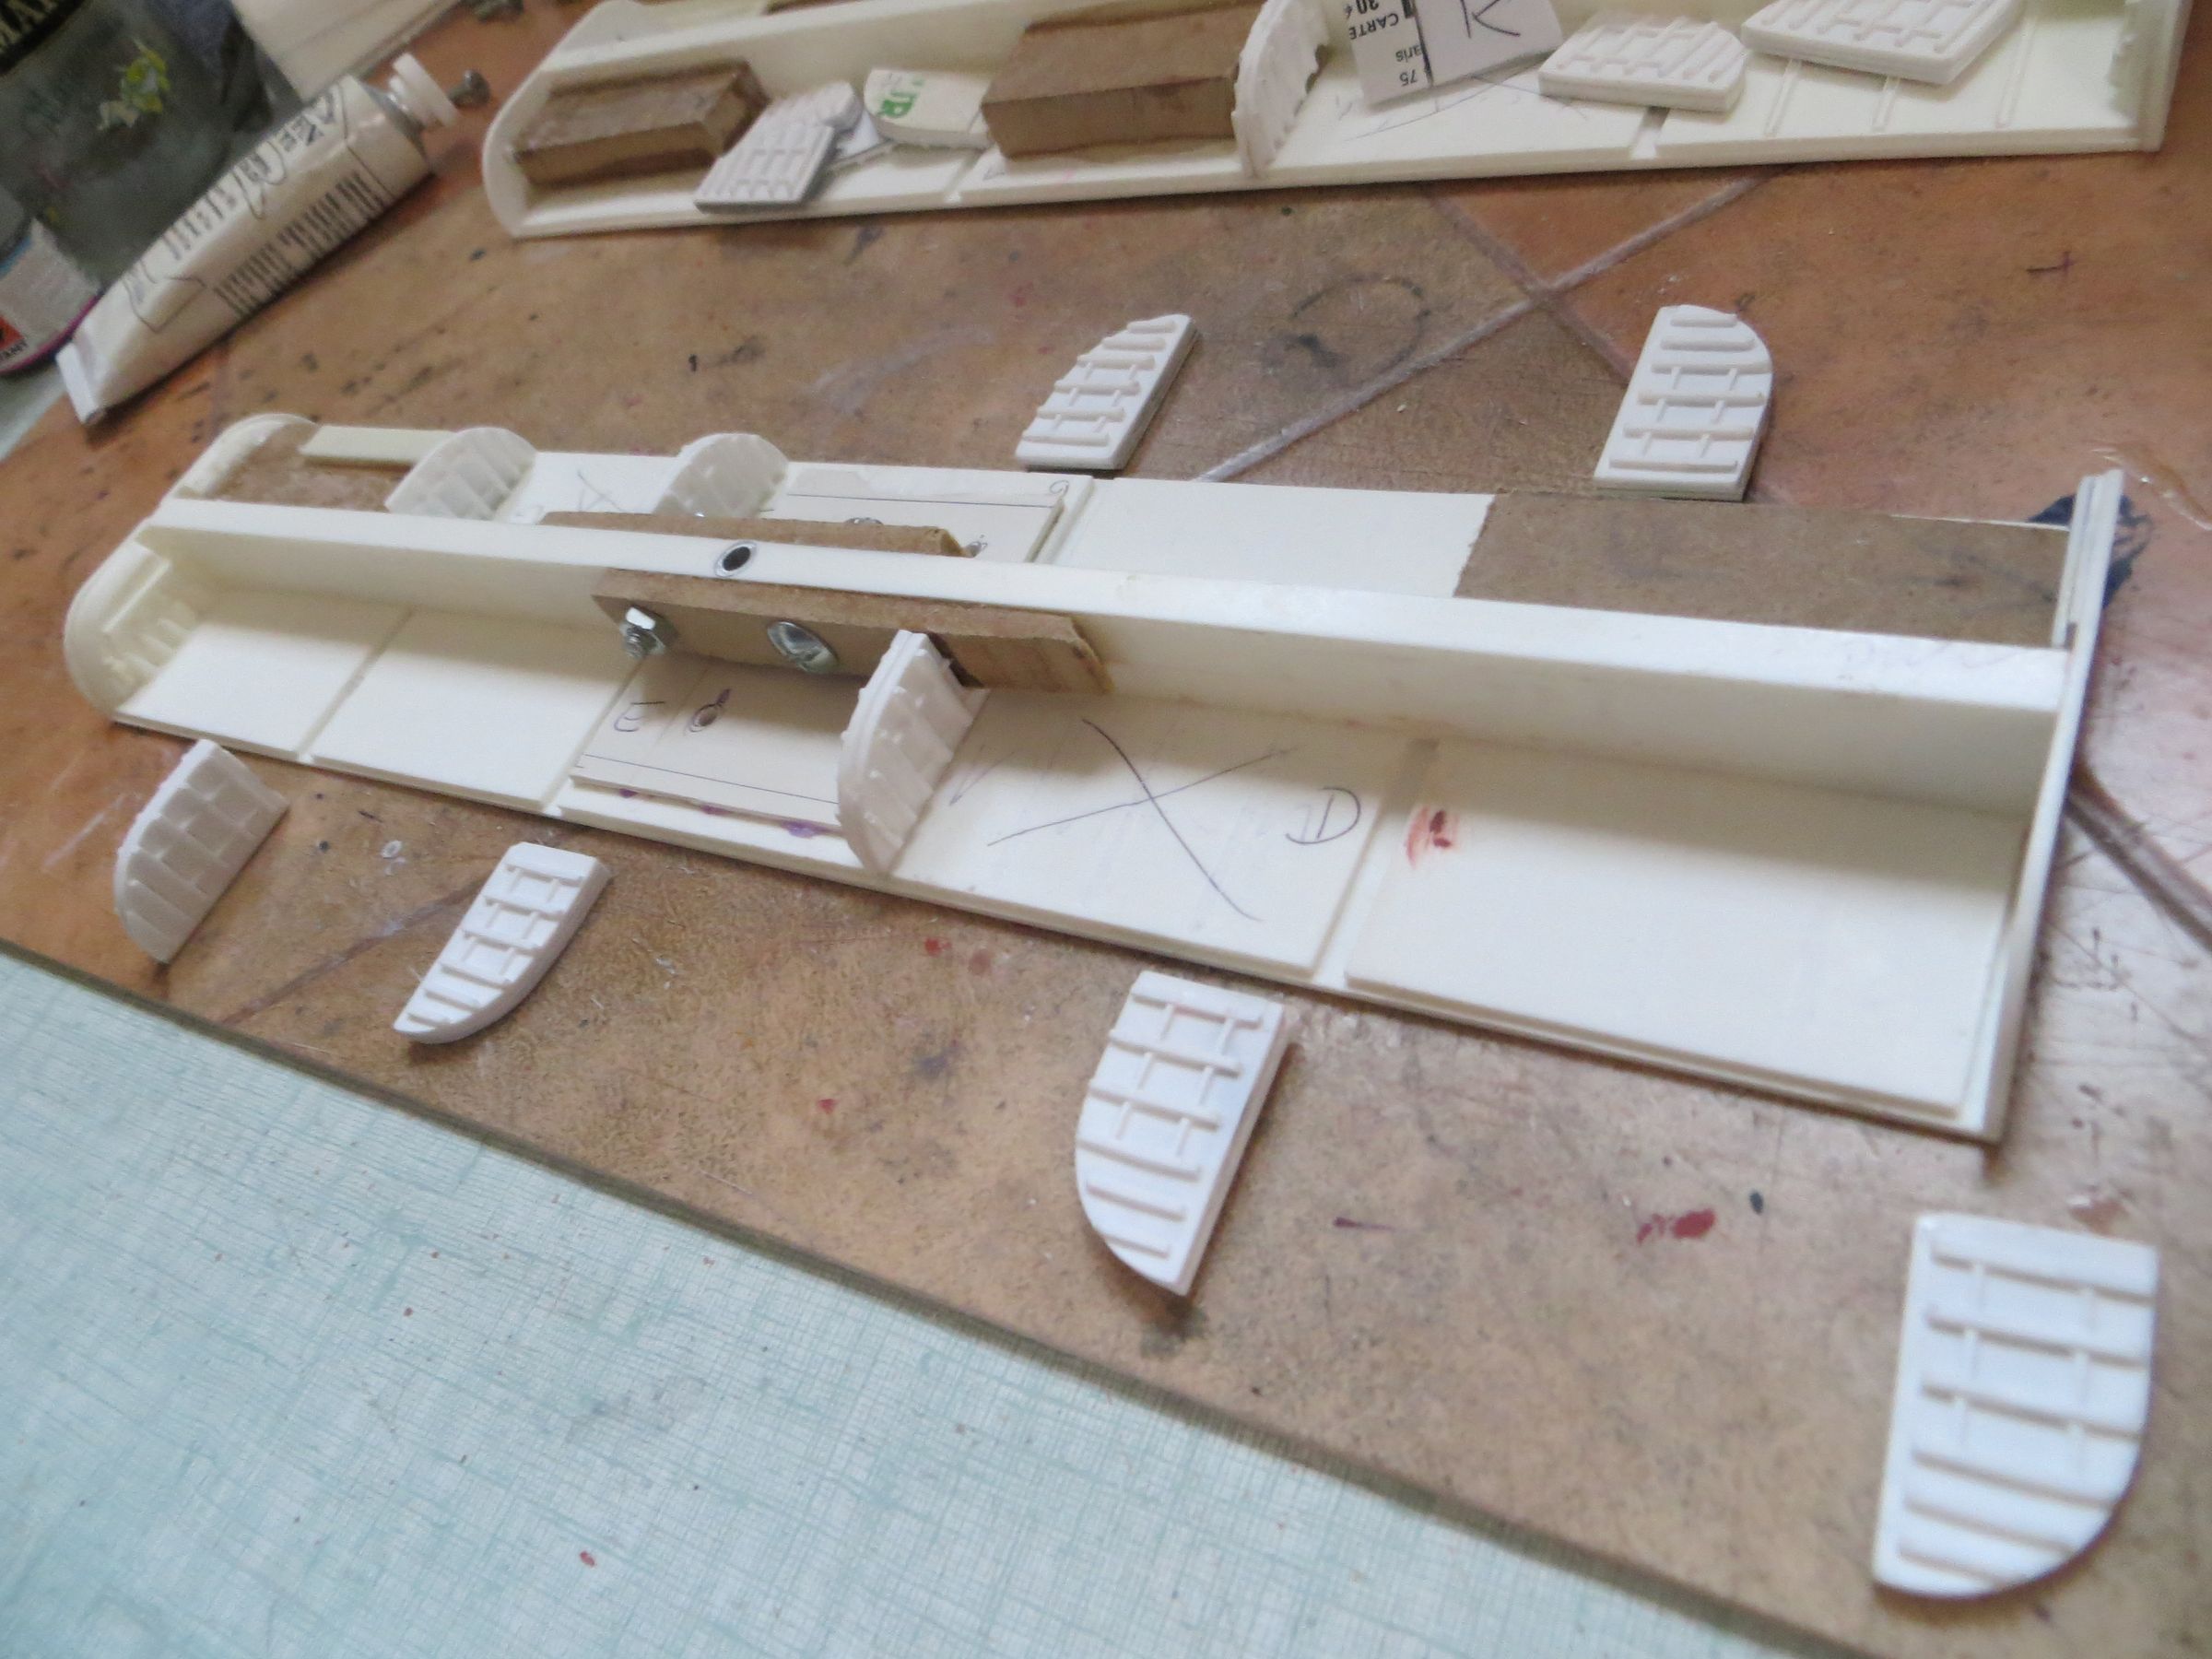
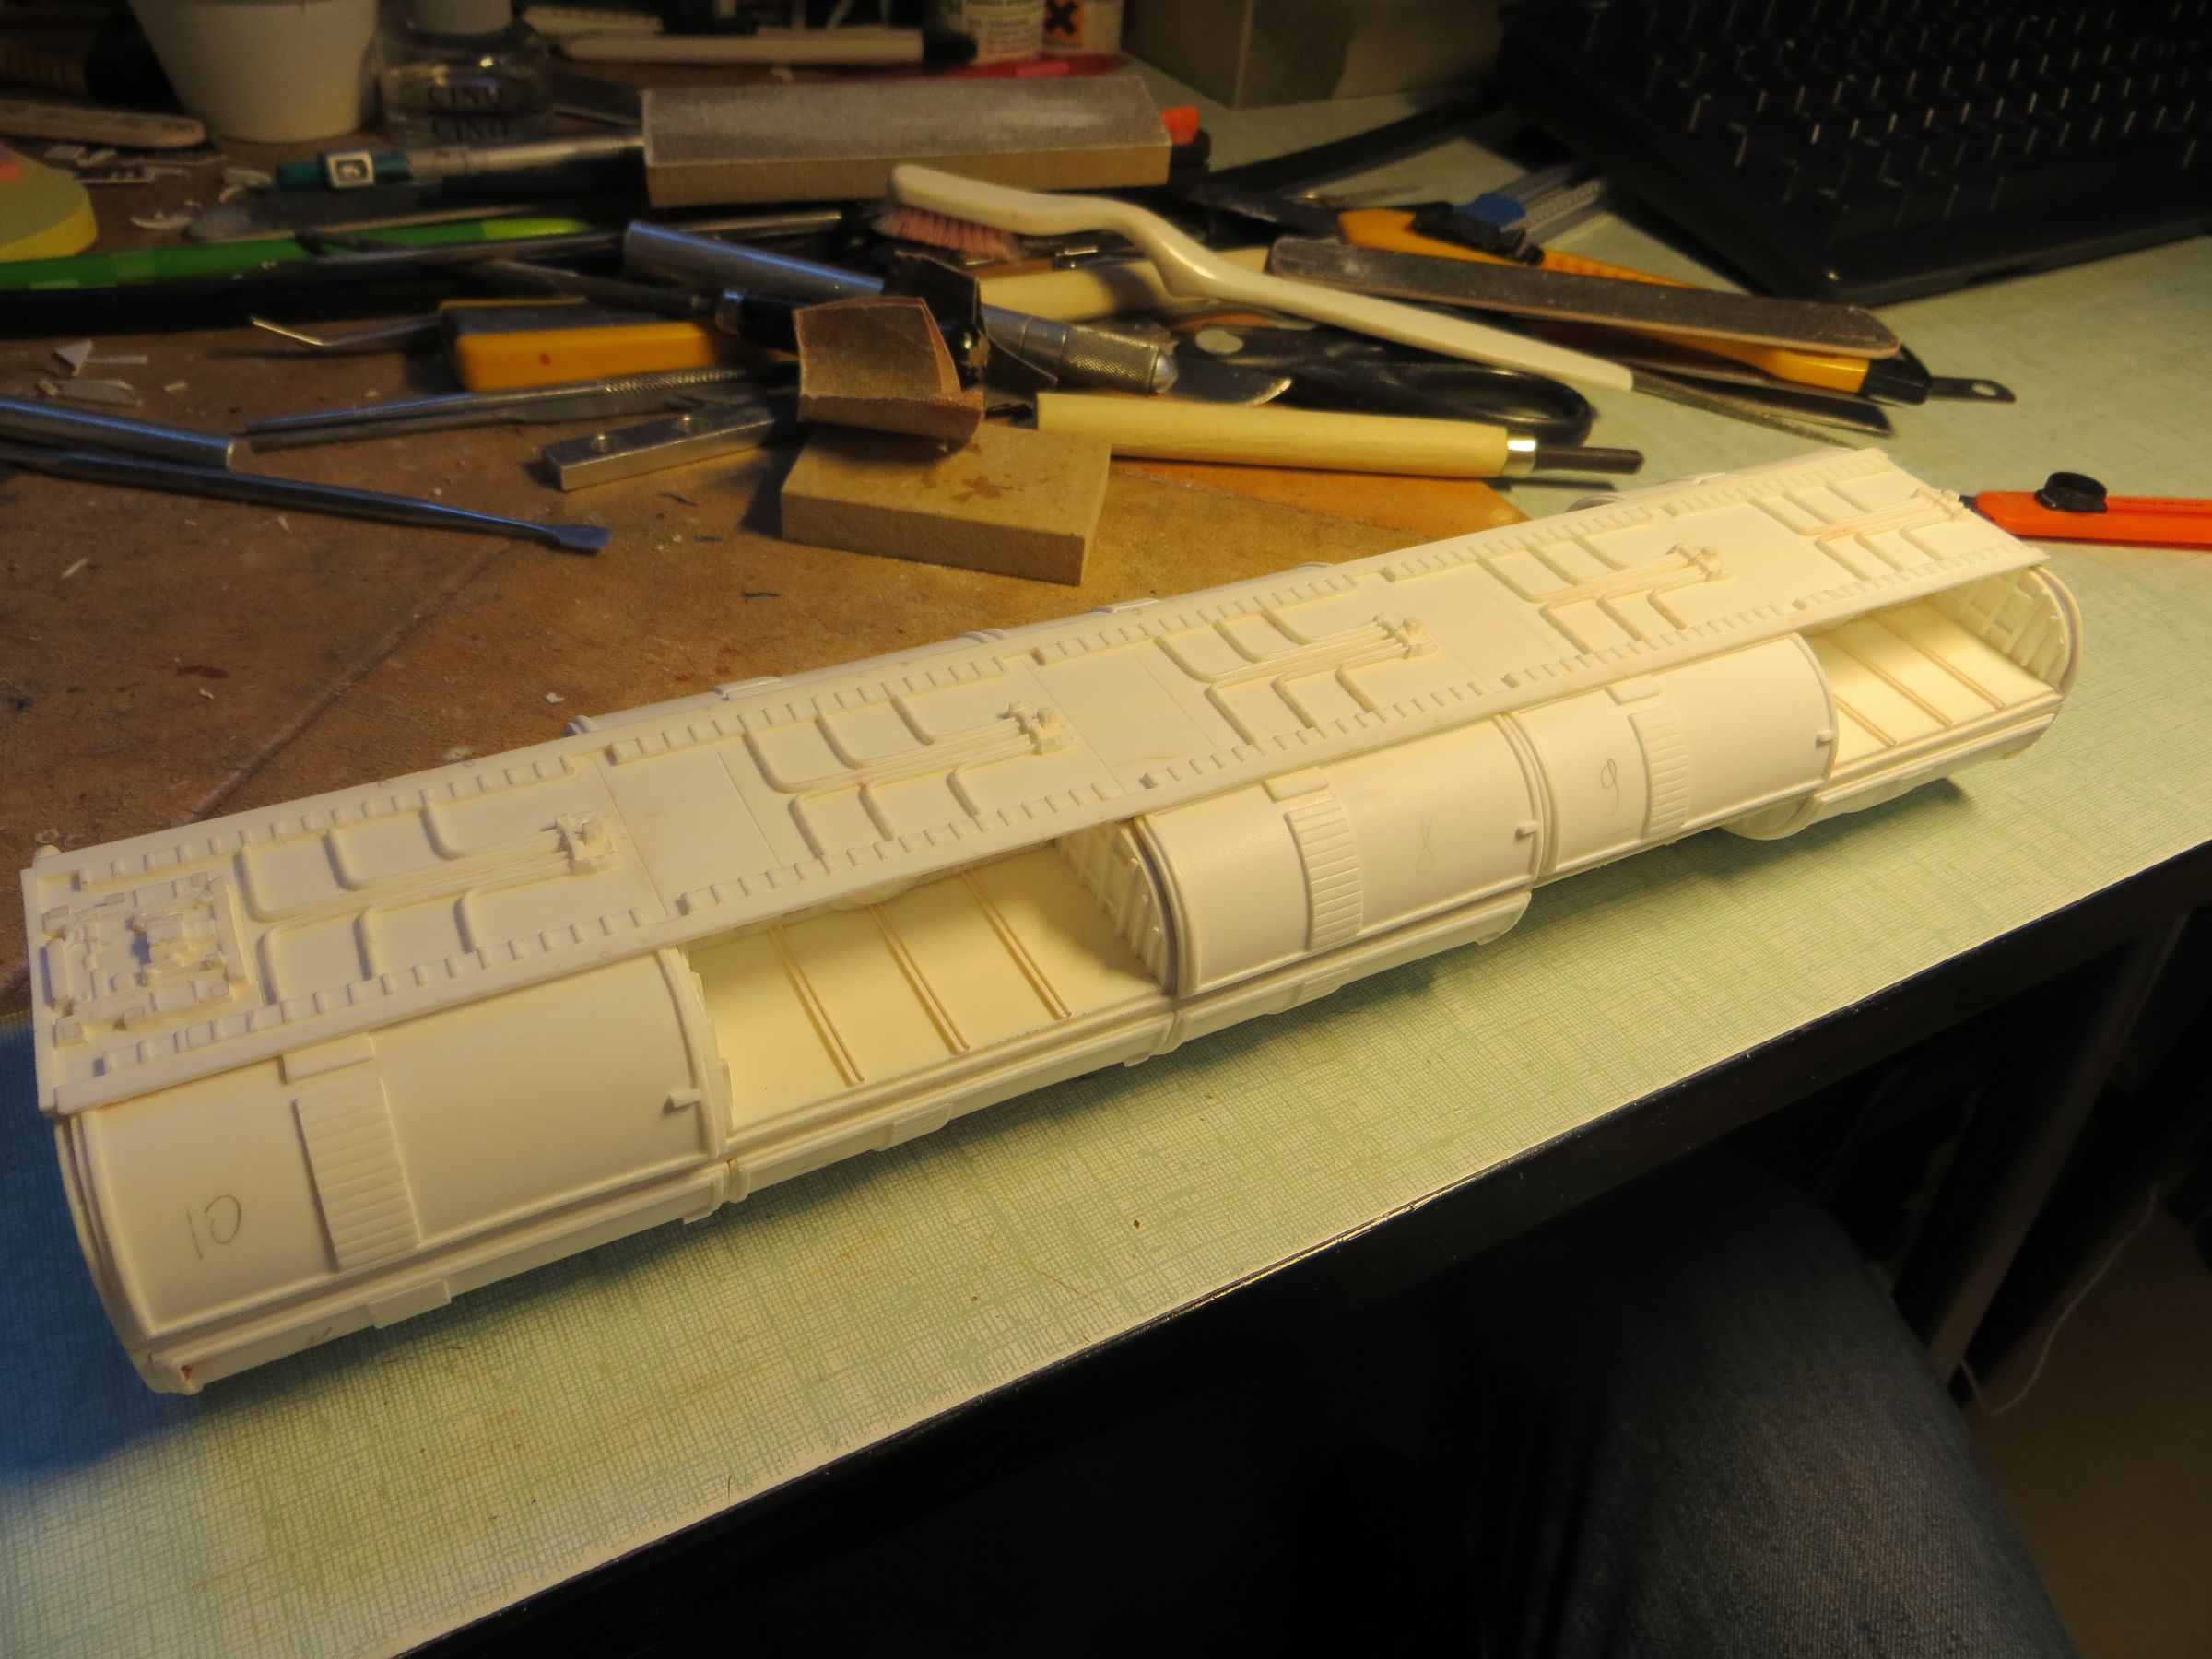
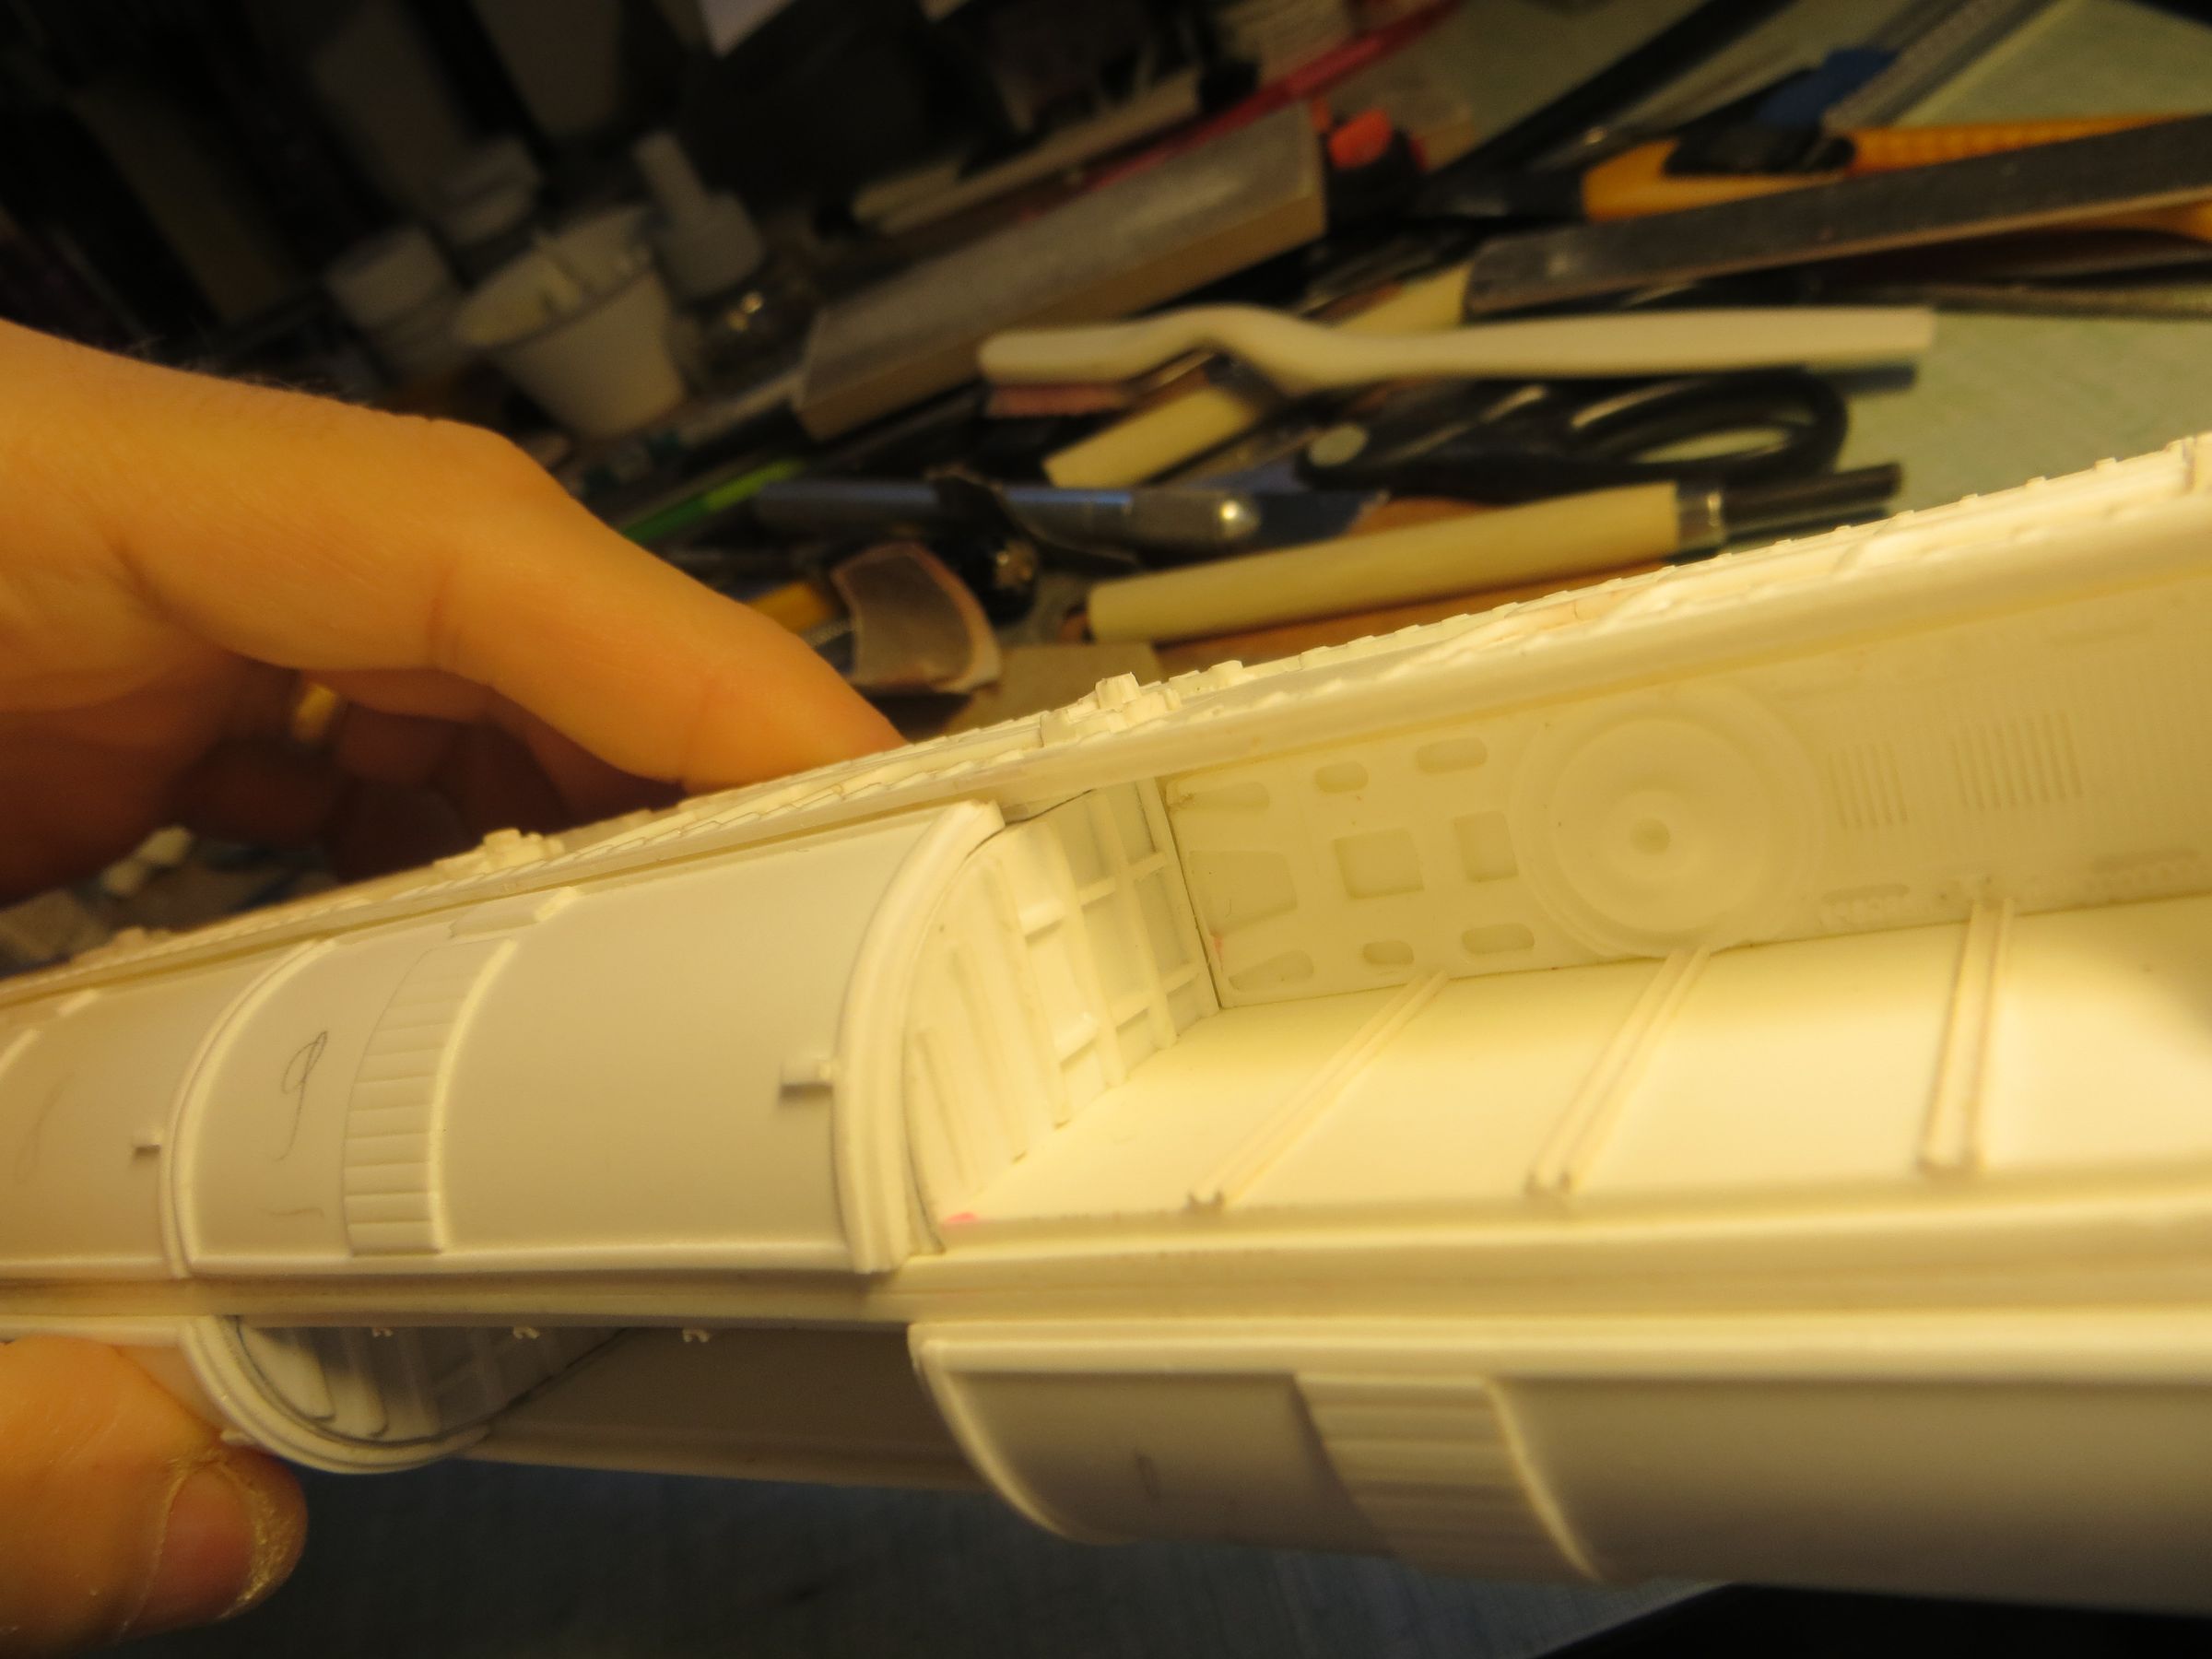
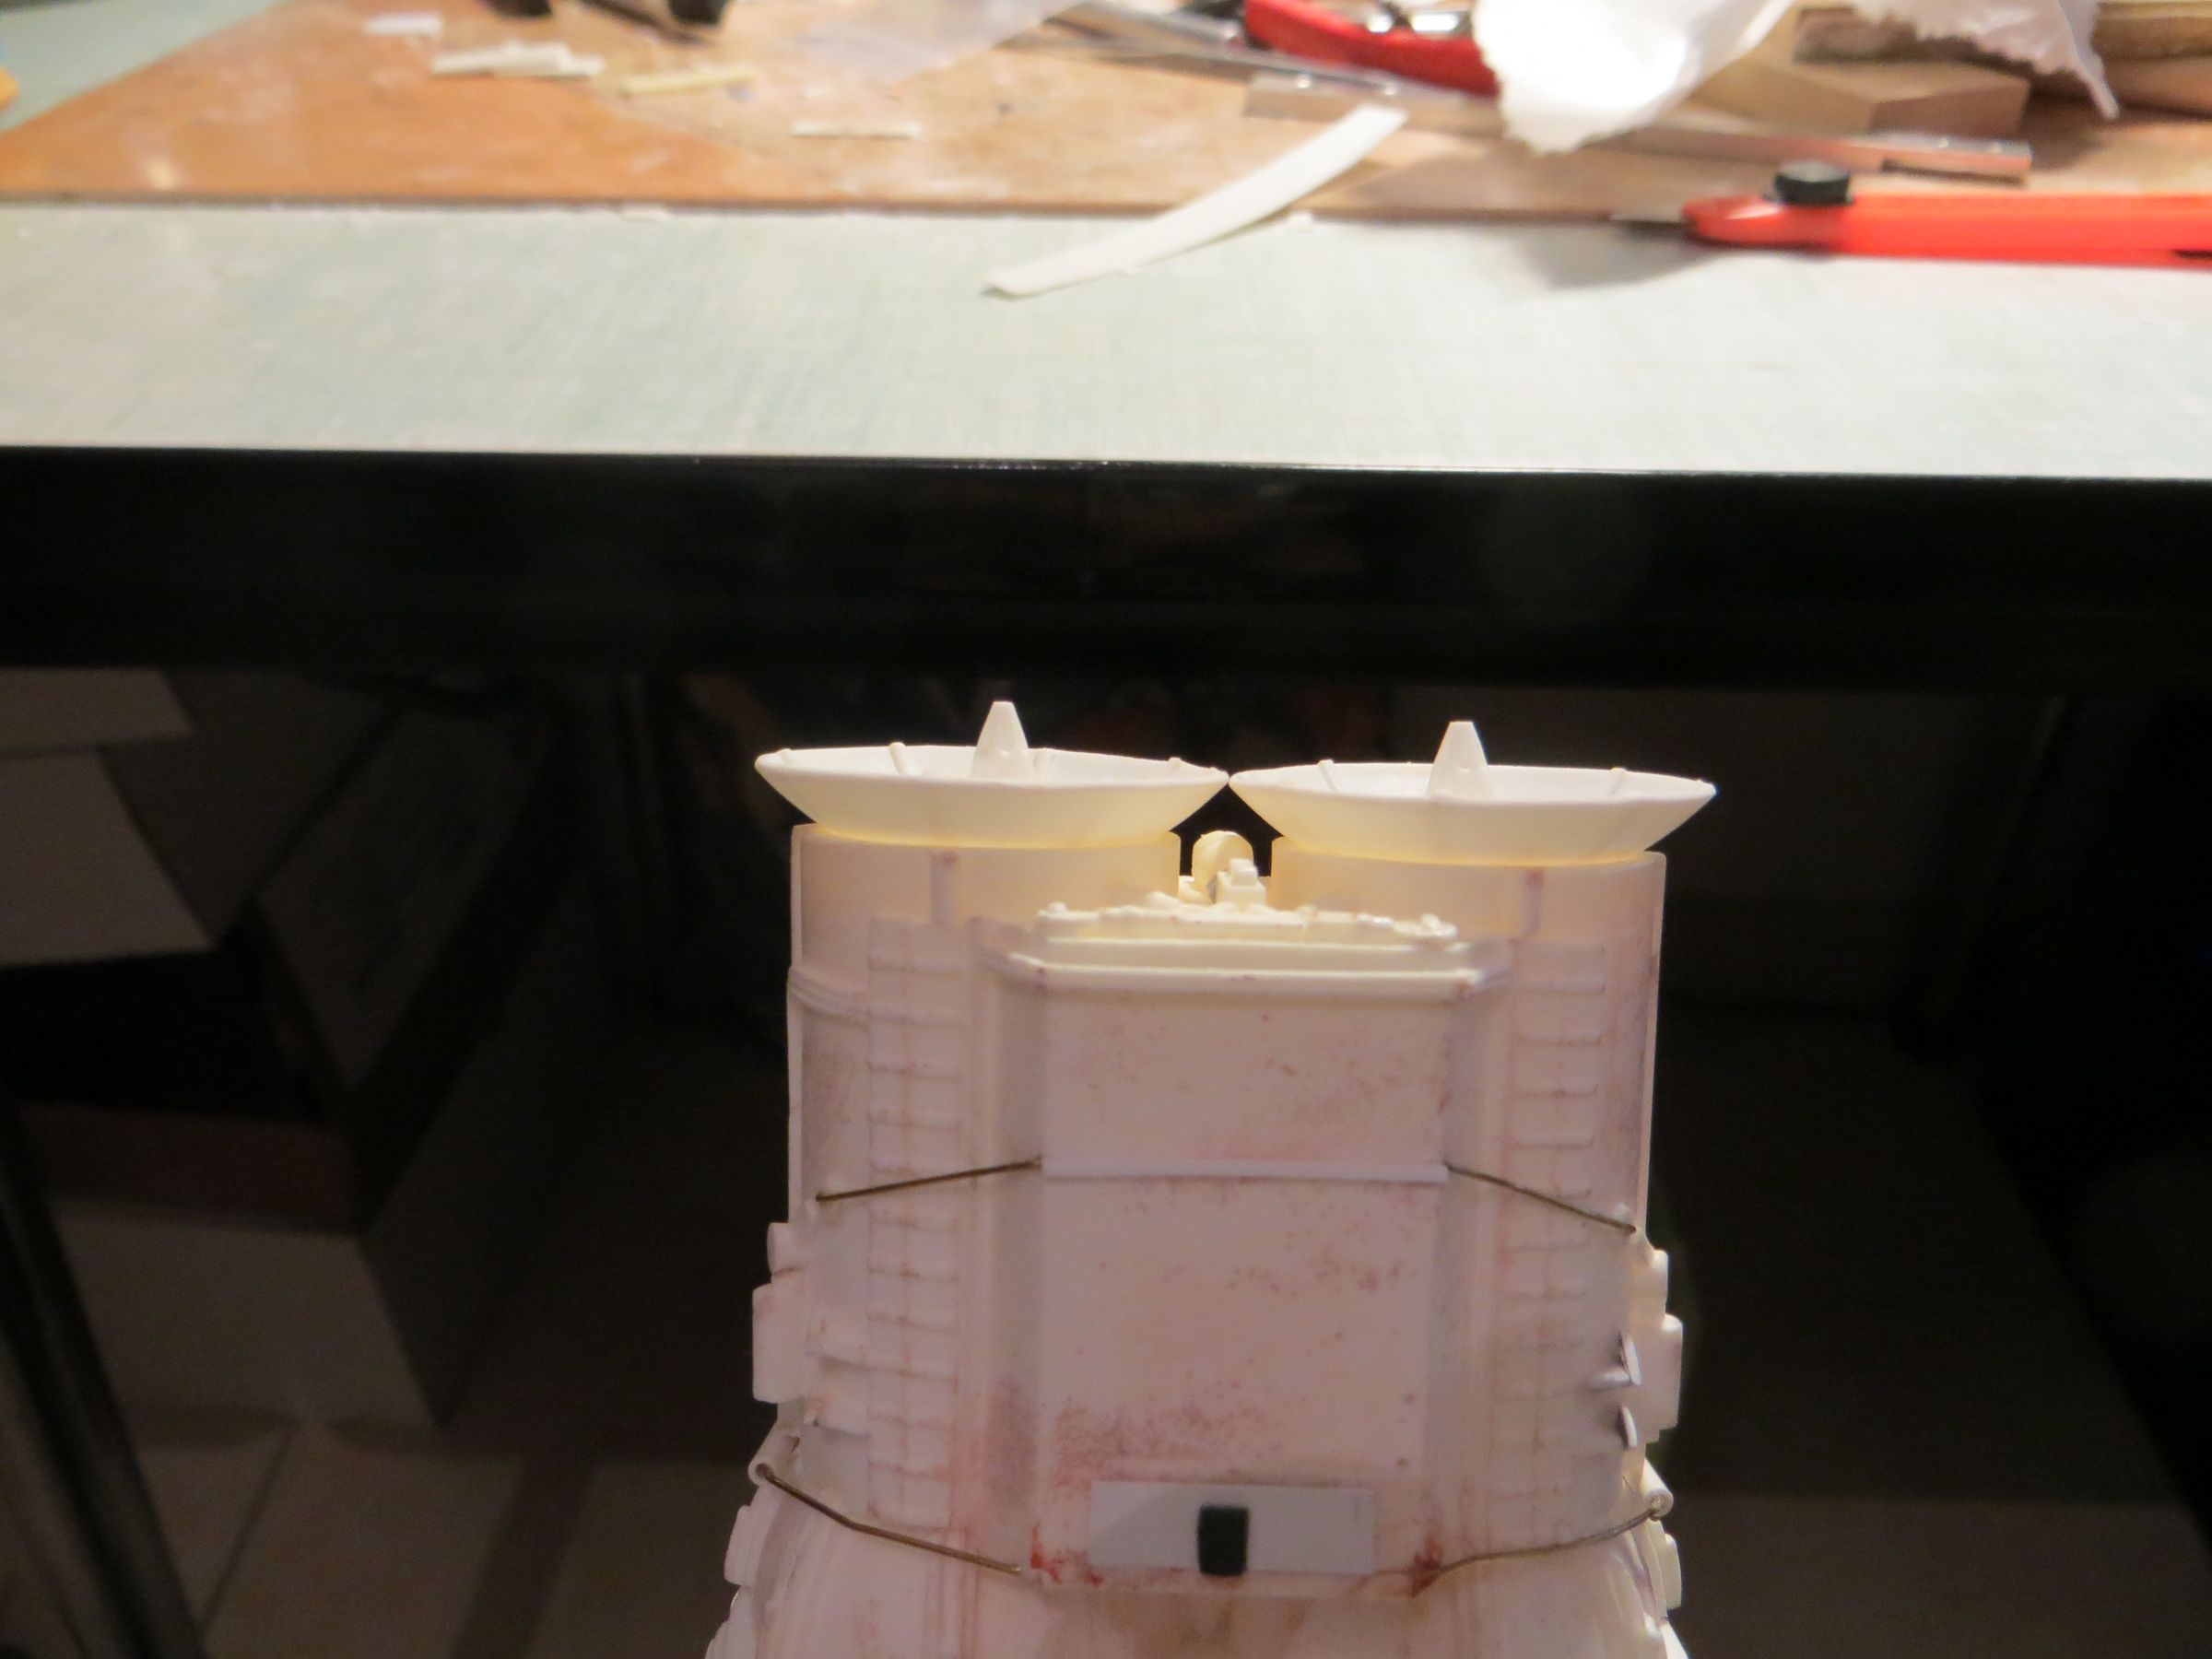
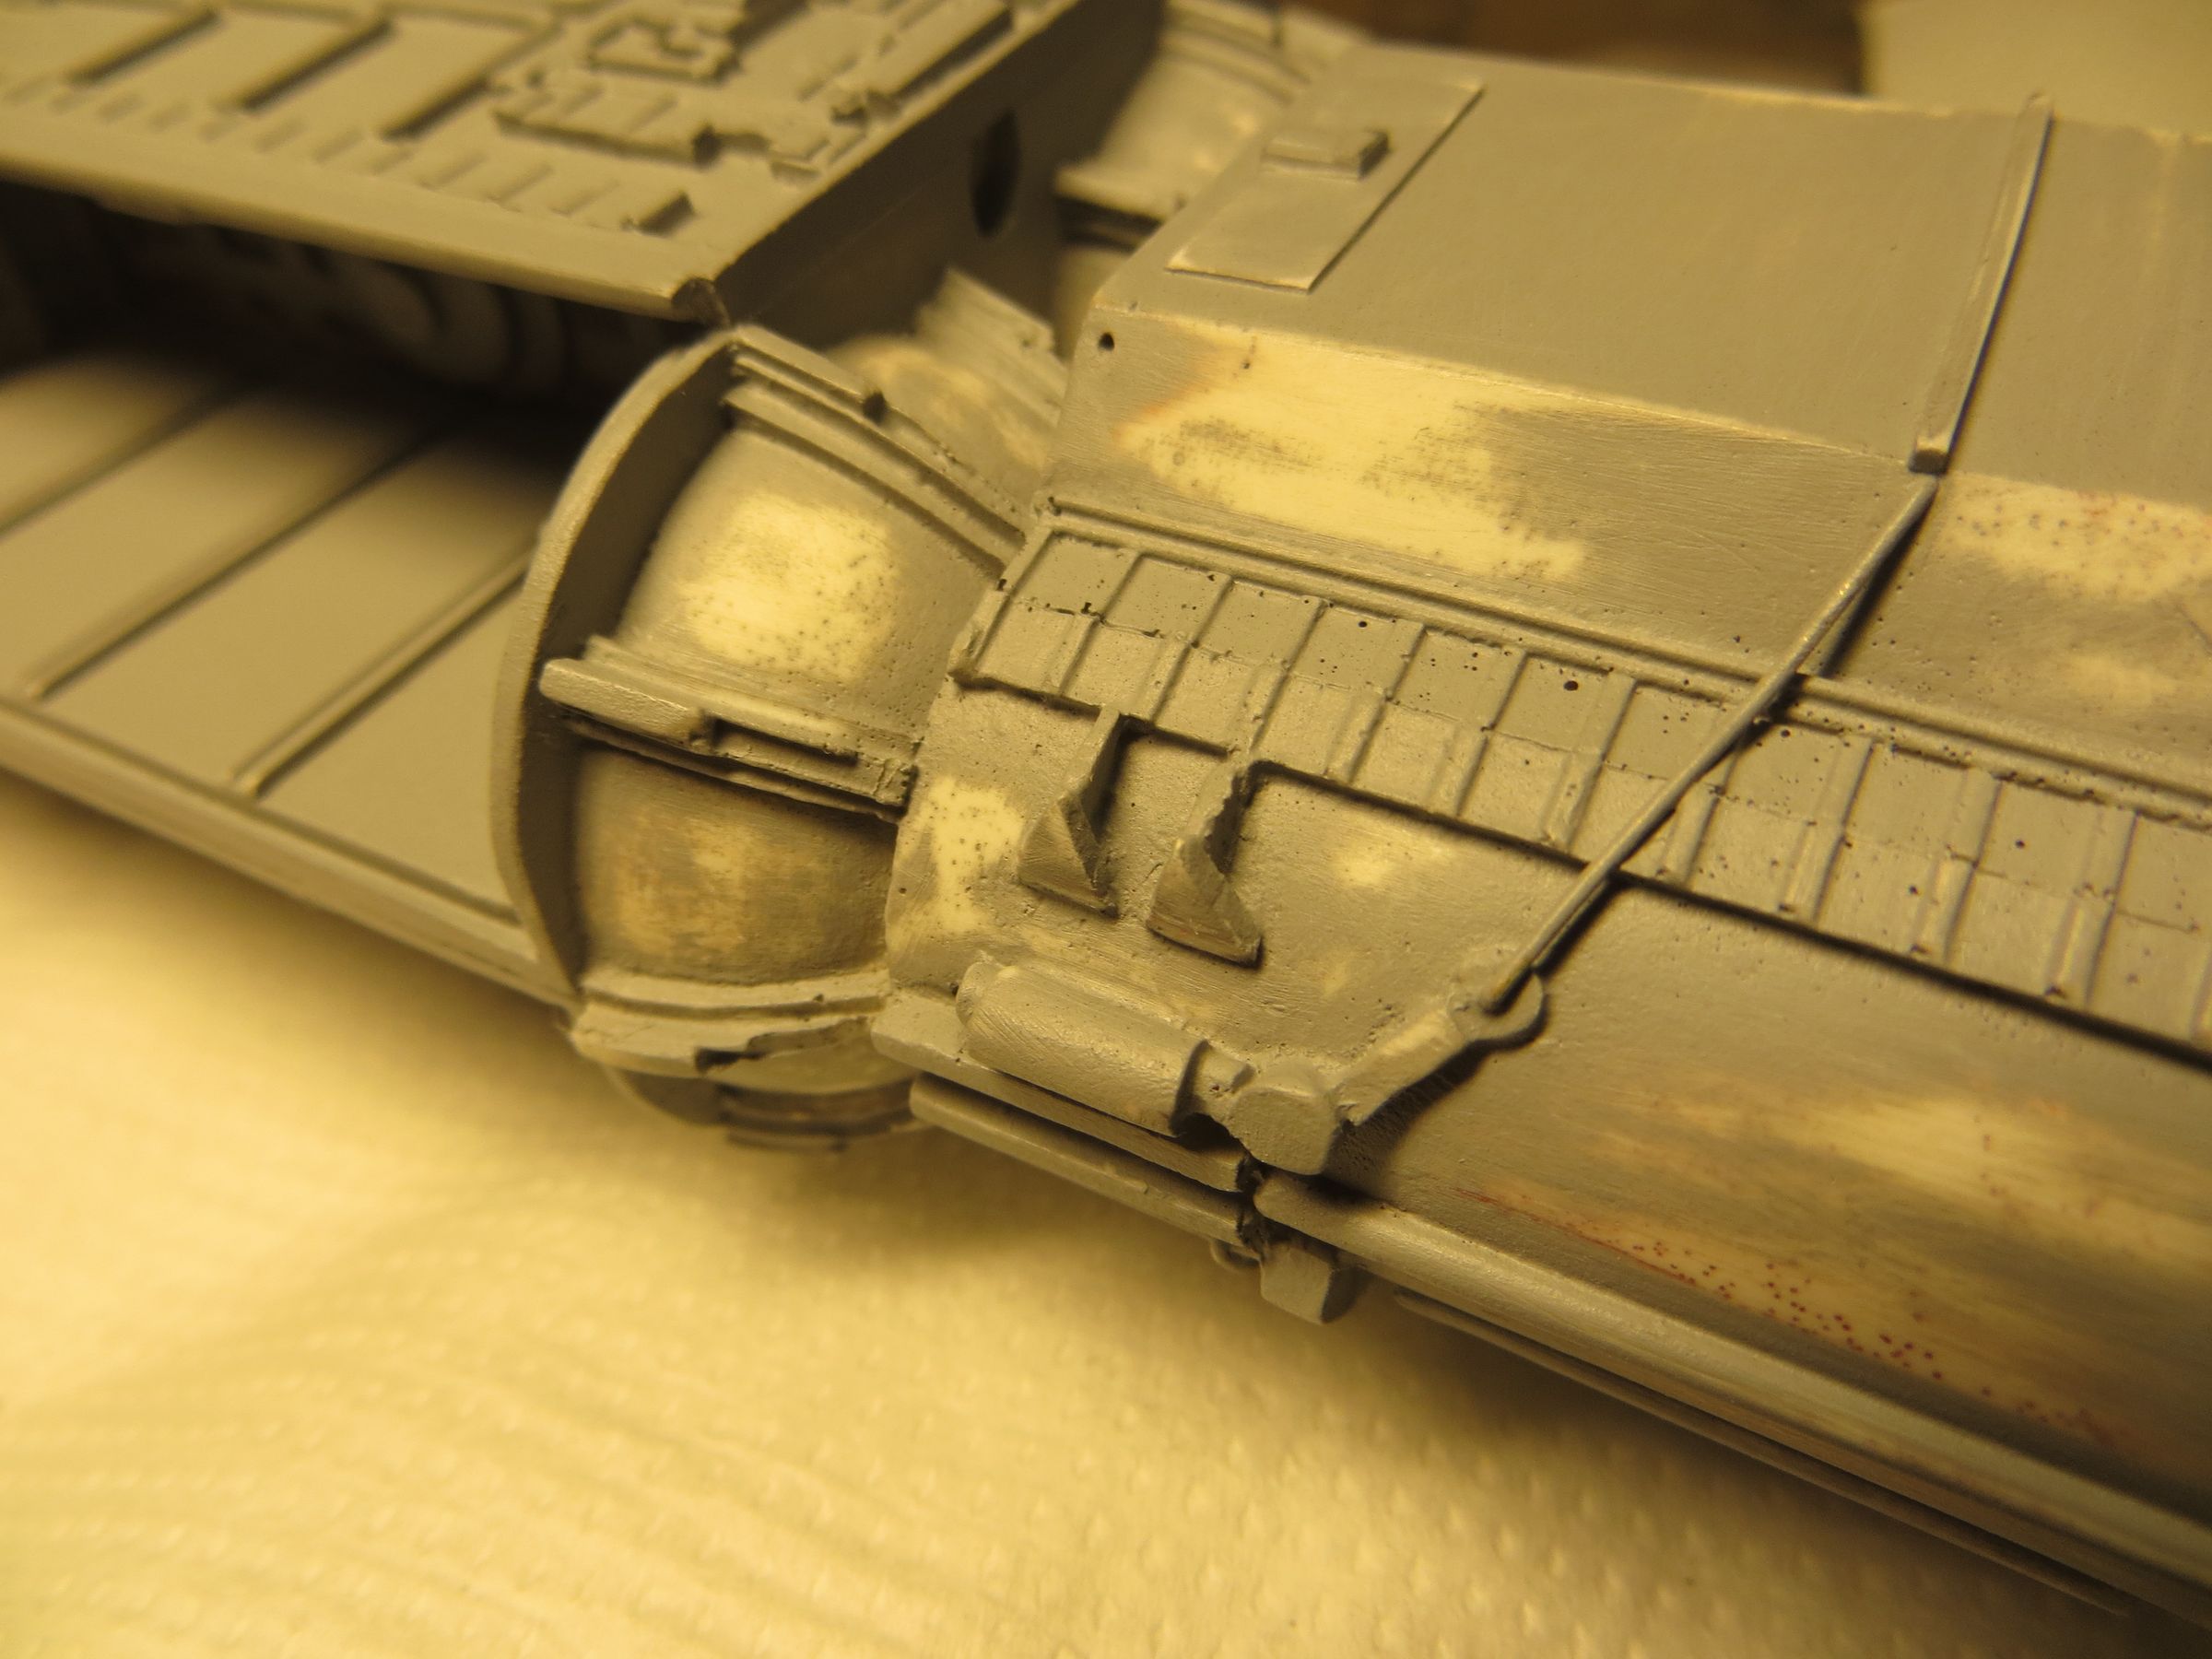
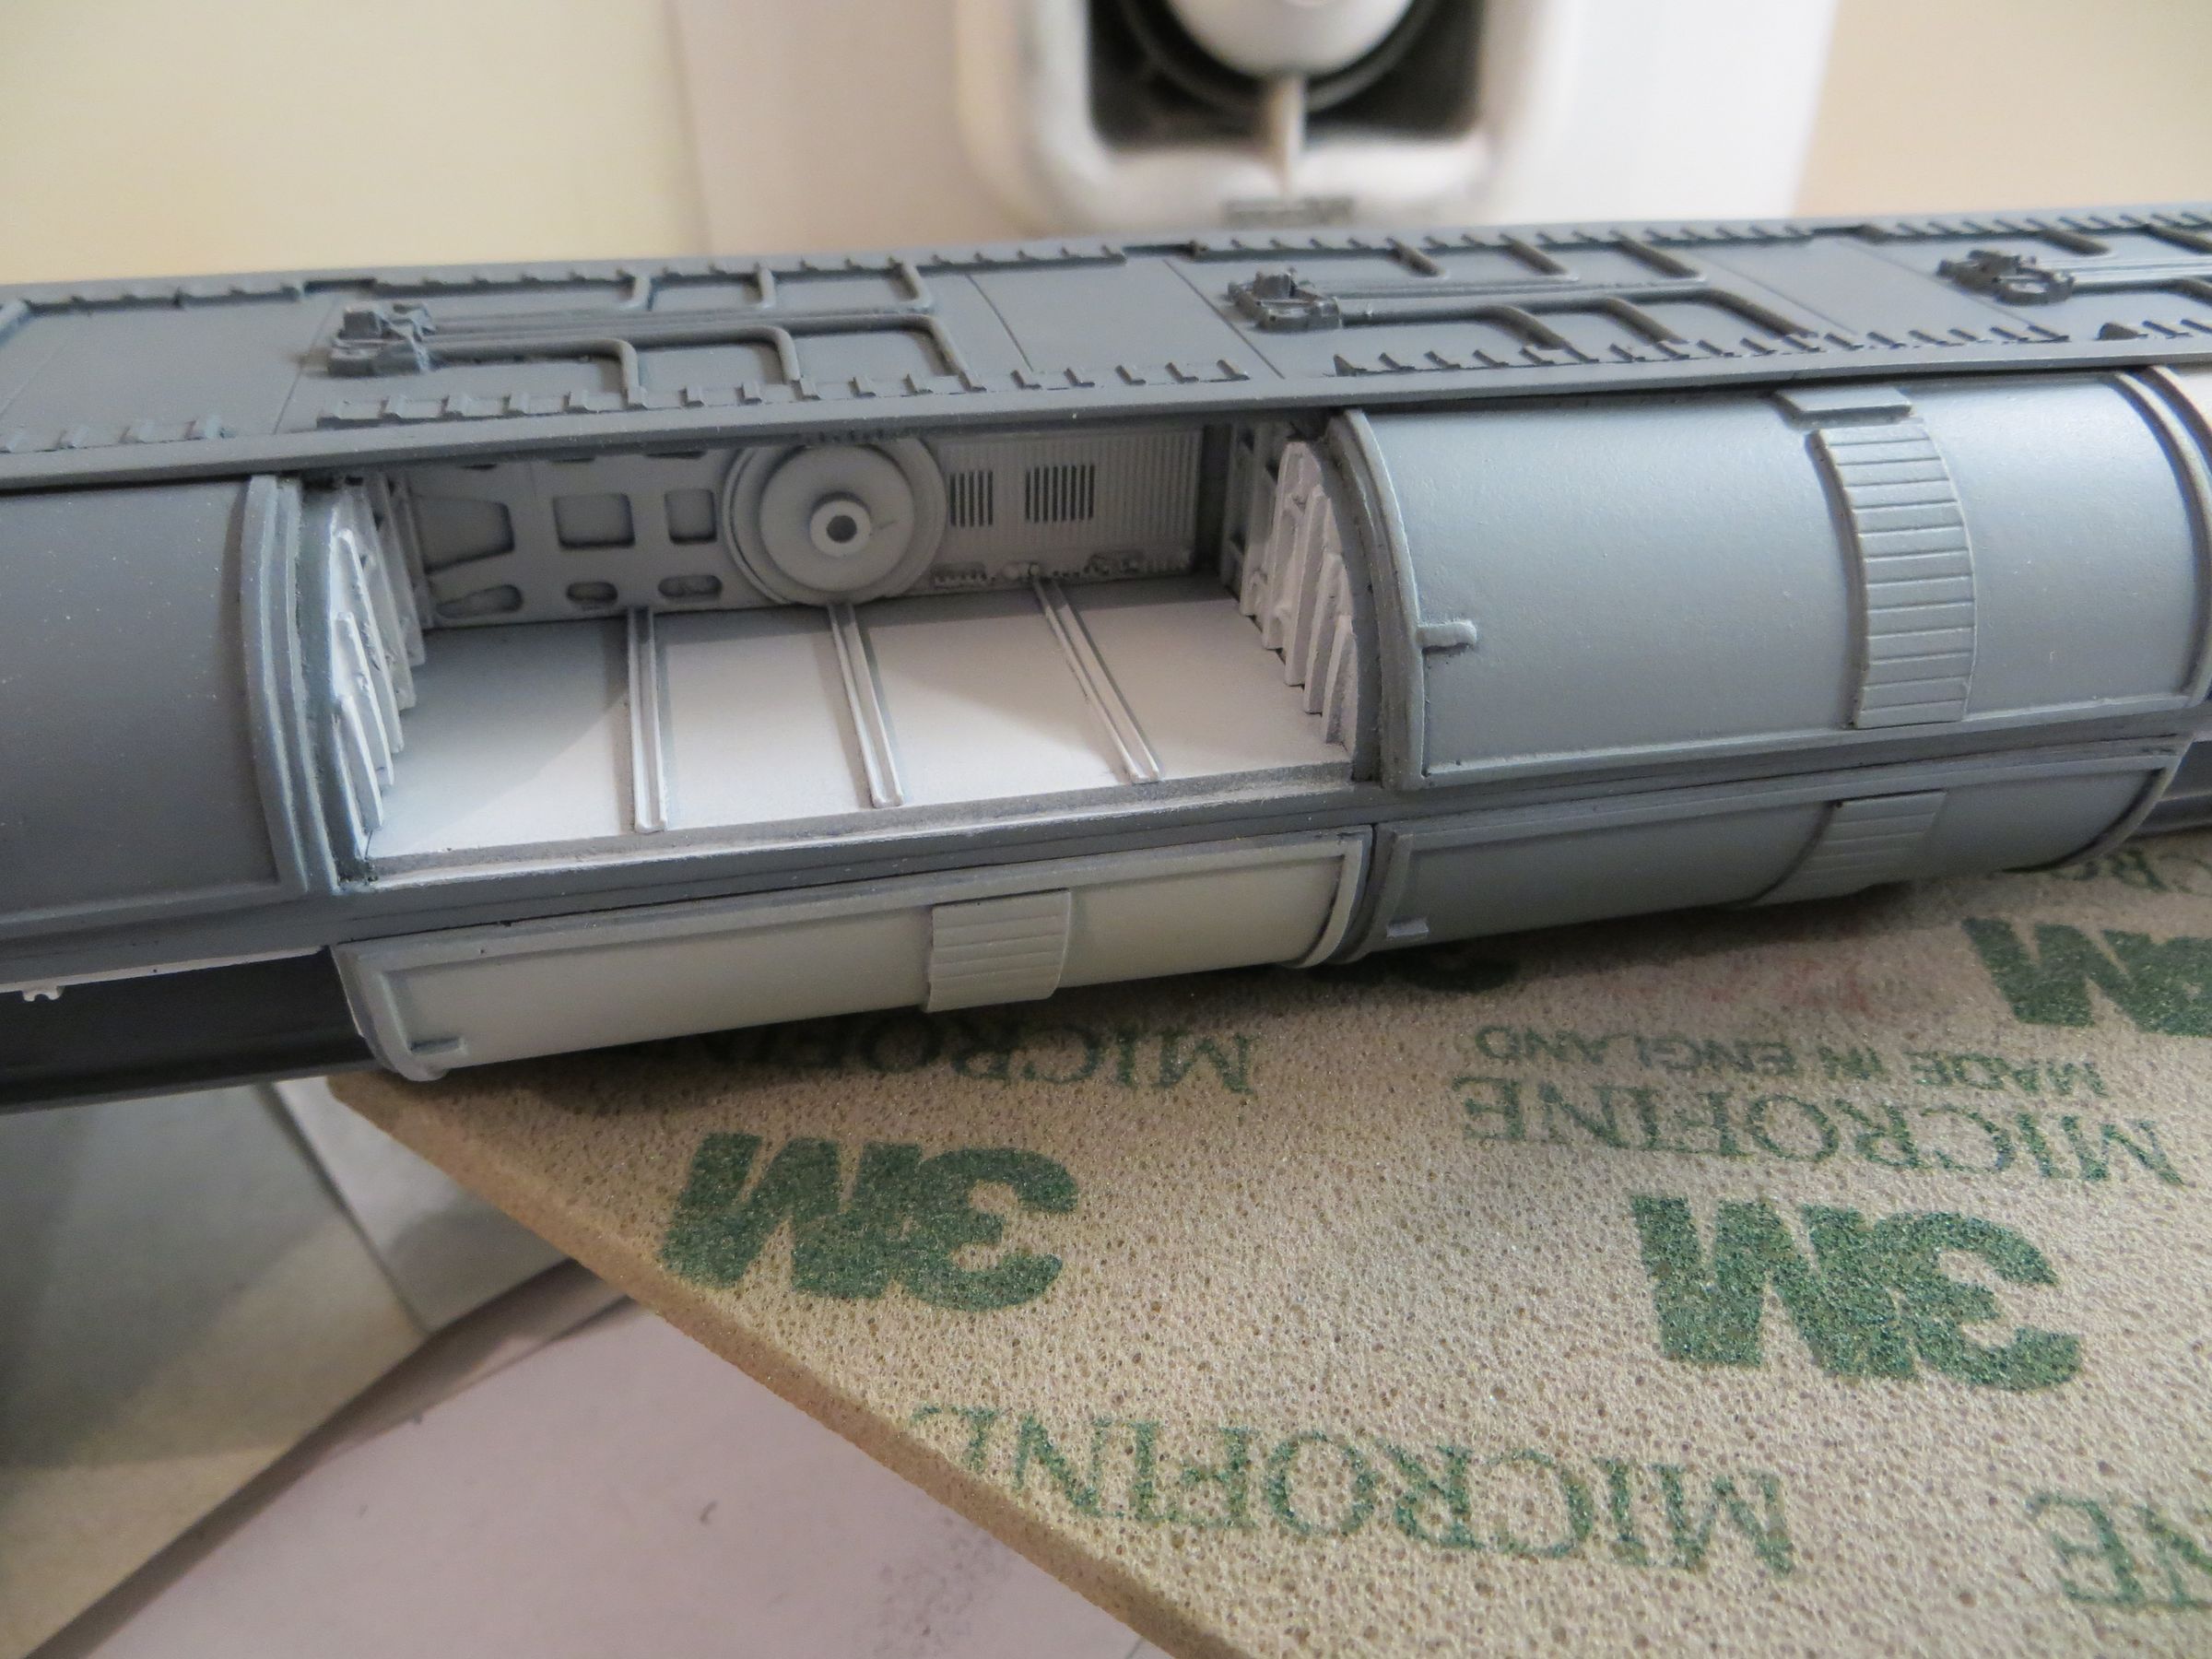
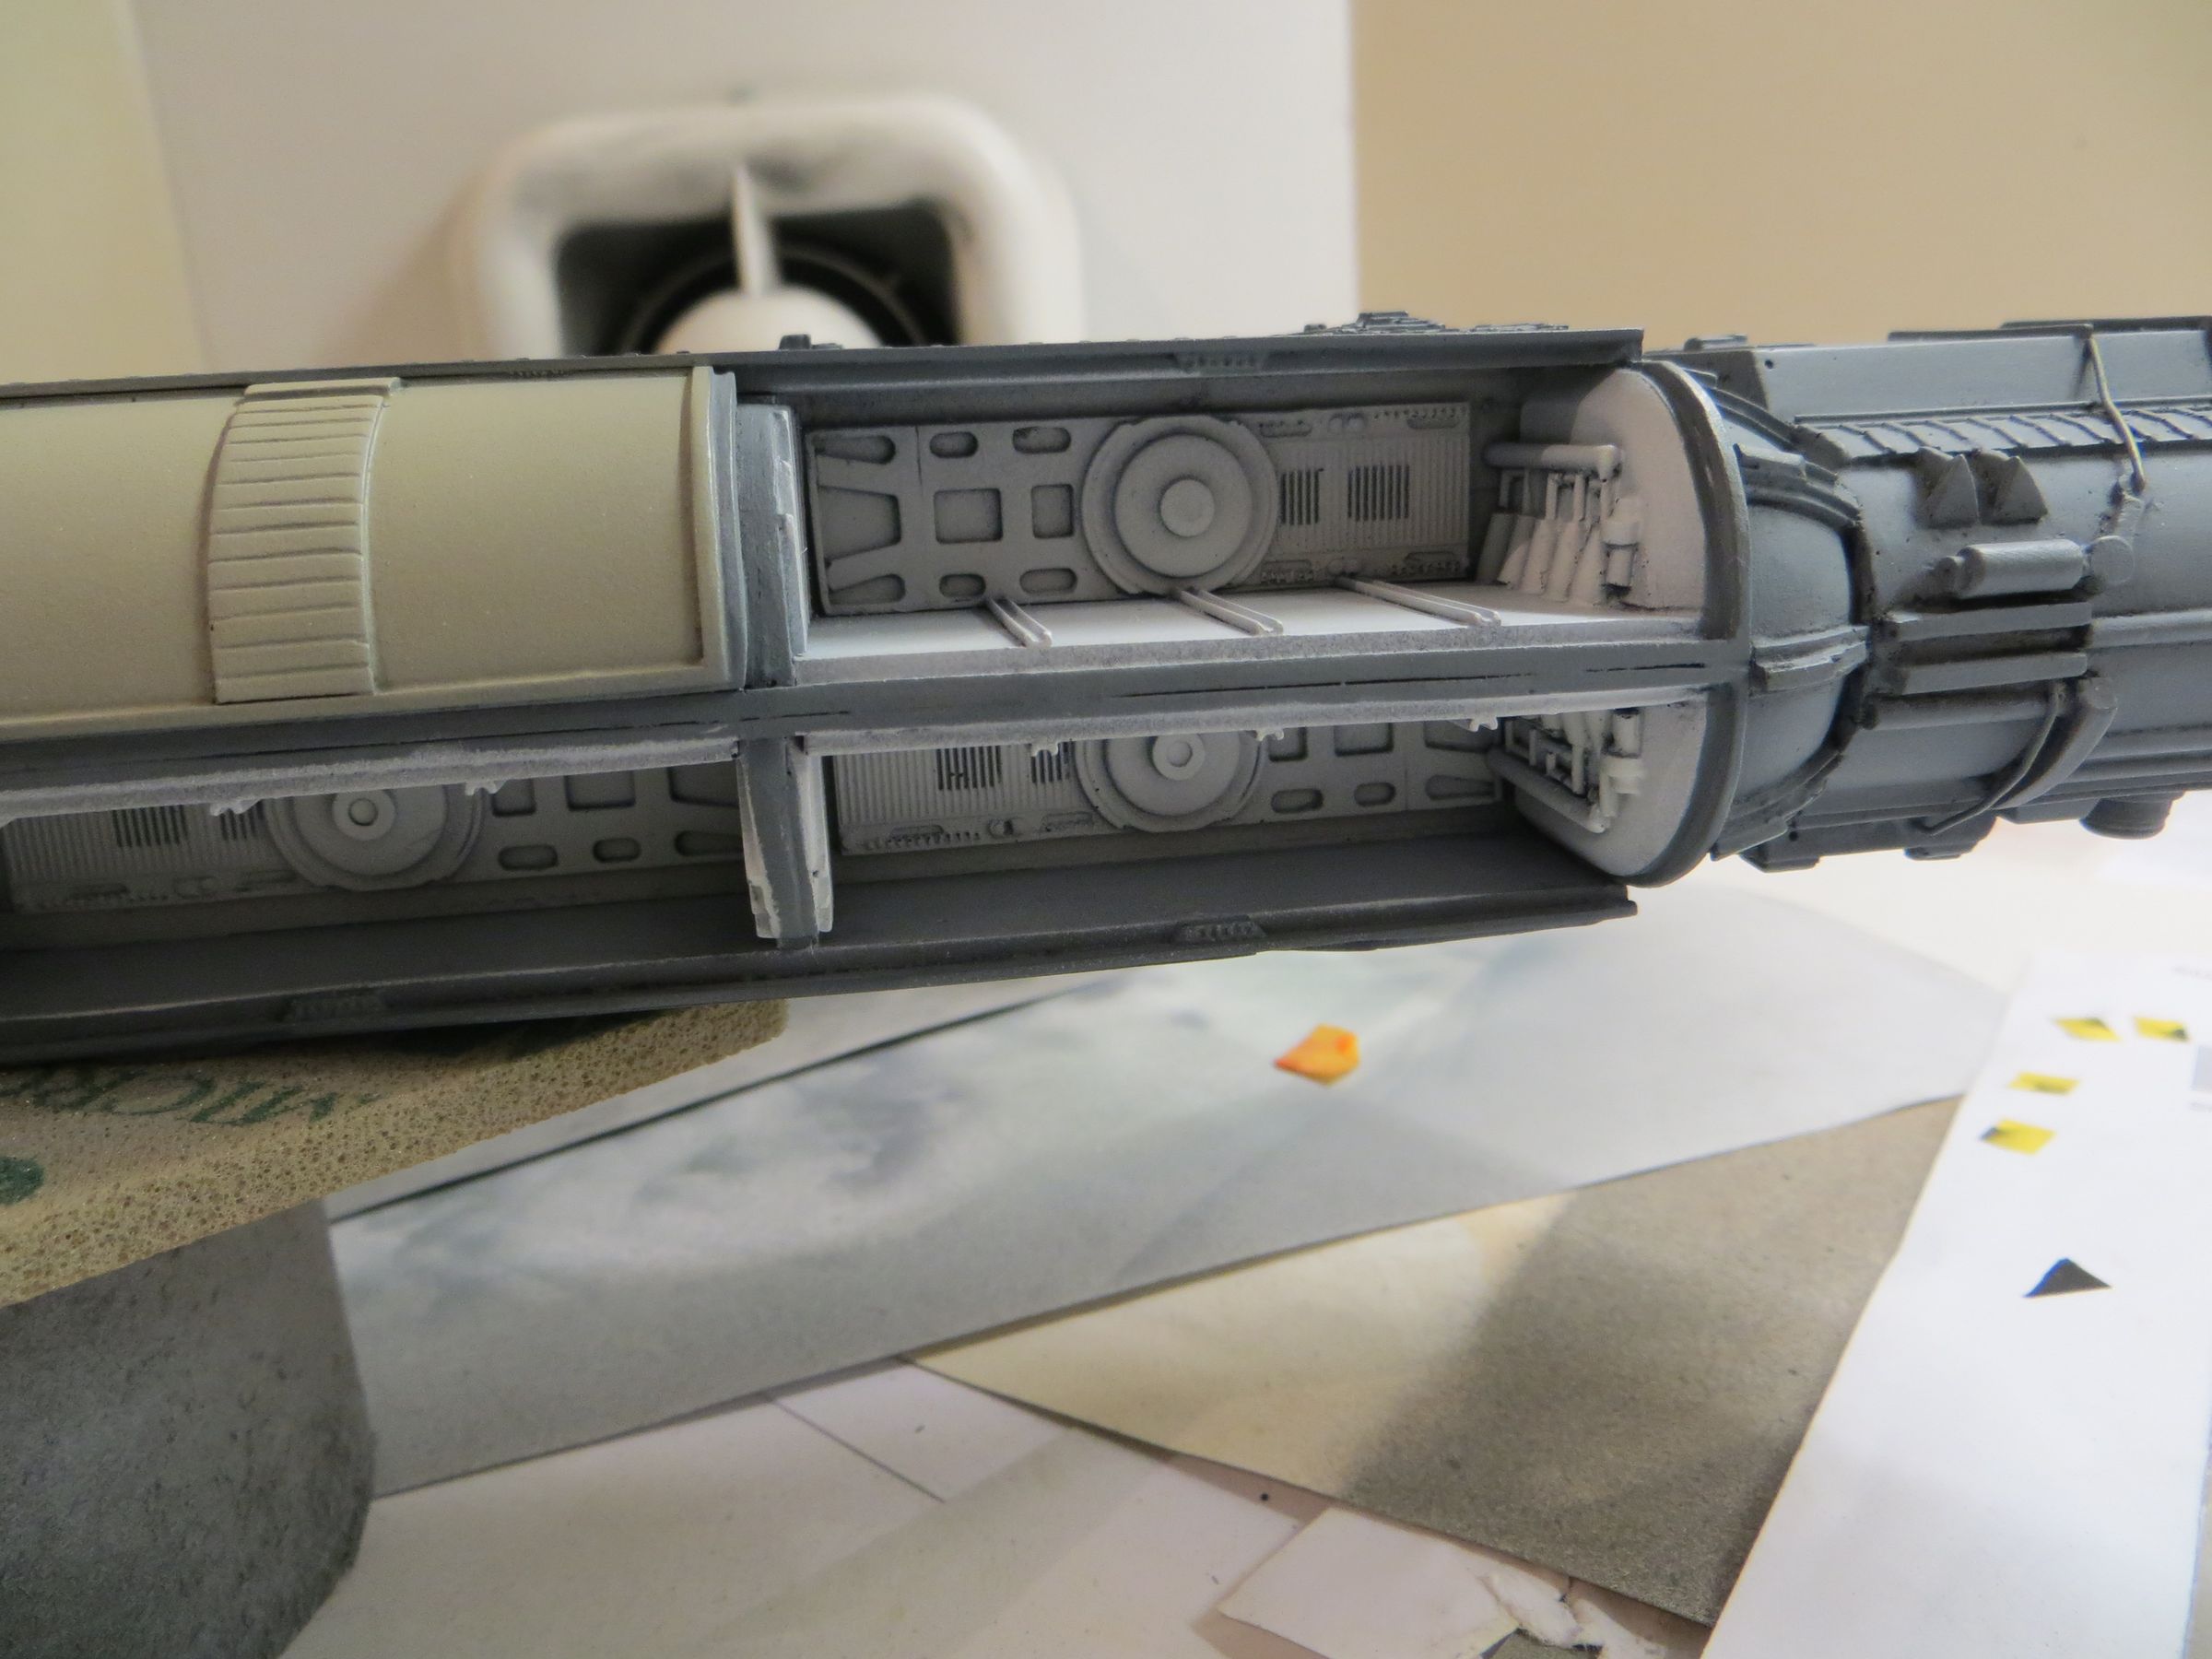
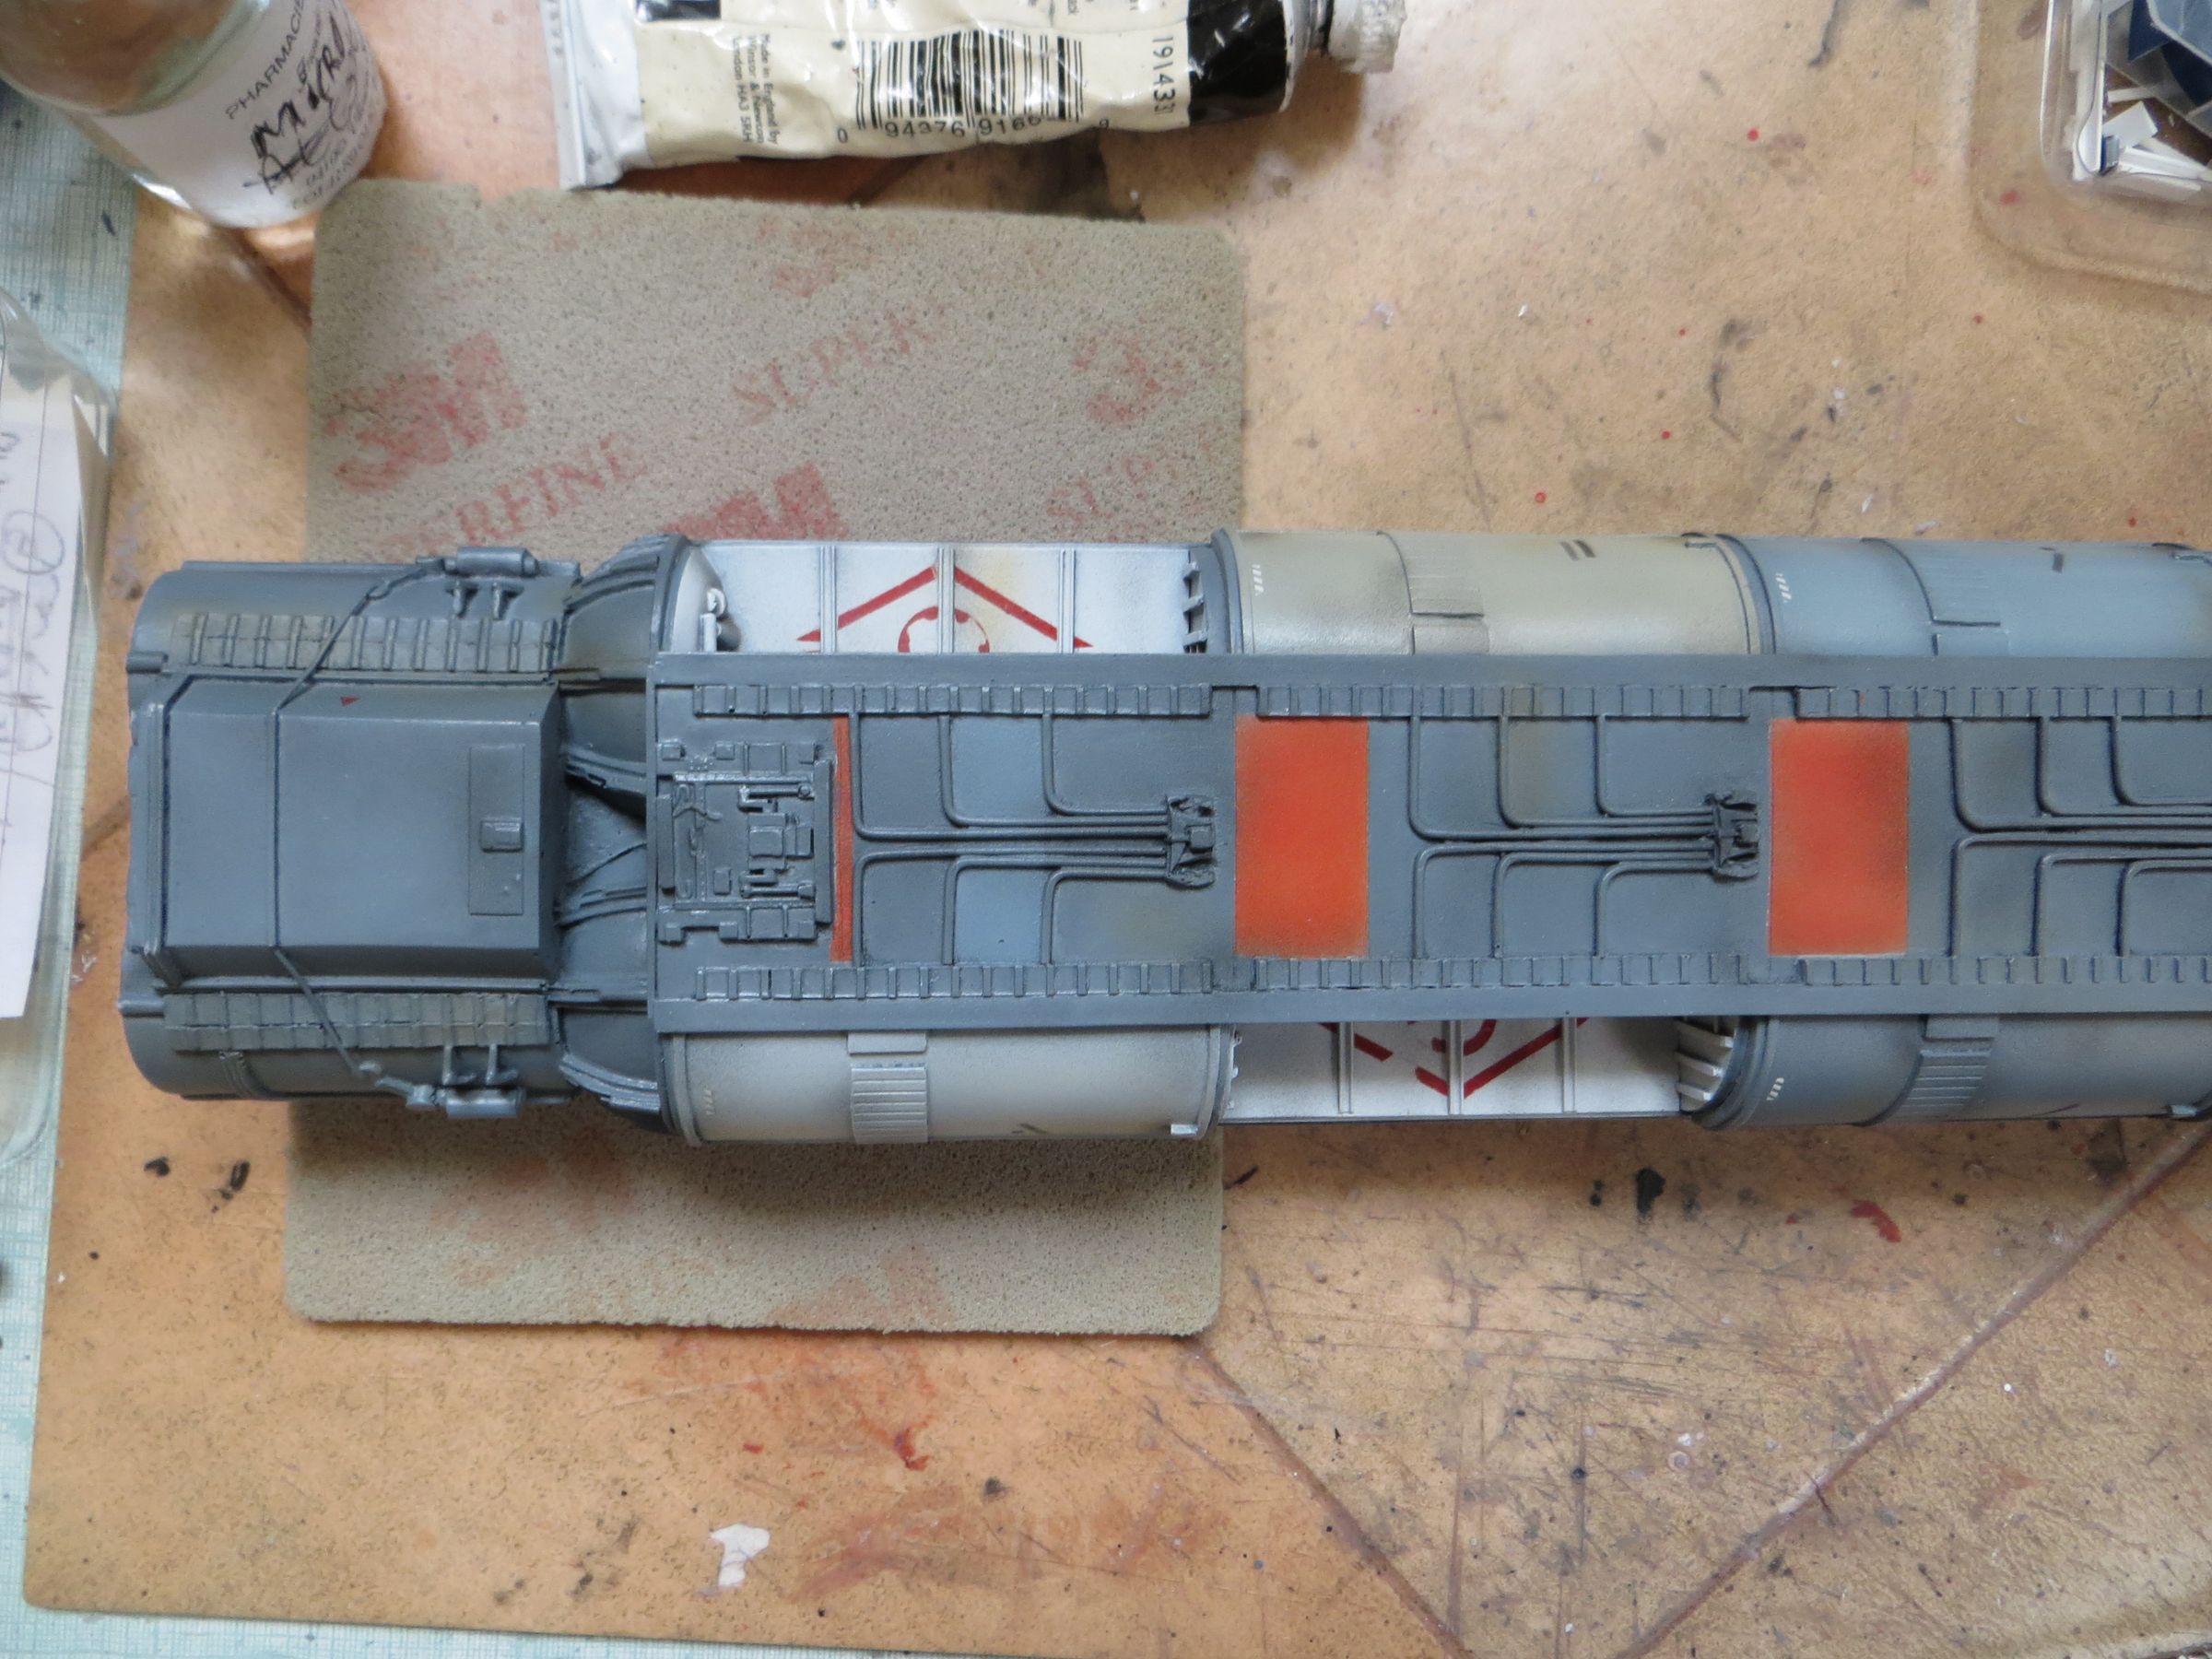
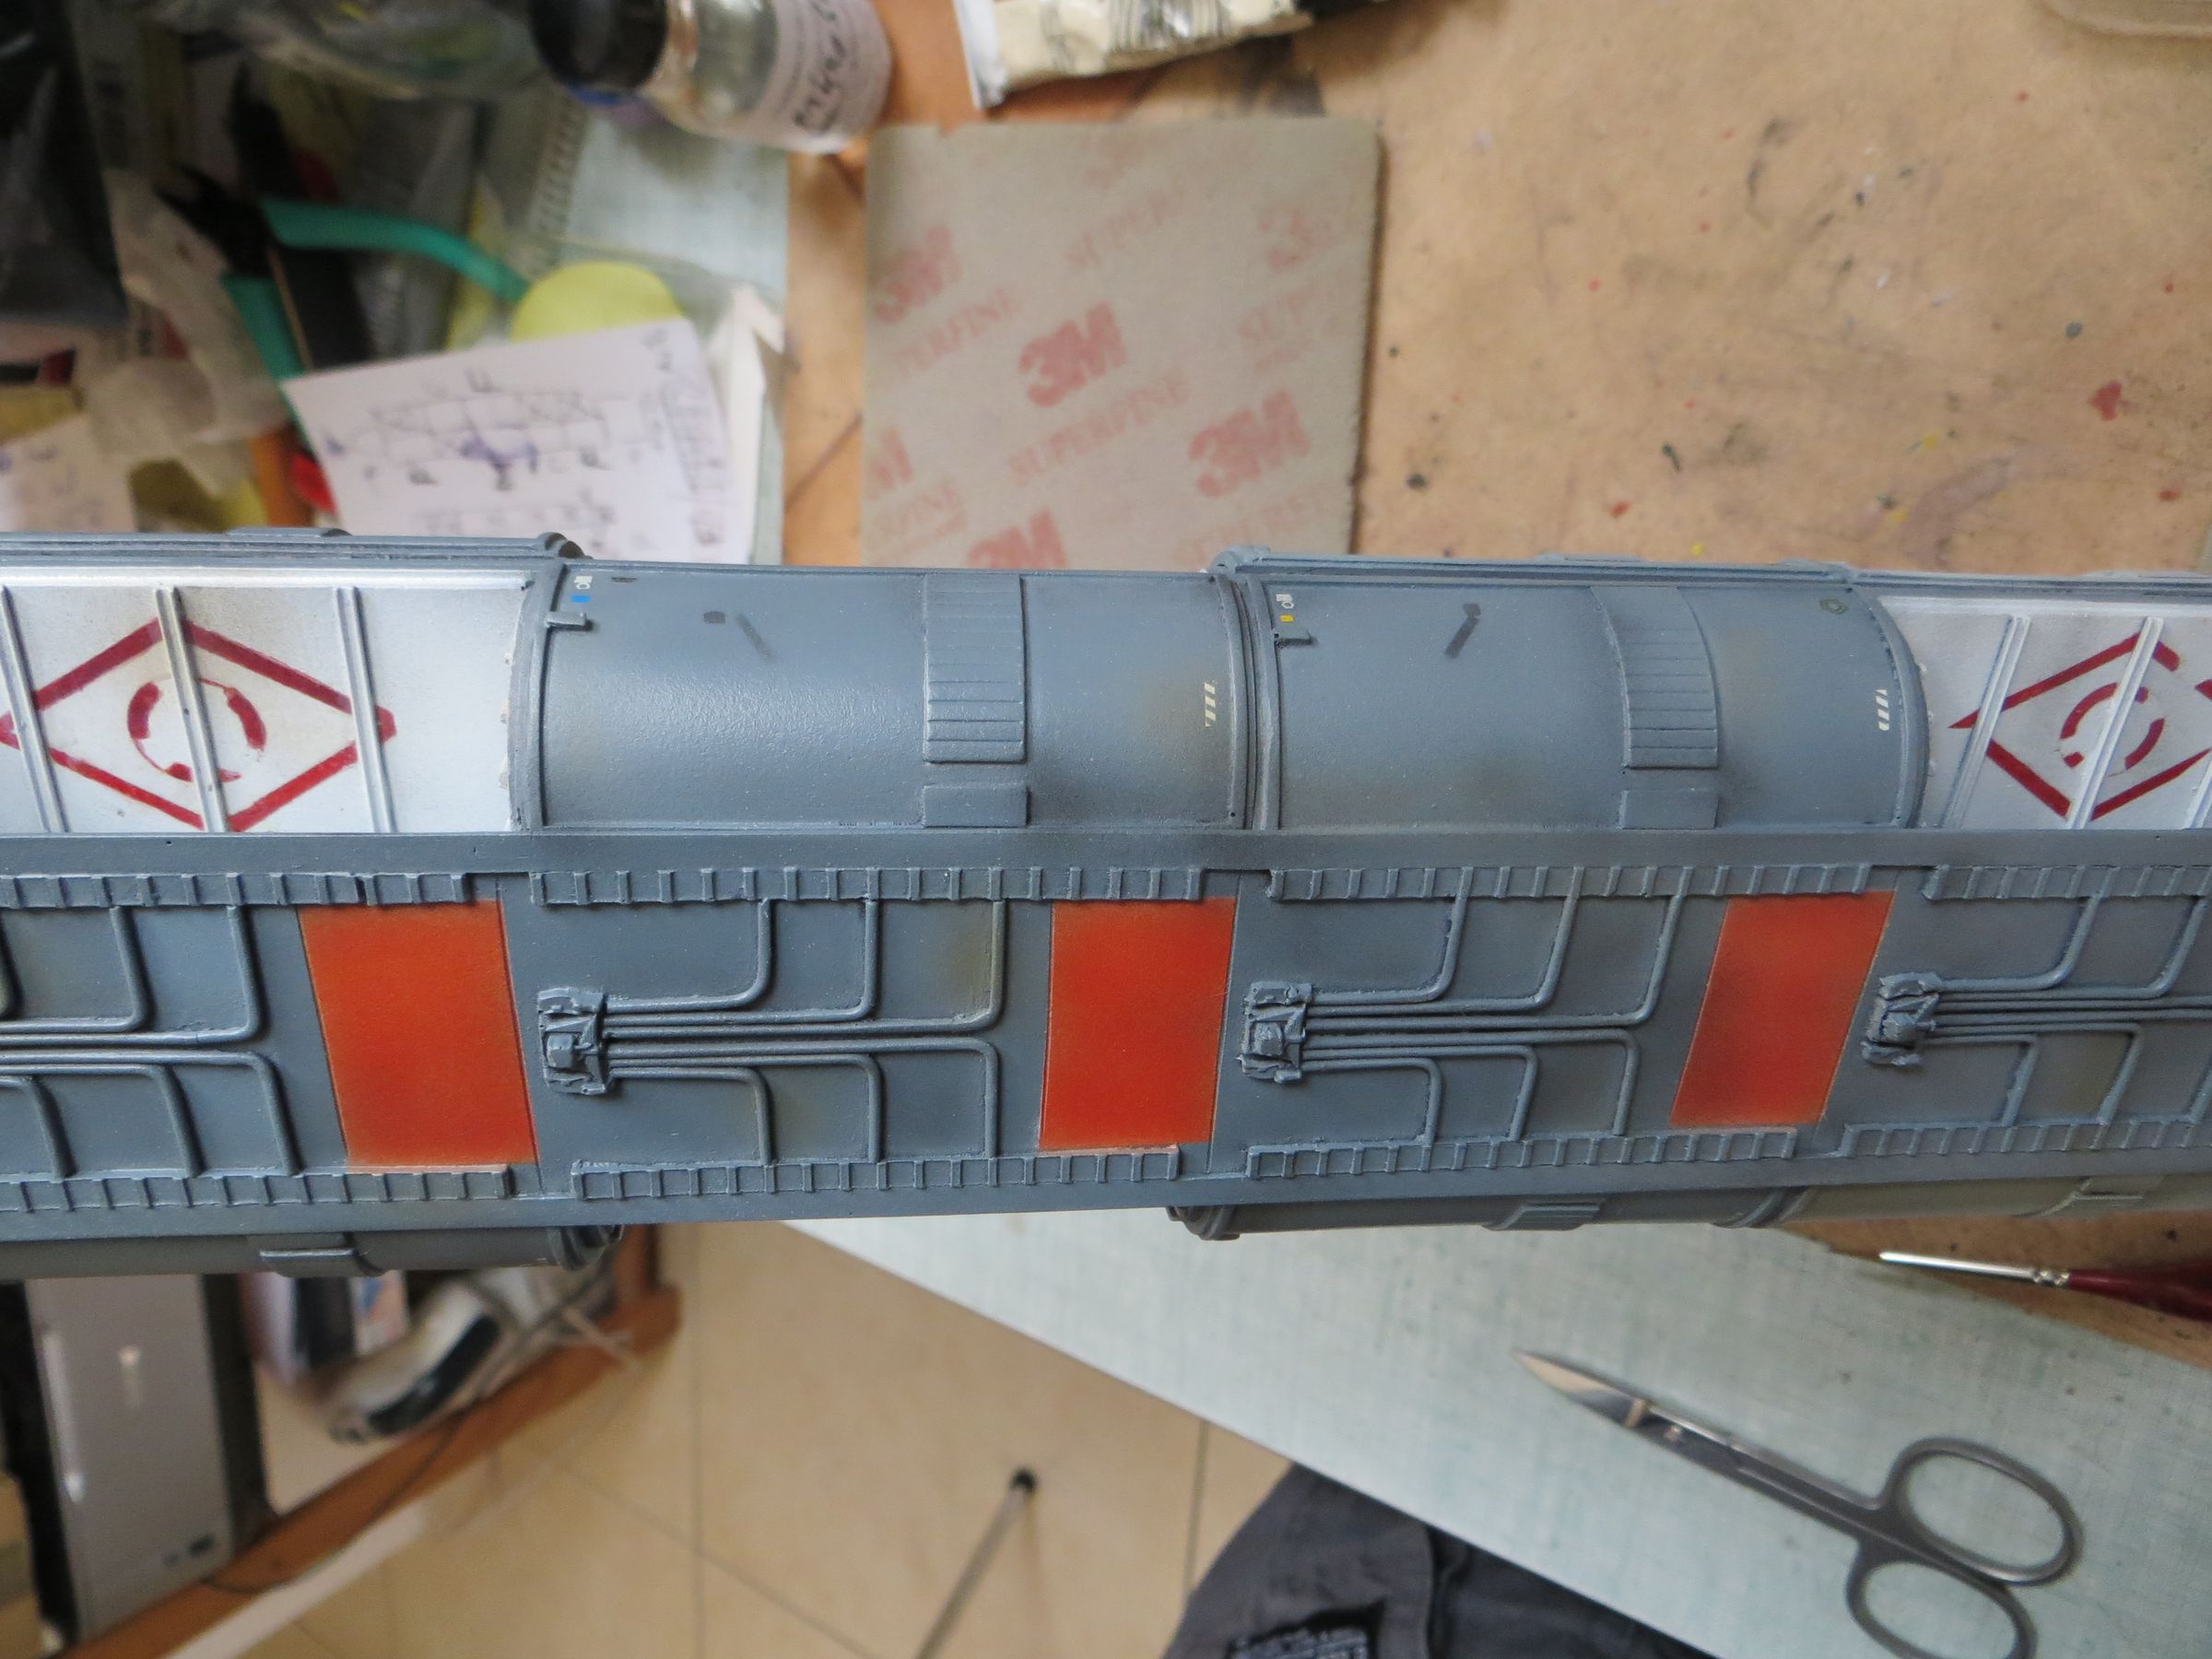
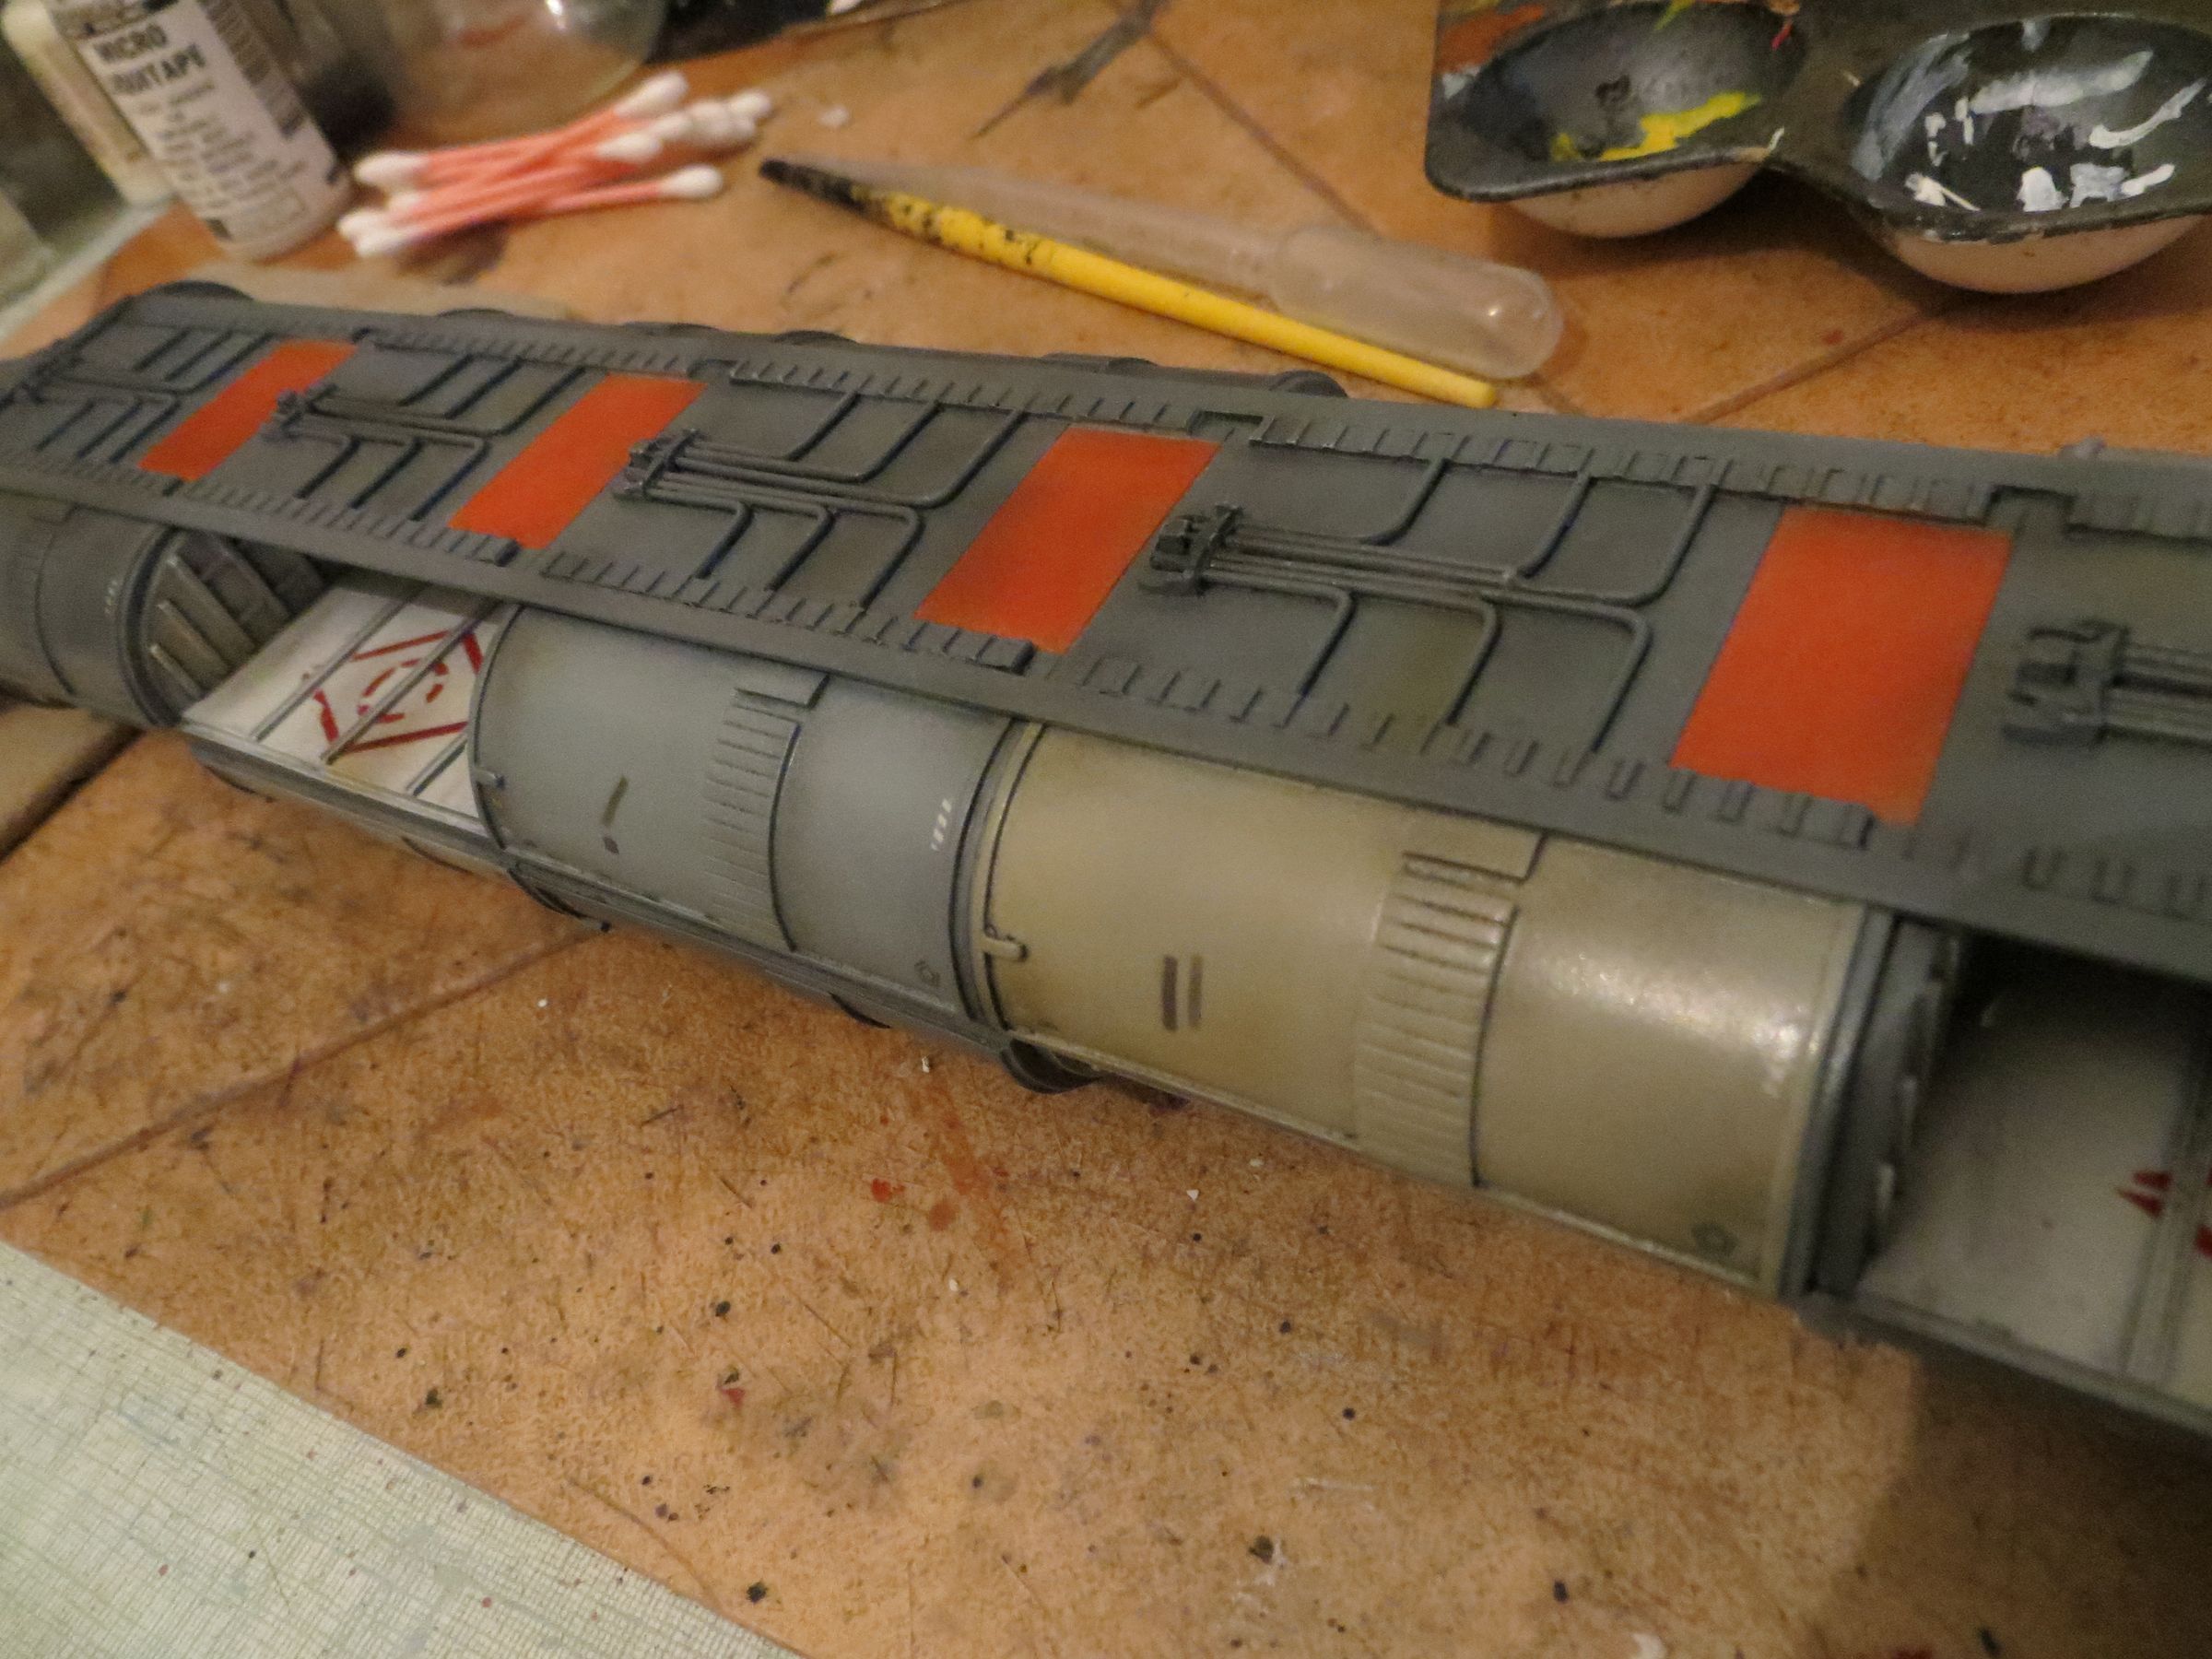
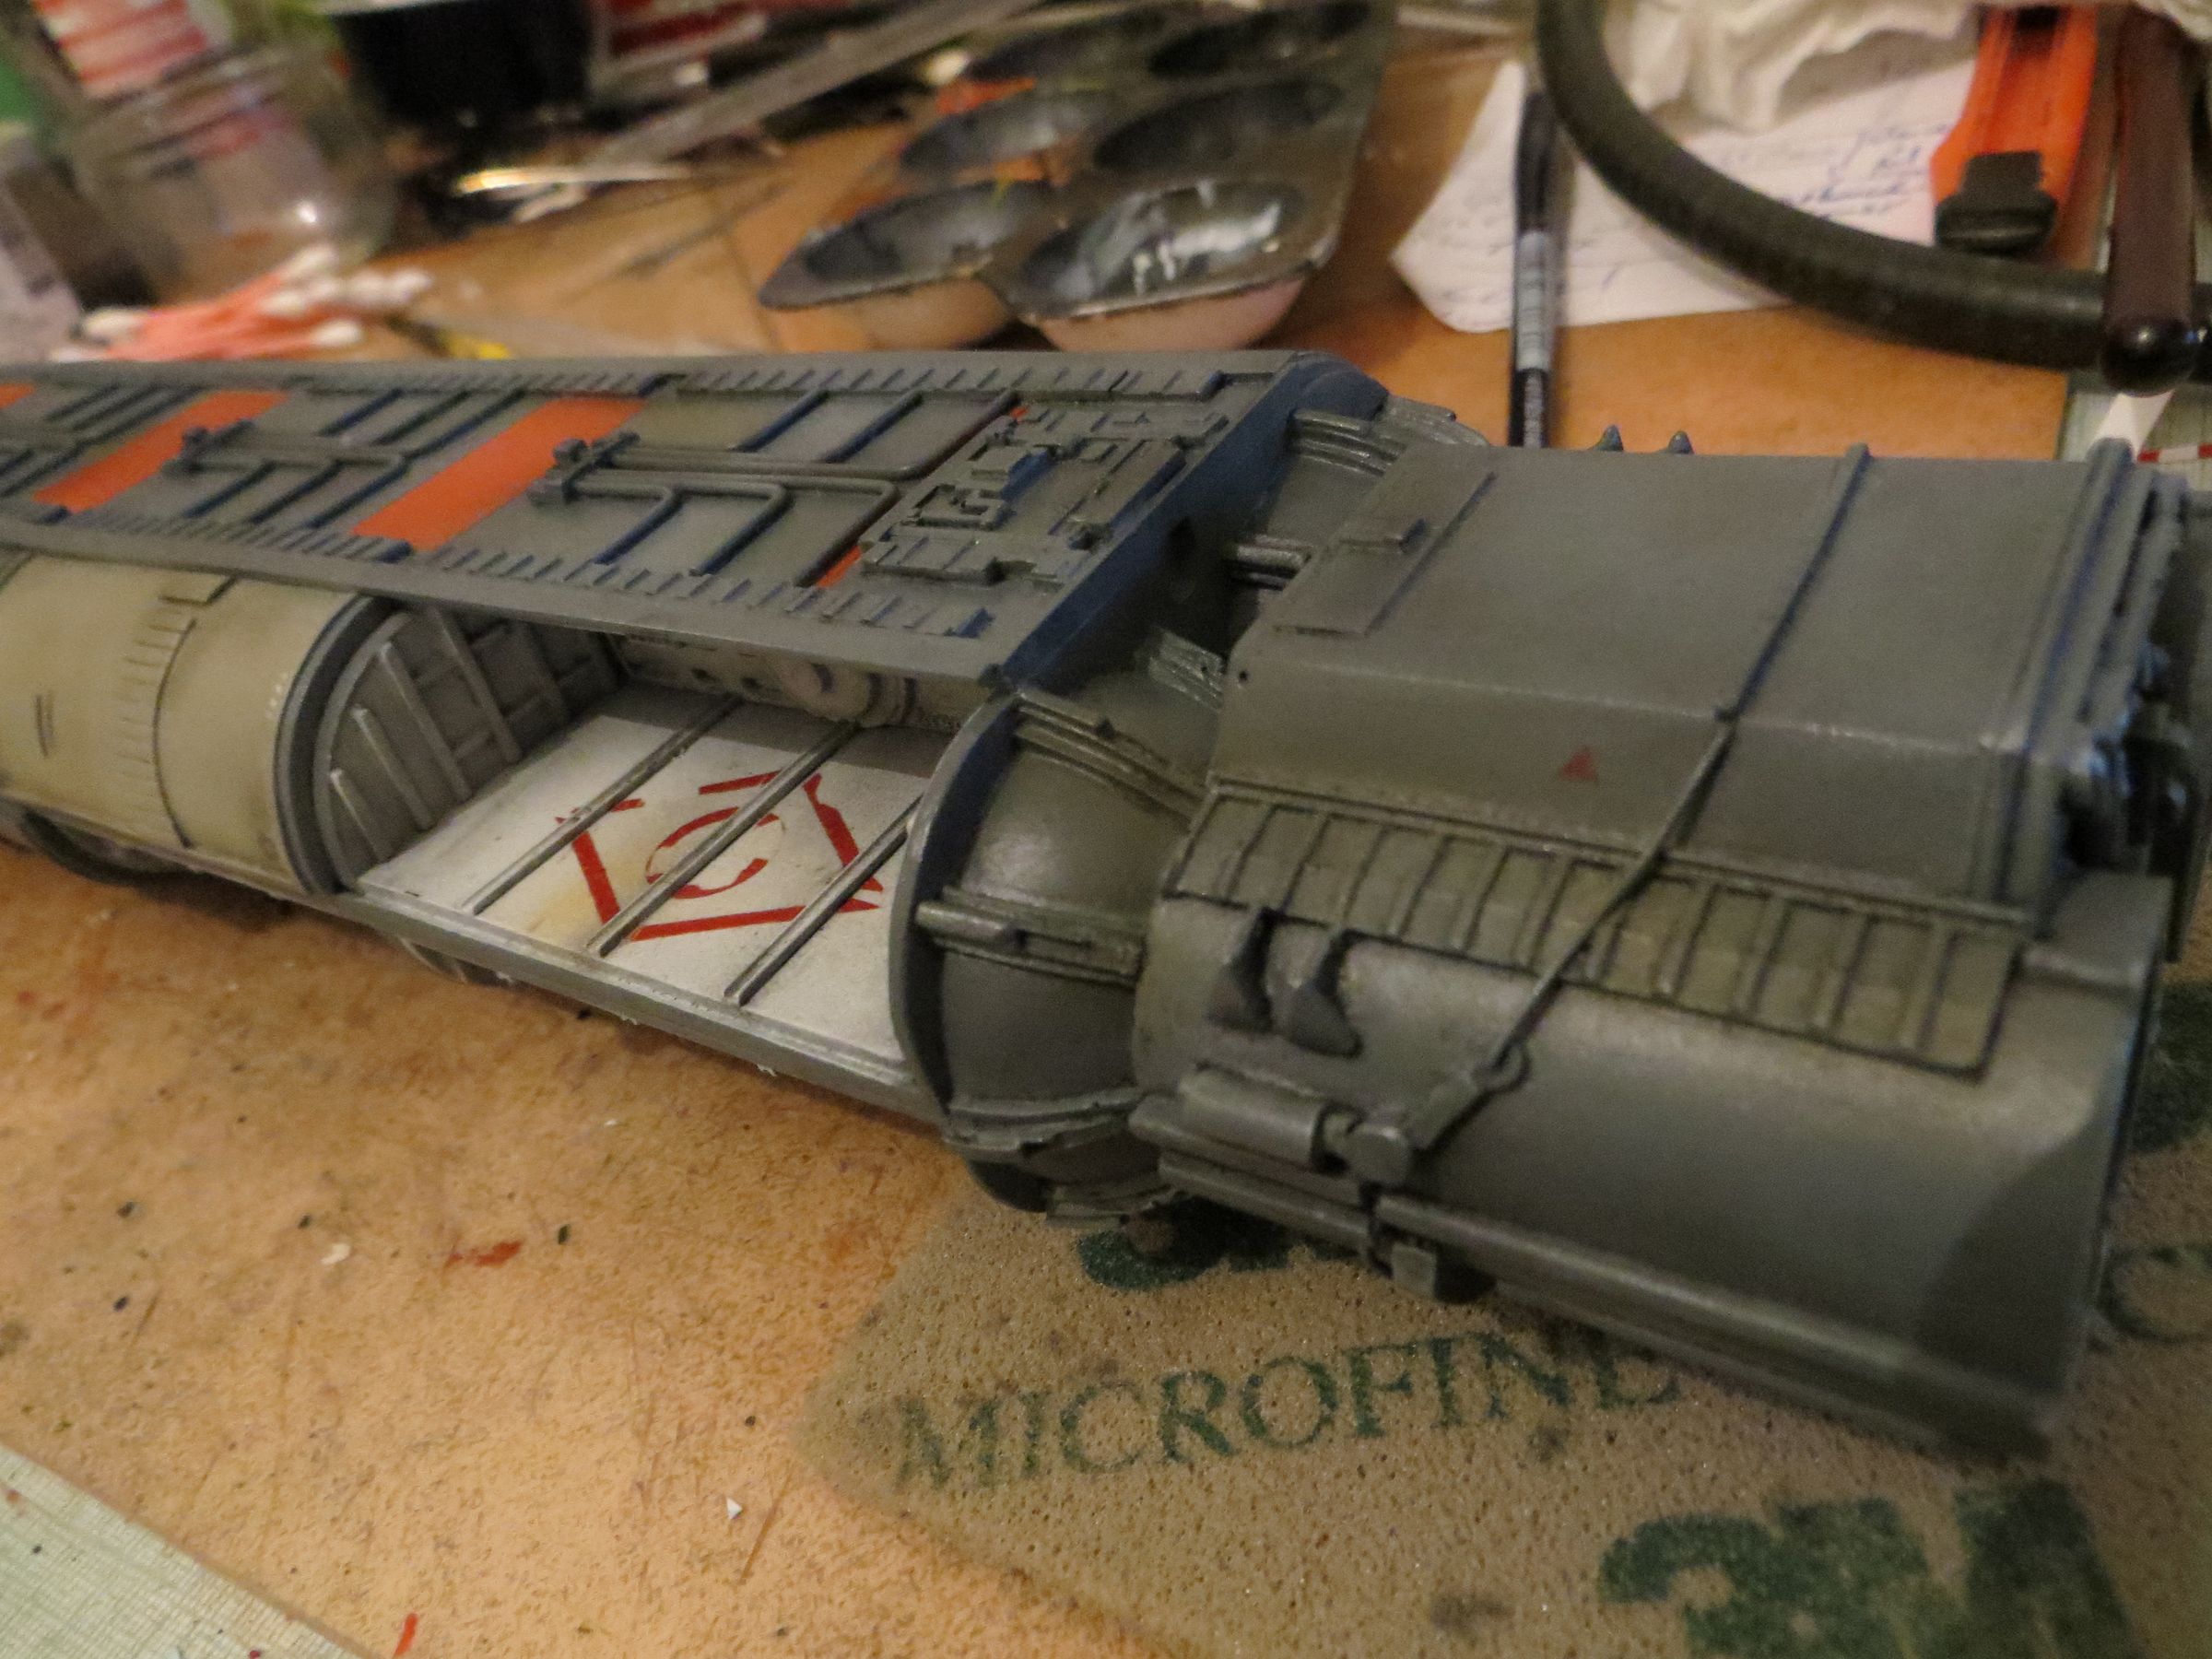
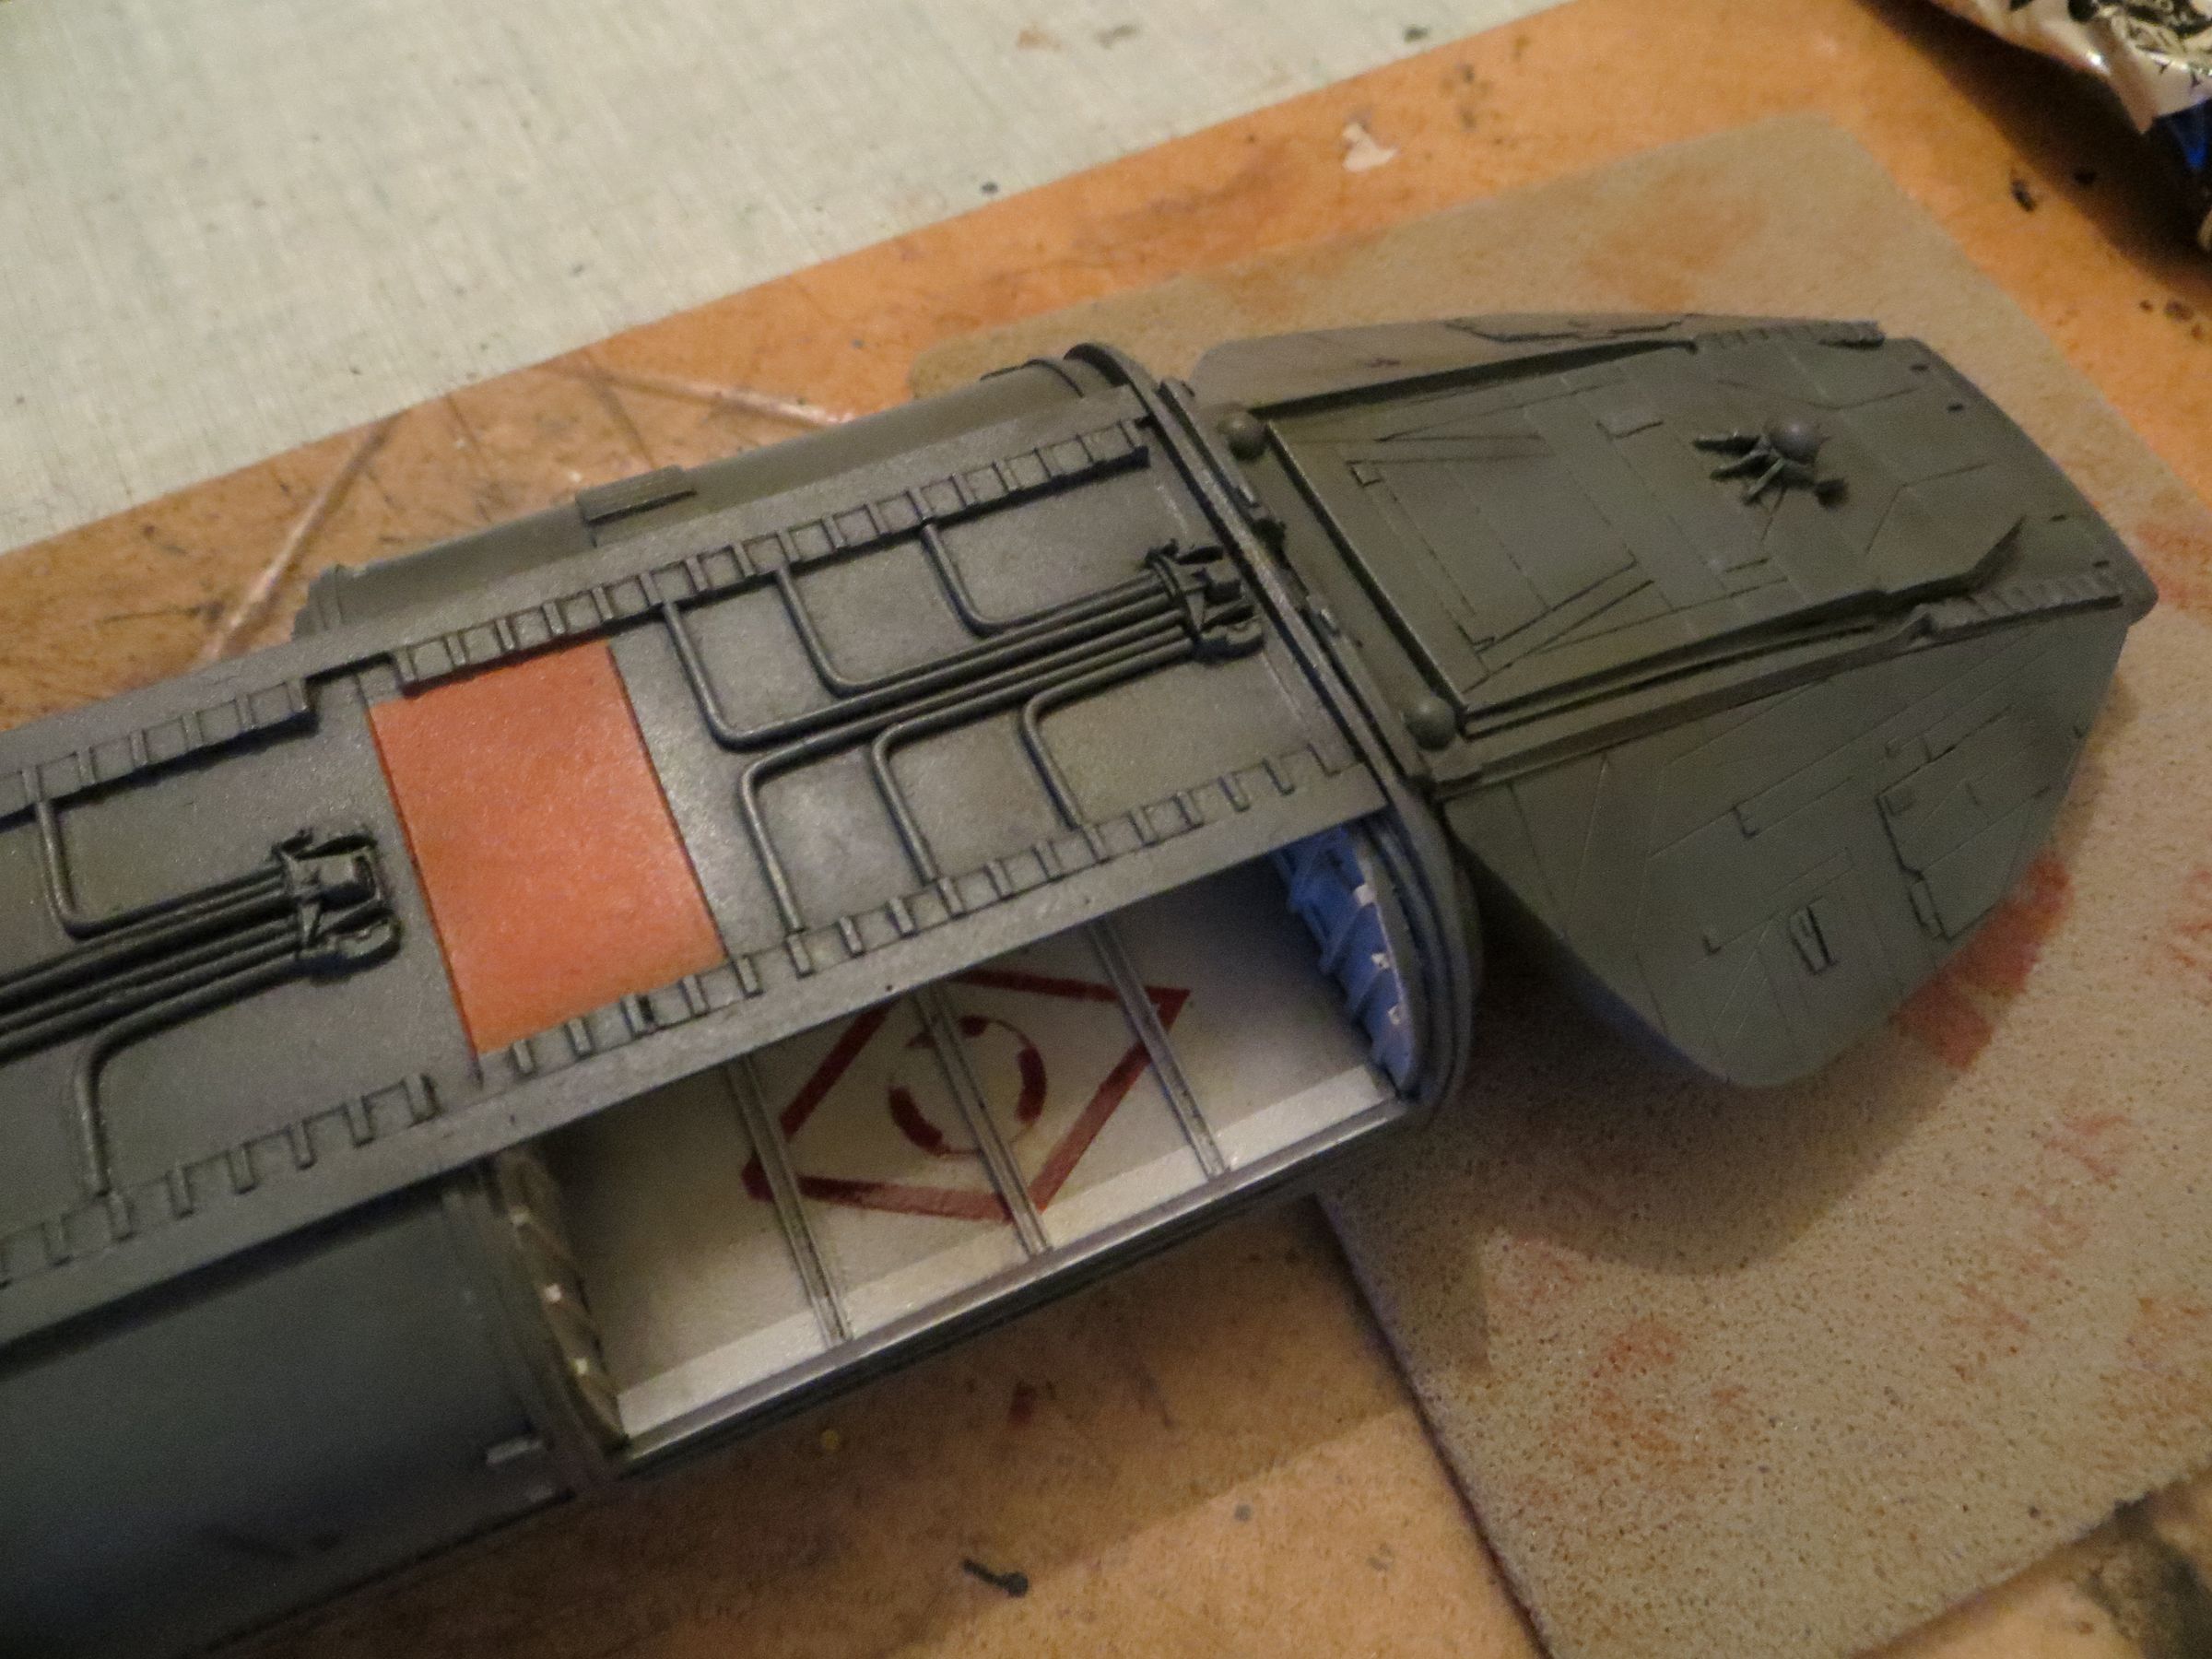
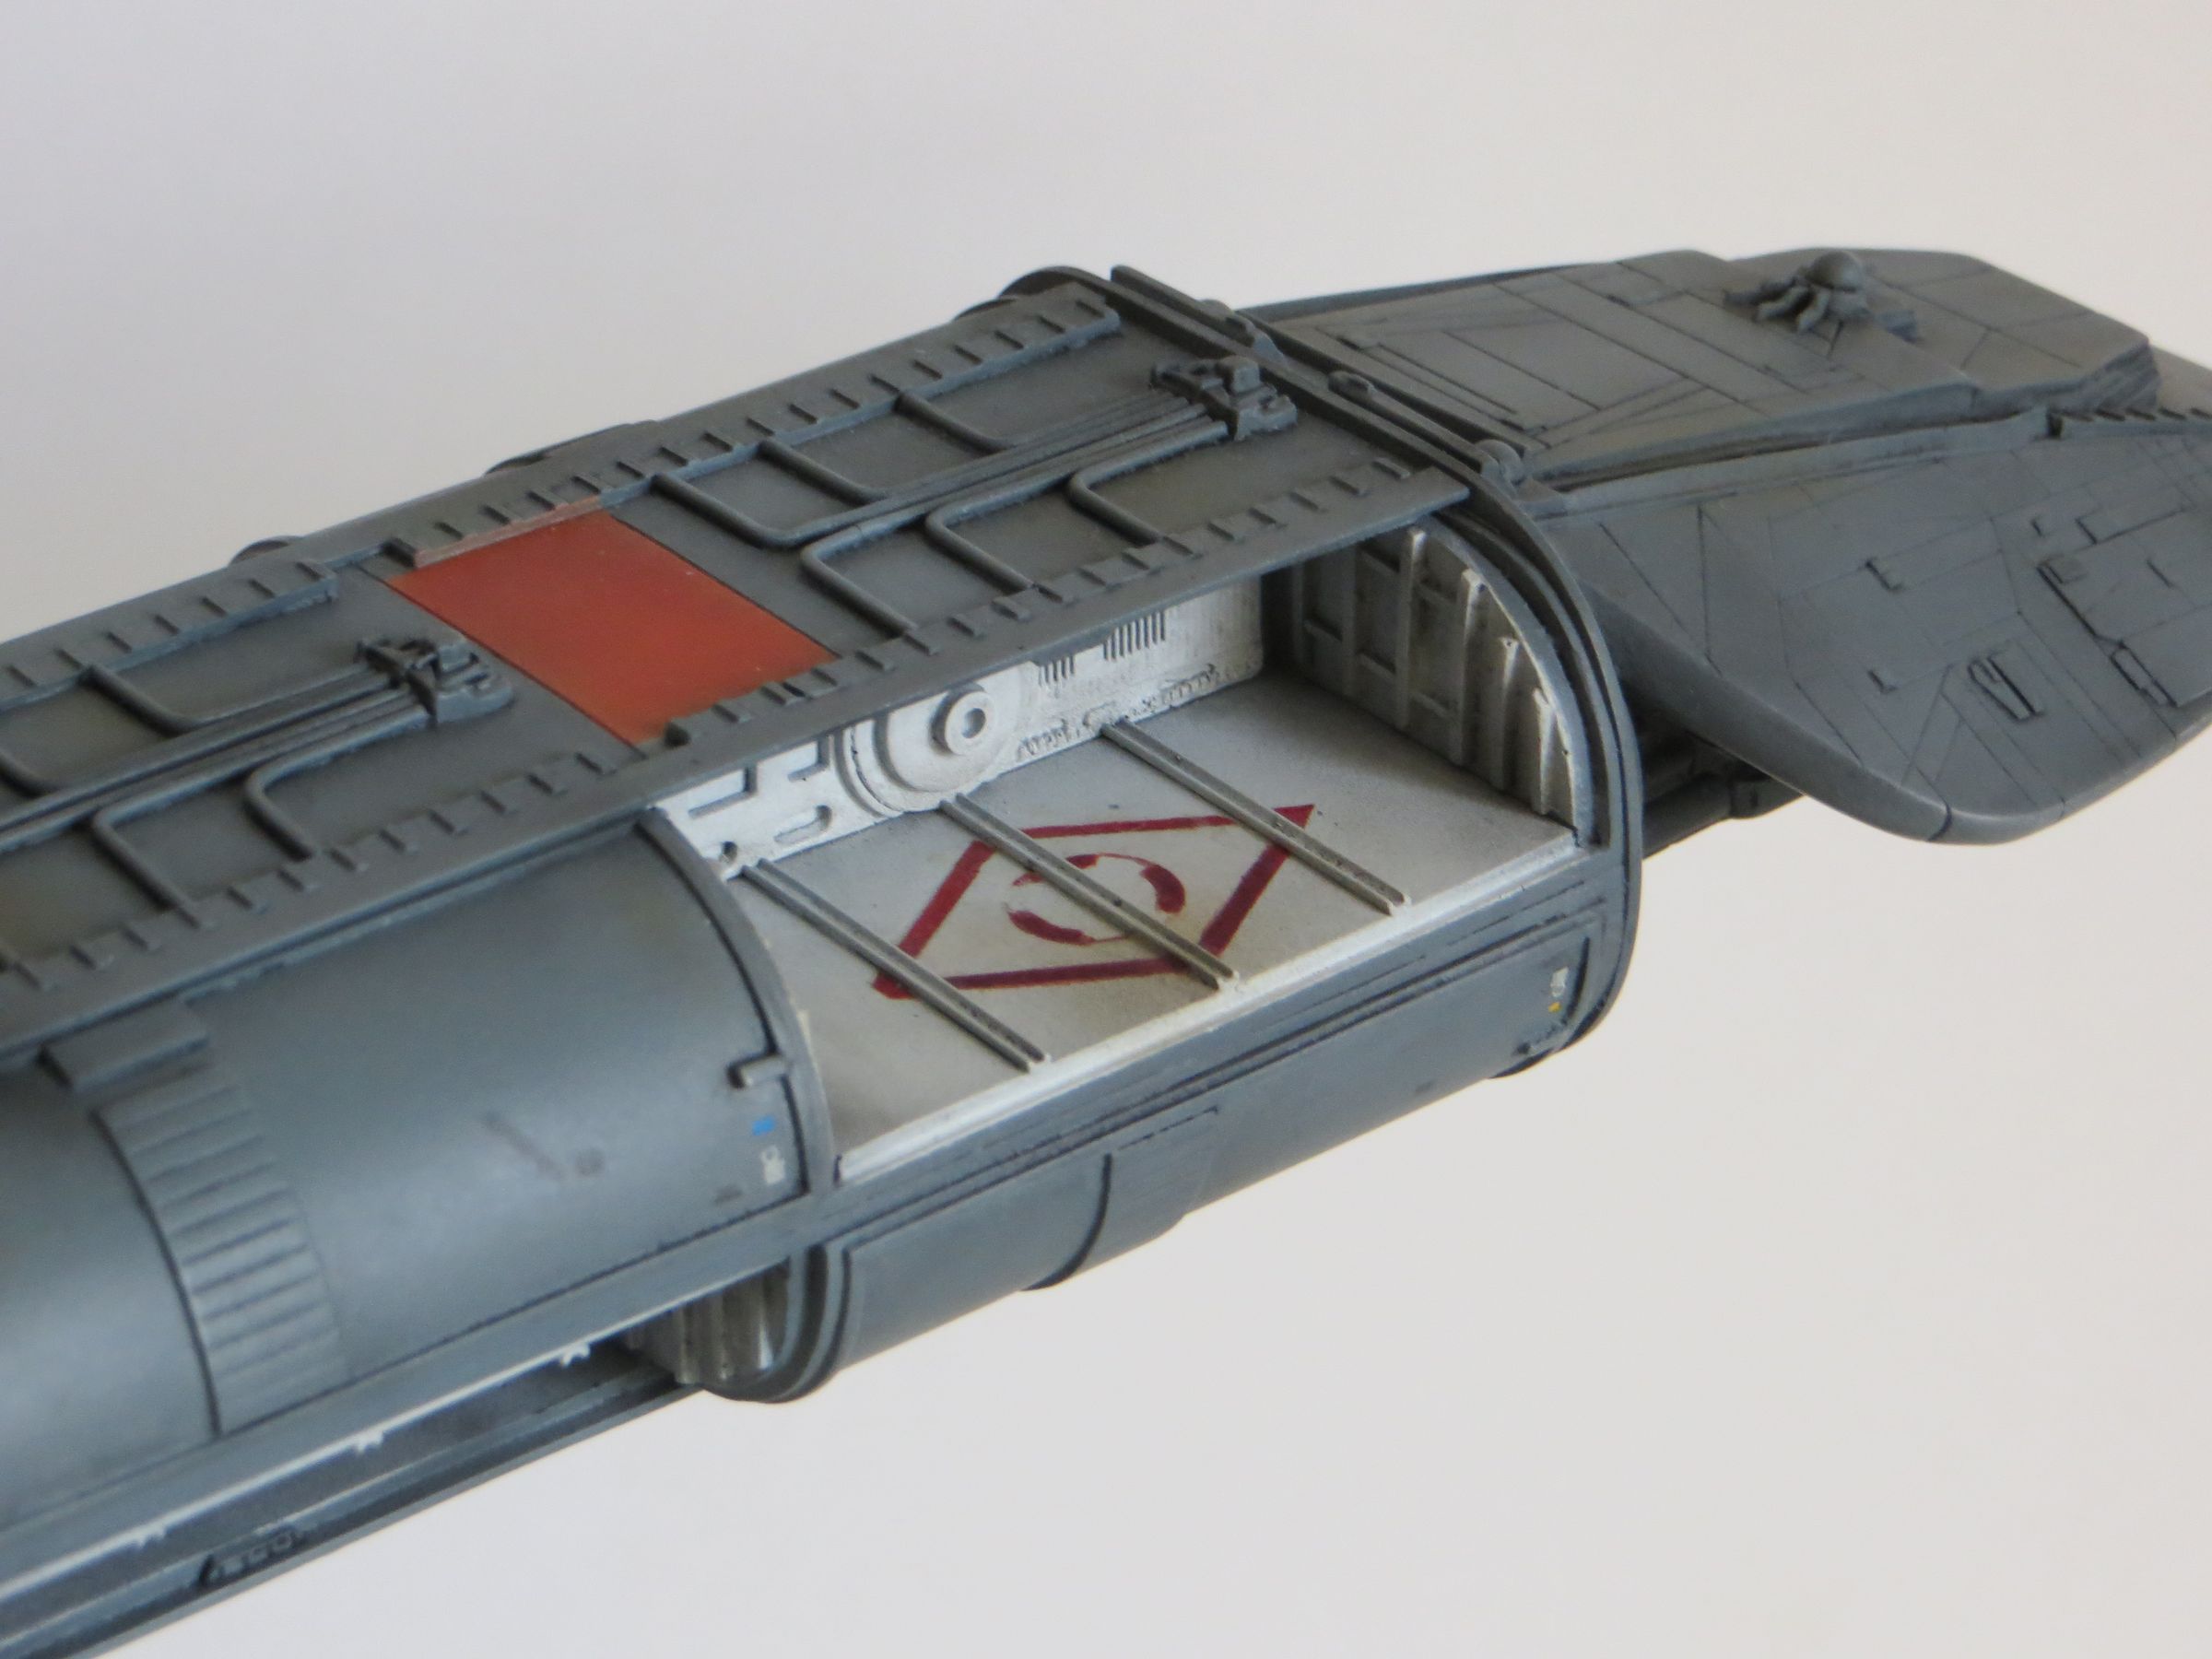
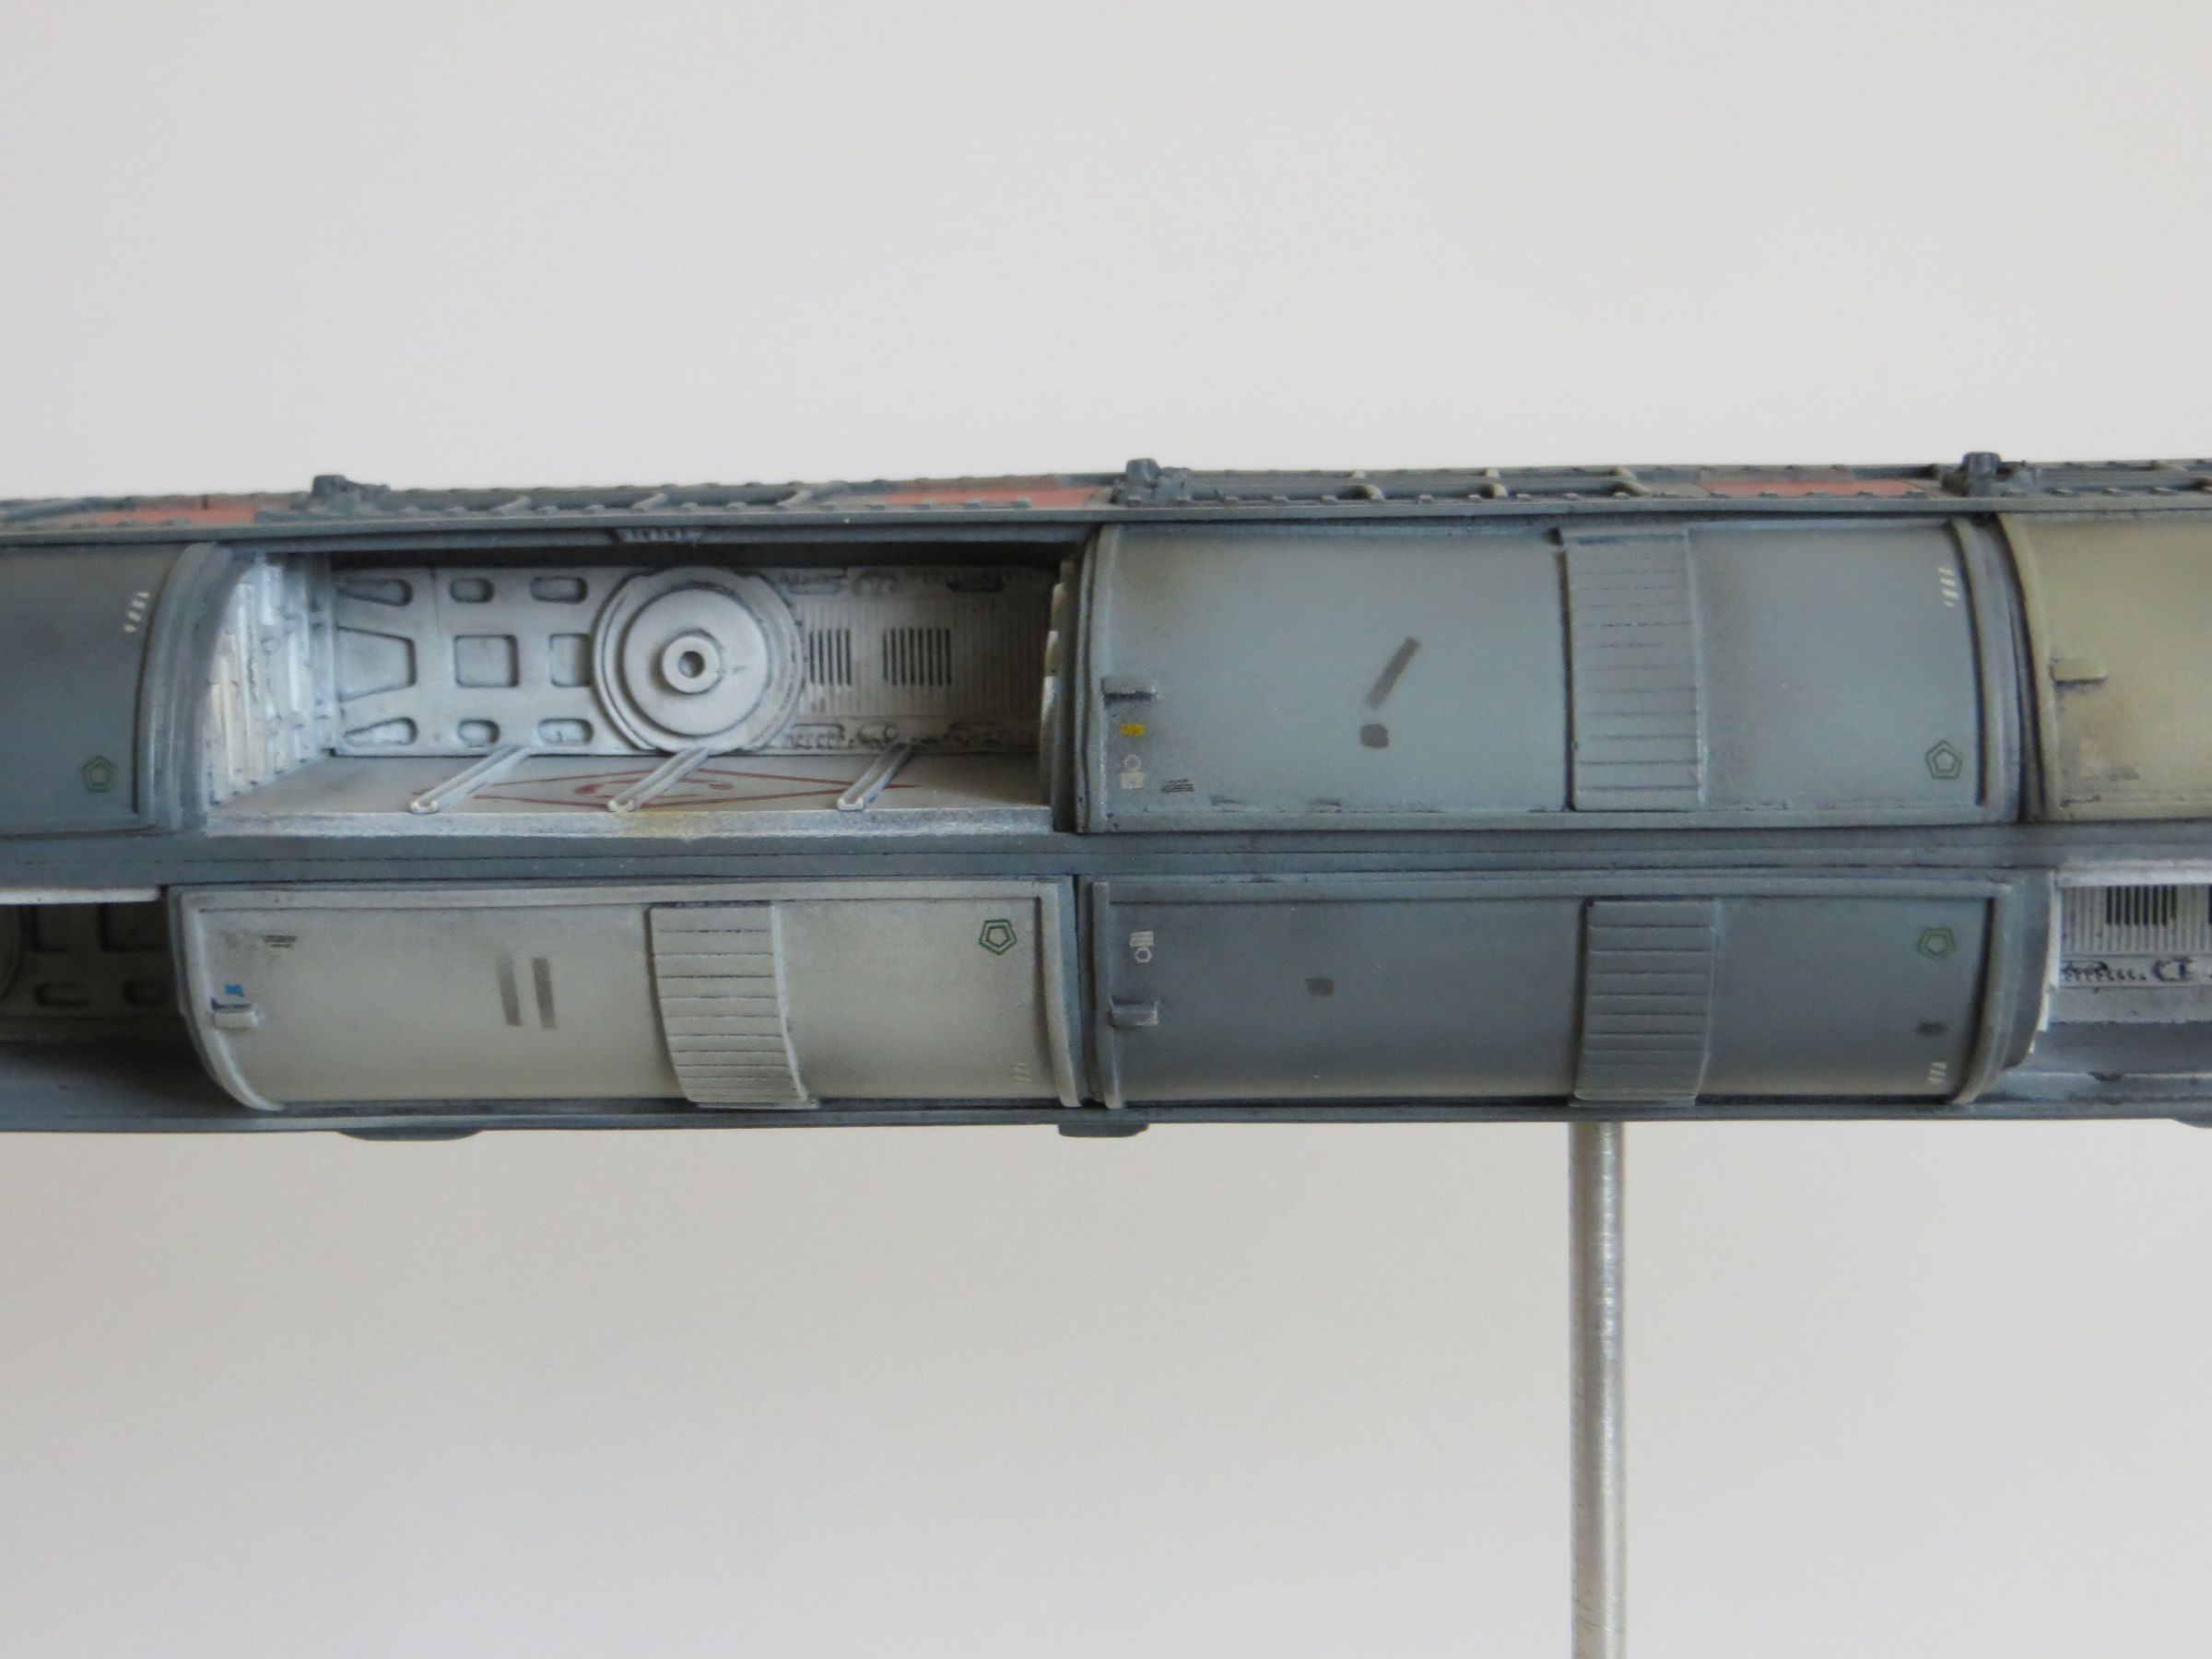
This allows to represent all bays opened, all closed or a mix of both.
I will go with an opened / closed mix following the studio model.
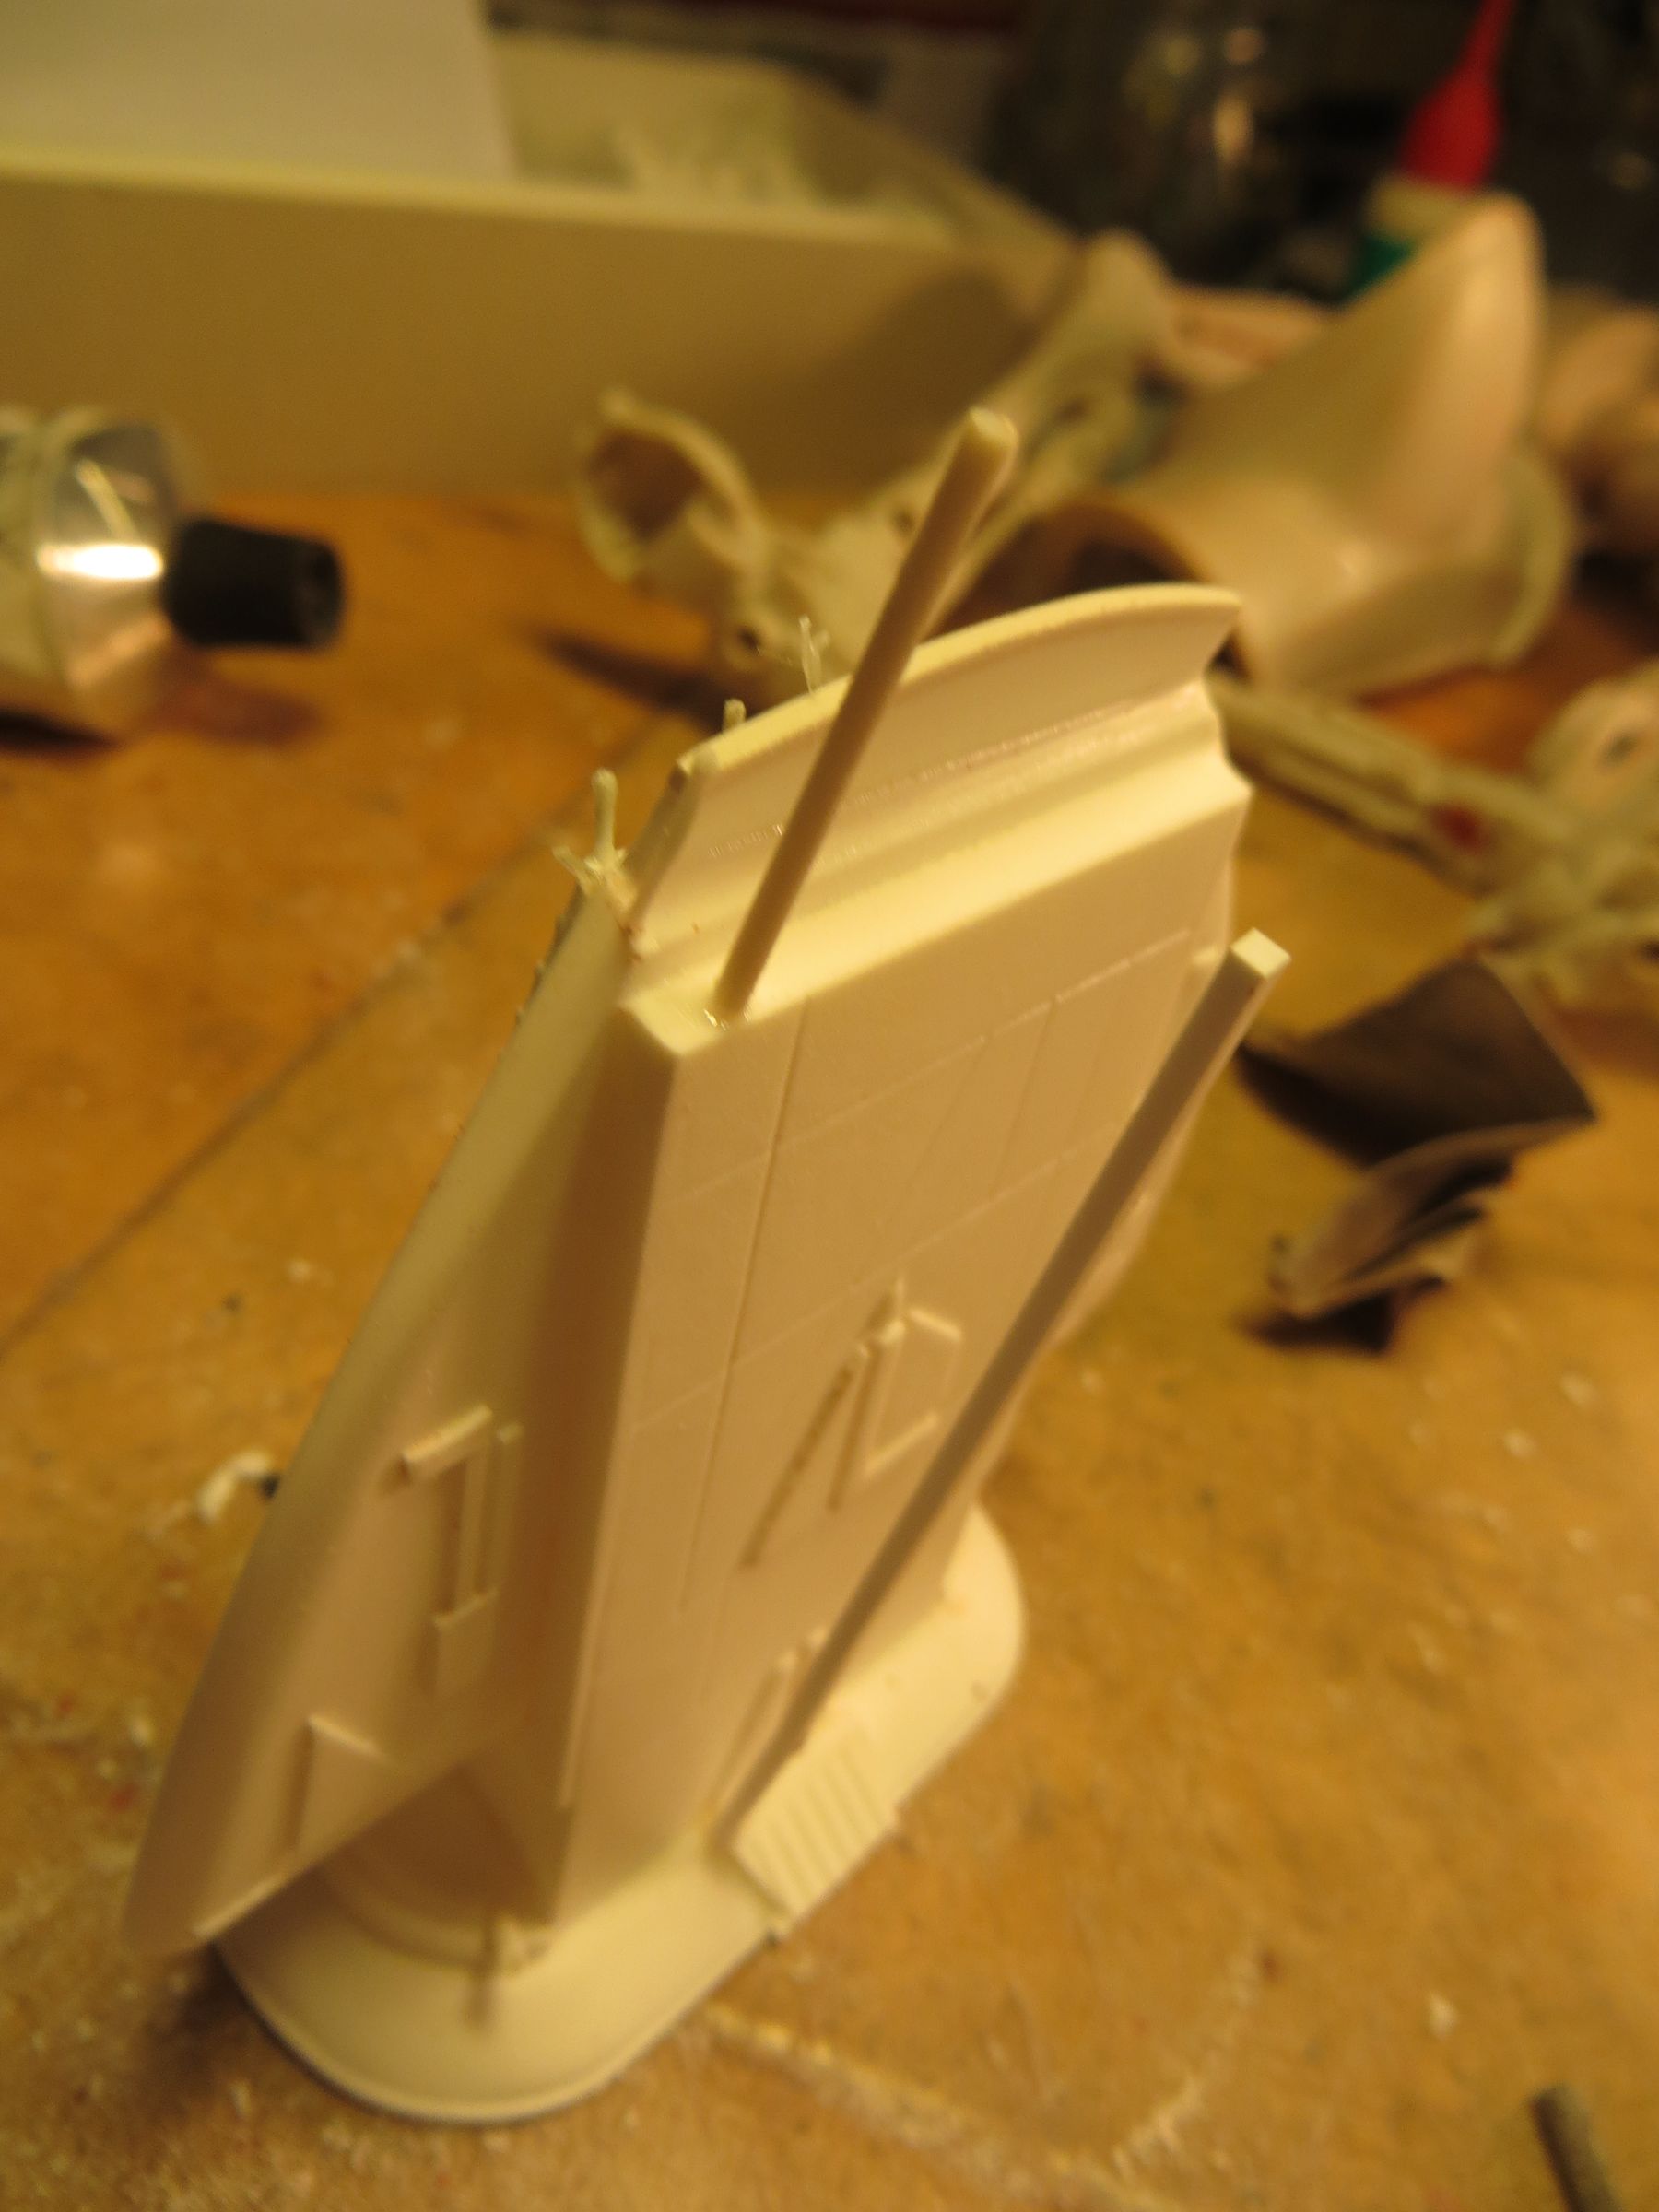
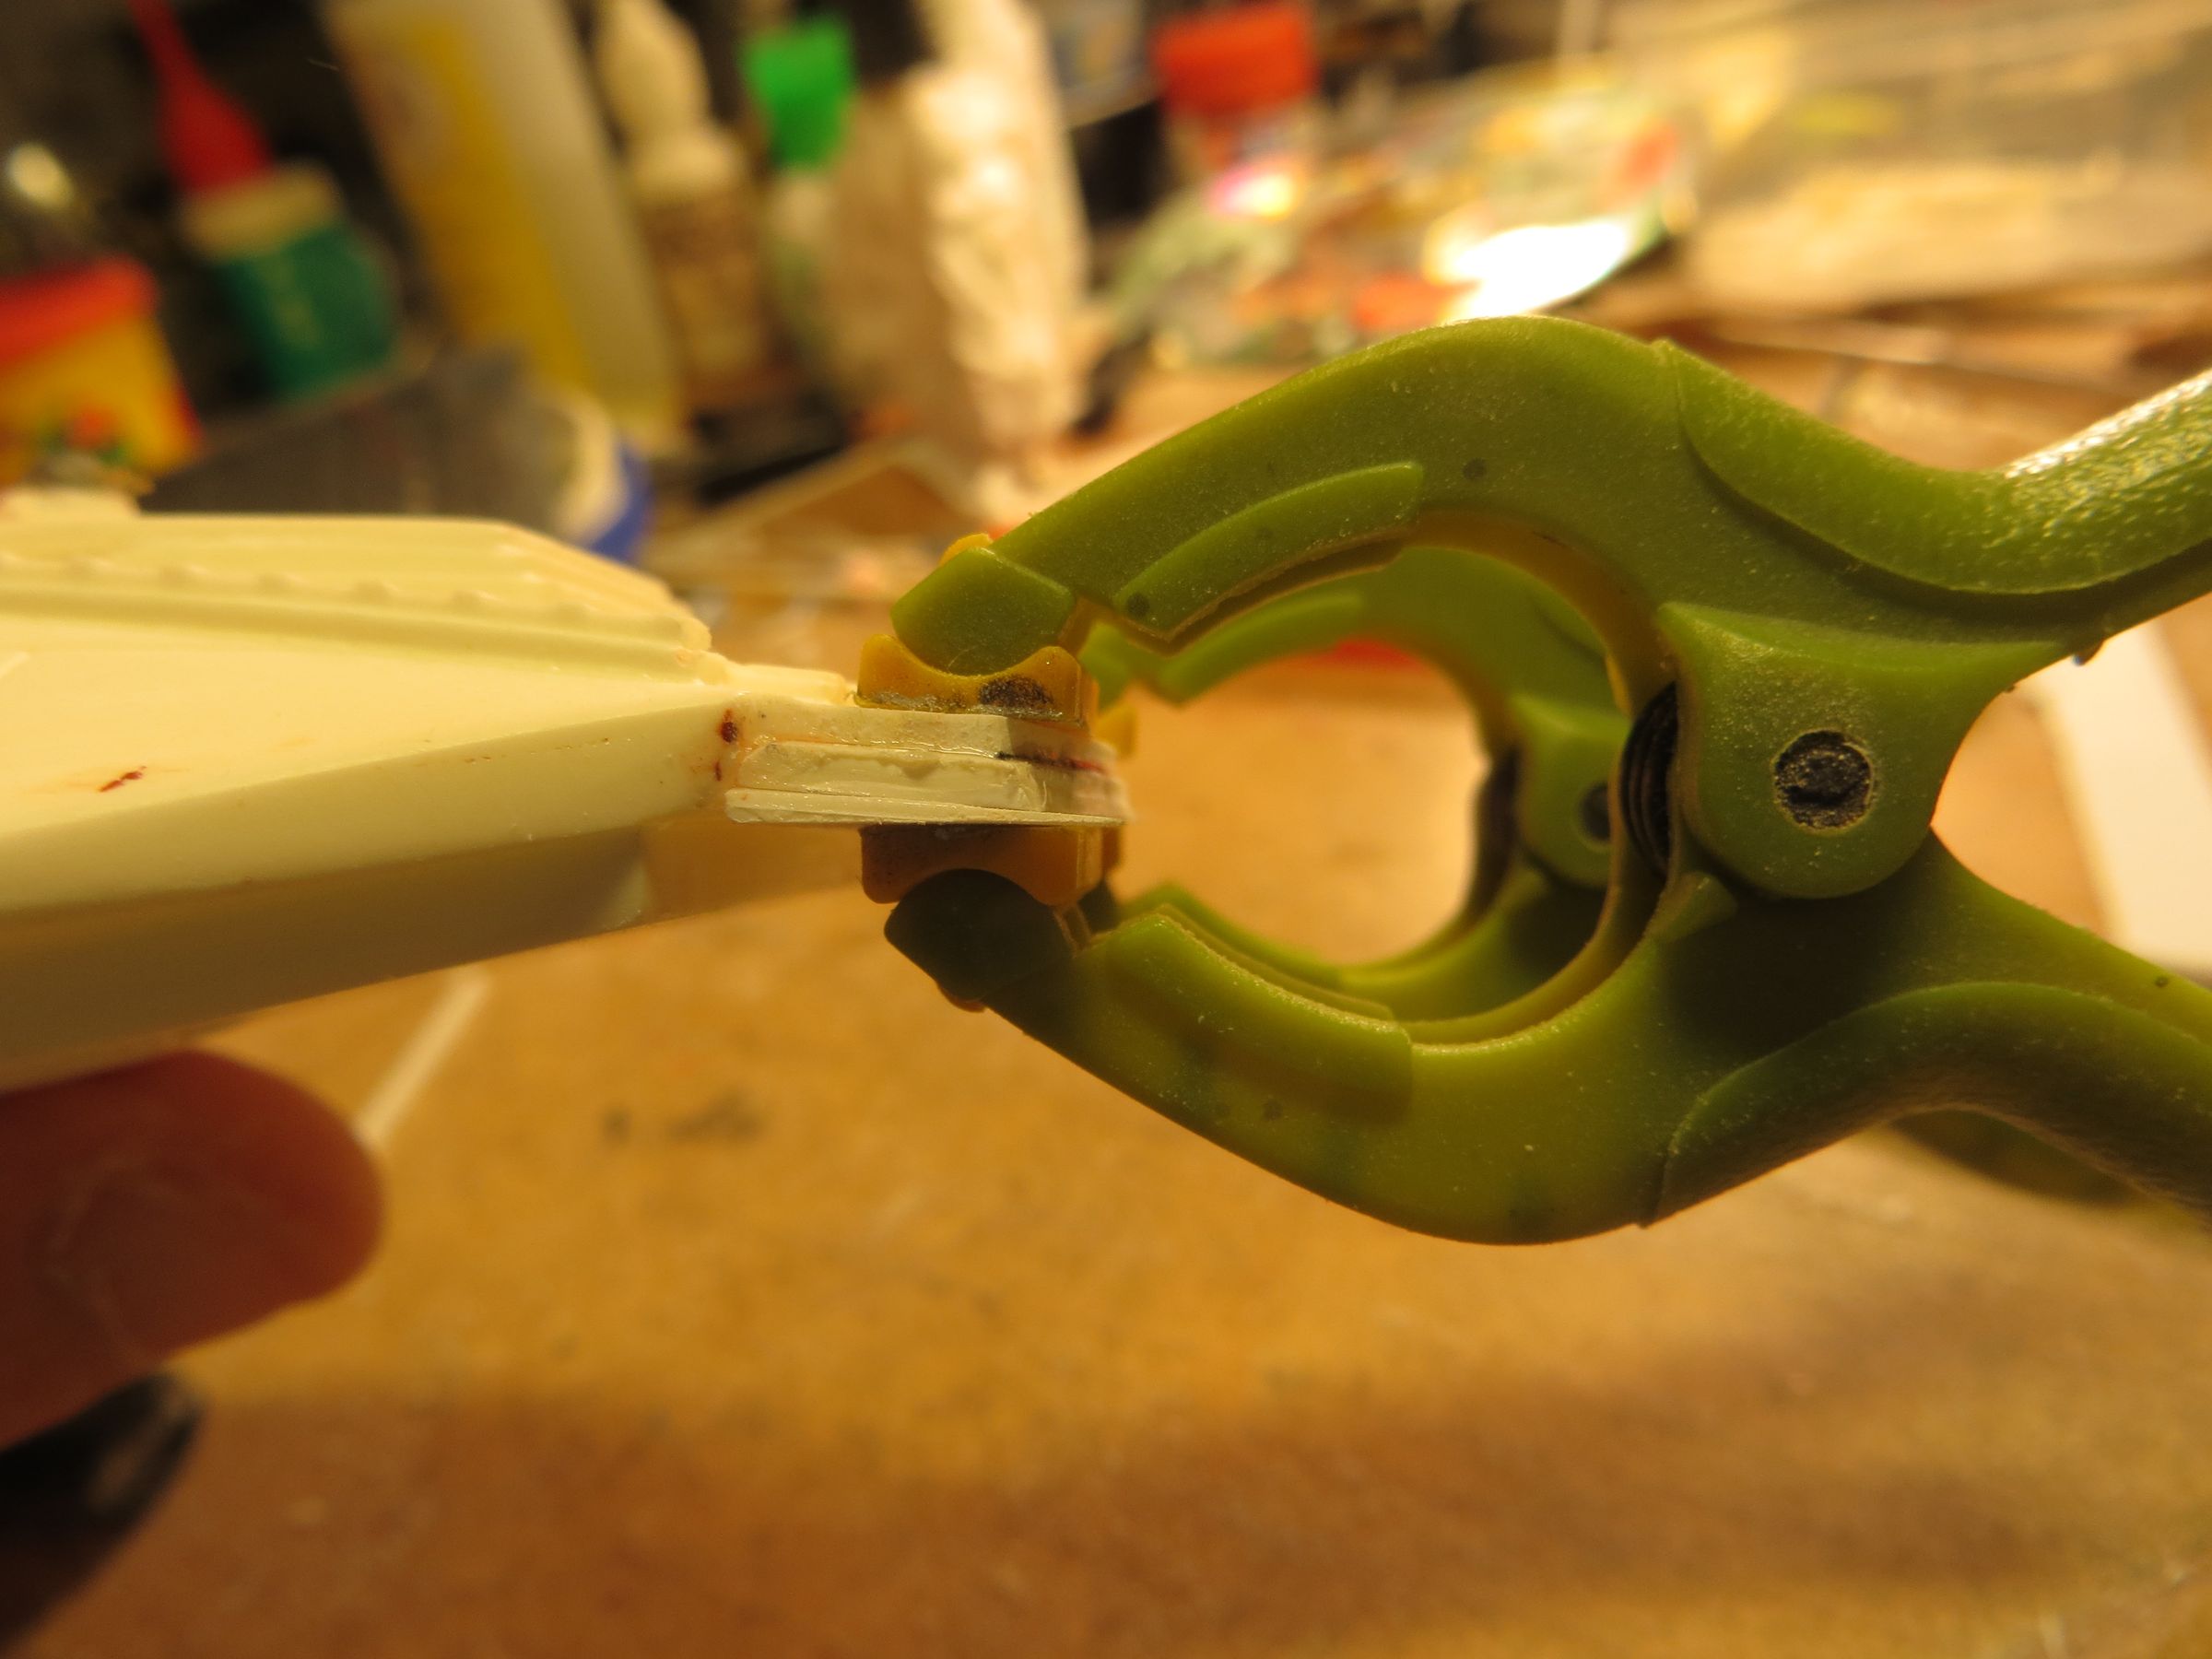
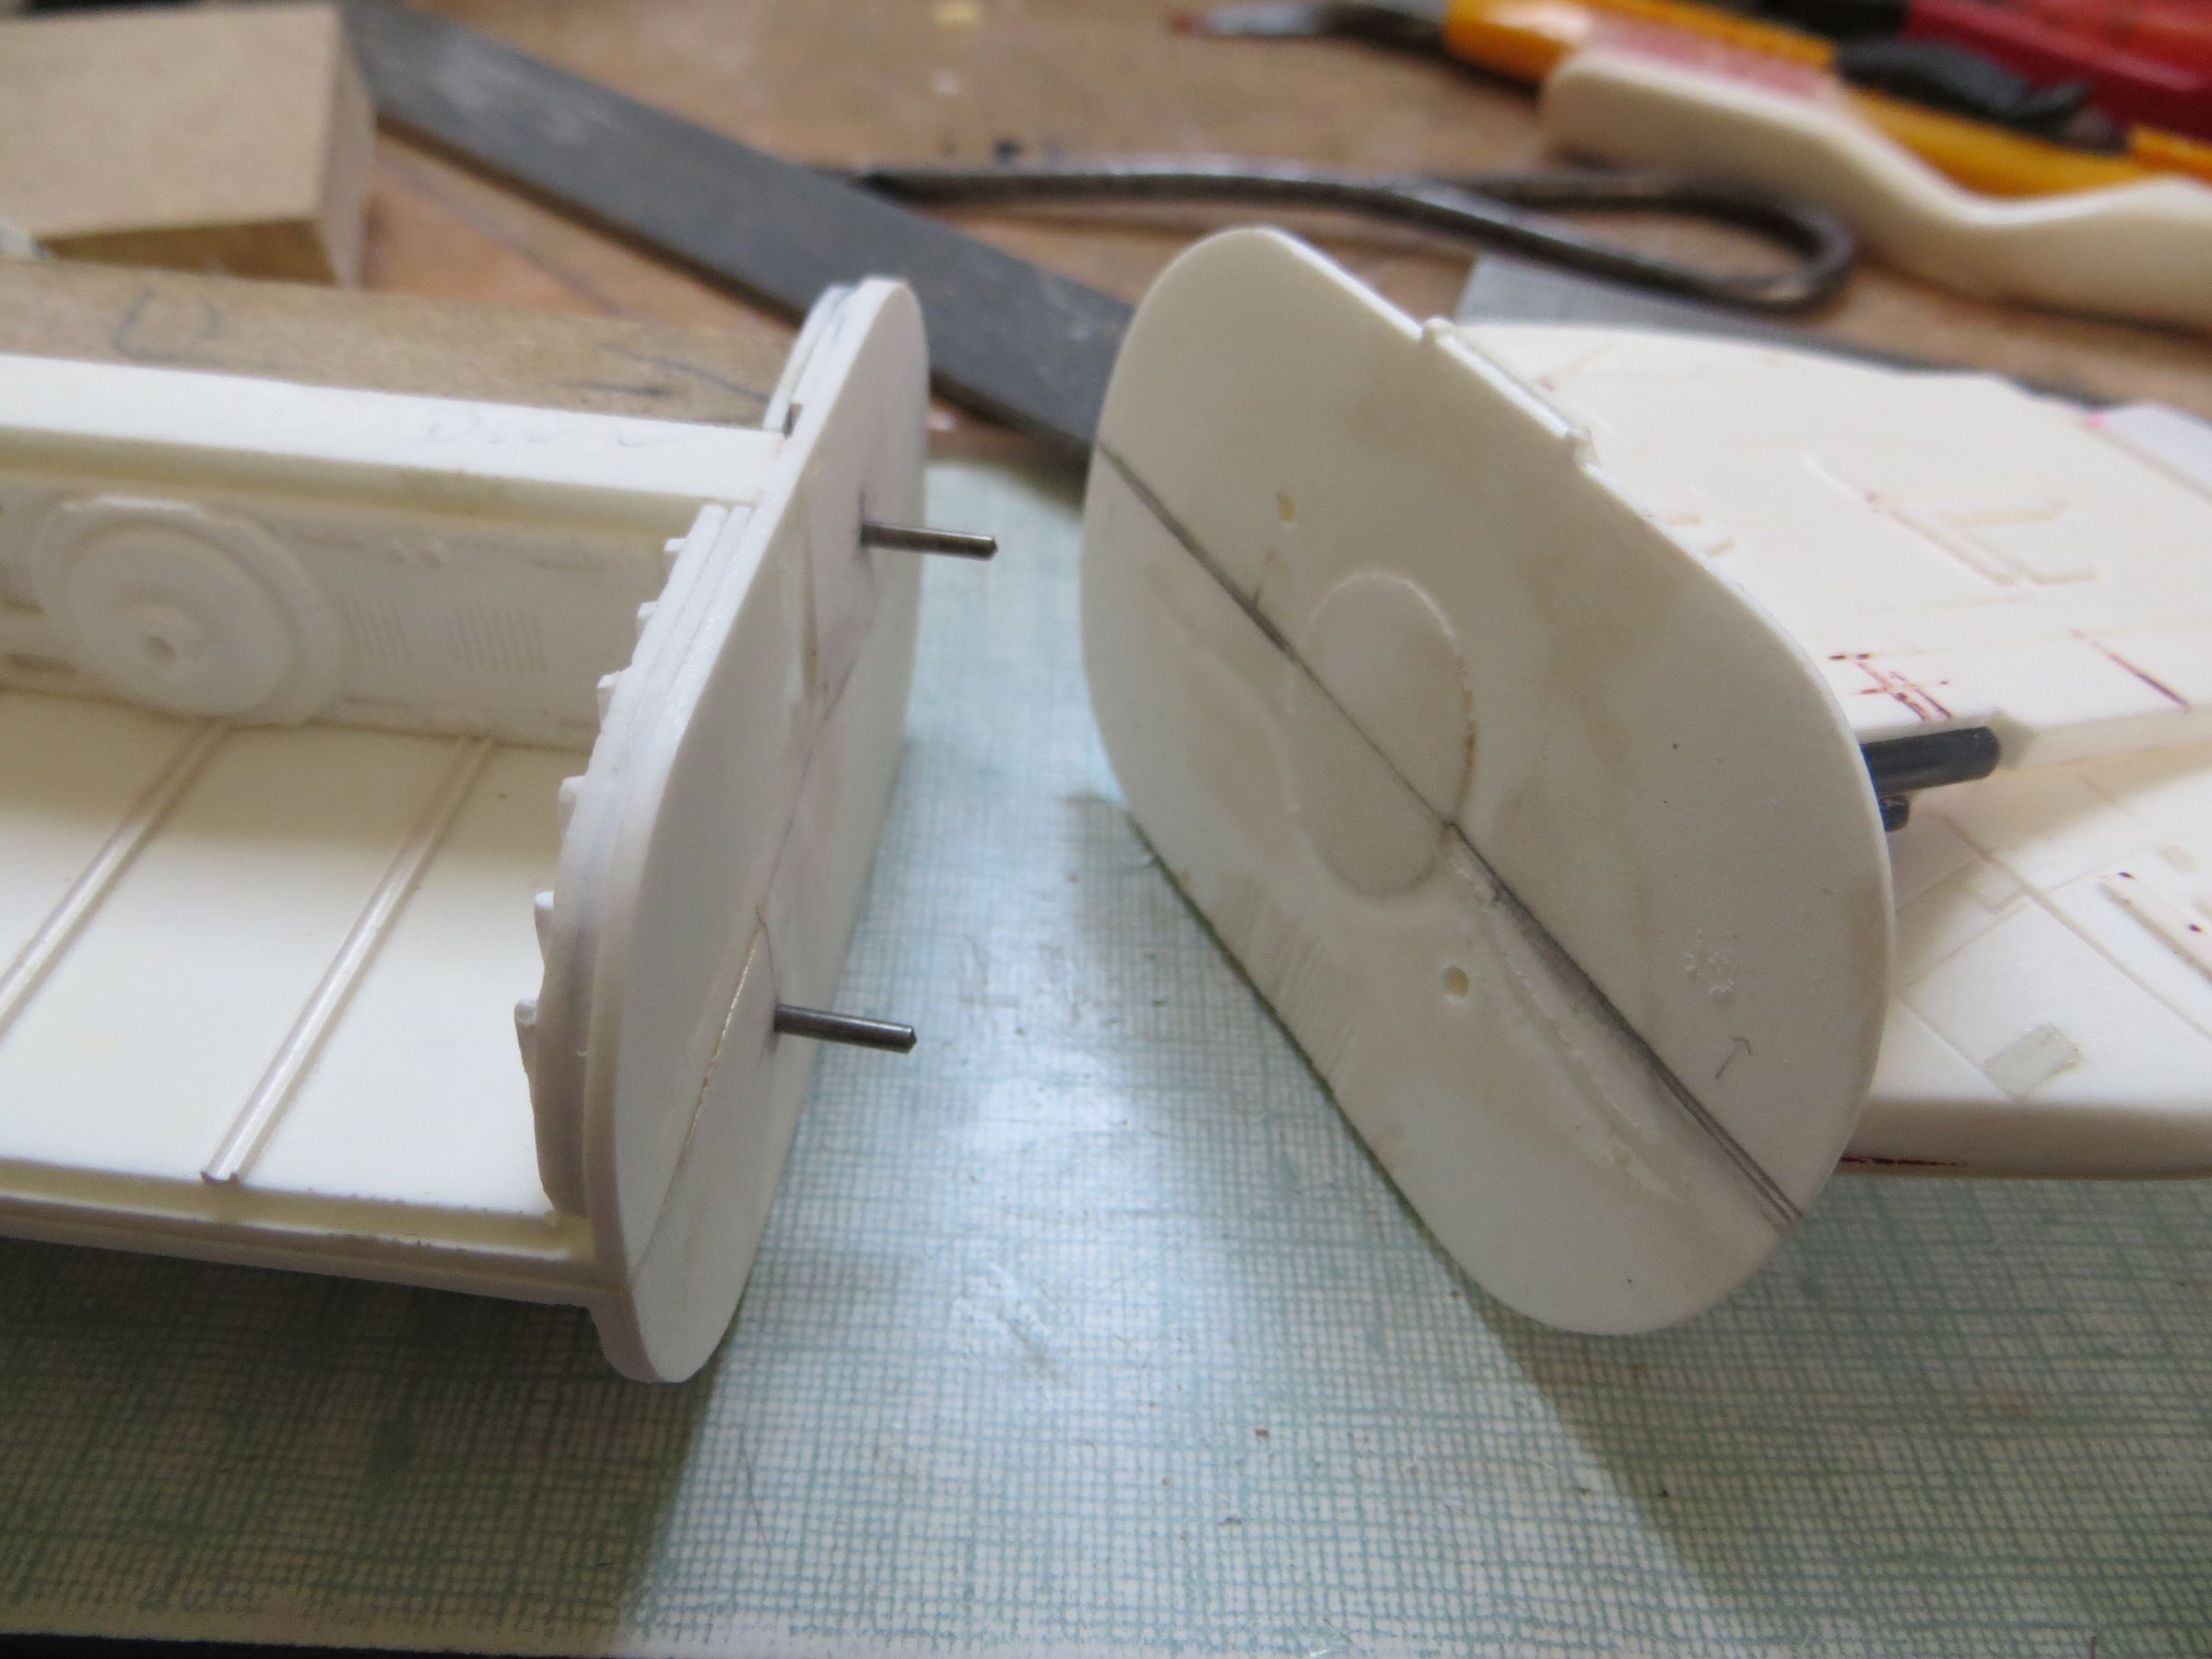
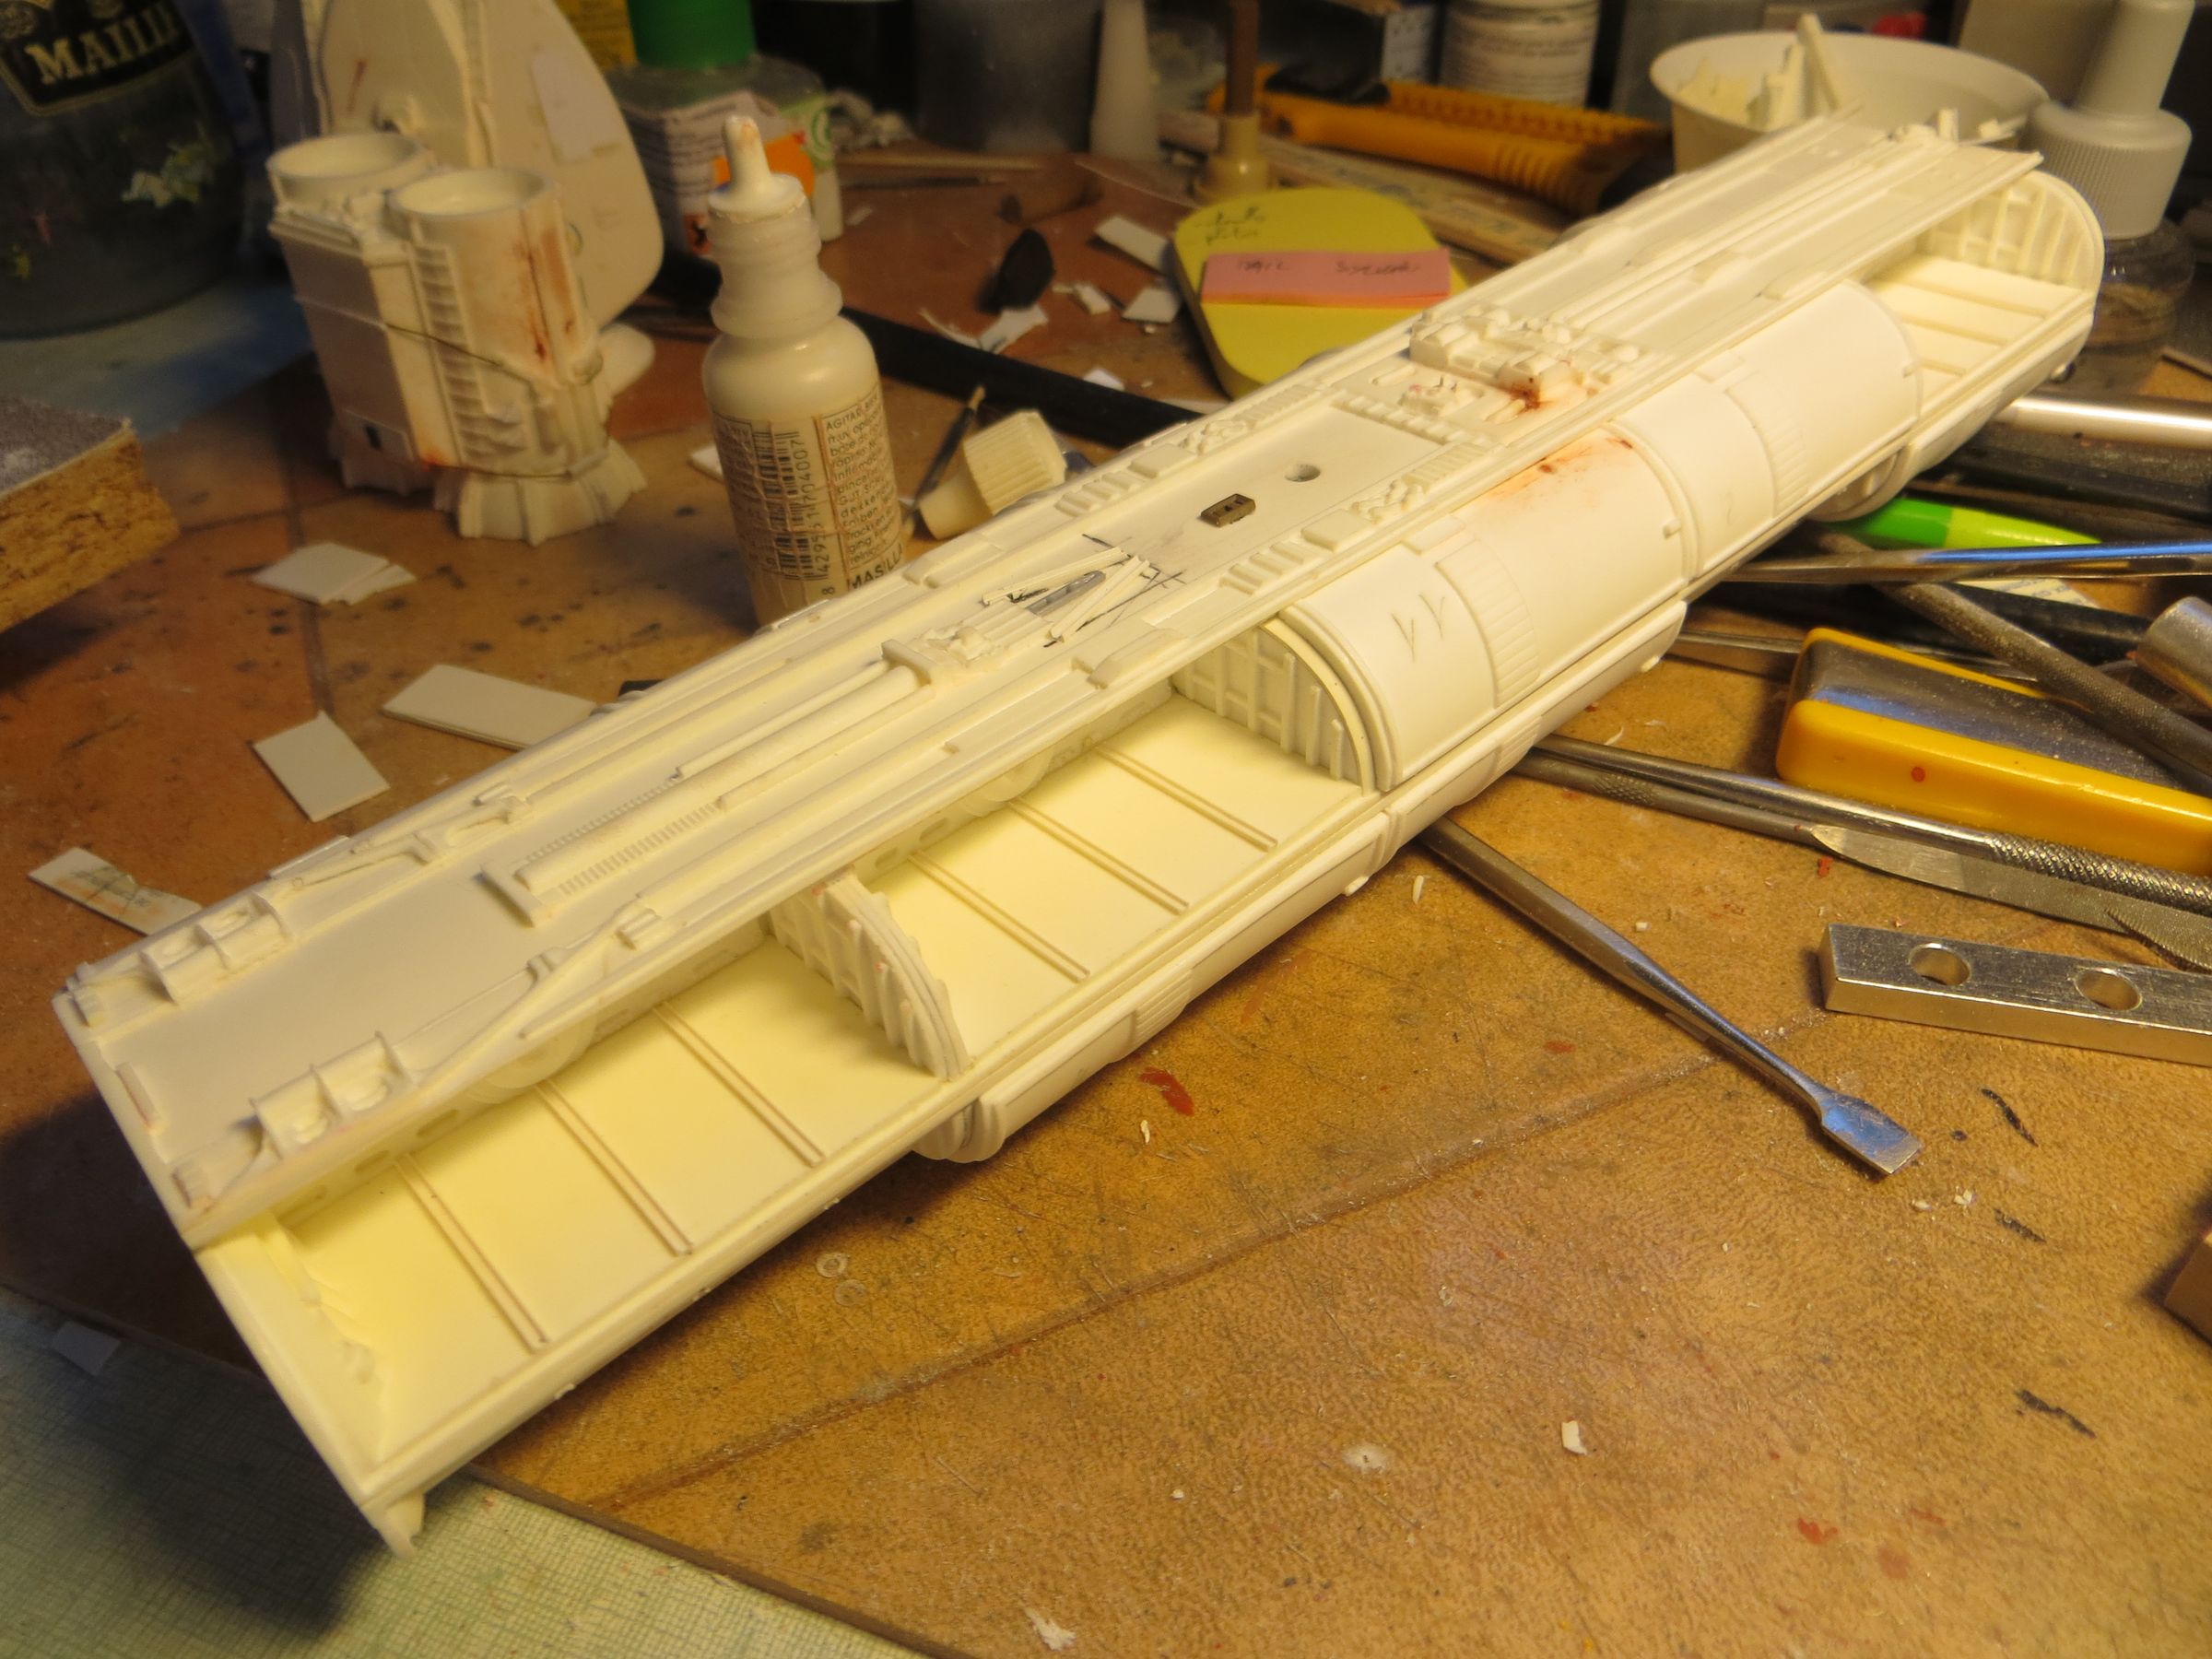
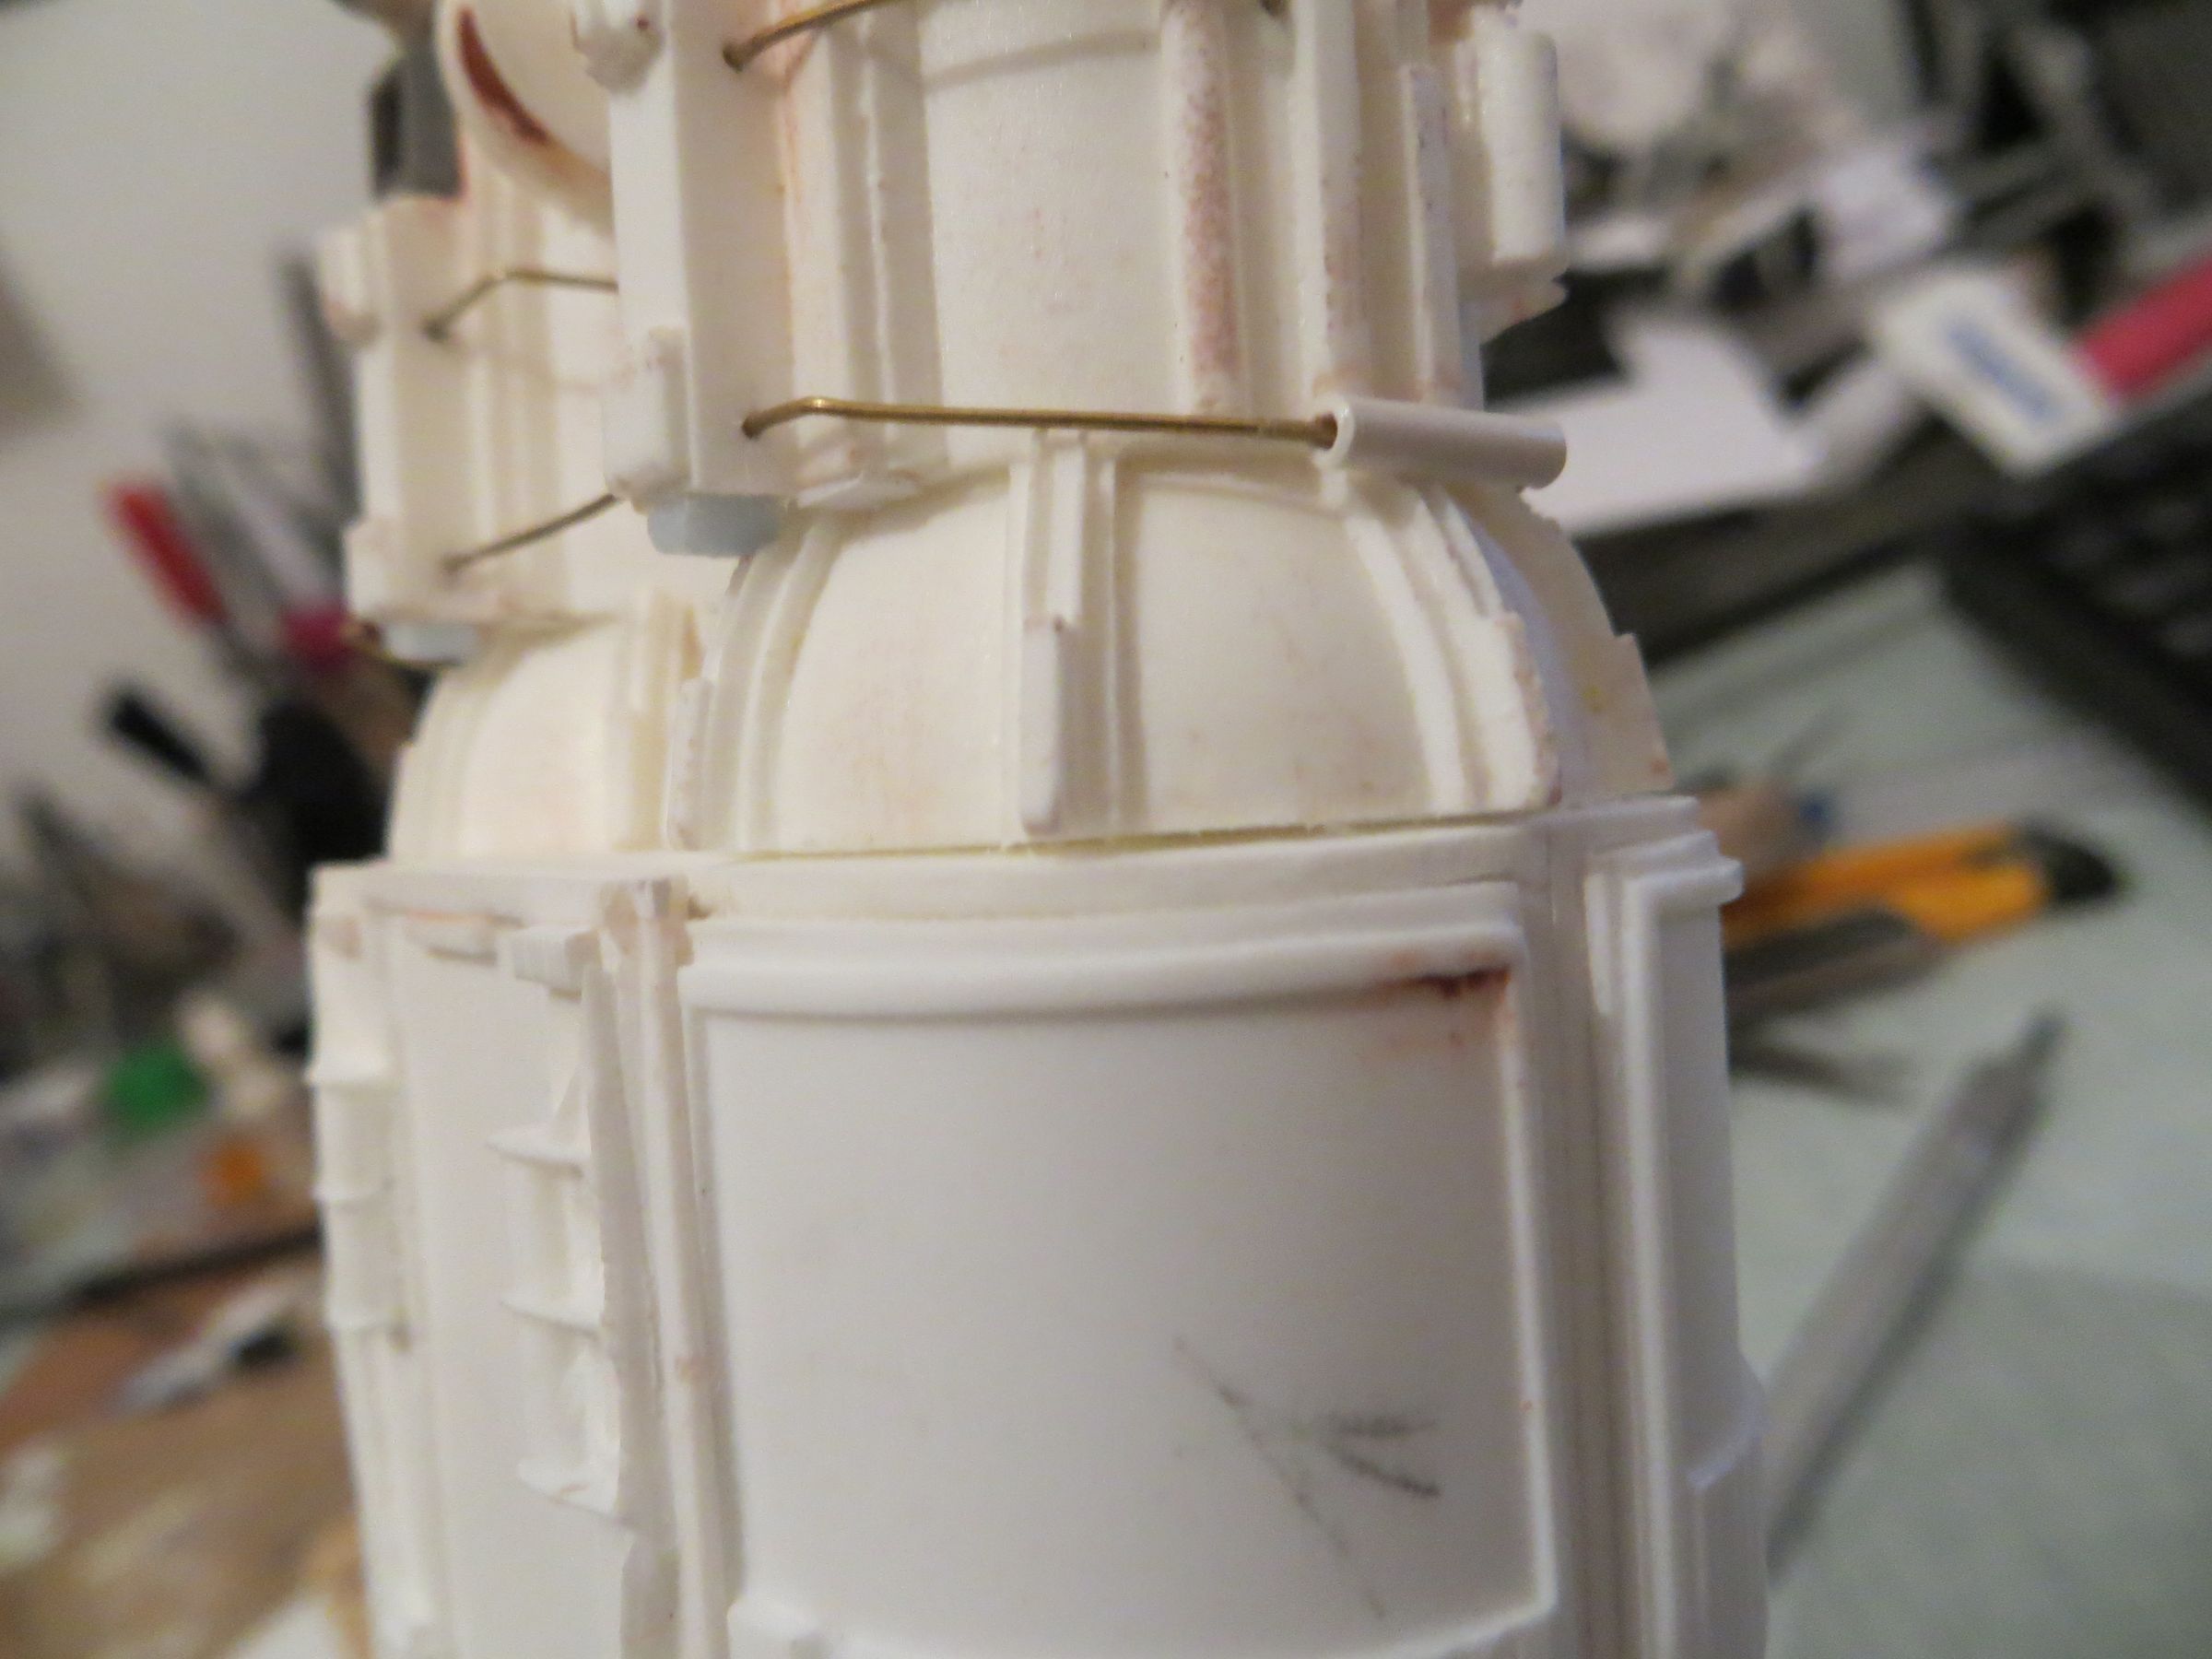
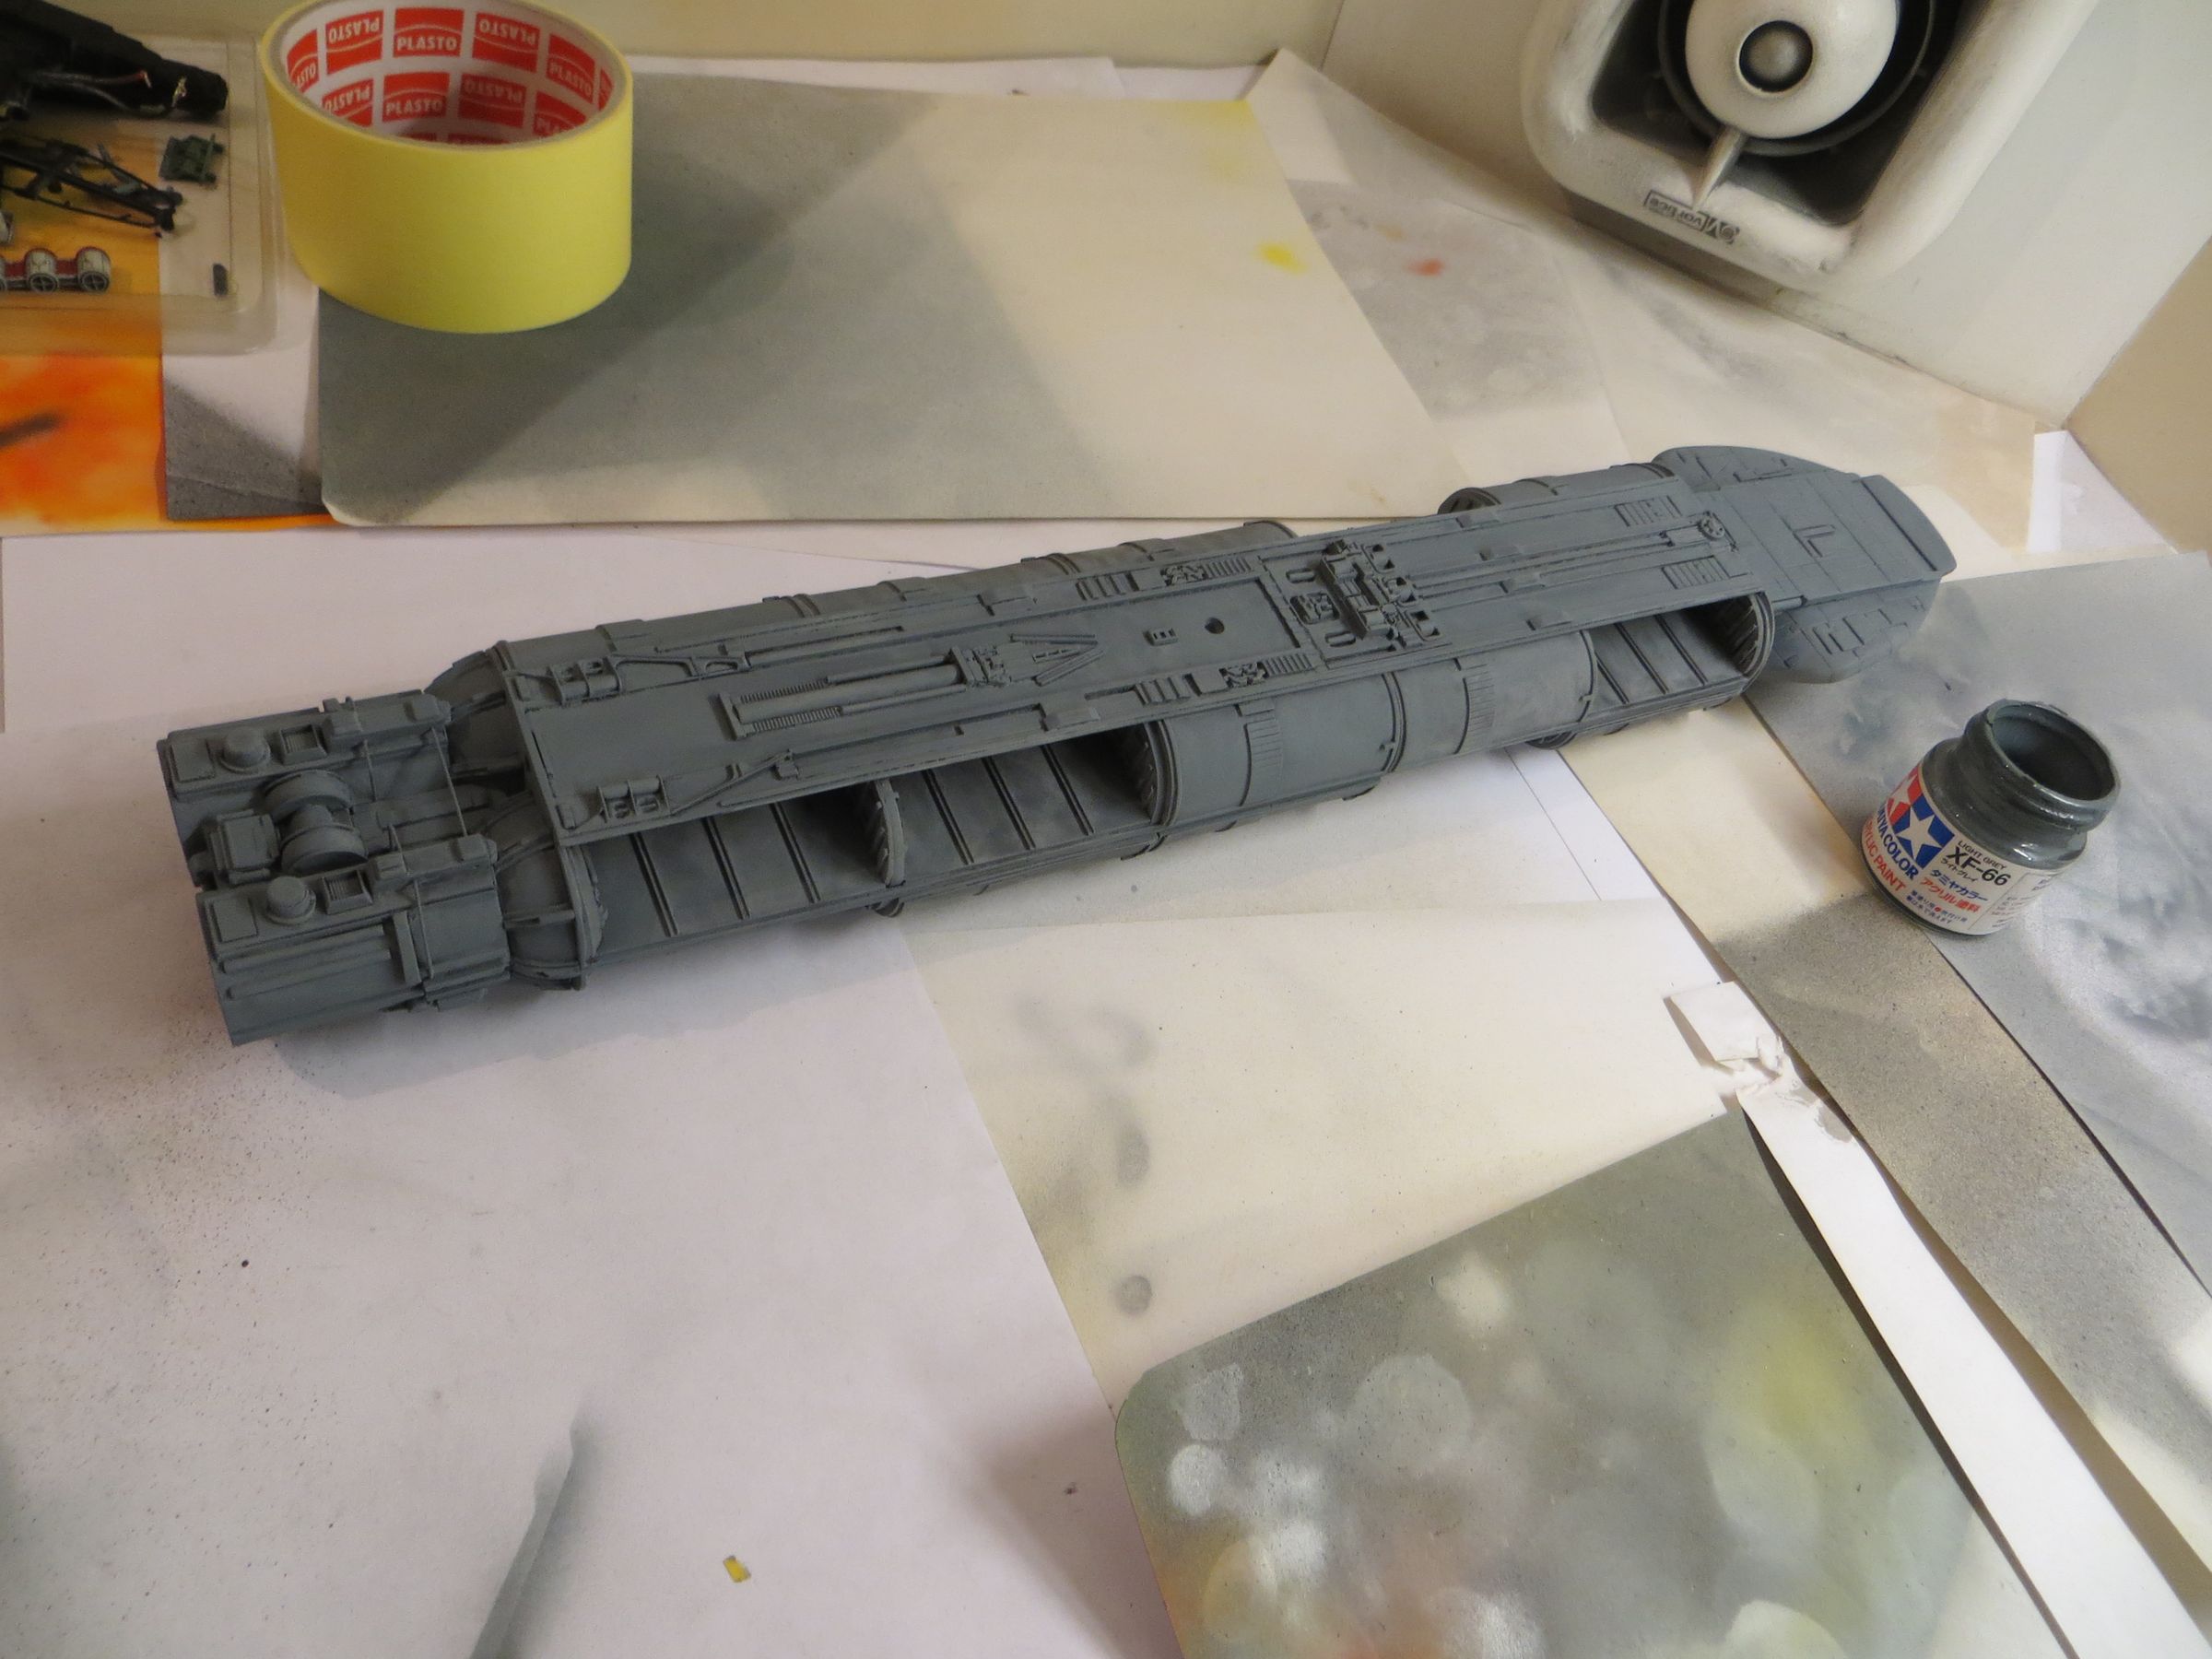
The internal walls were missing, and I started the assemblying while waiting for them.
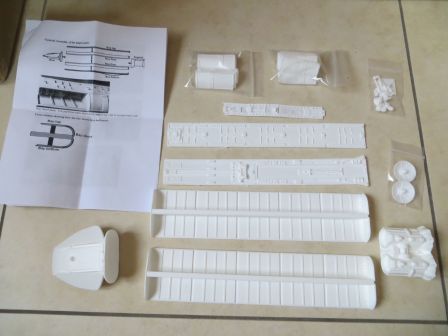
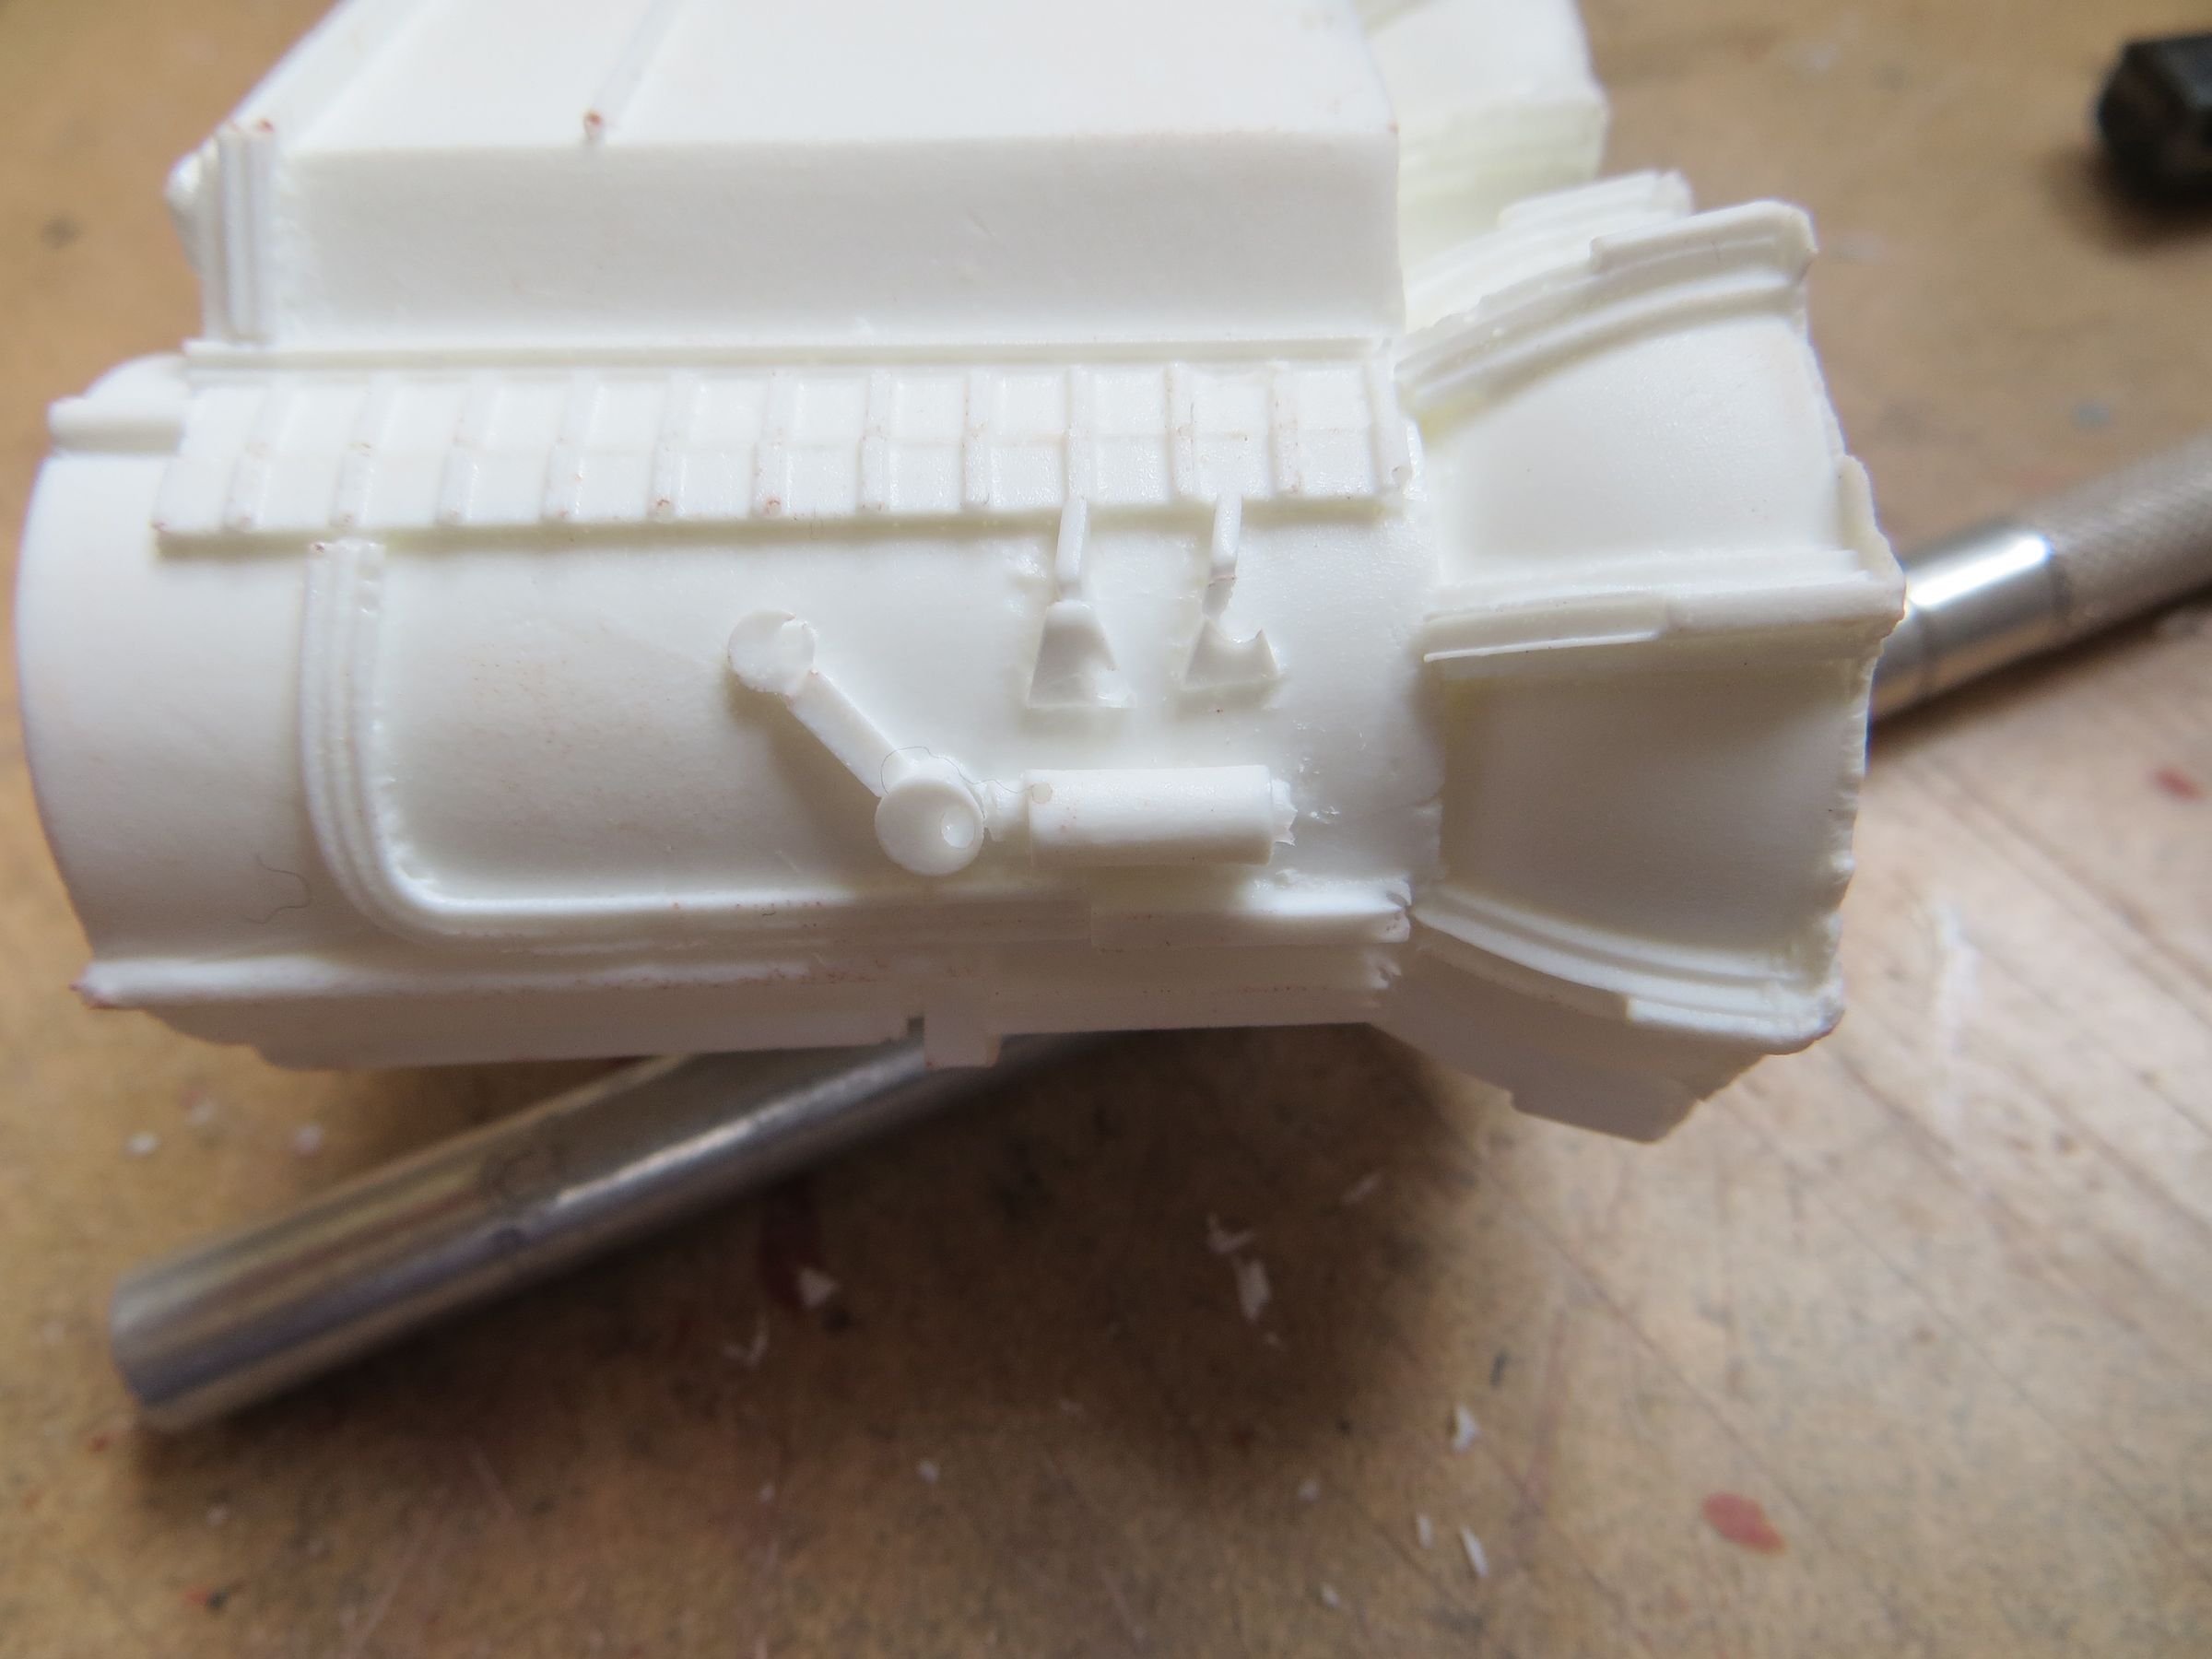
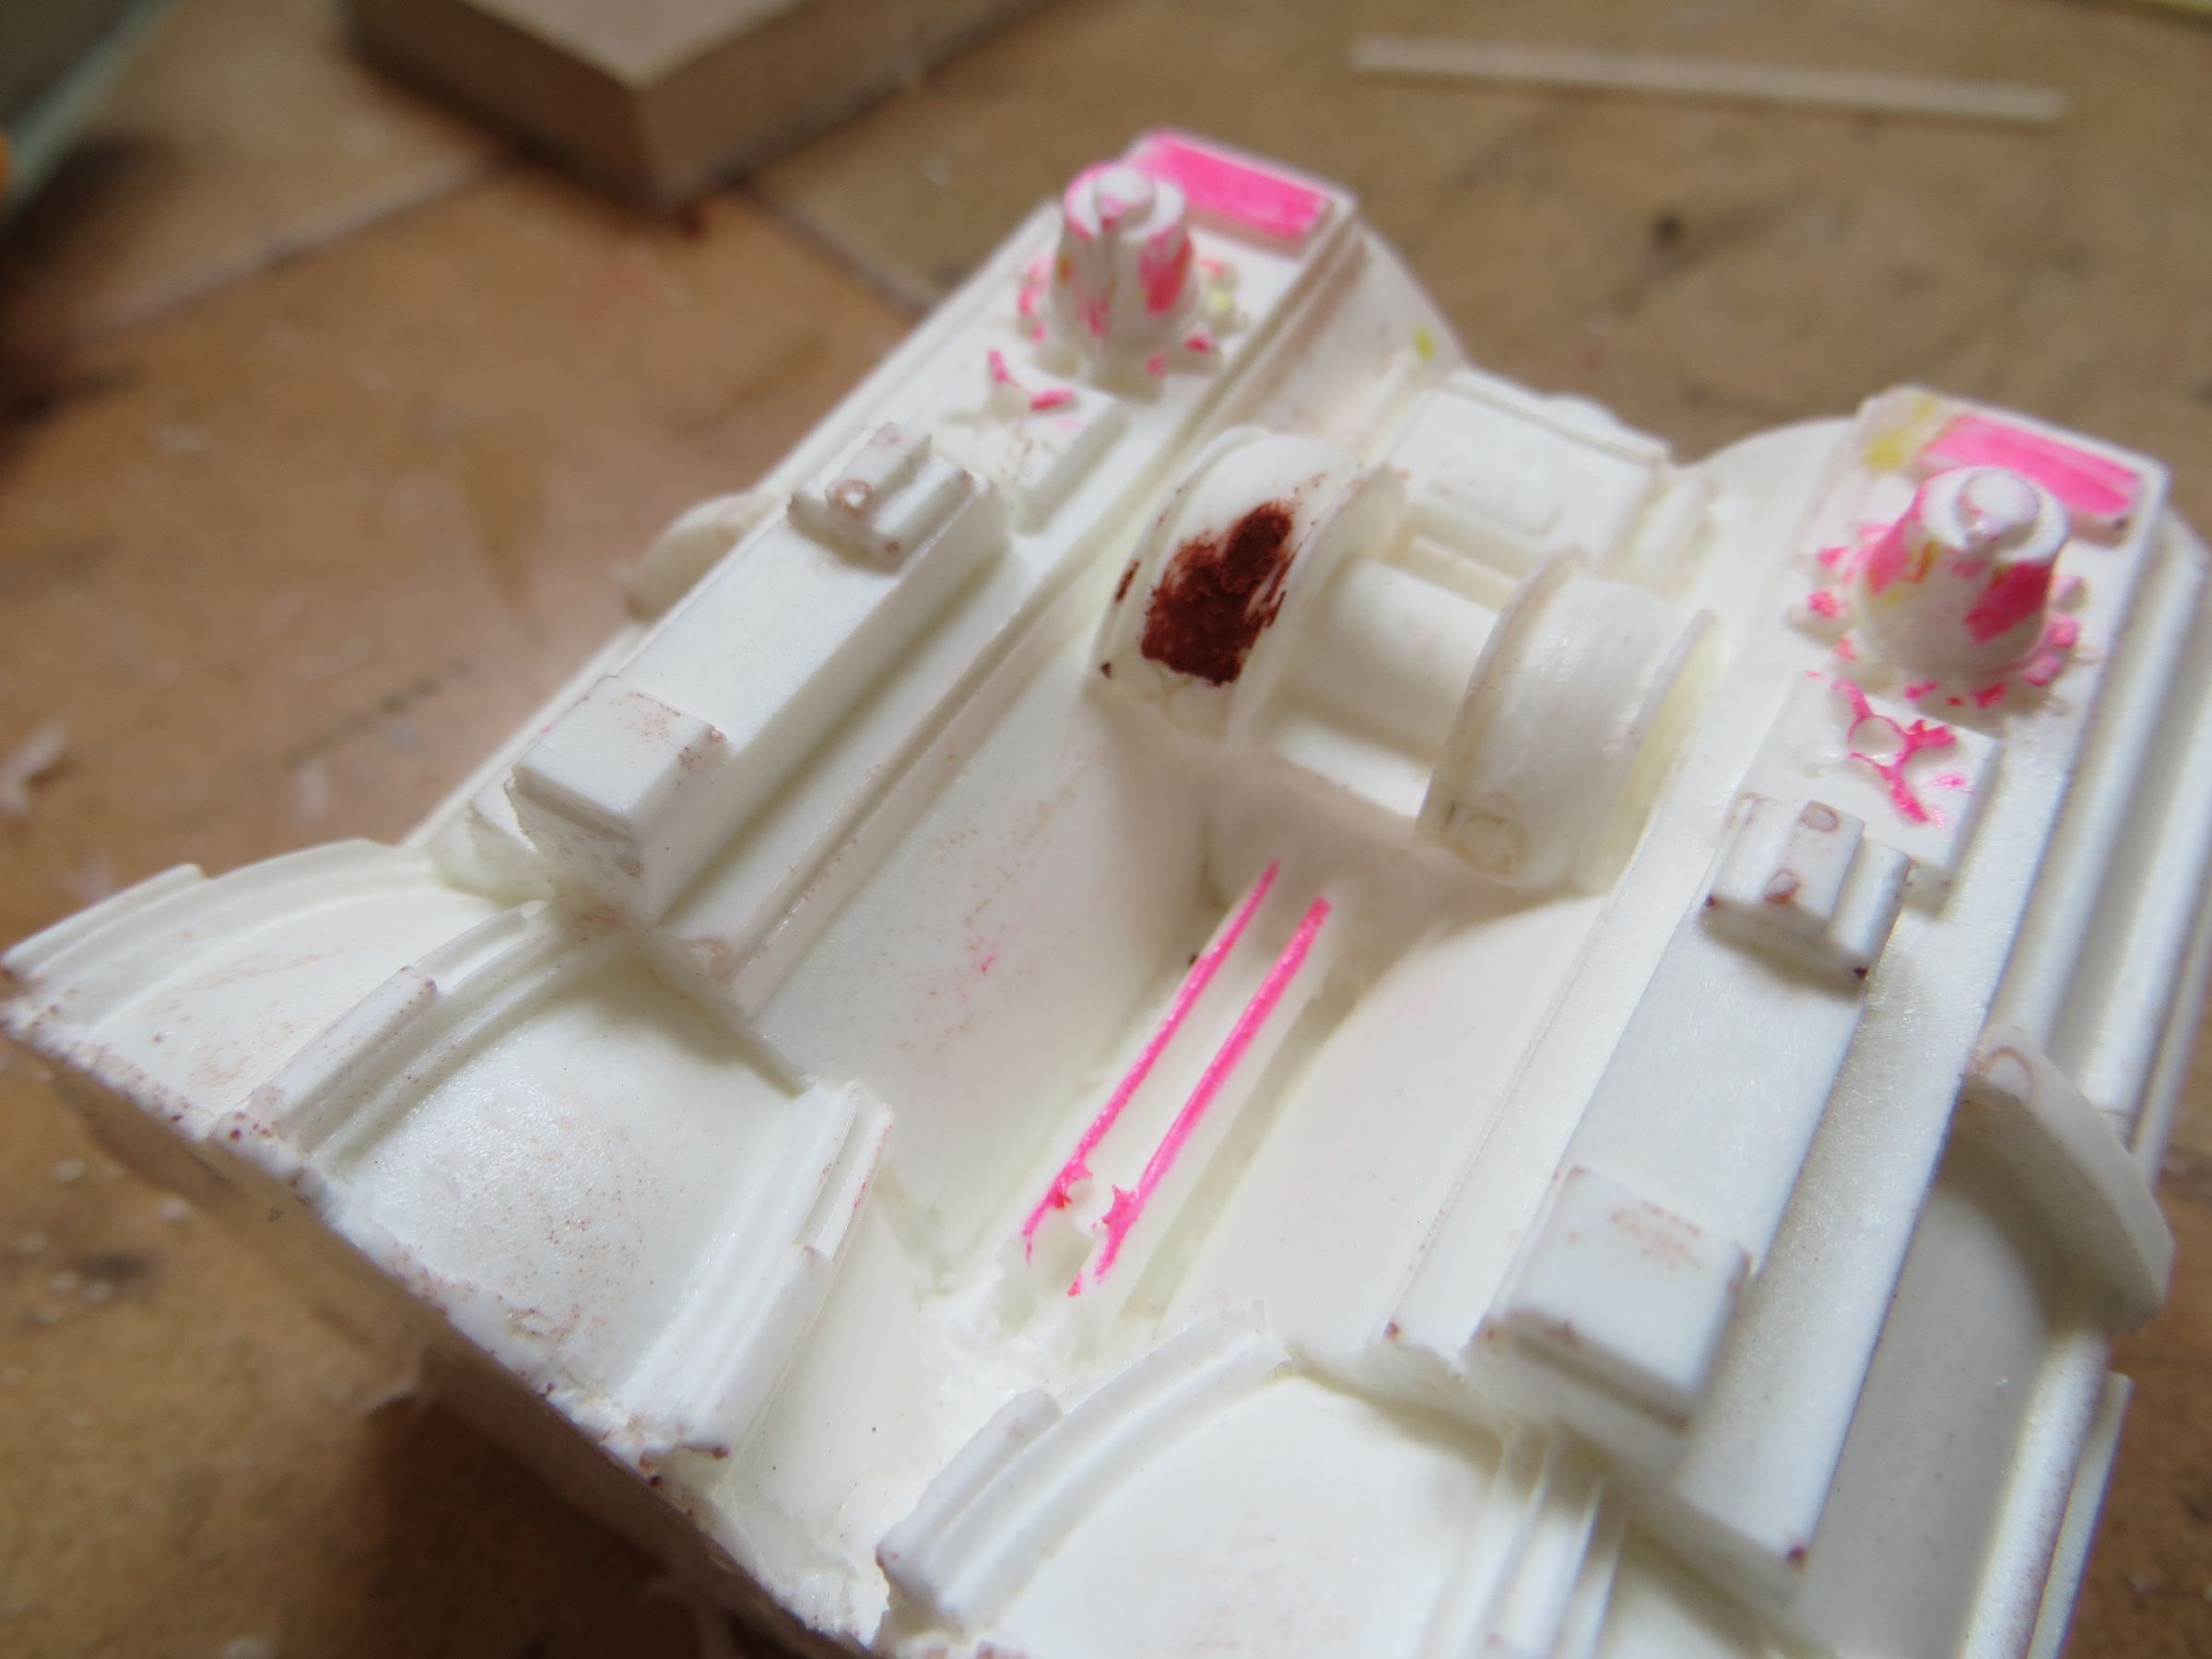
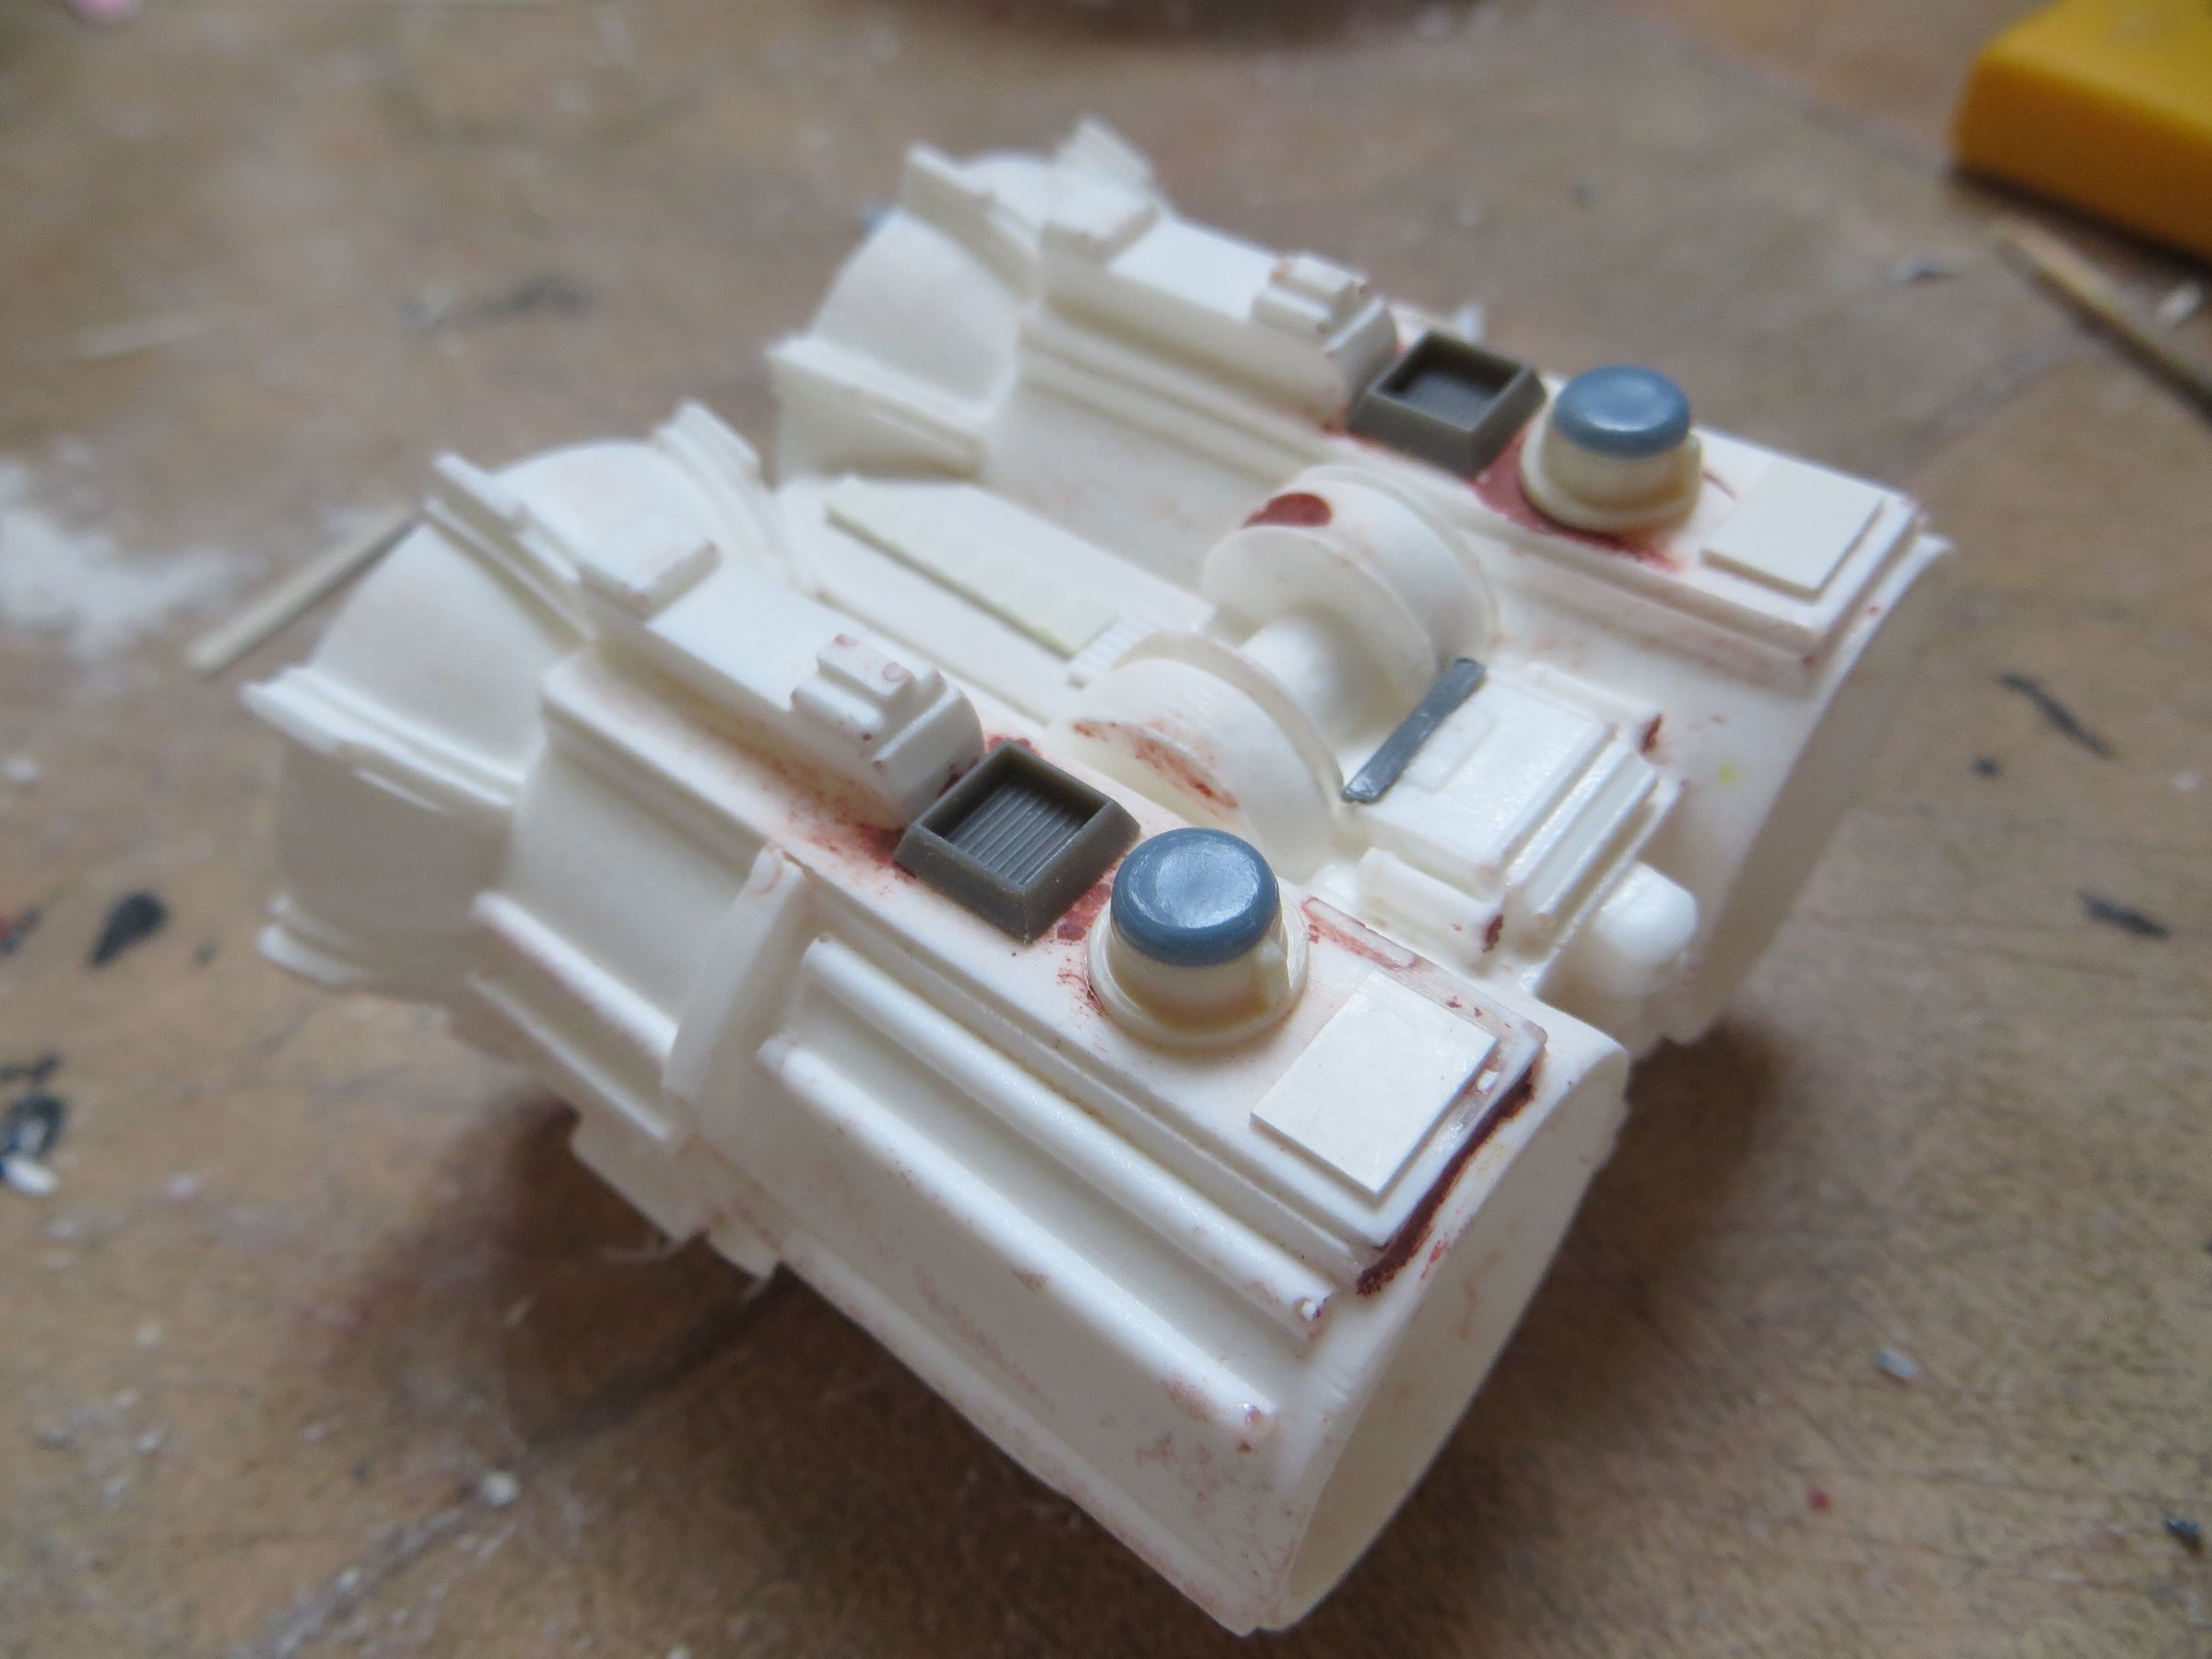
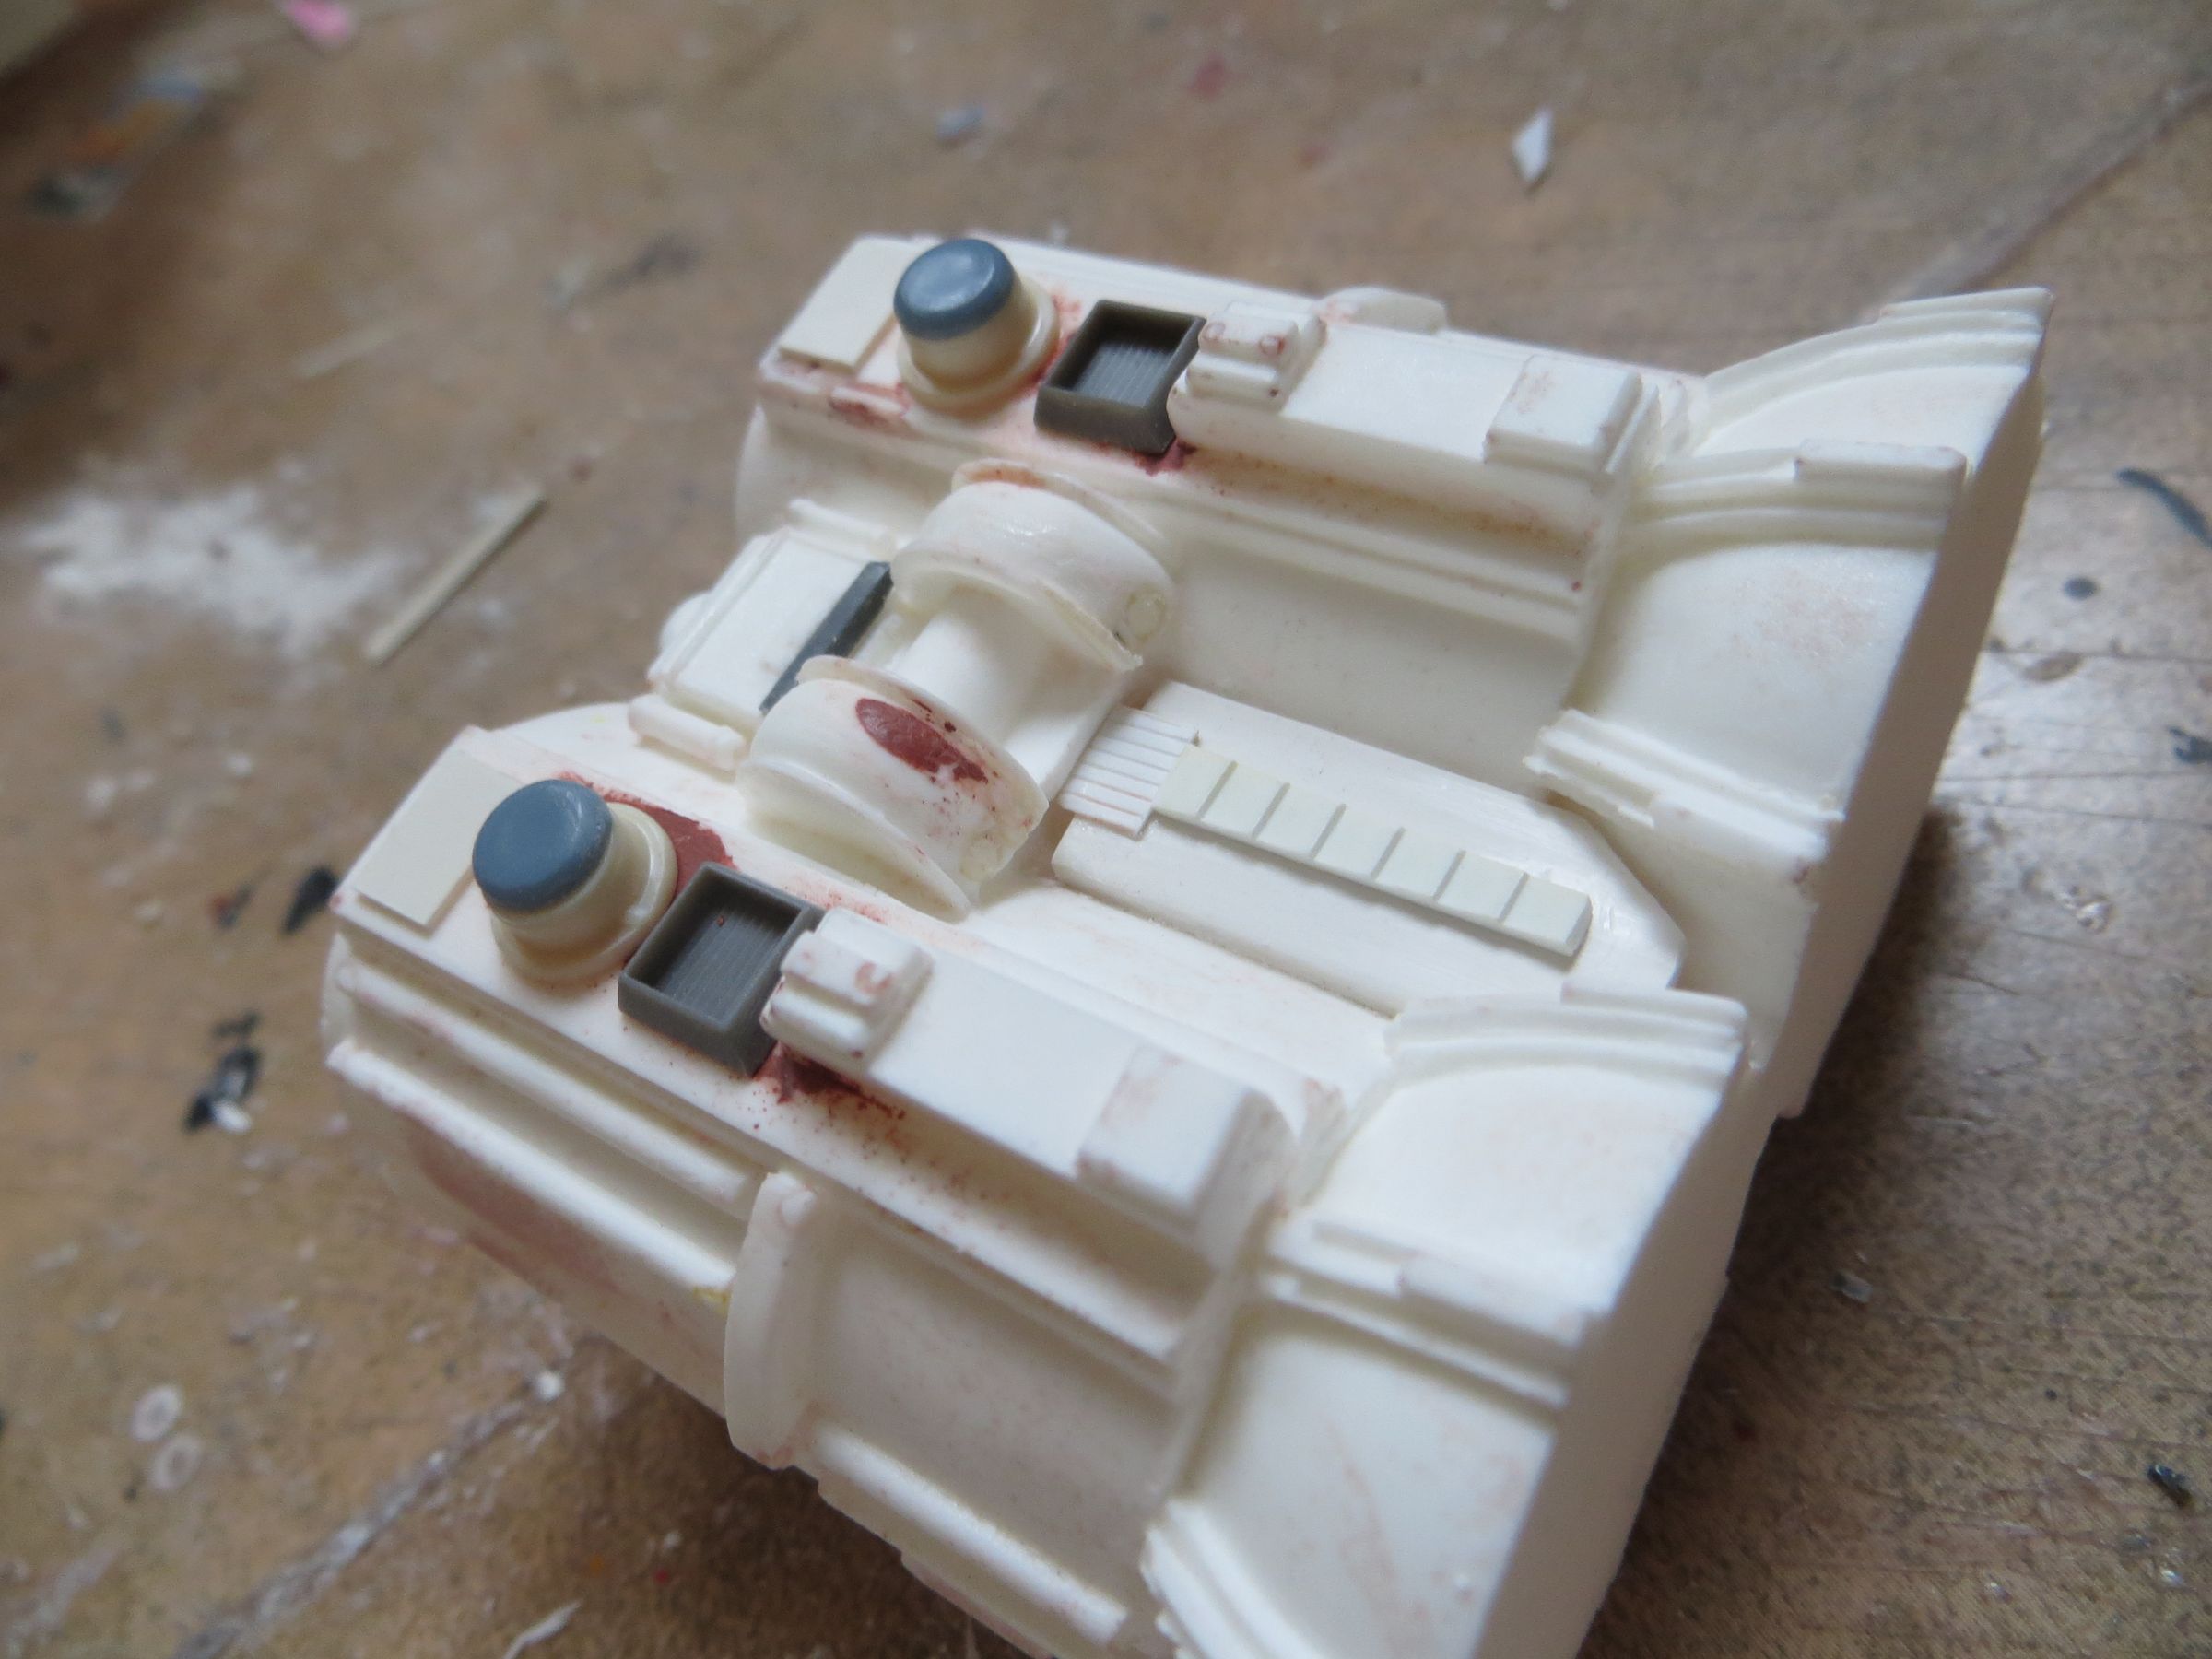
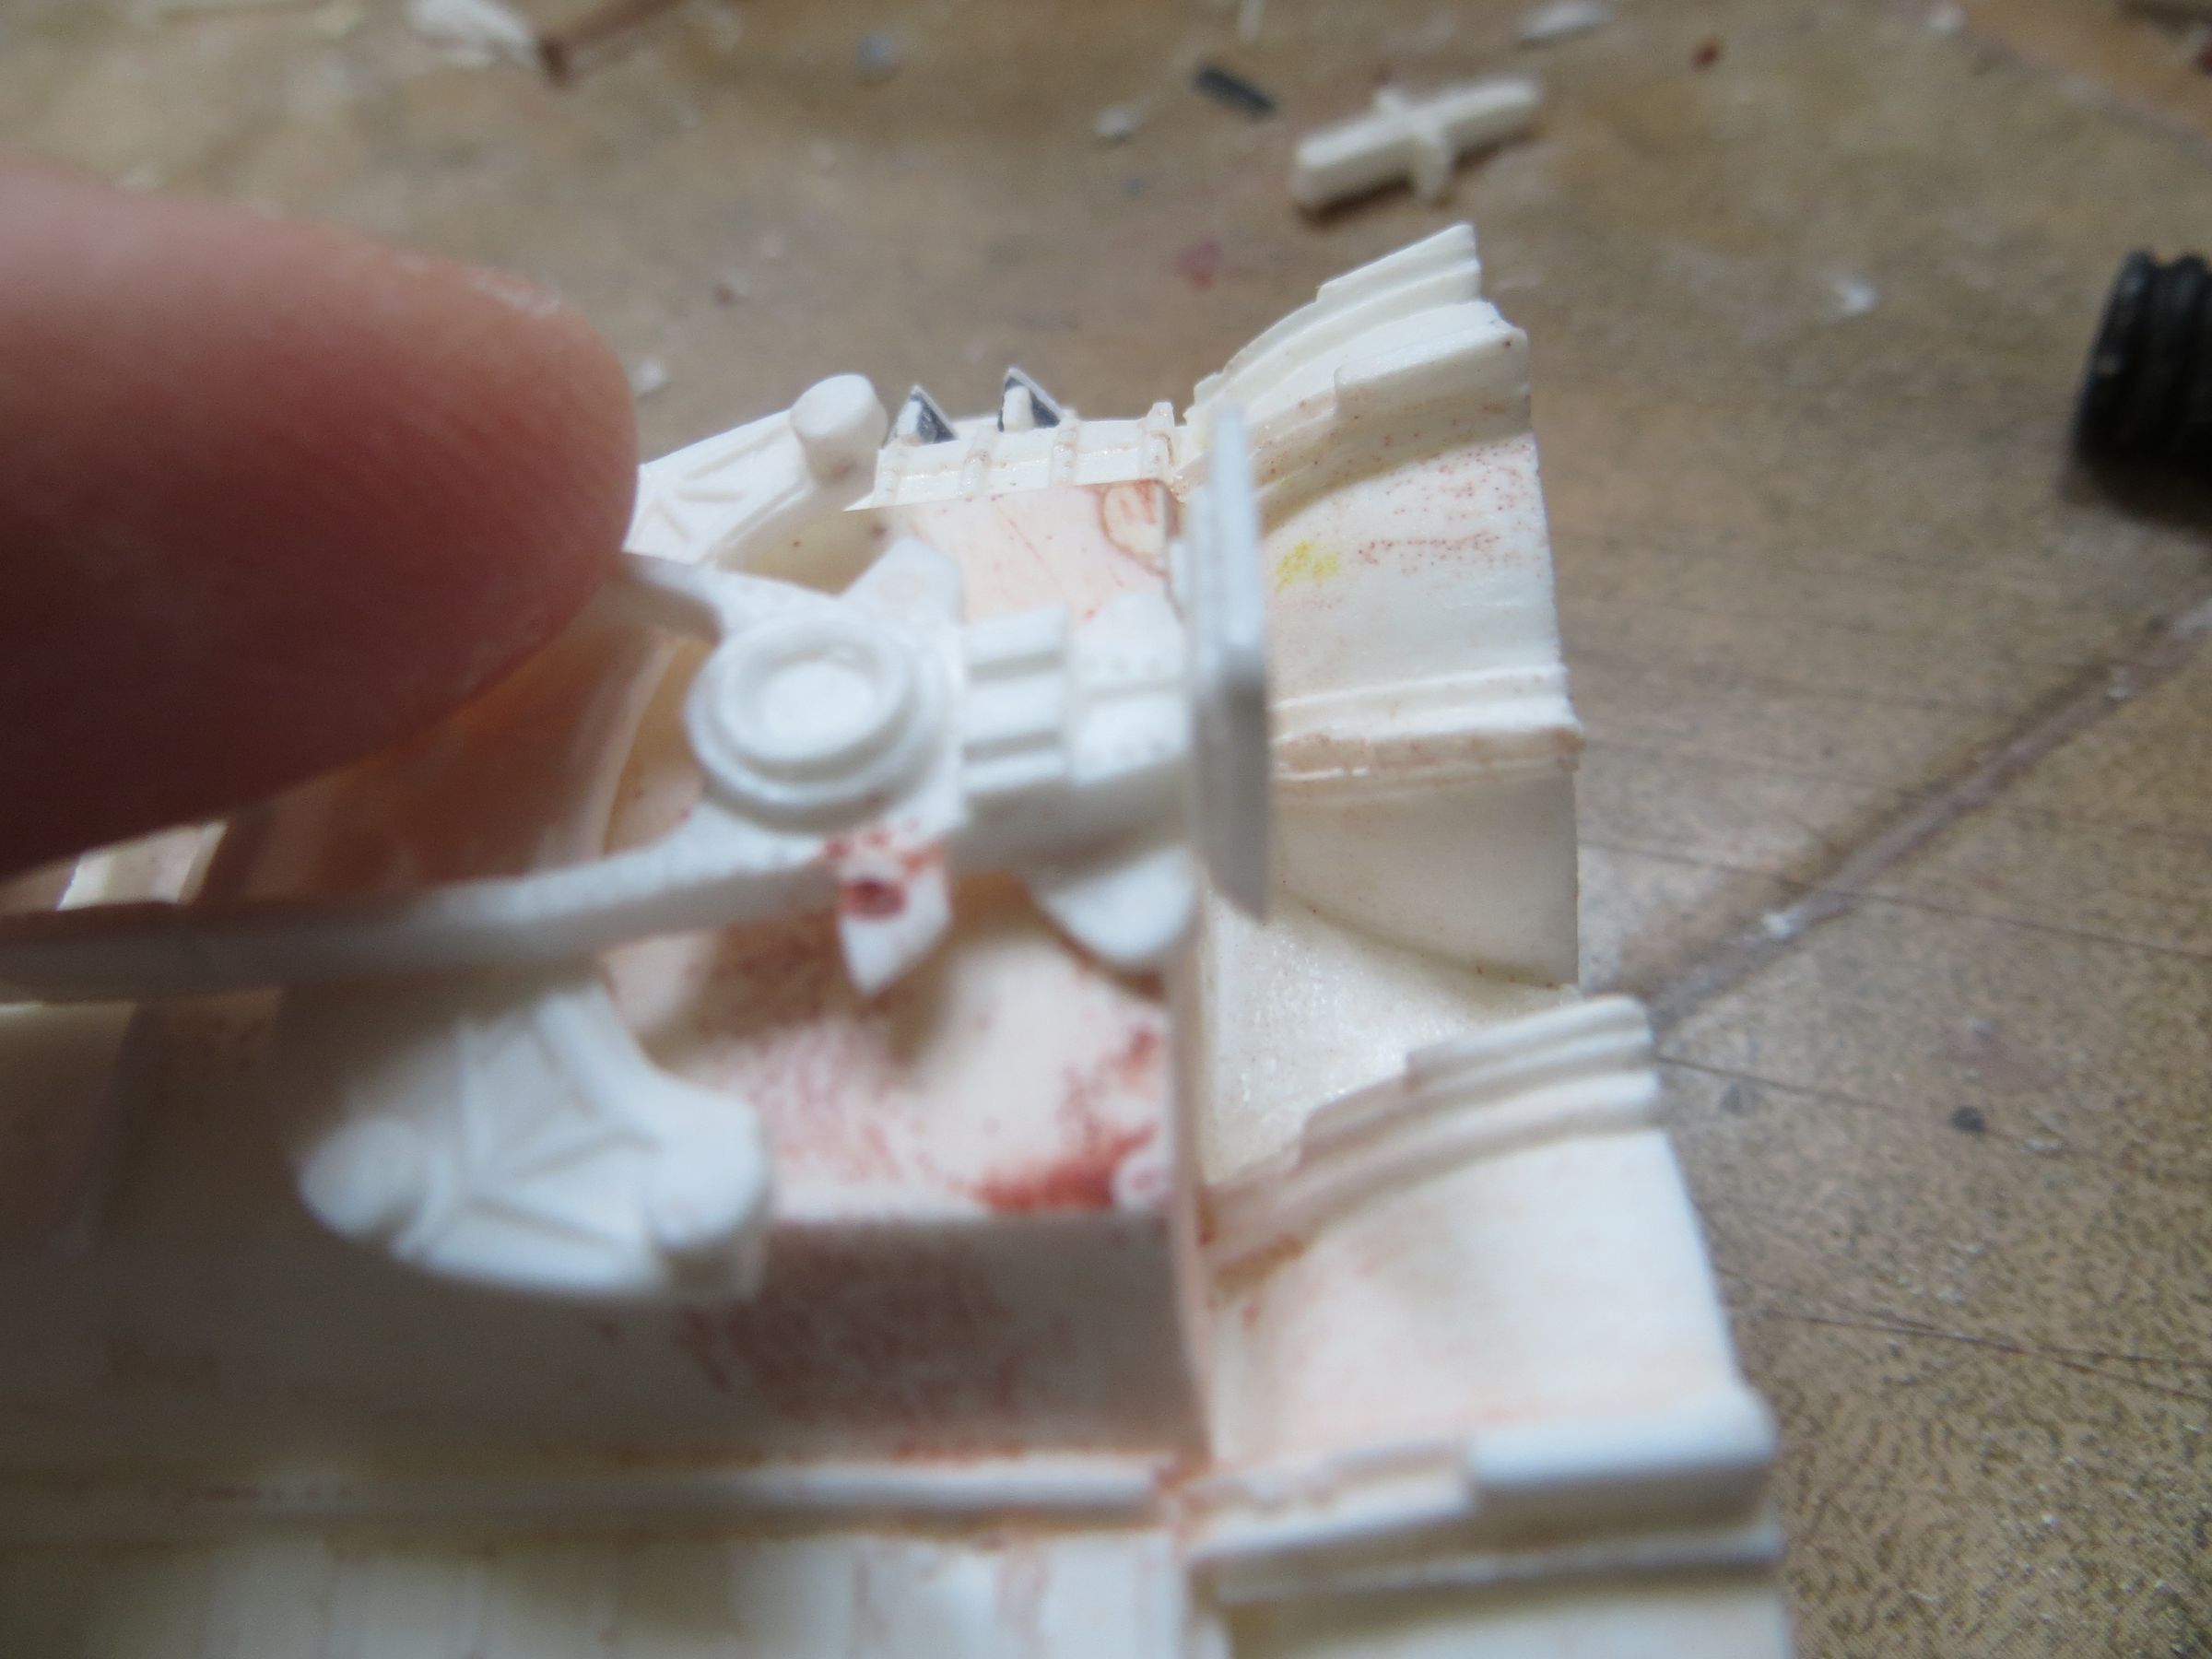
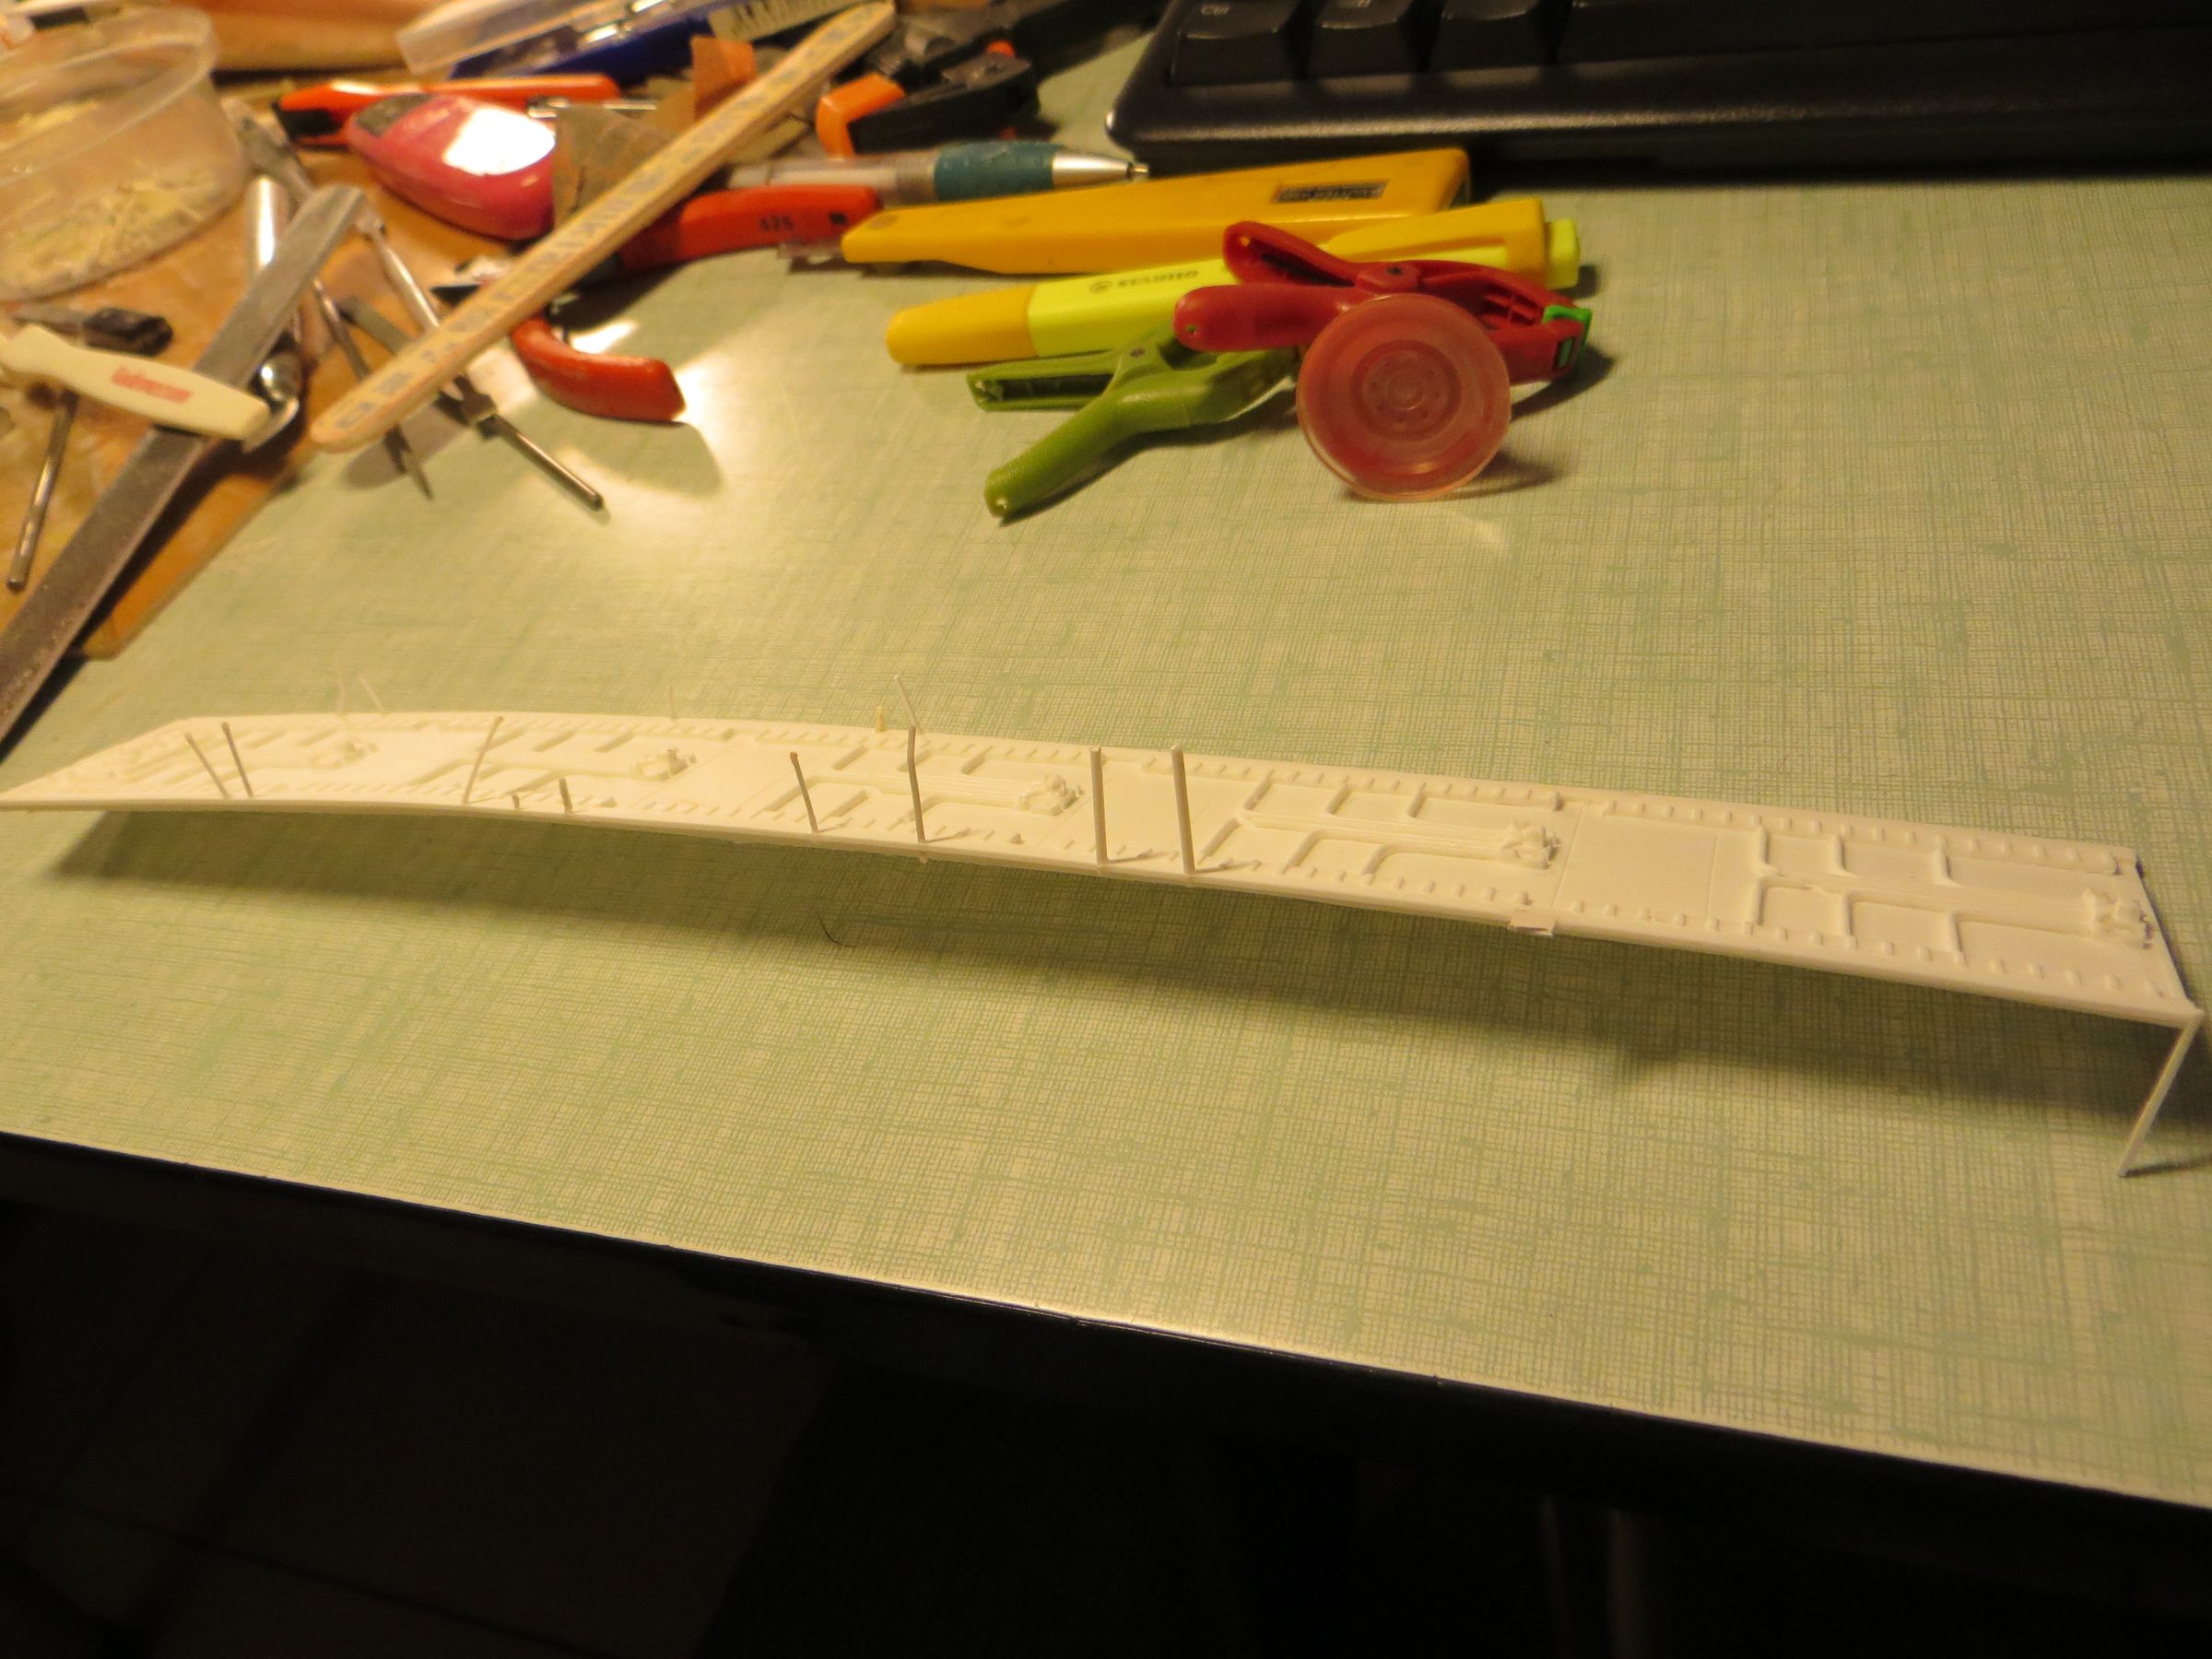
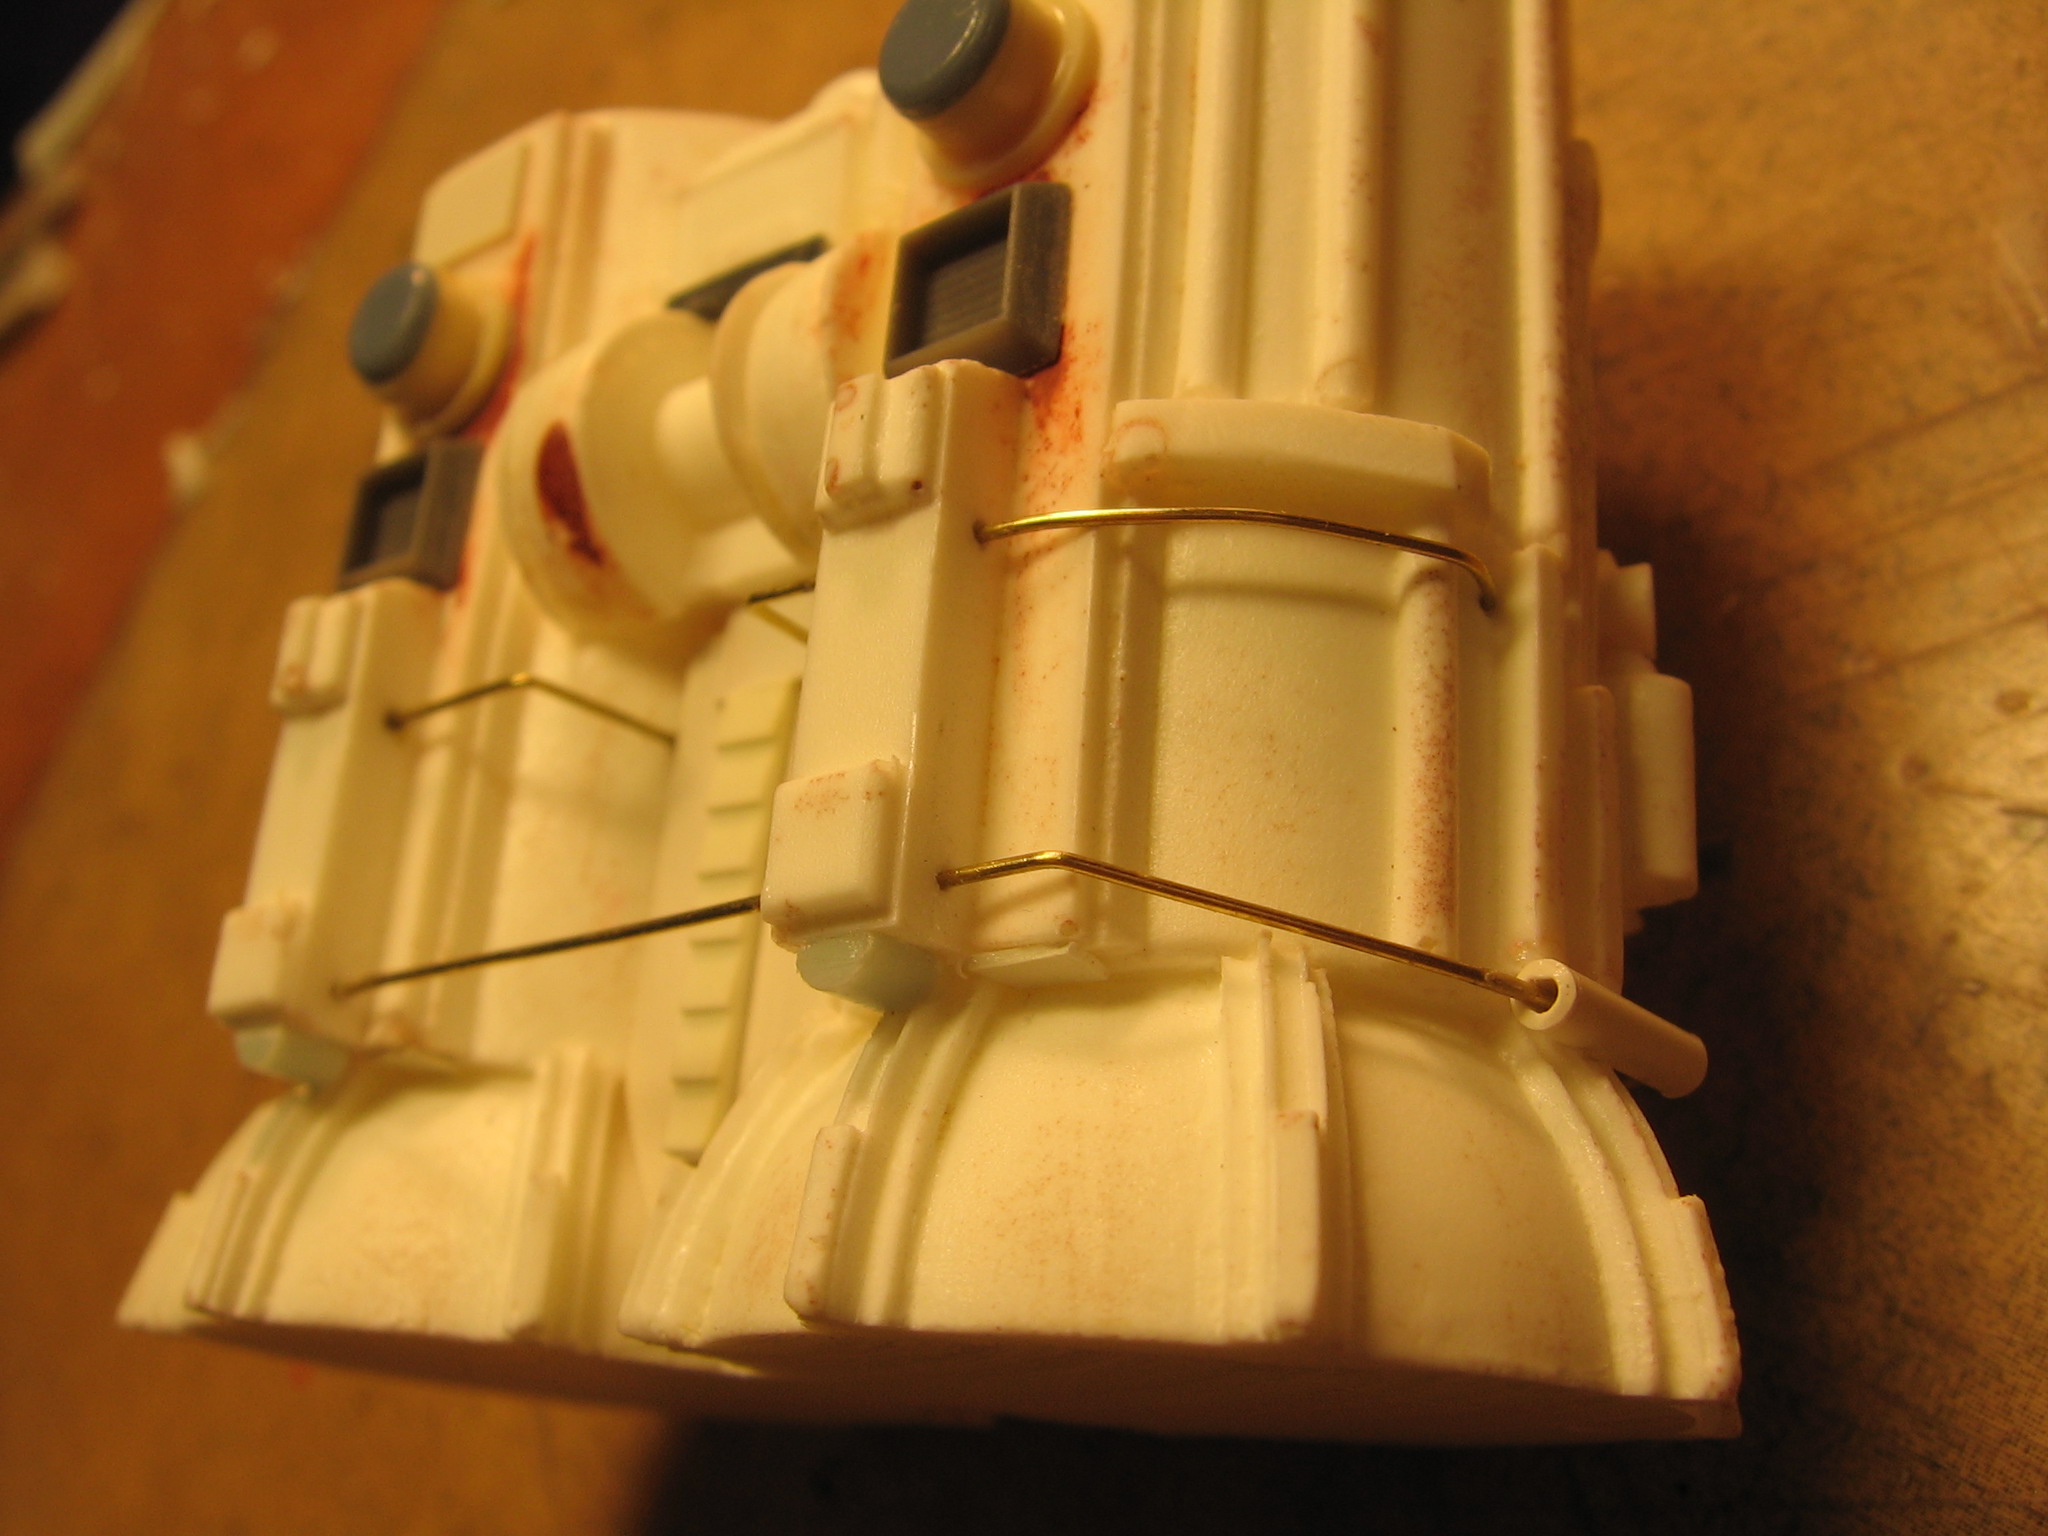
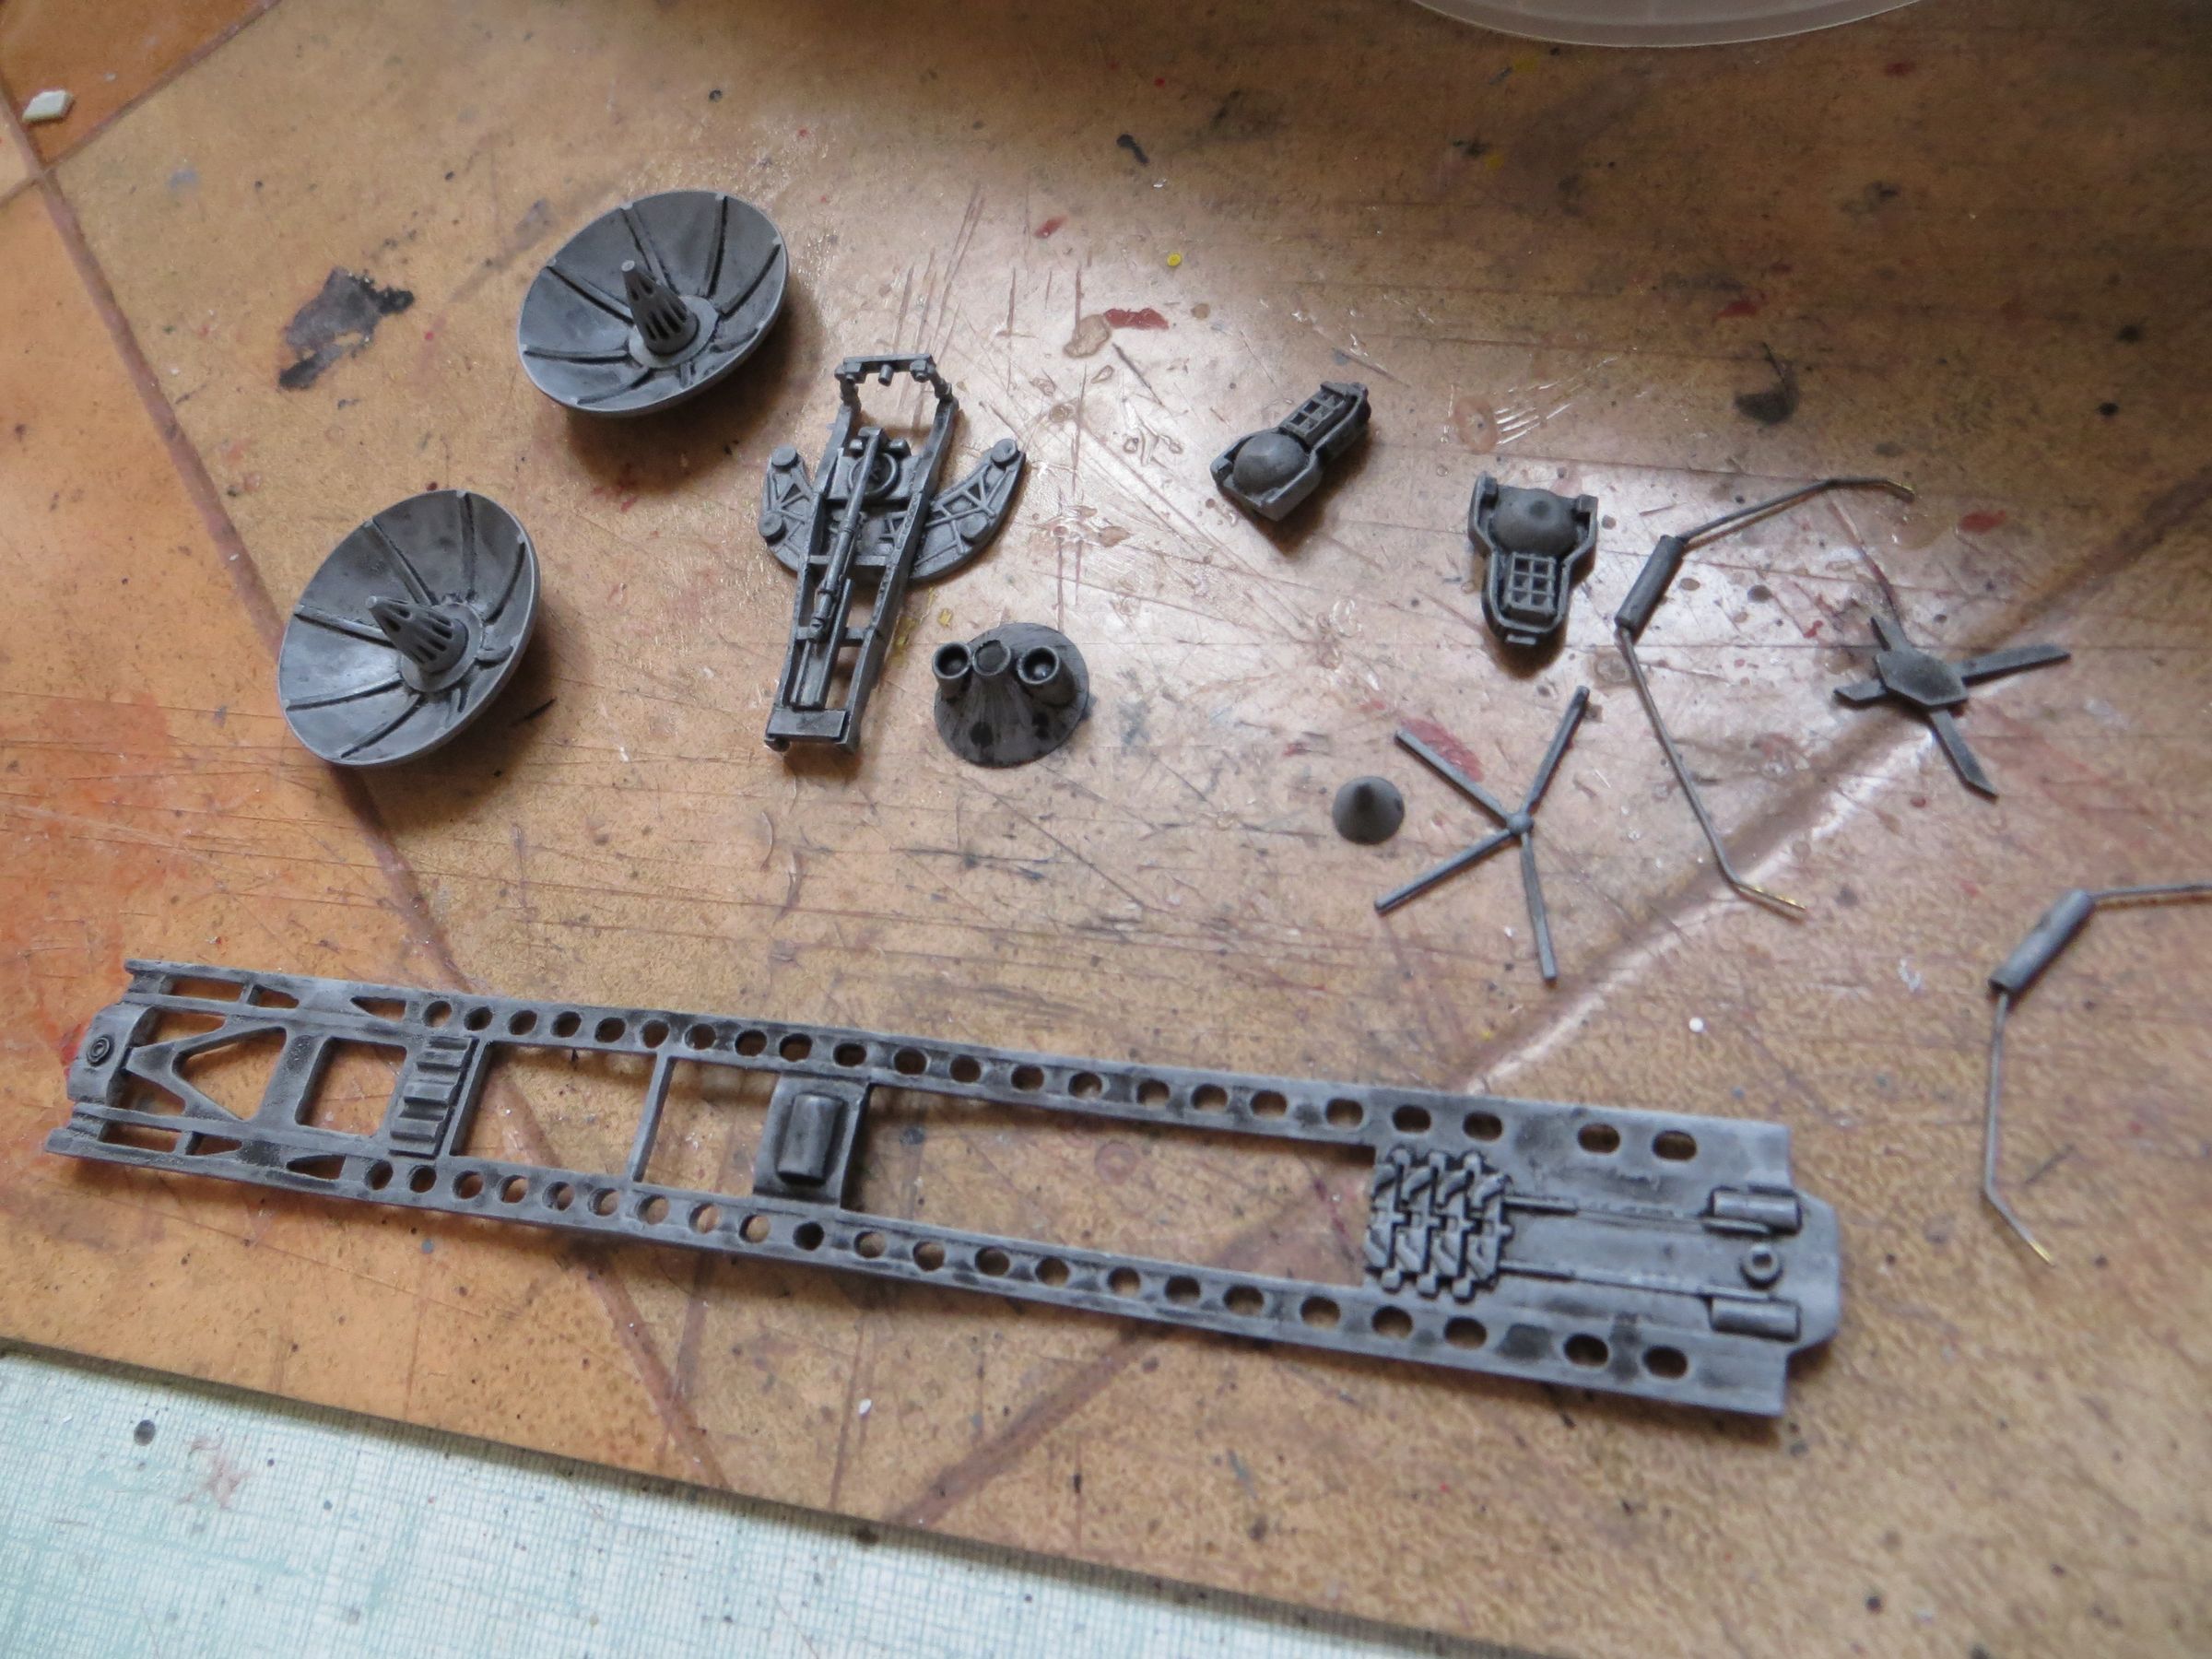
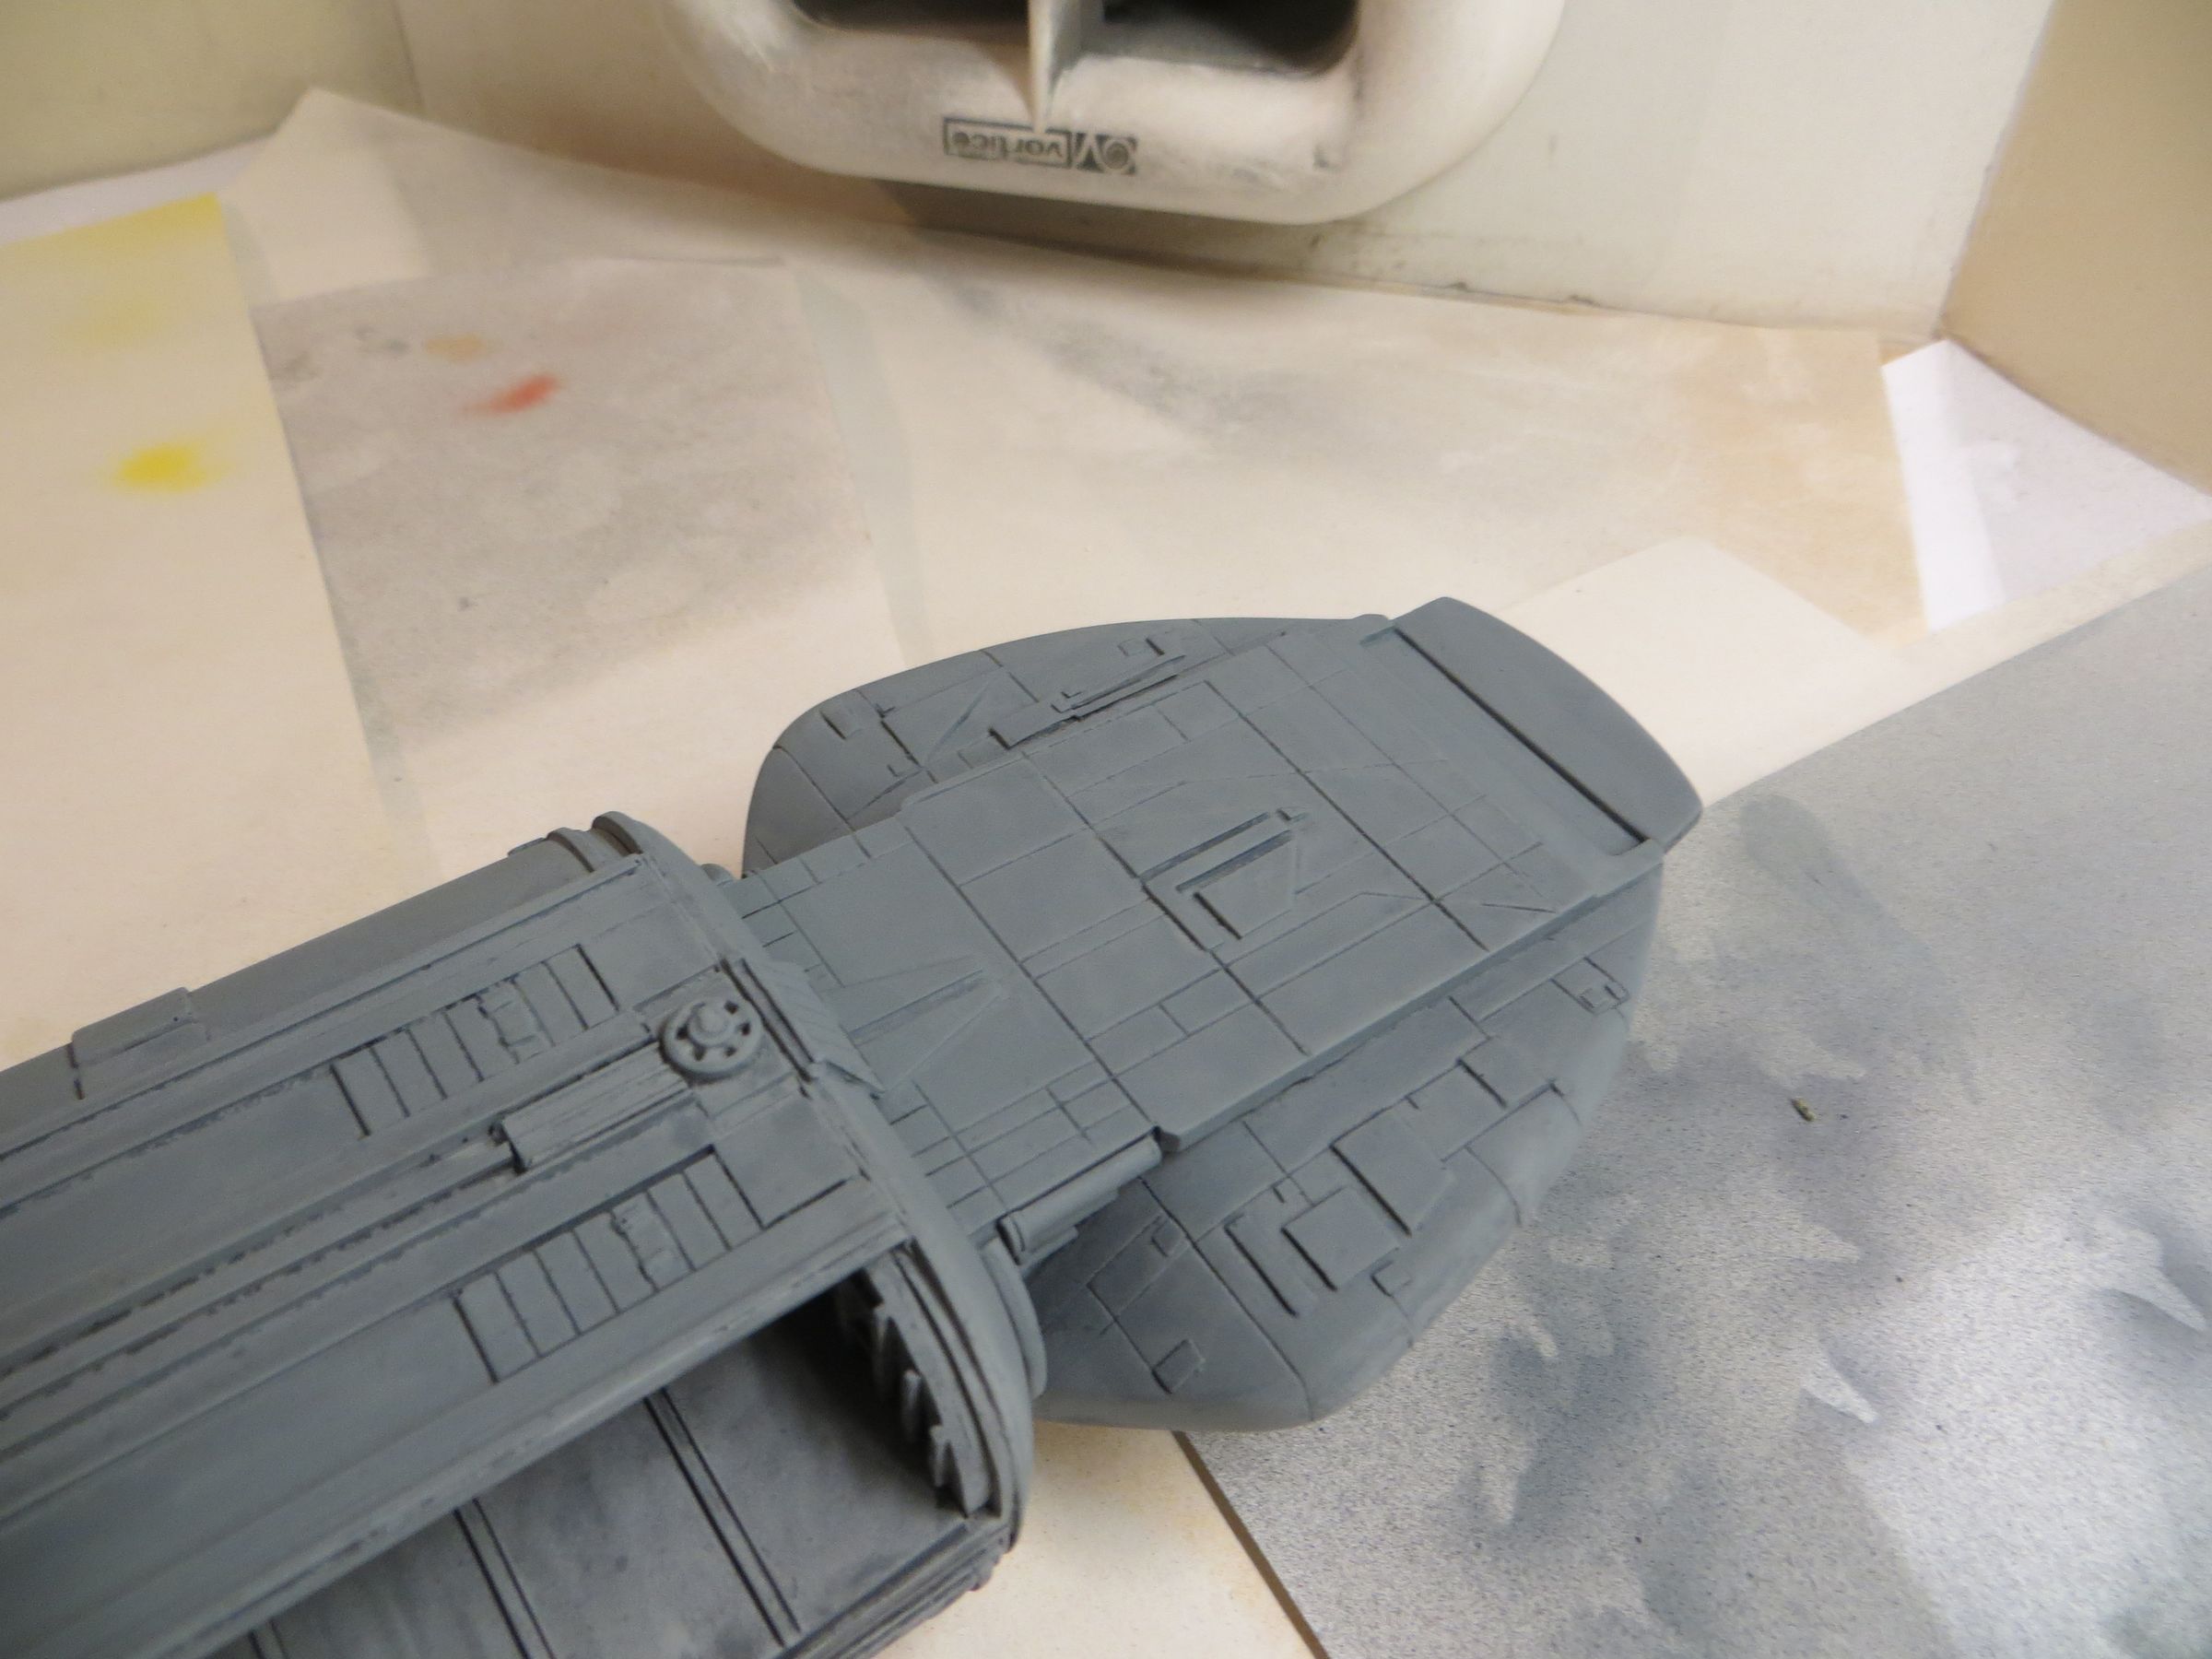
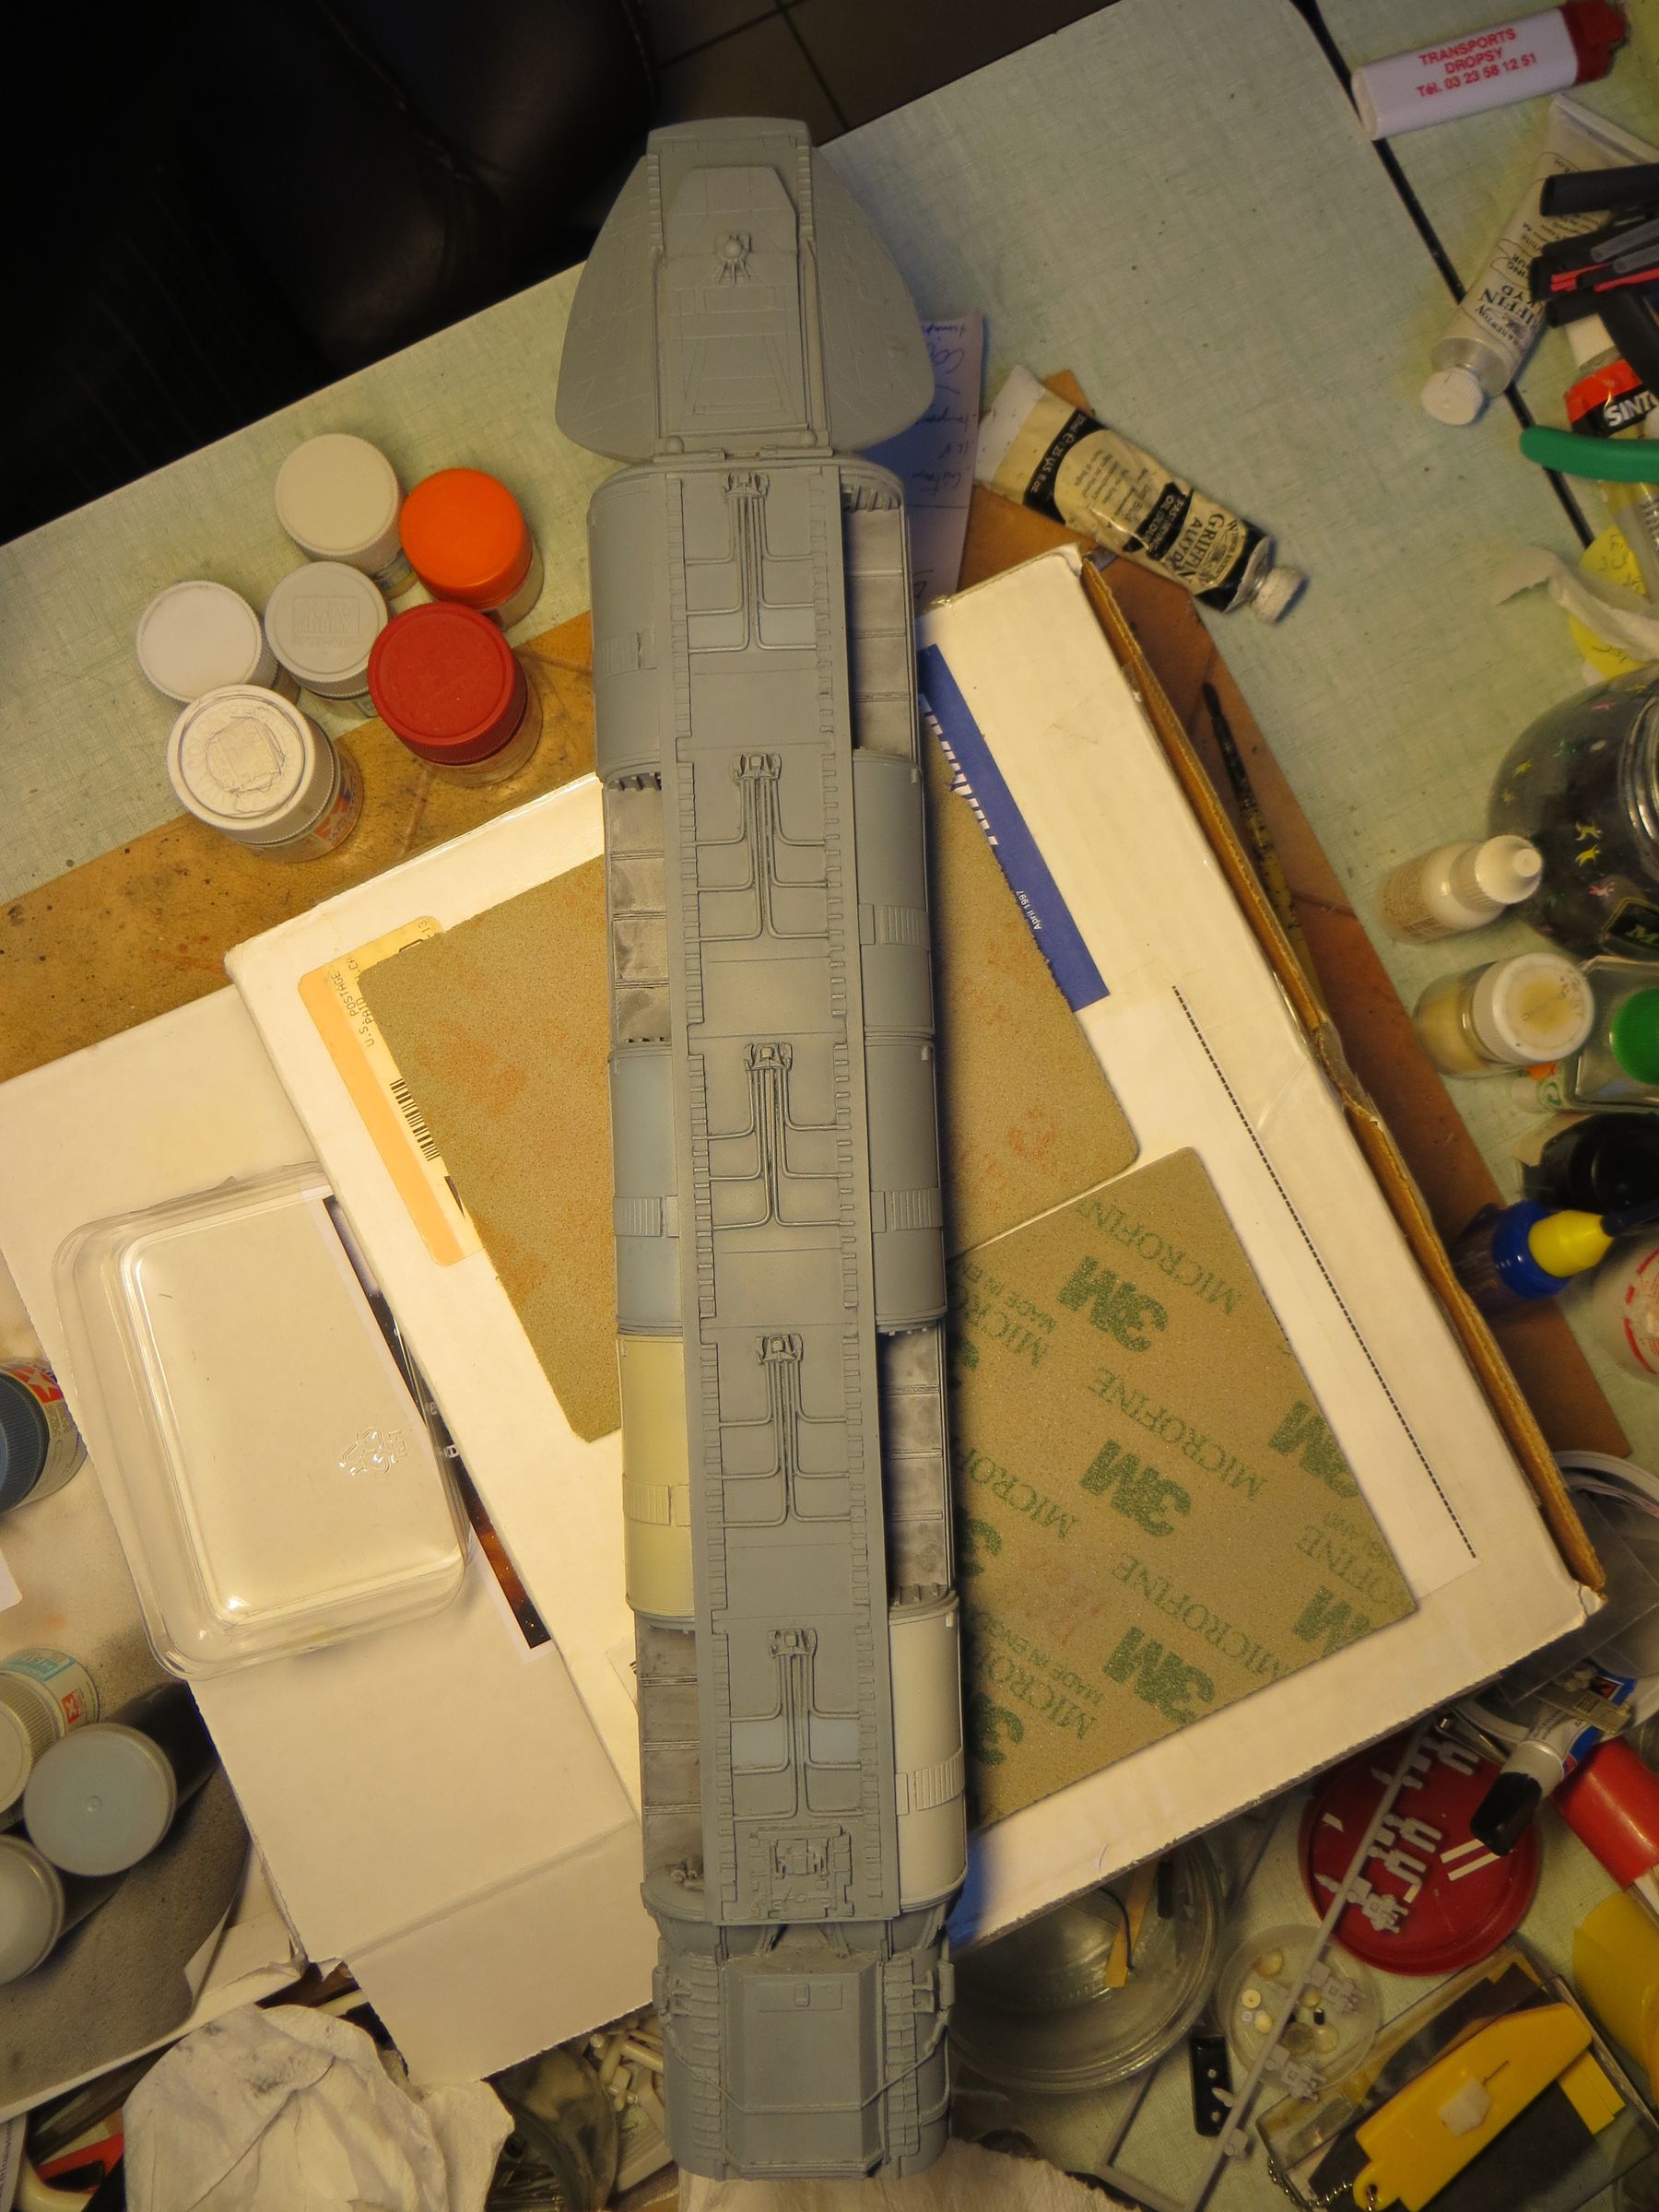
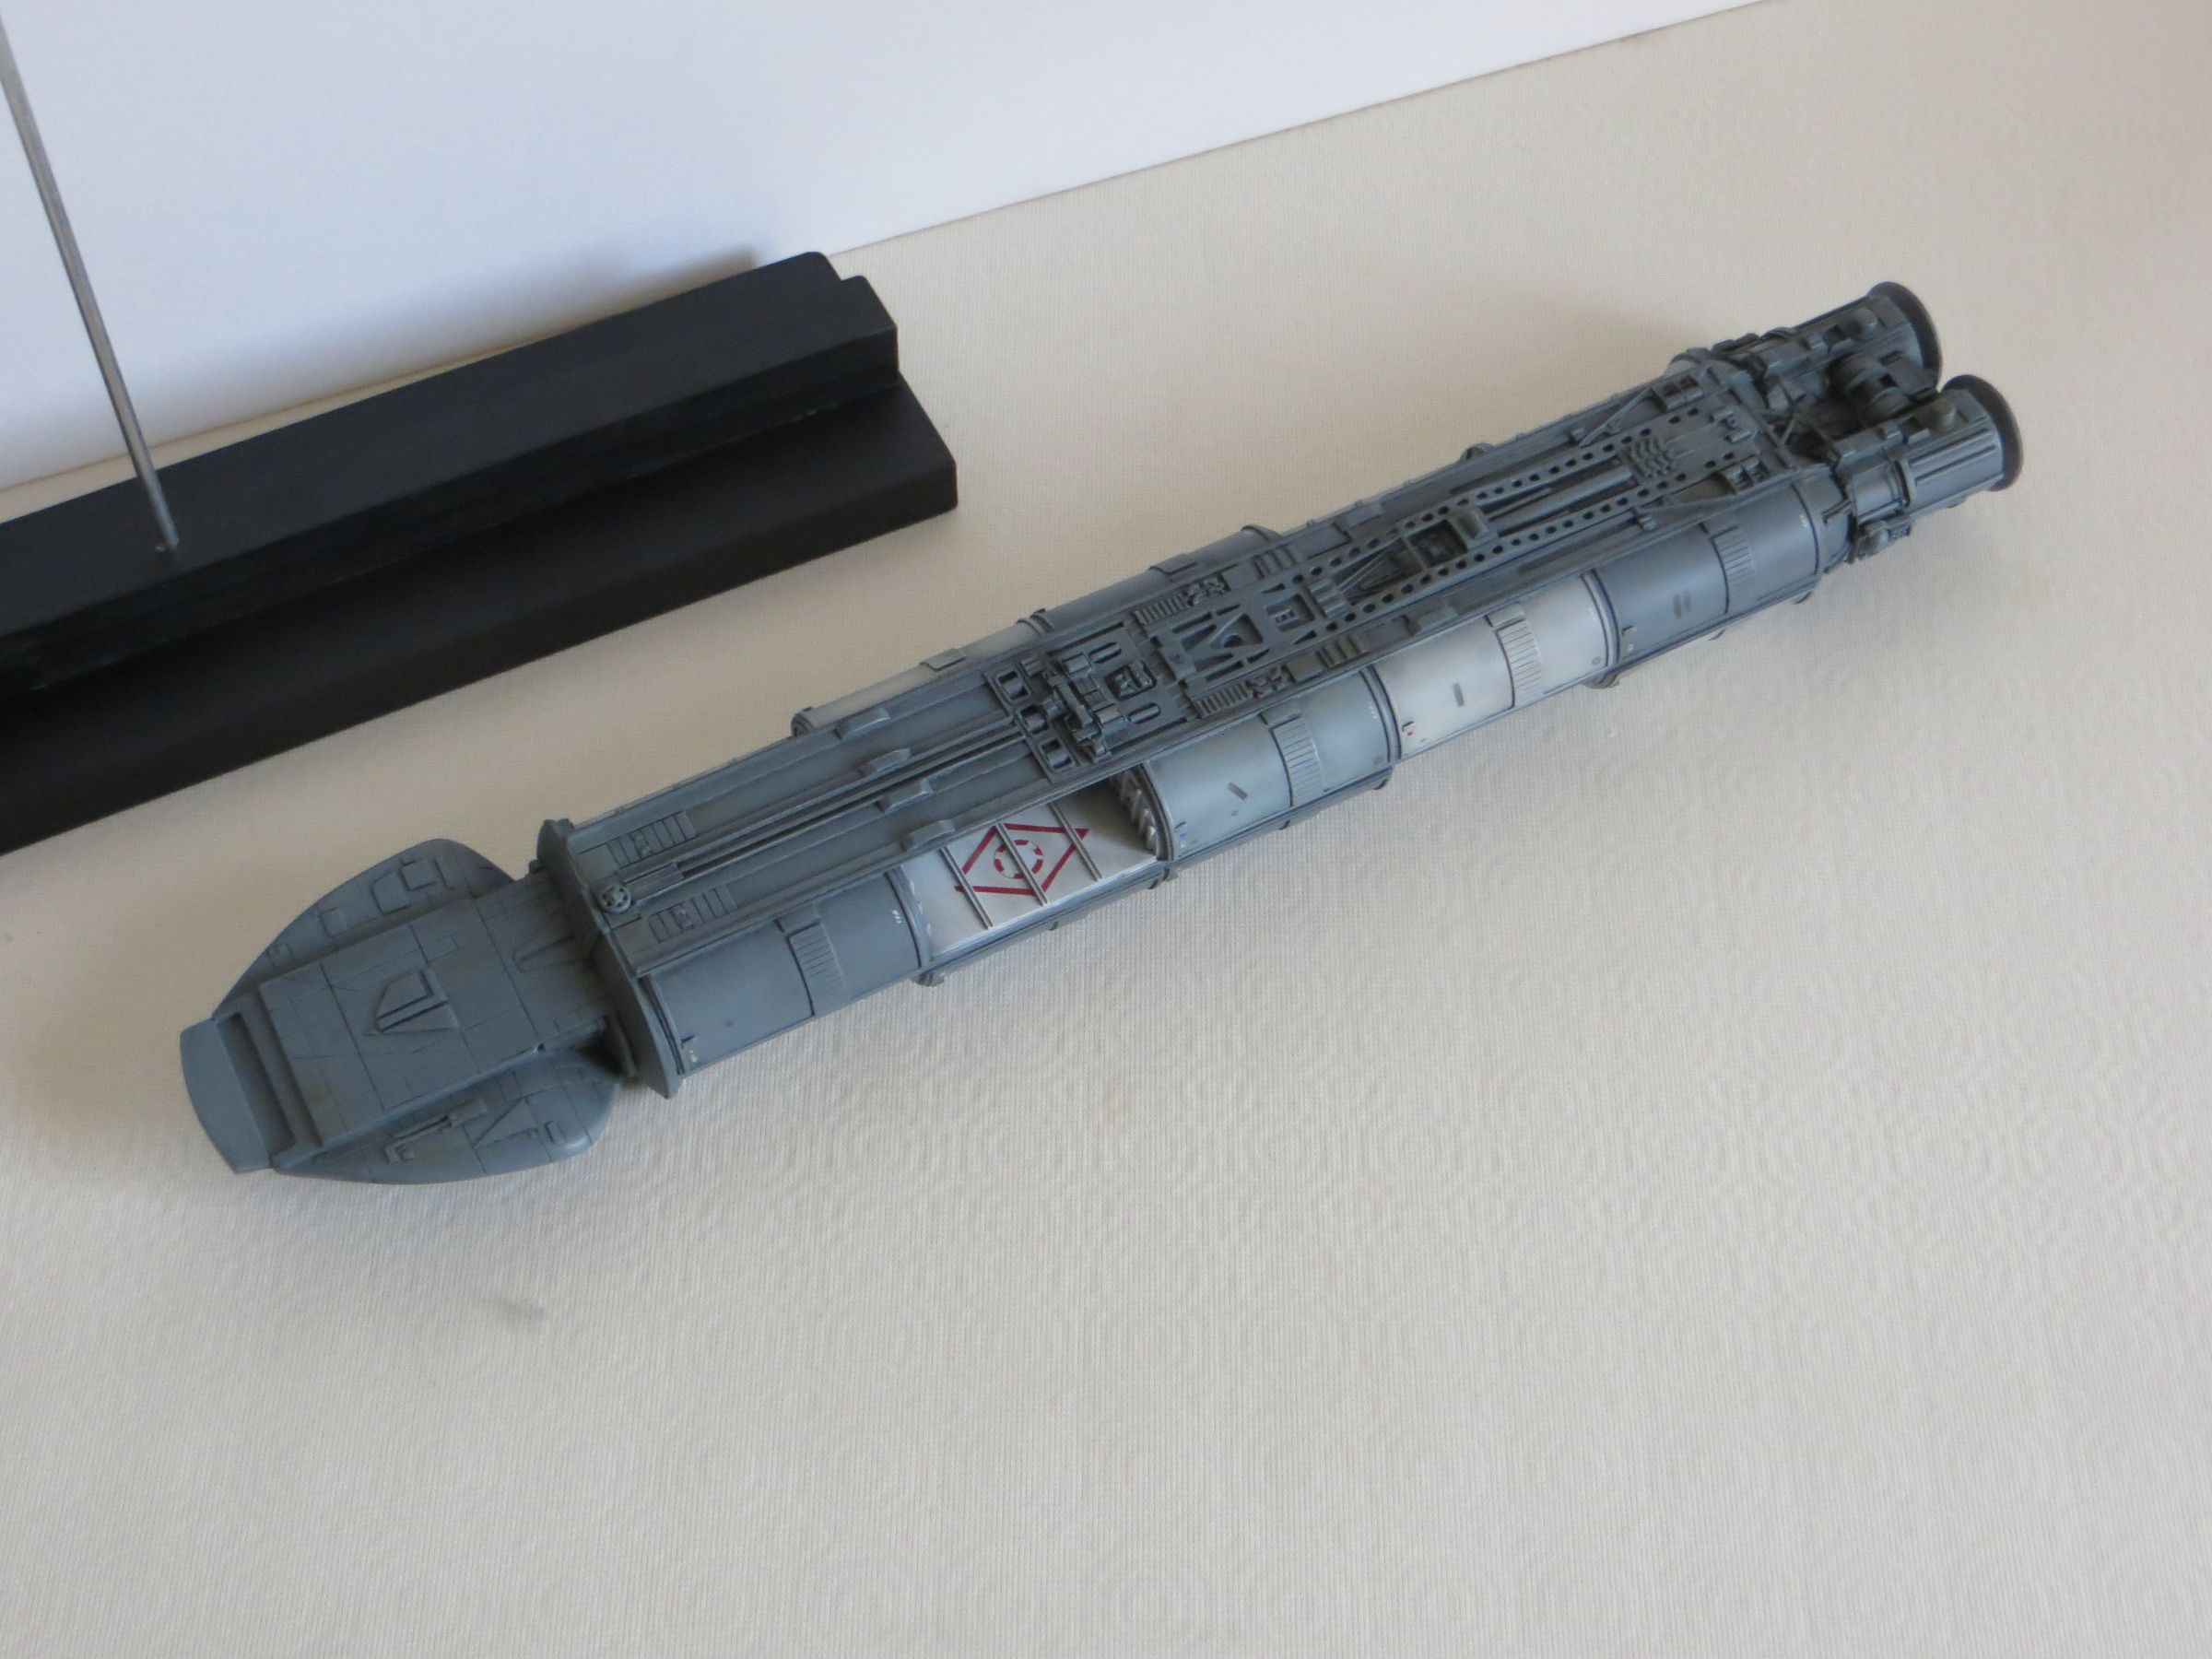
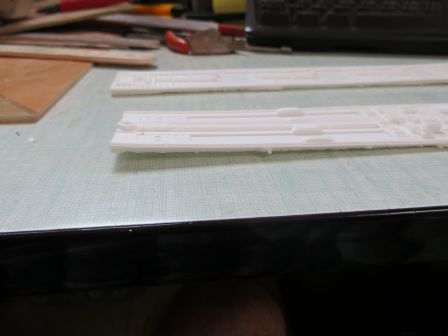
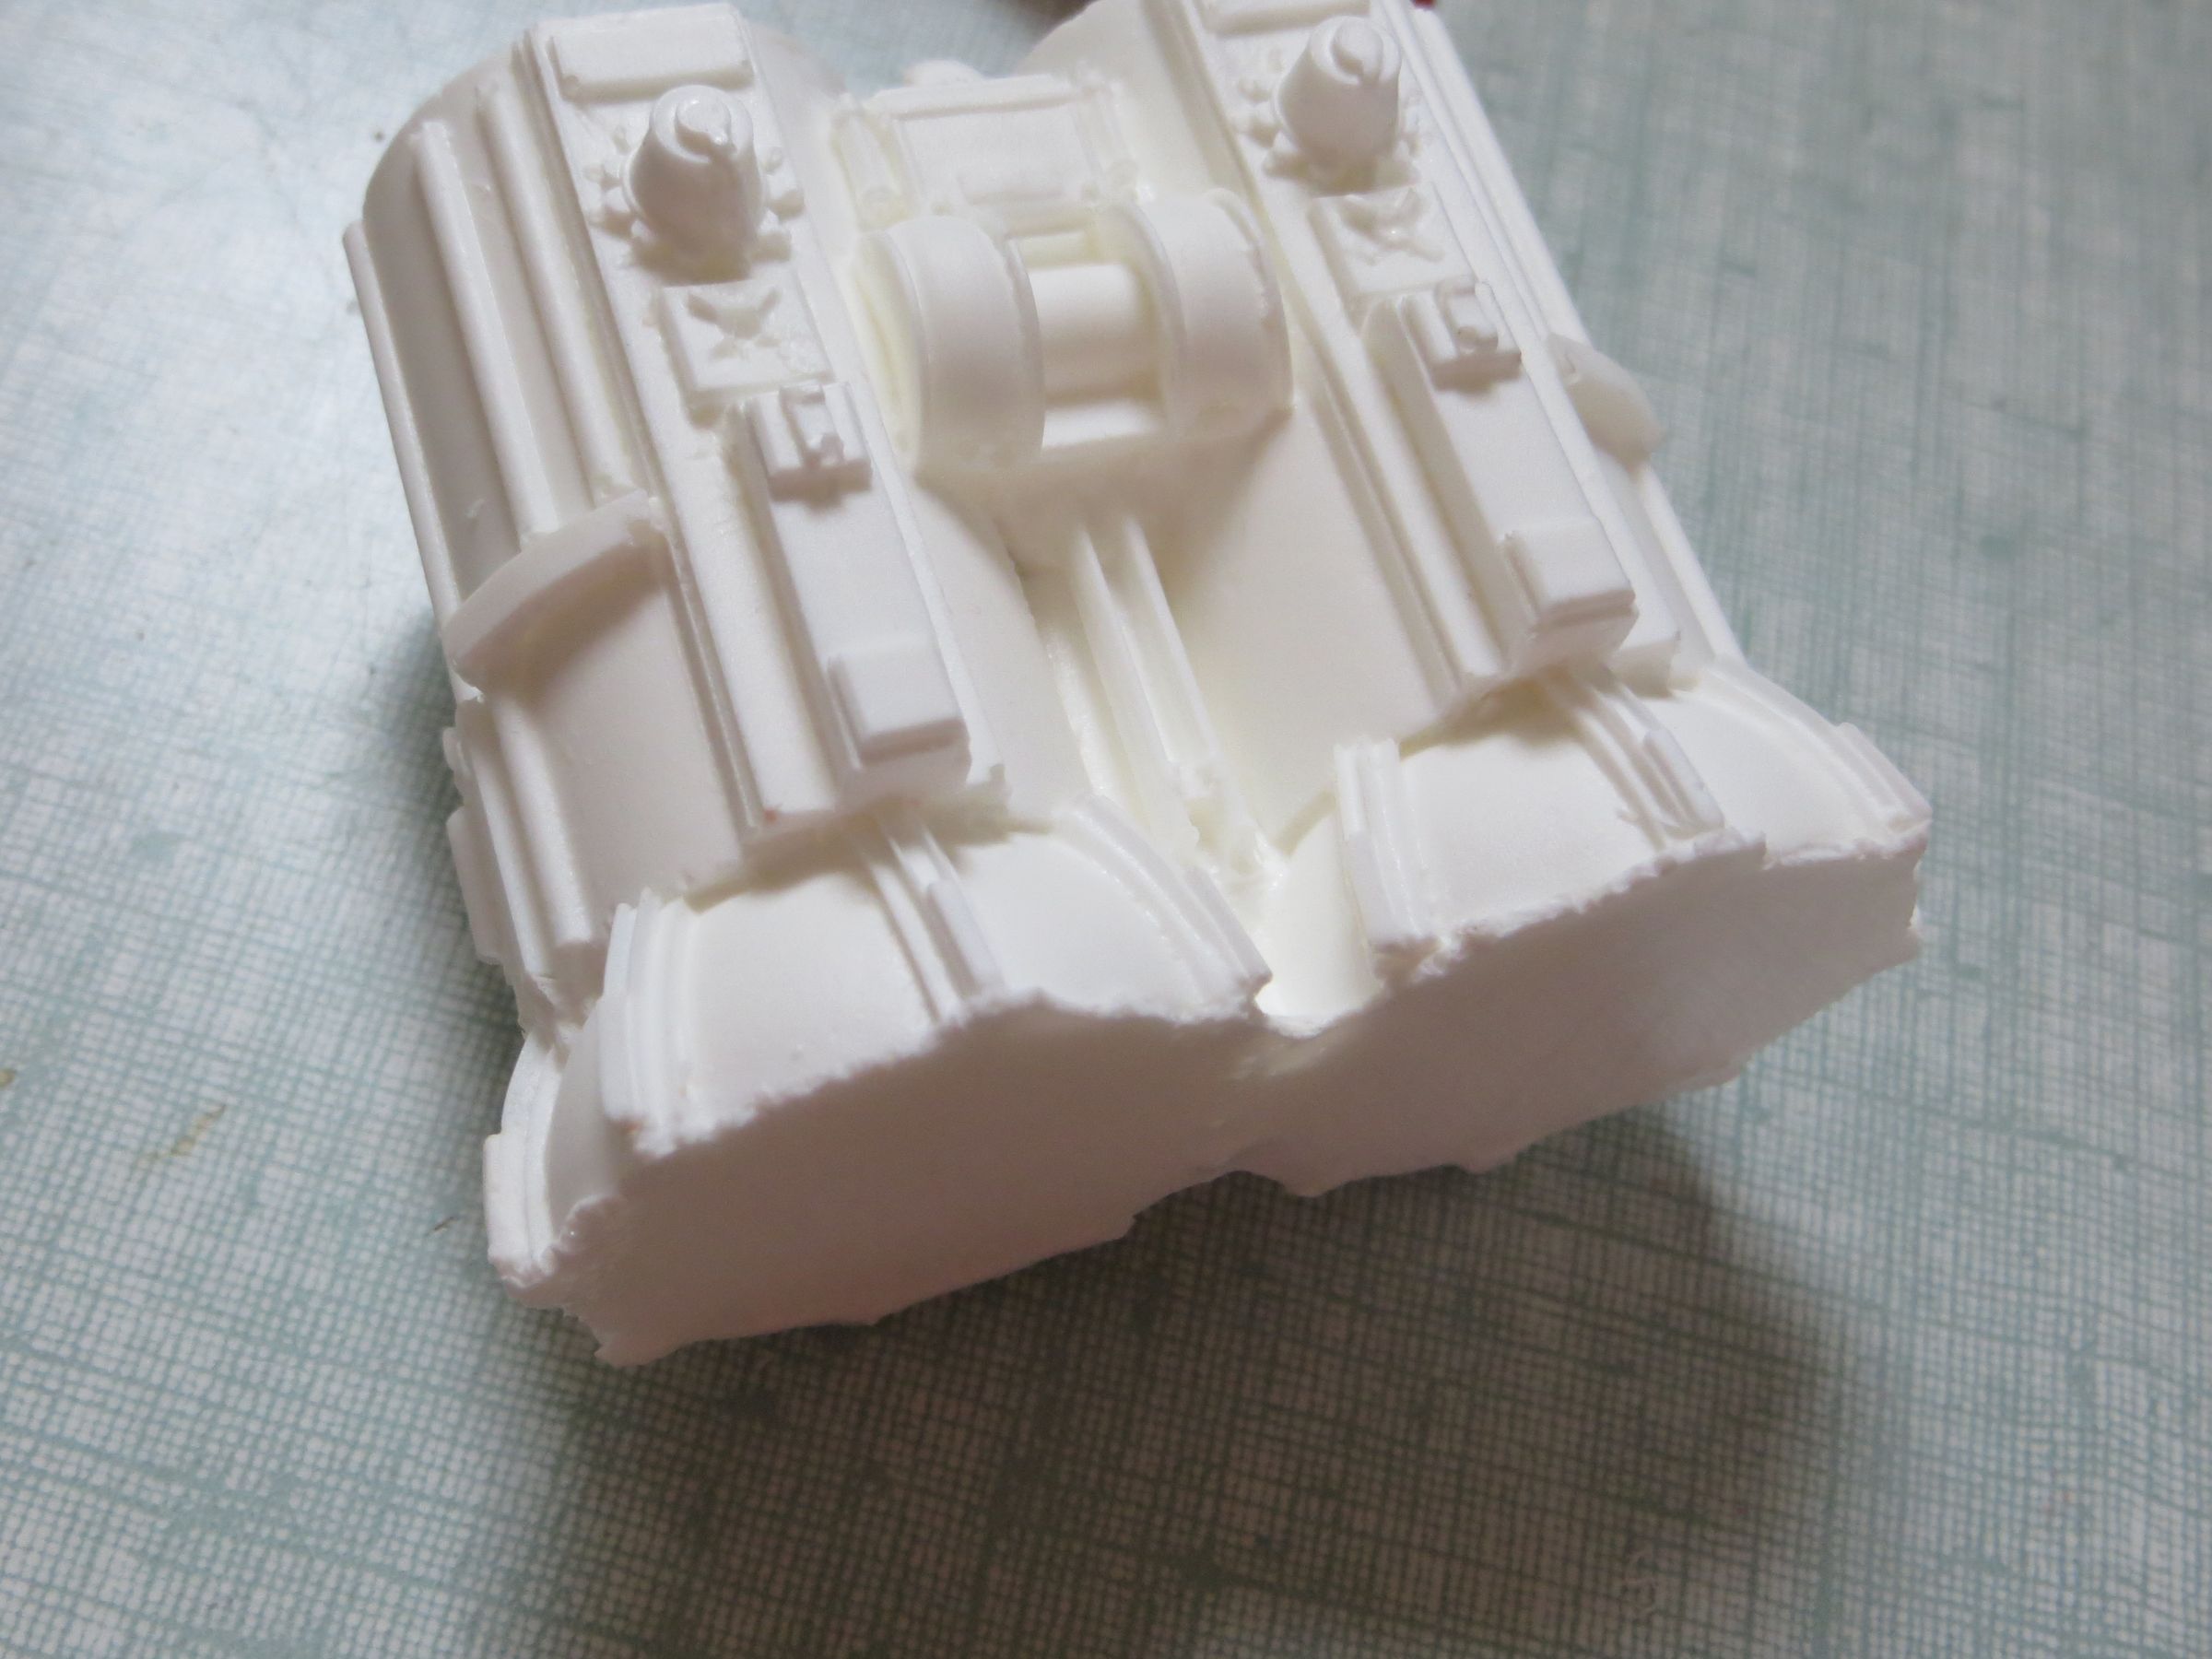
At first view, this kit gives a good feeling at the opening of the bags.
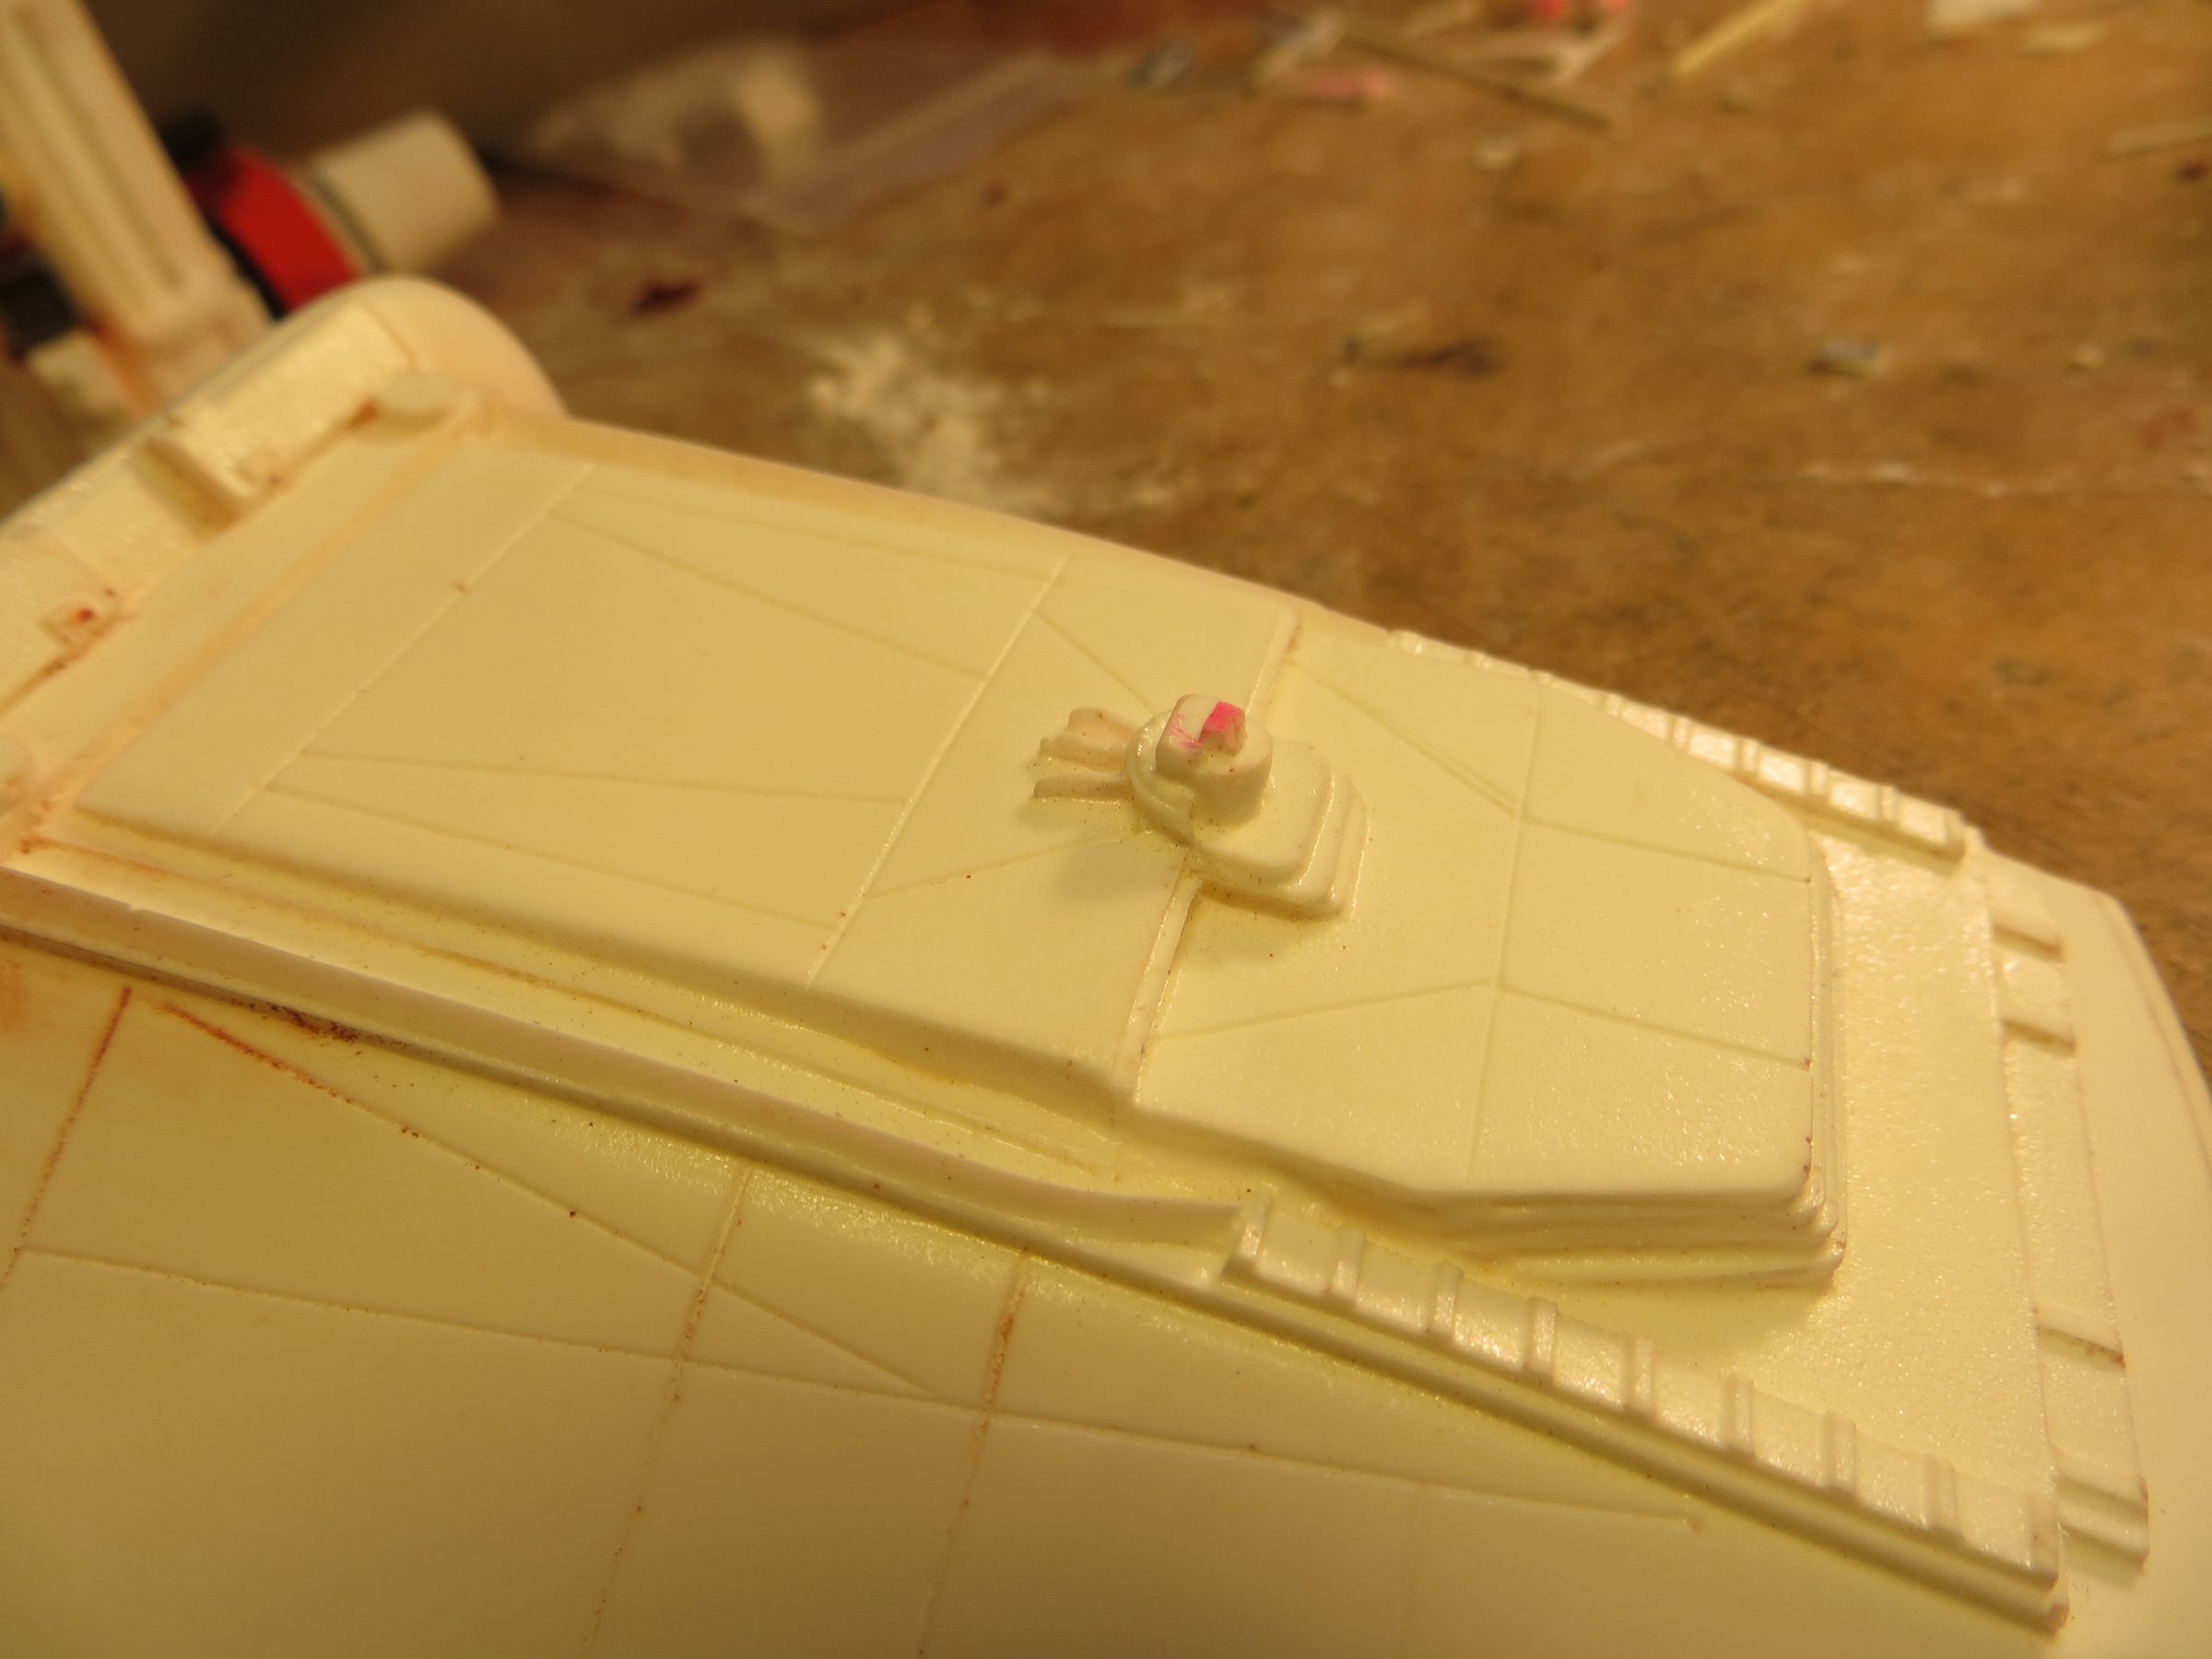
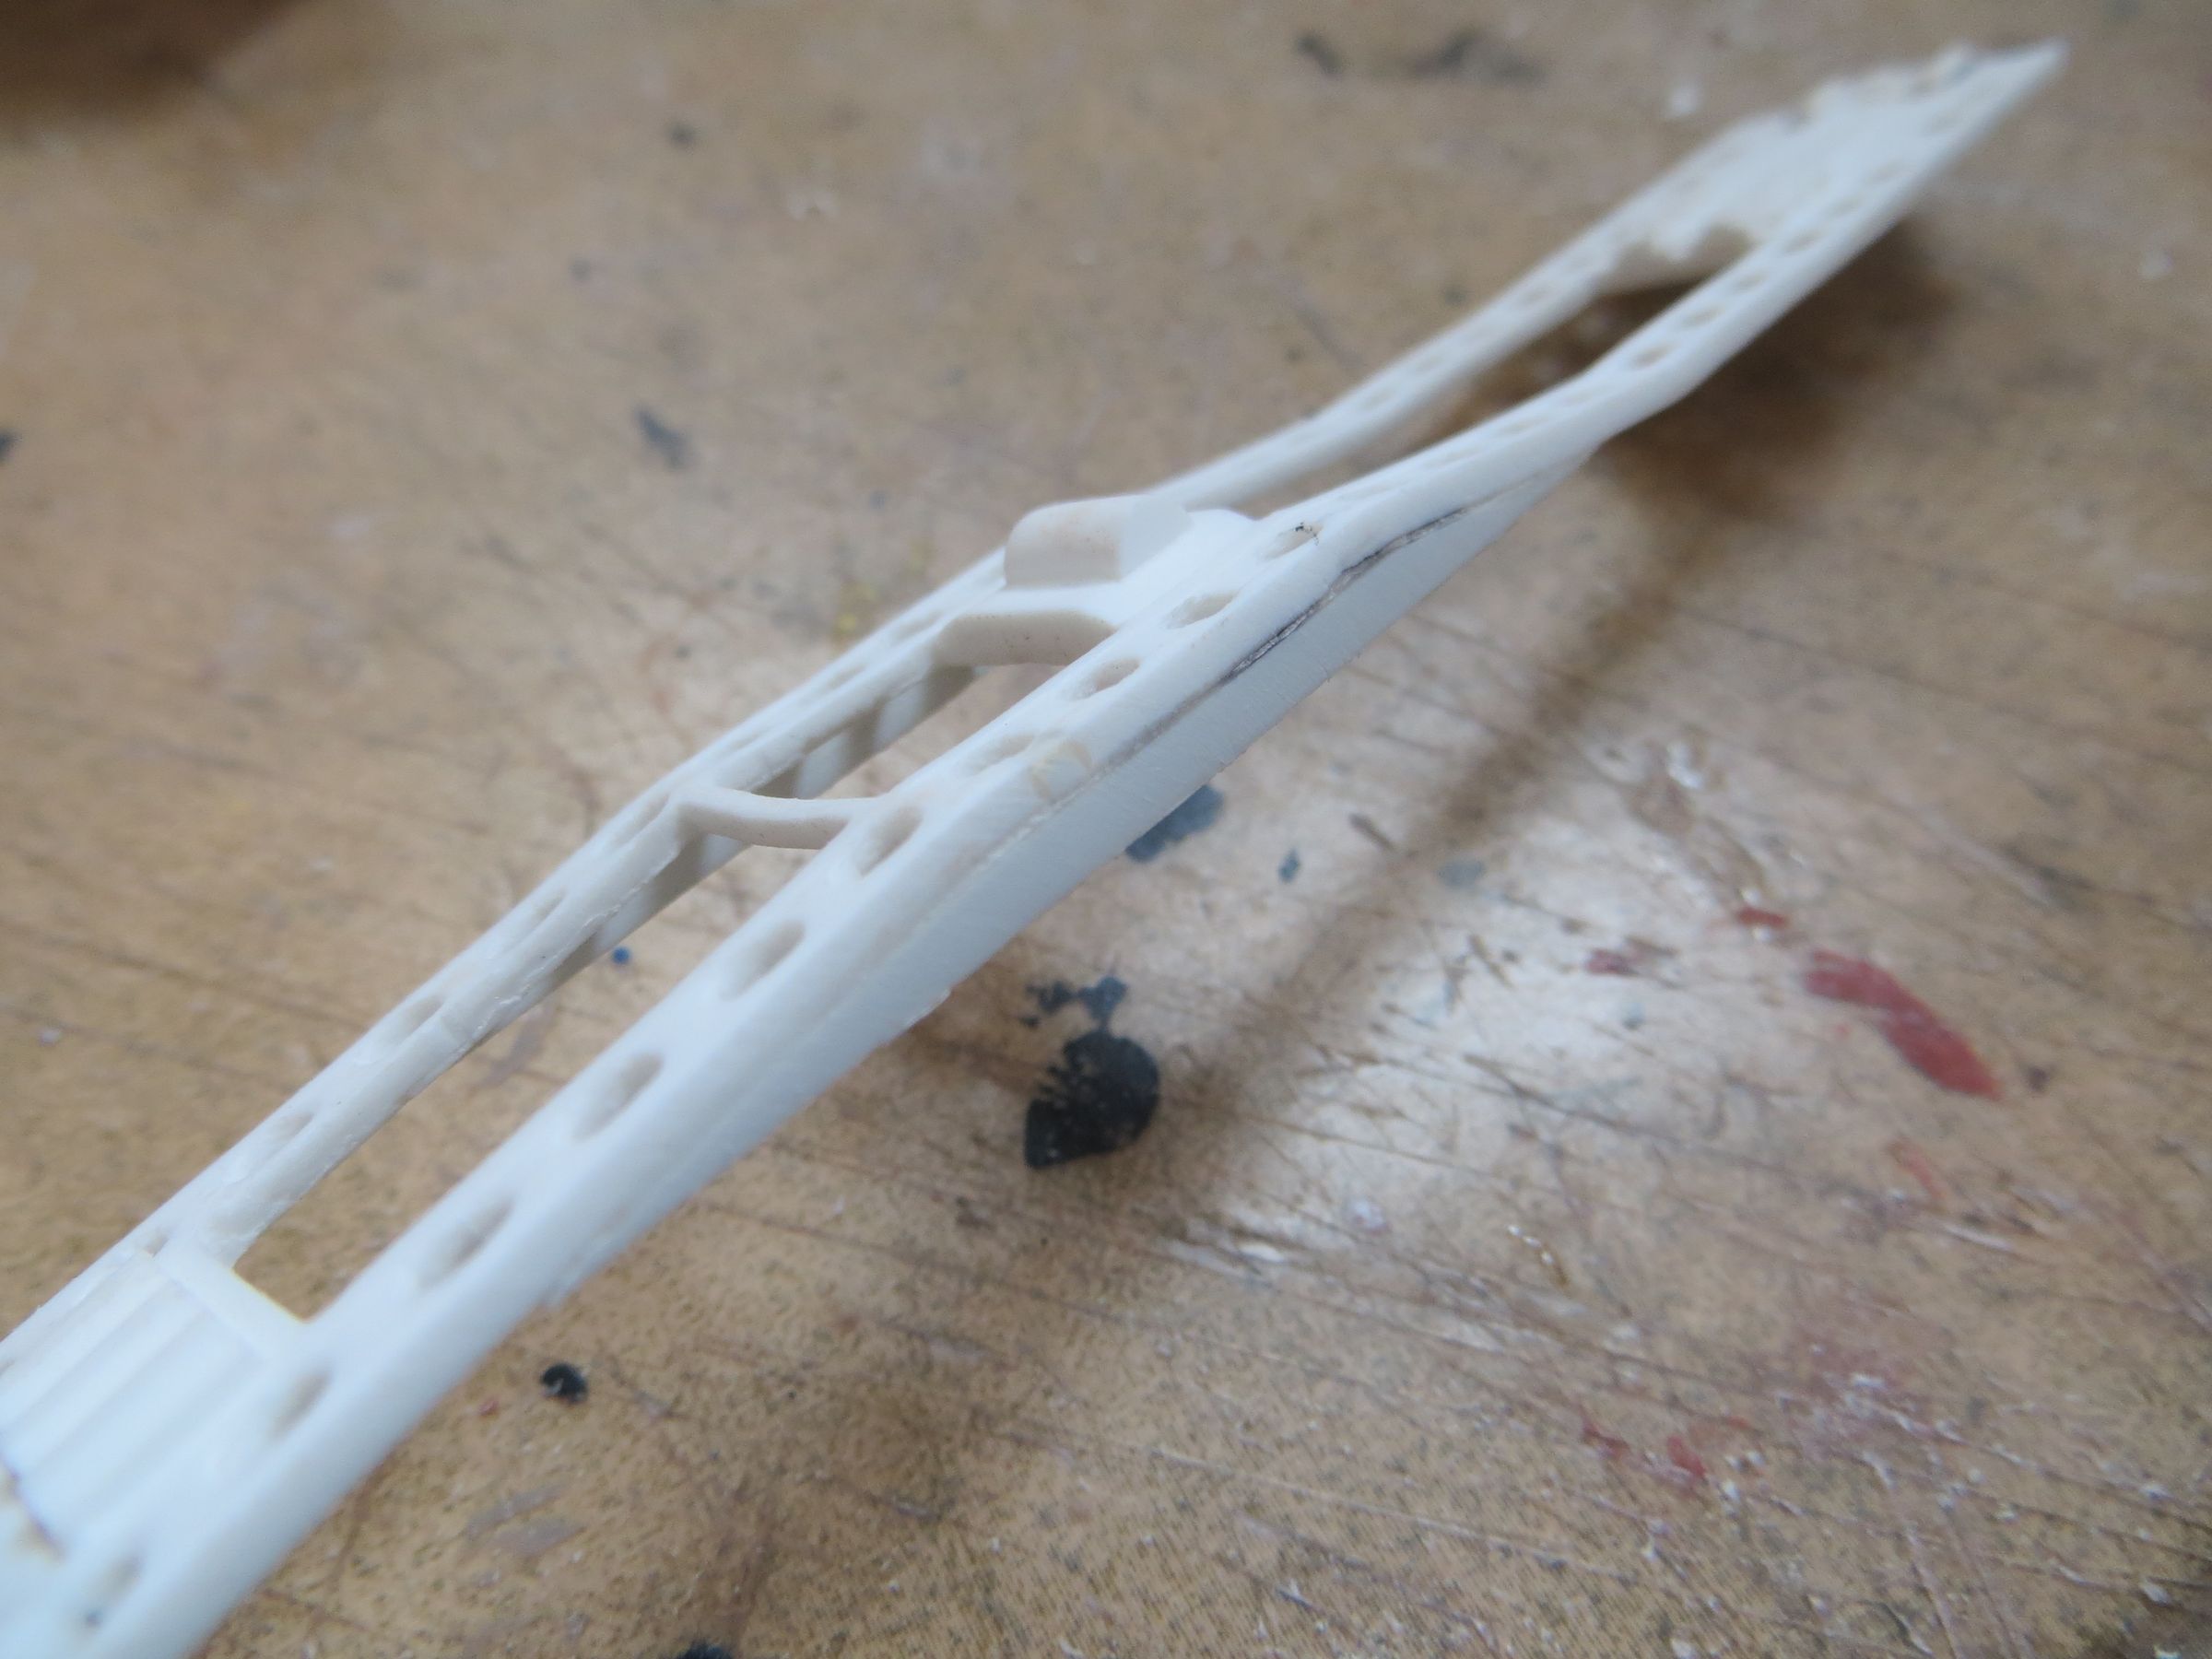
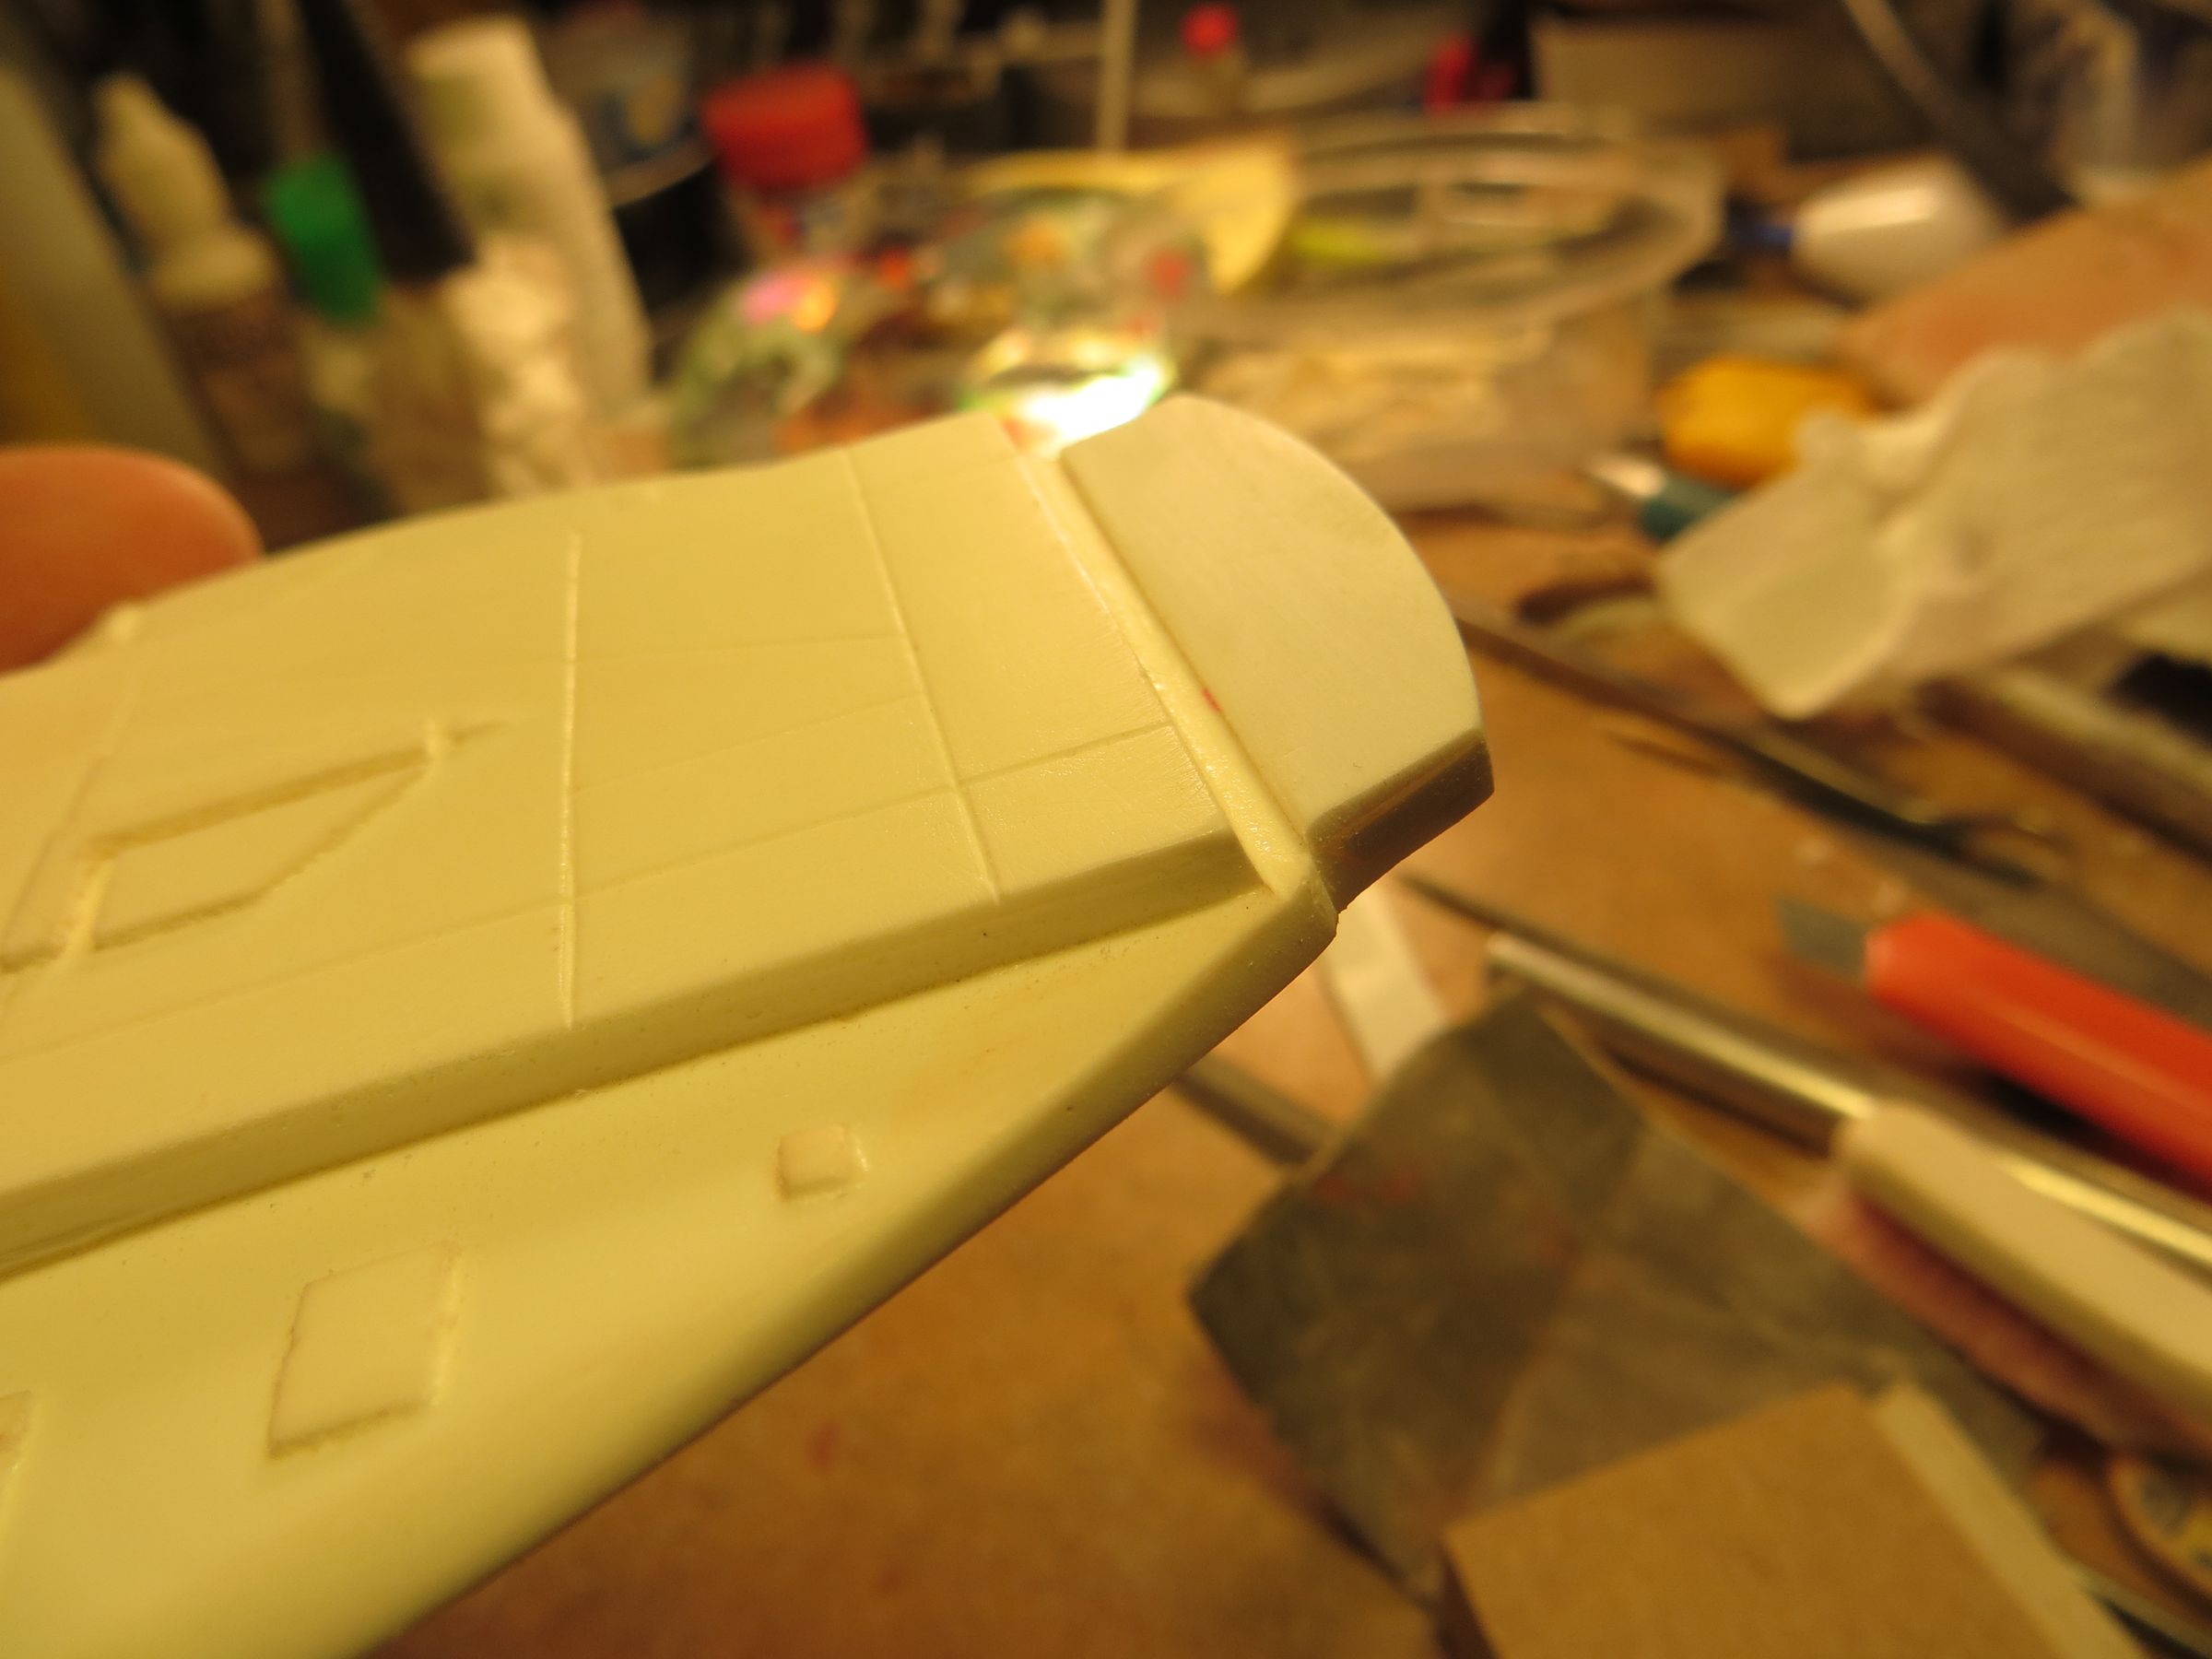
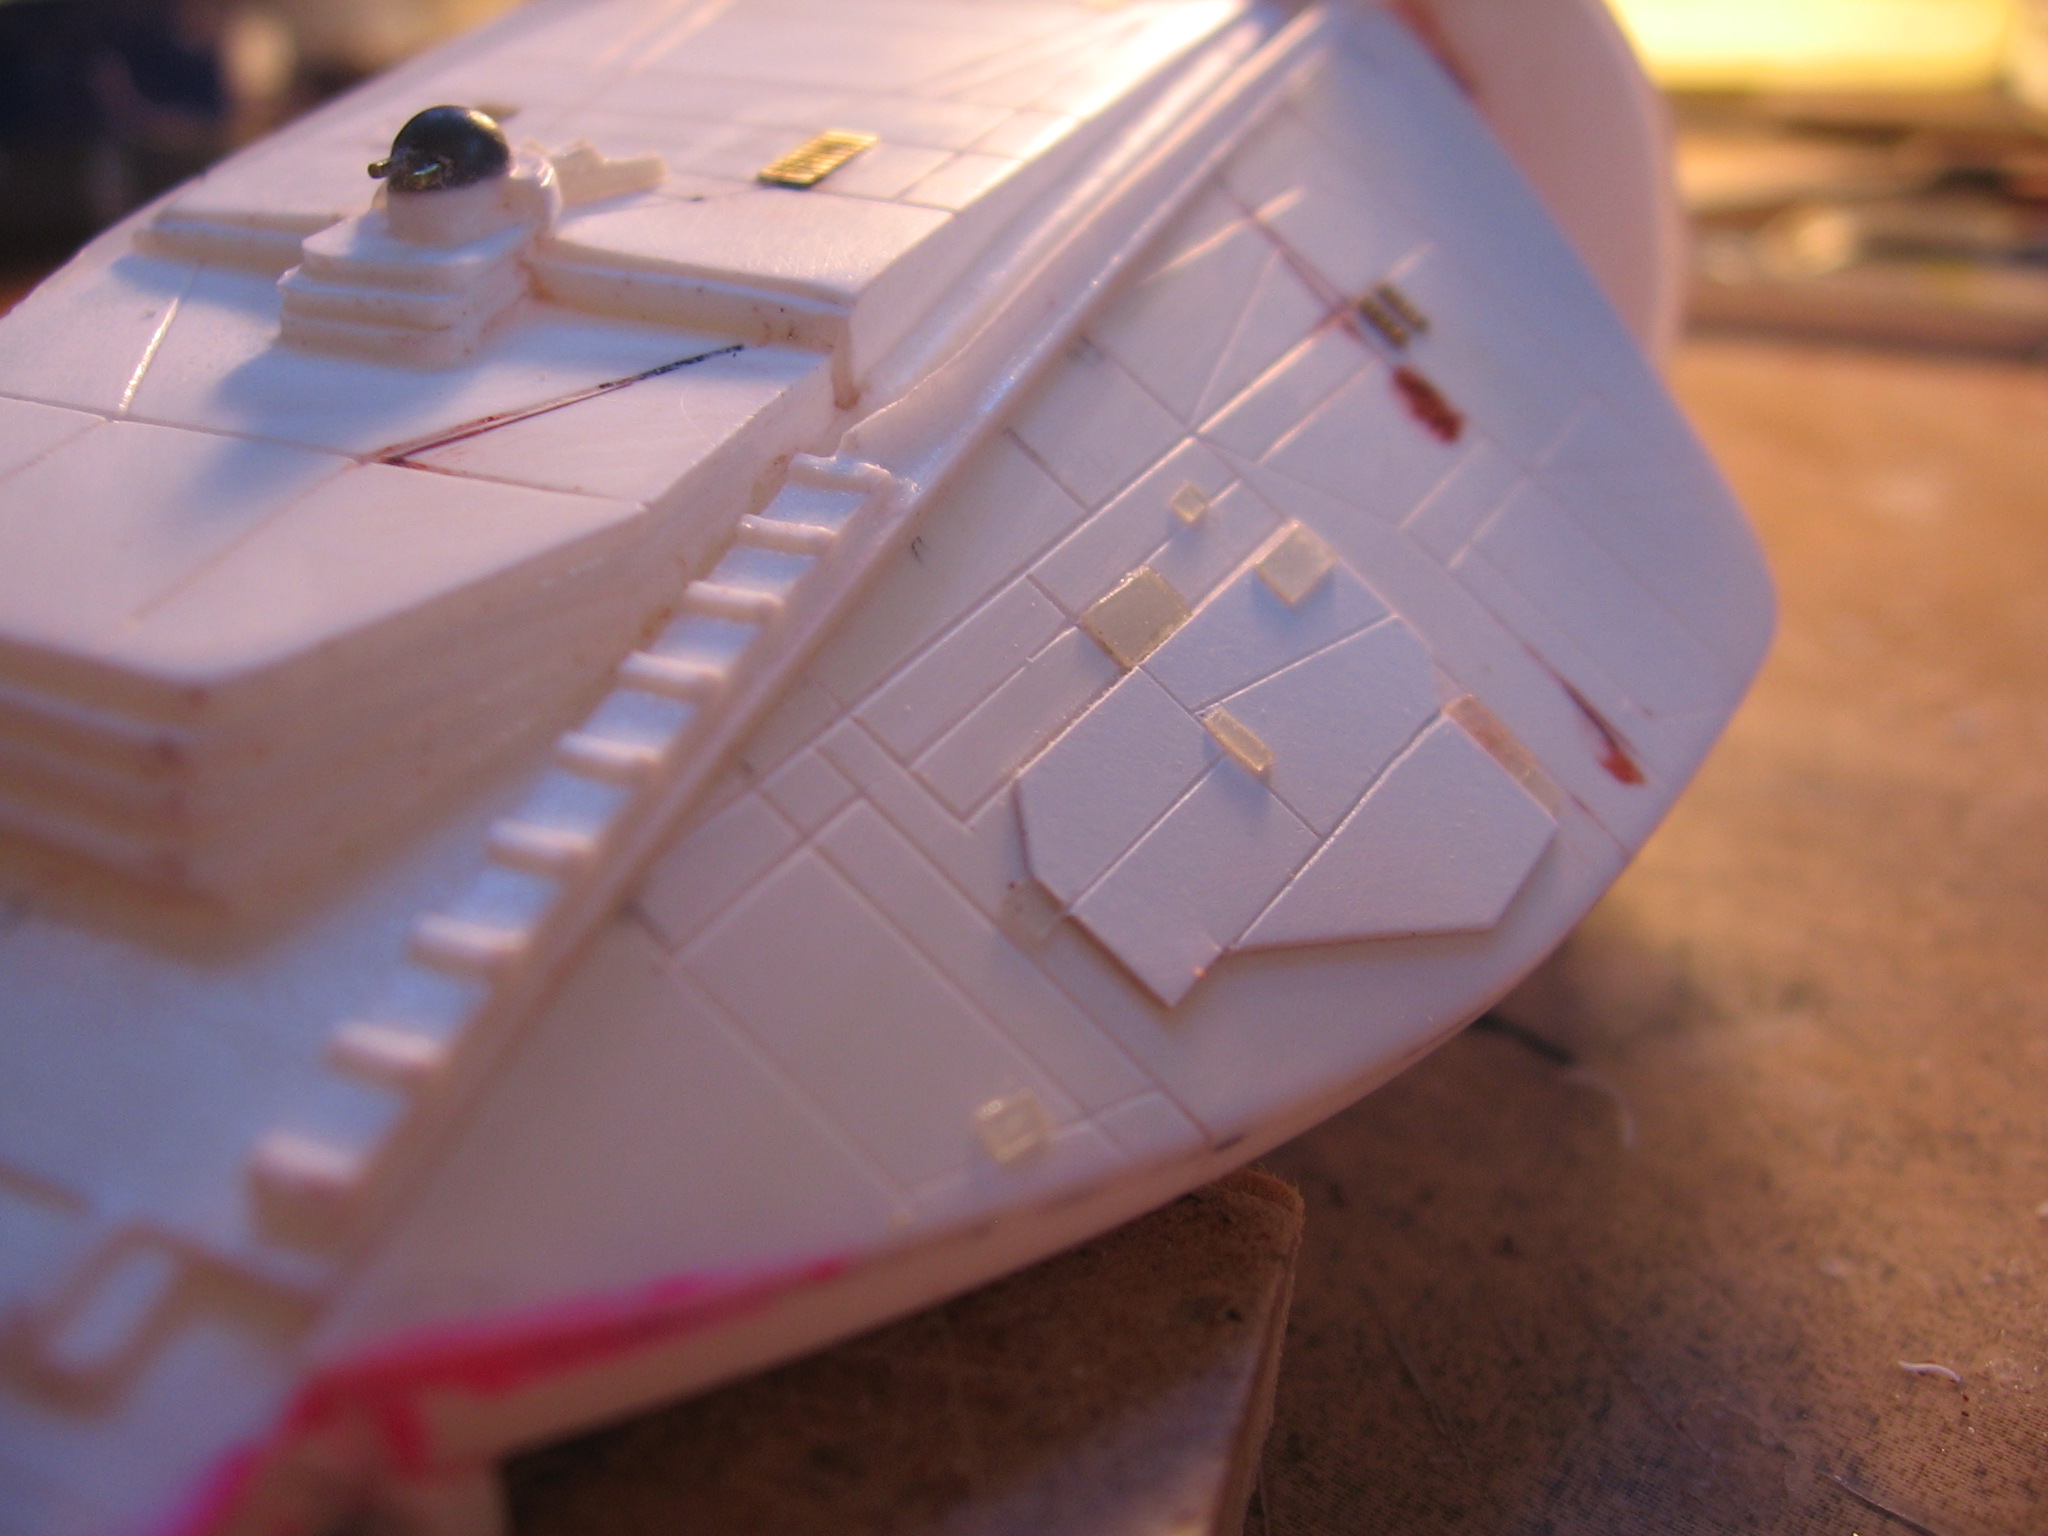
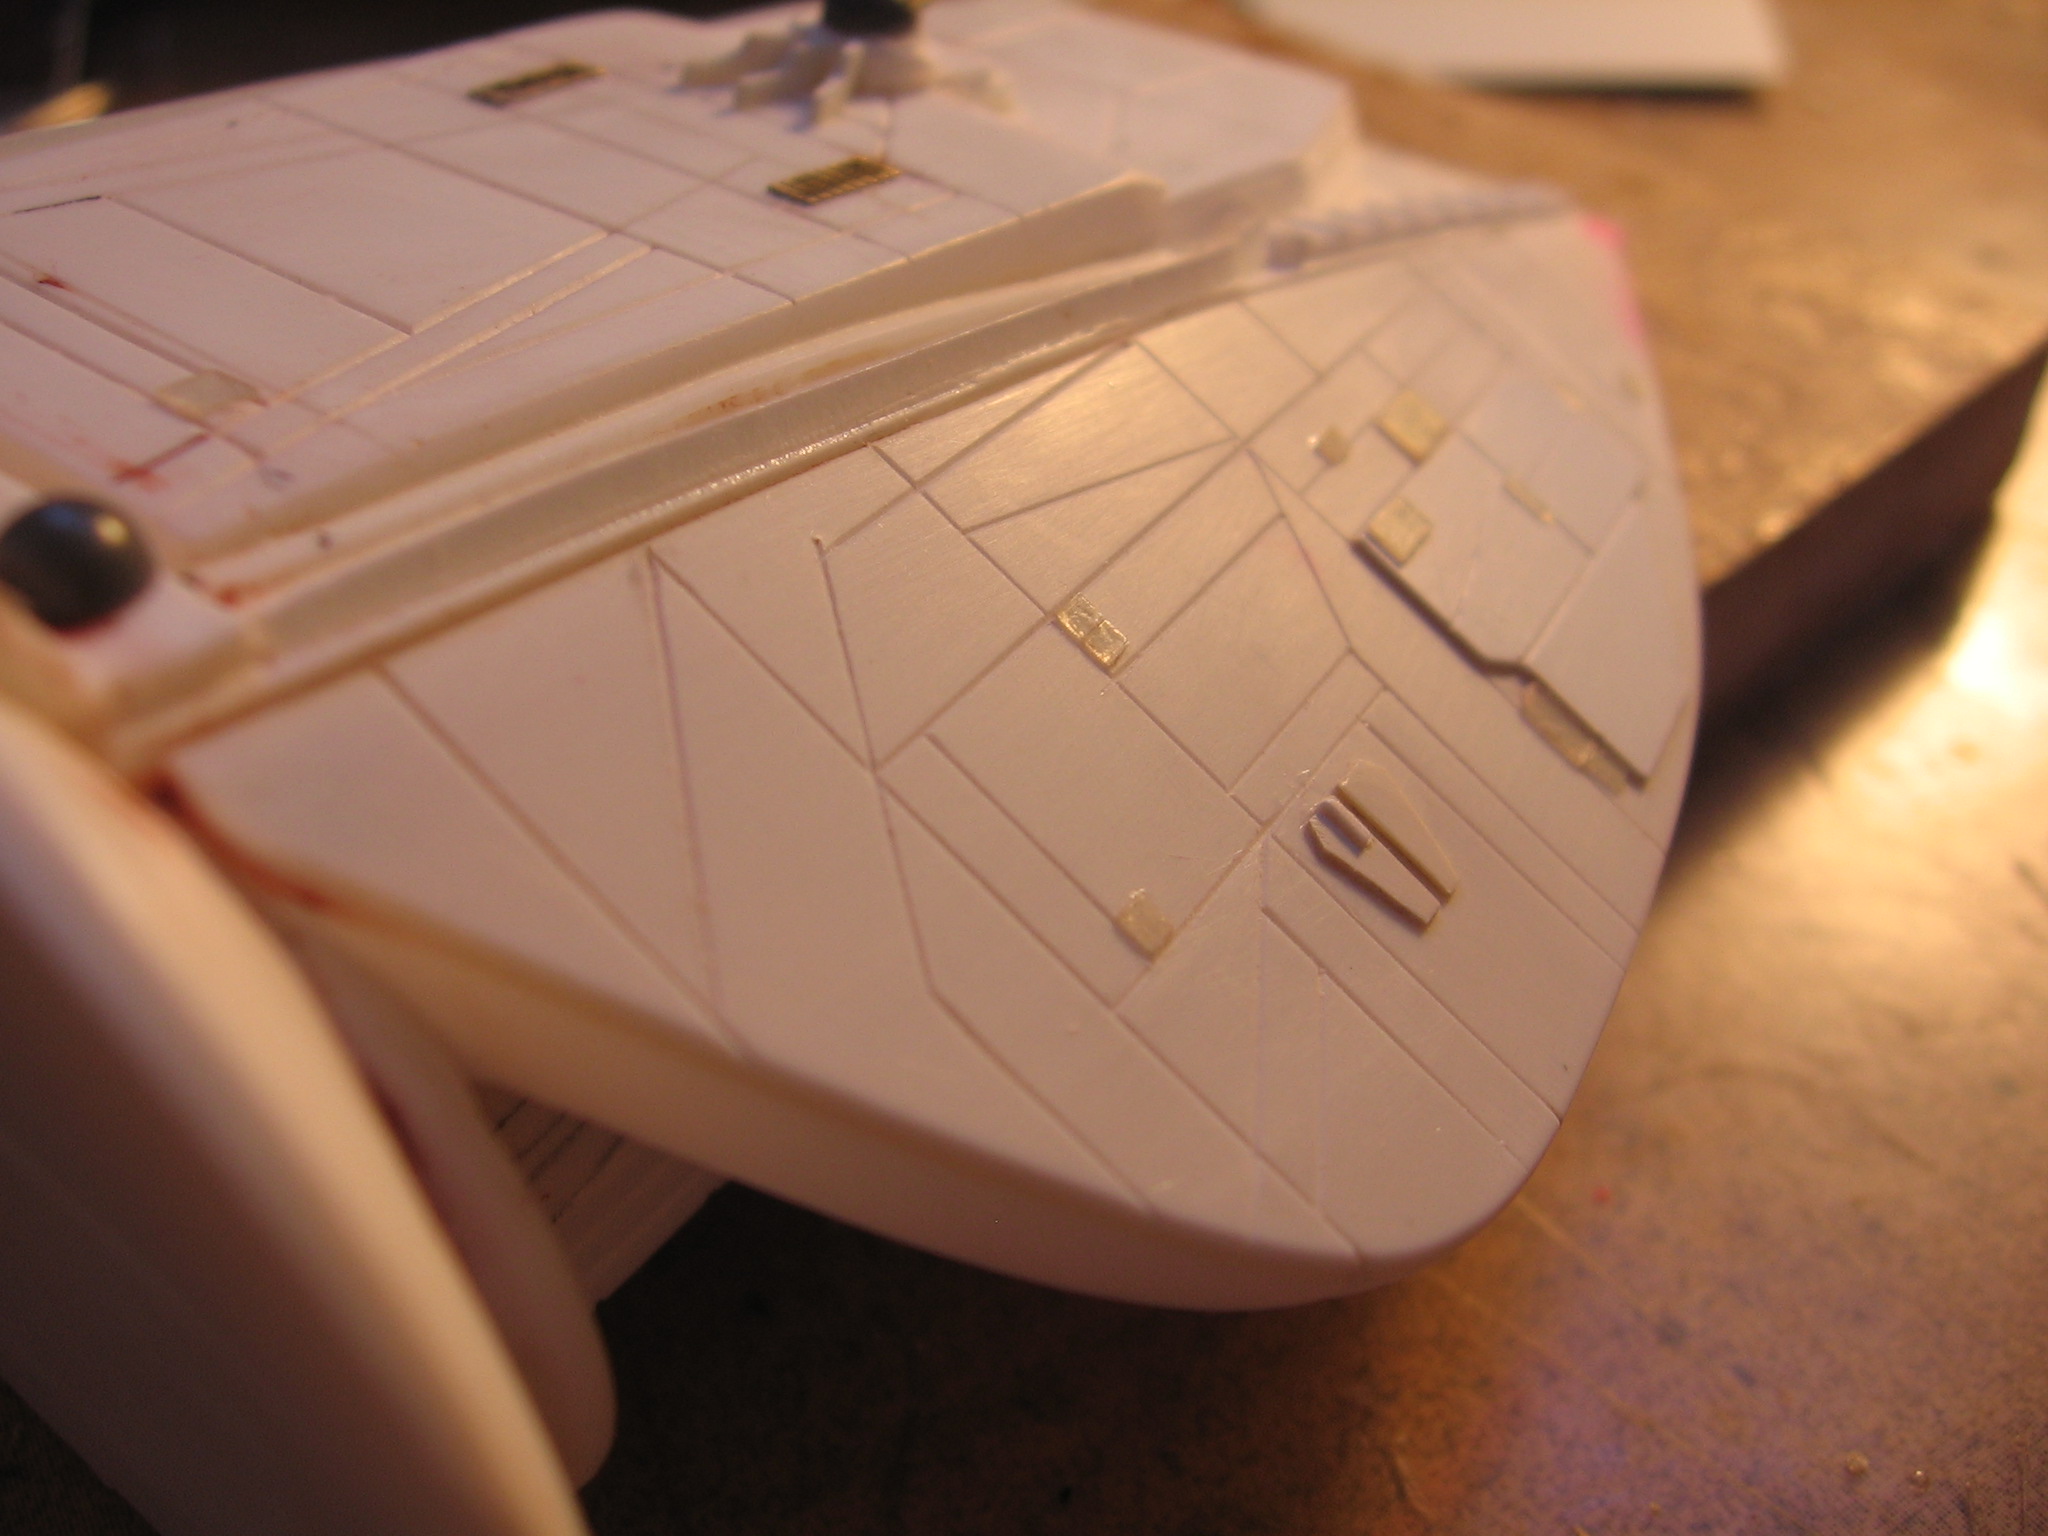
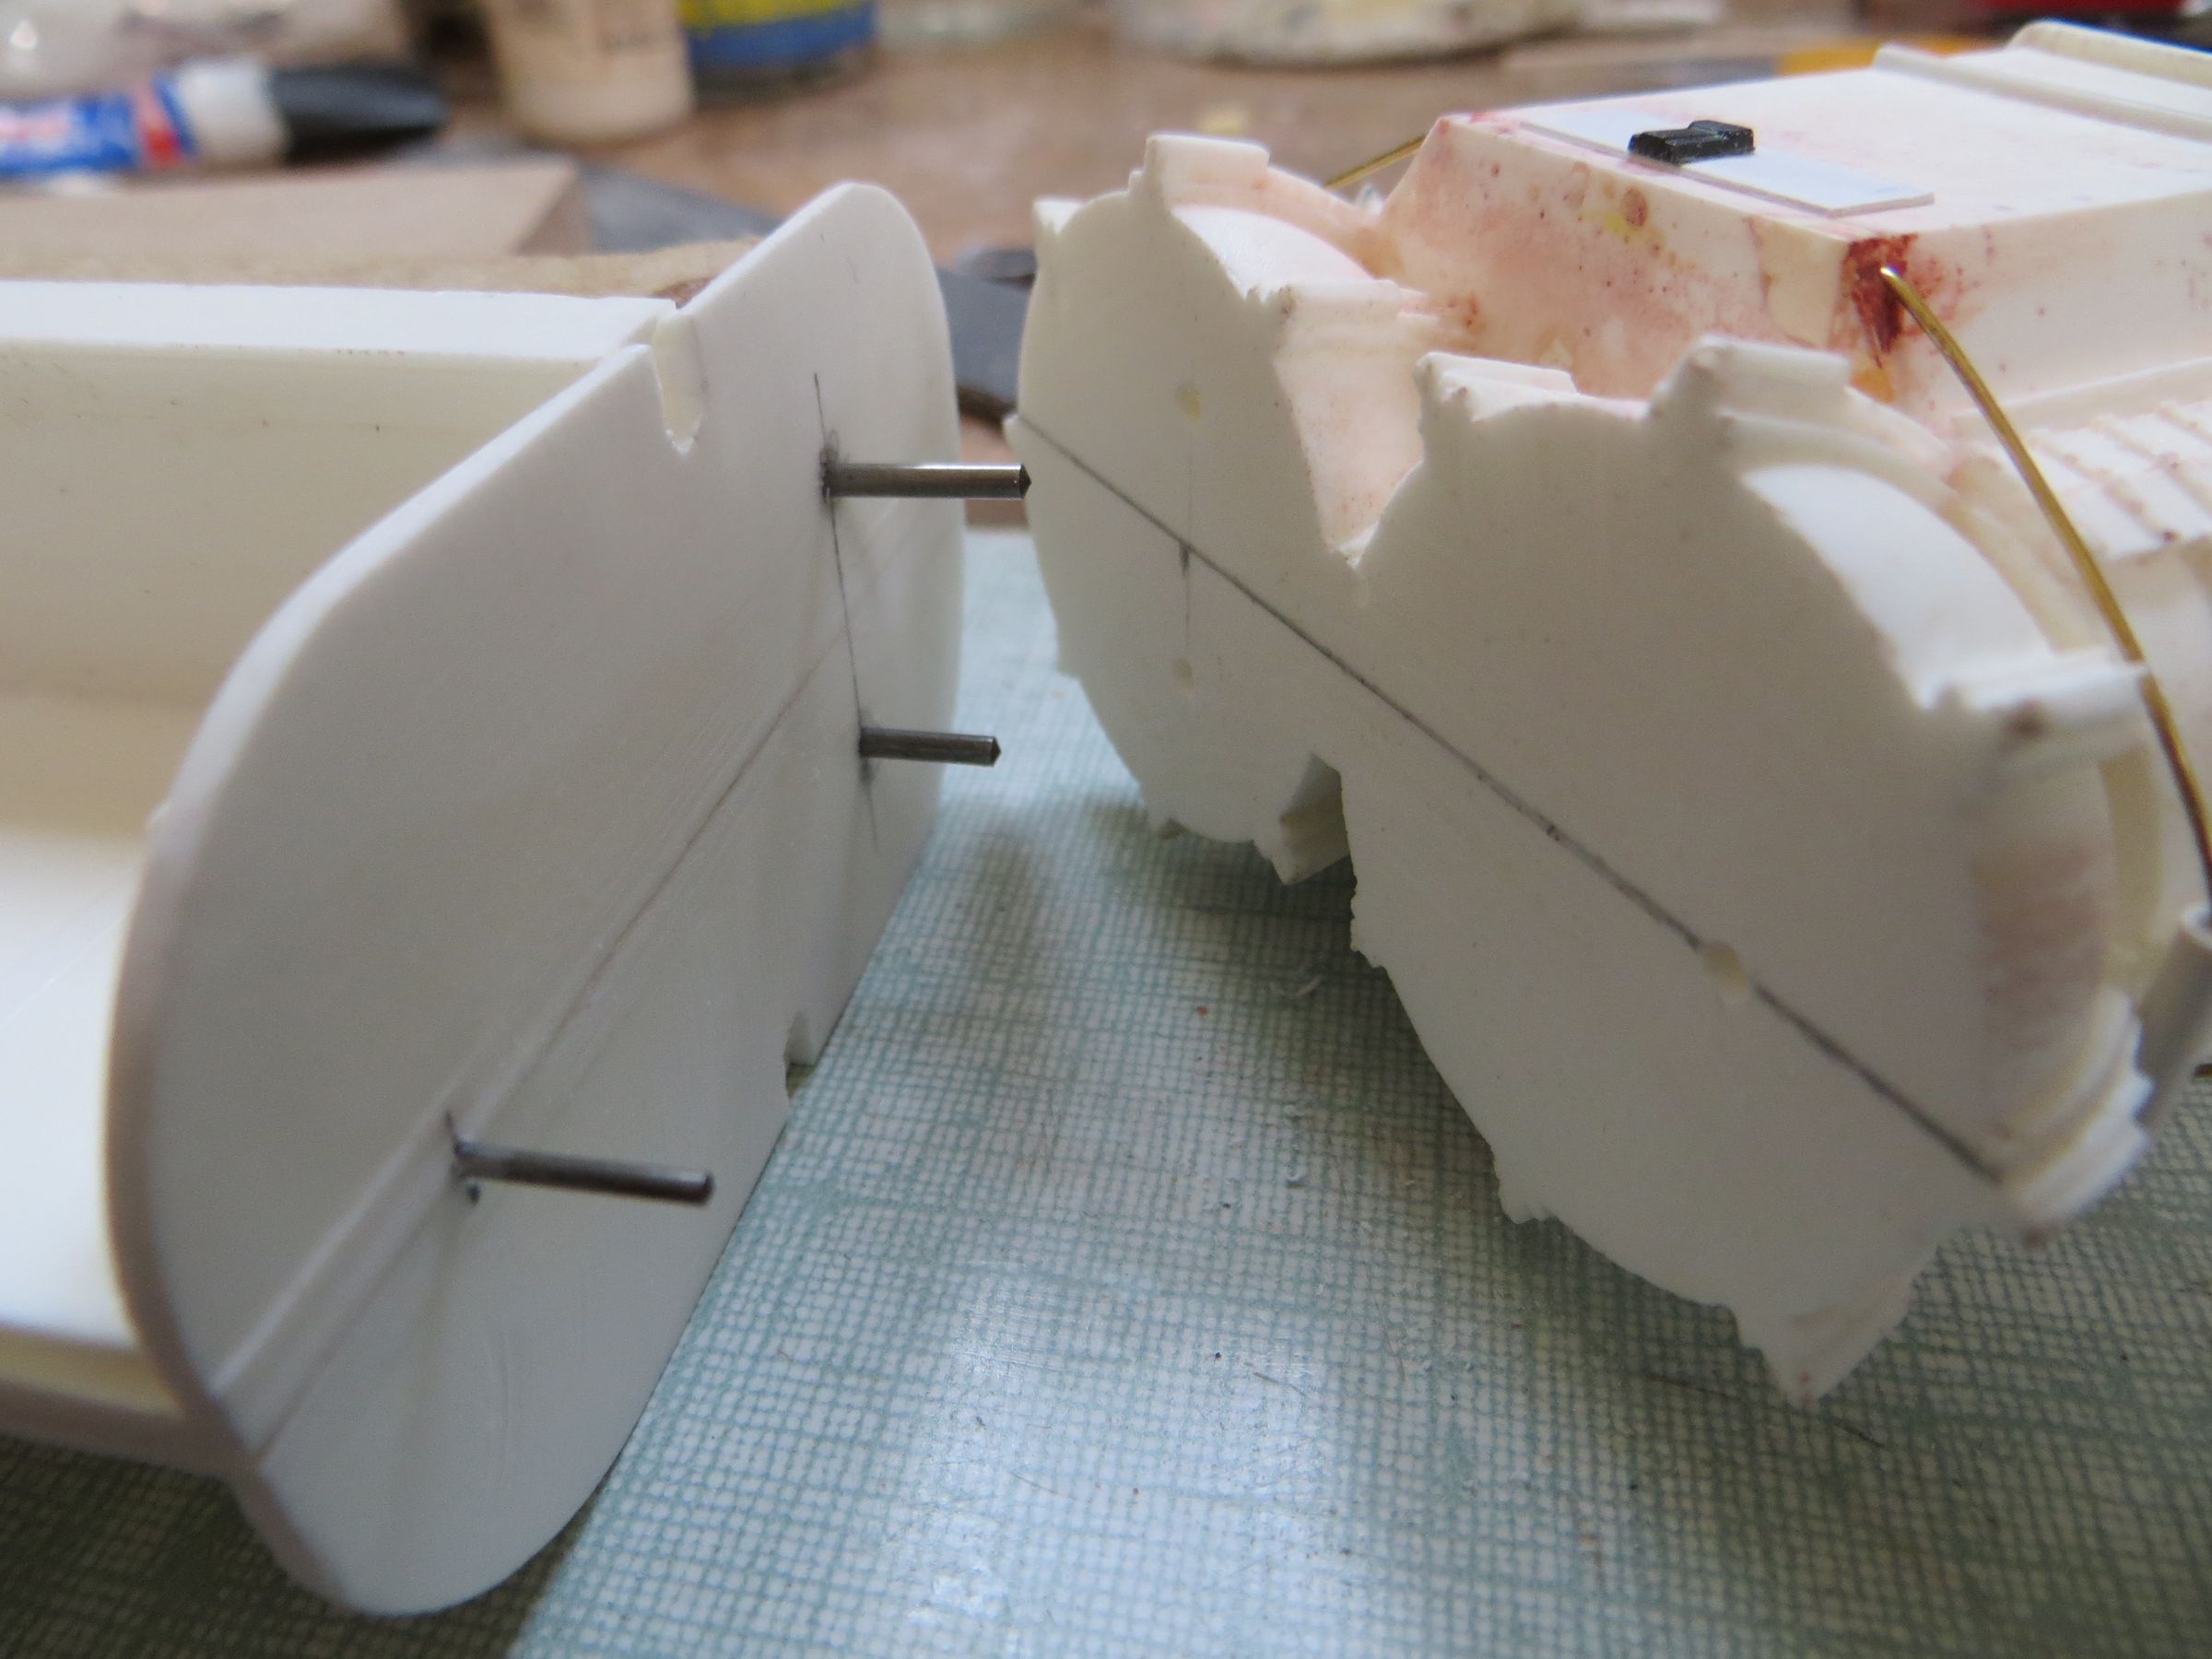
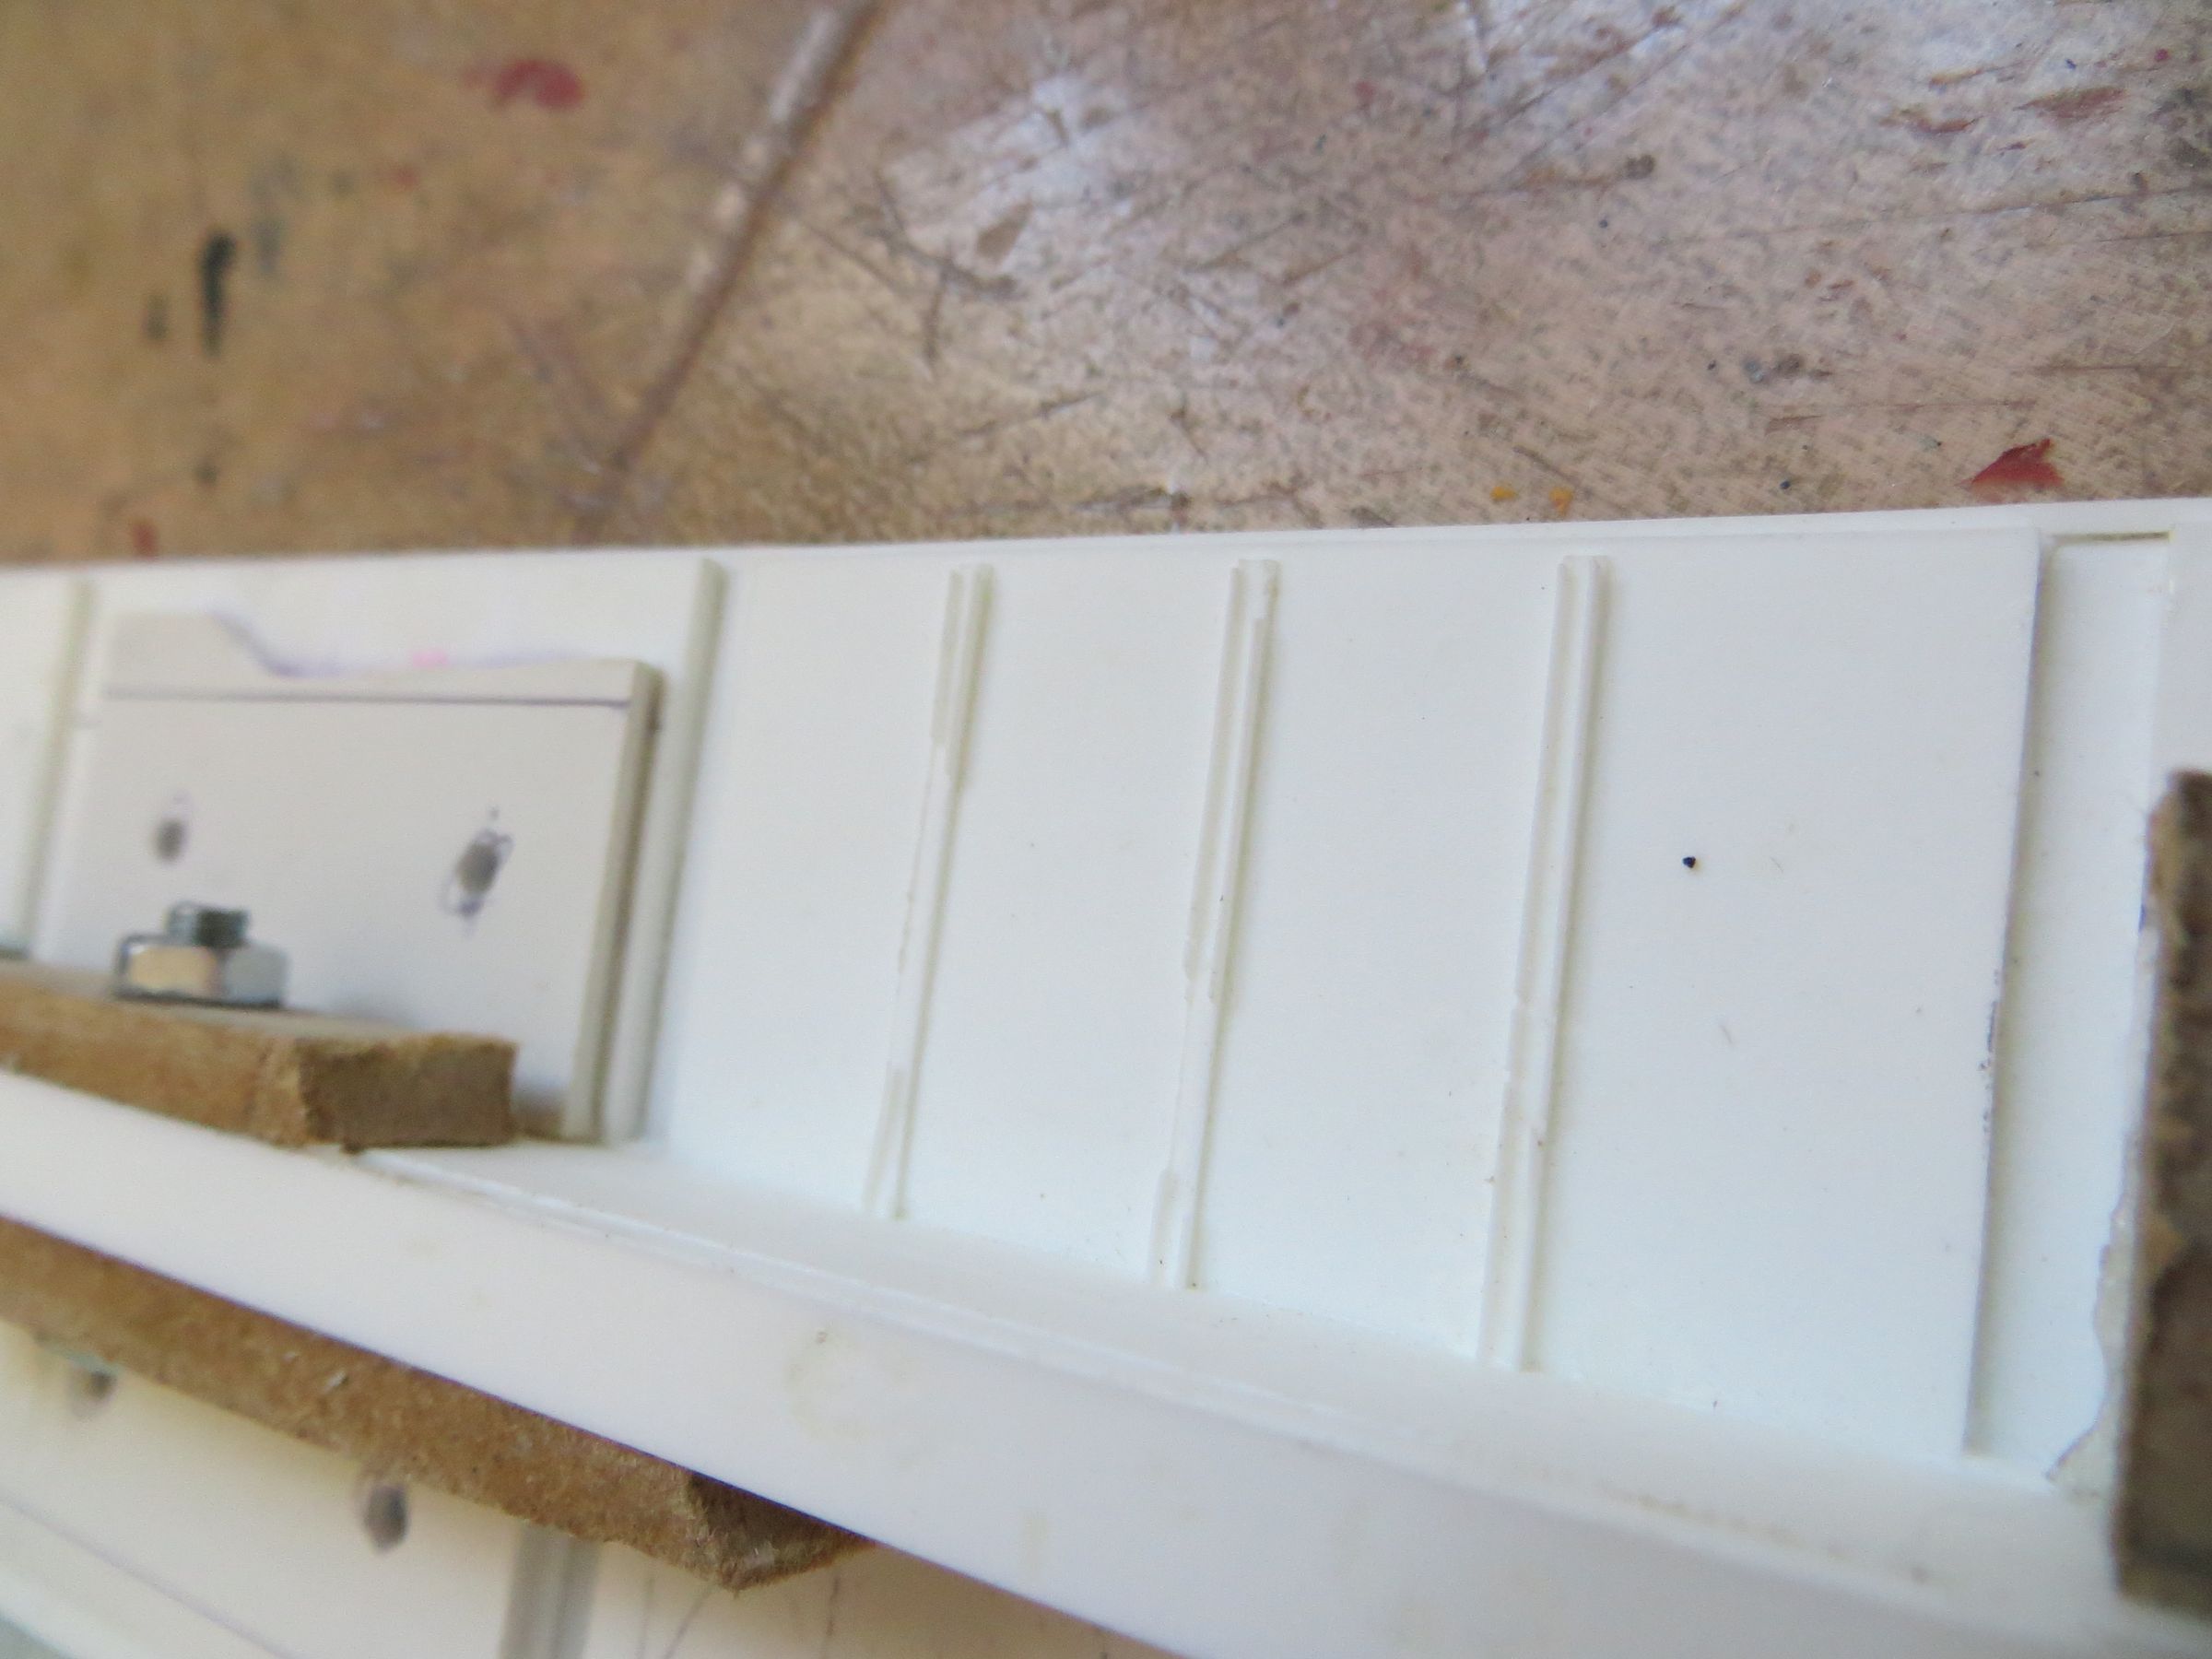
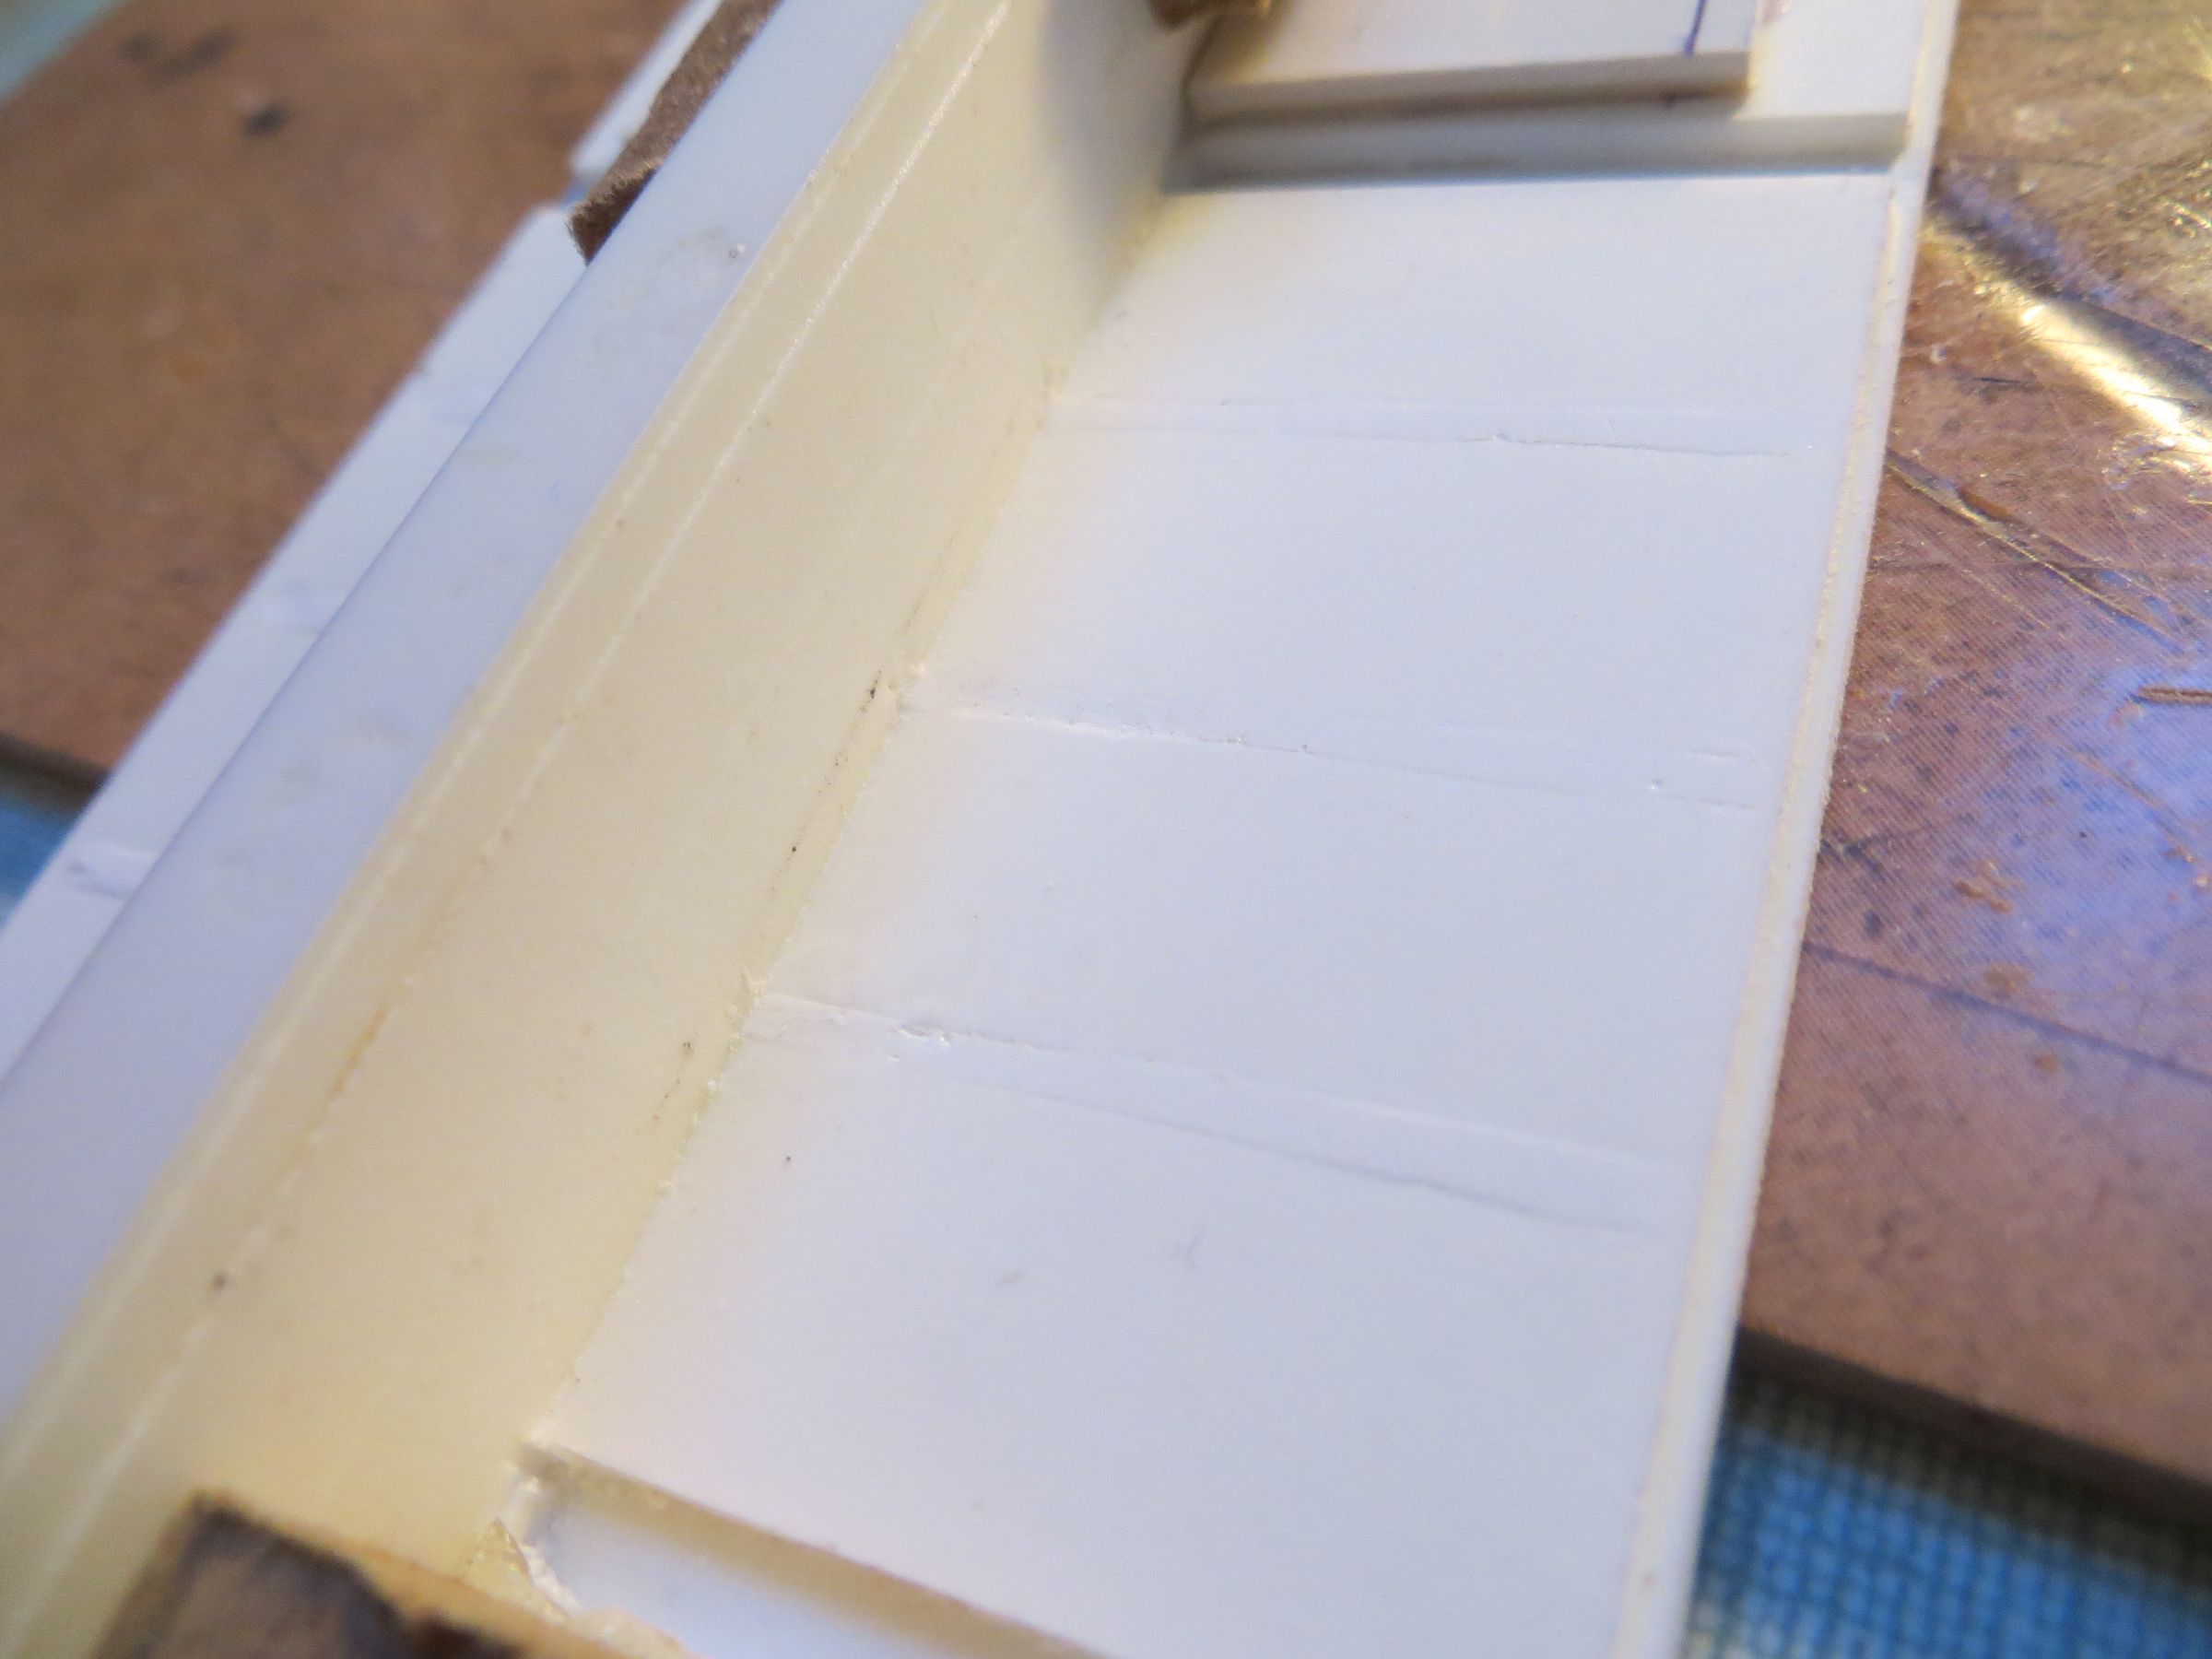
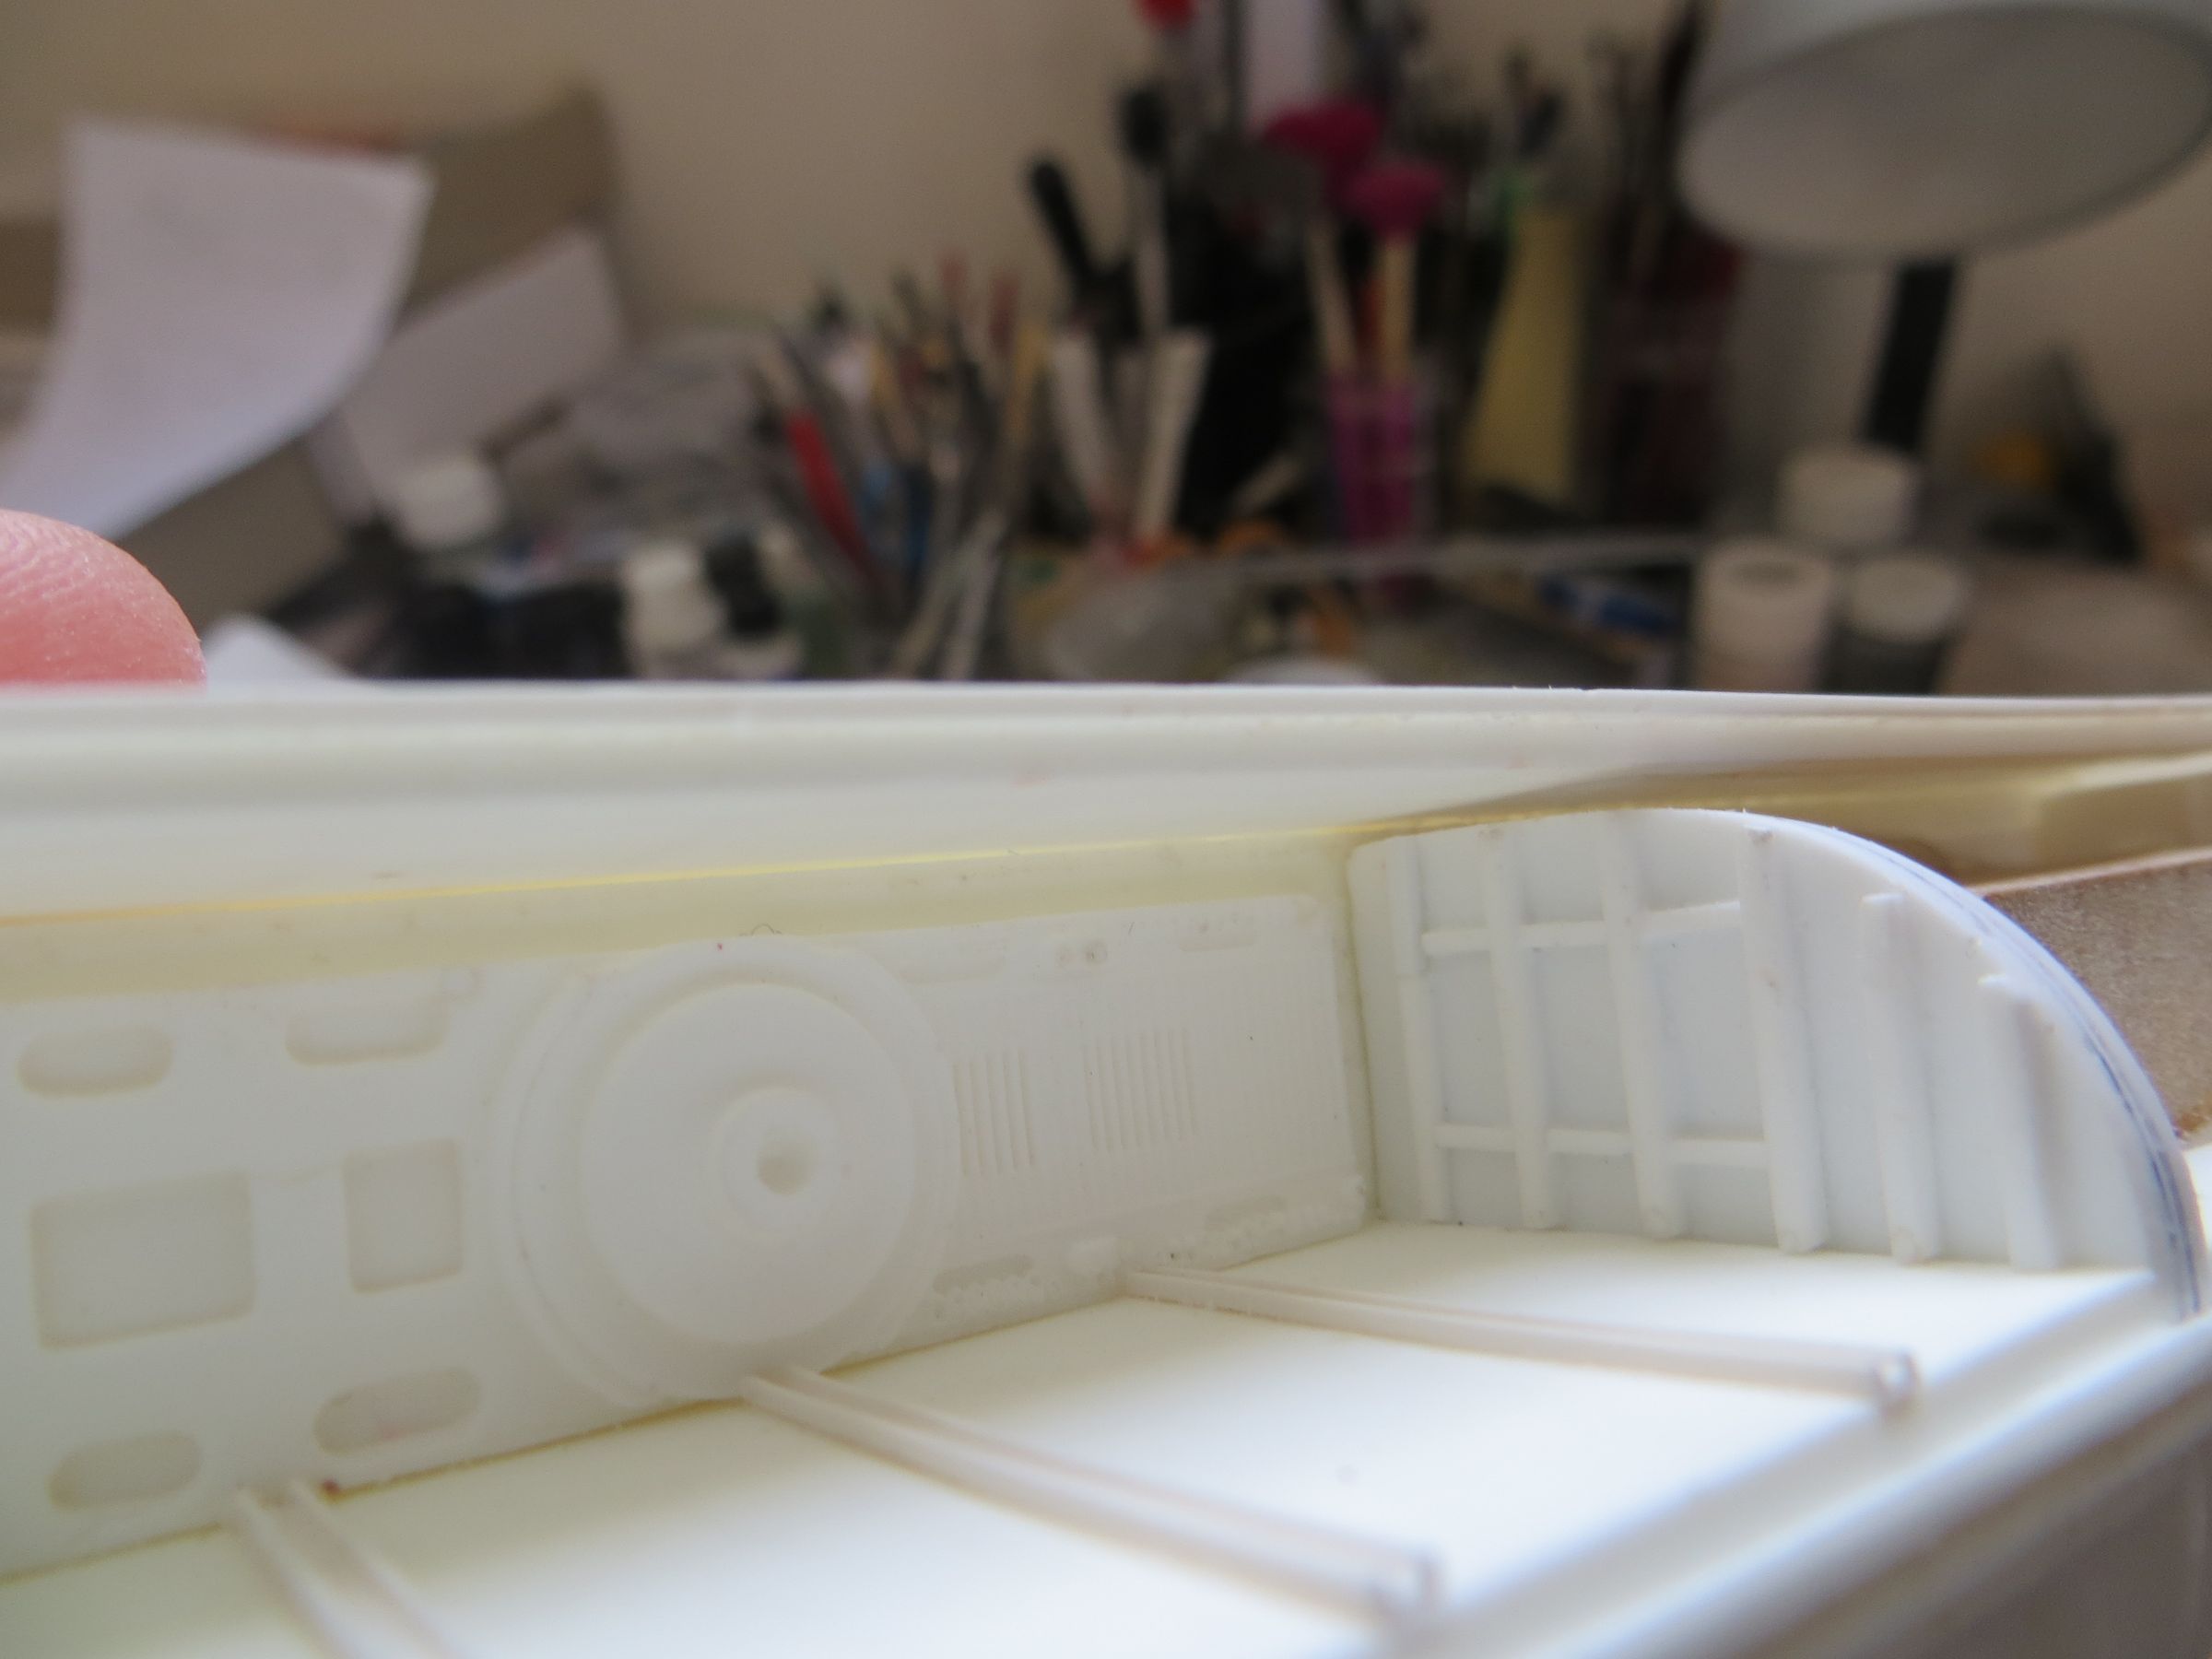
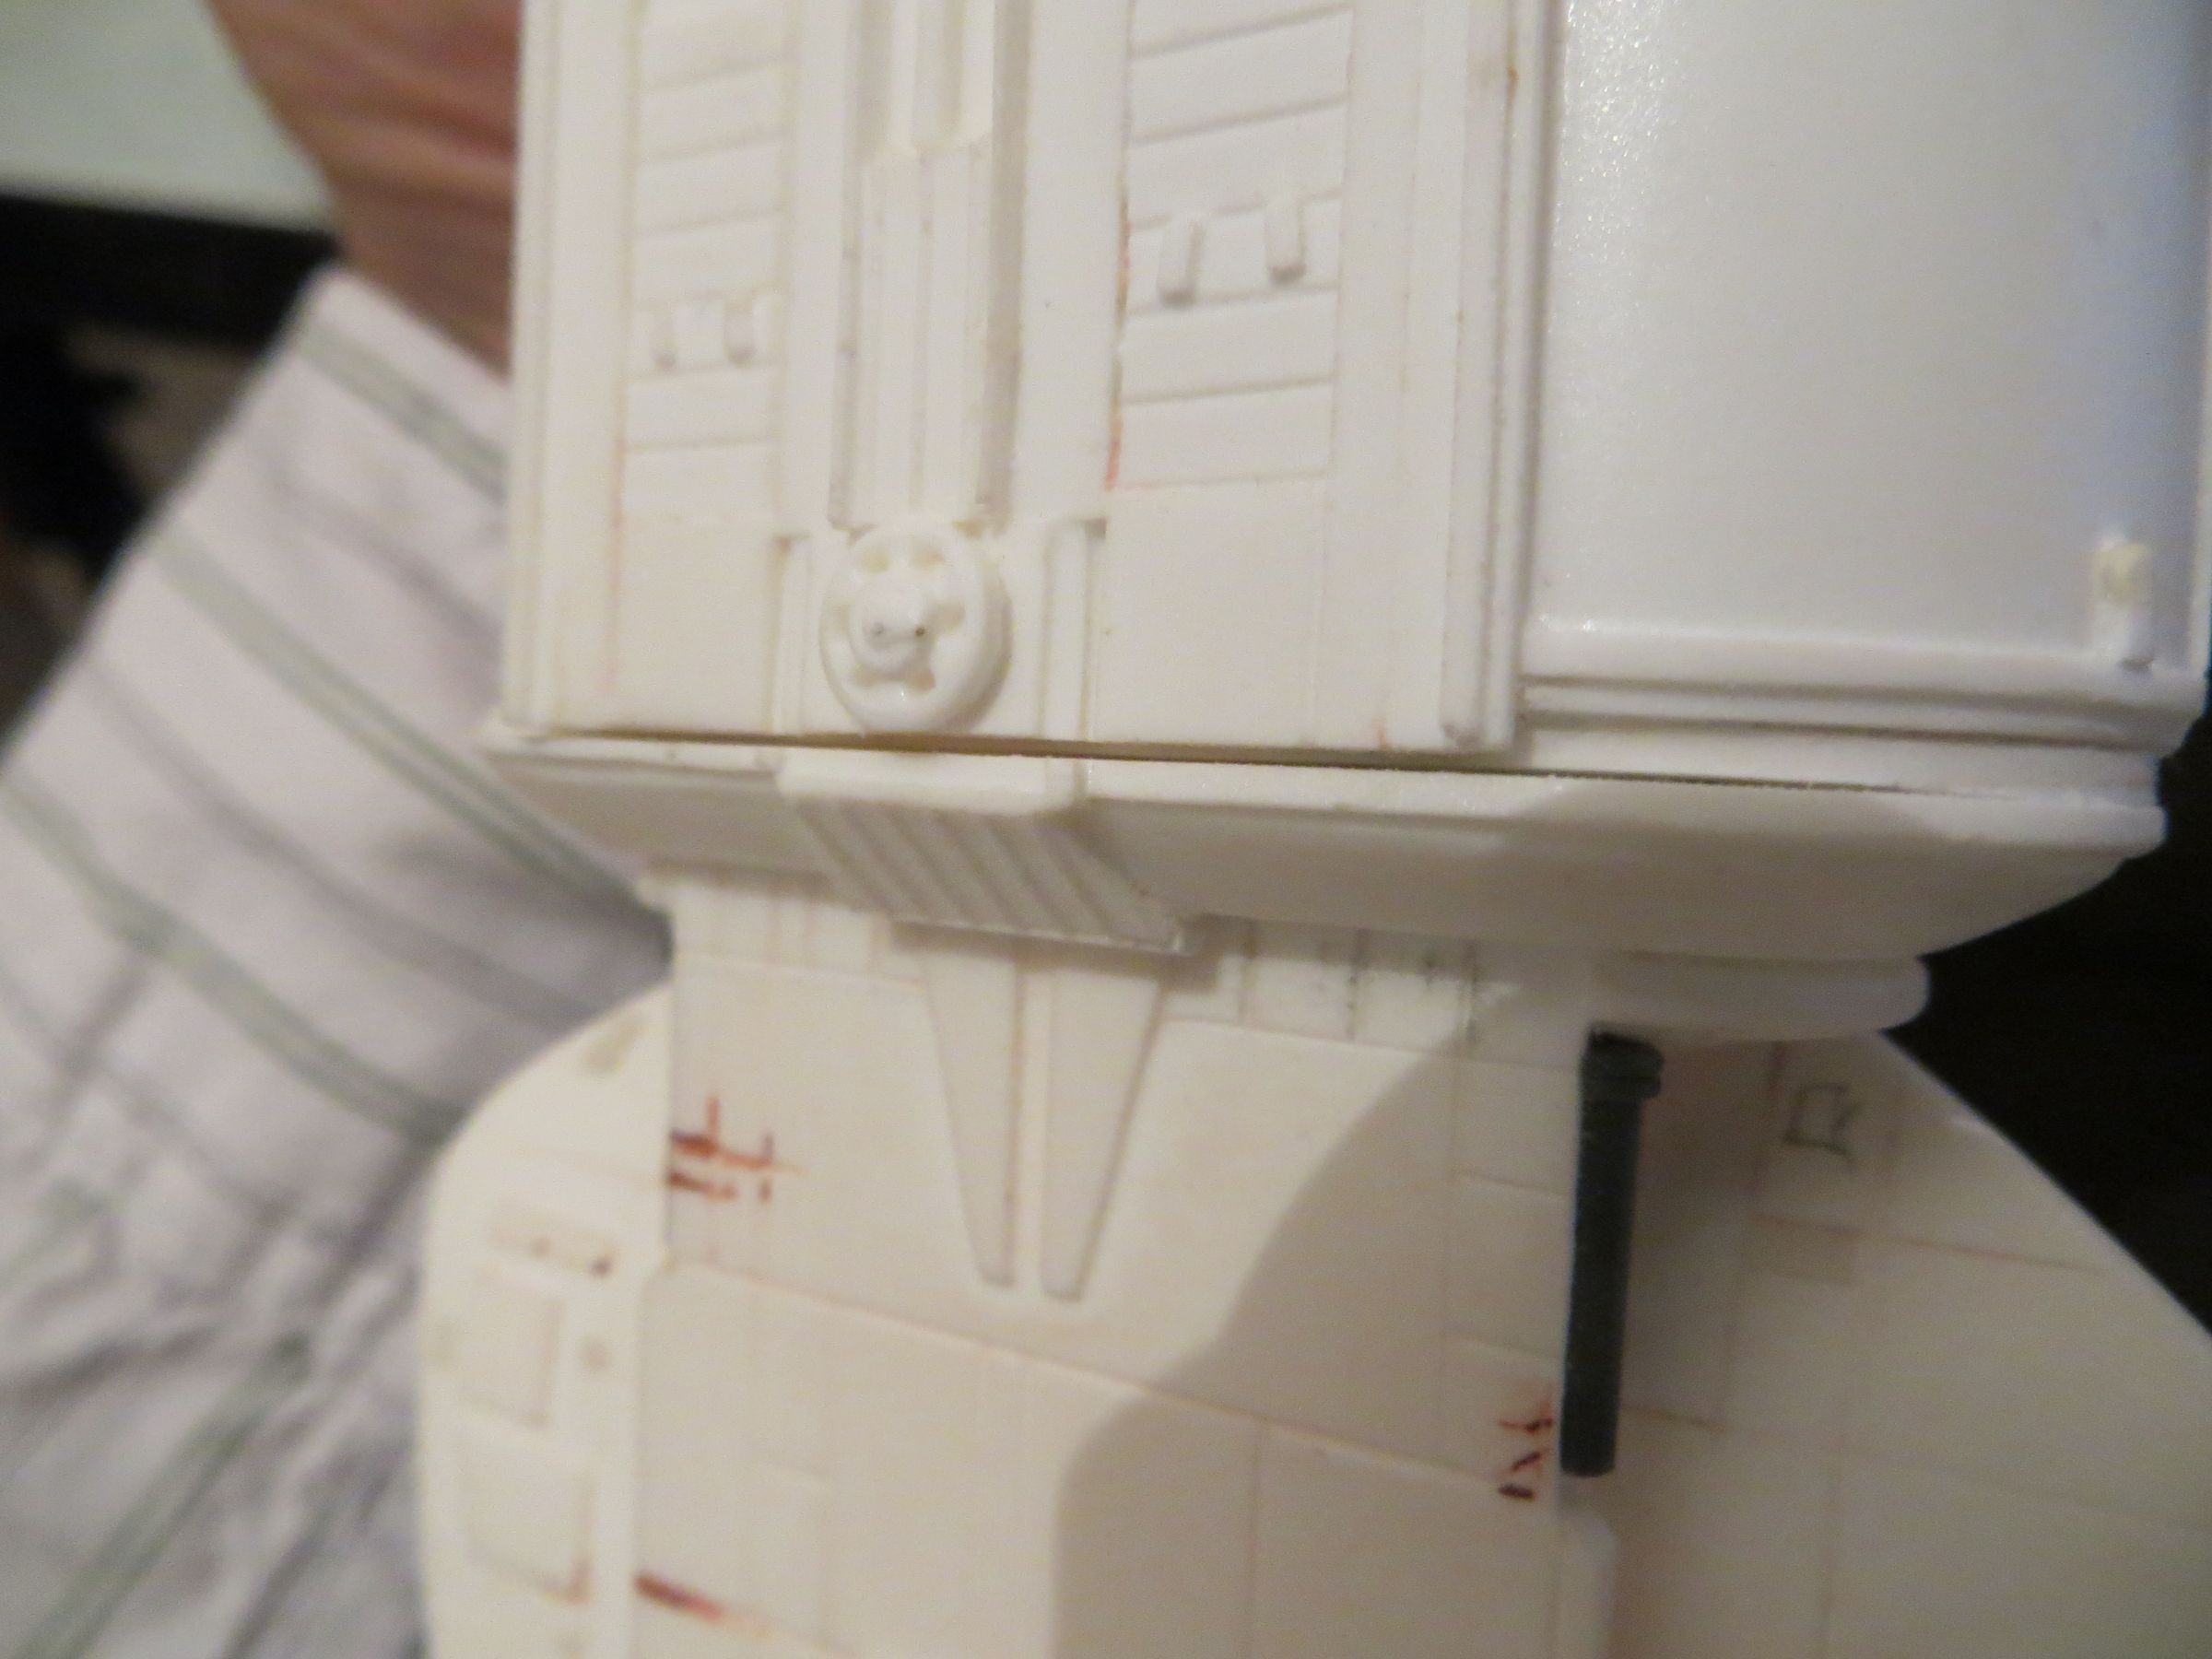
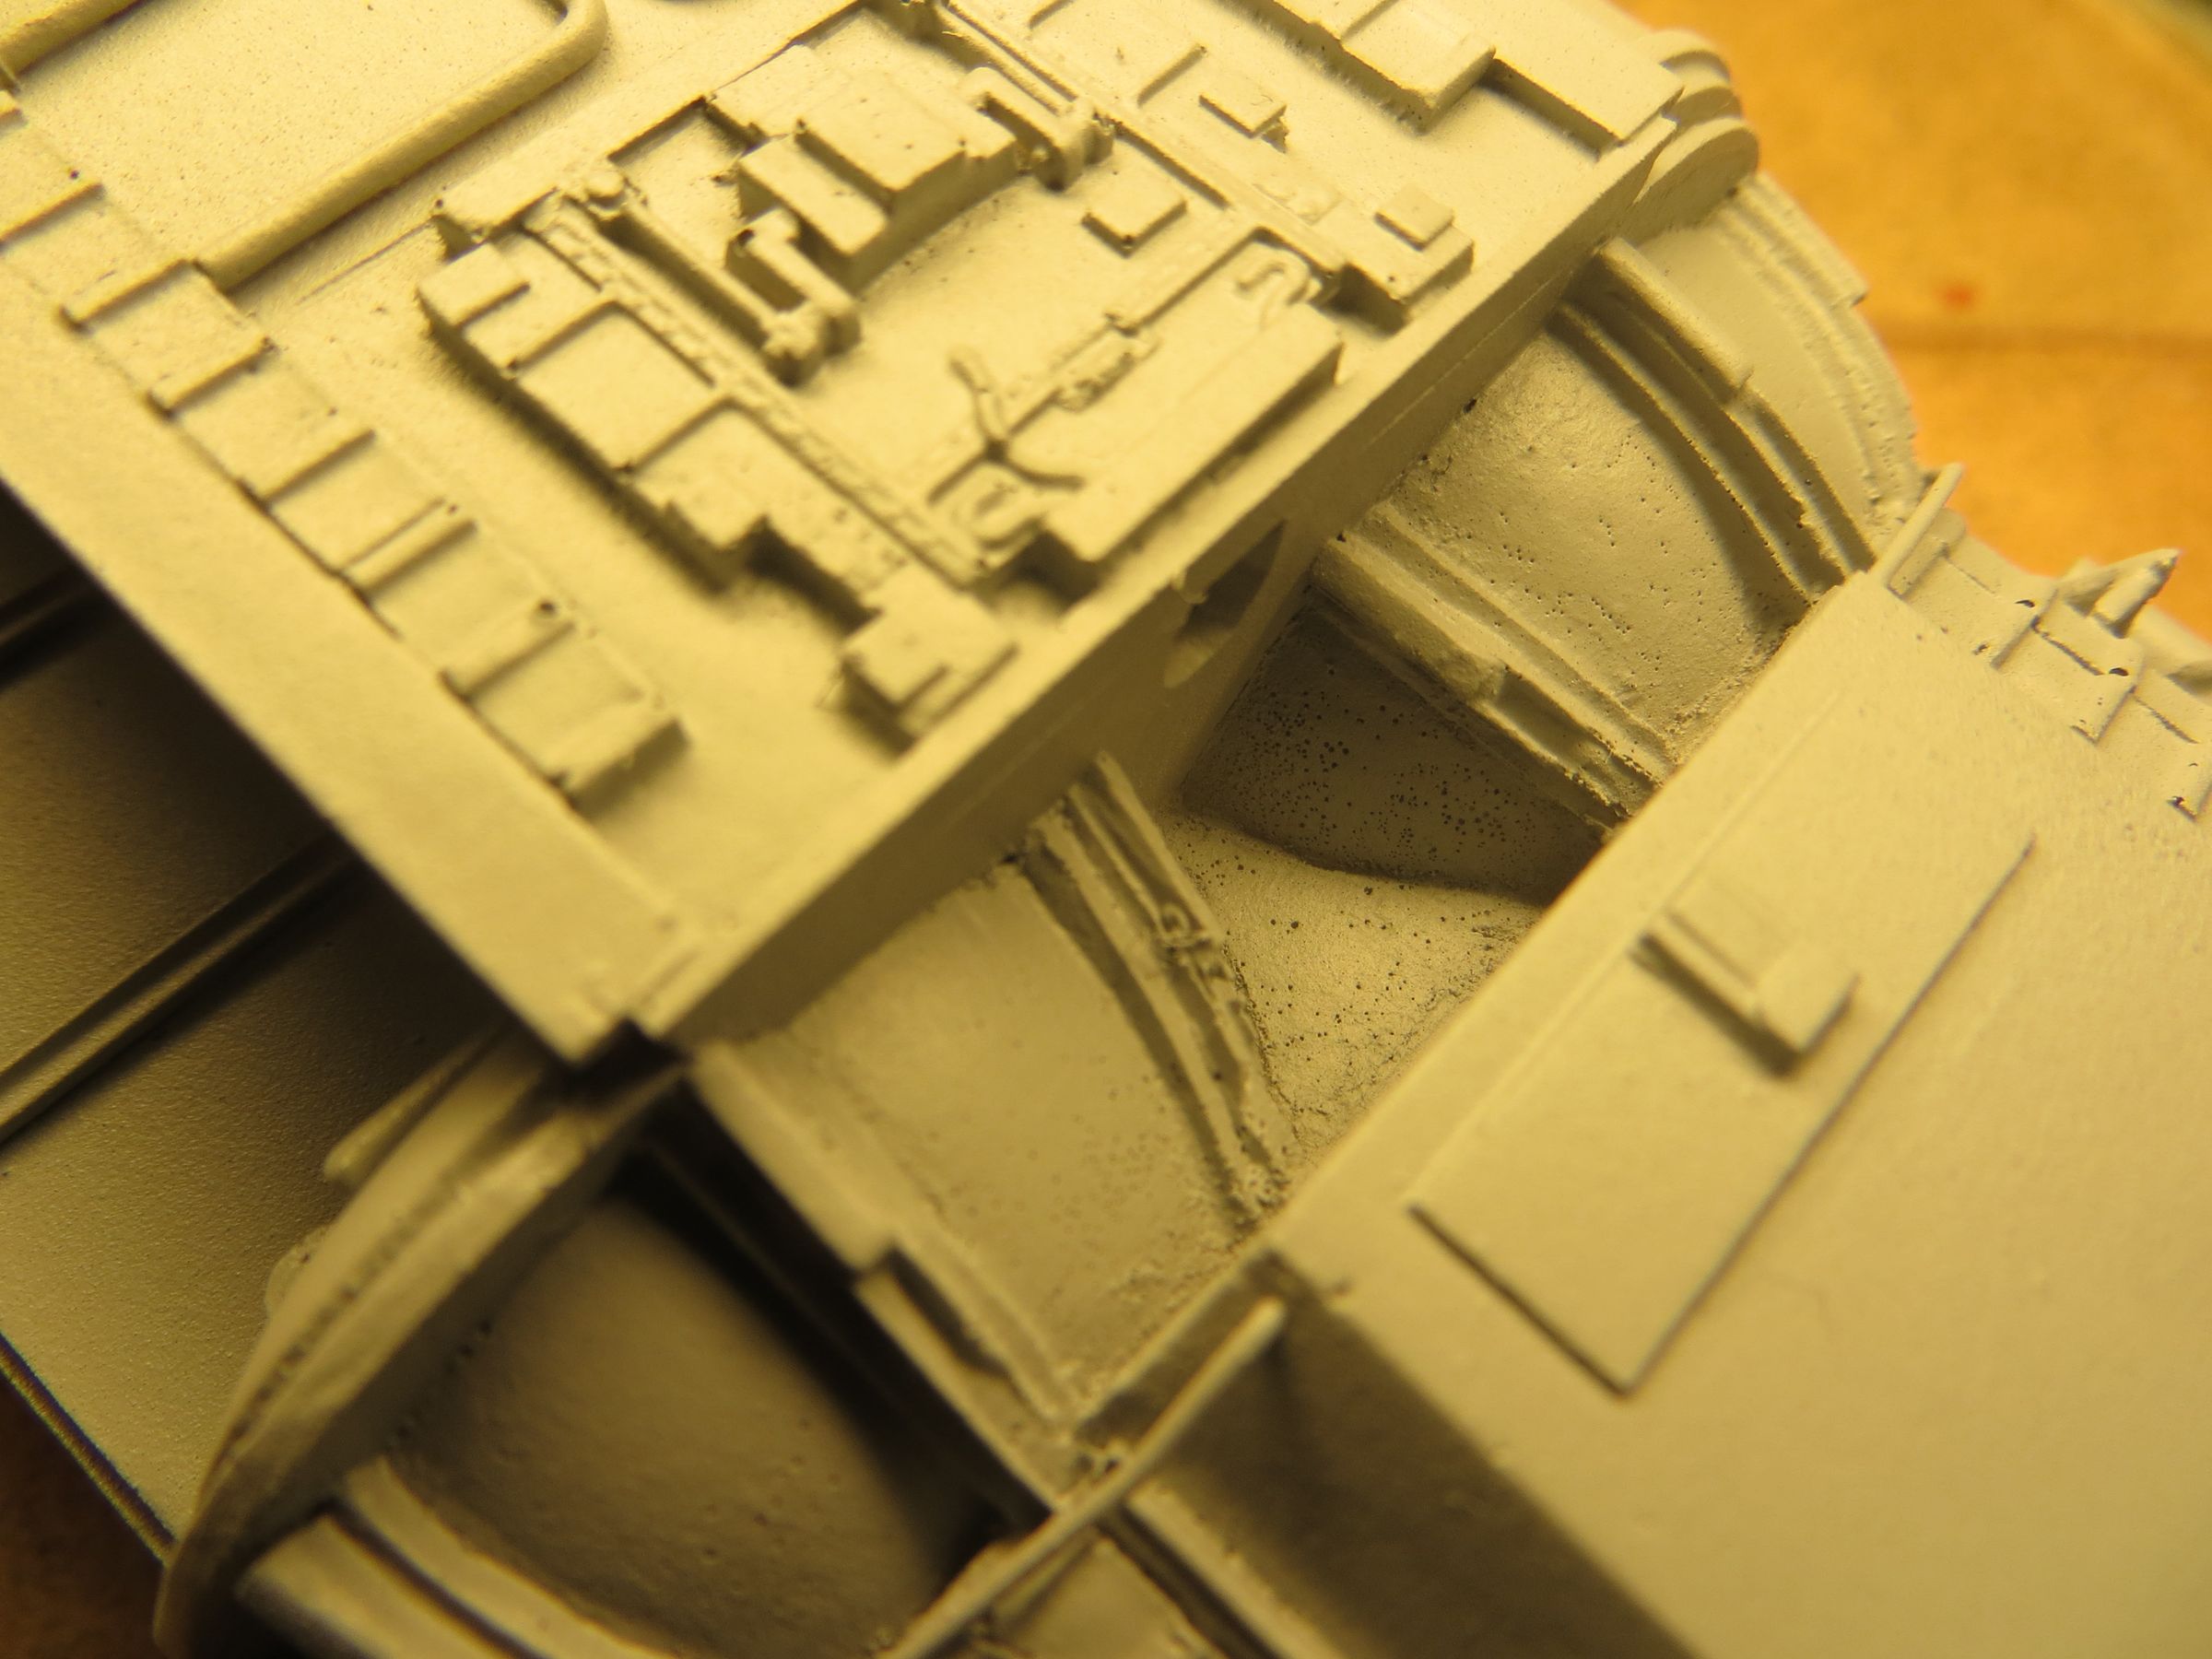
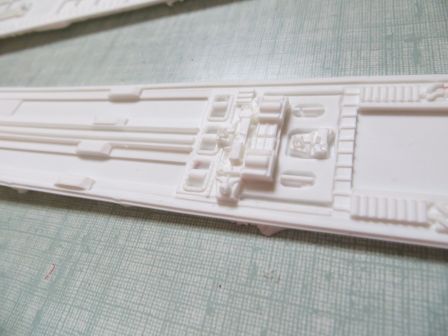
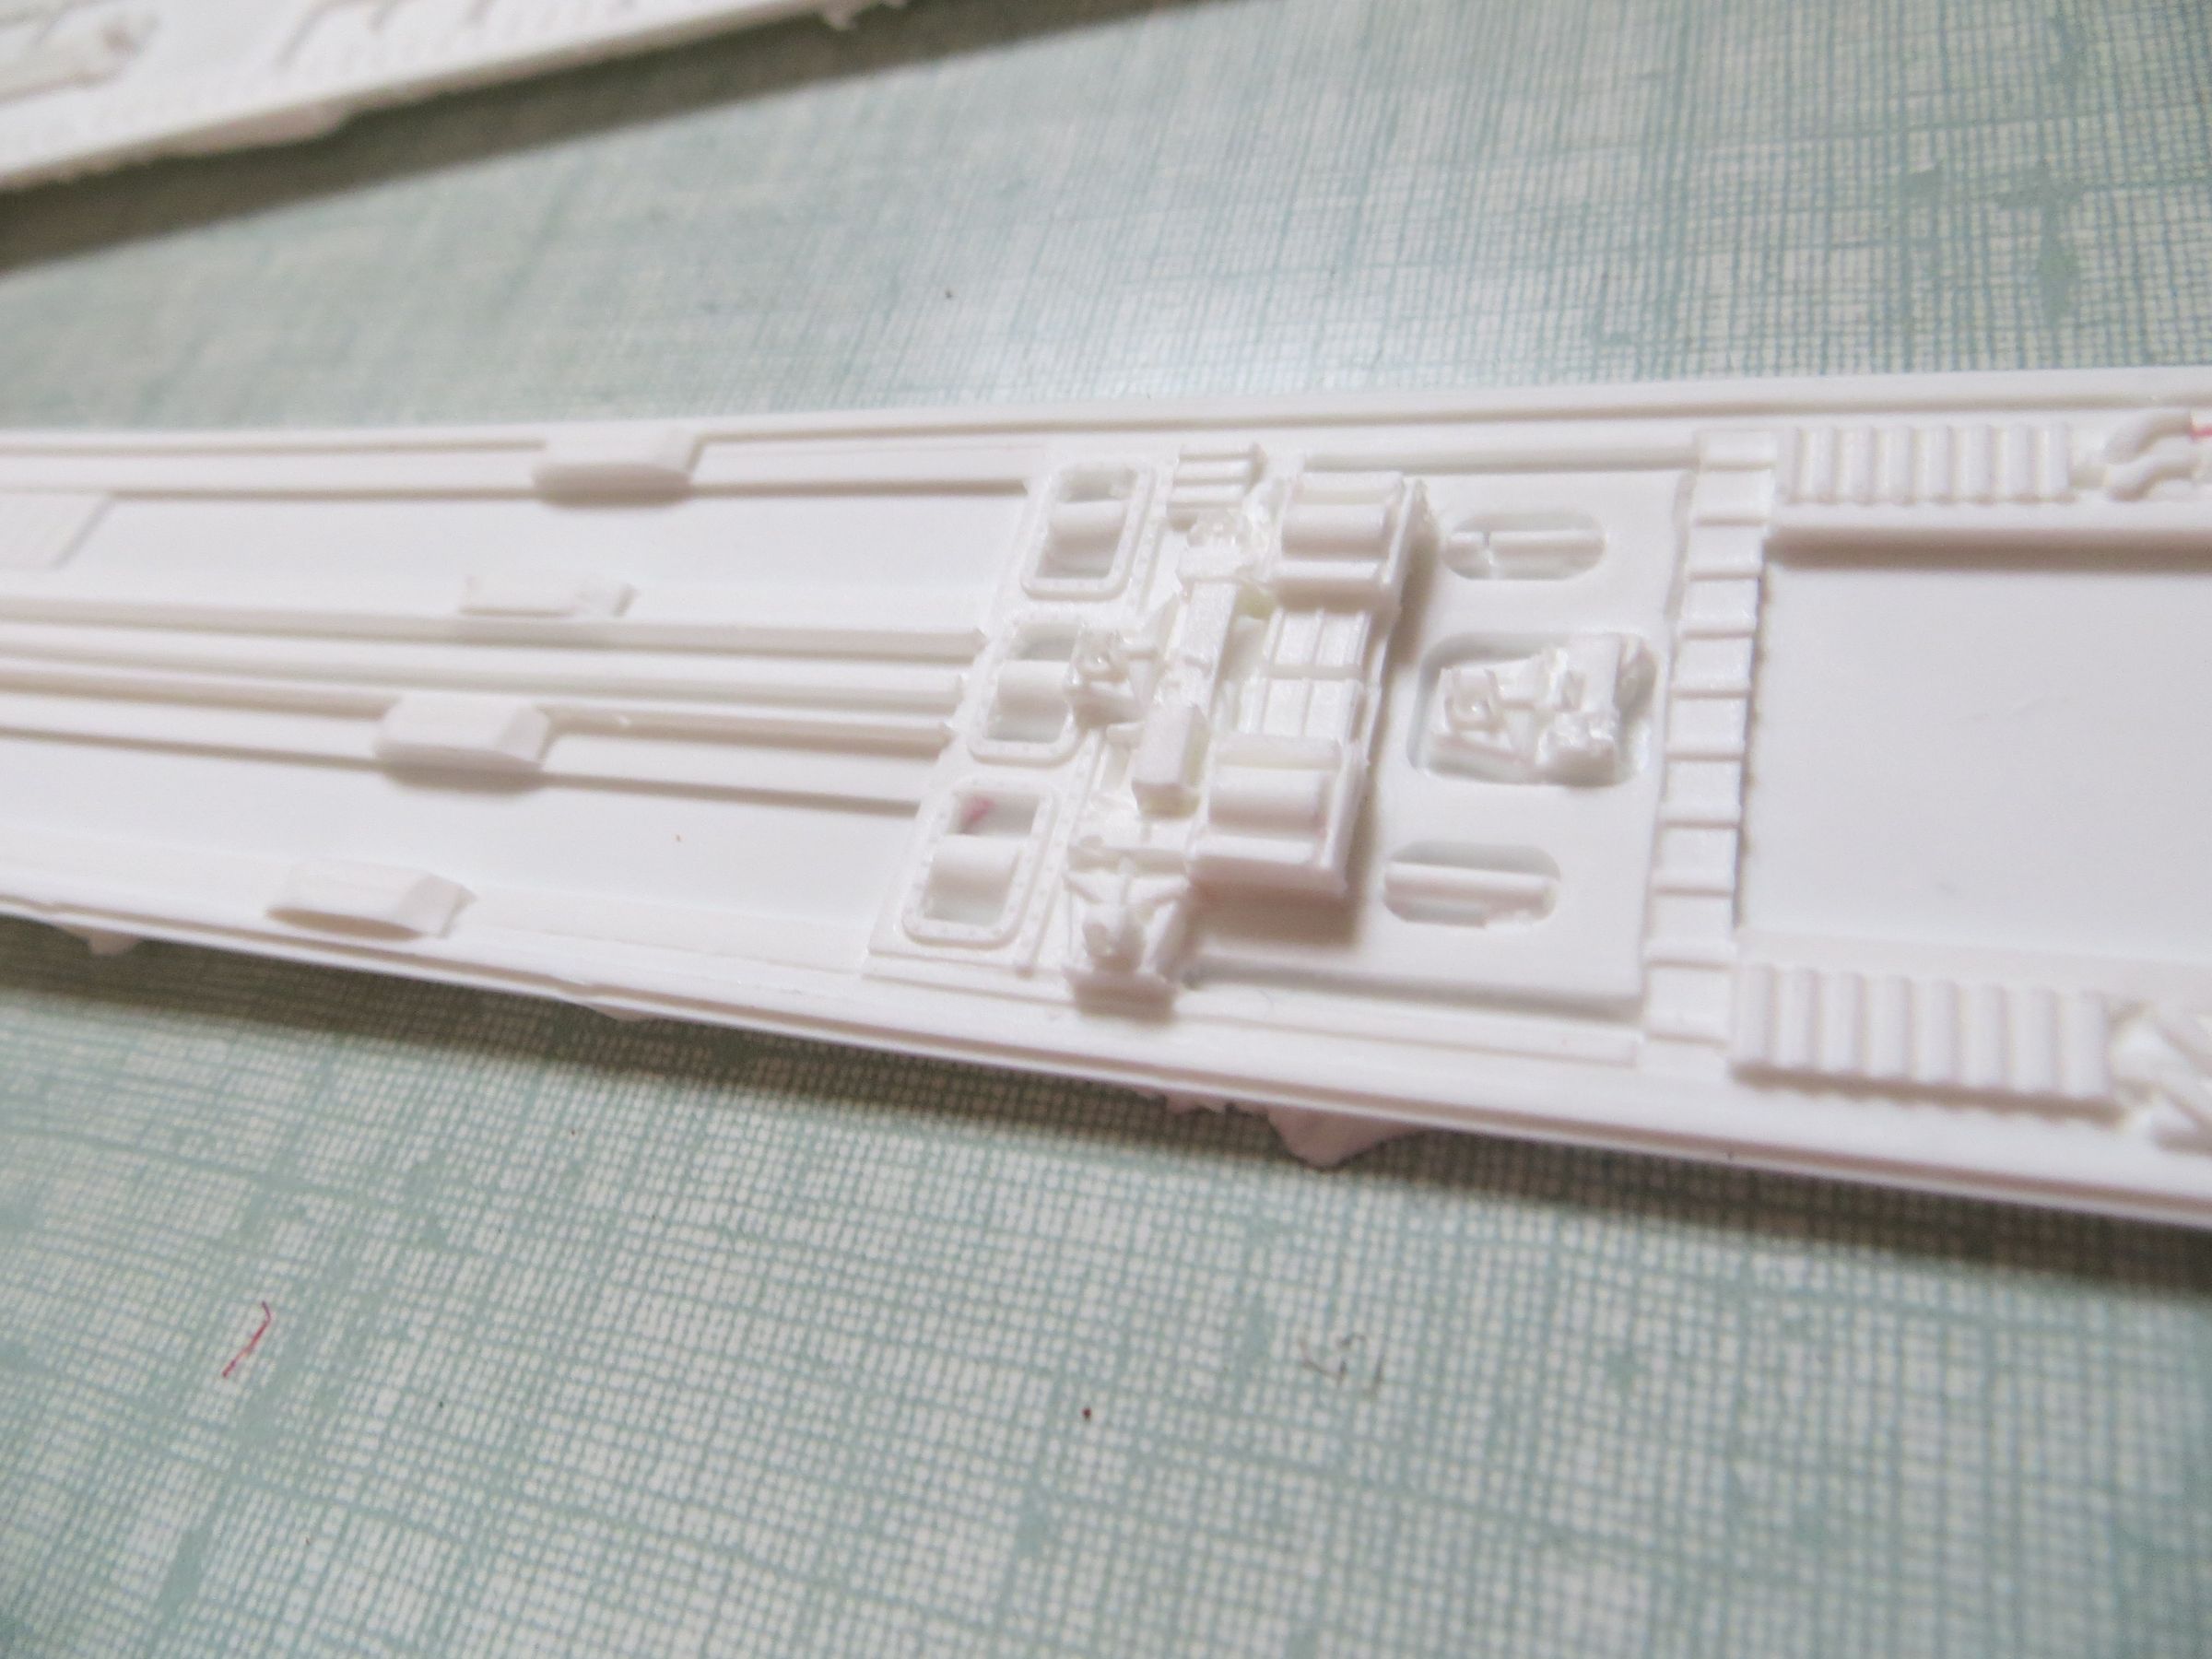
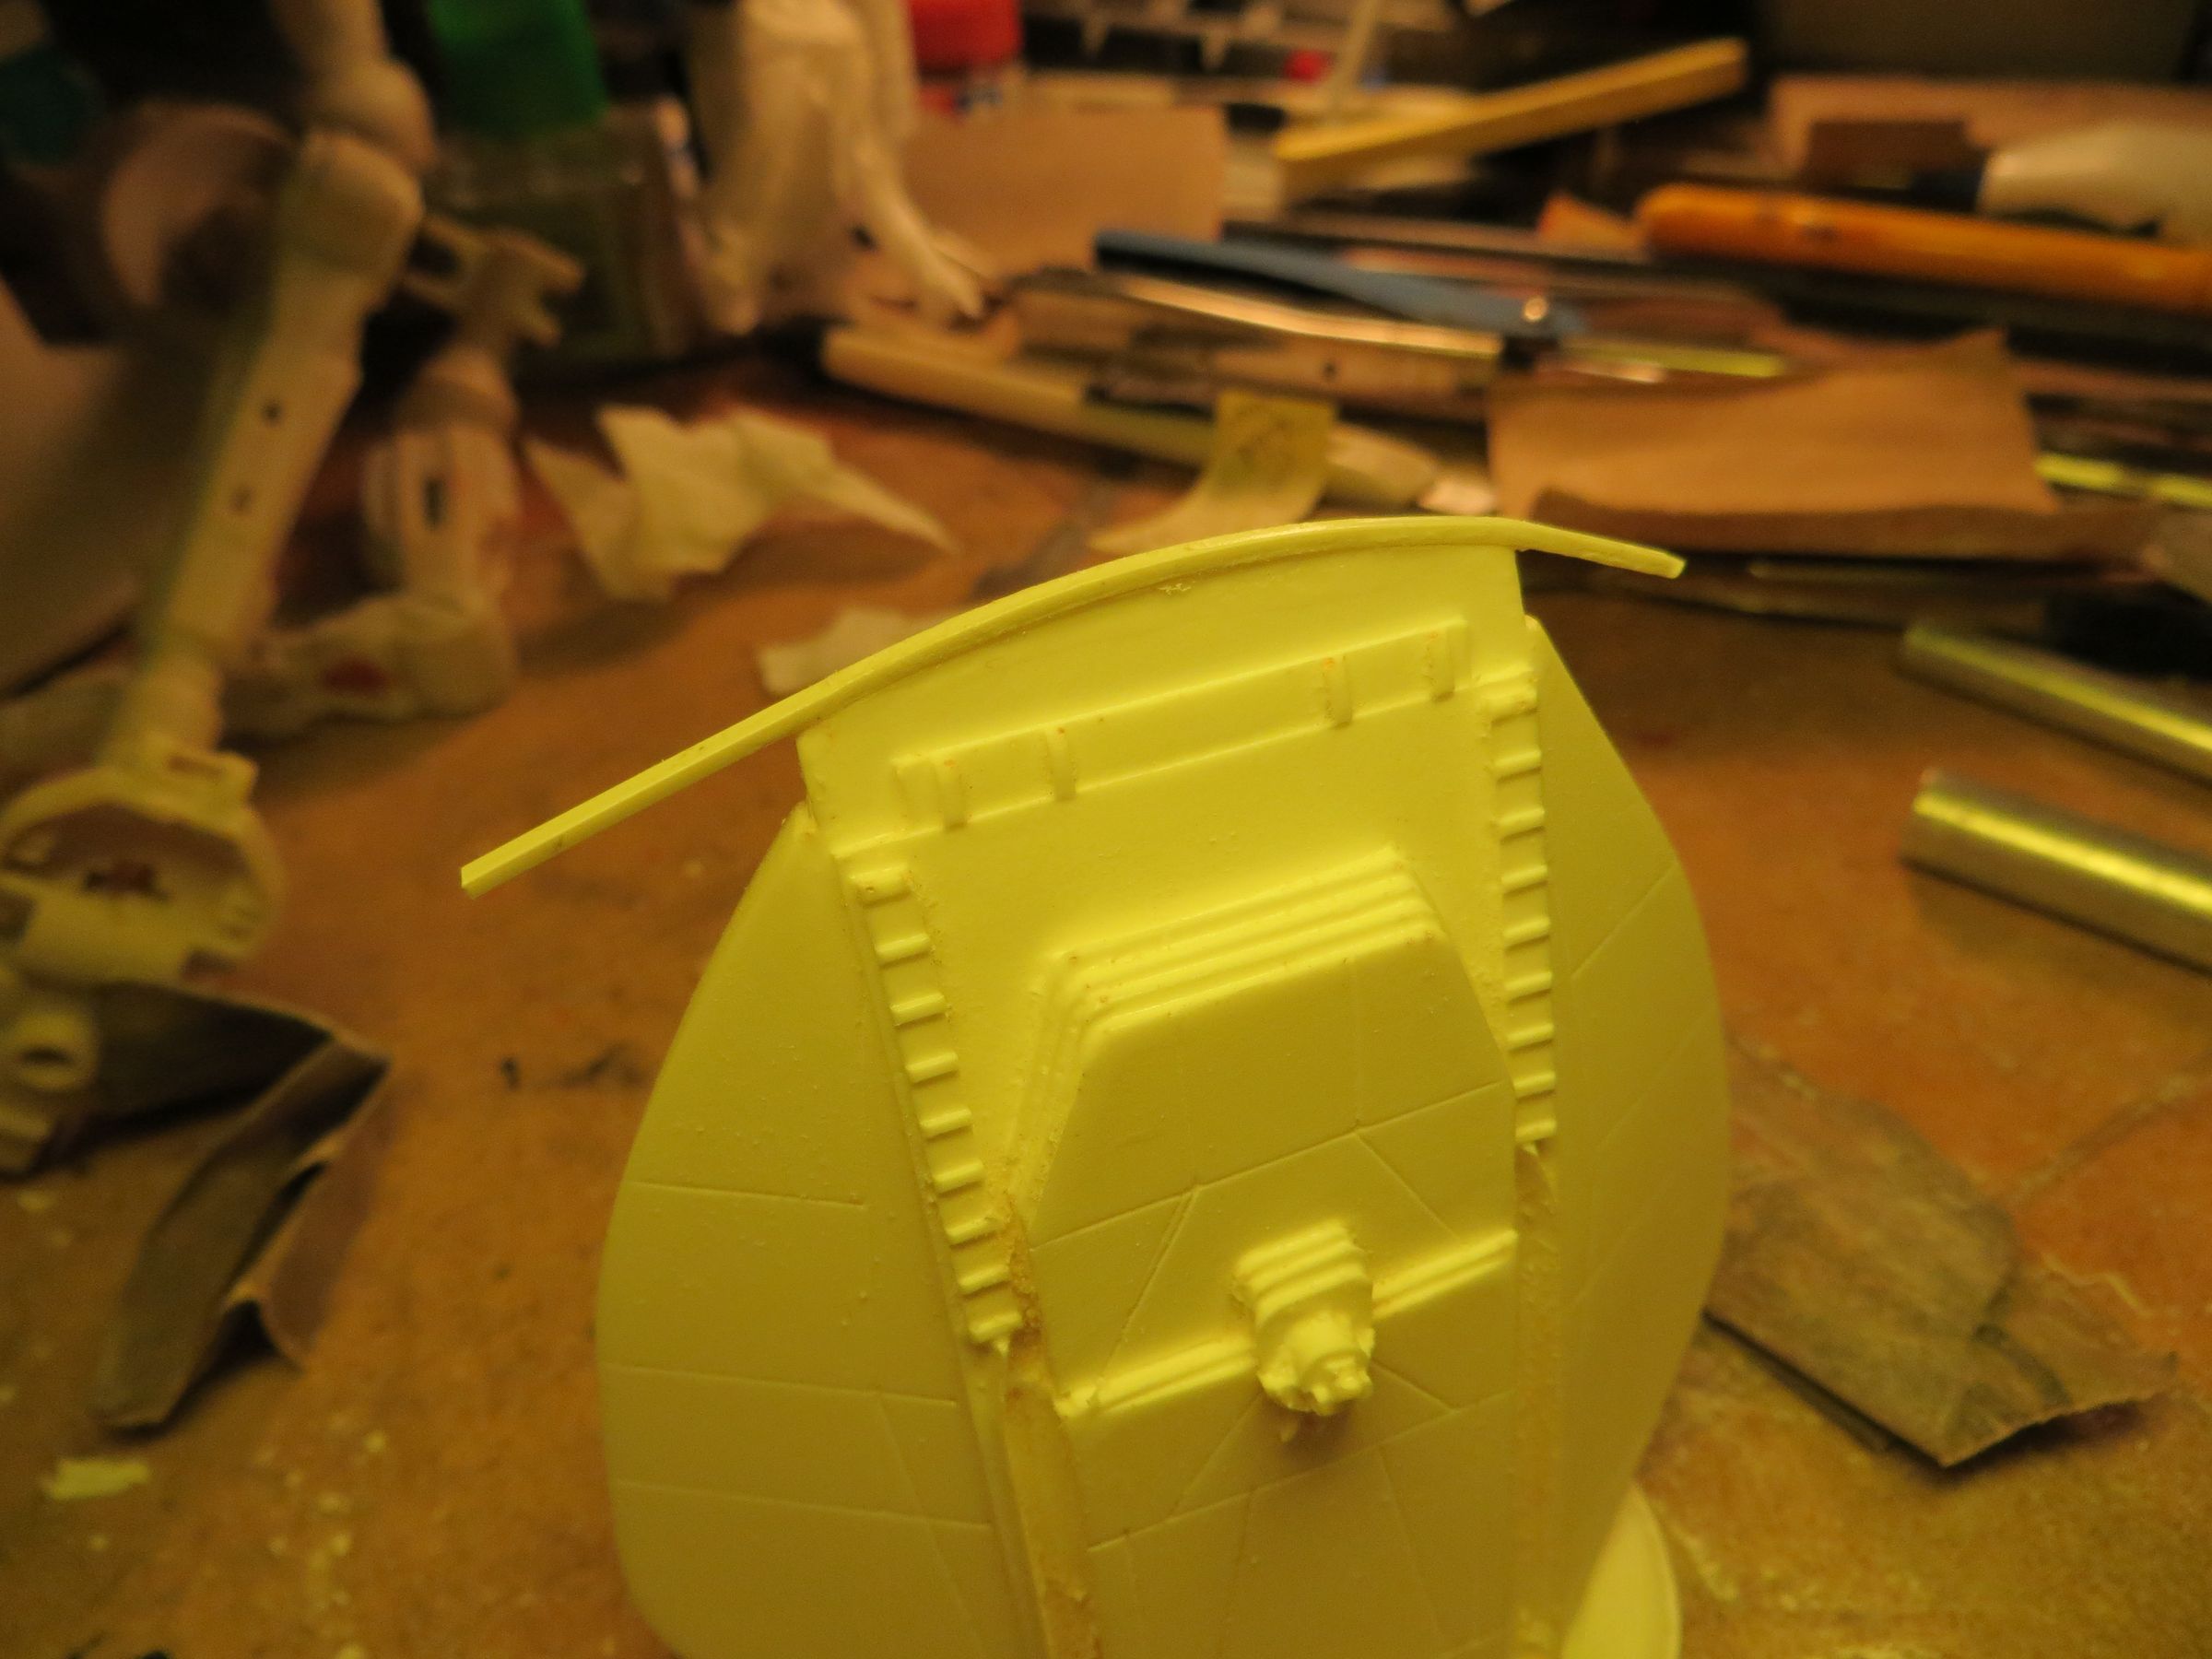
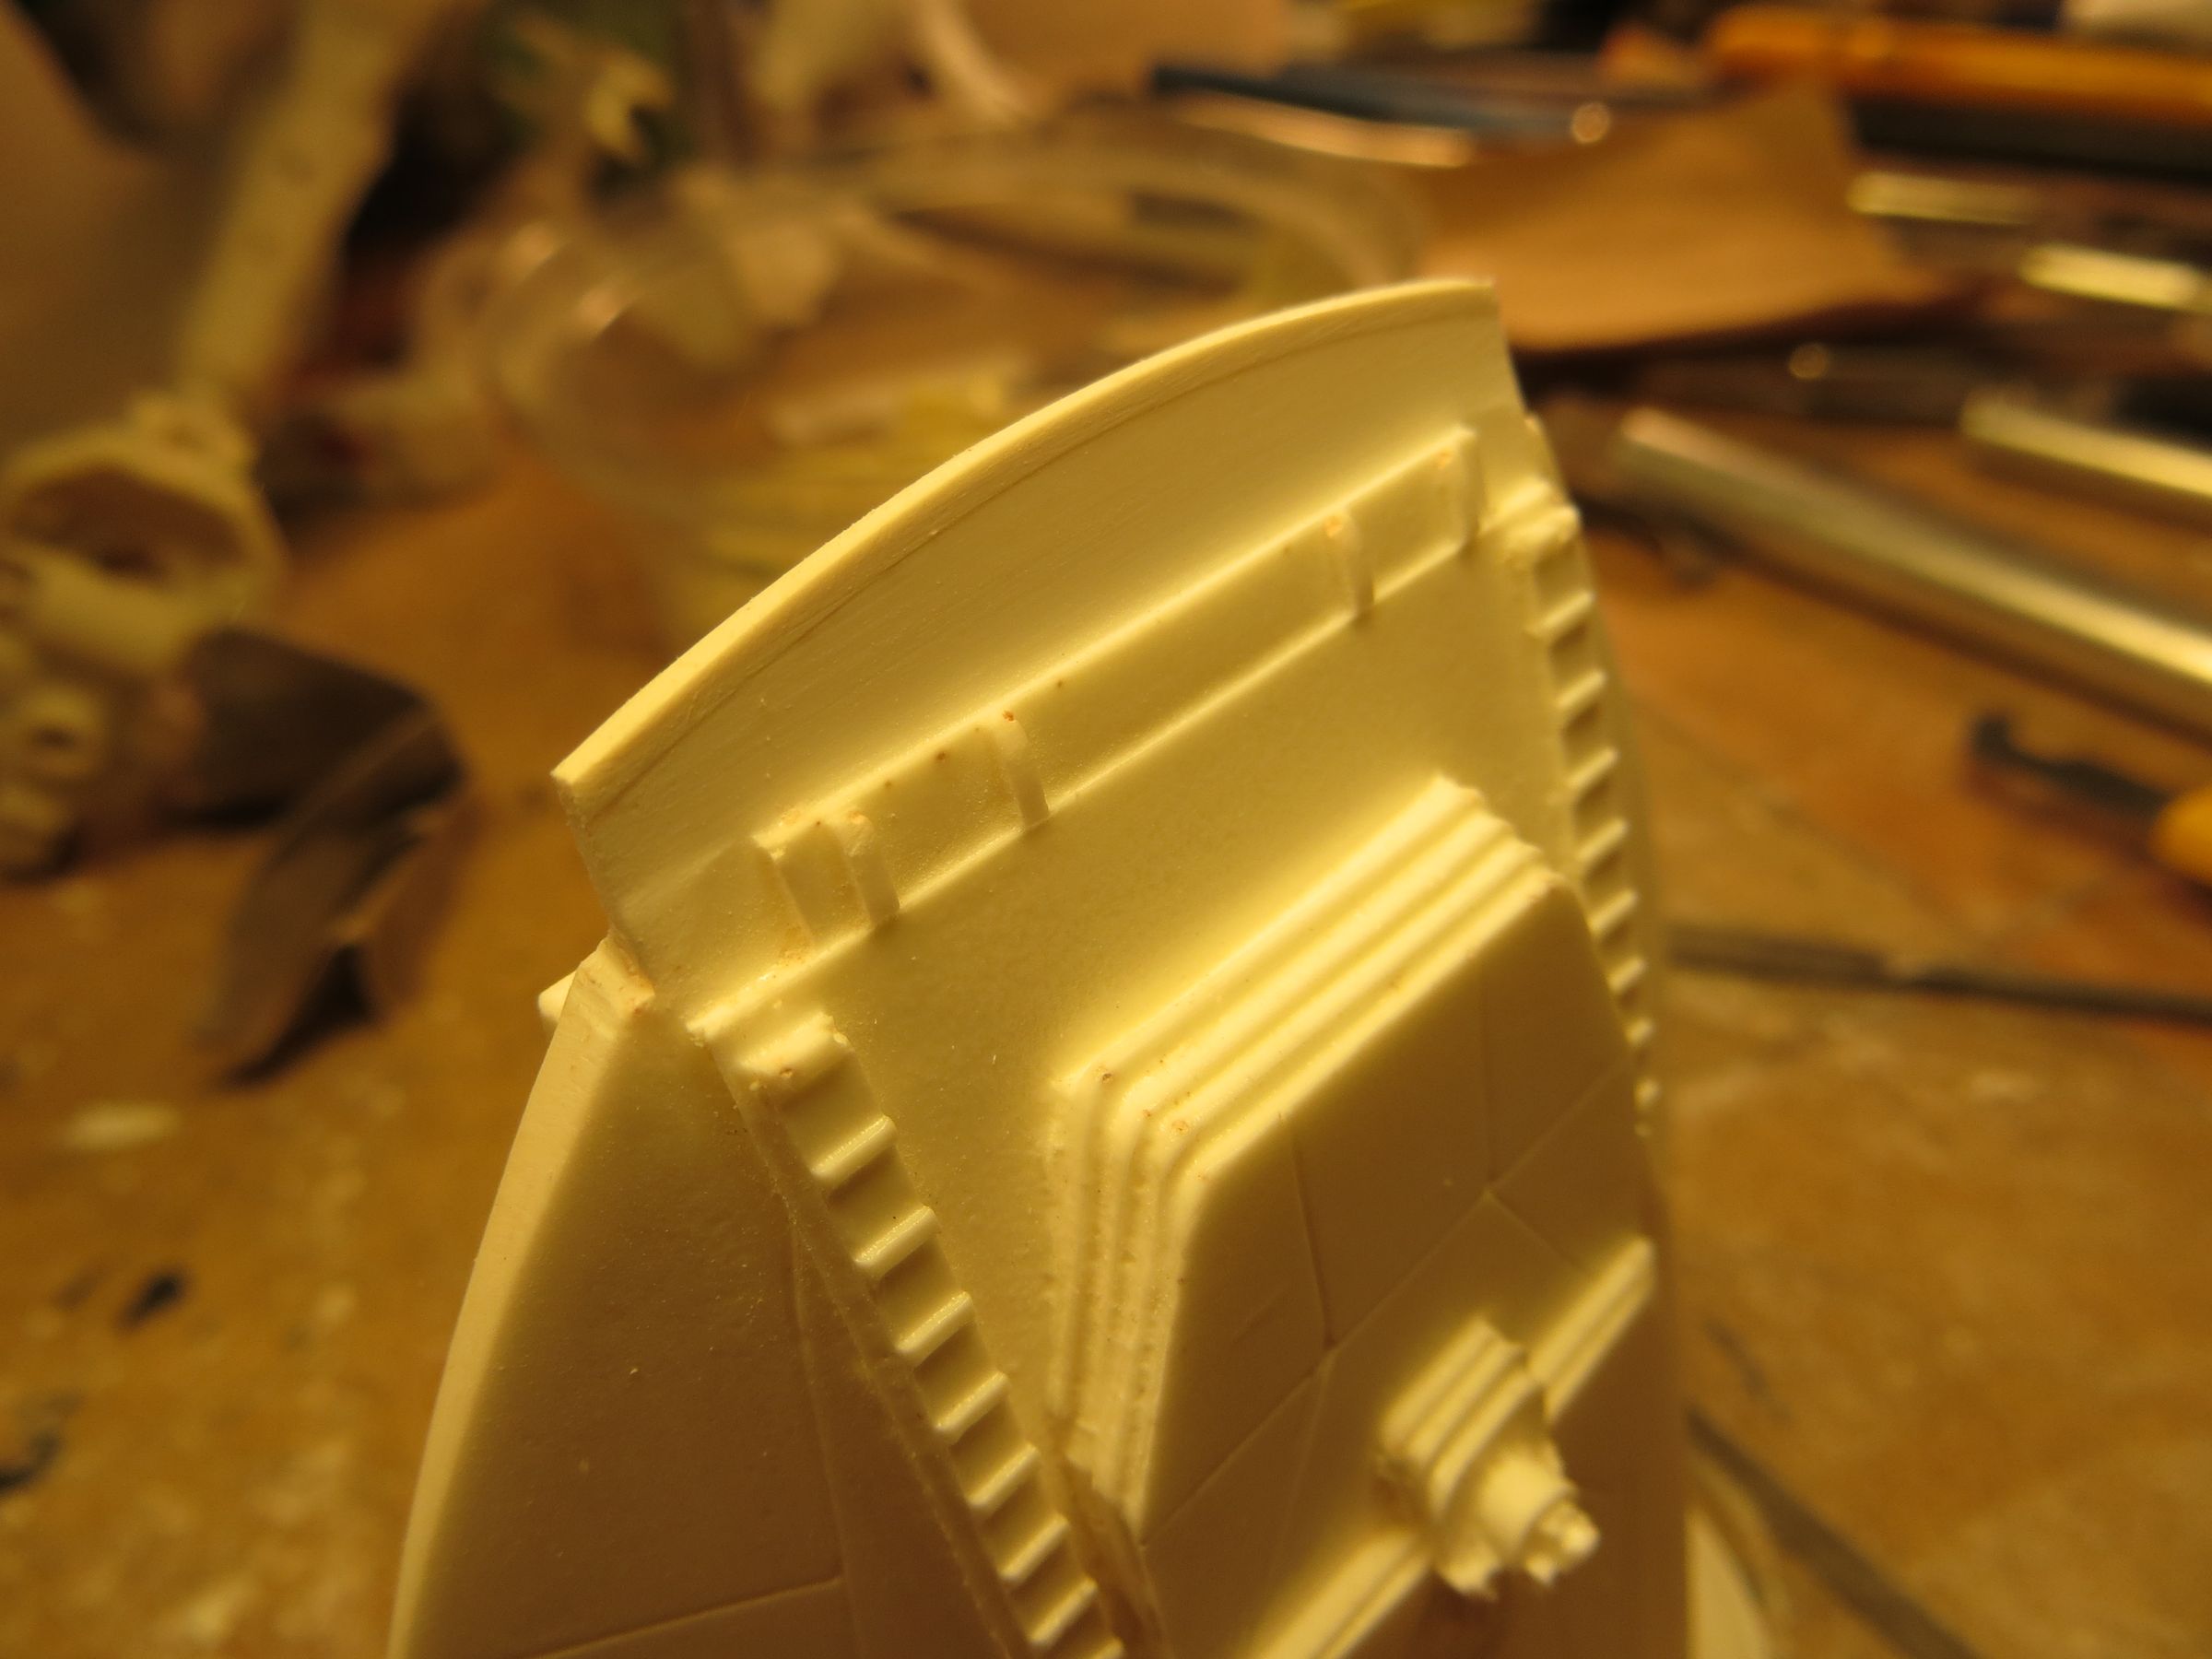
However, there are bubbles, some fat details, but nothing dramatic at first.
Some parts look greasy, so cleaning in warm soapy water and brush would be the step.
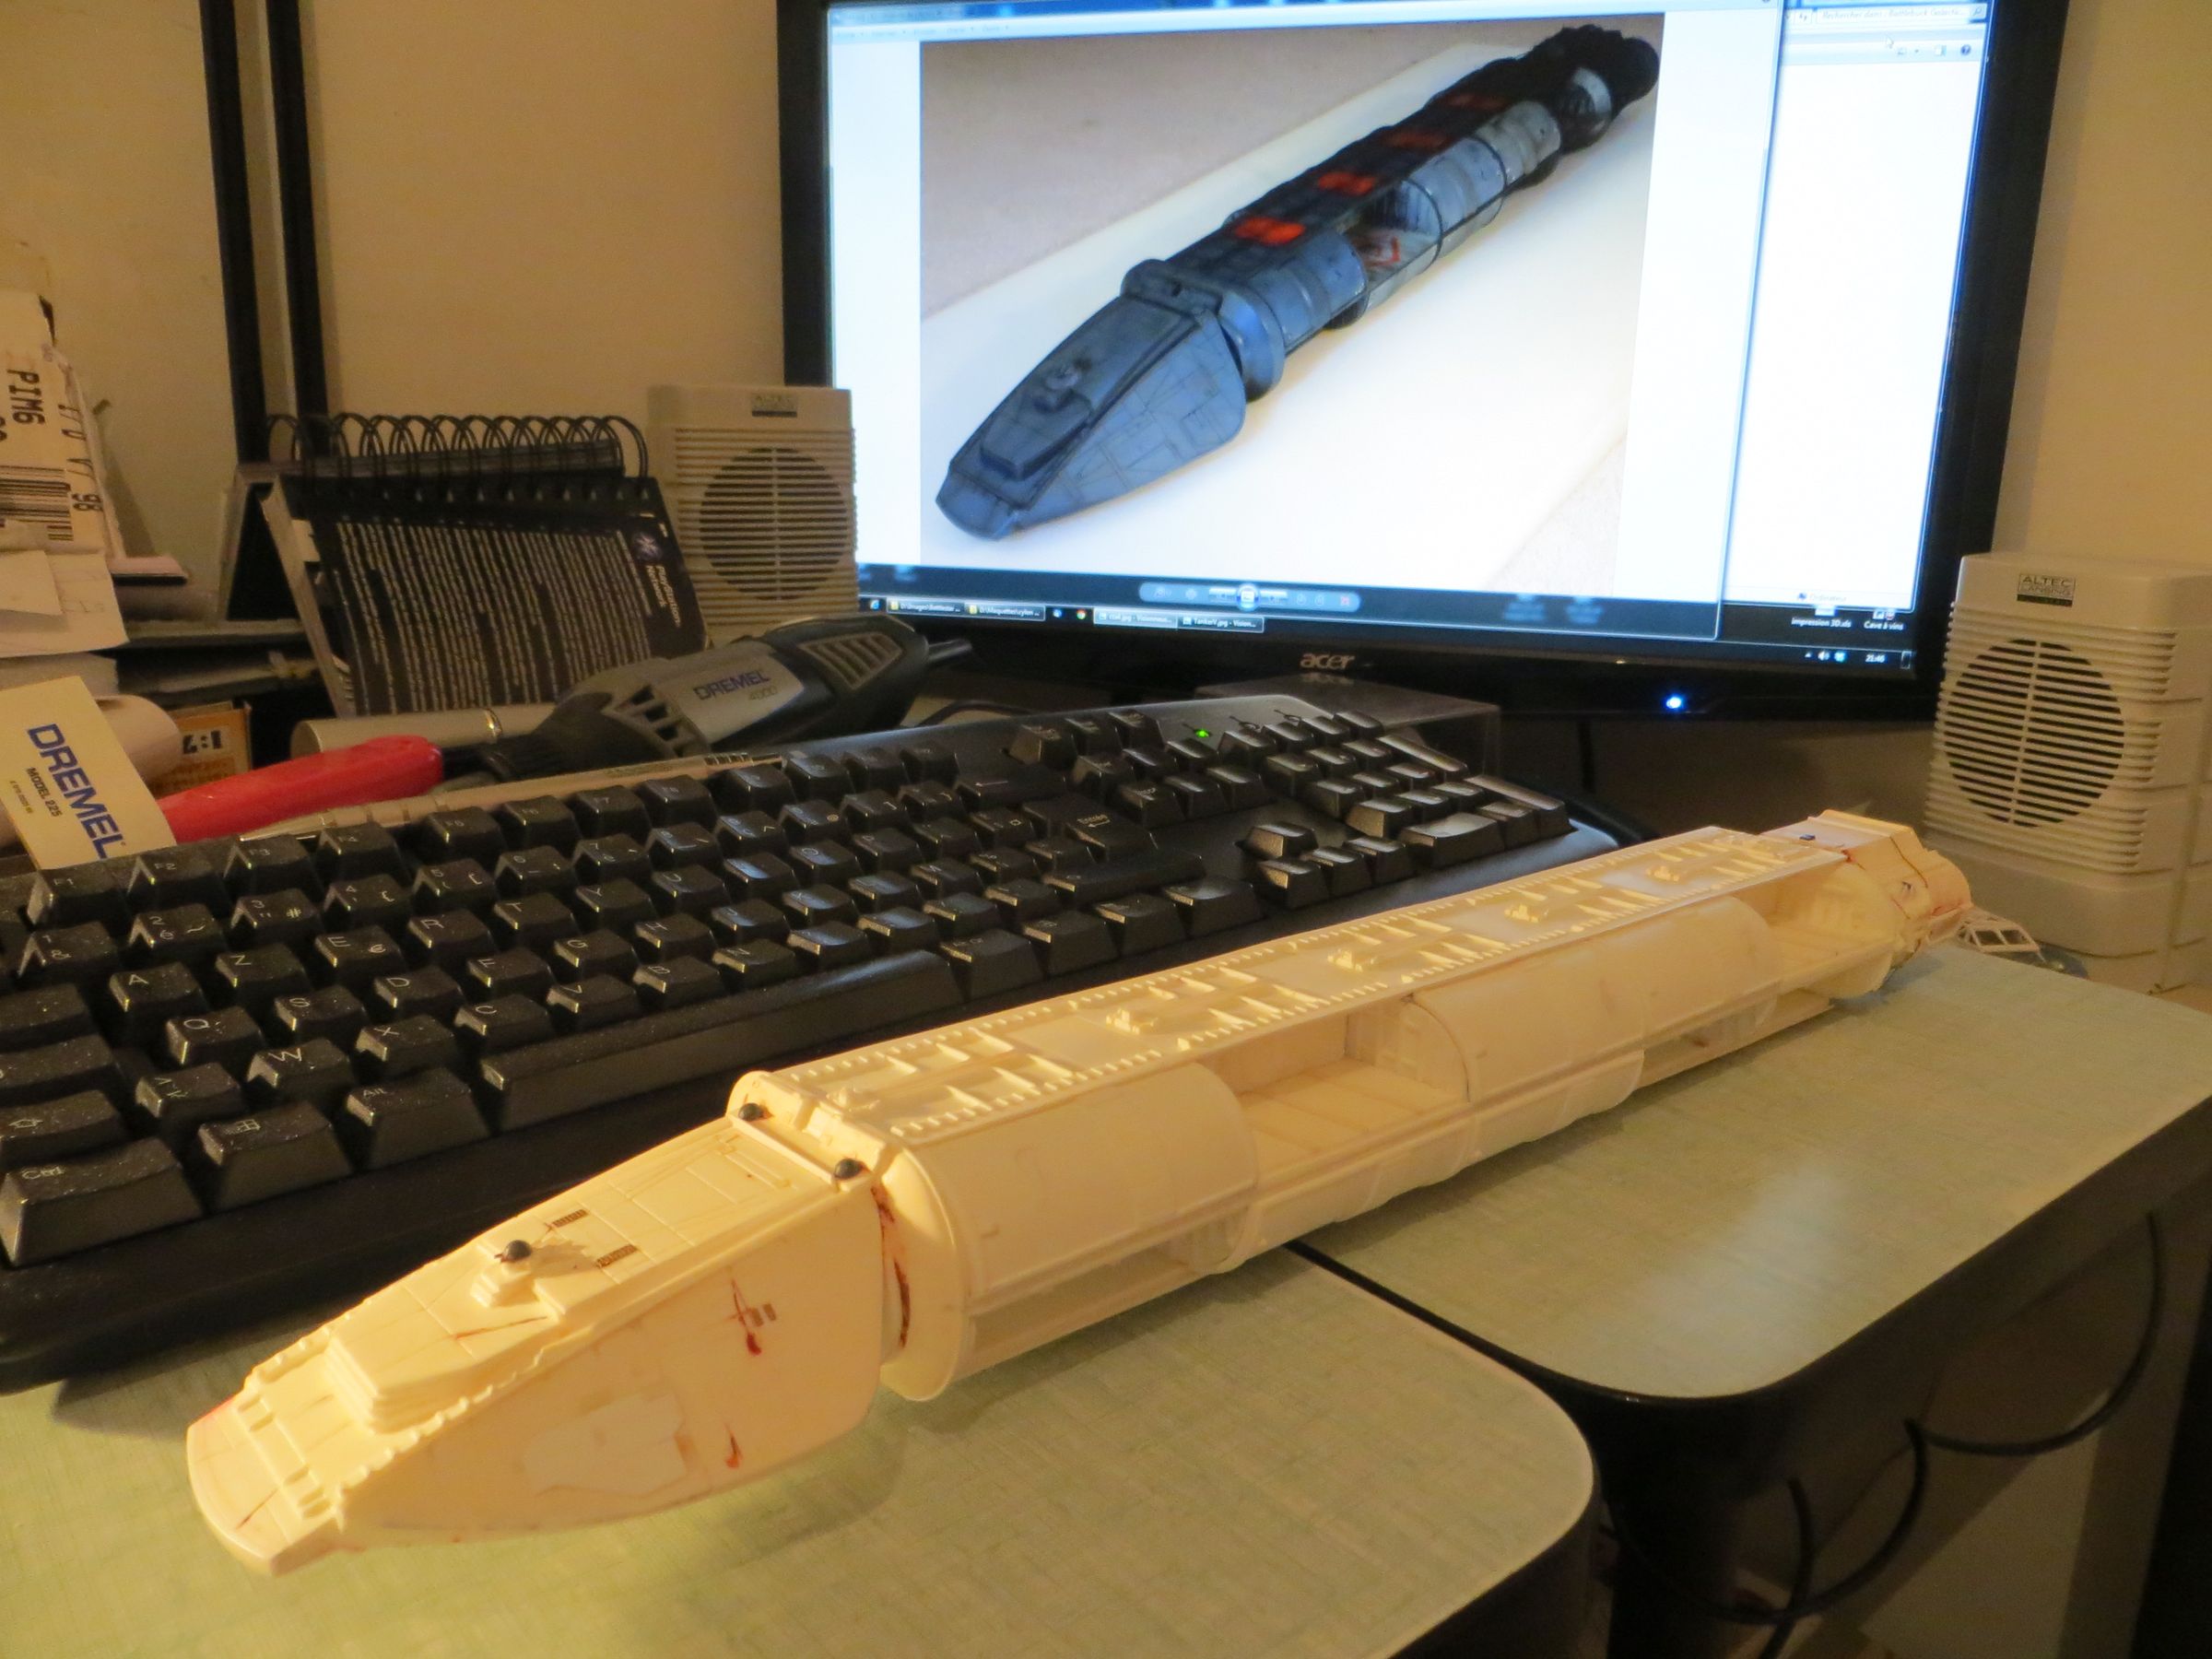
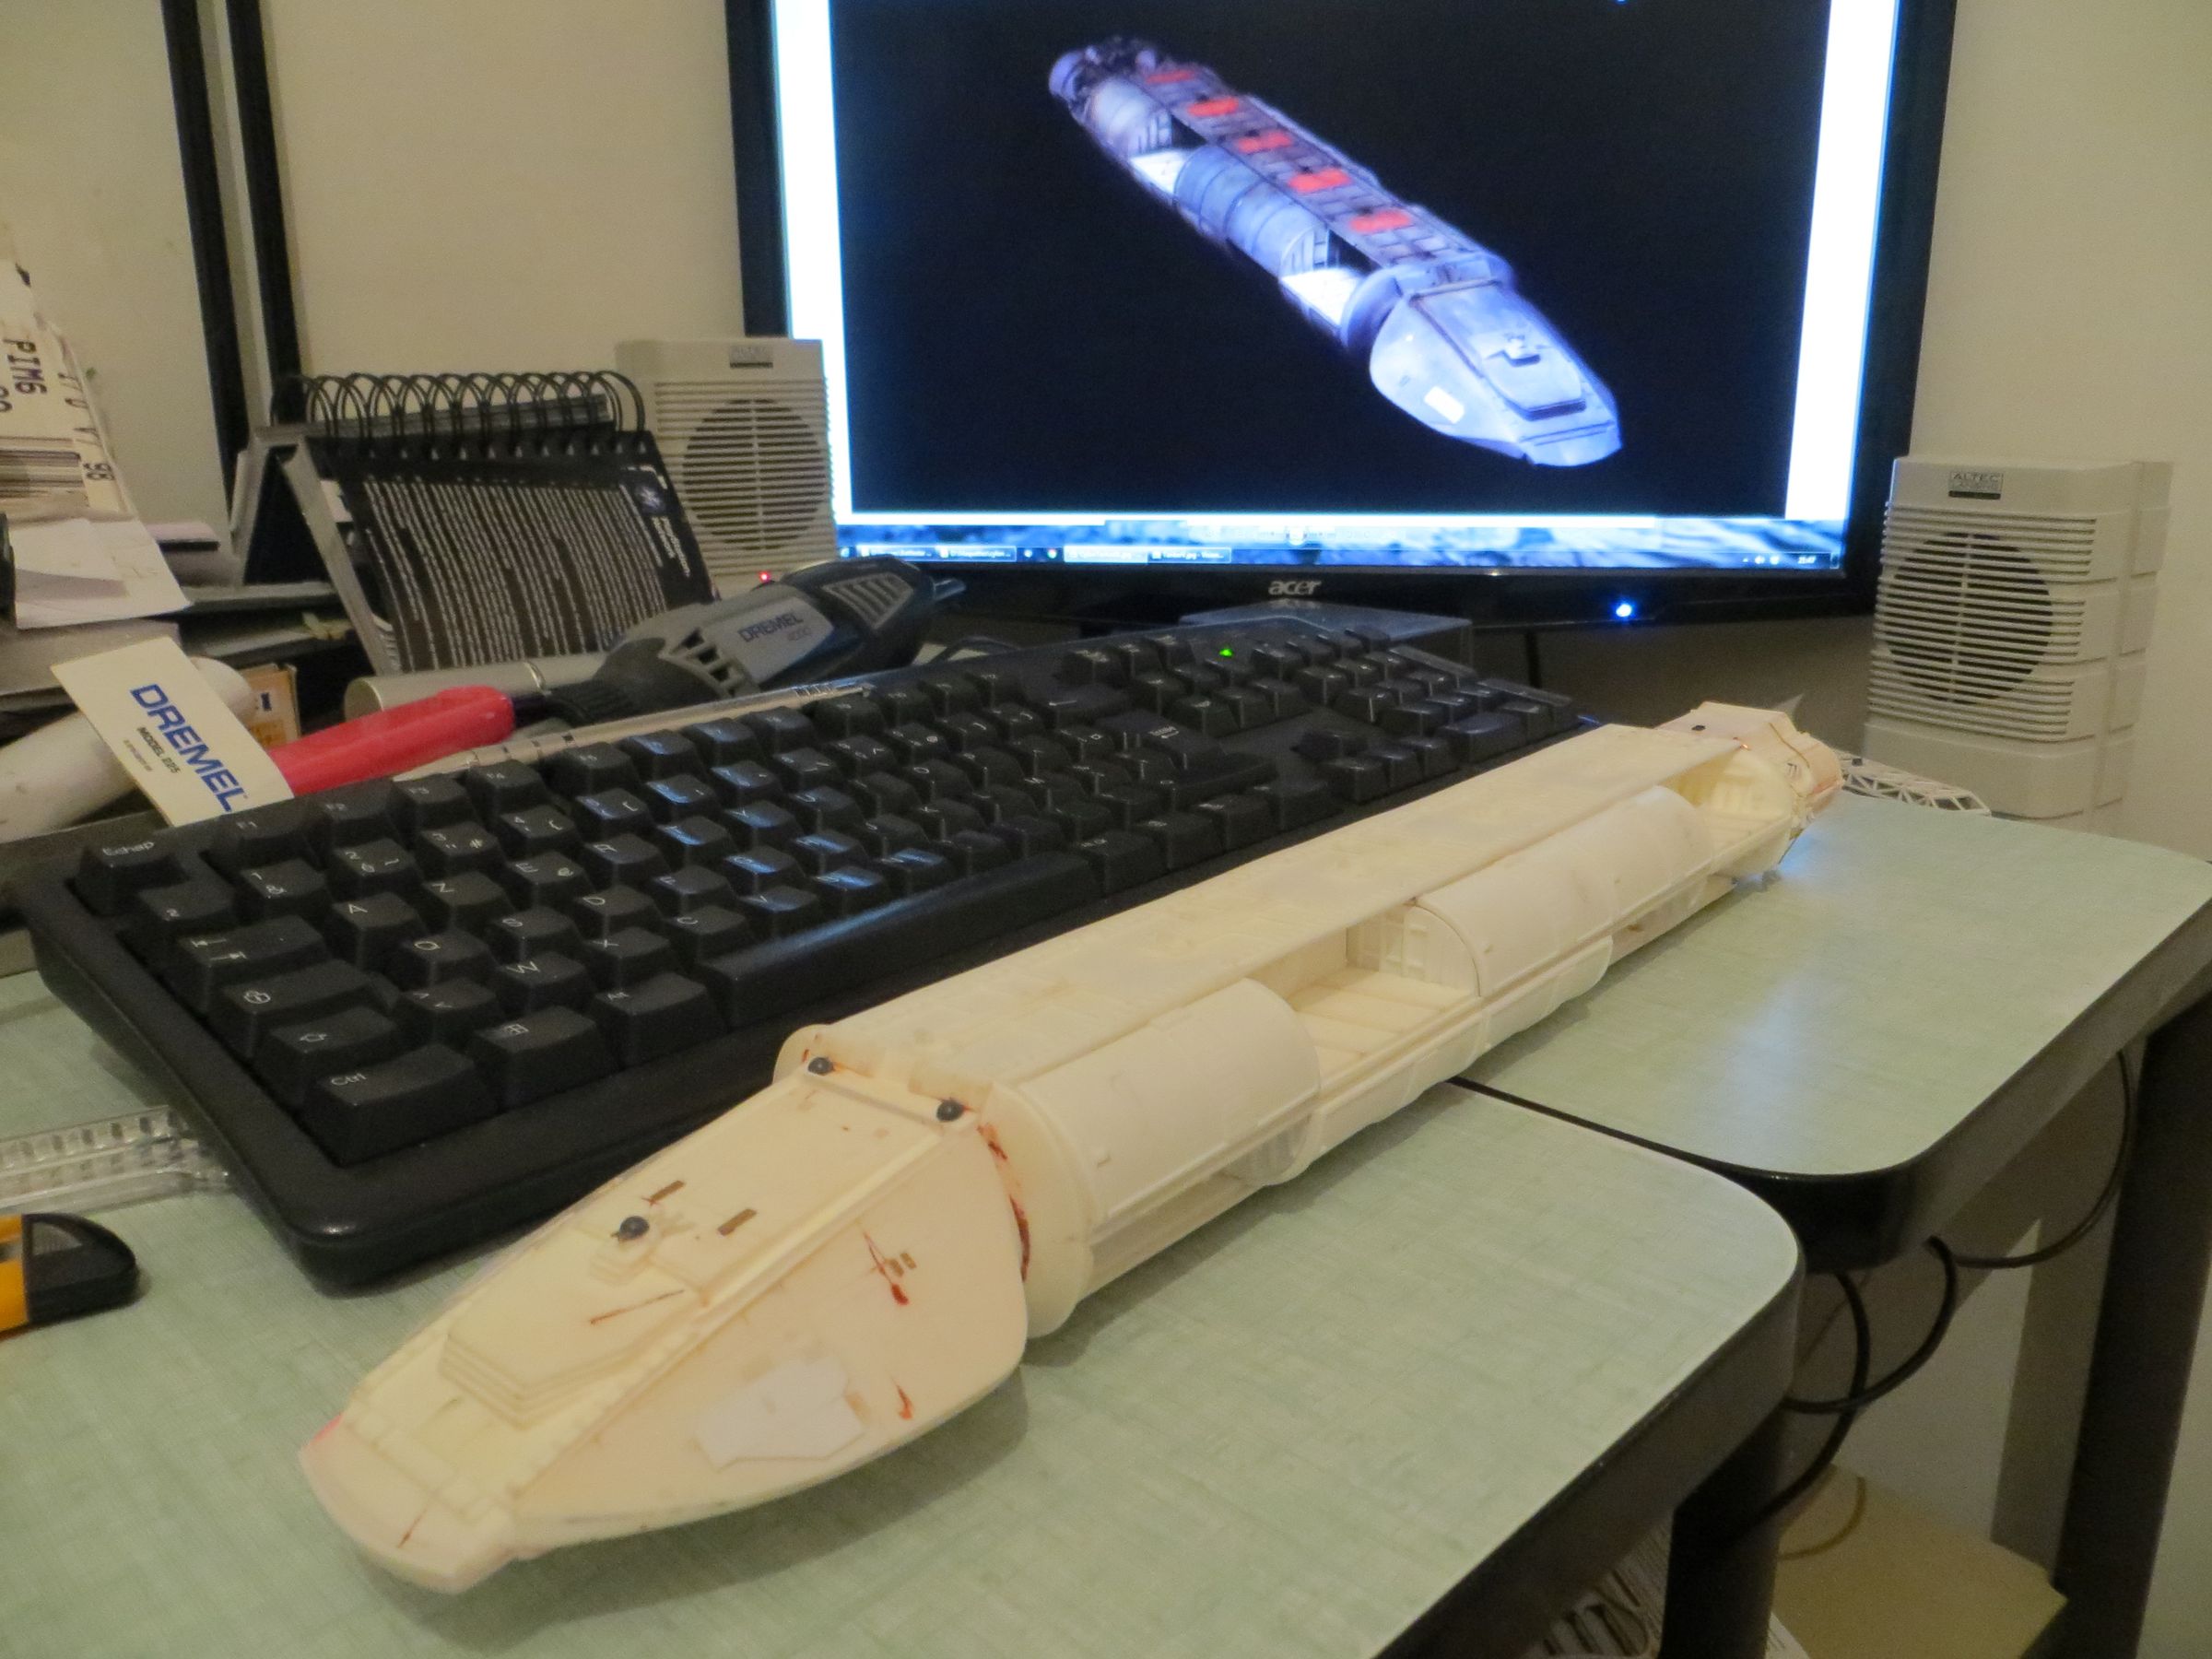
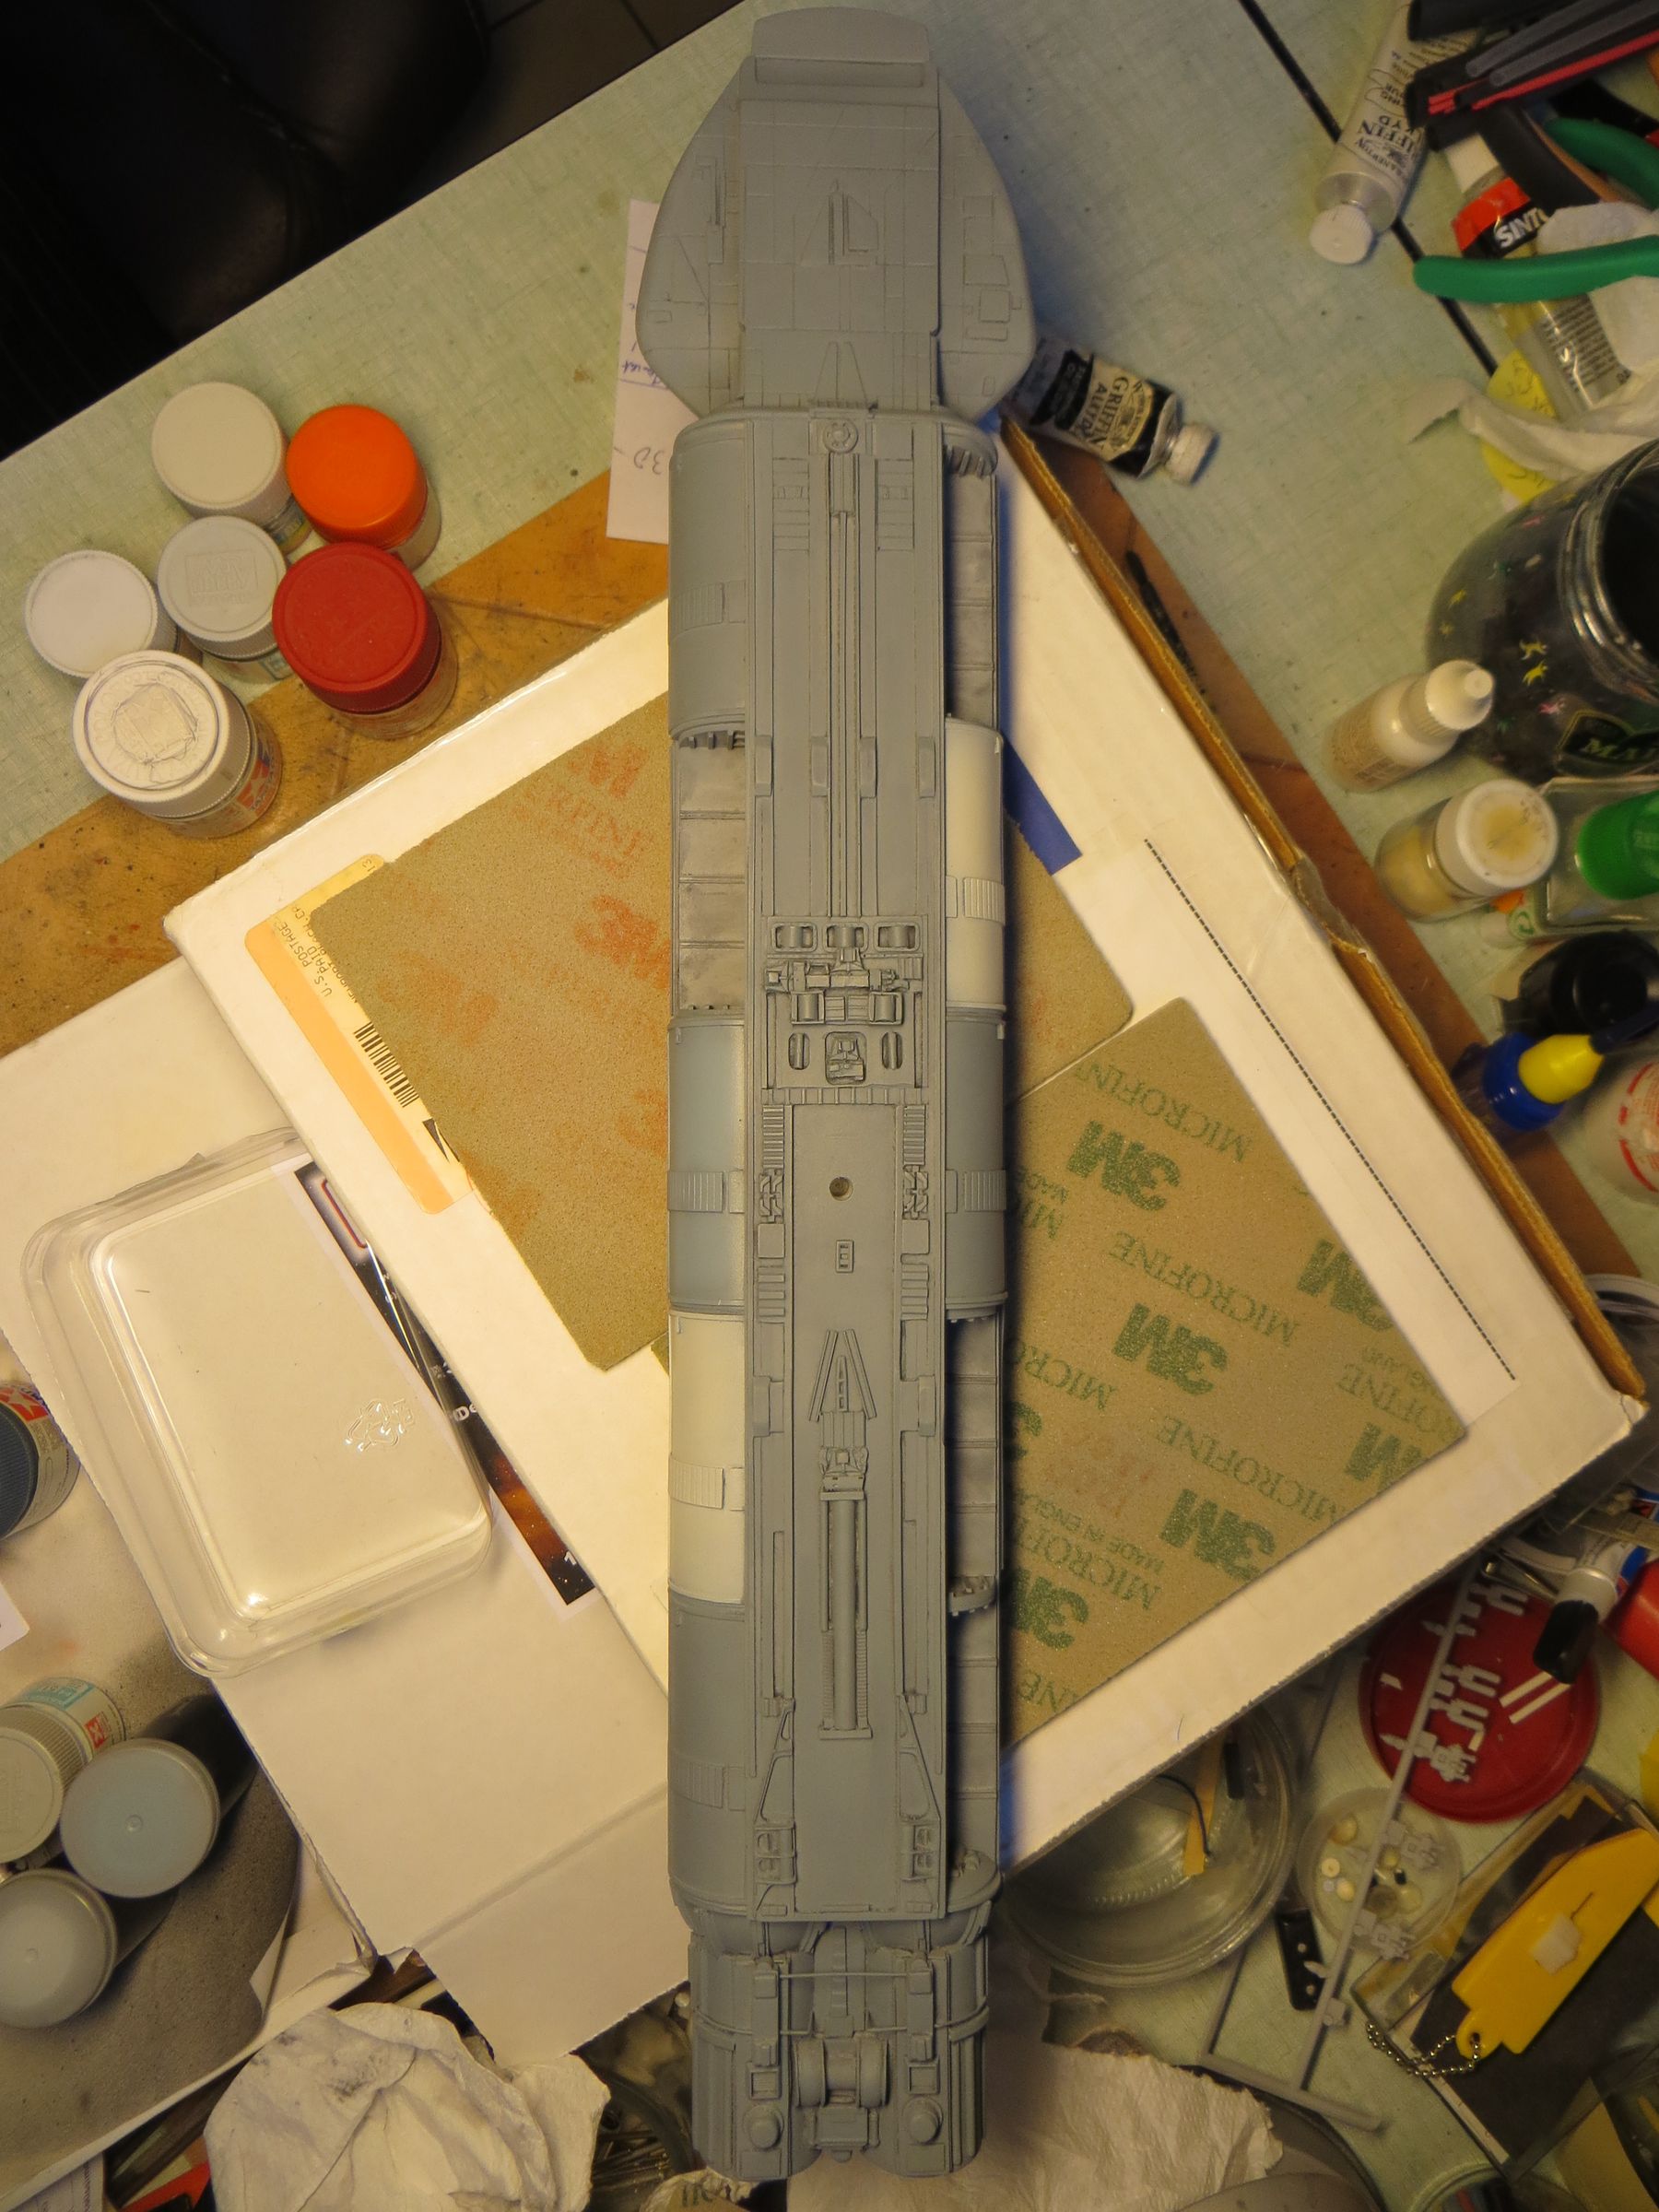
Overall, it seems that the proportions are correct.
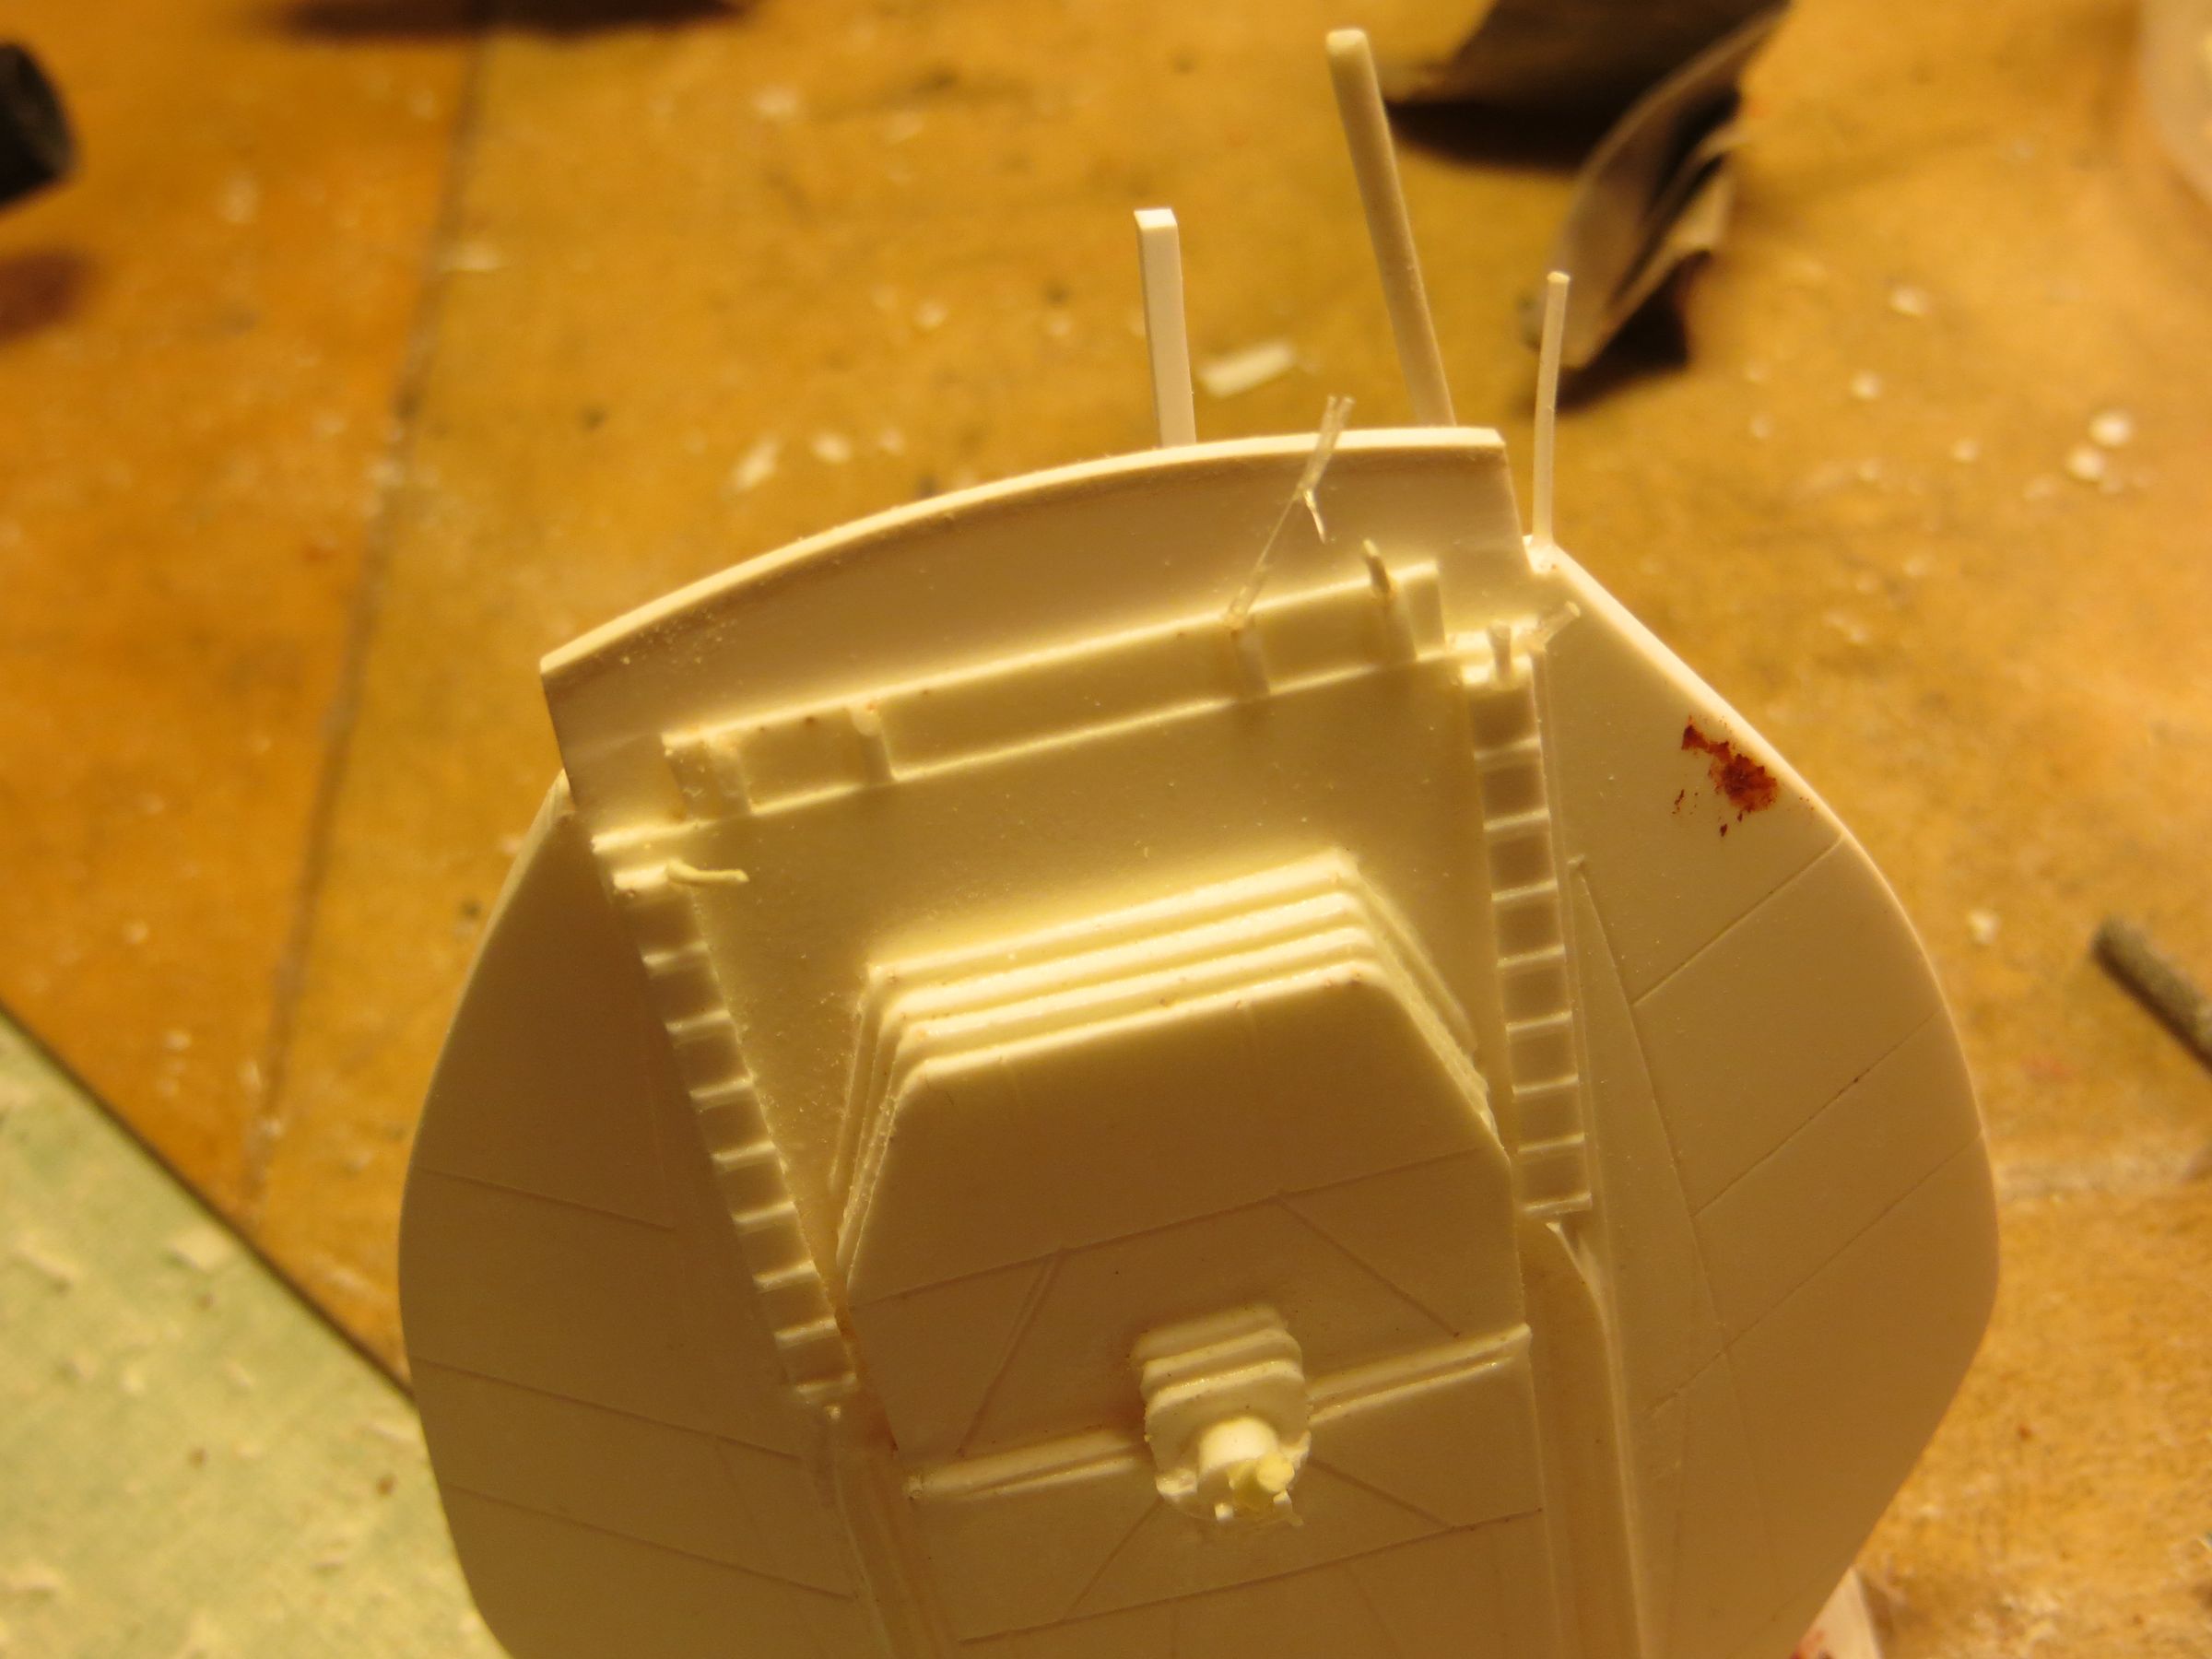
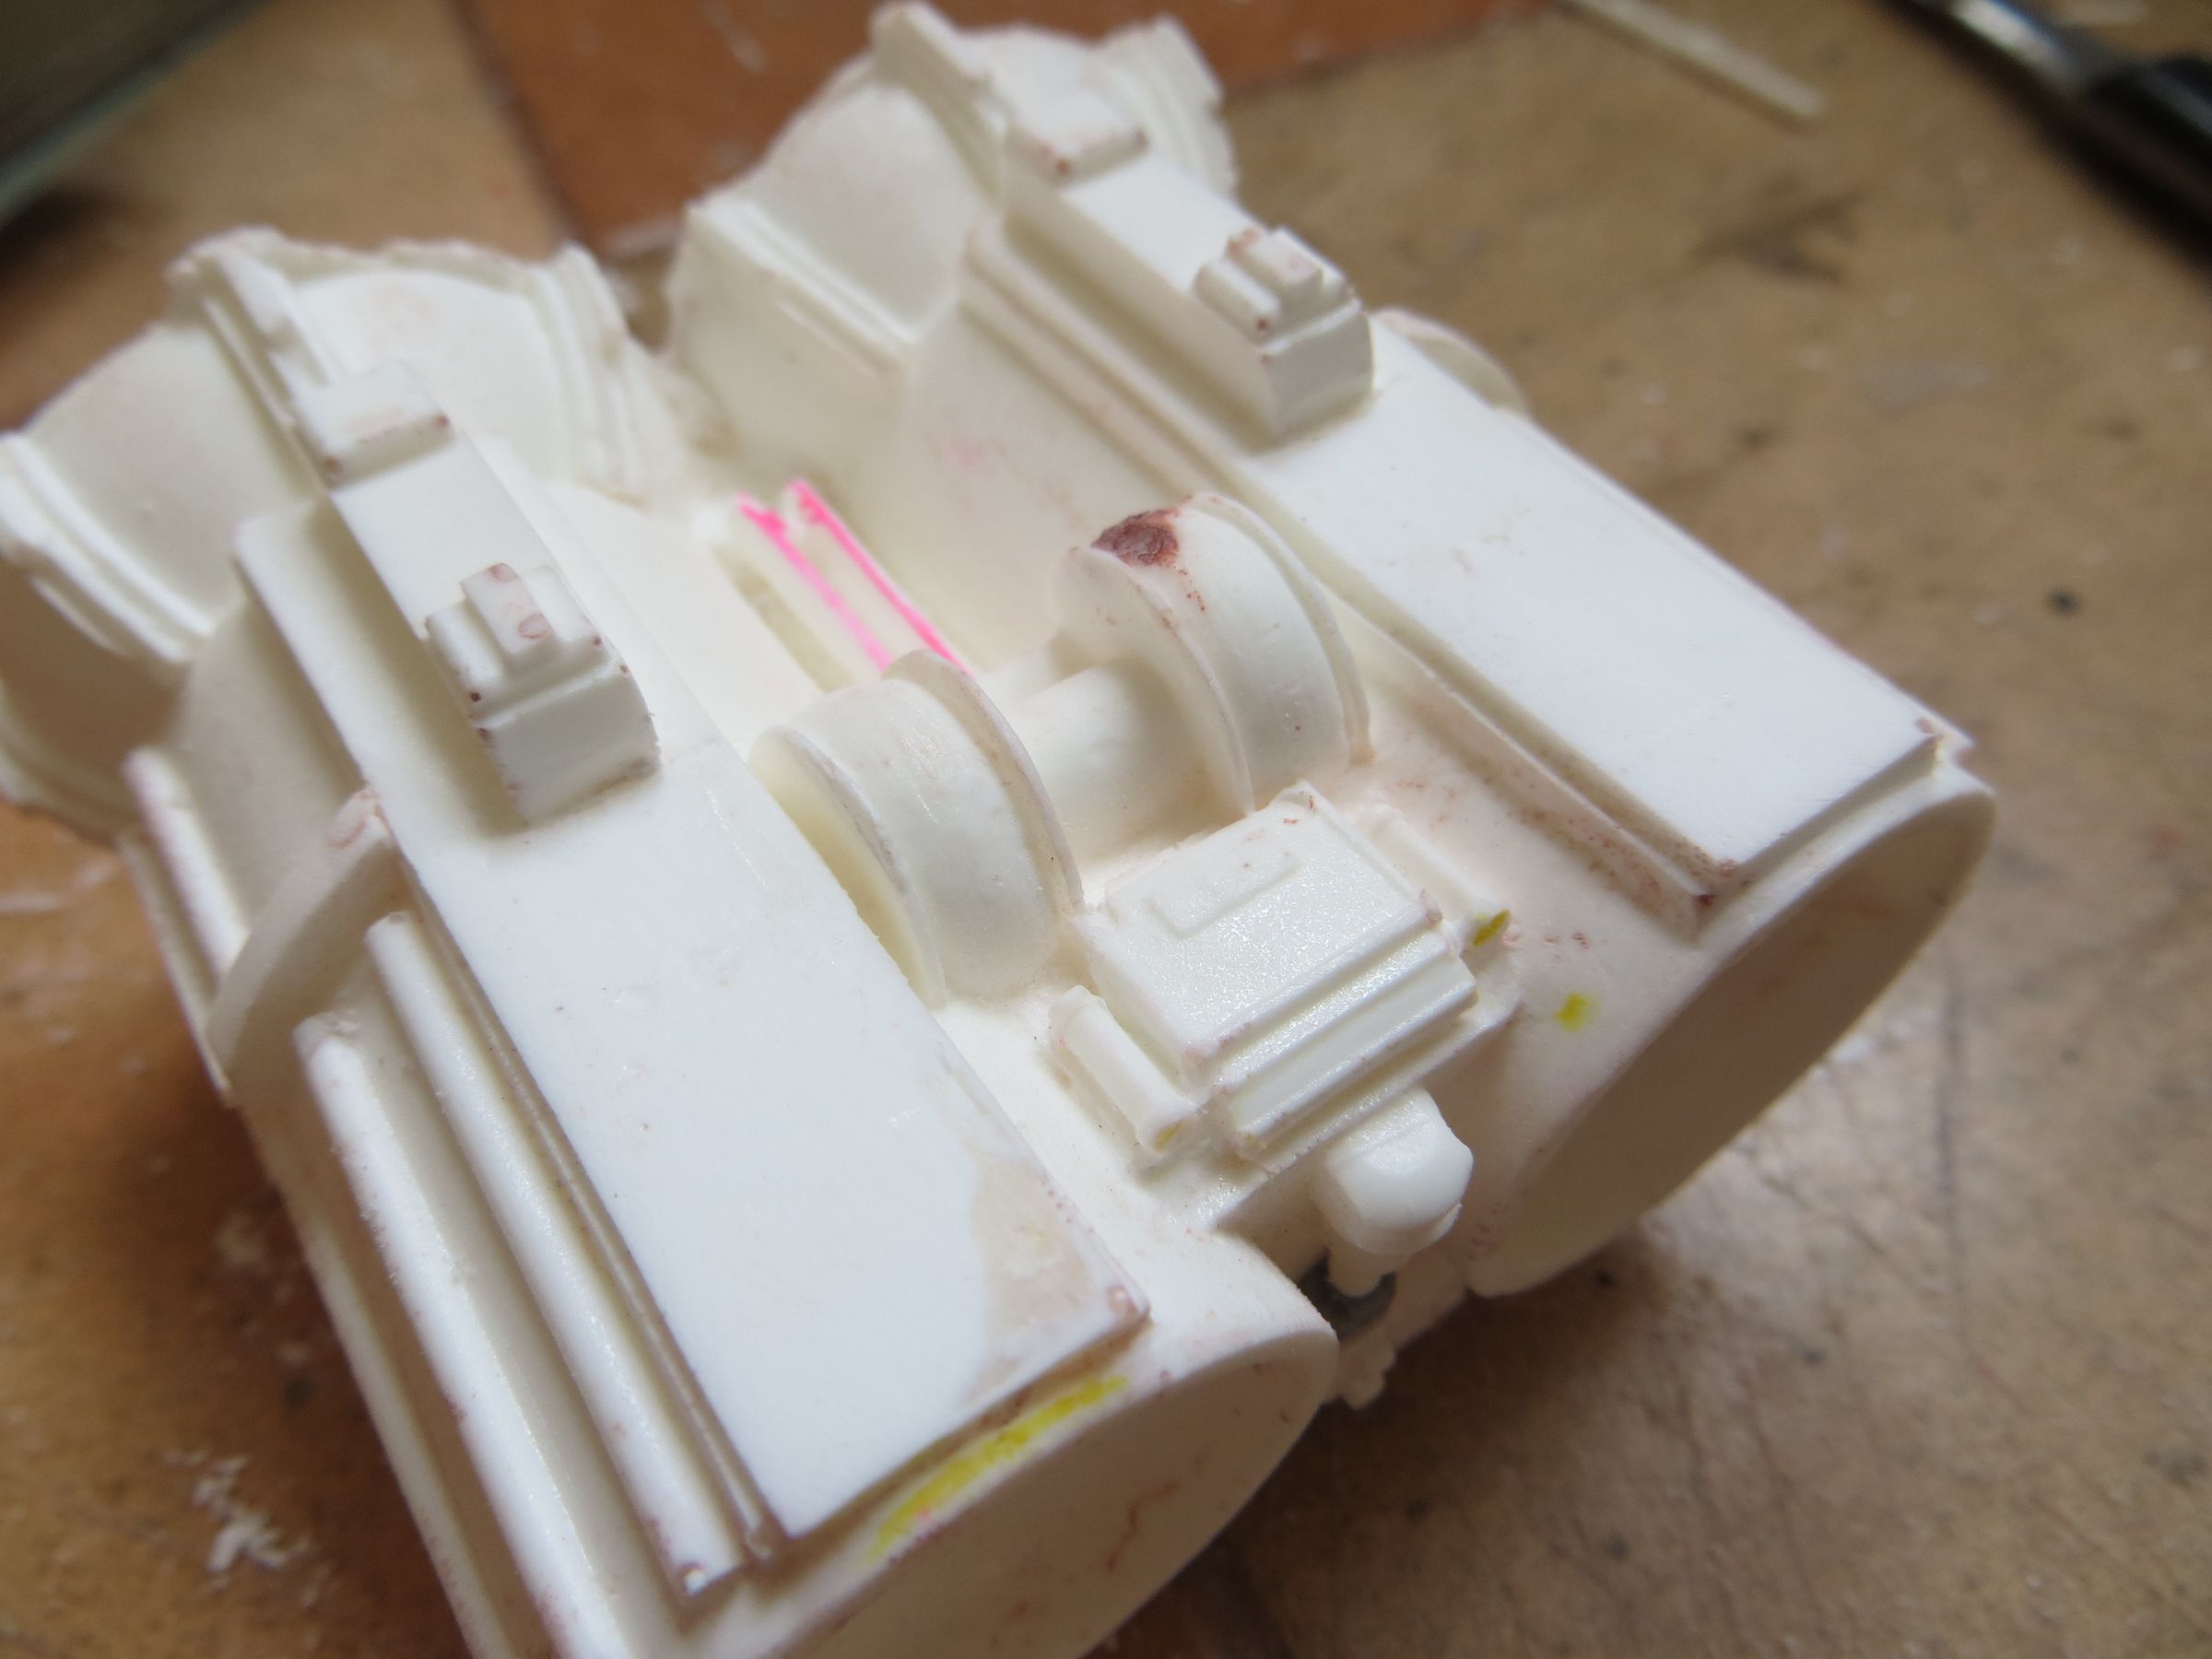
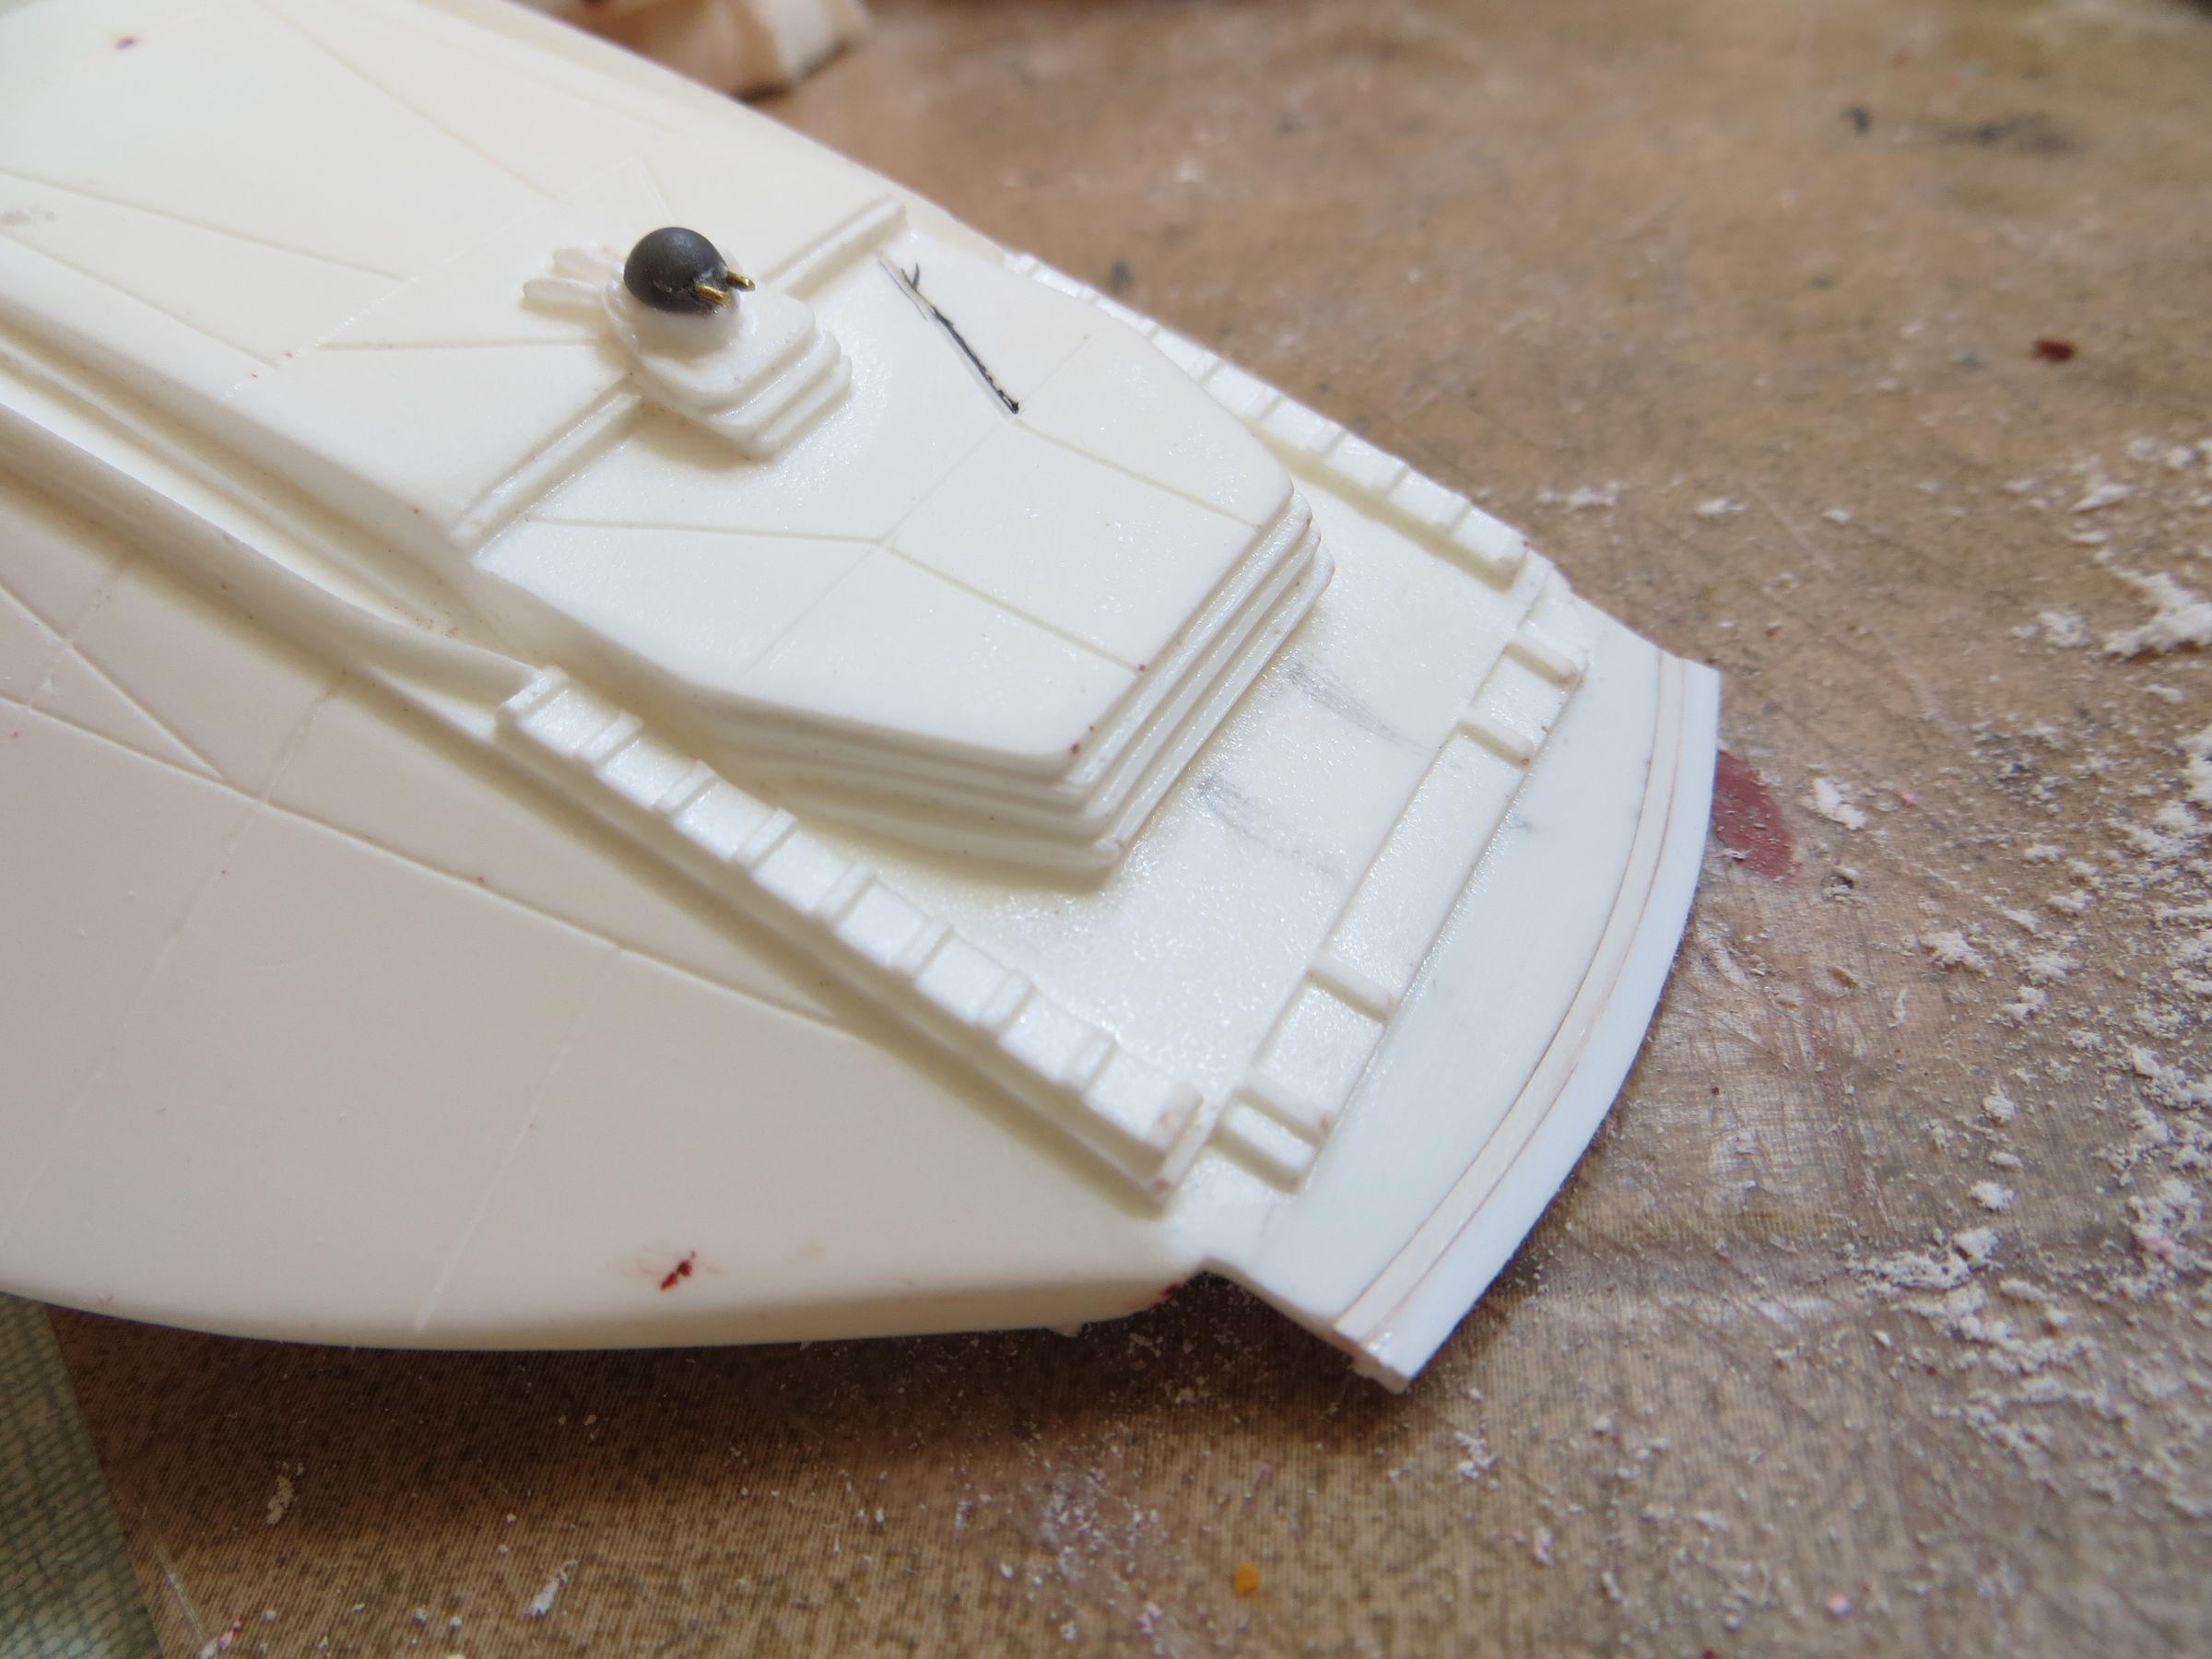
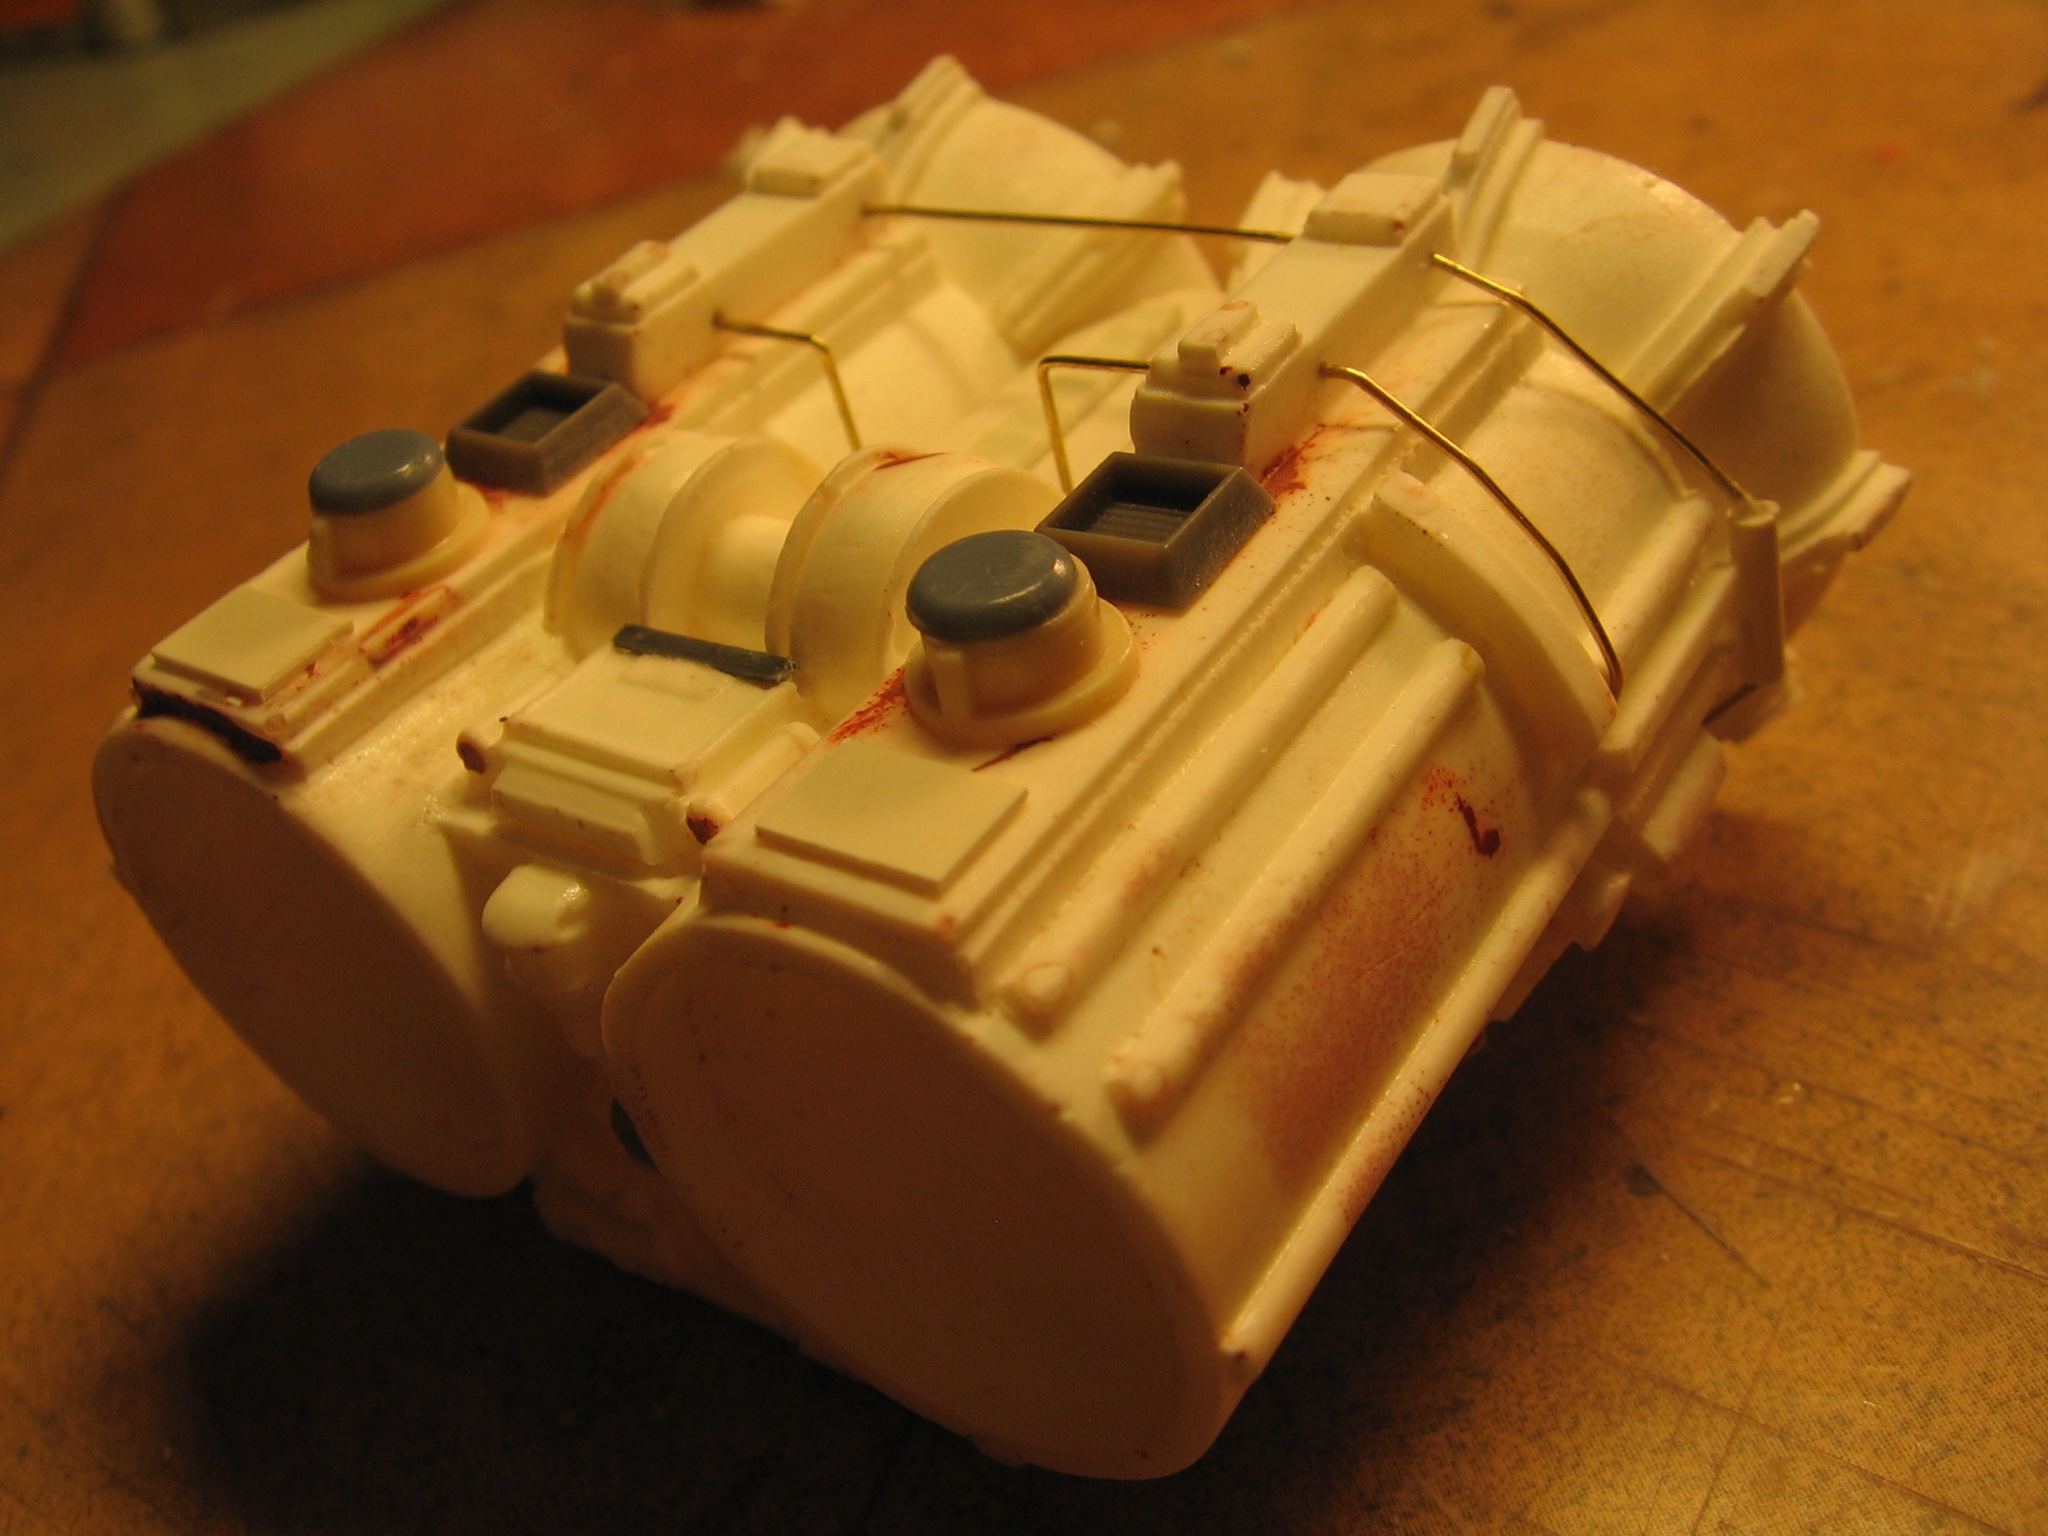
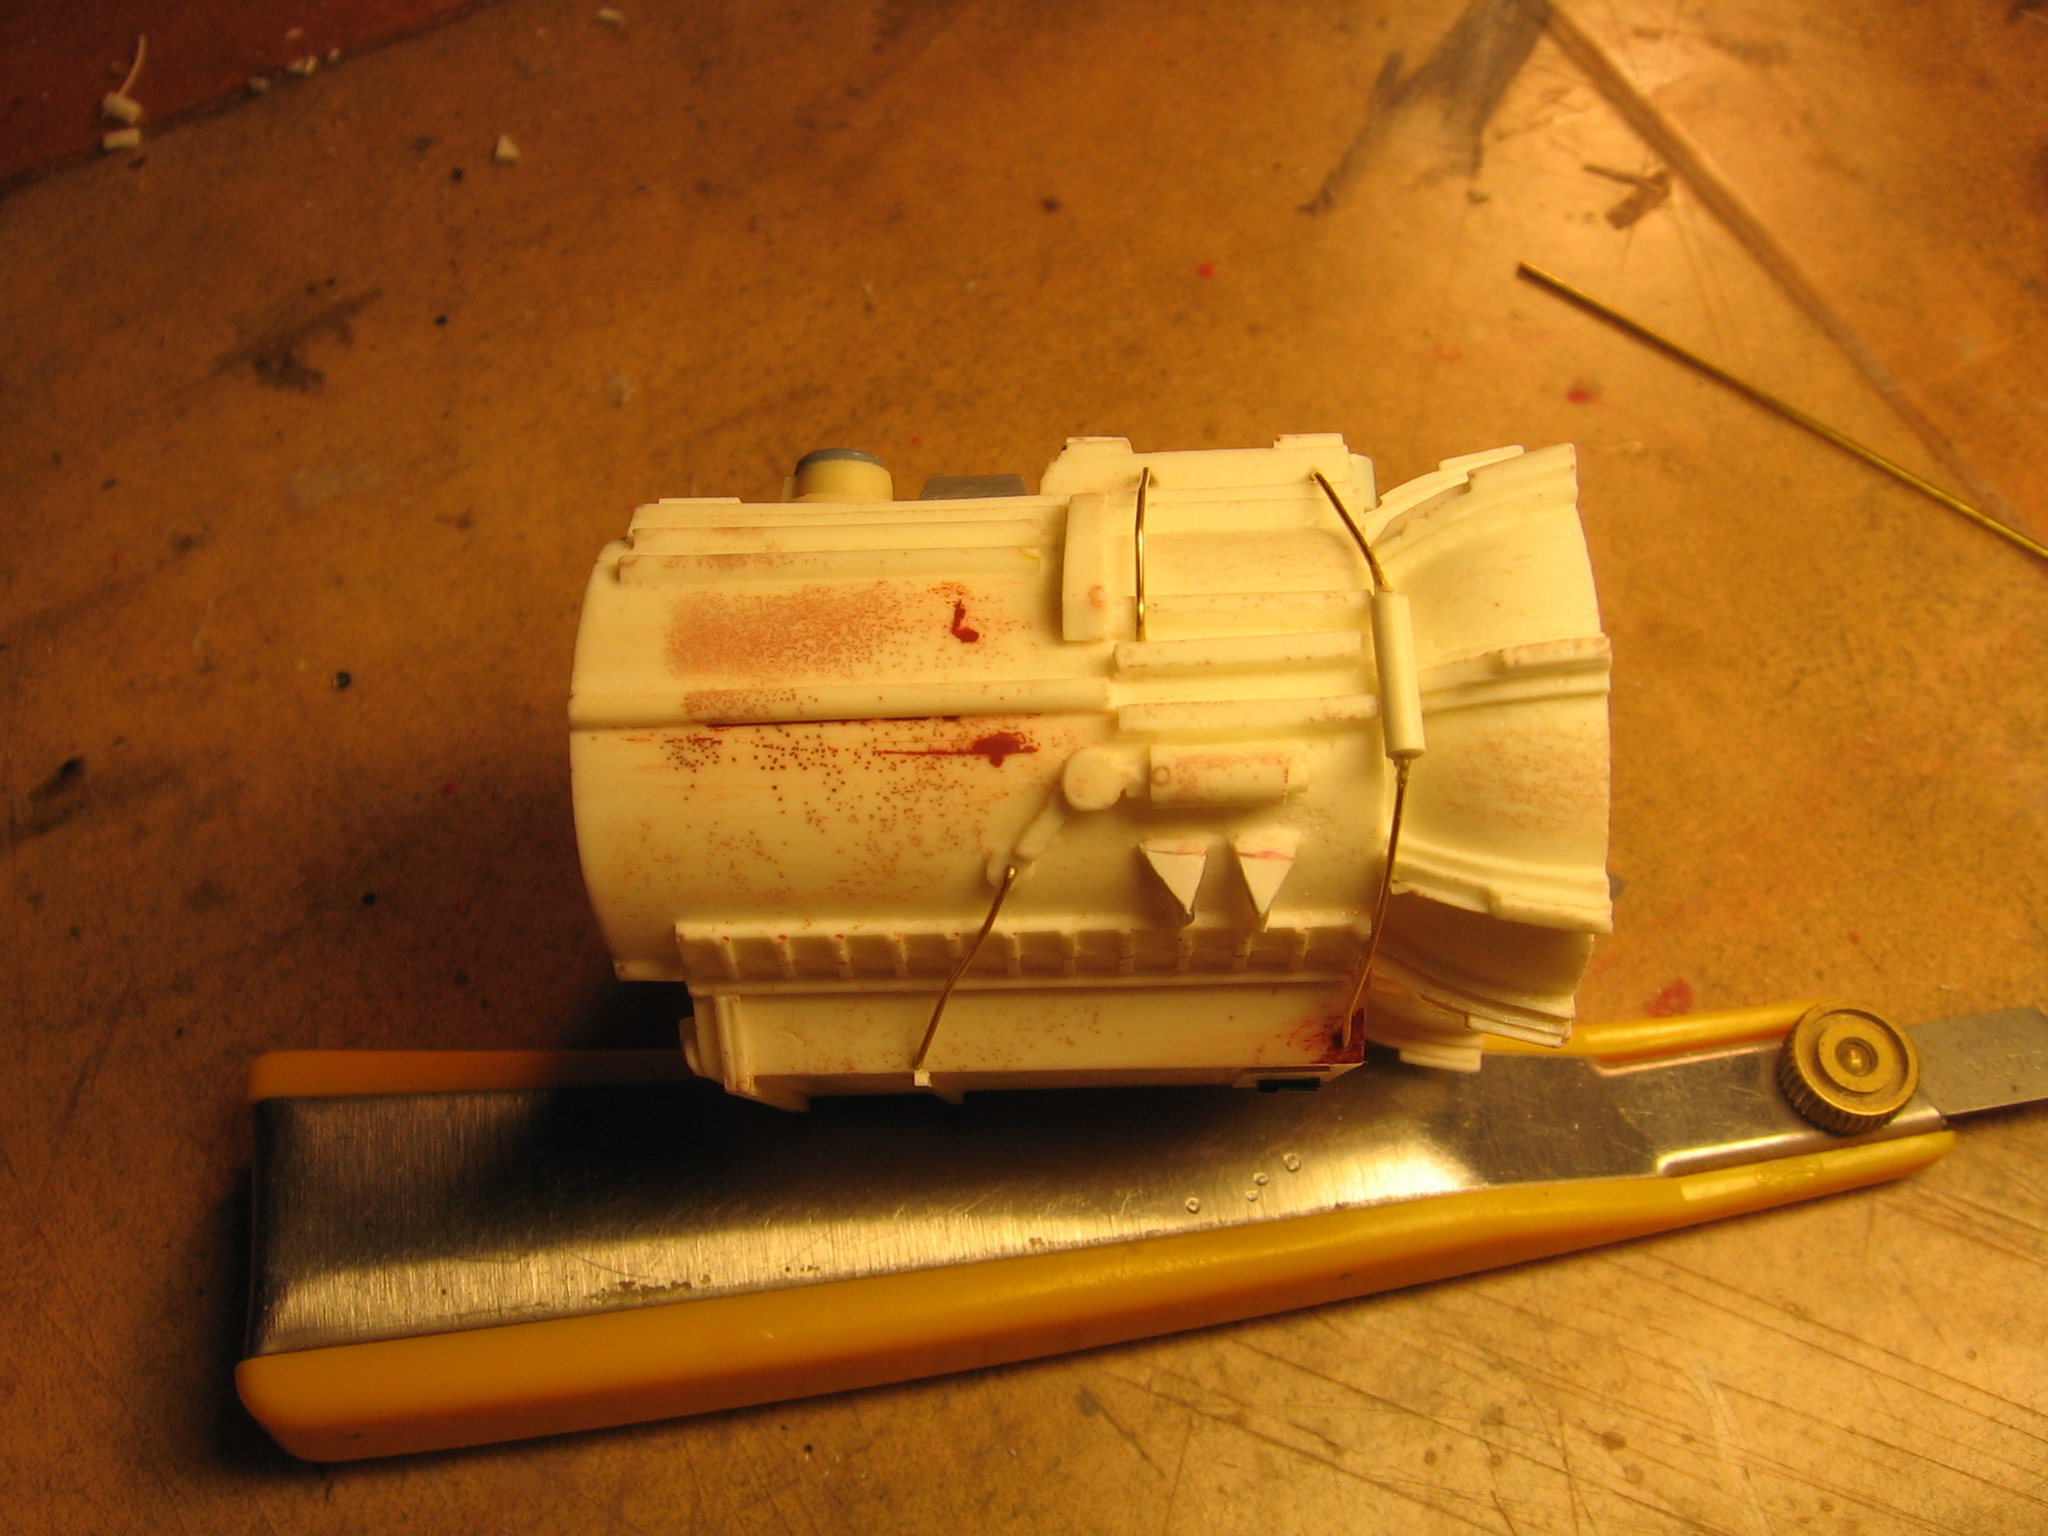
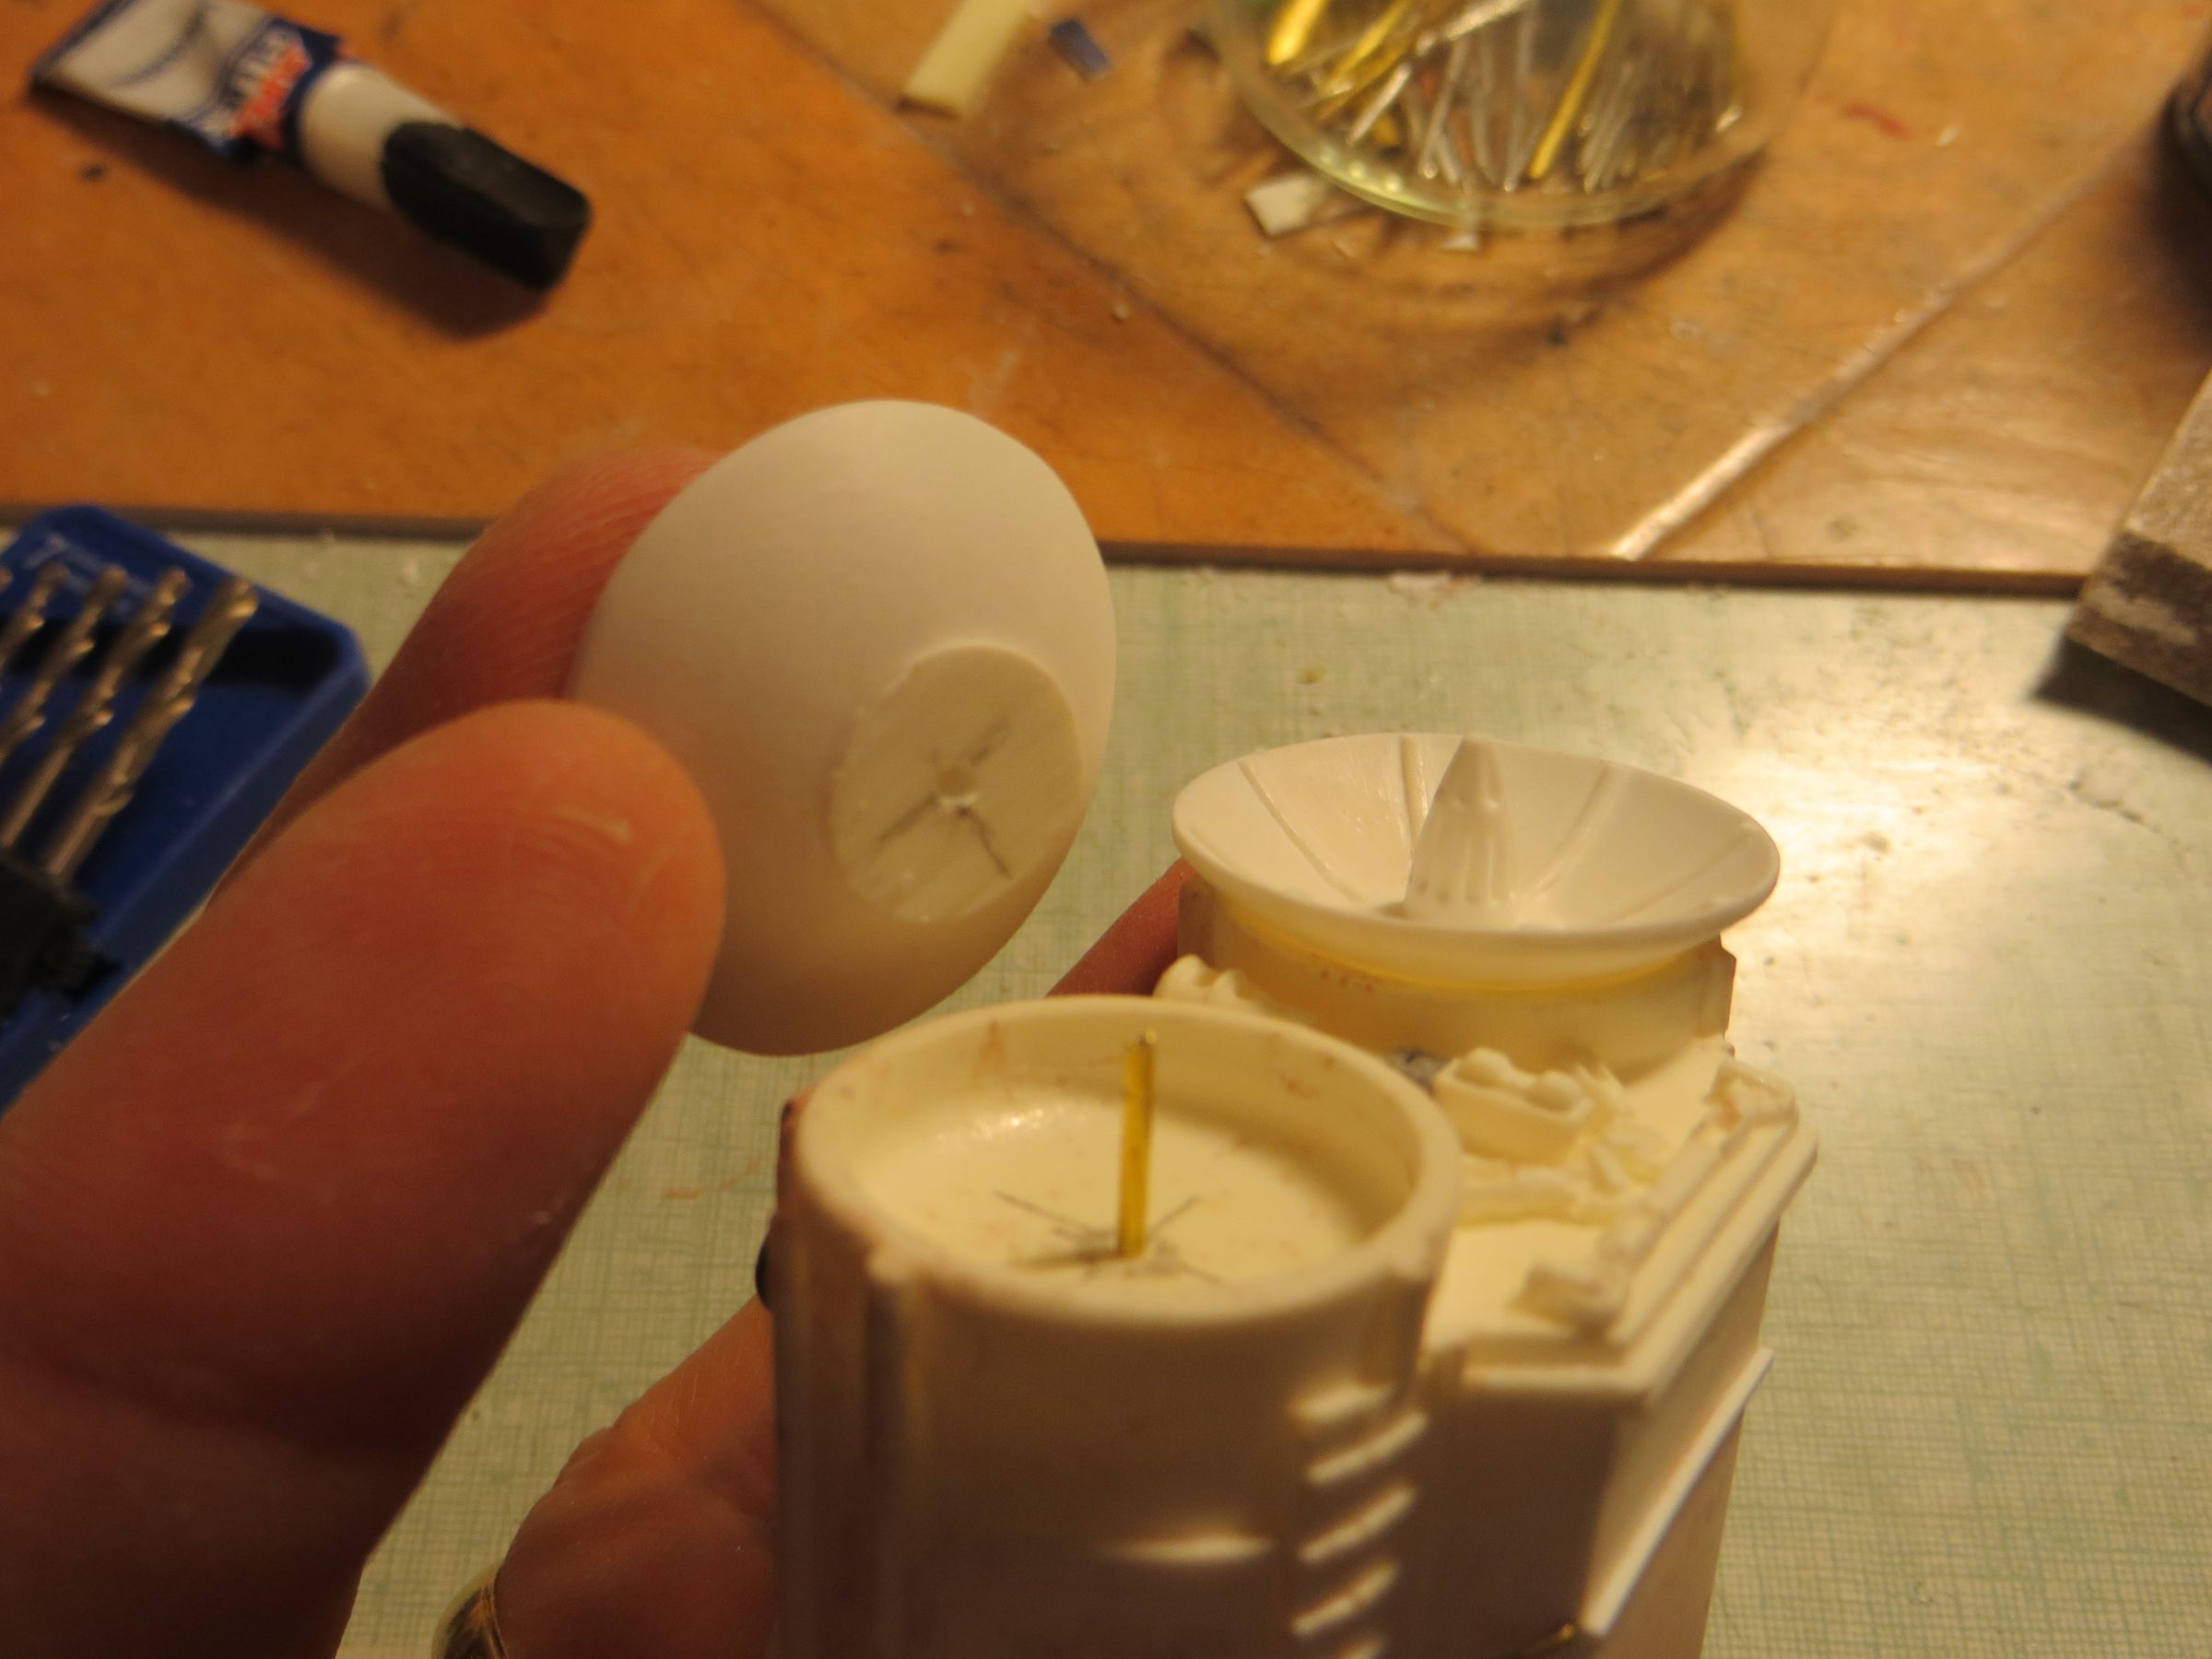
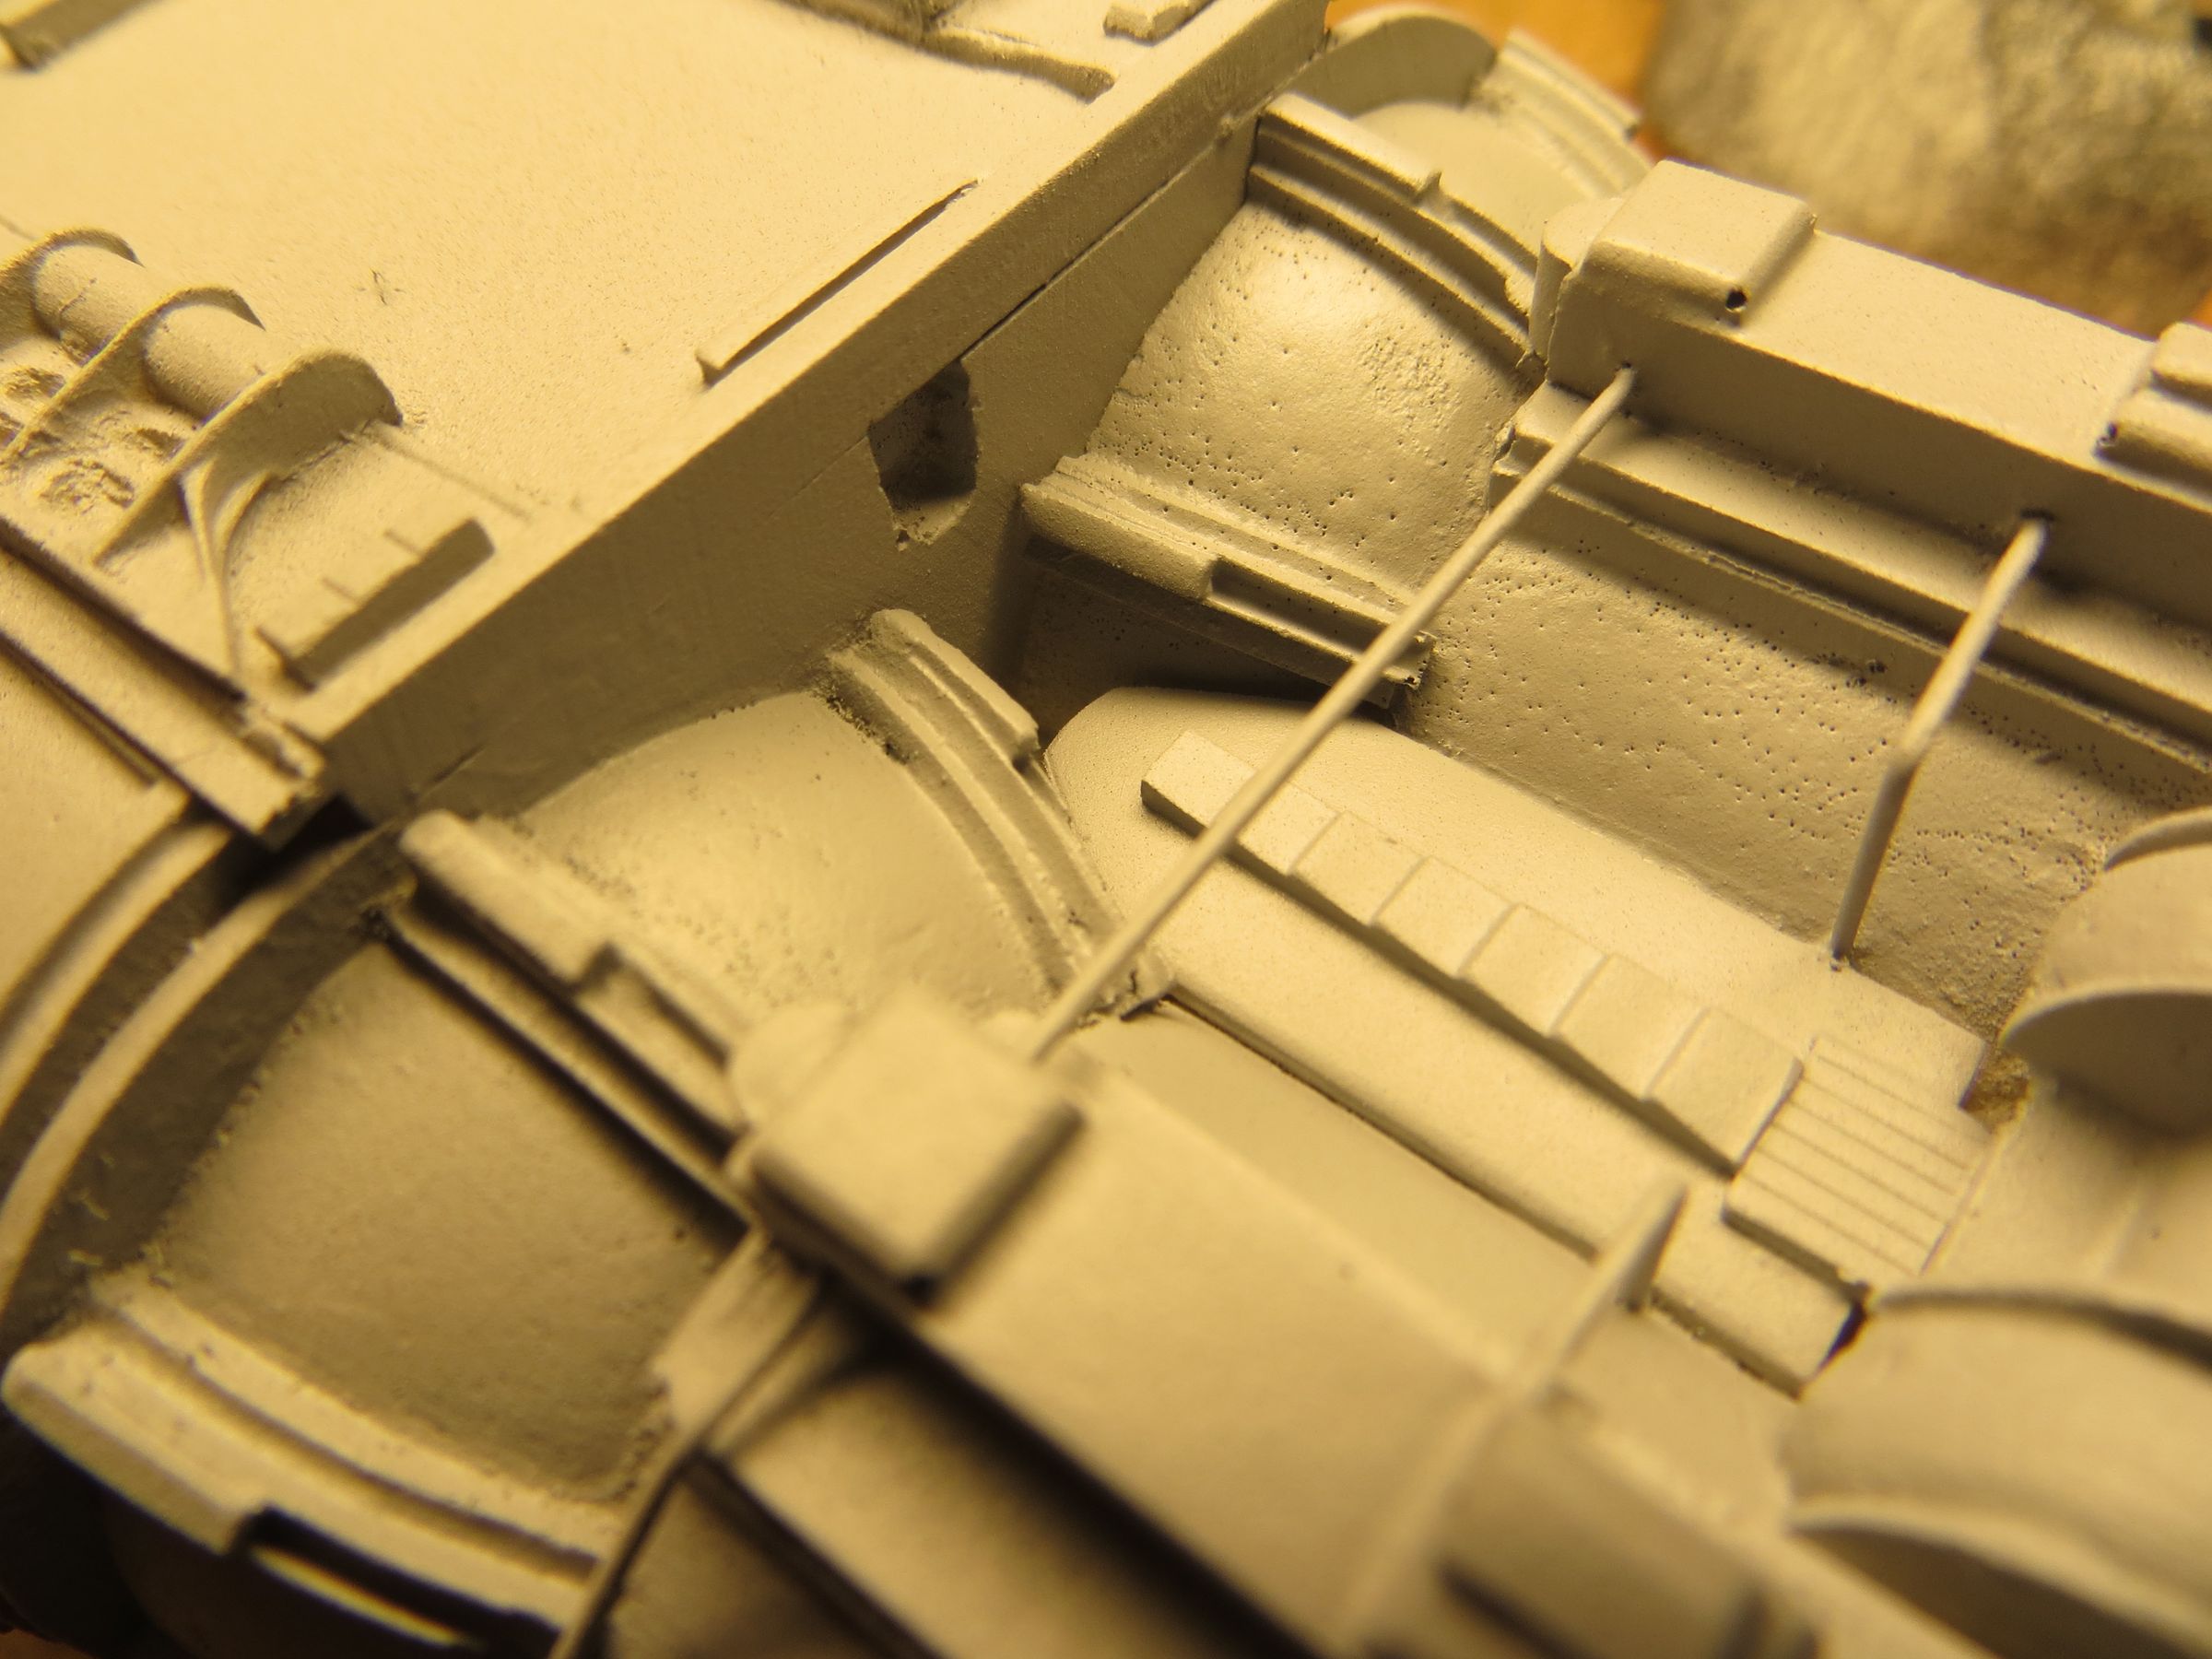
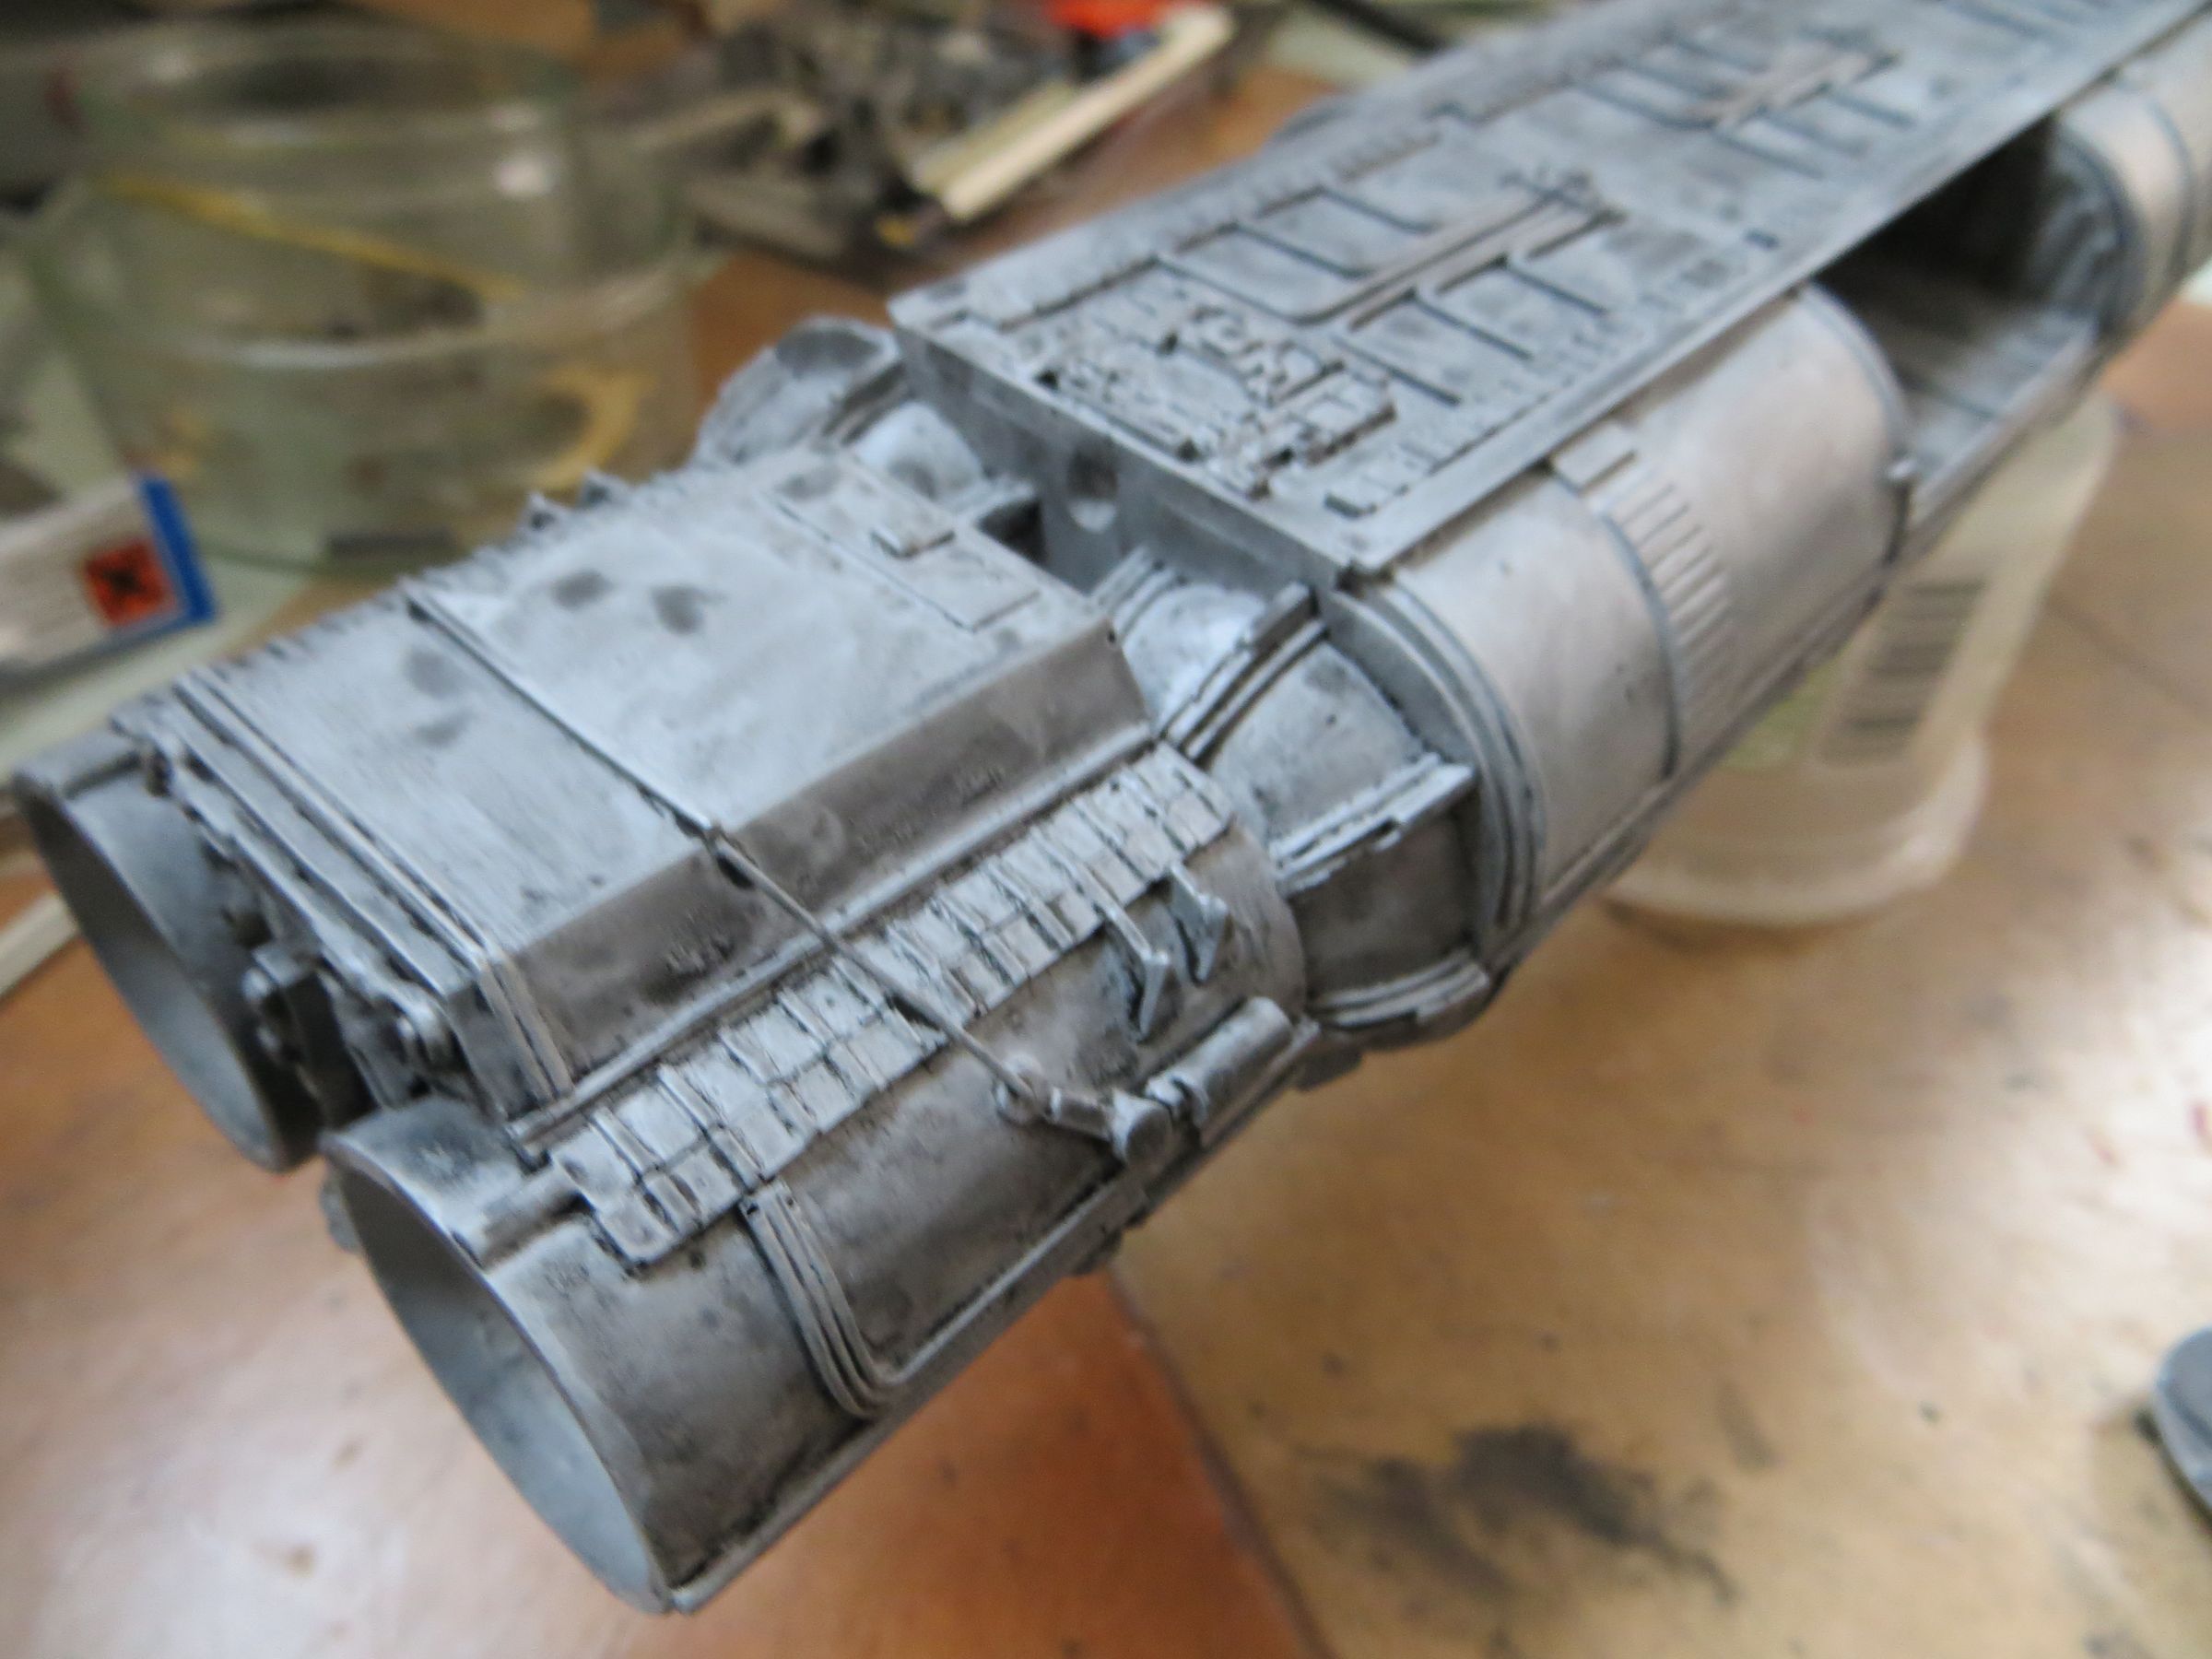
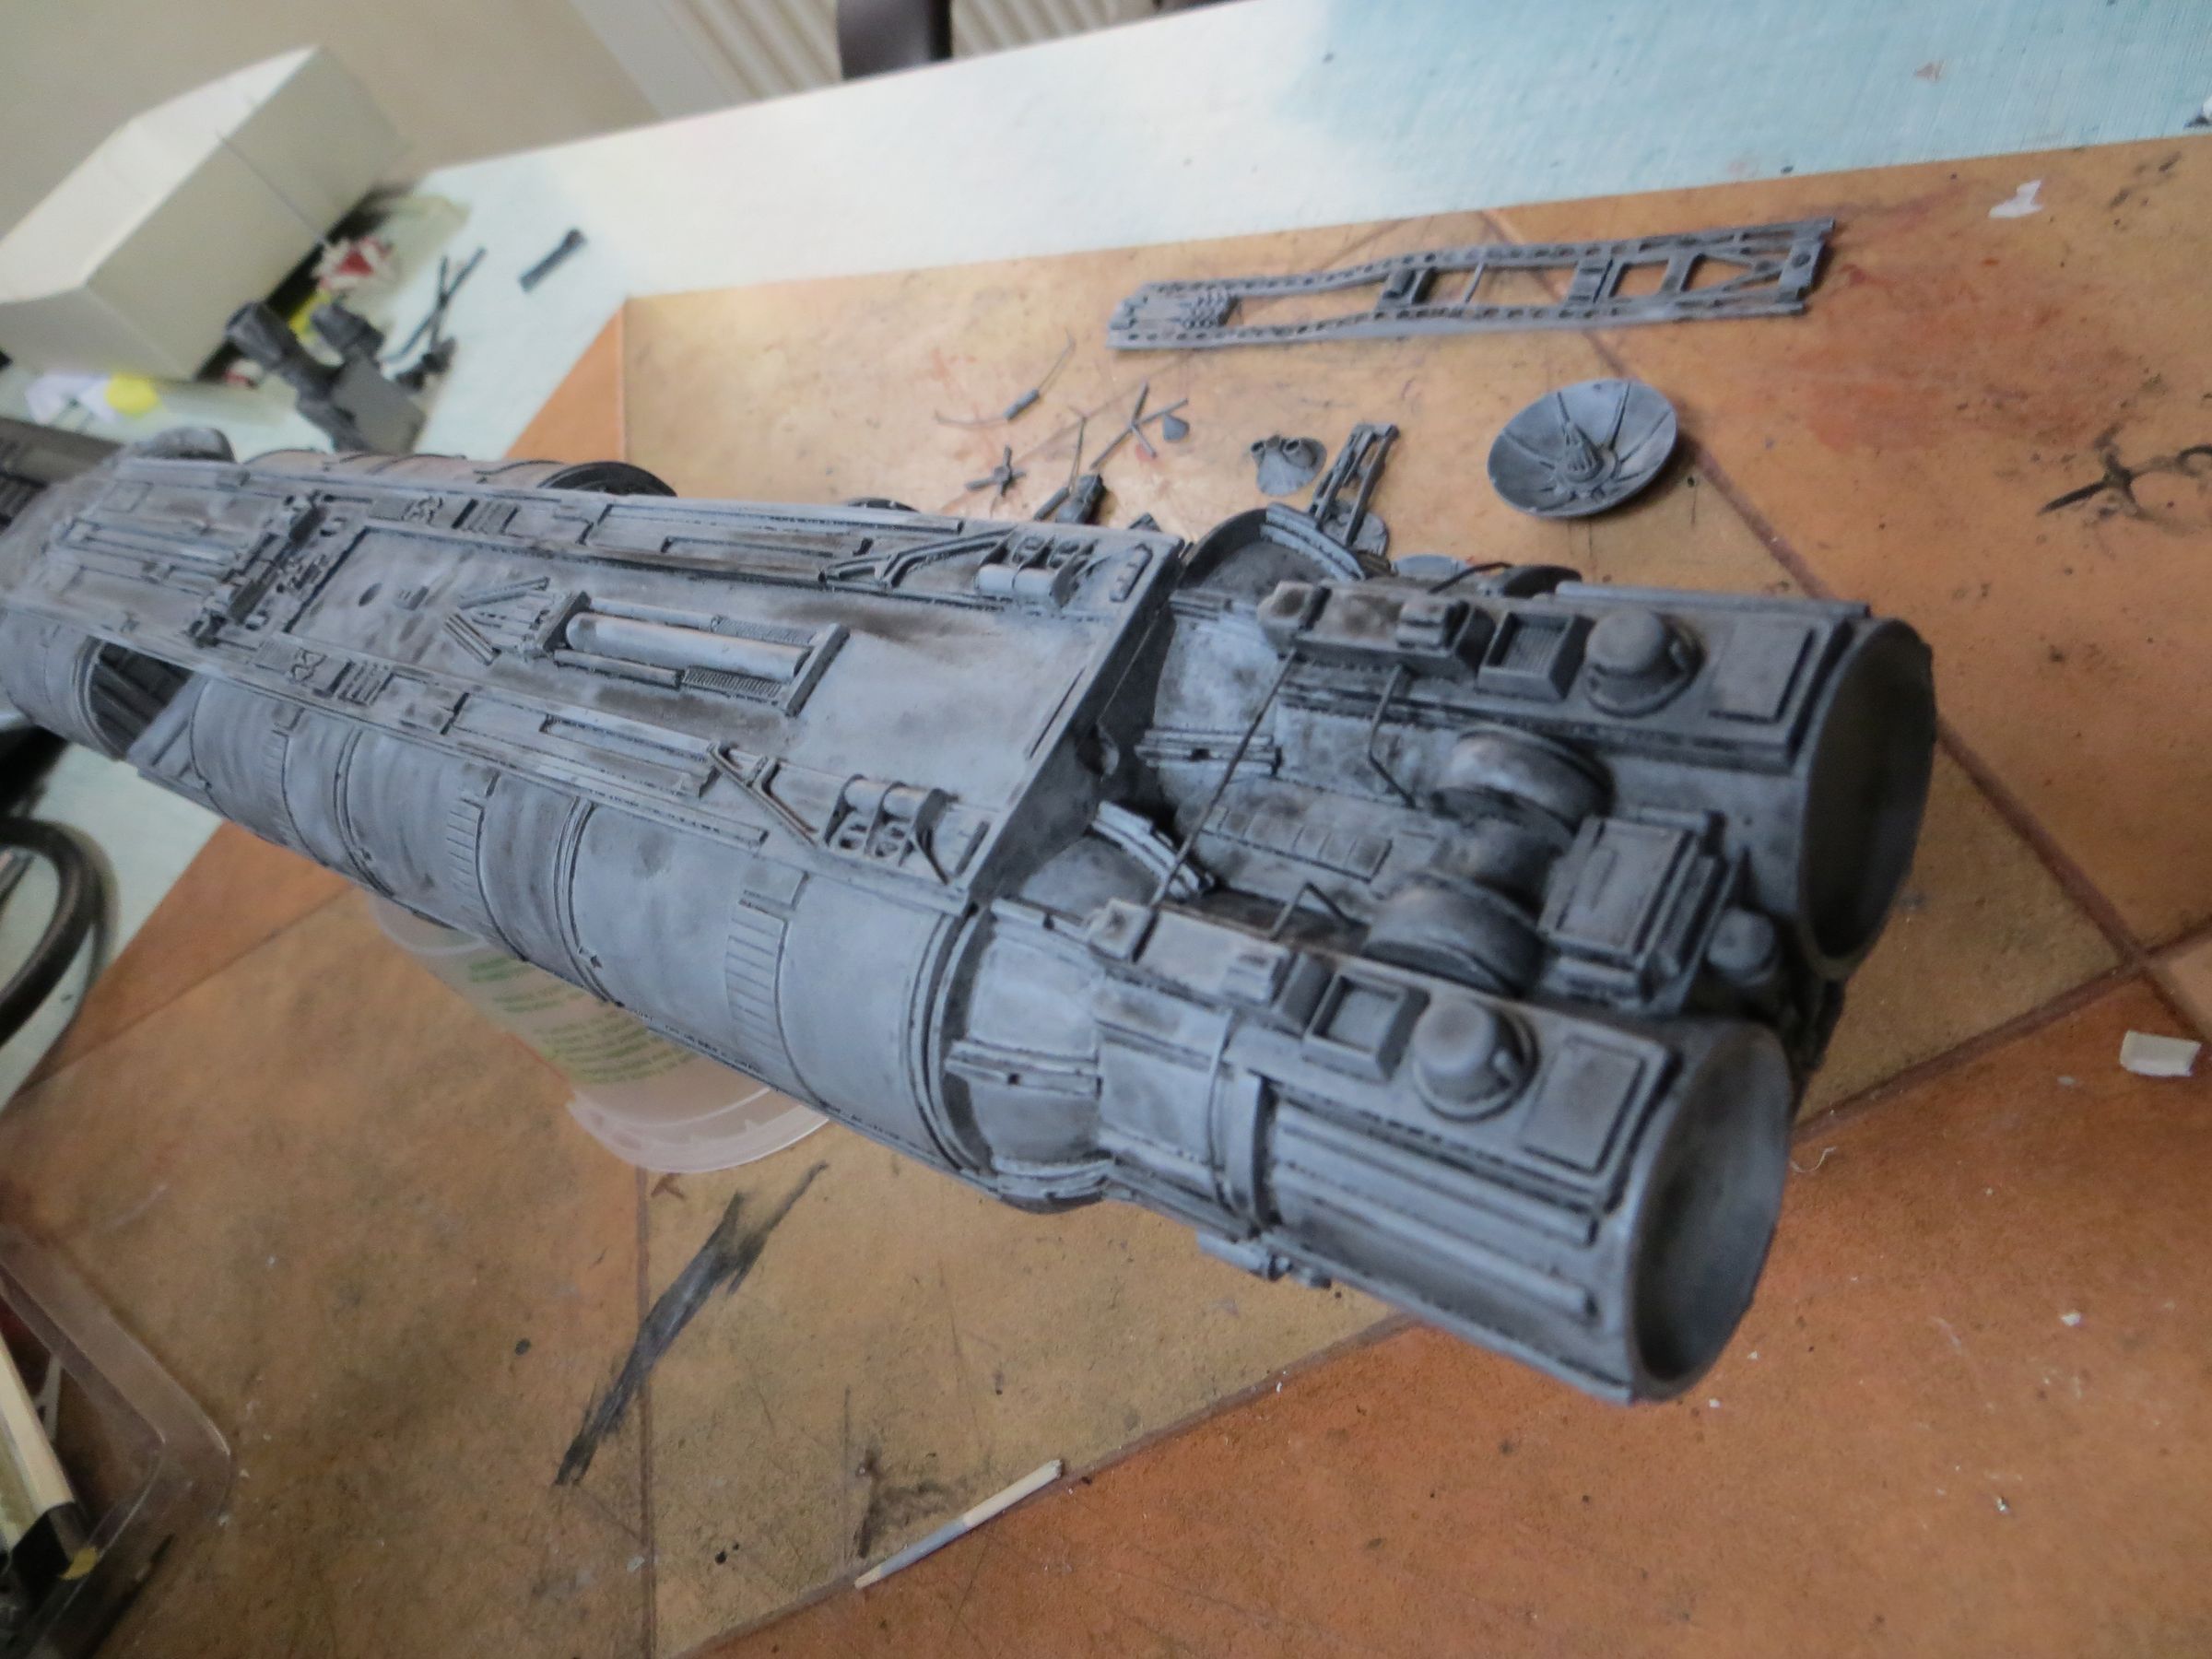
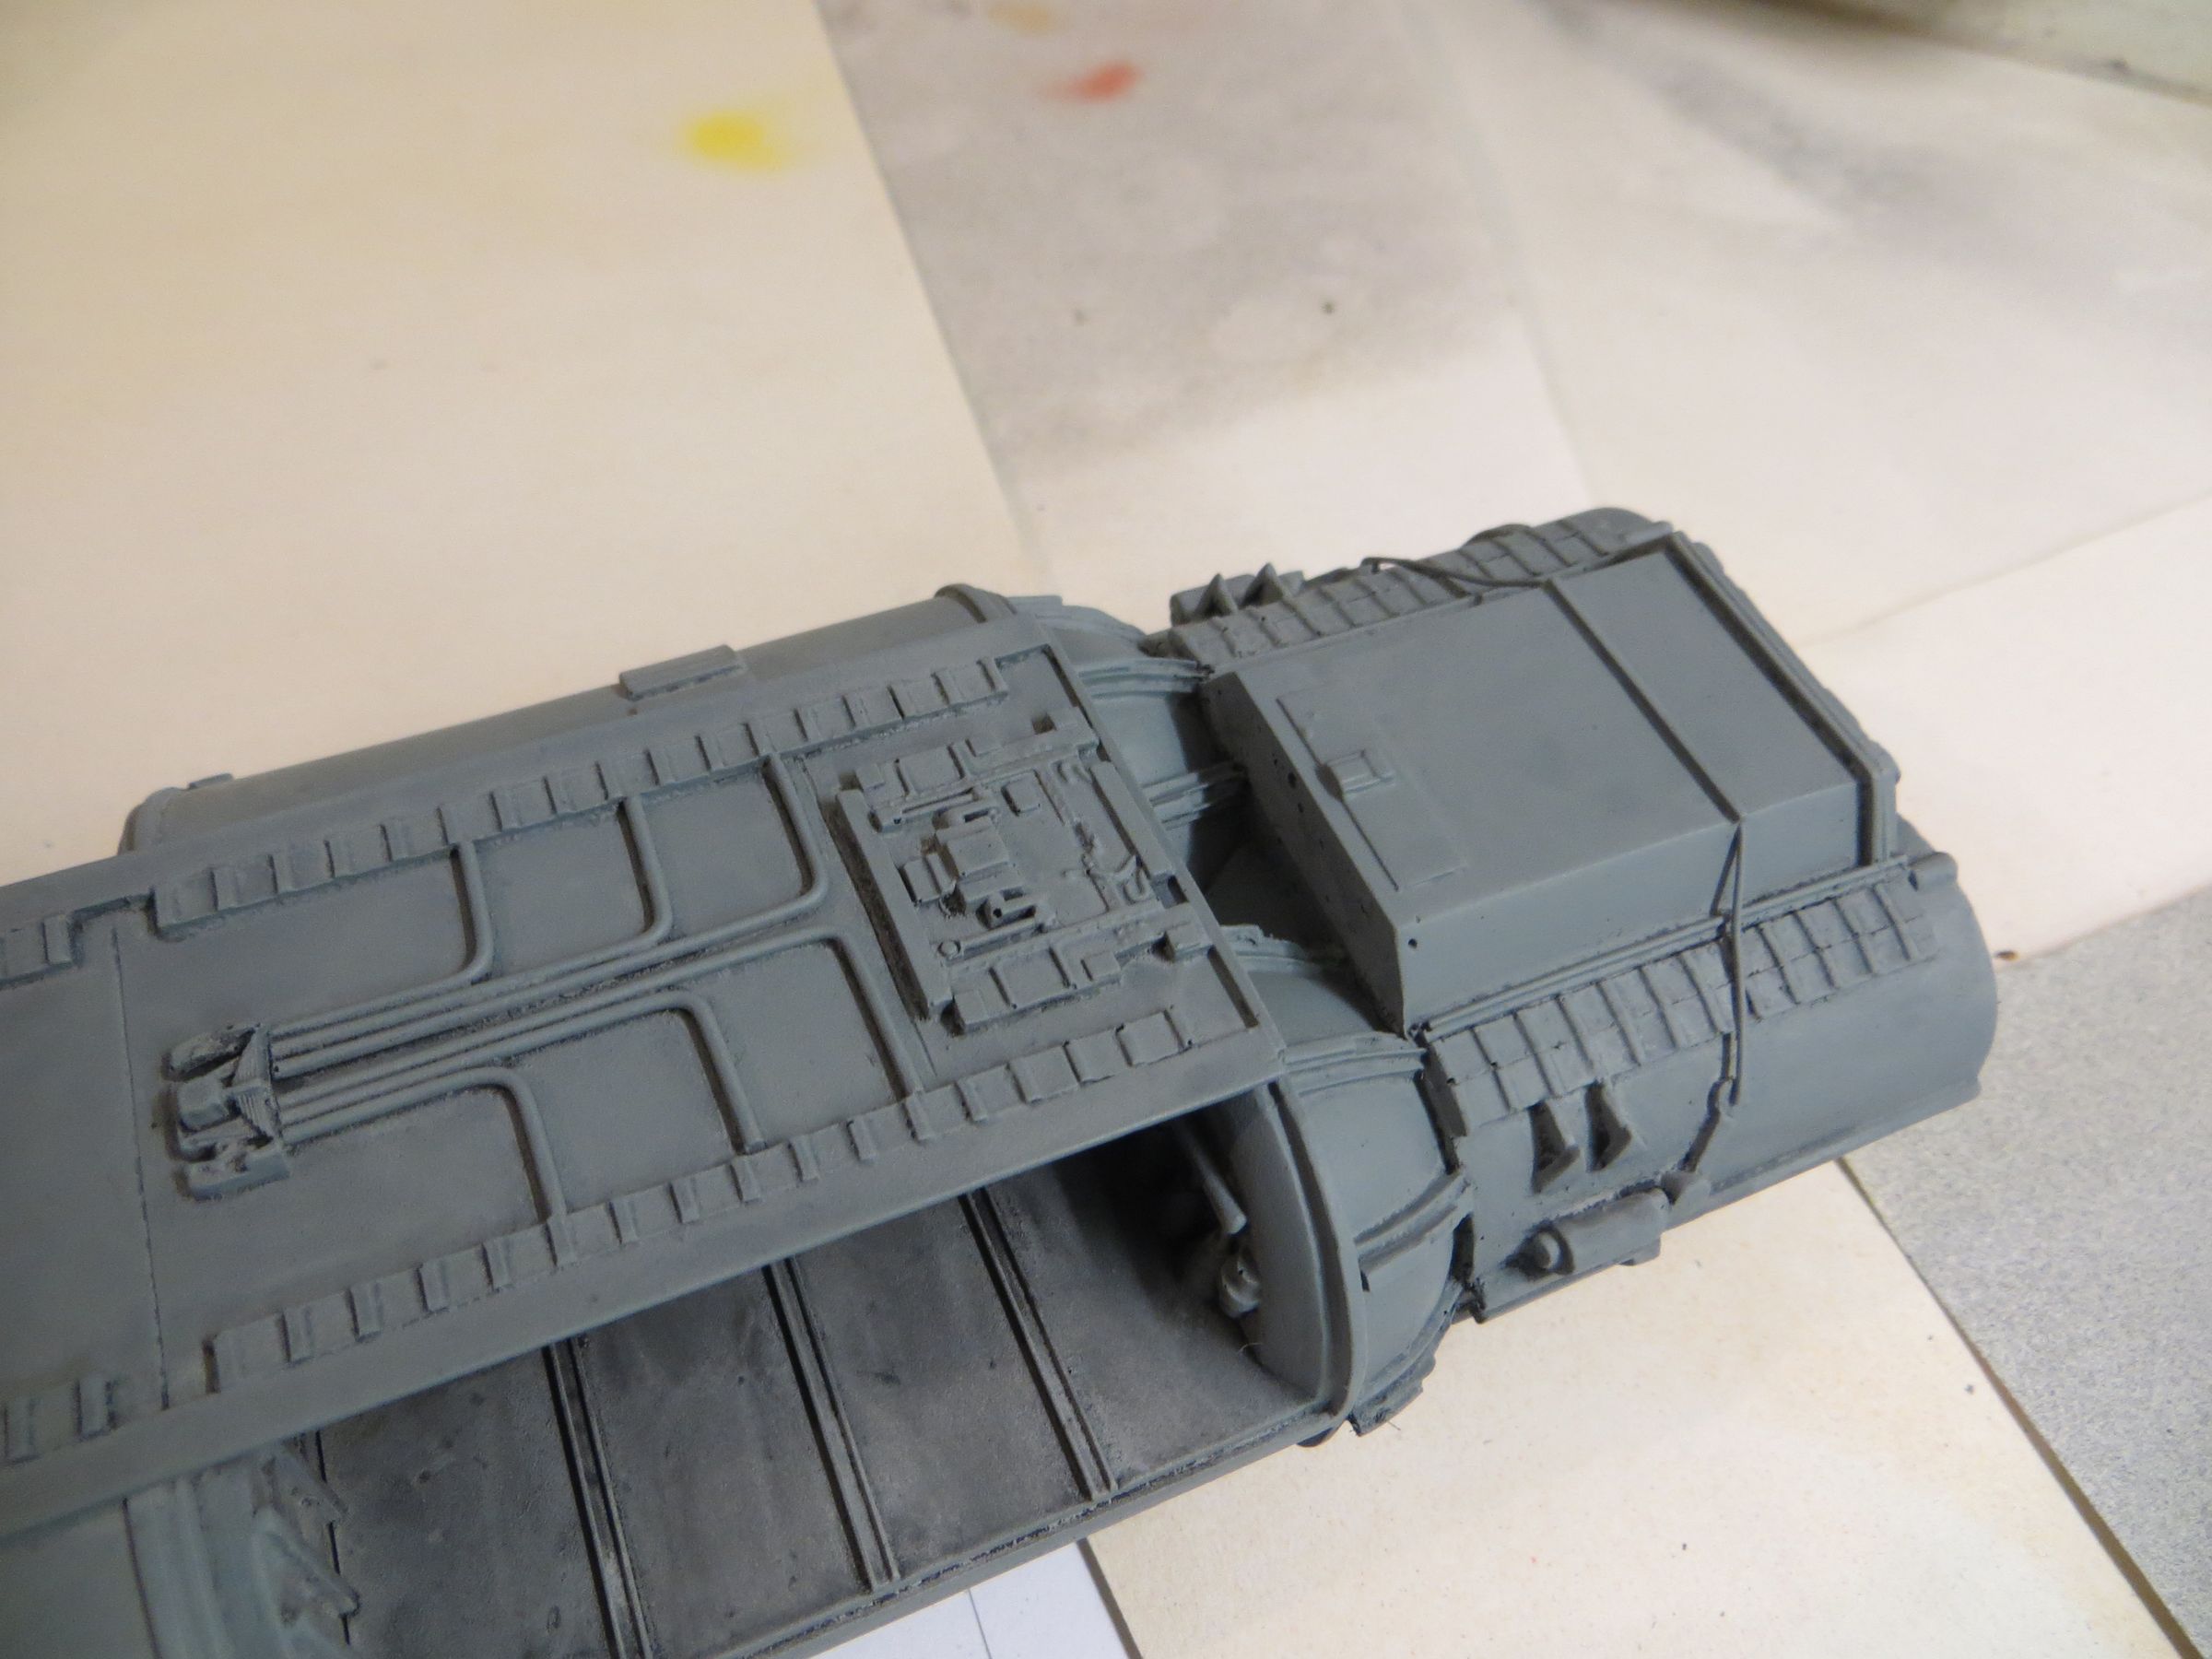
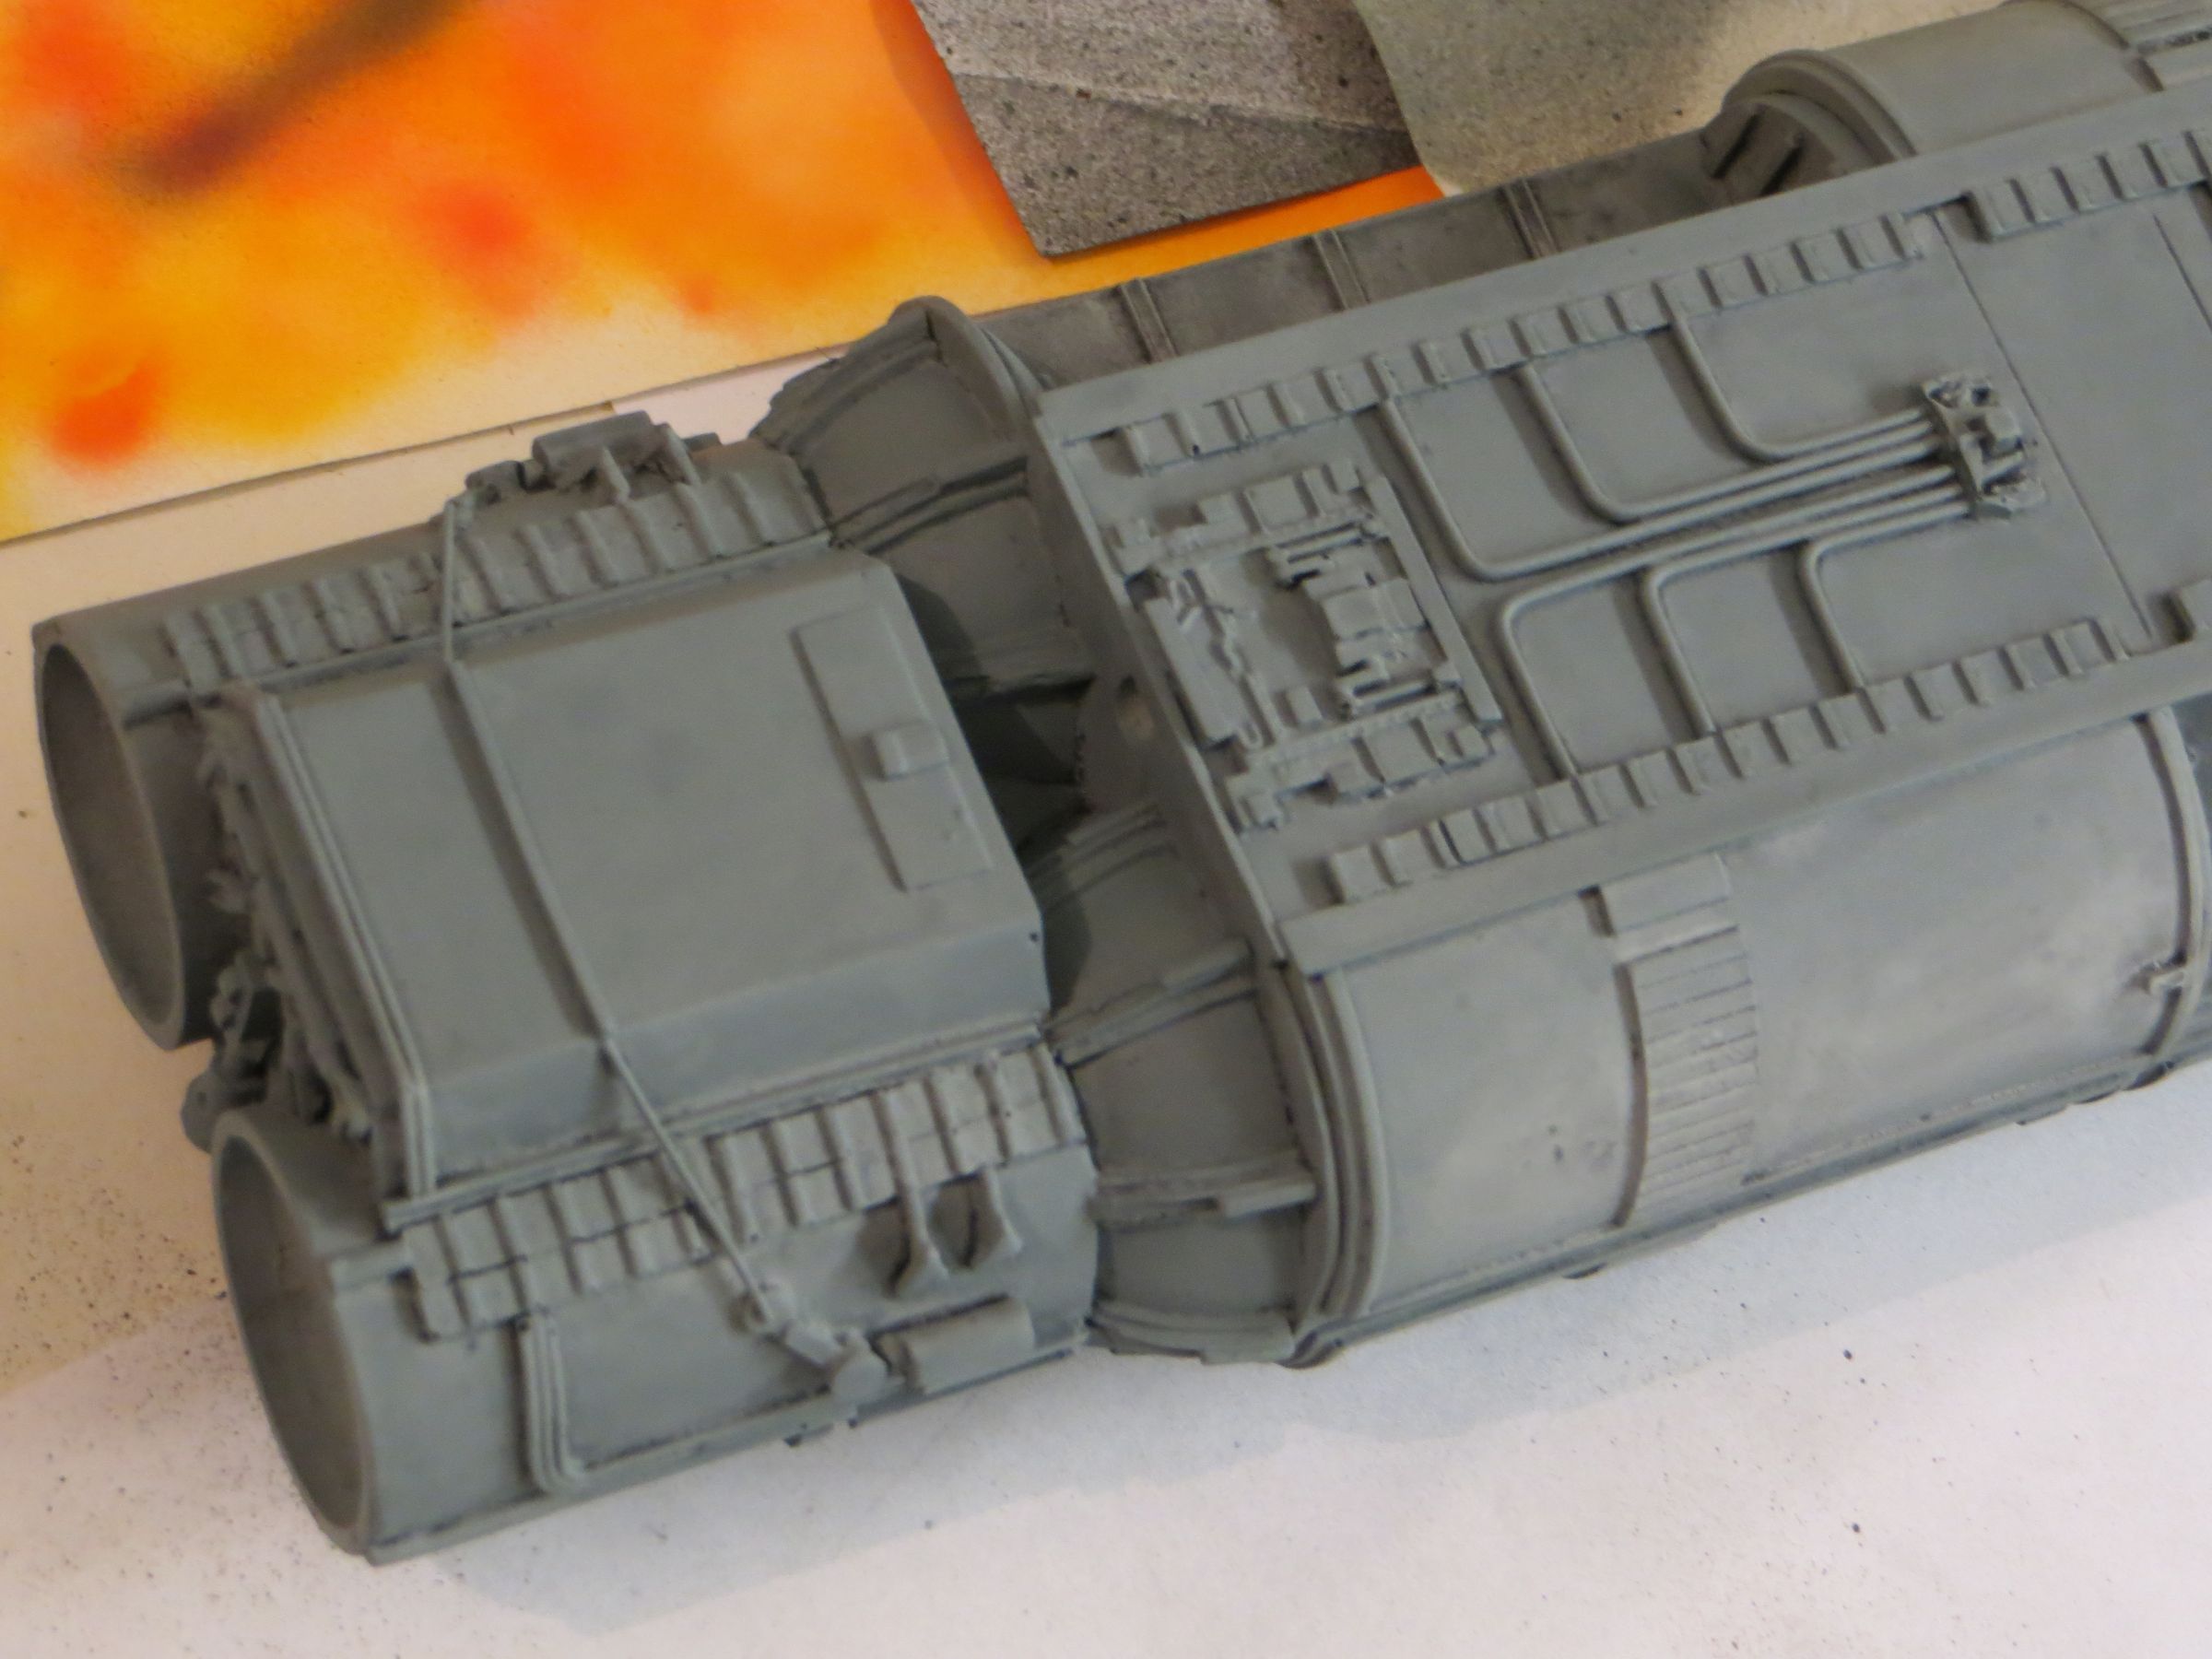
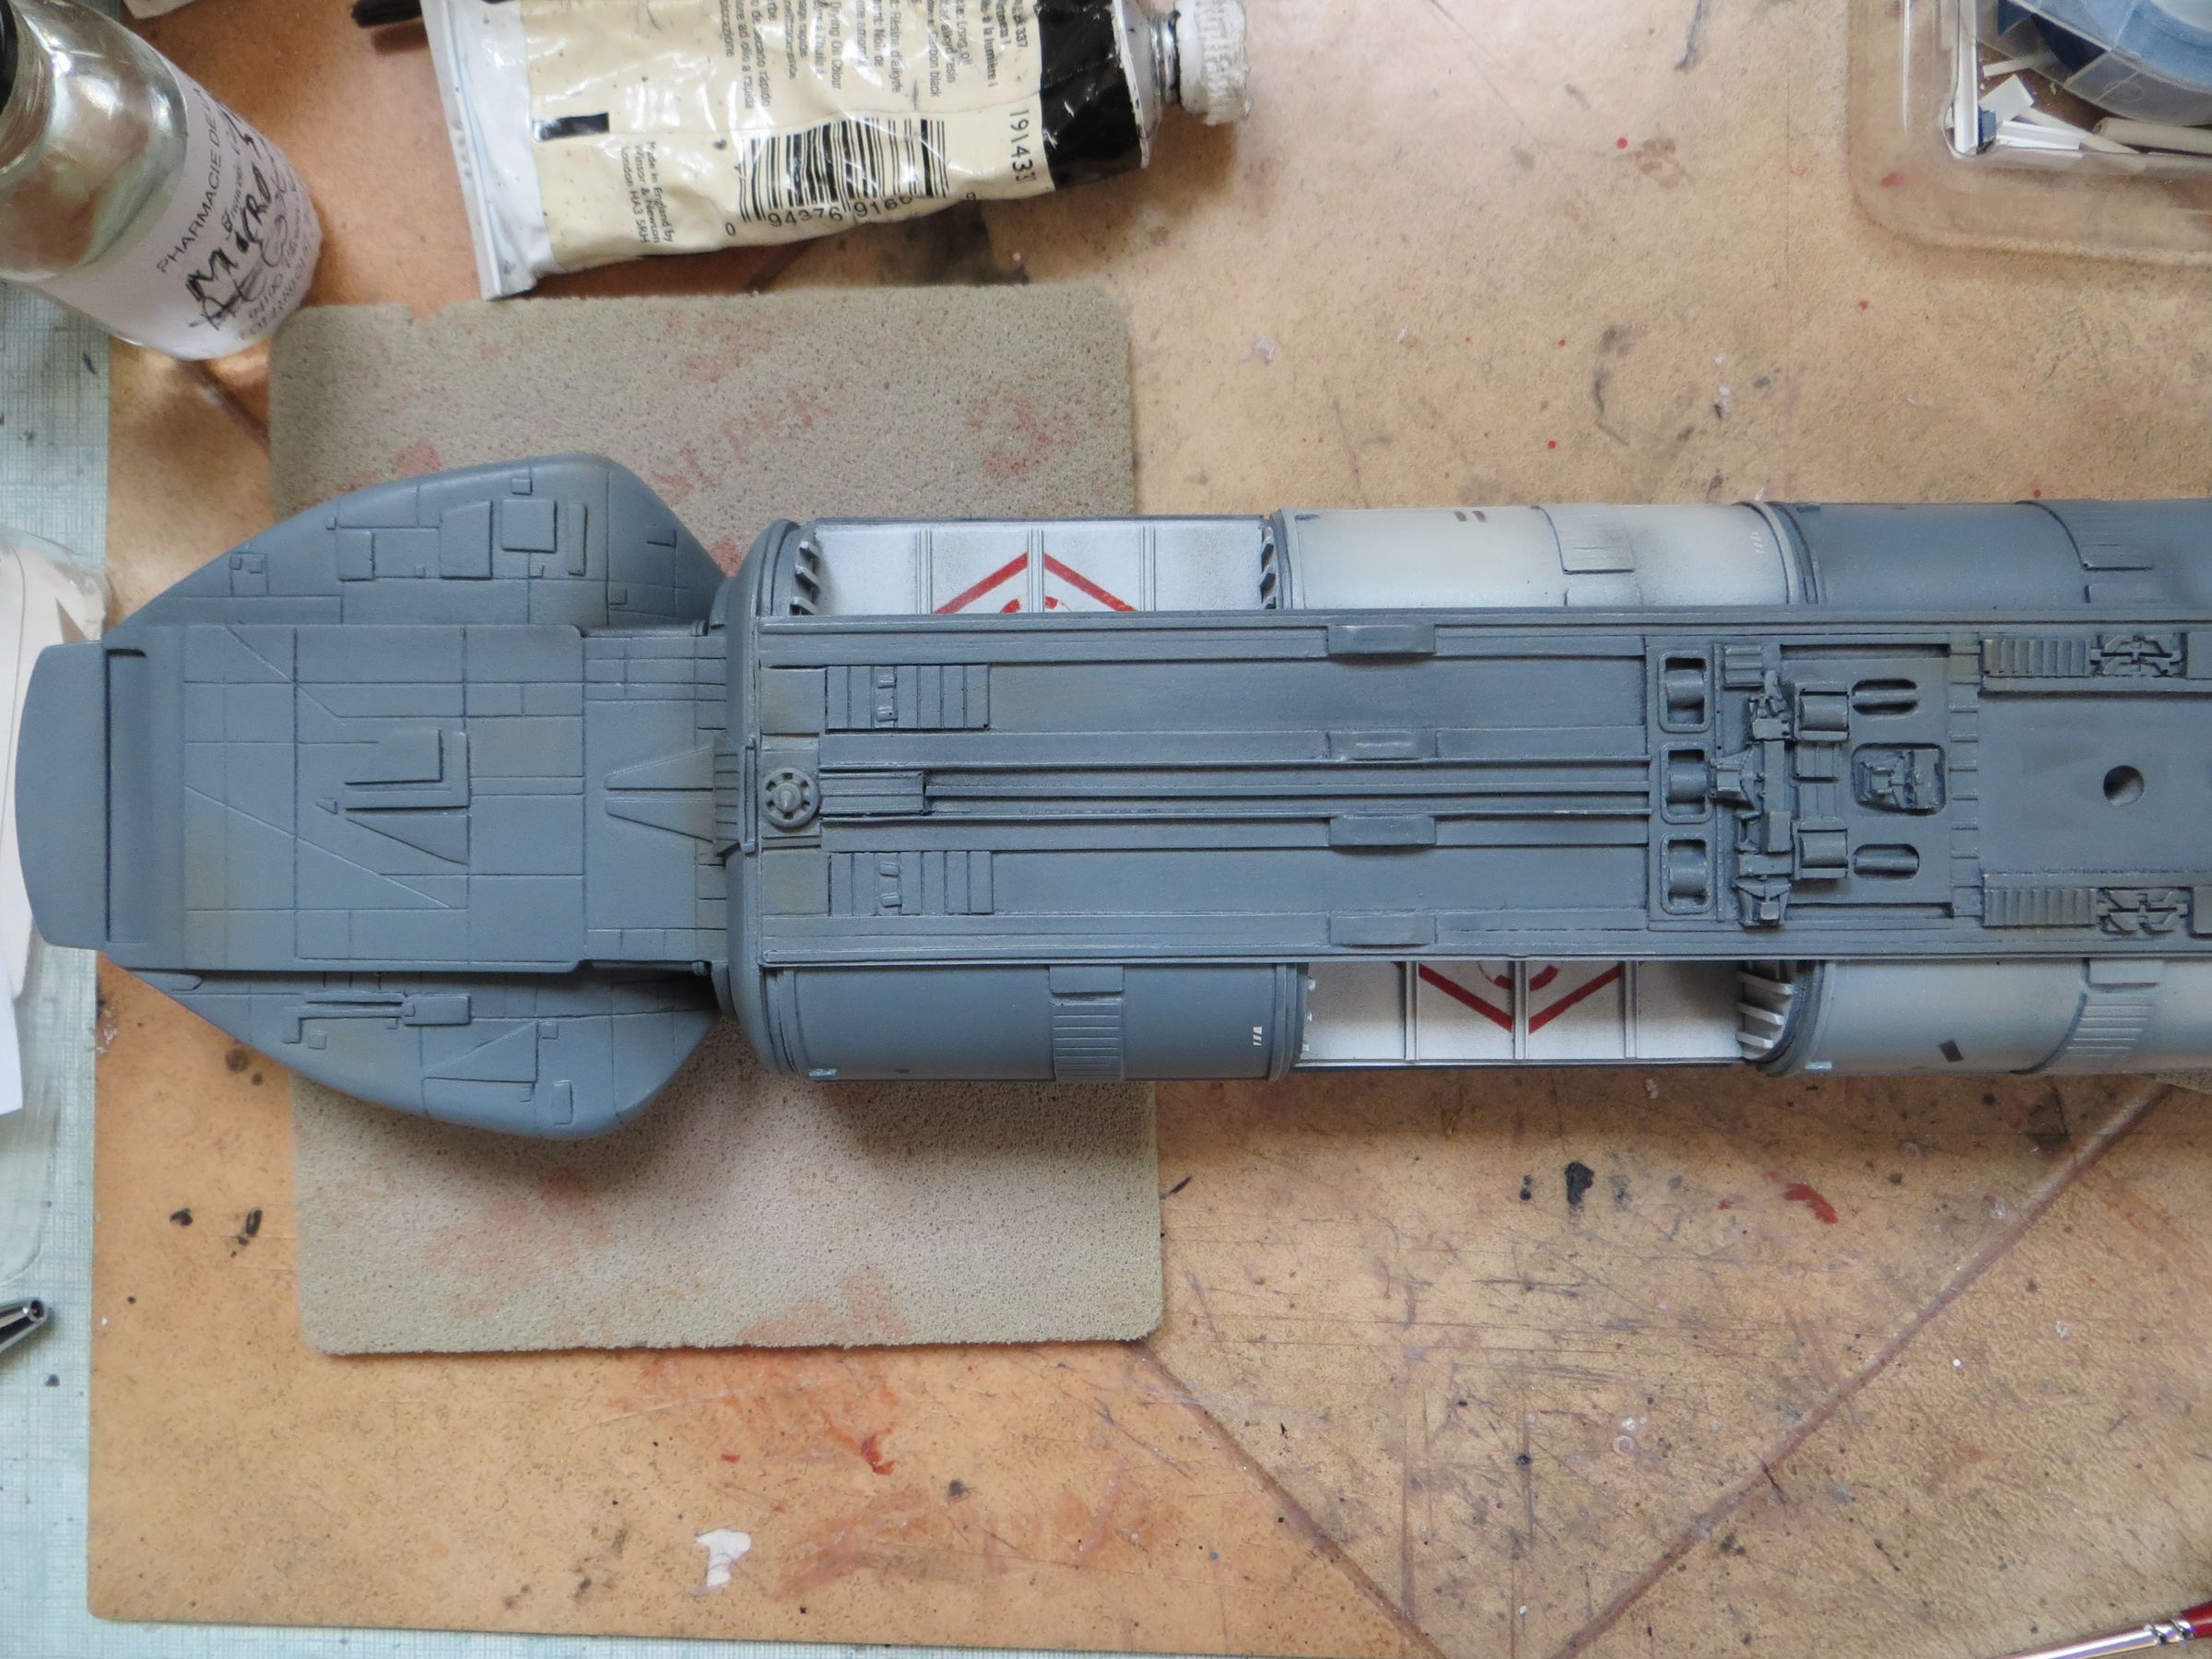
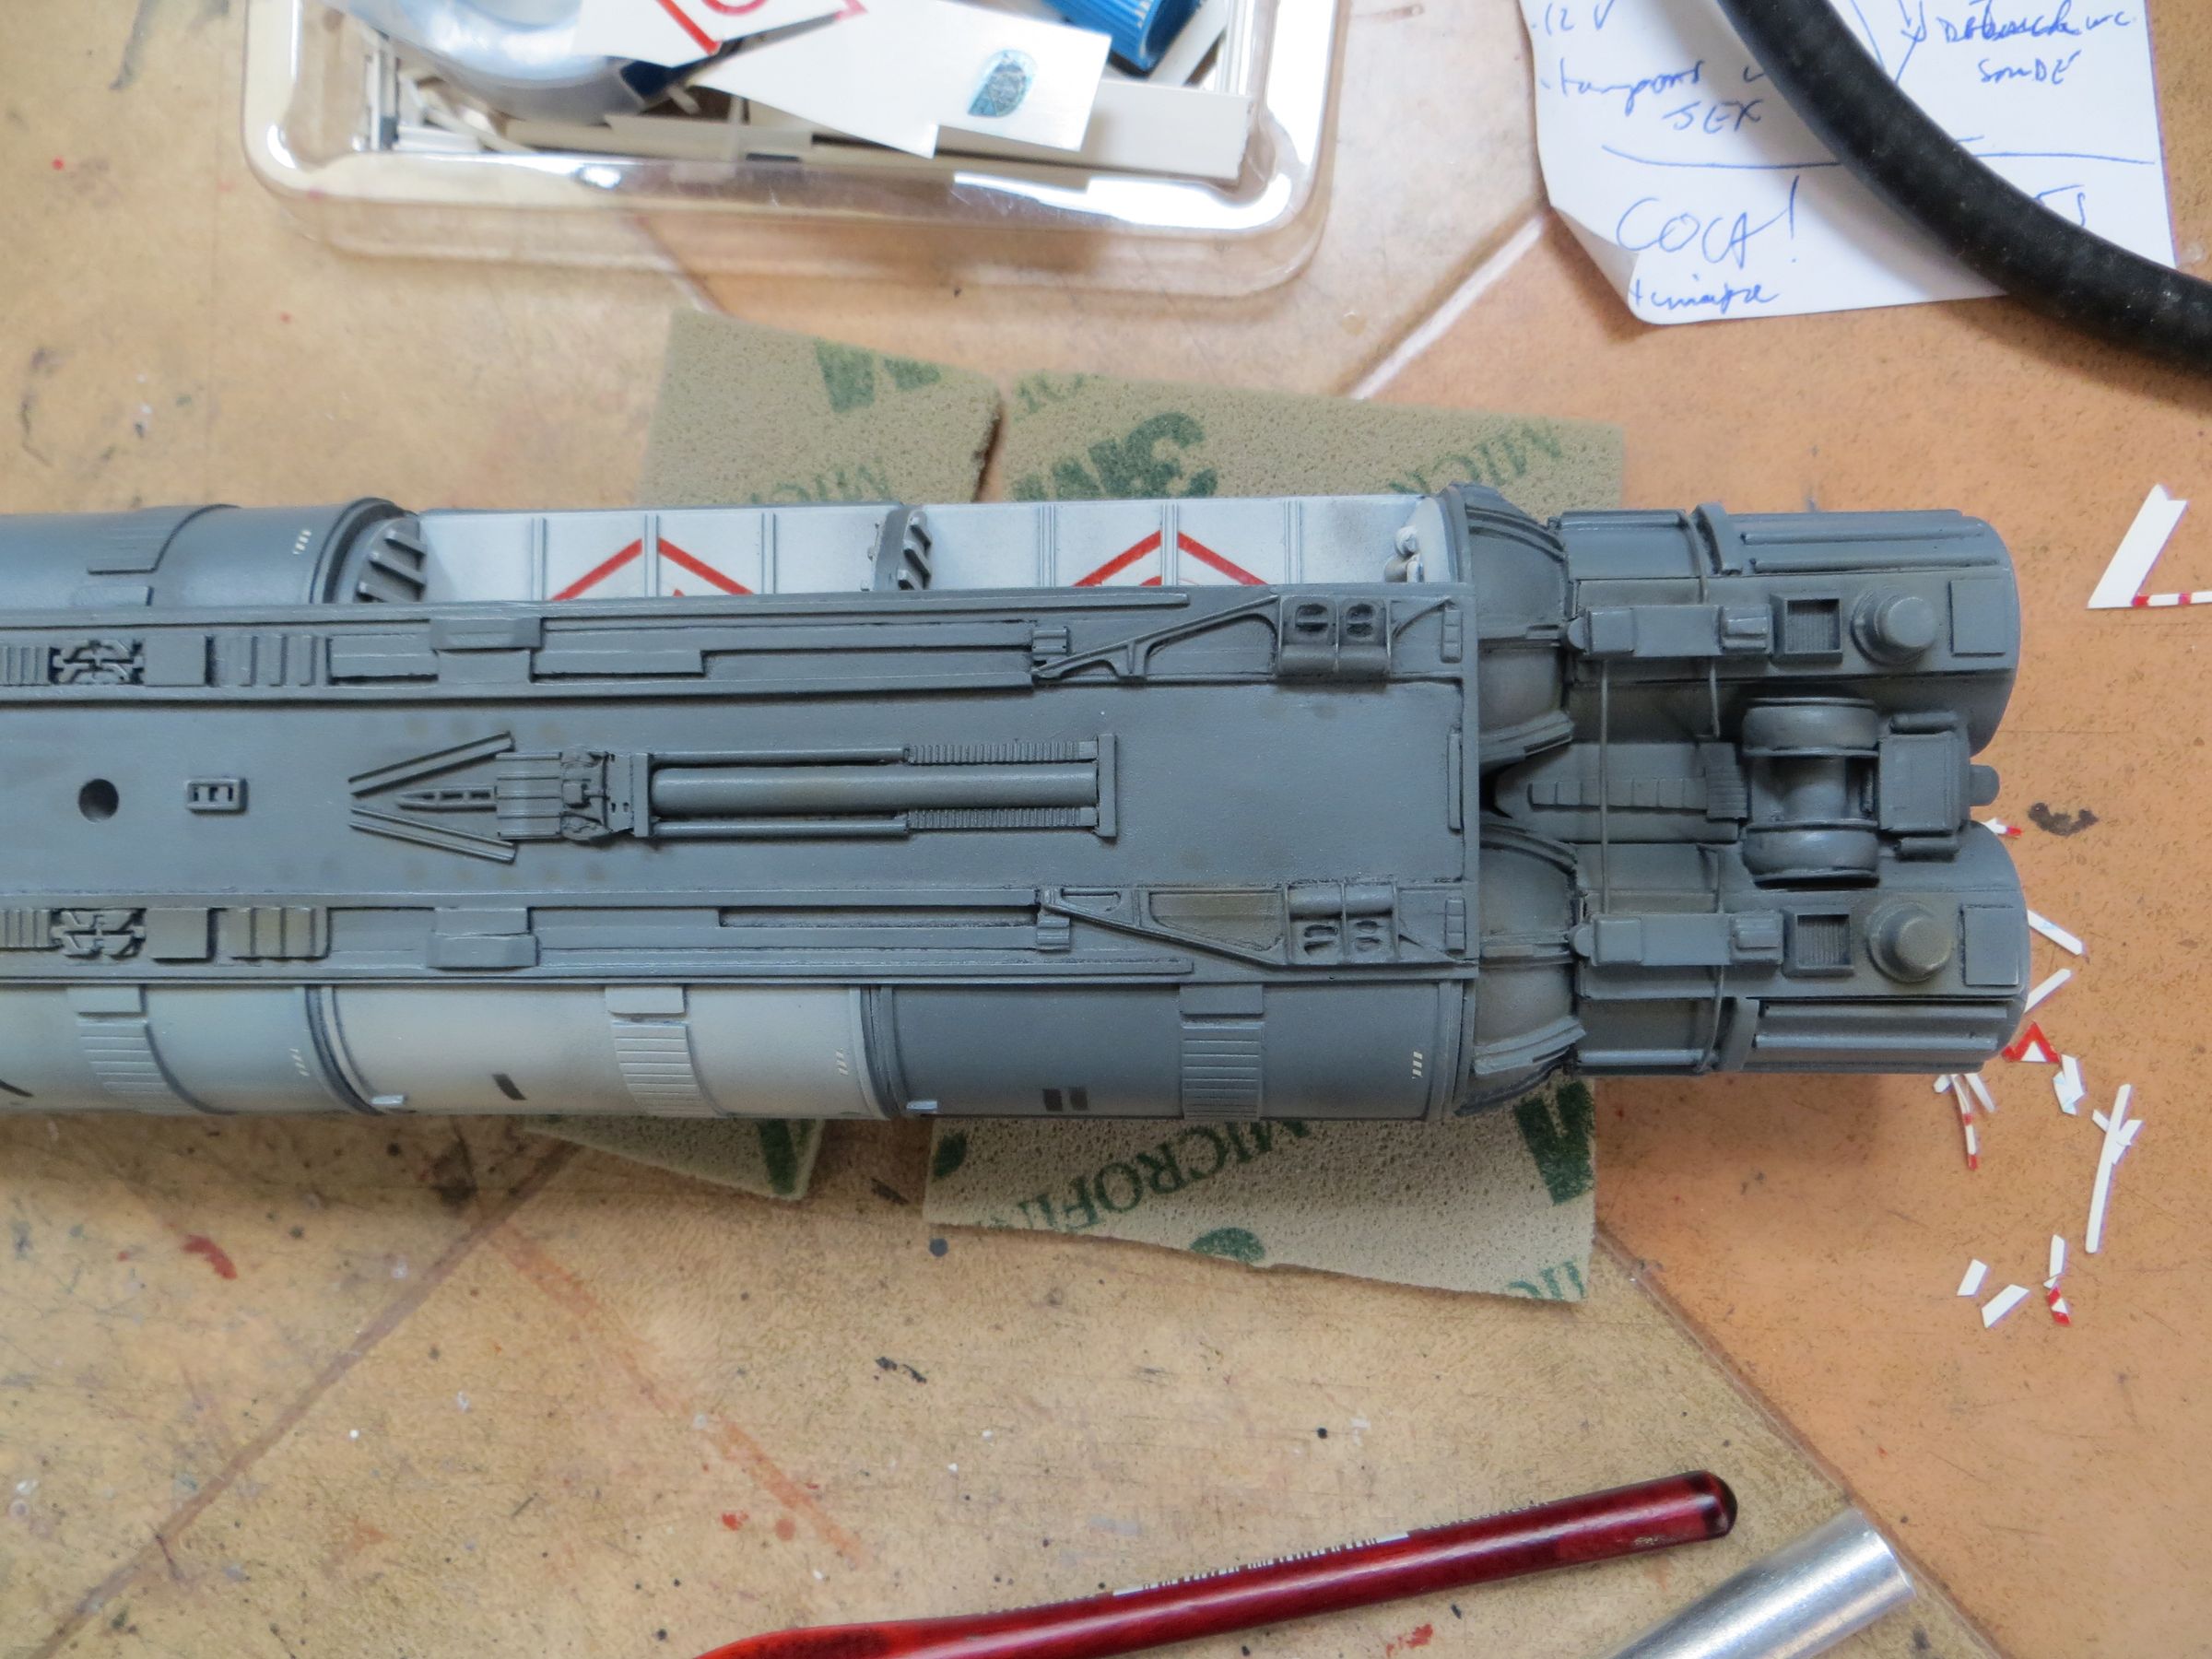
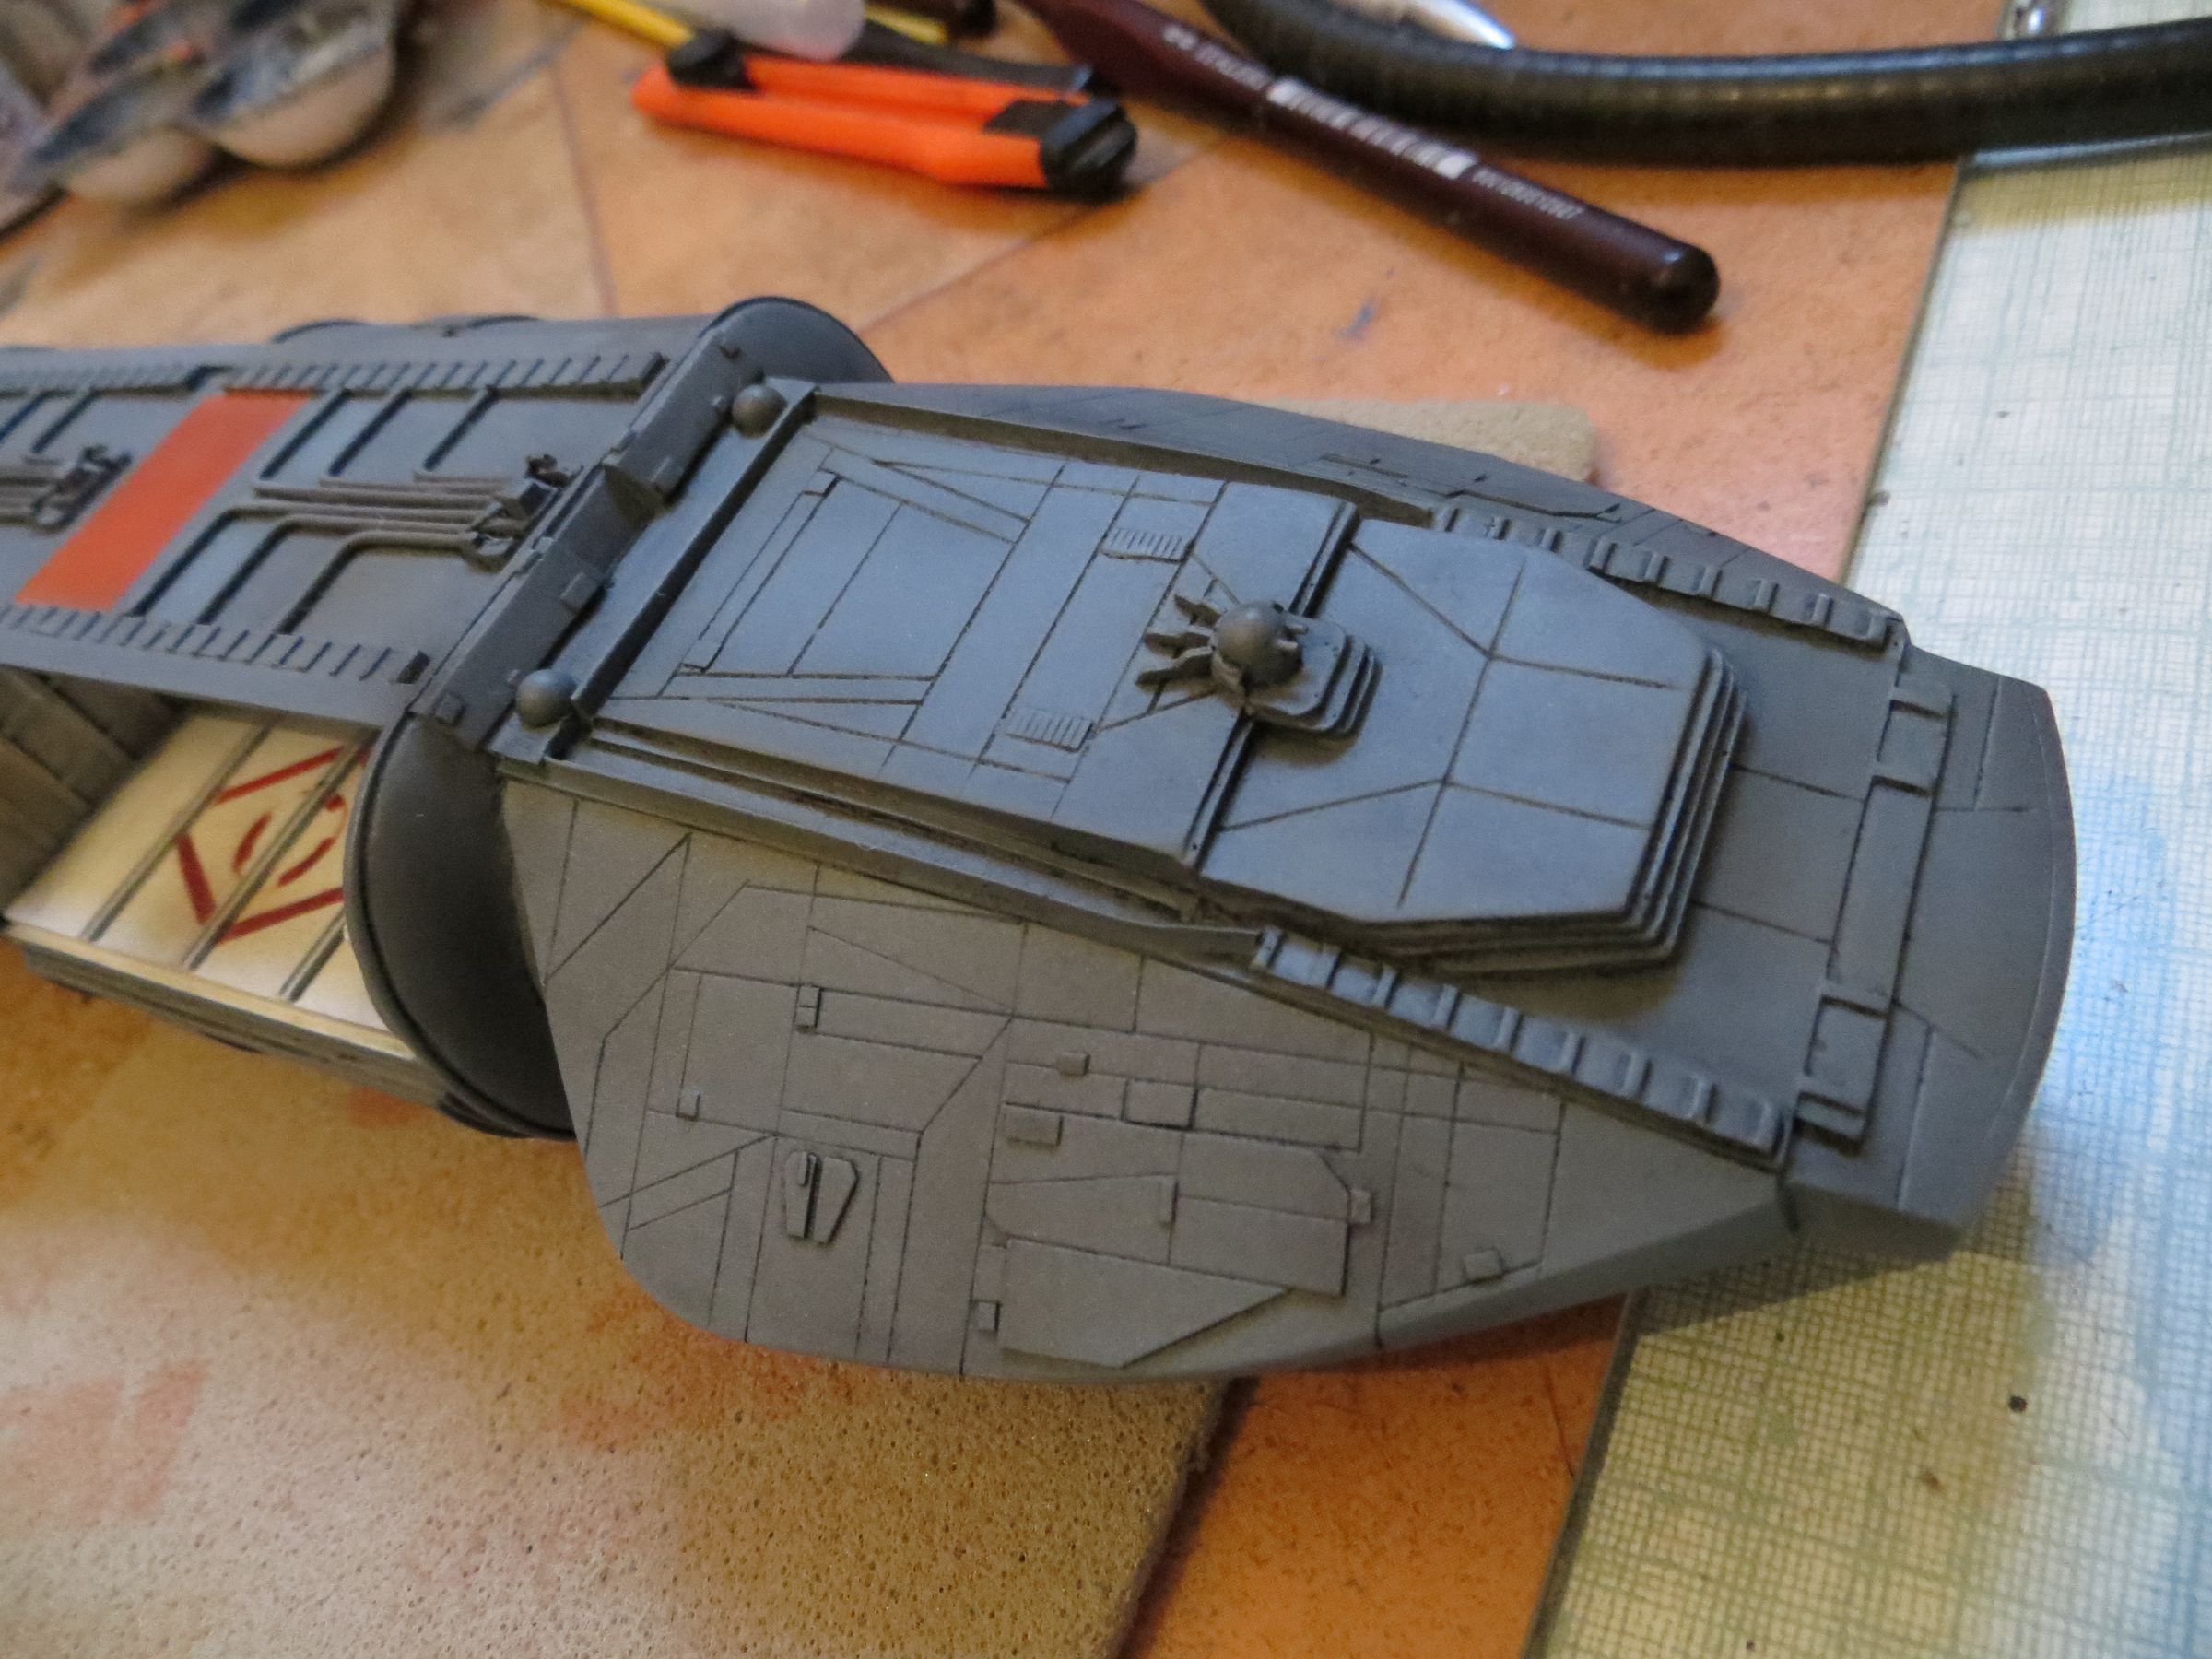
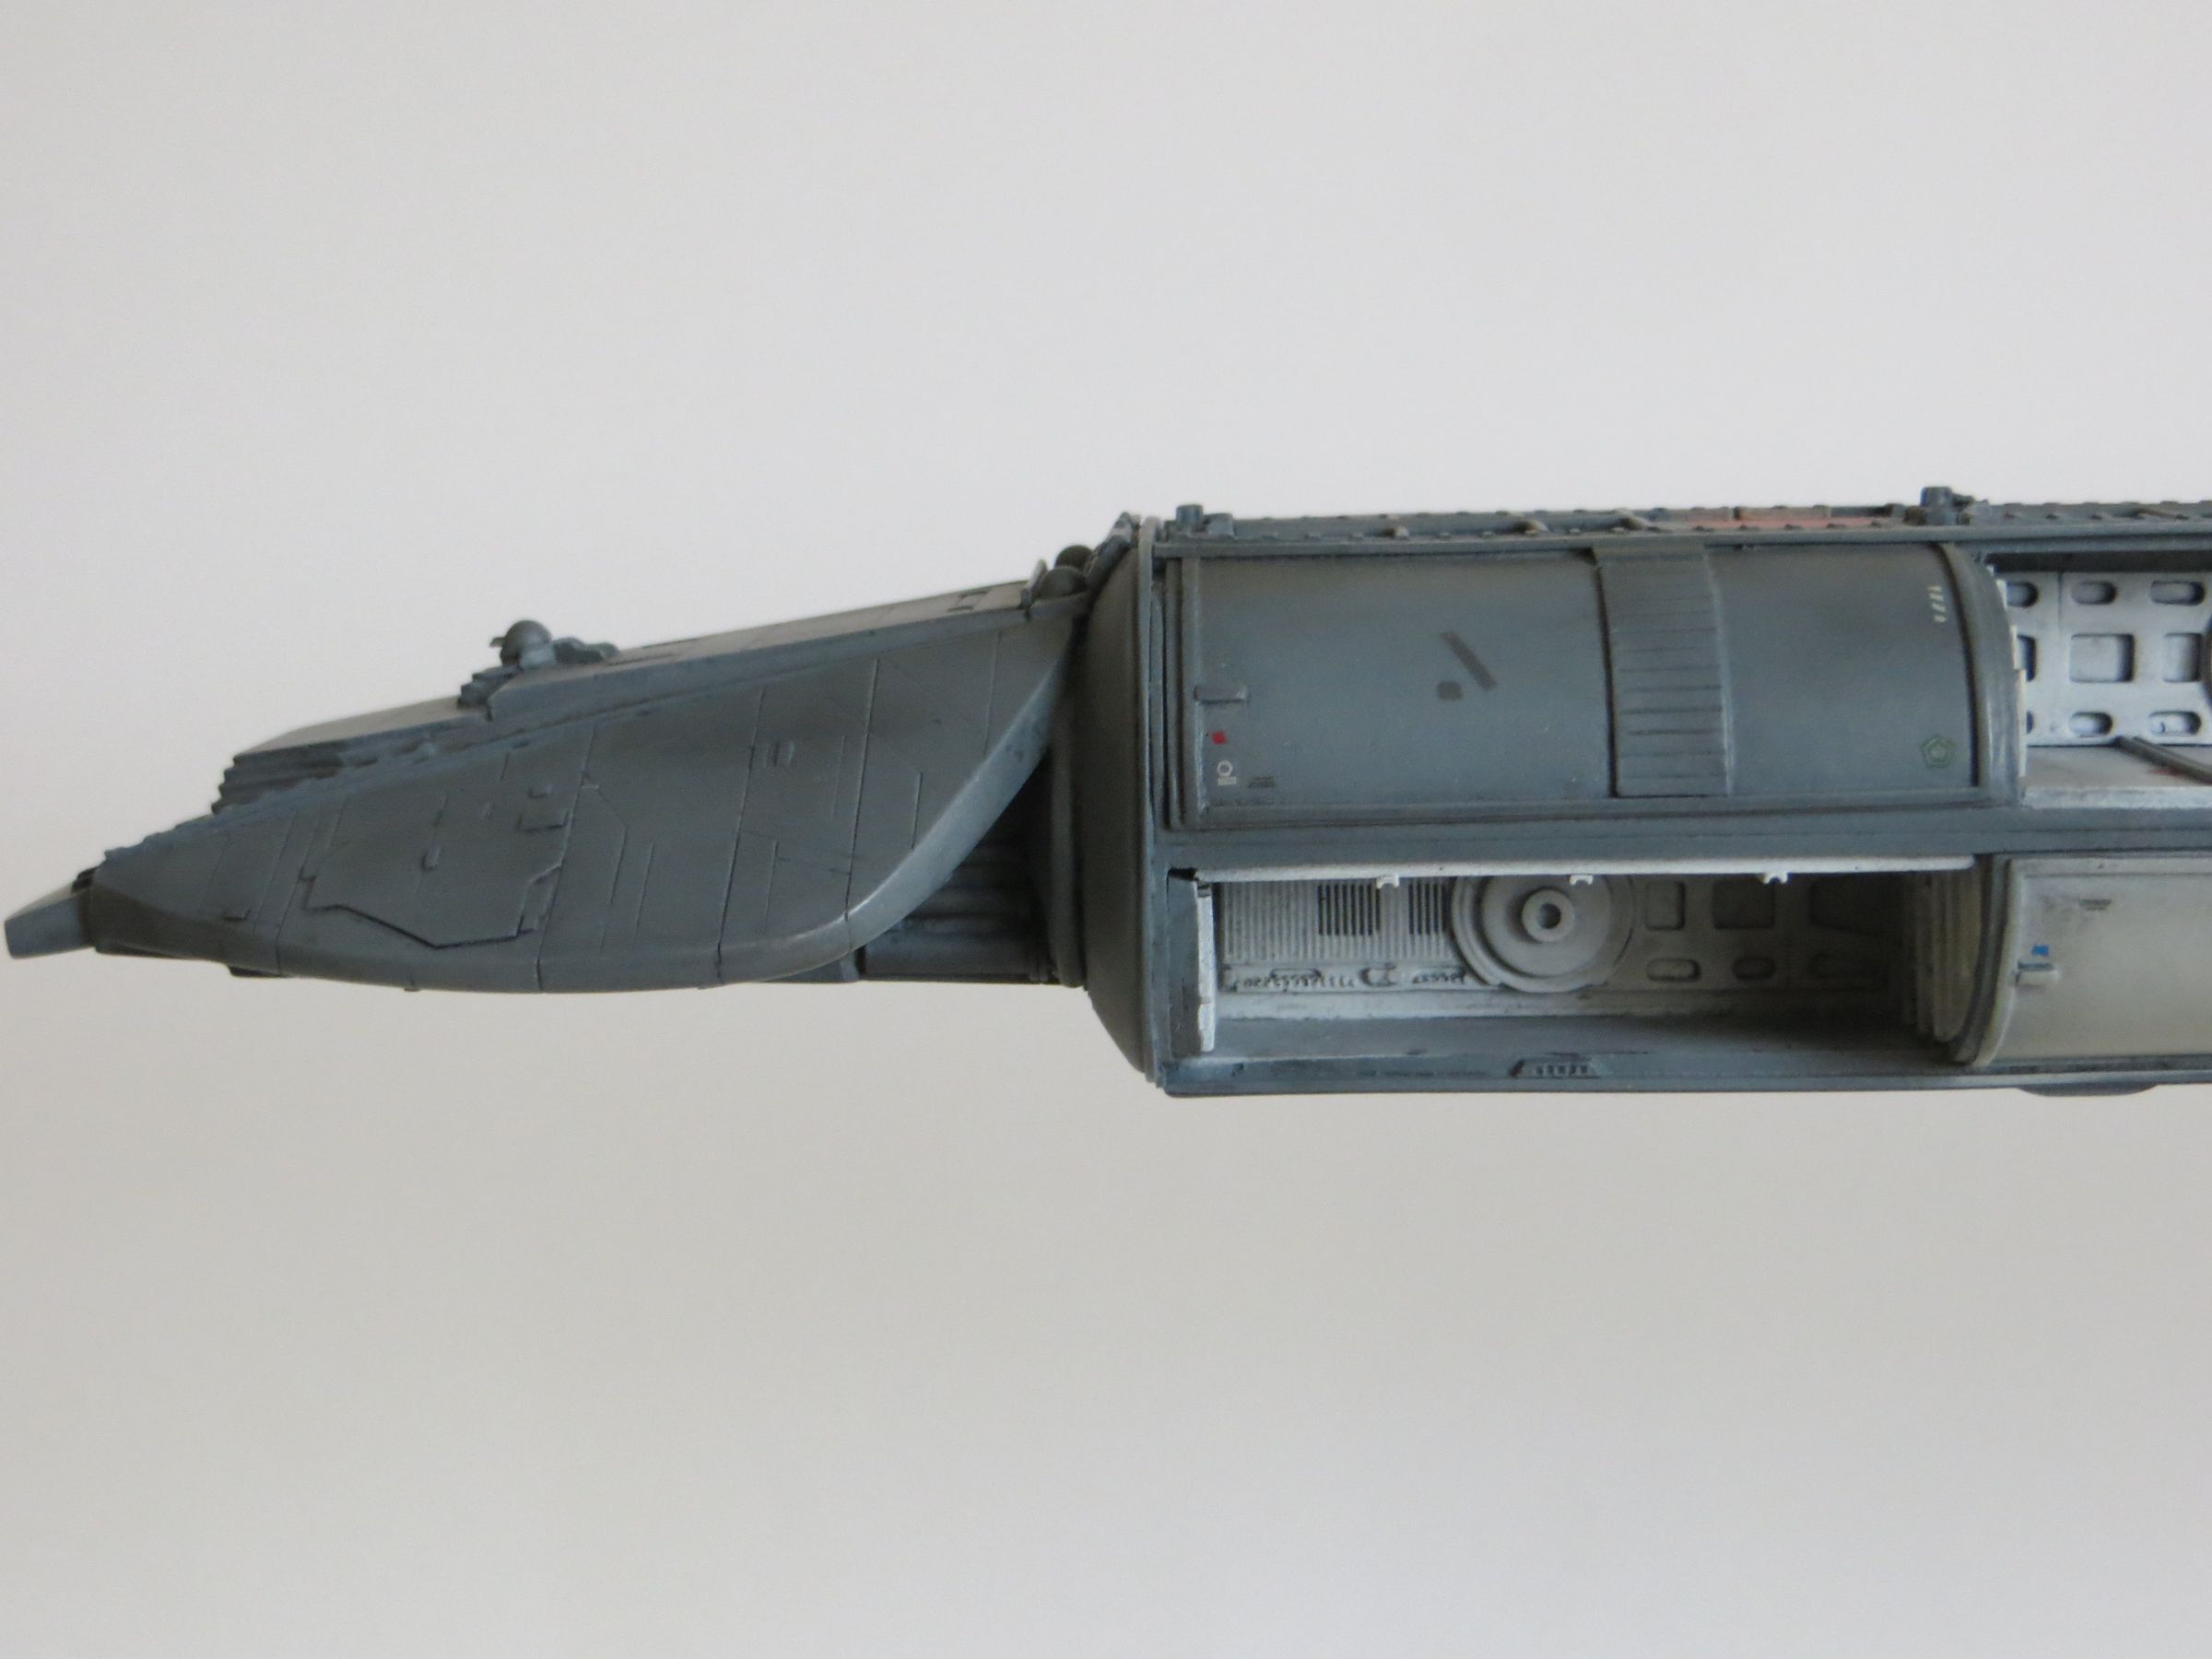
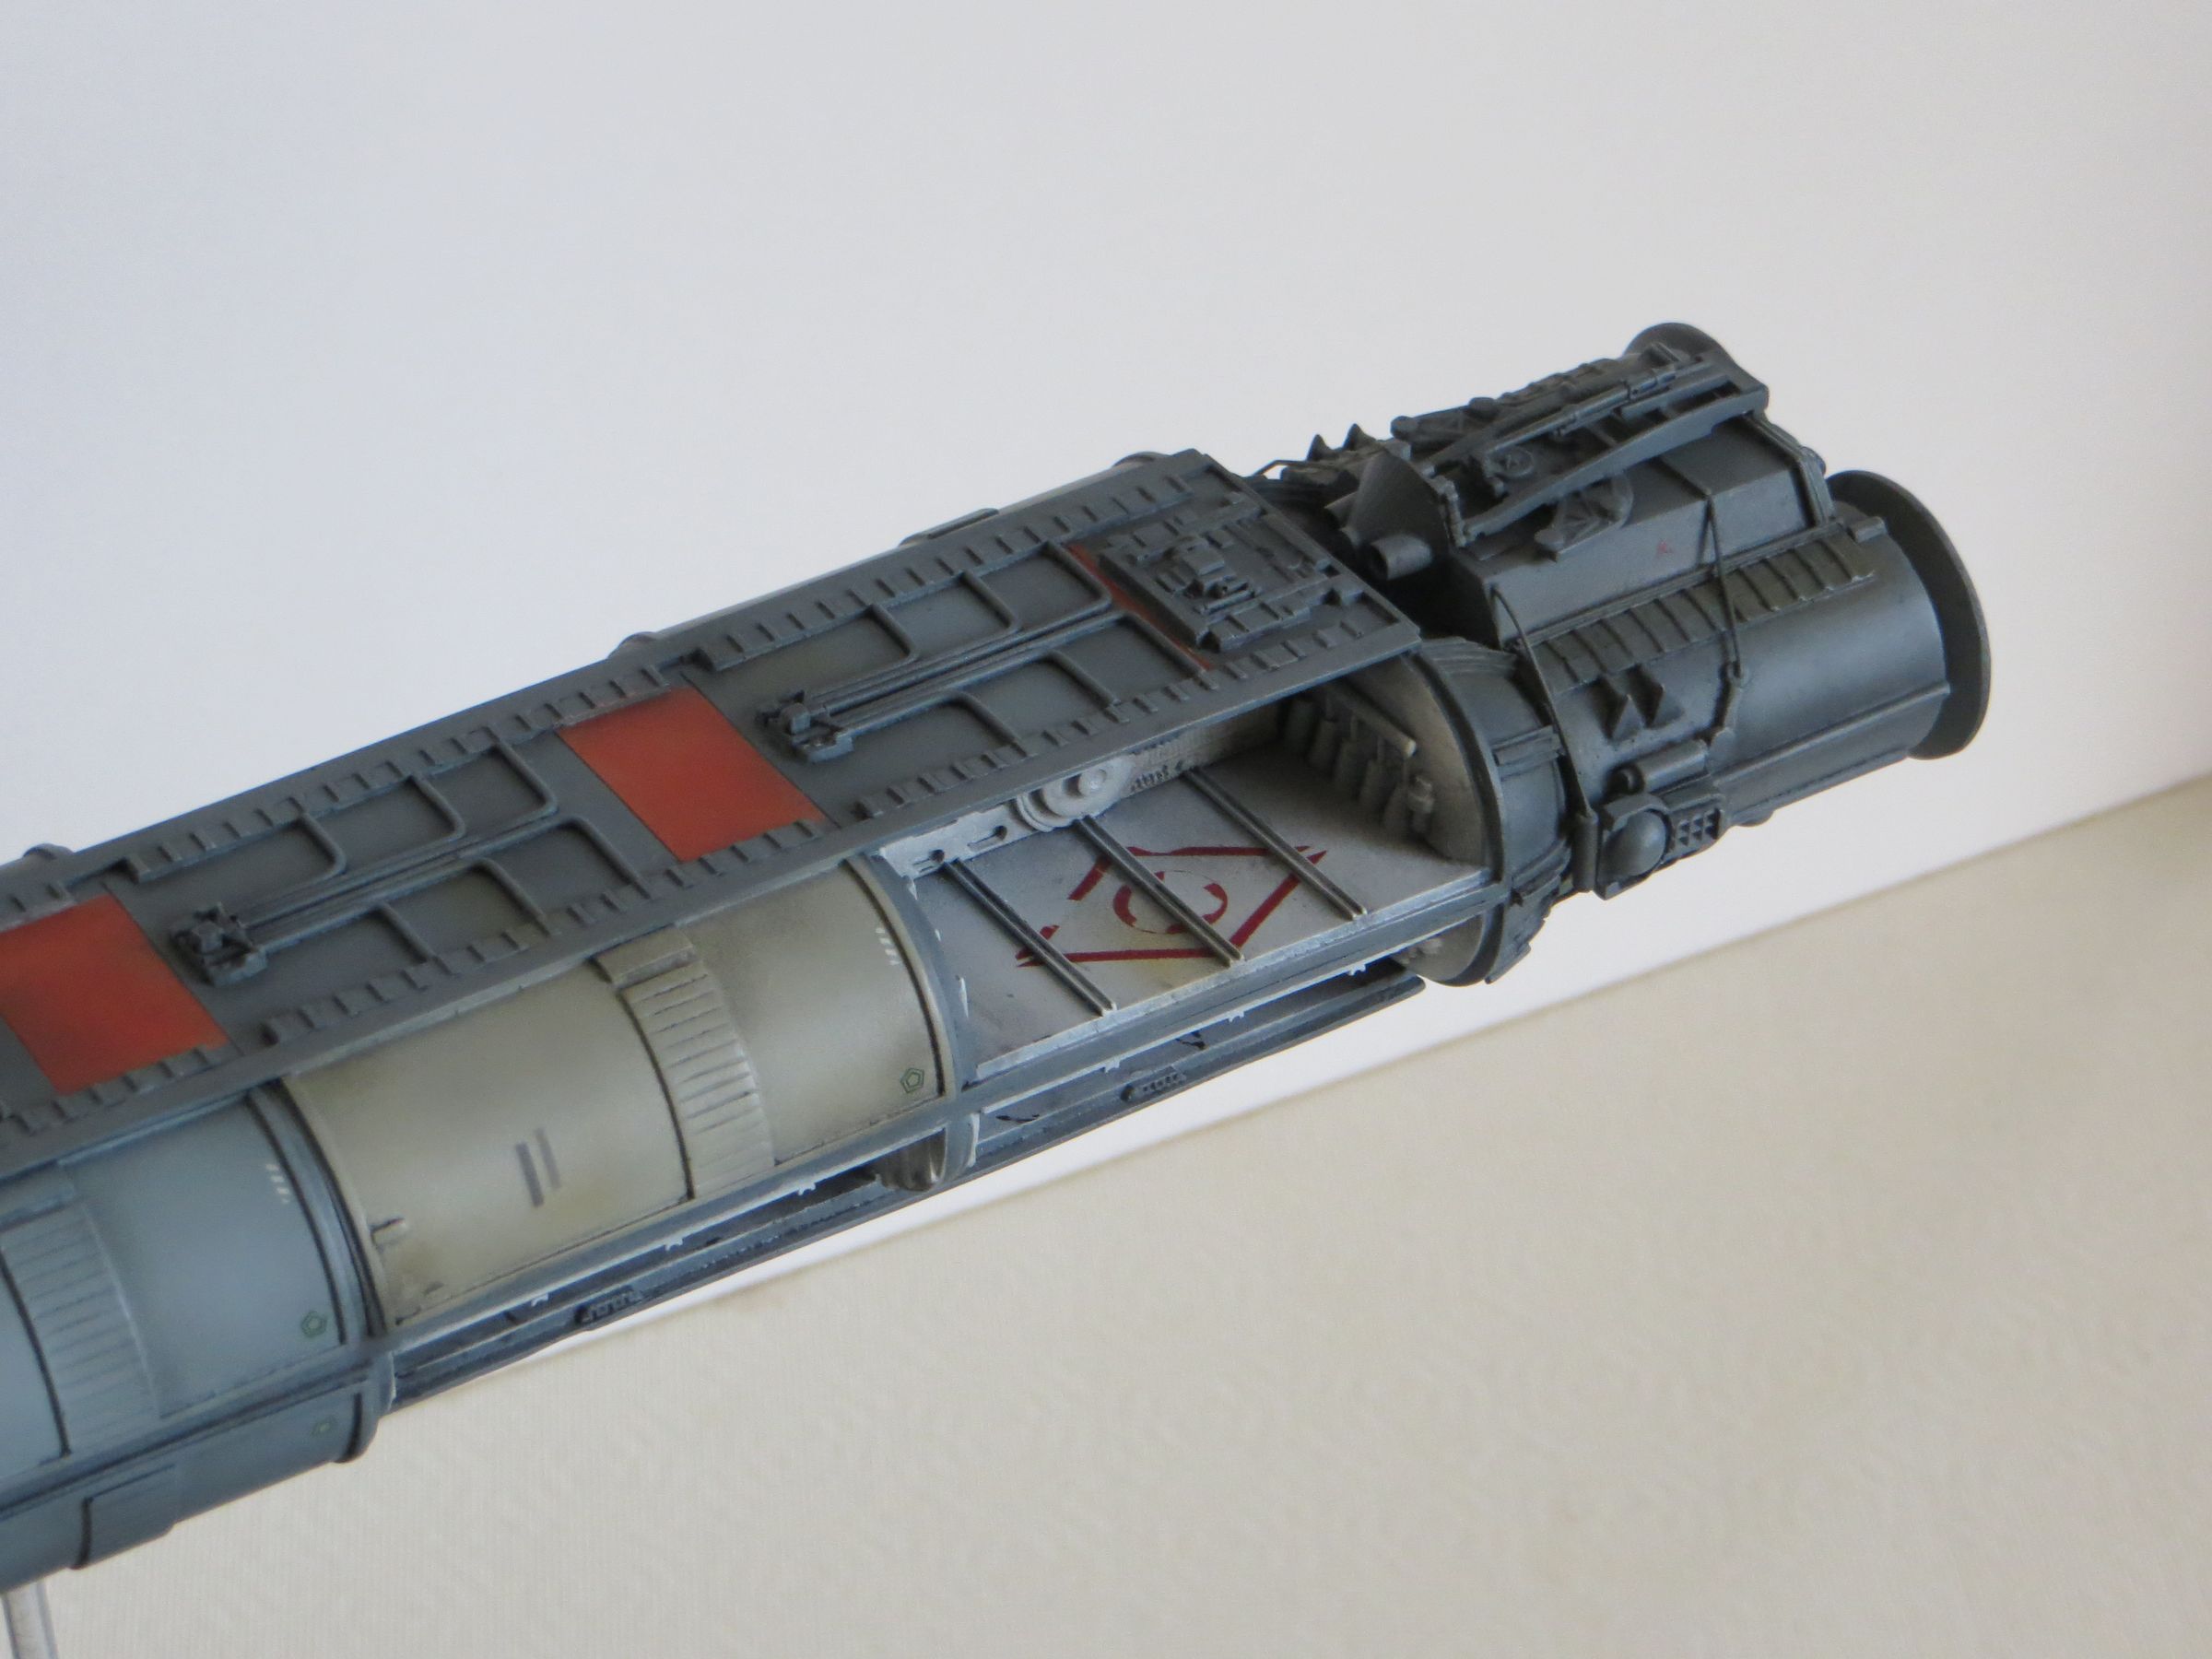
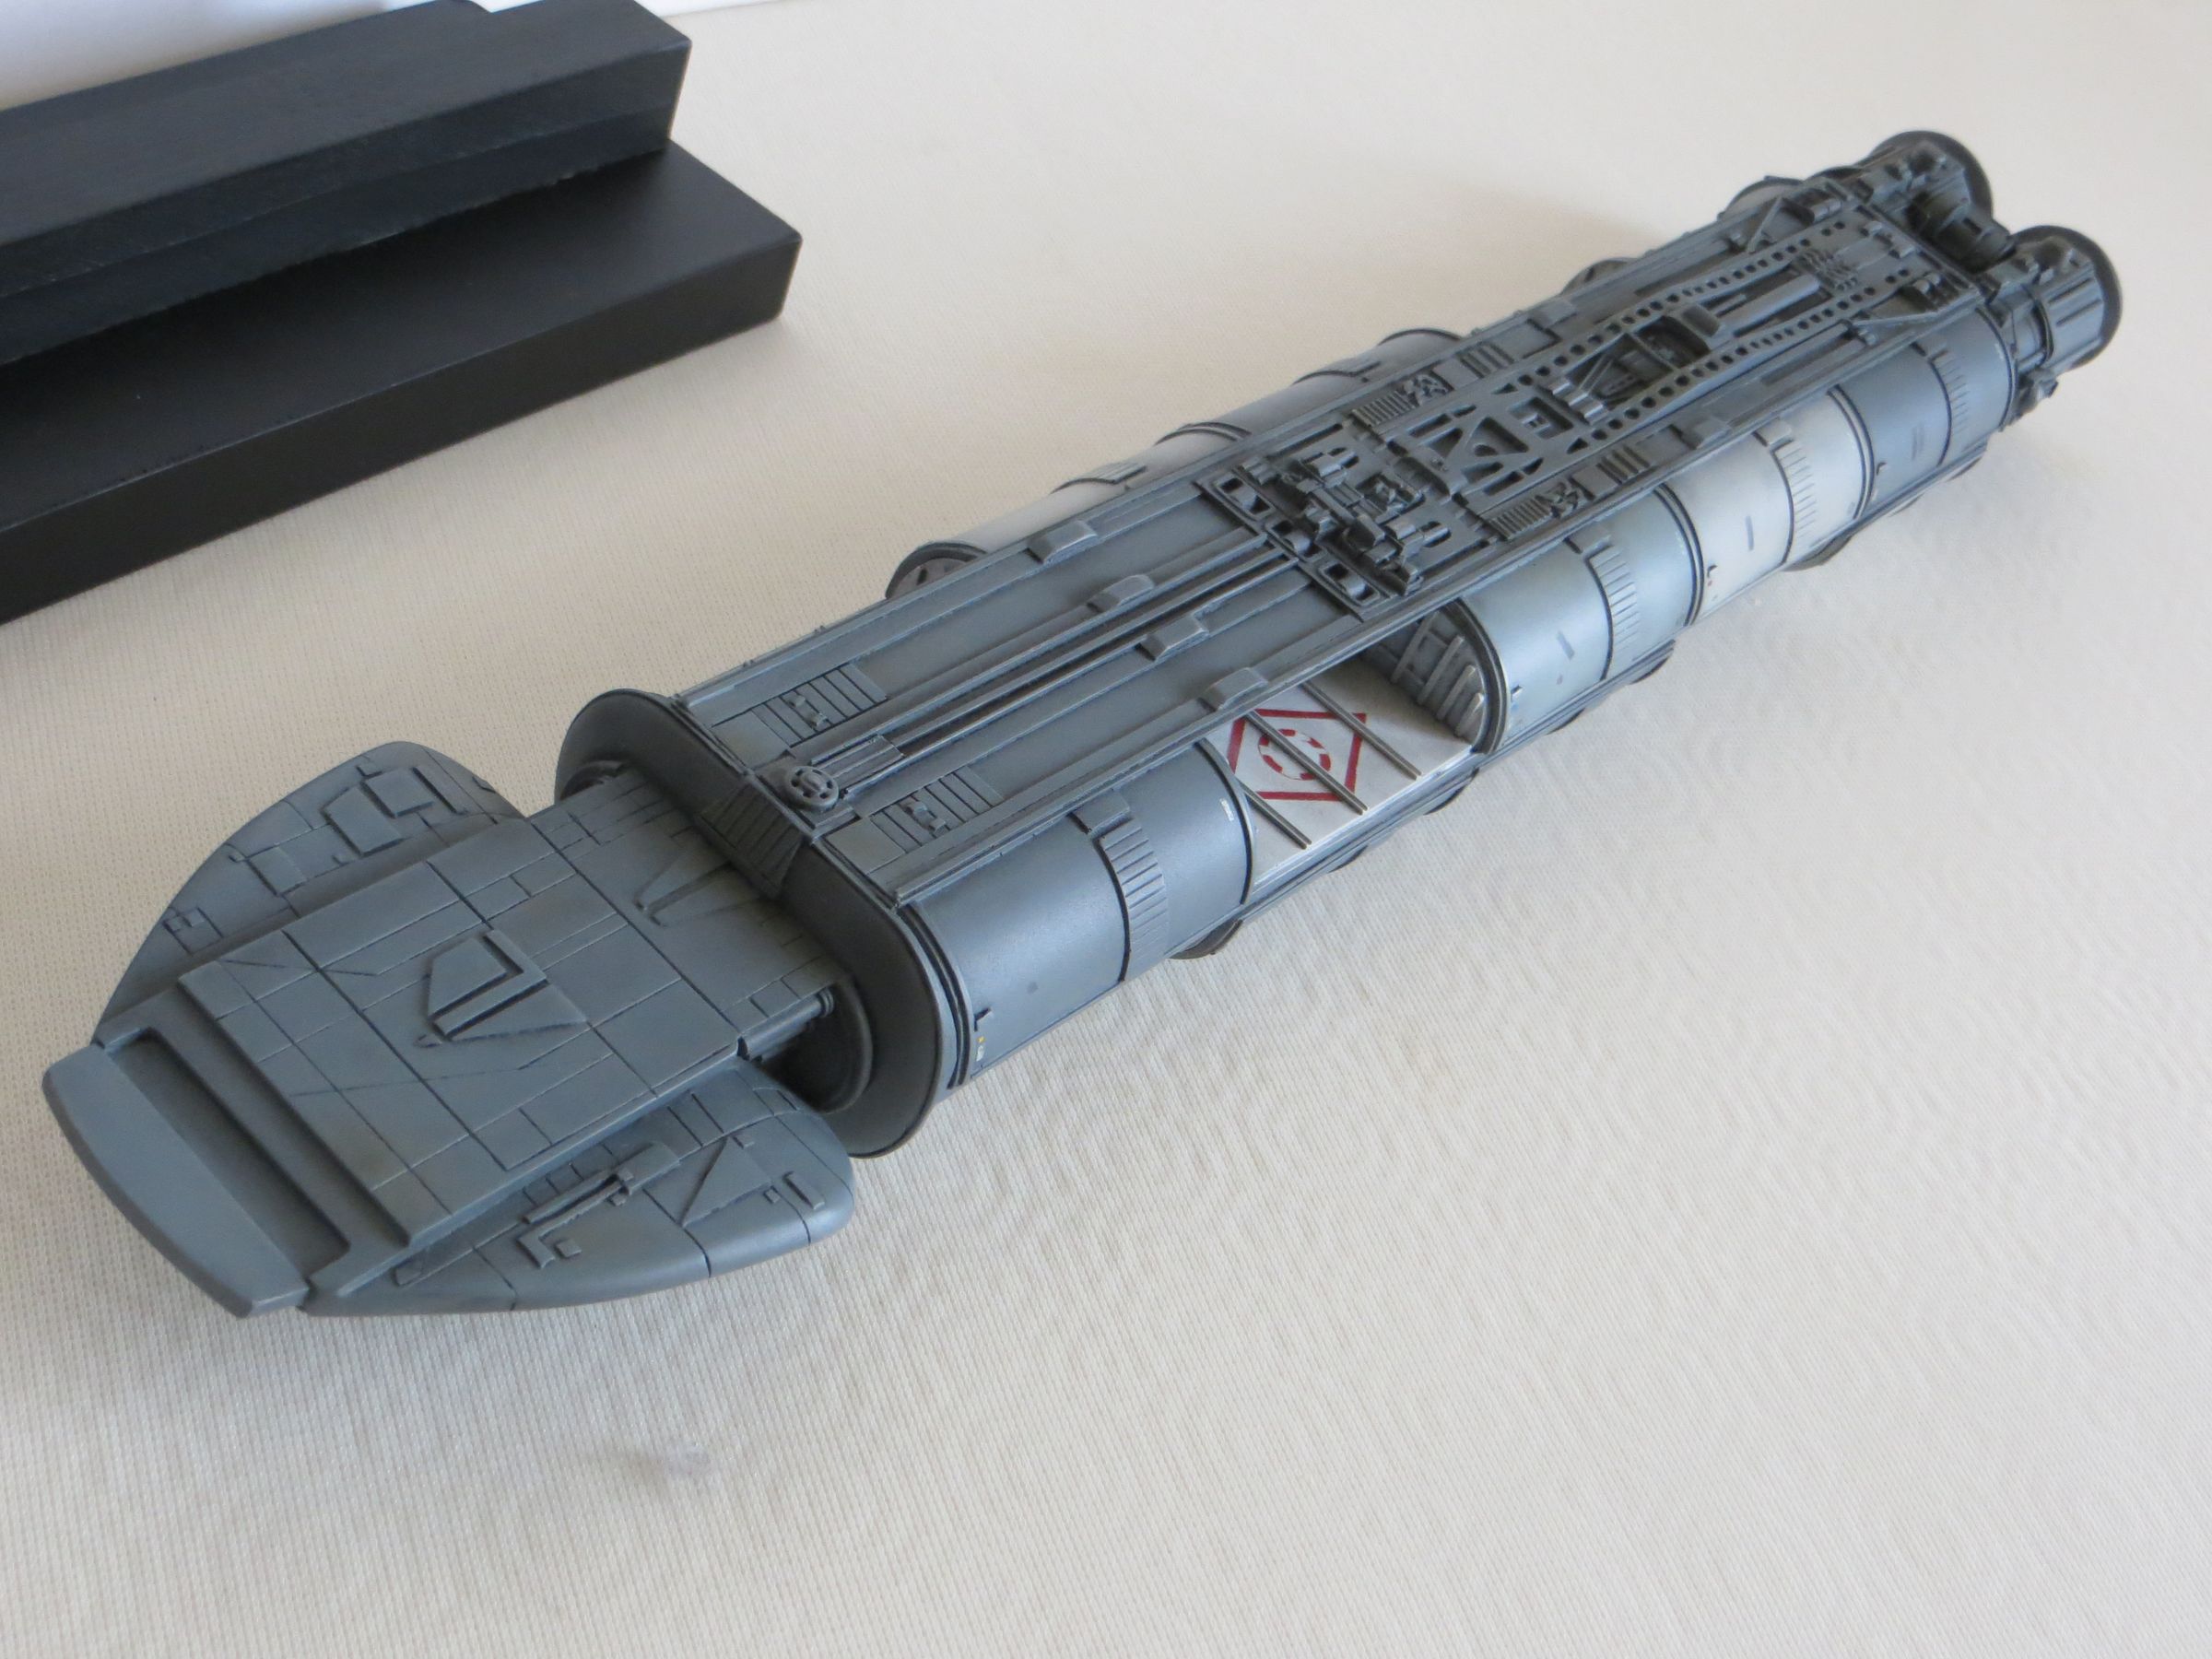
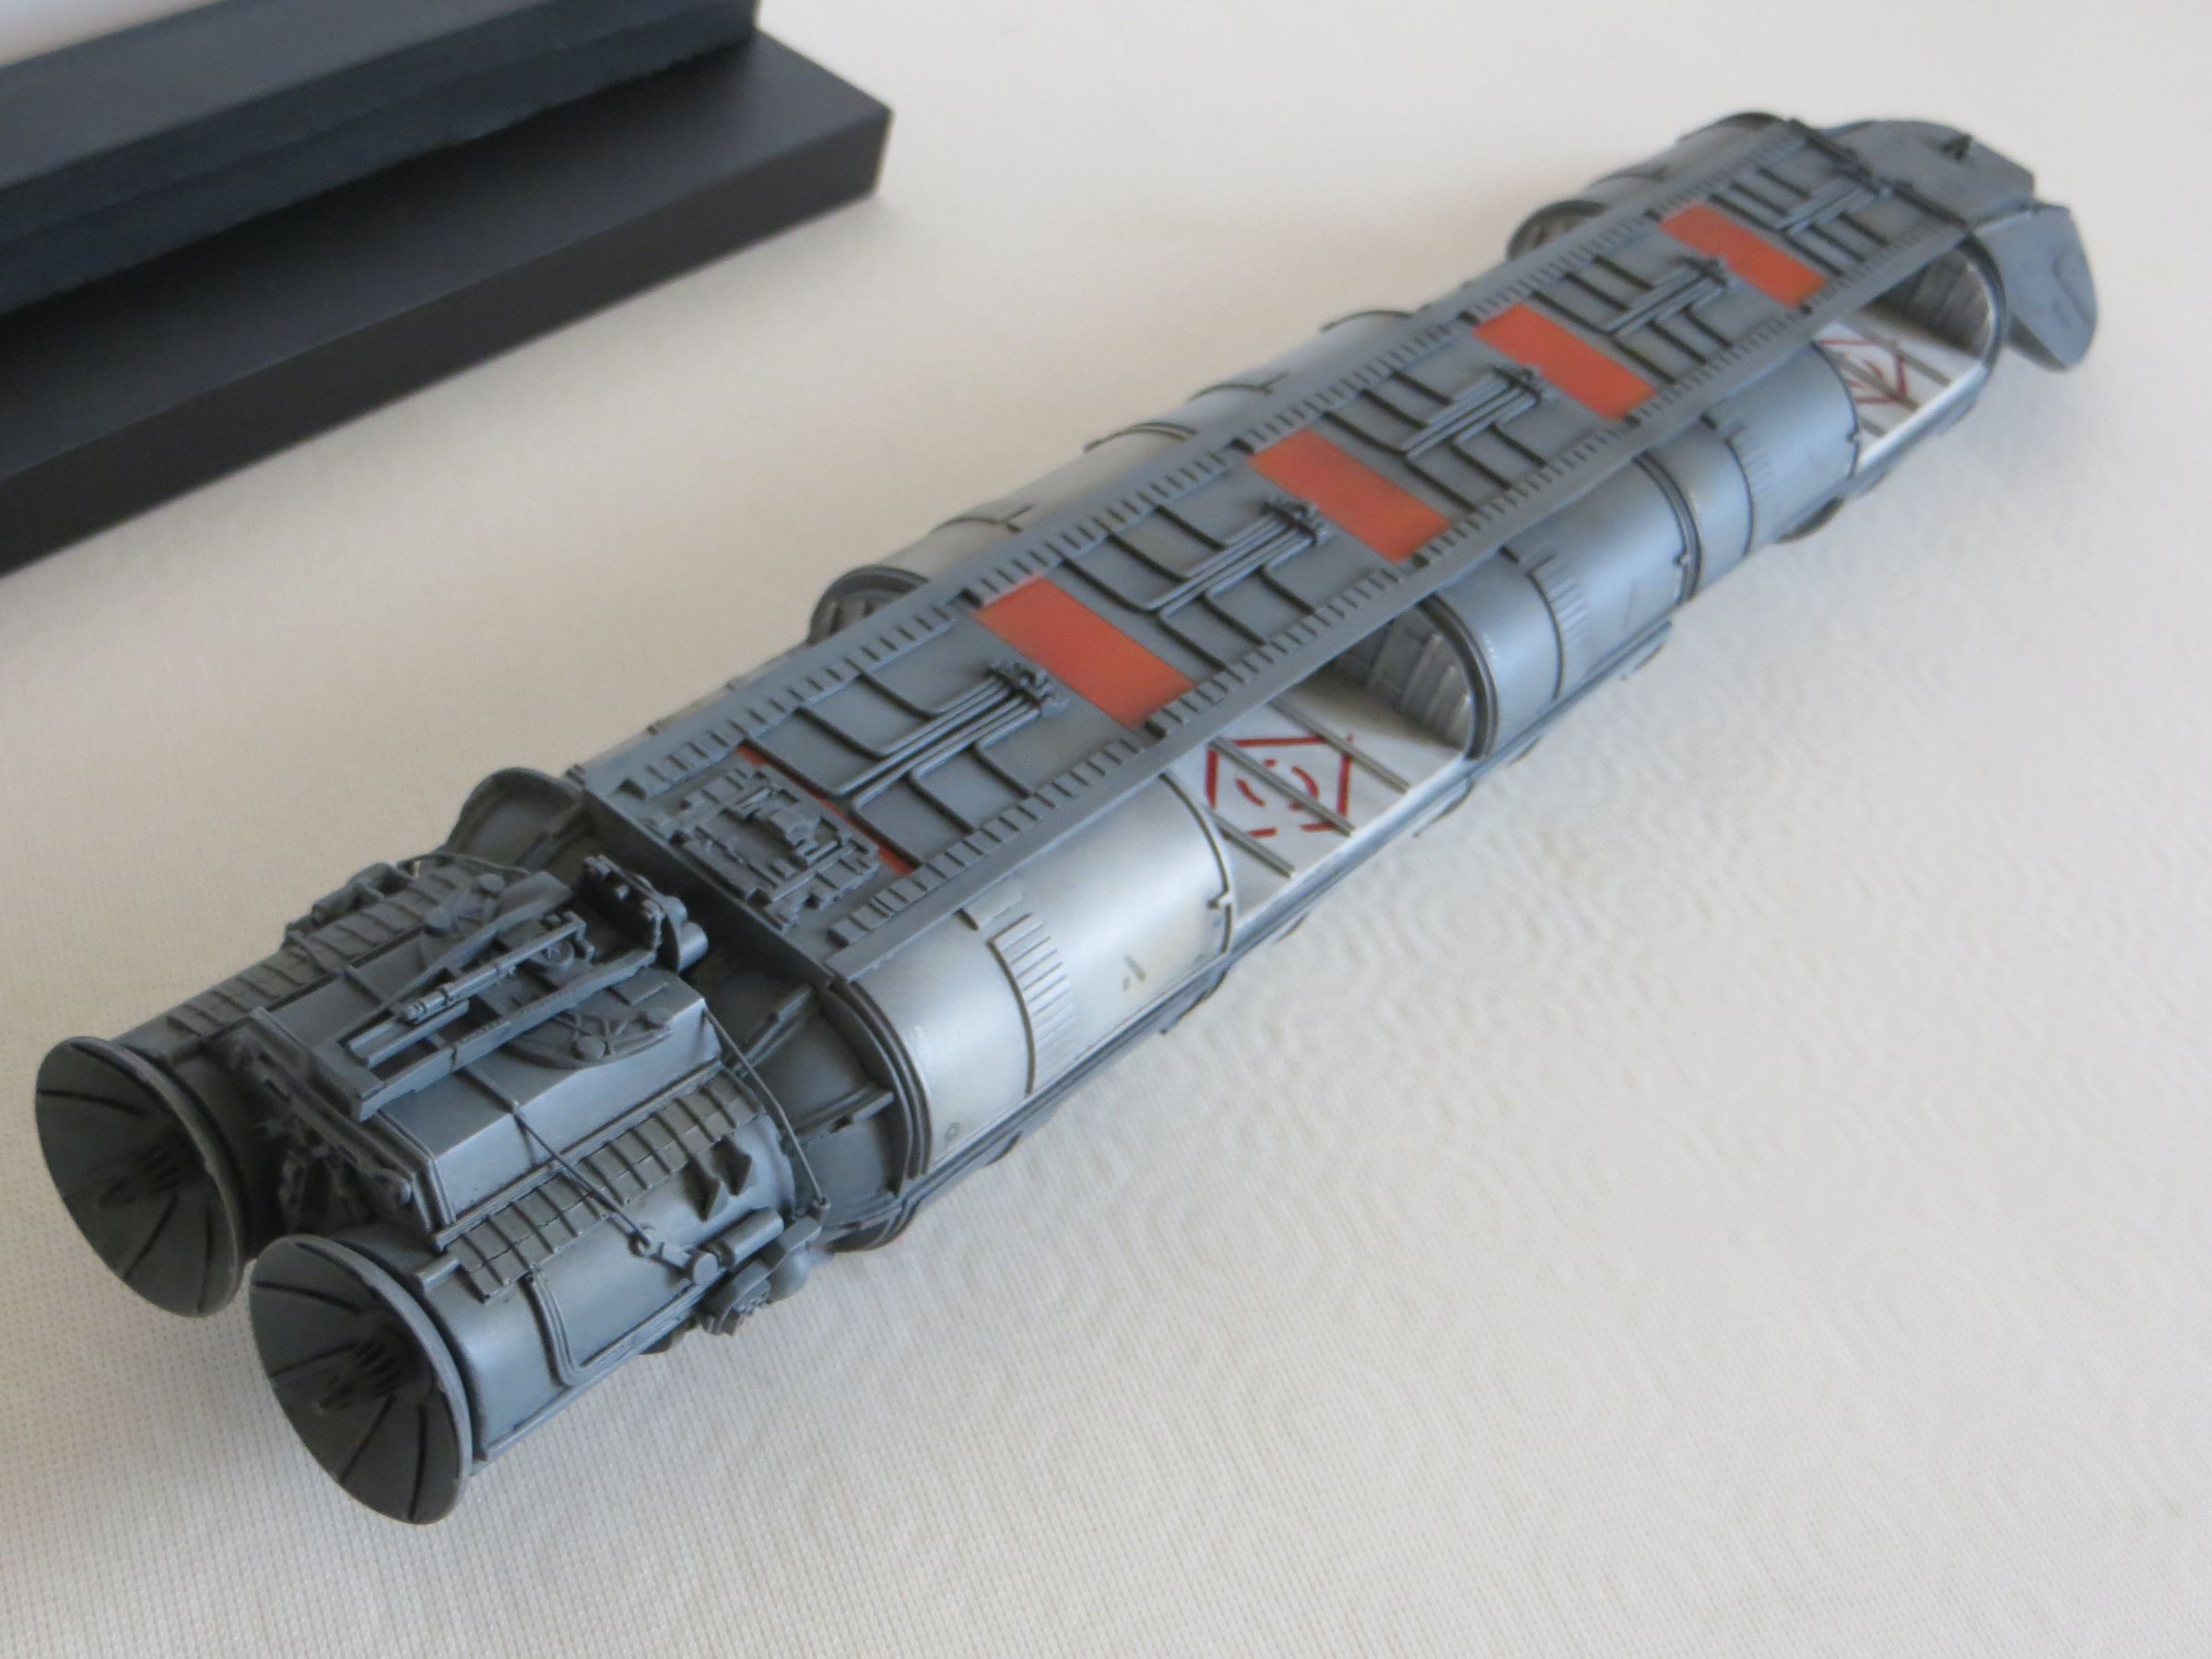
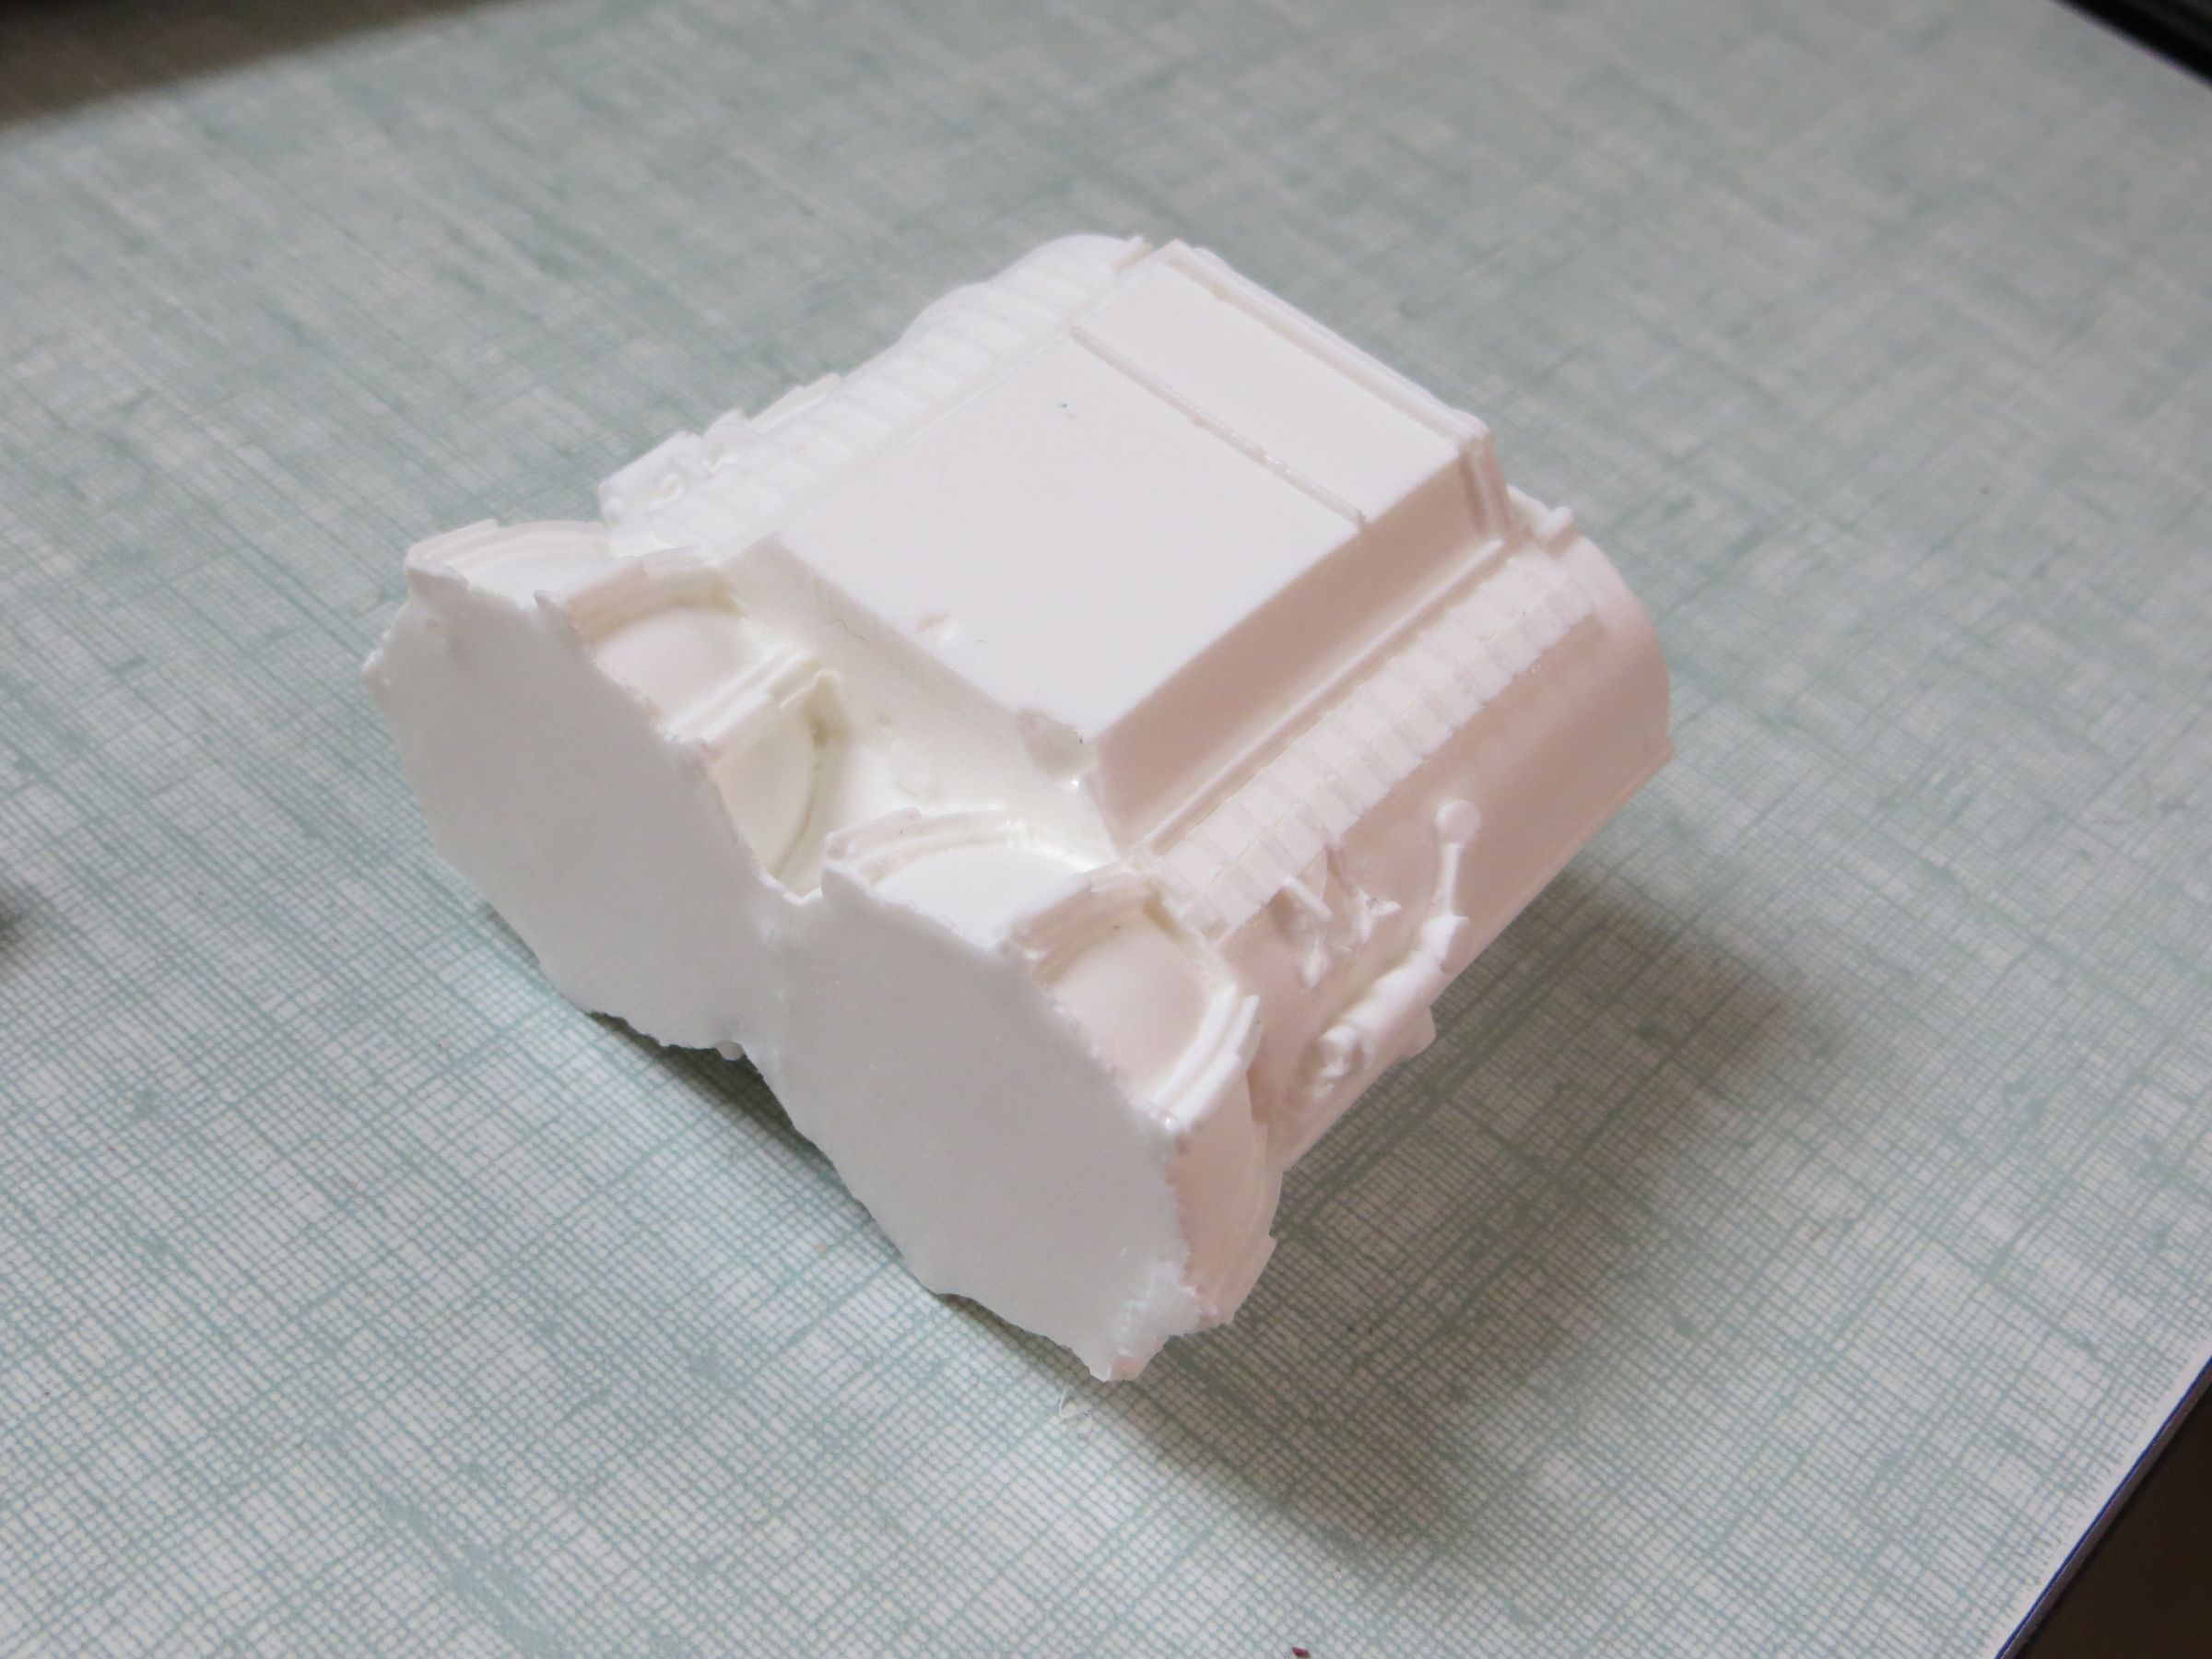
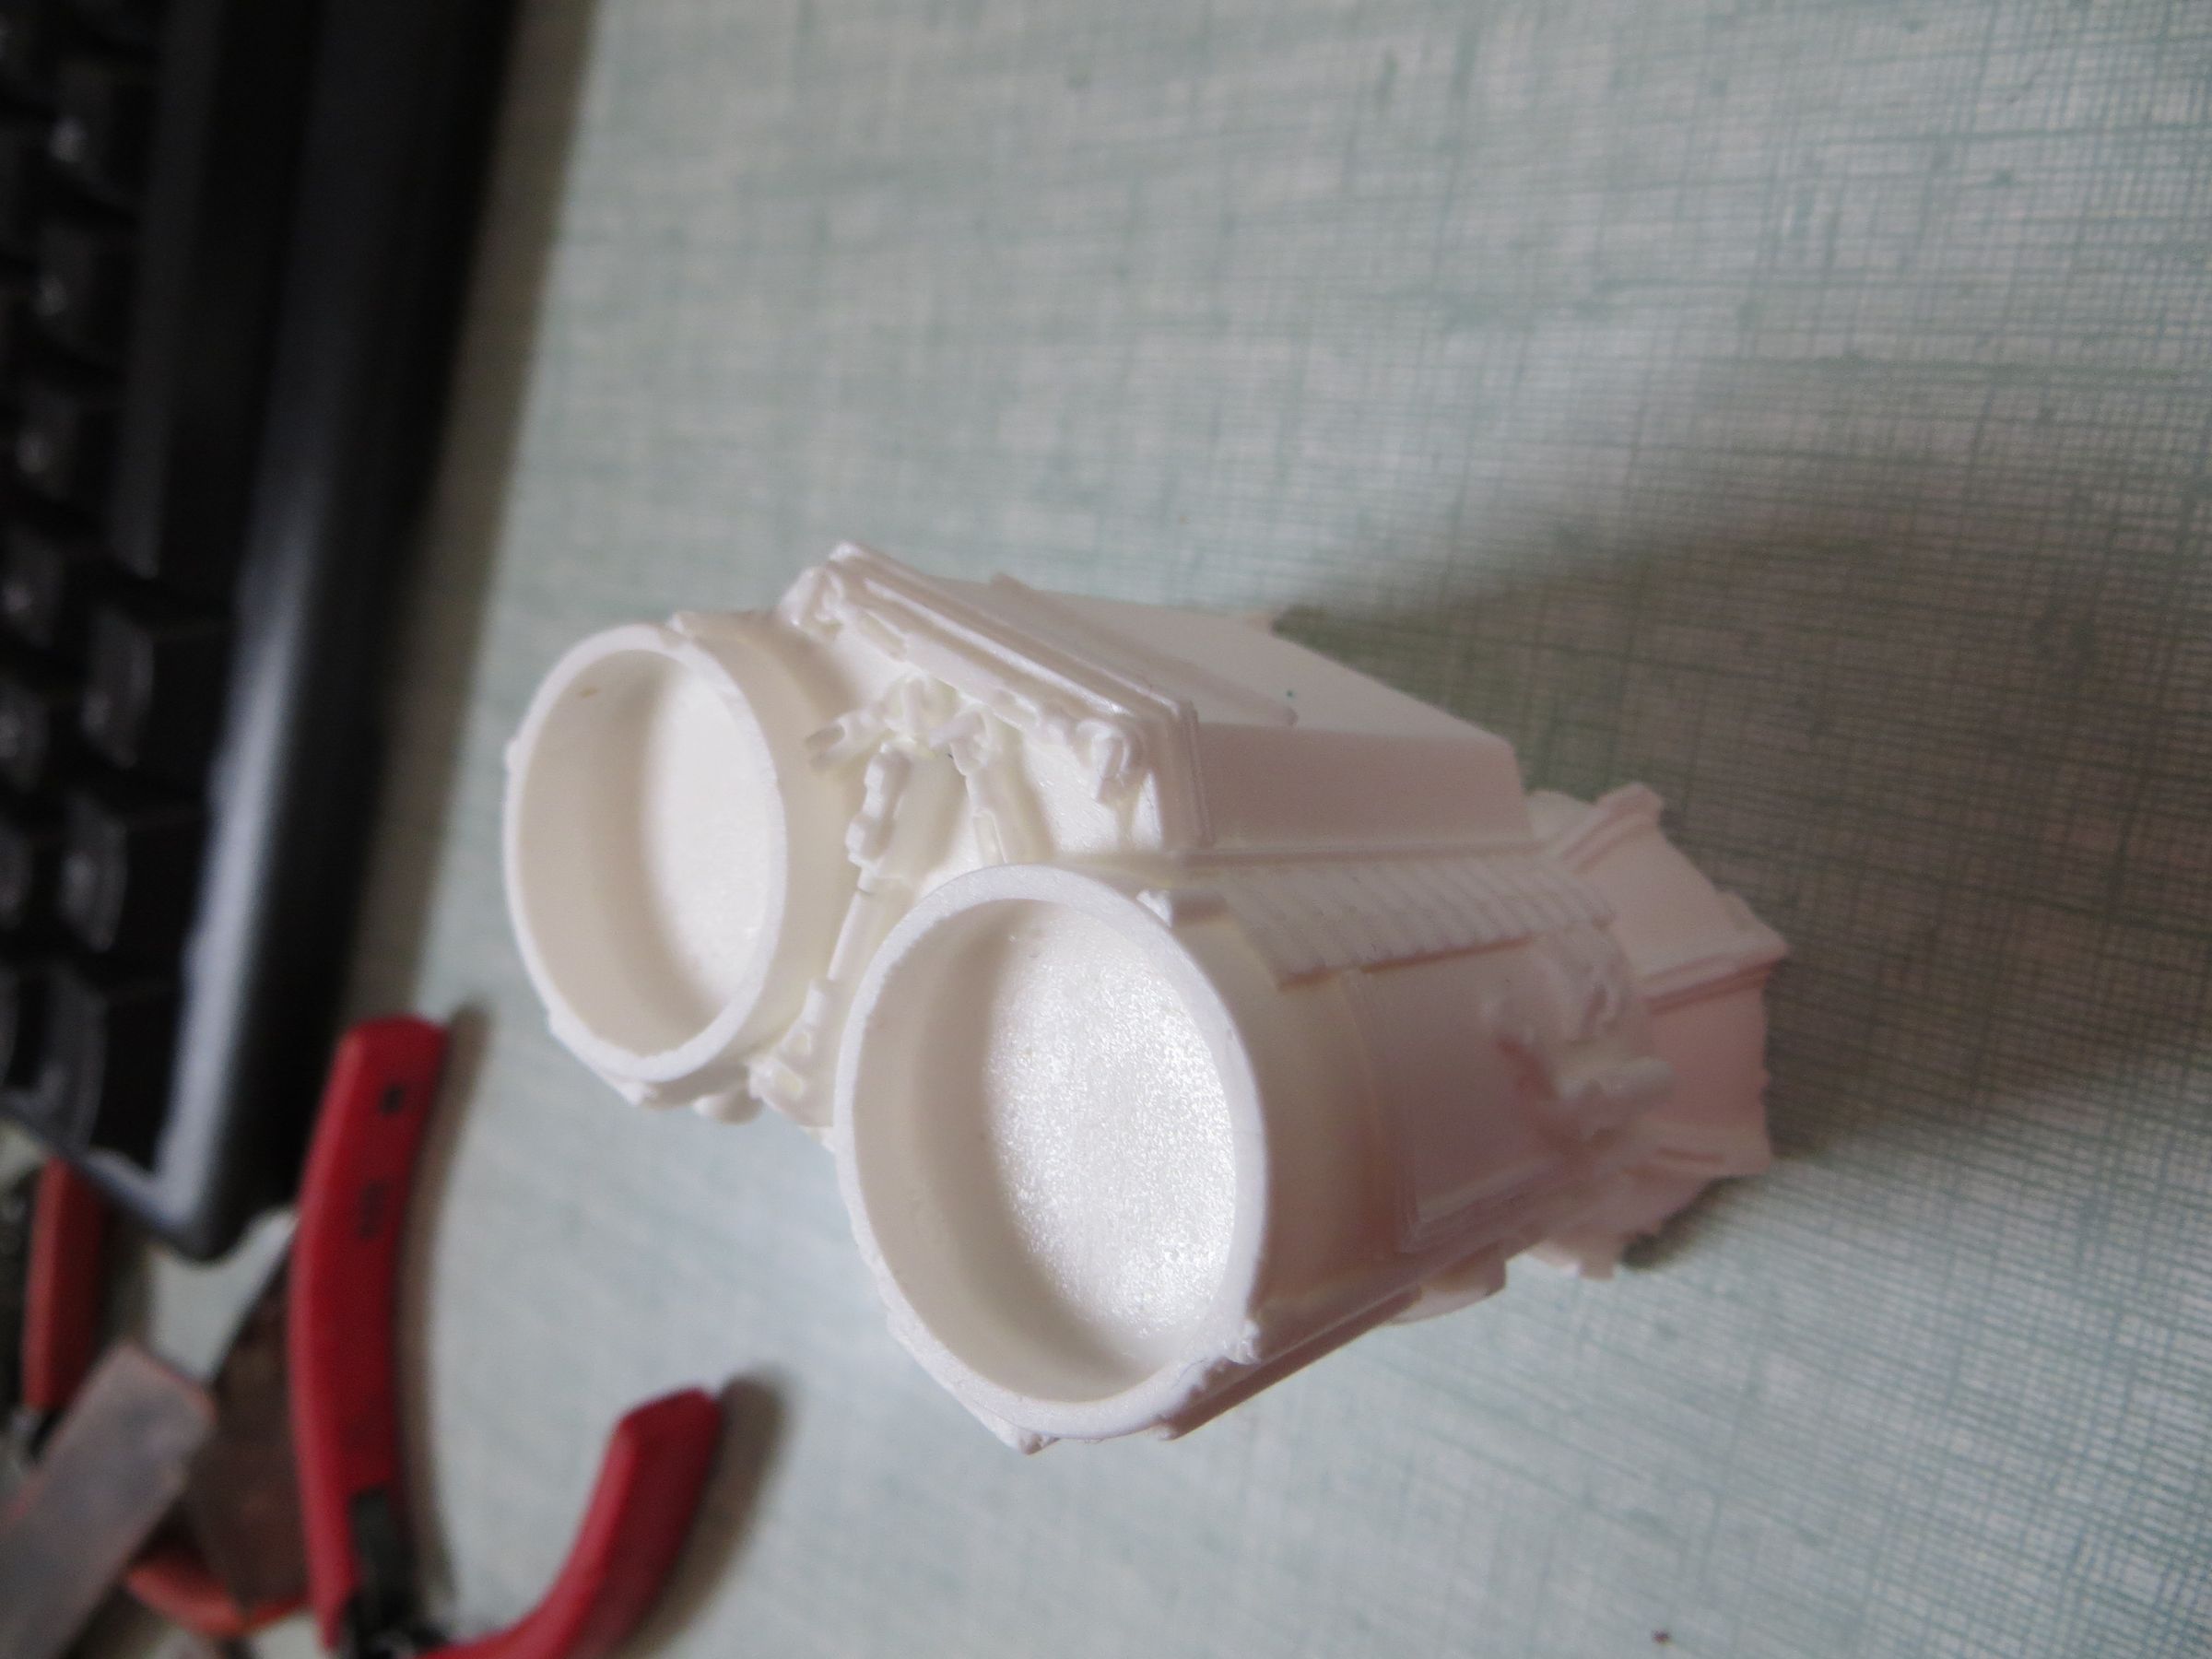
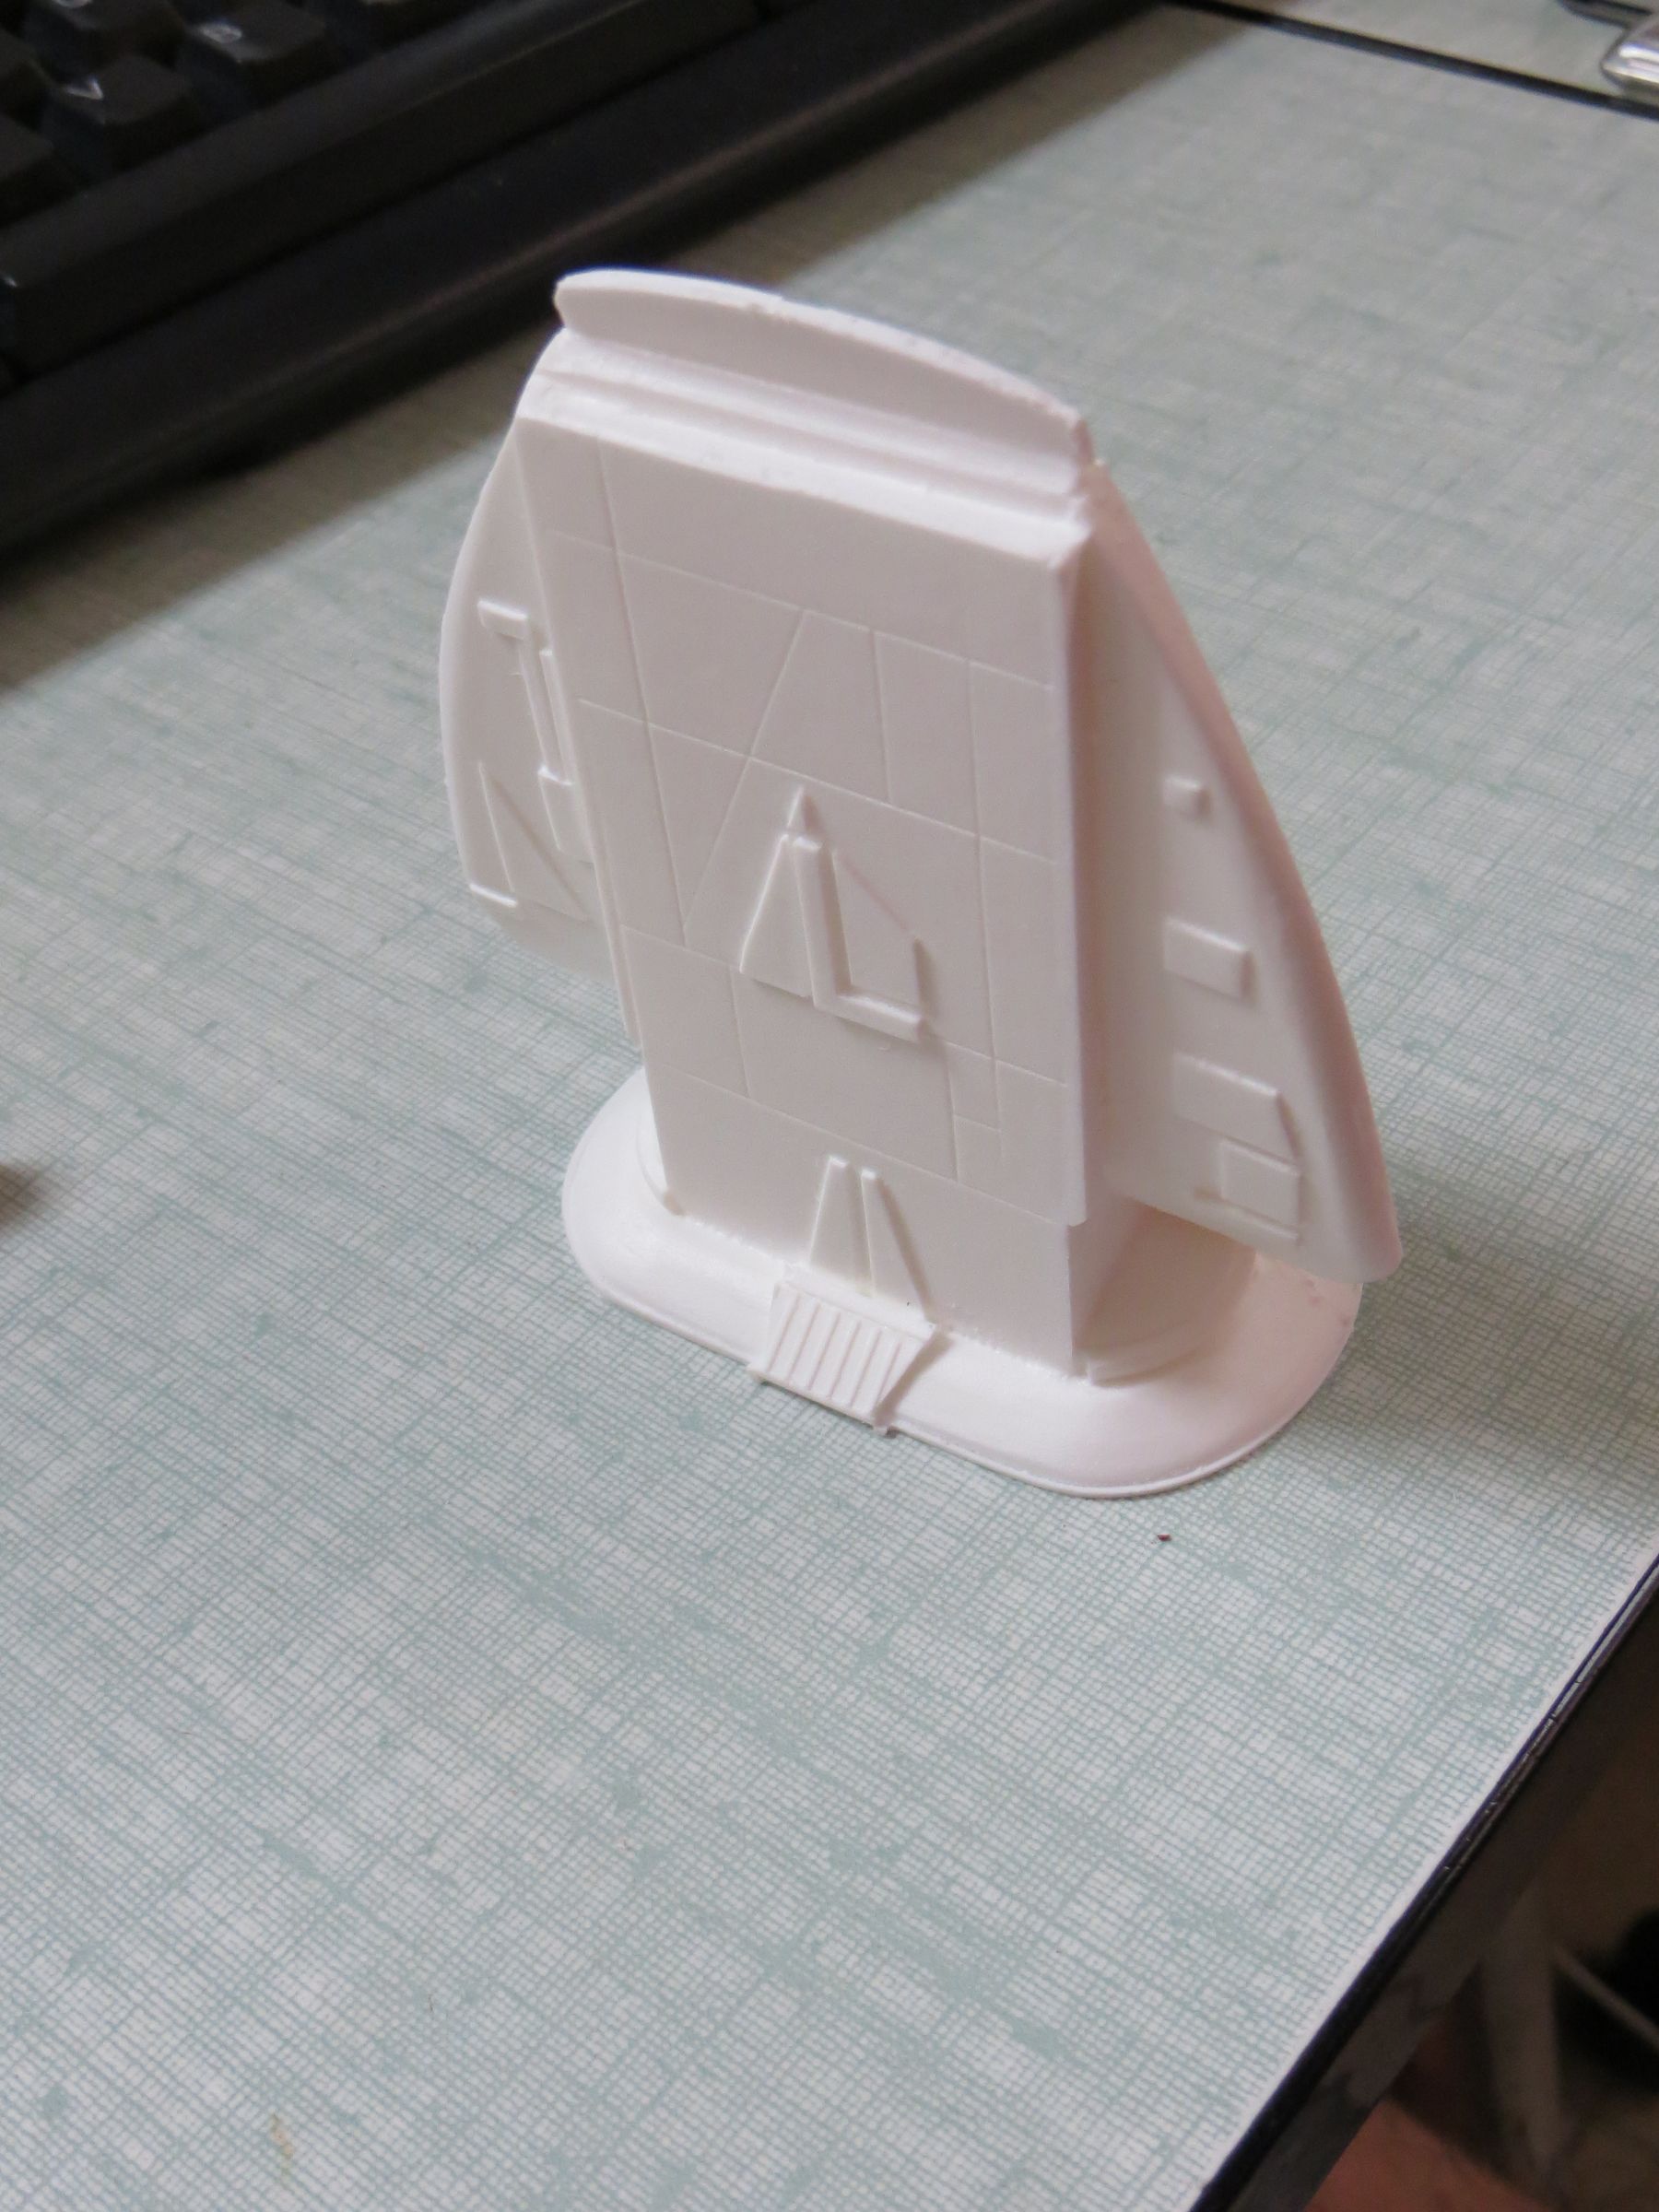
On the detail side, this is not accurate, but this seems enough near for this little known ship. I think I still will do some improvements on the engine module.
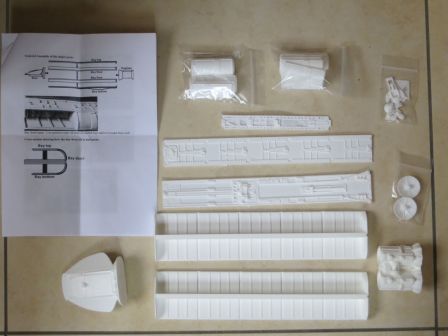


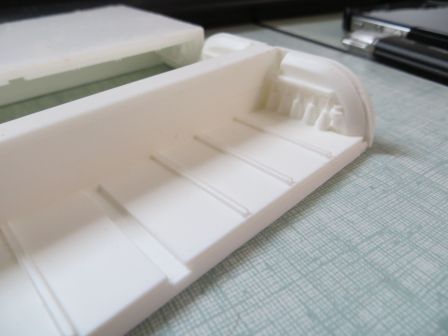

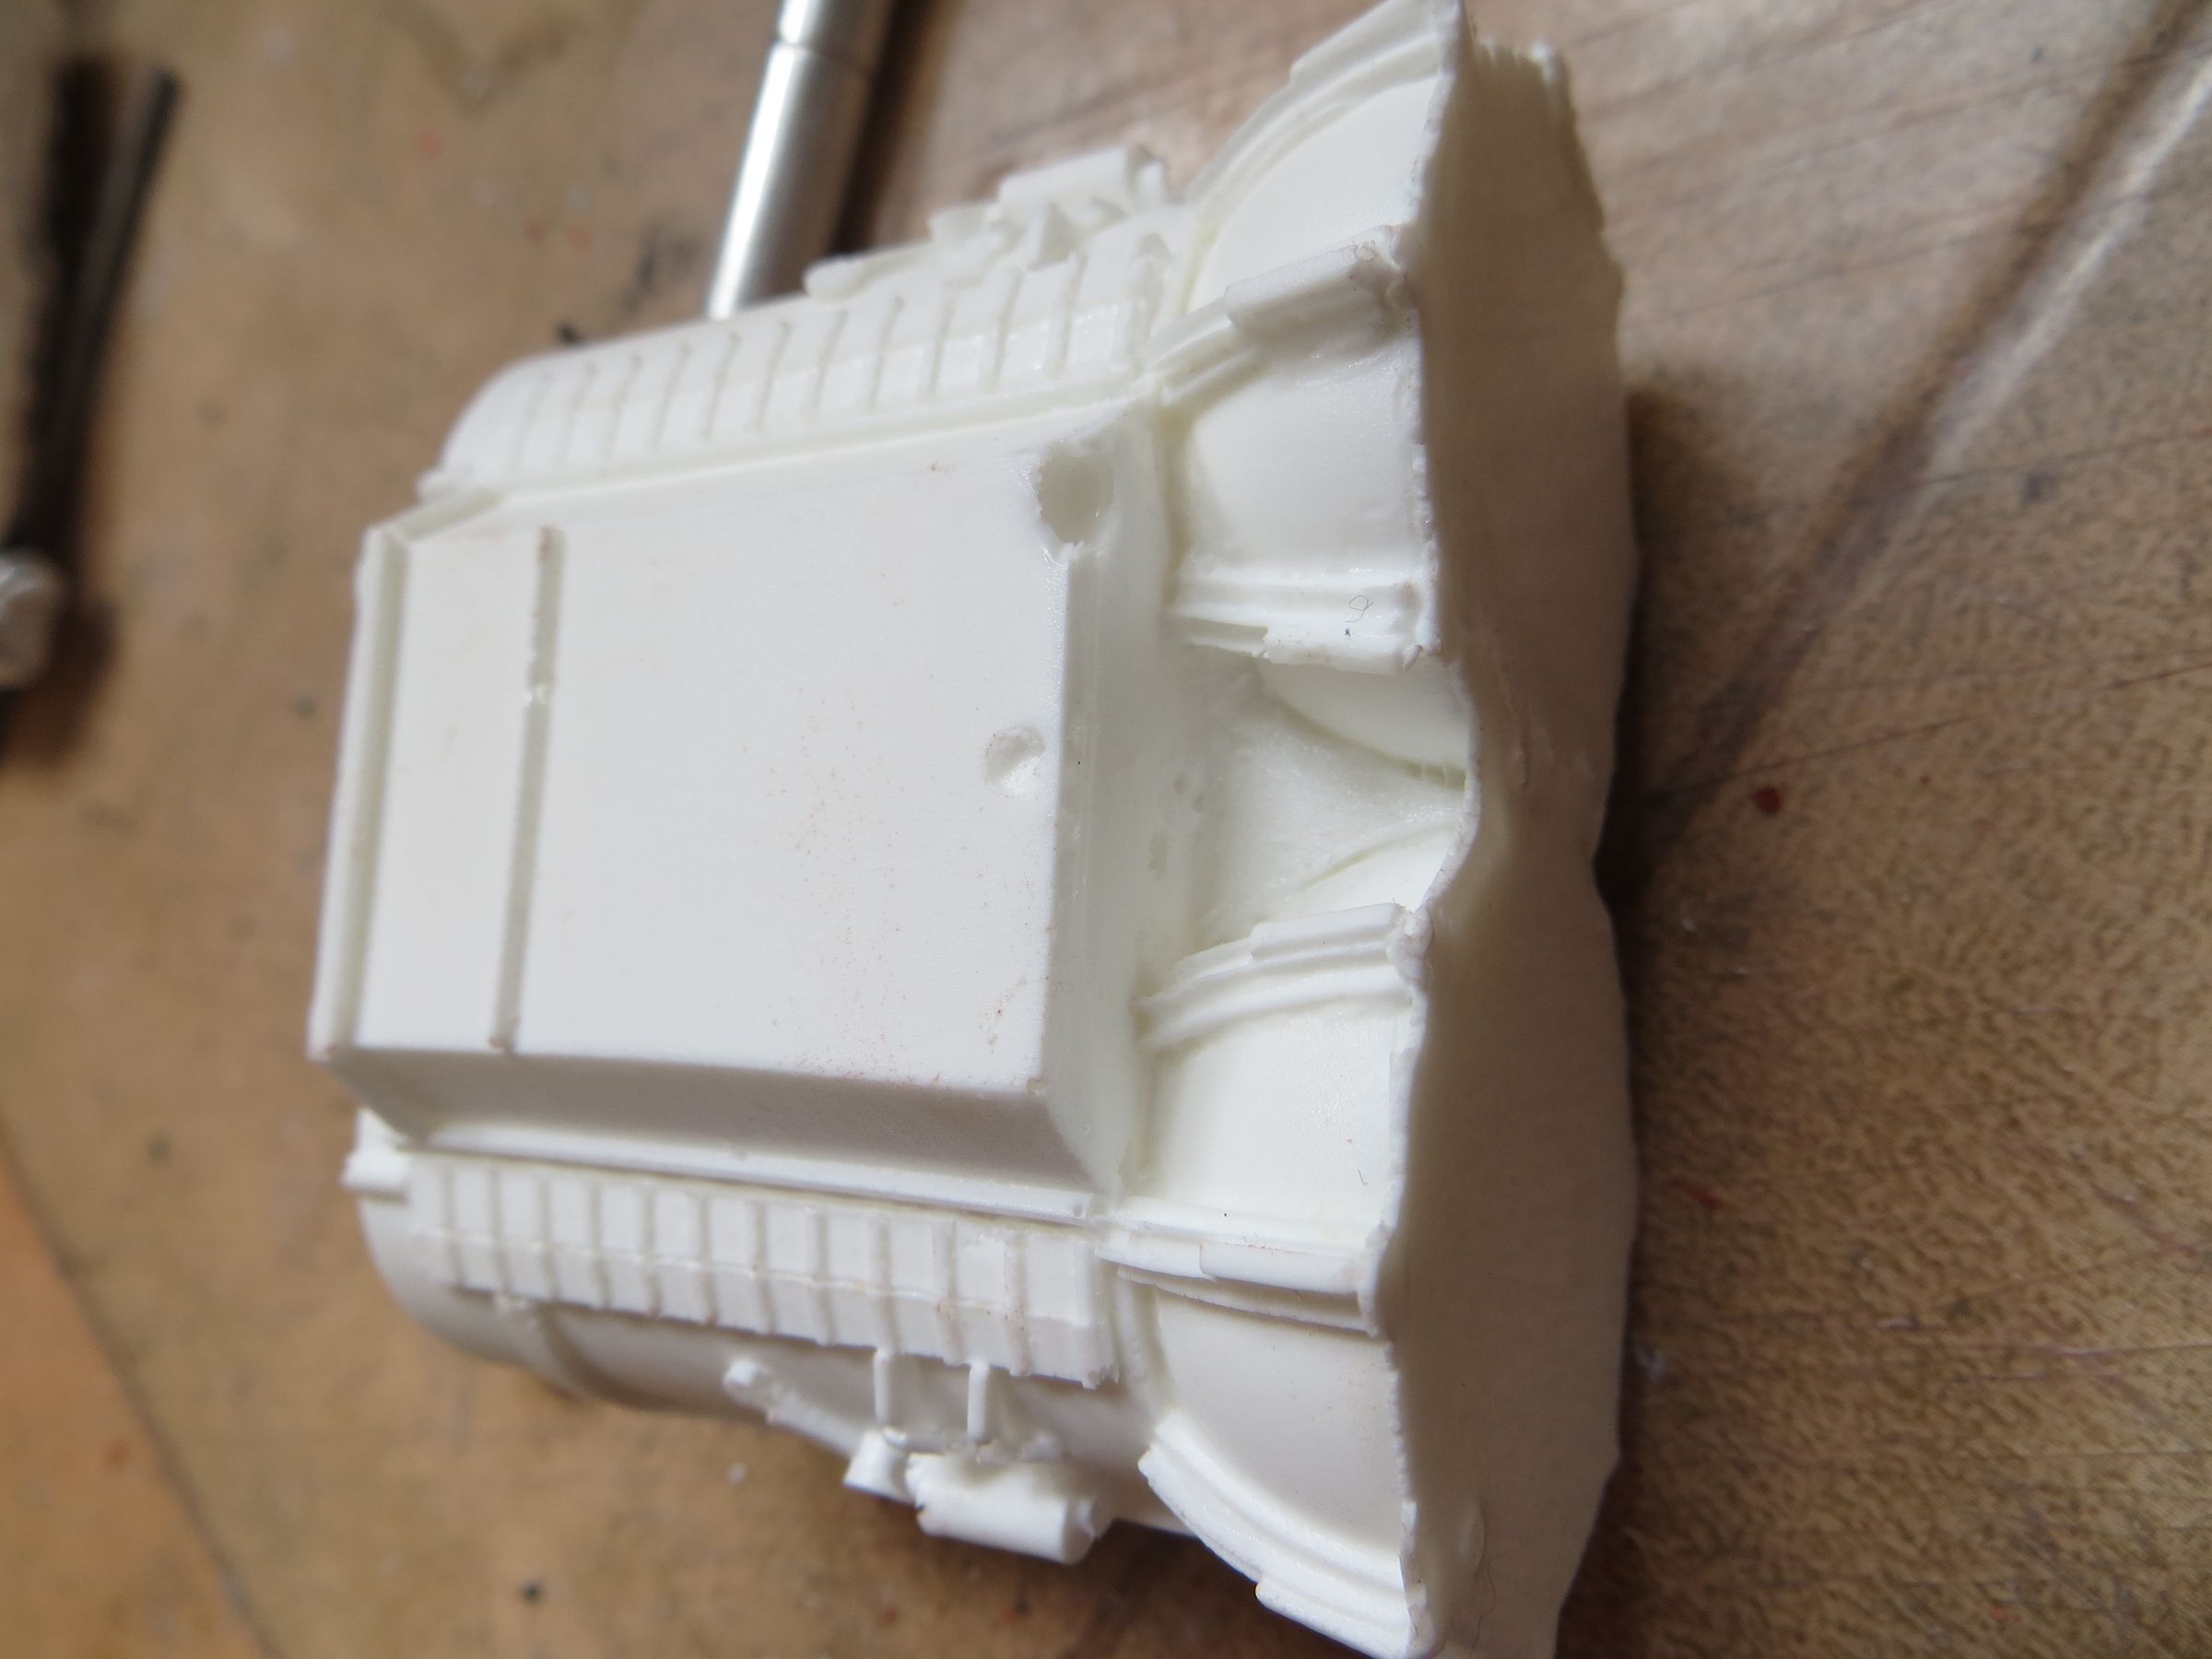
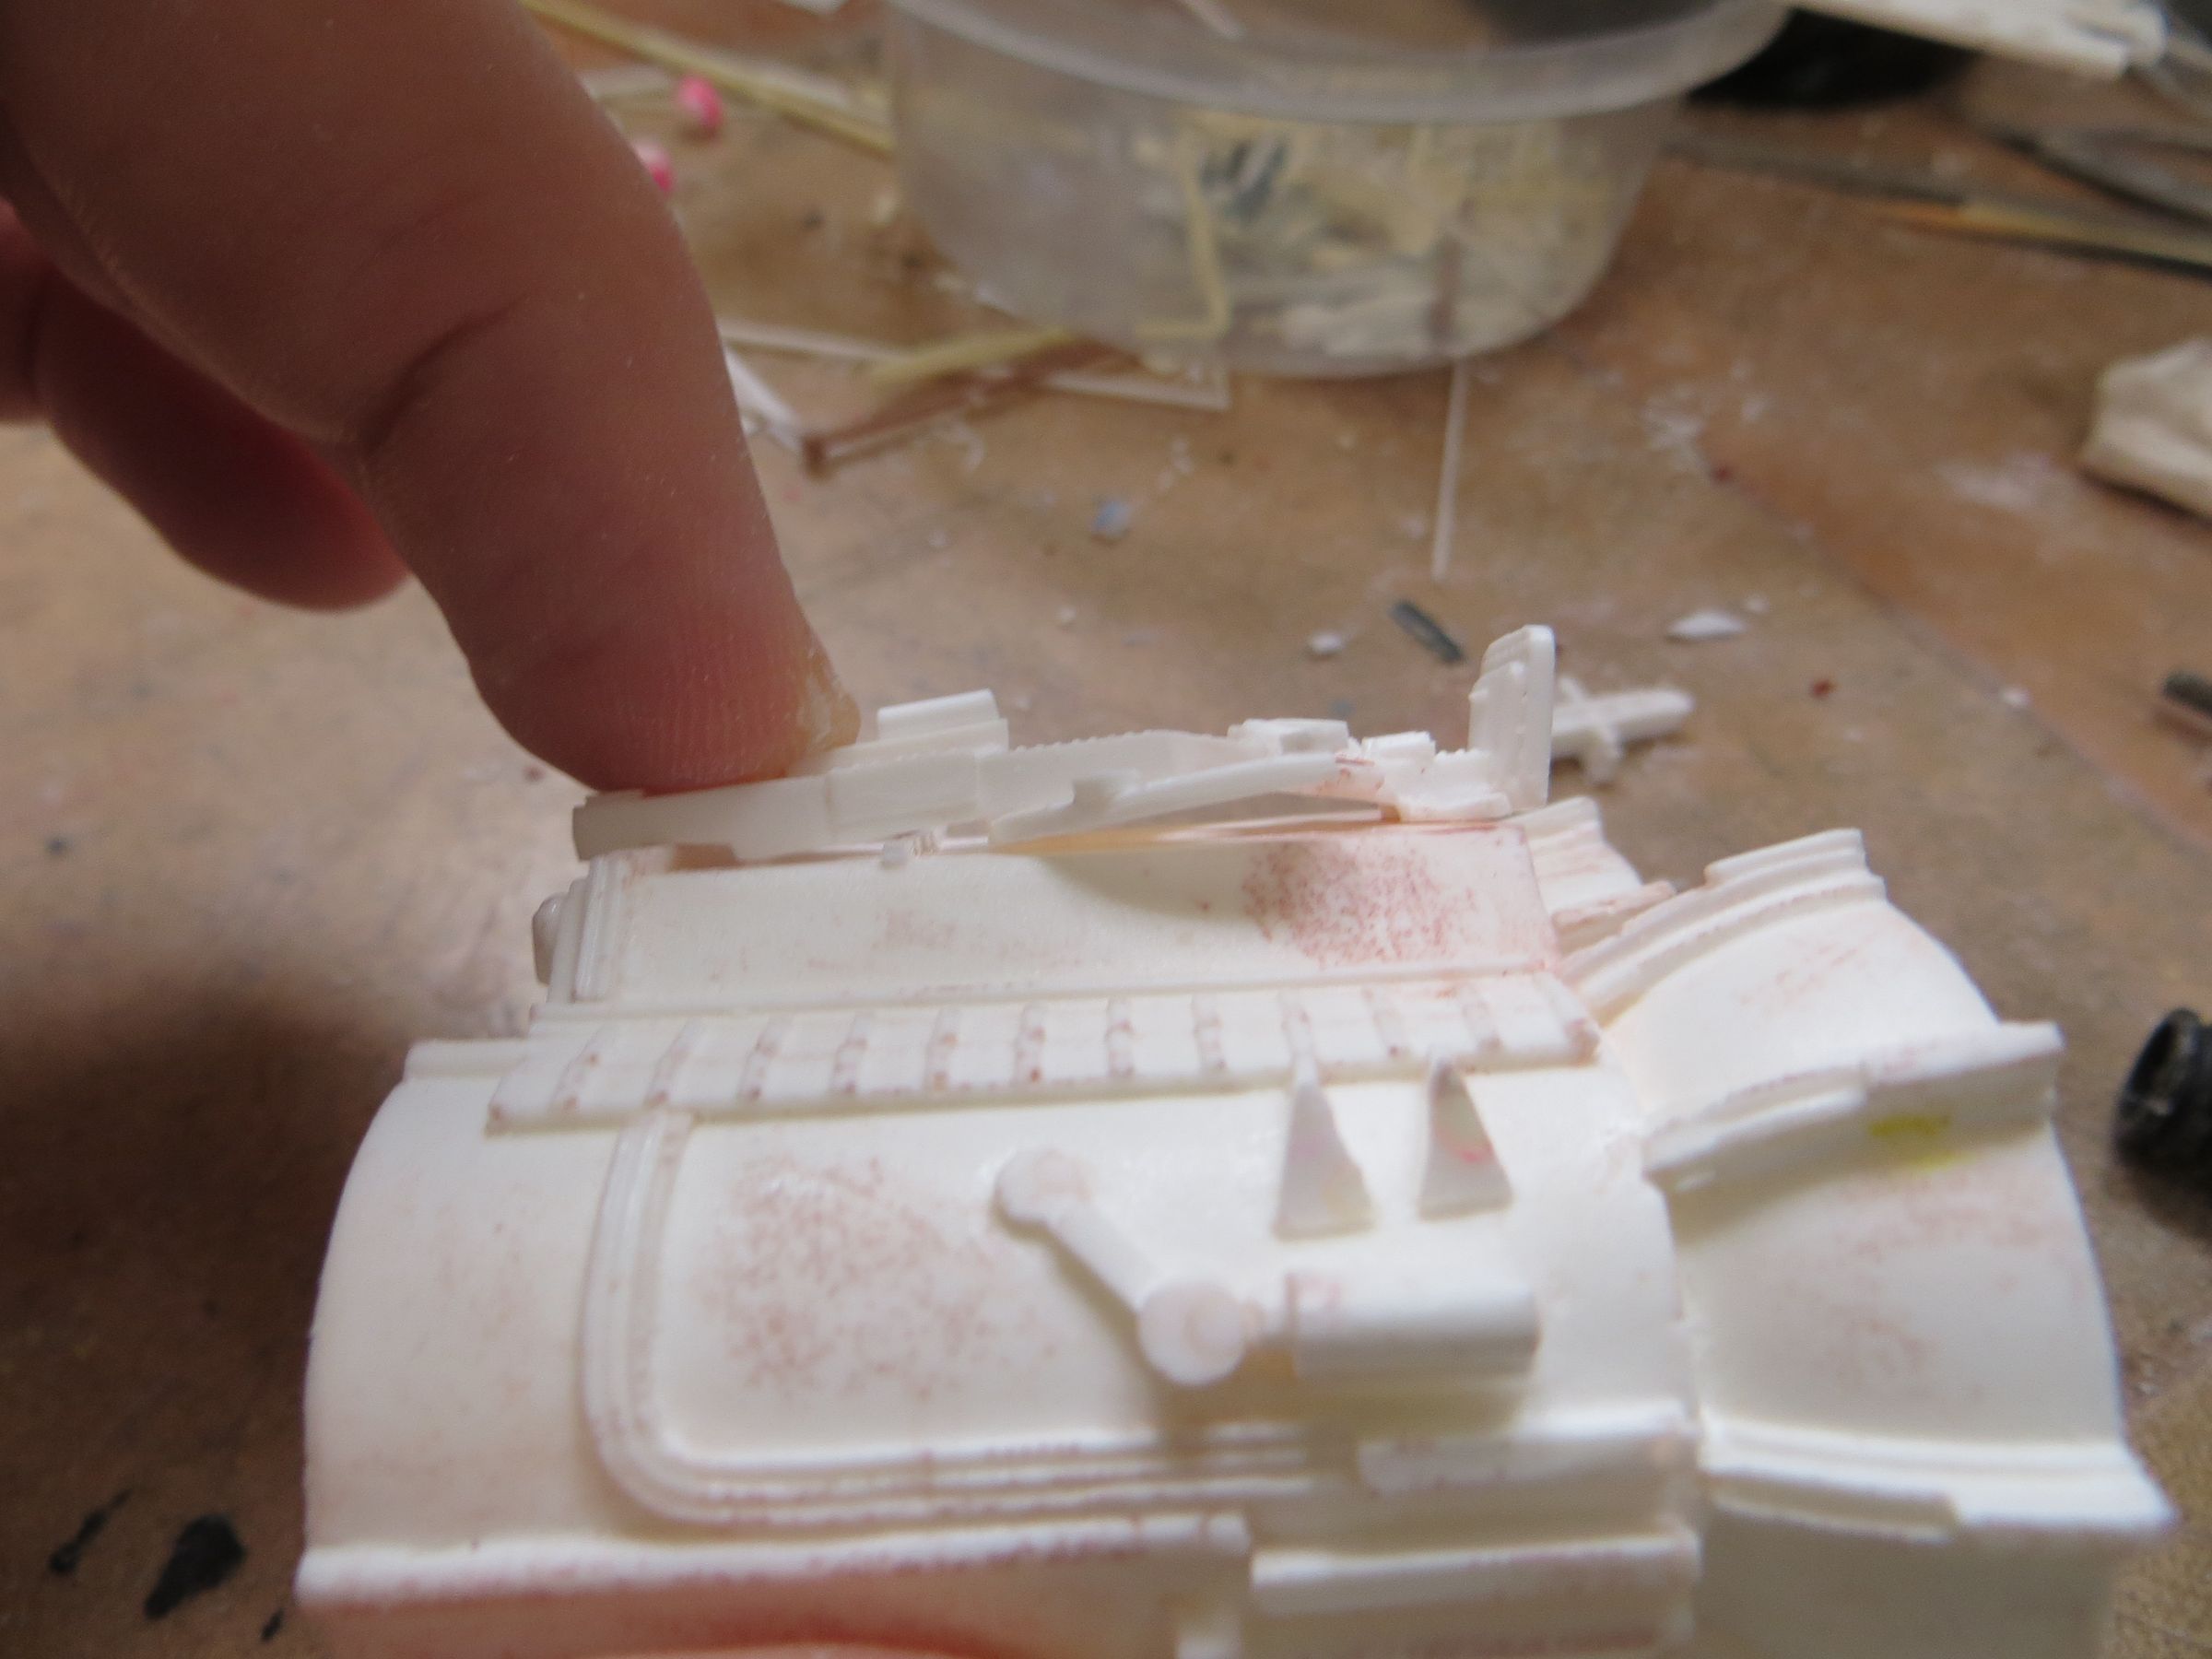
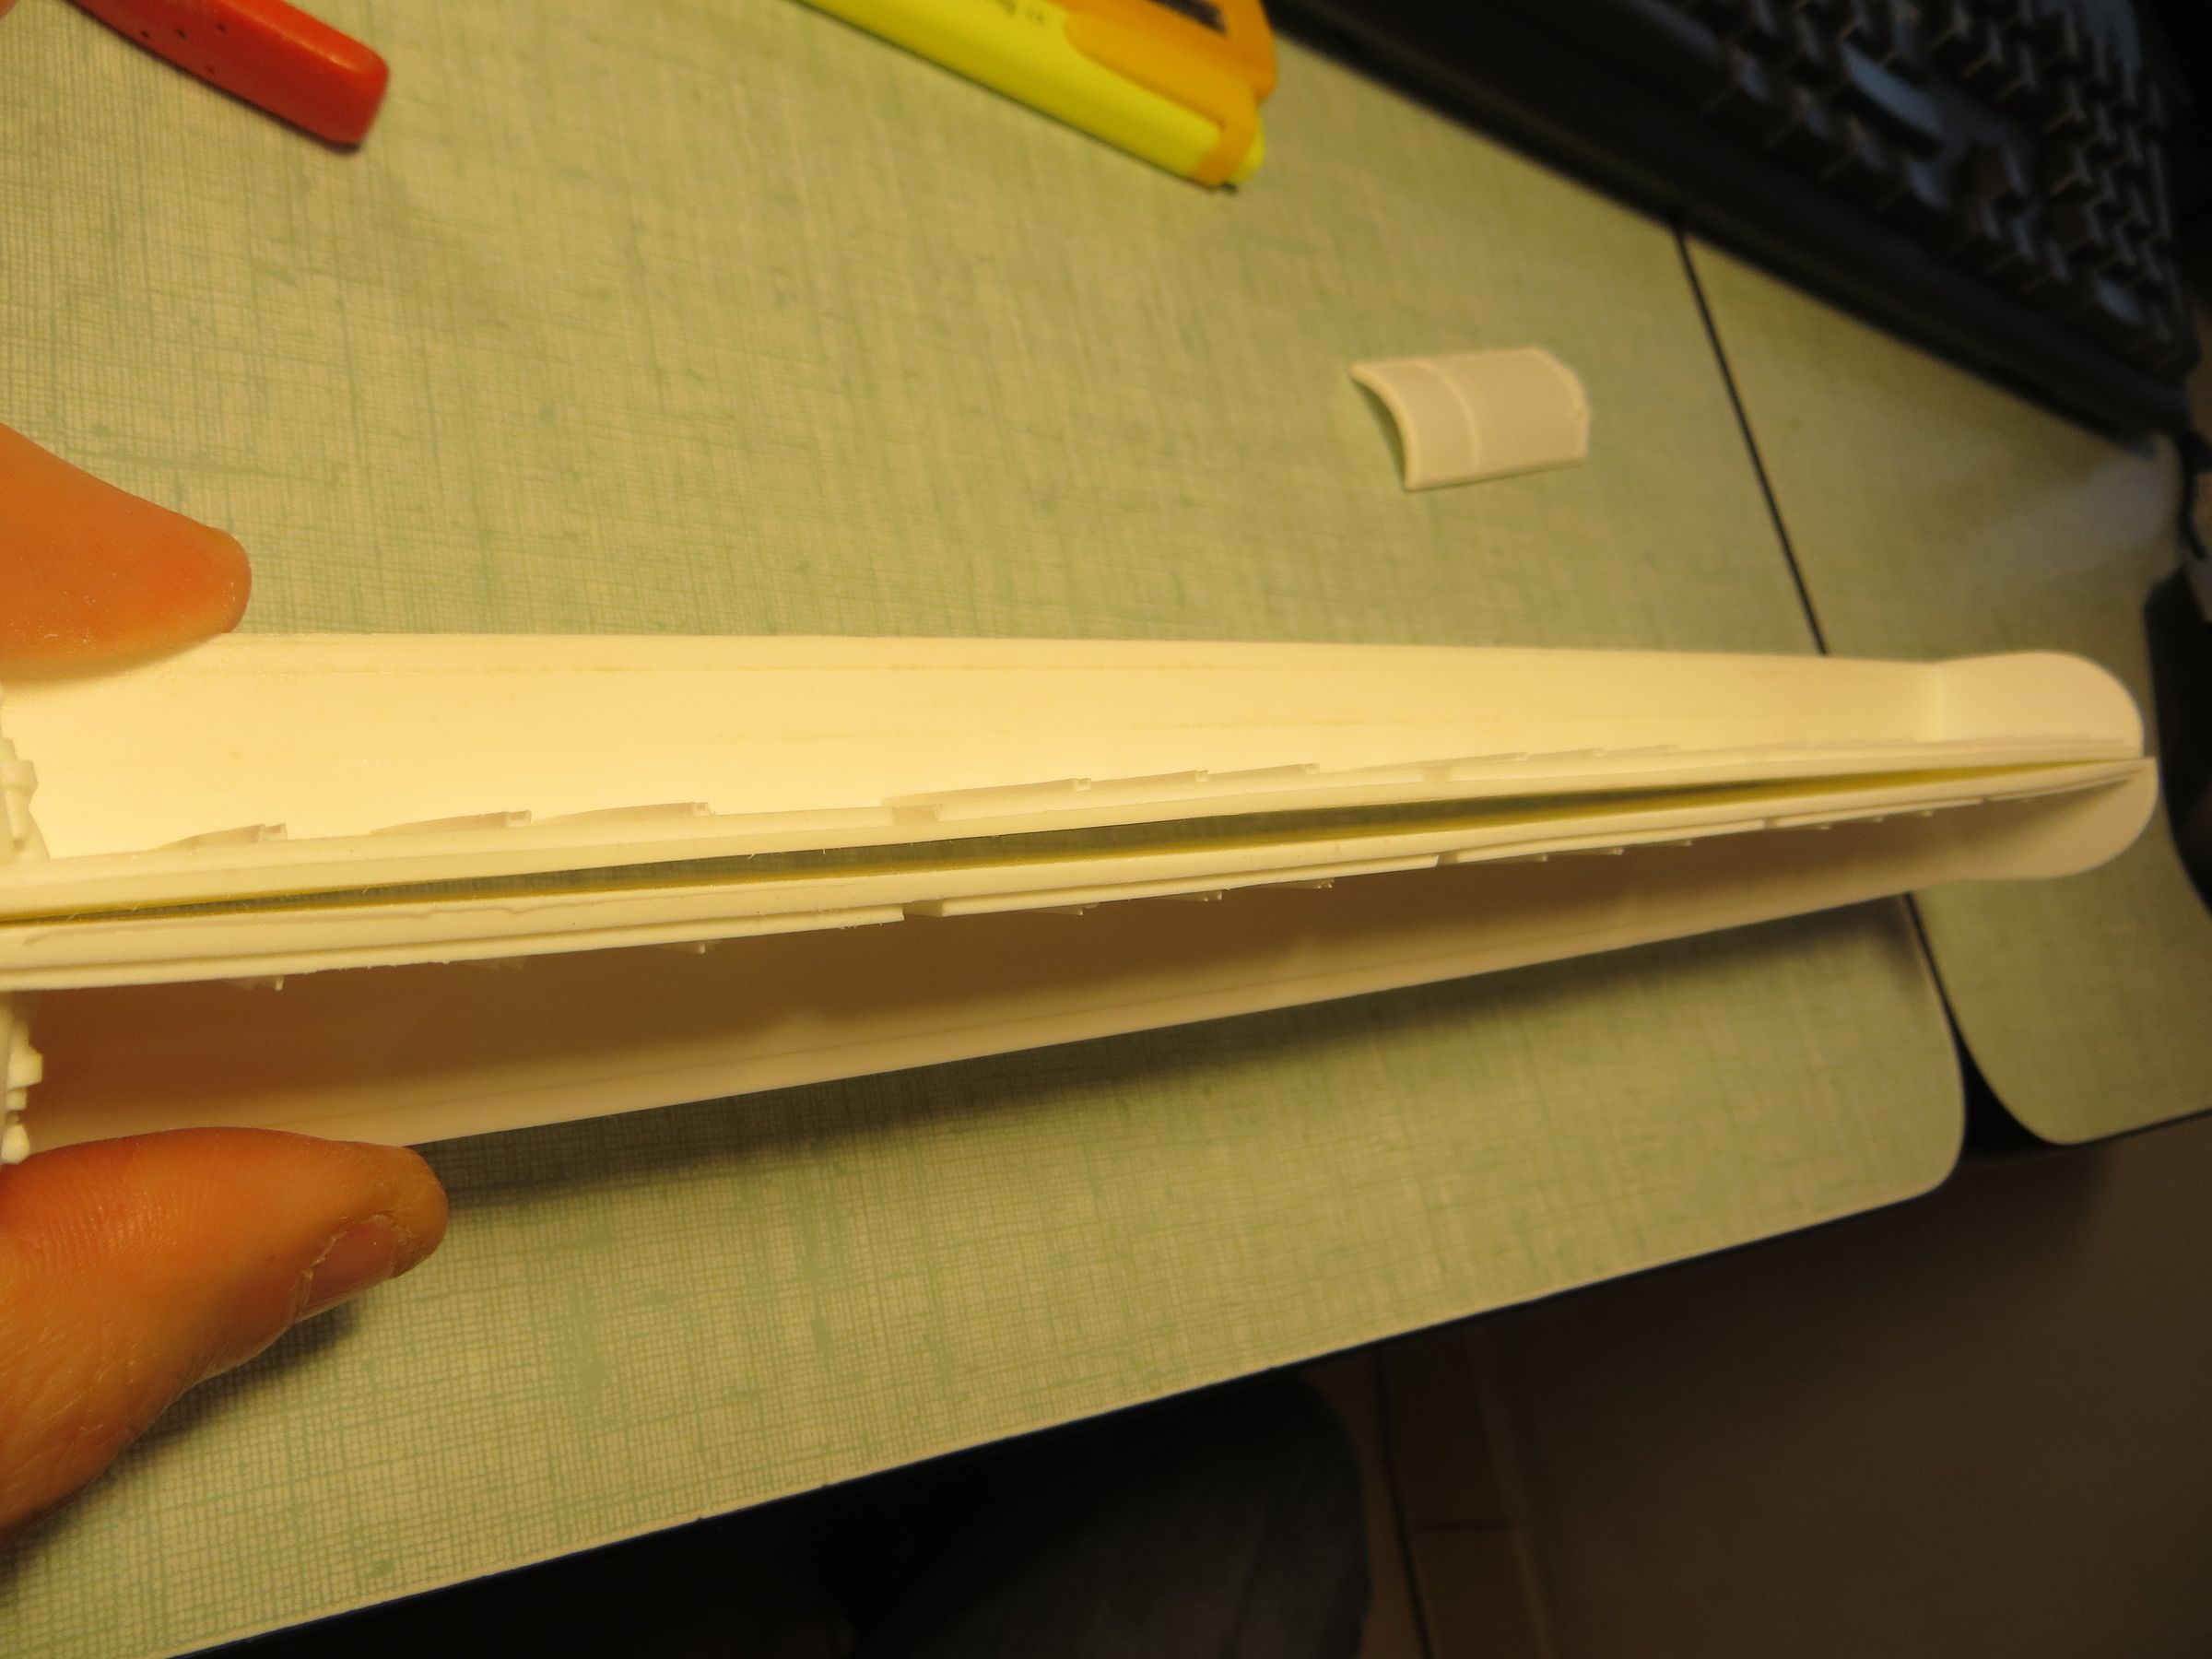
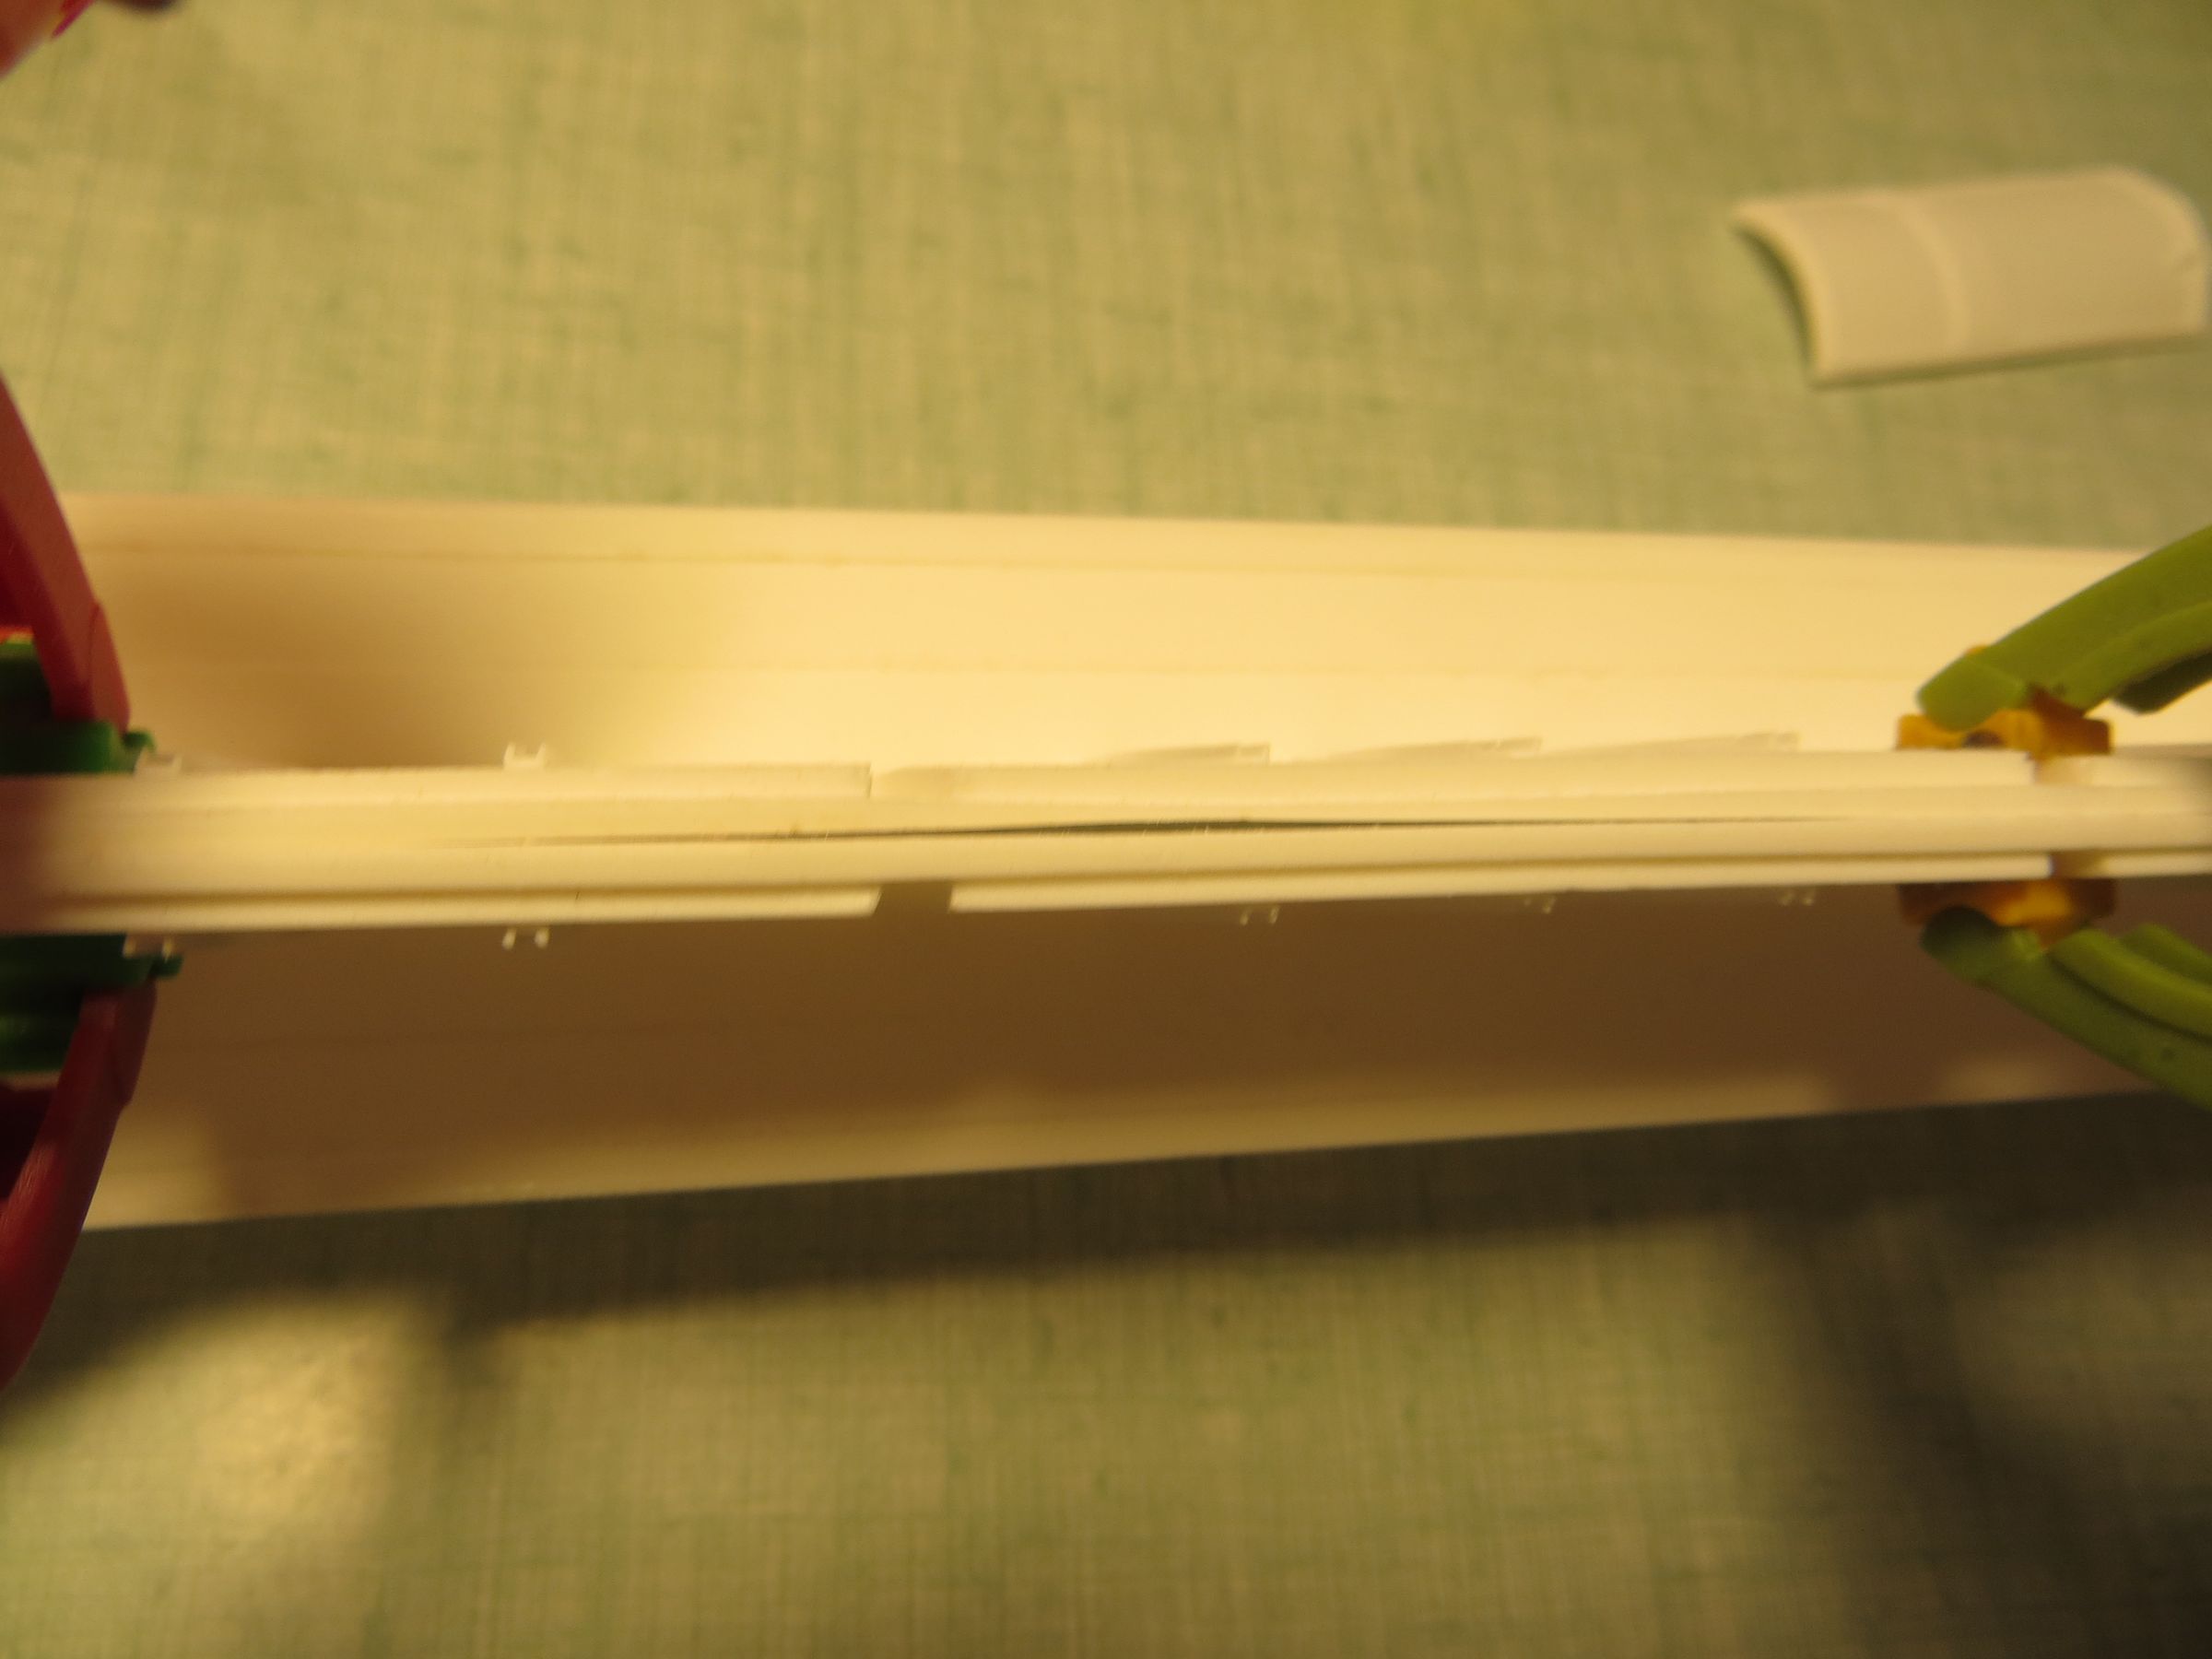
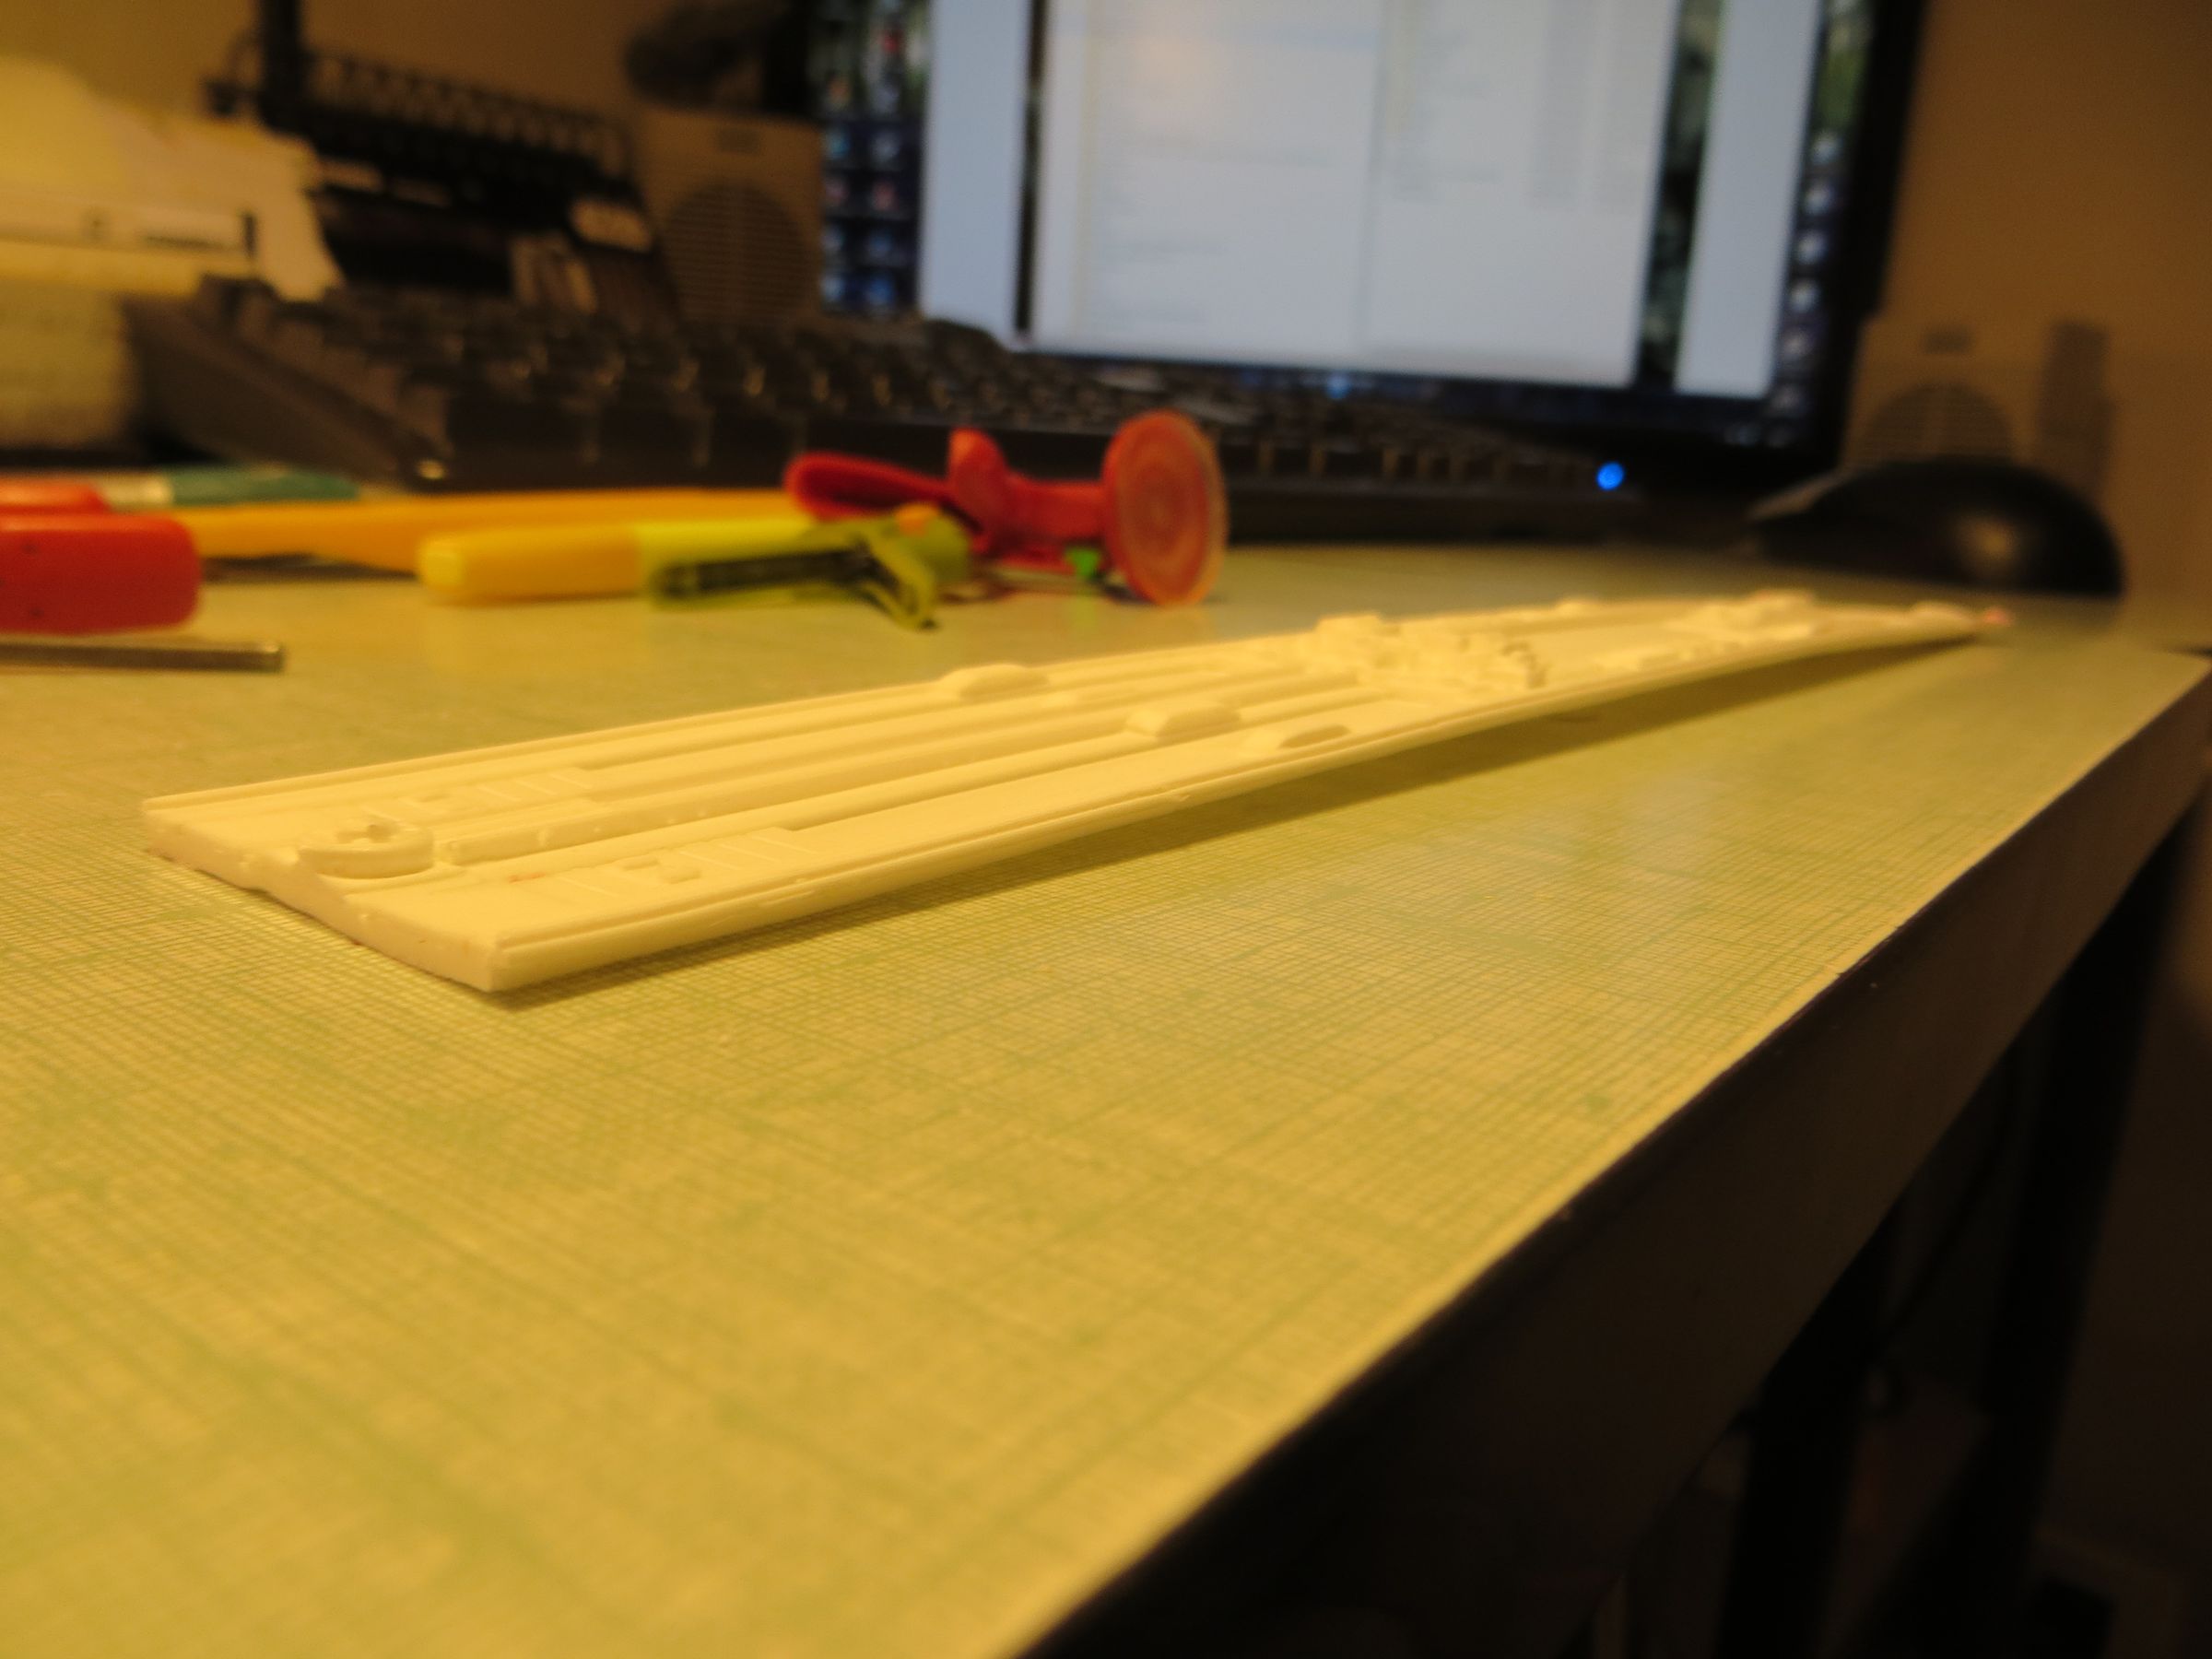
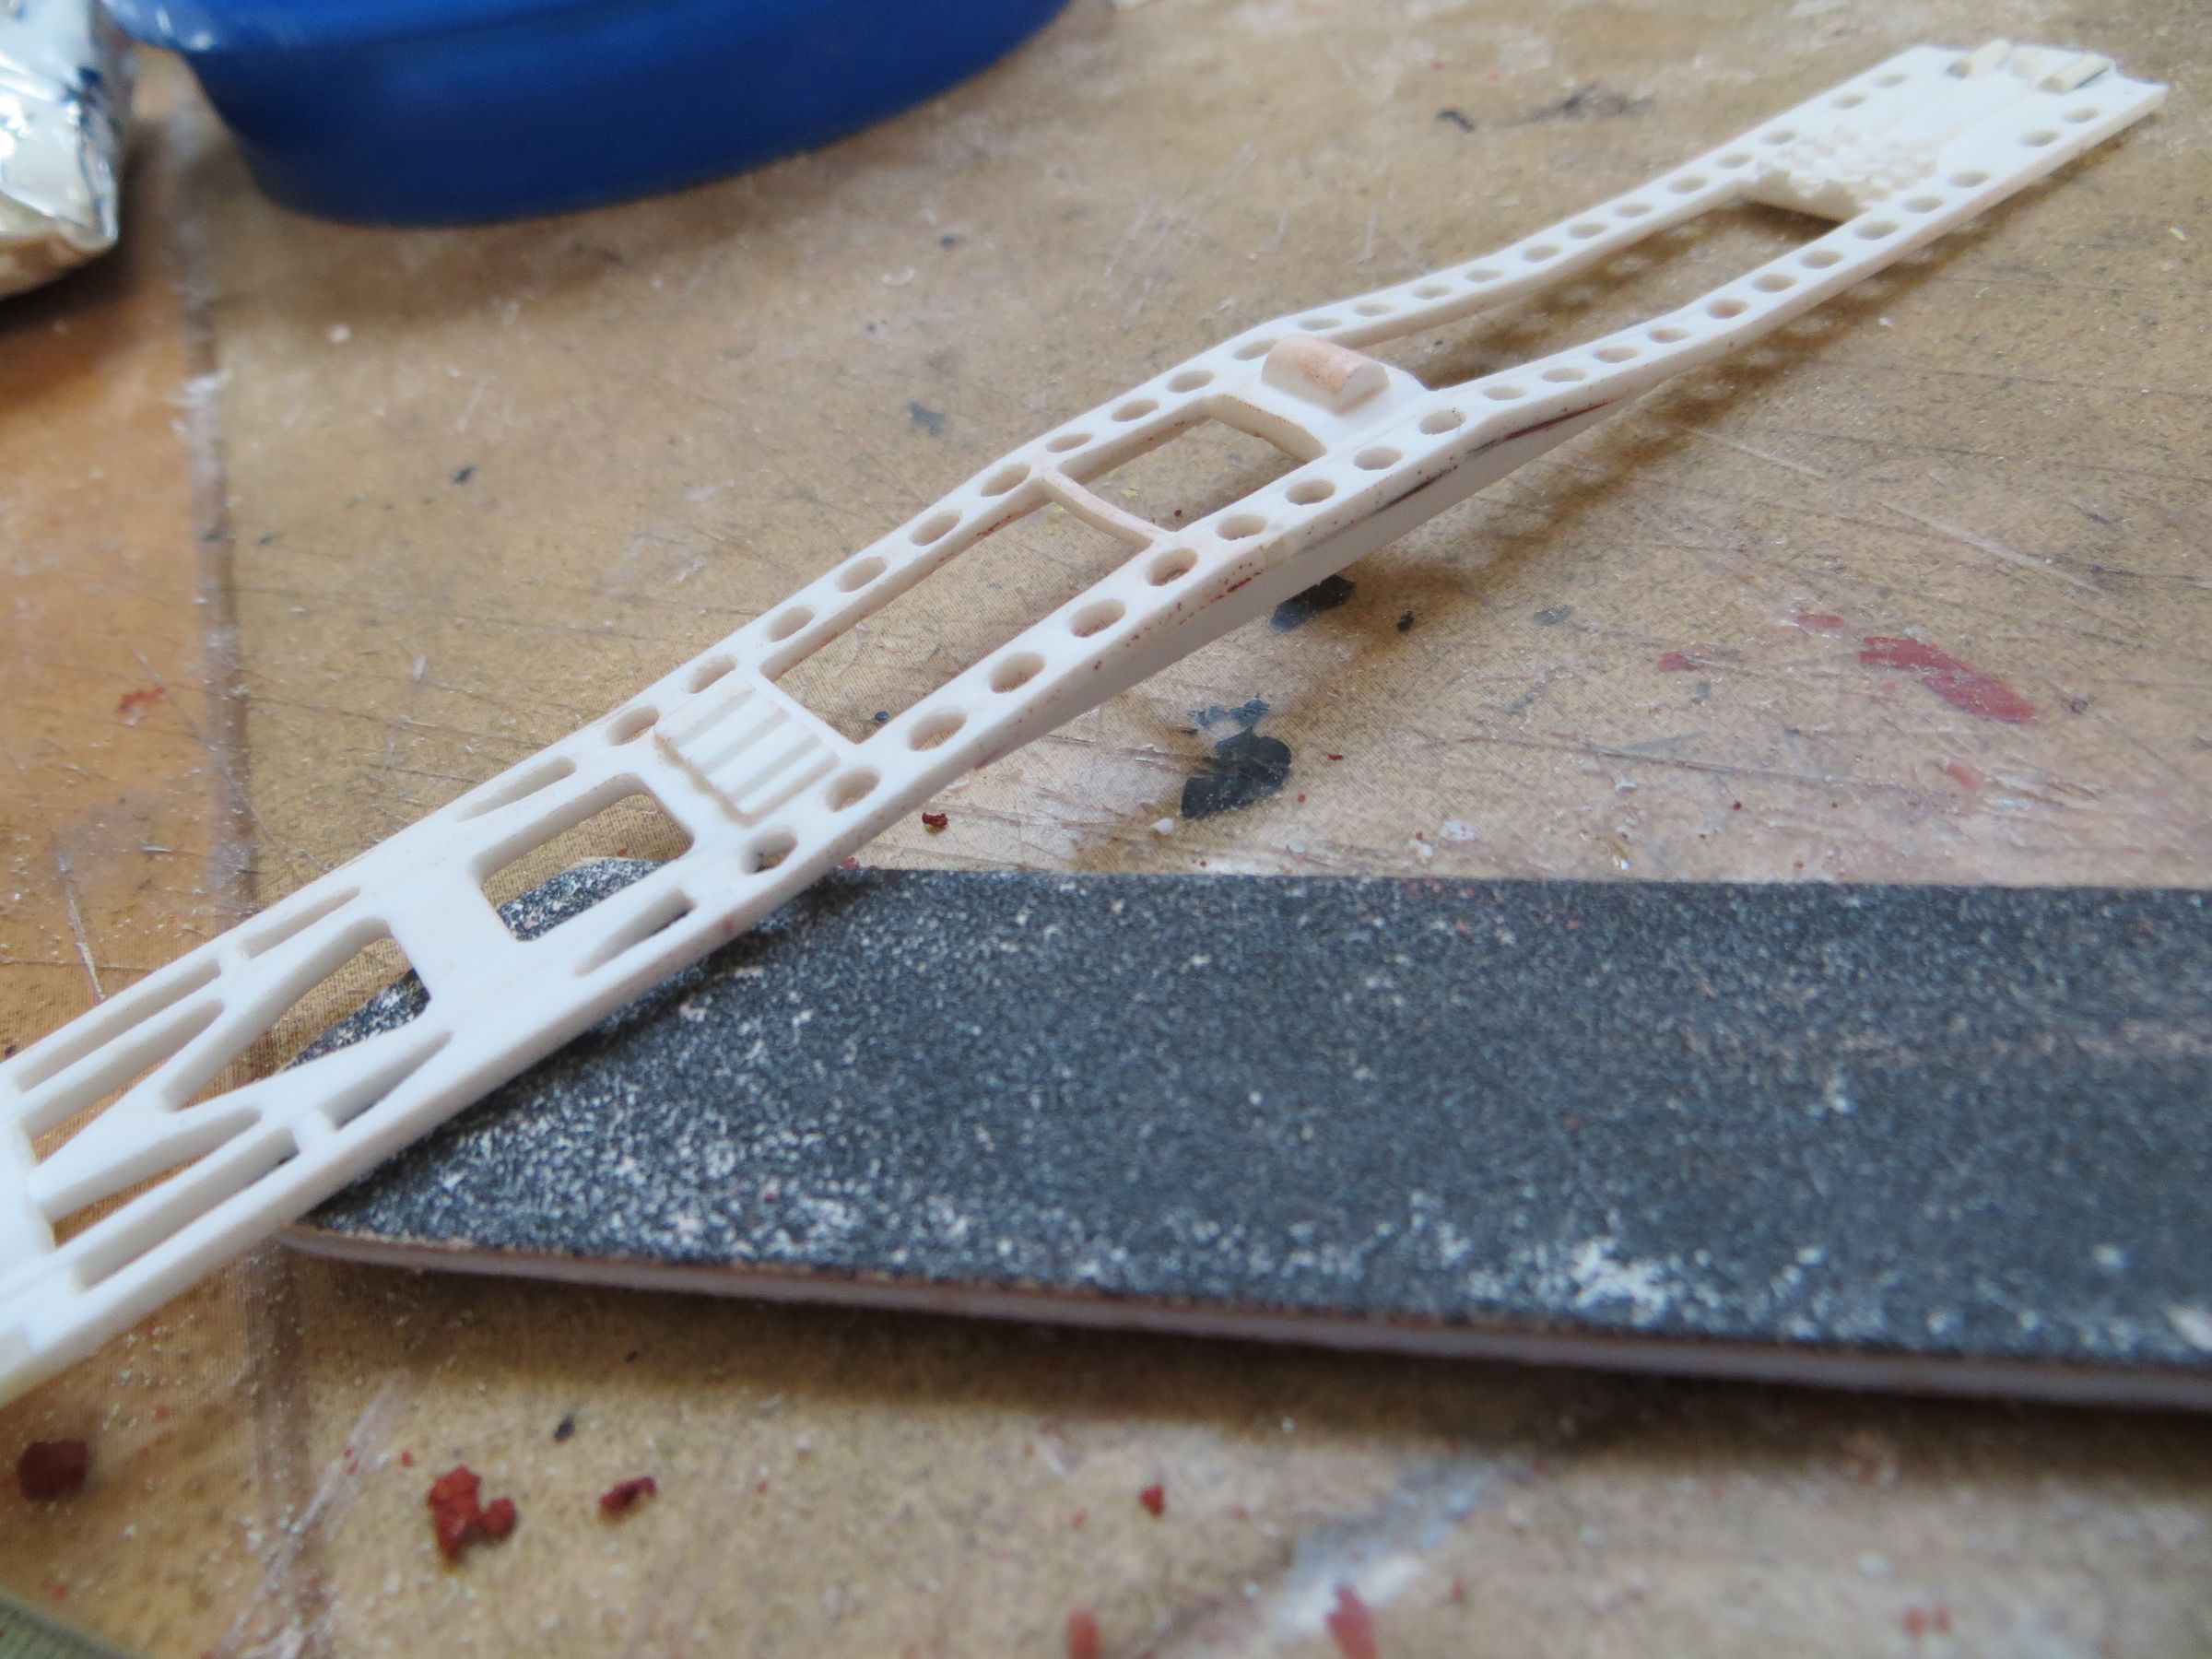
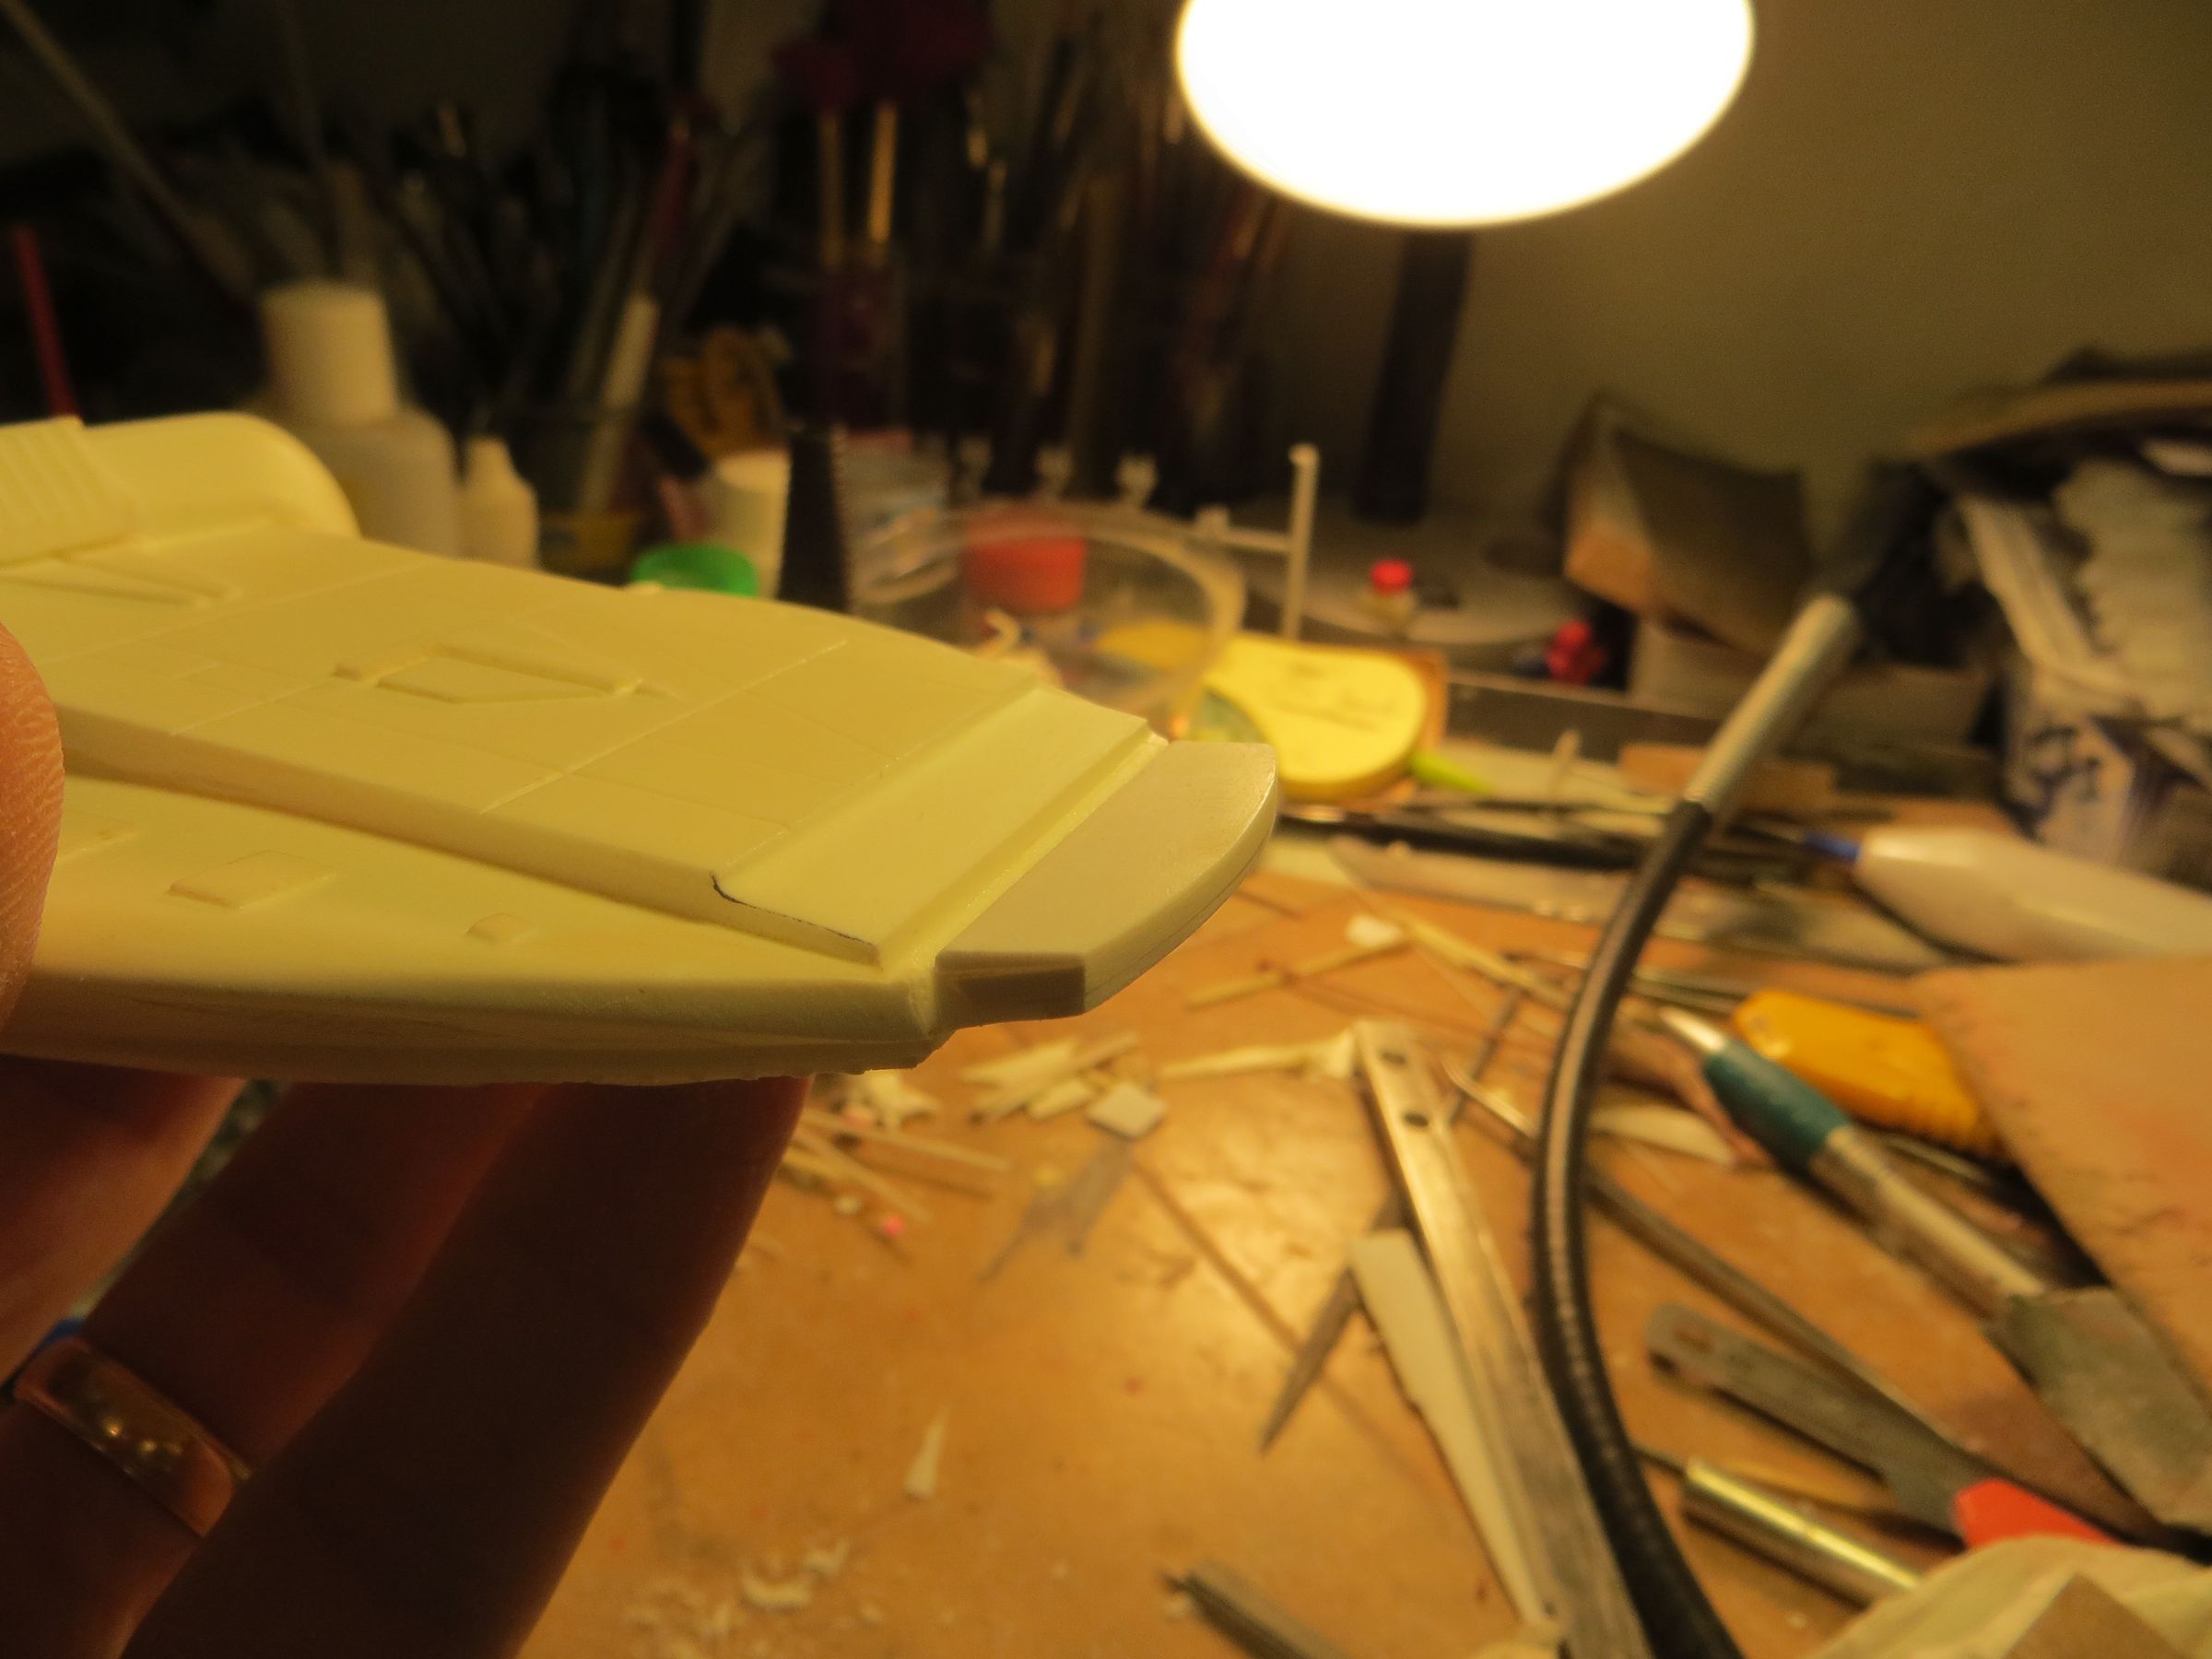
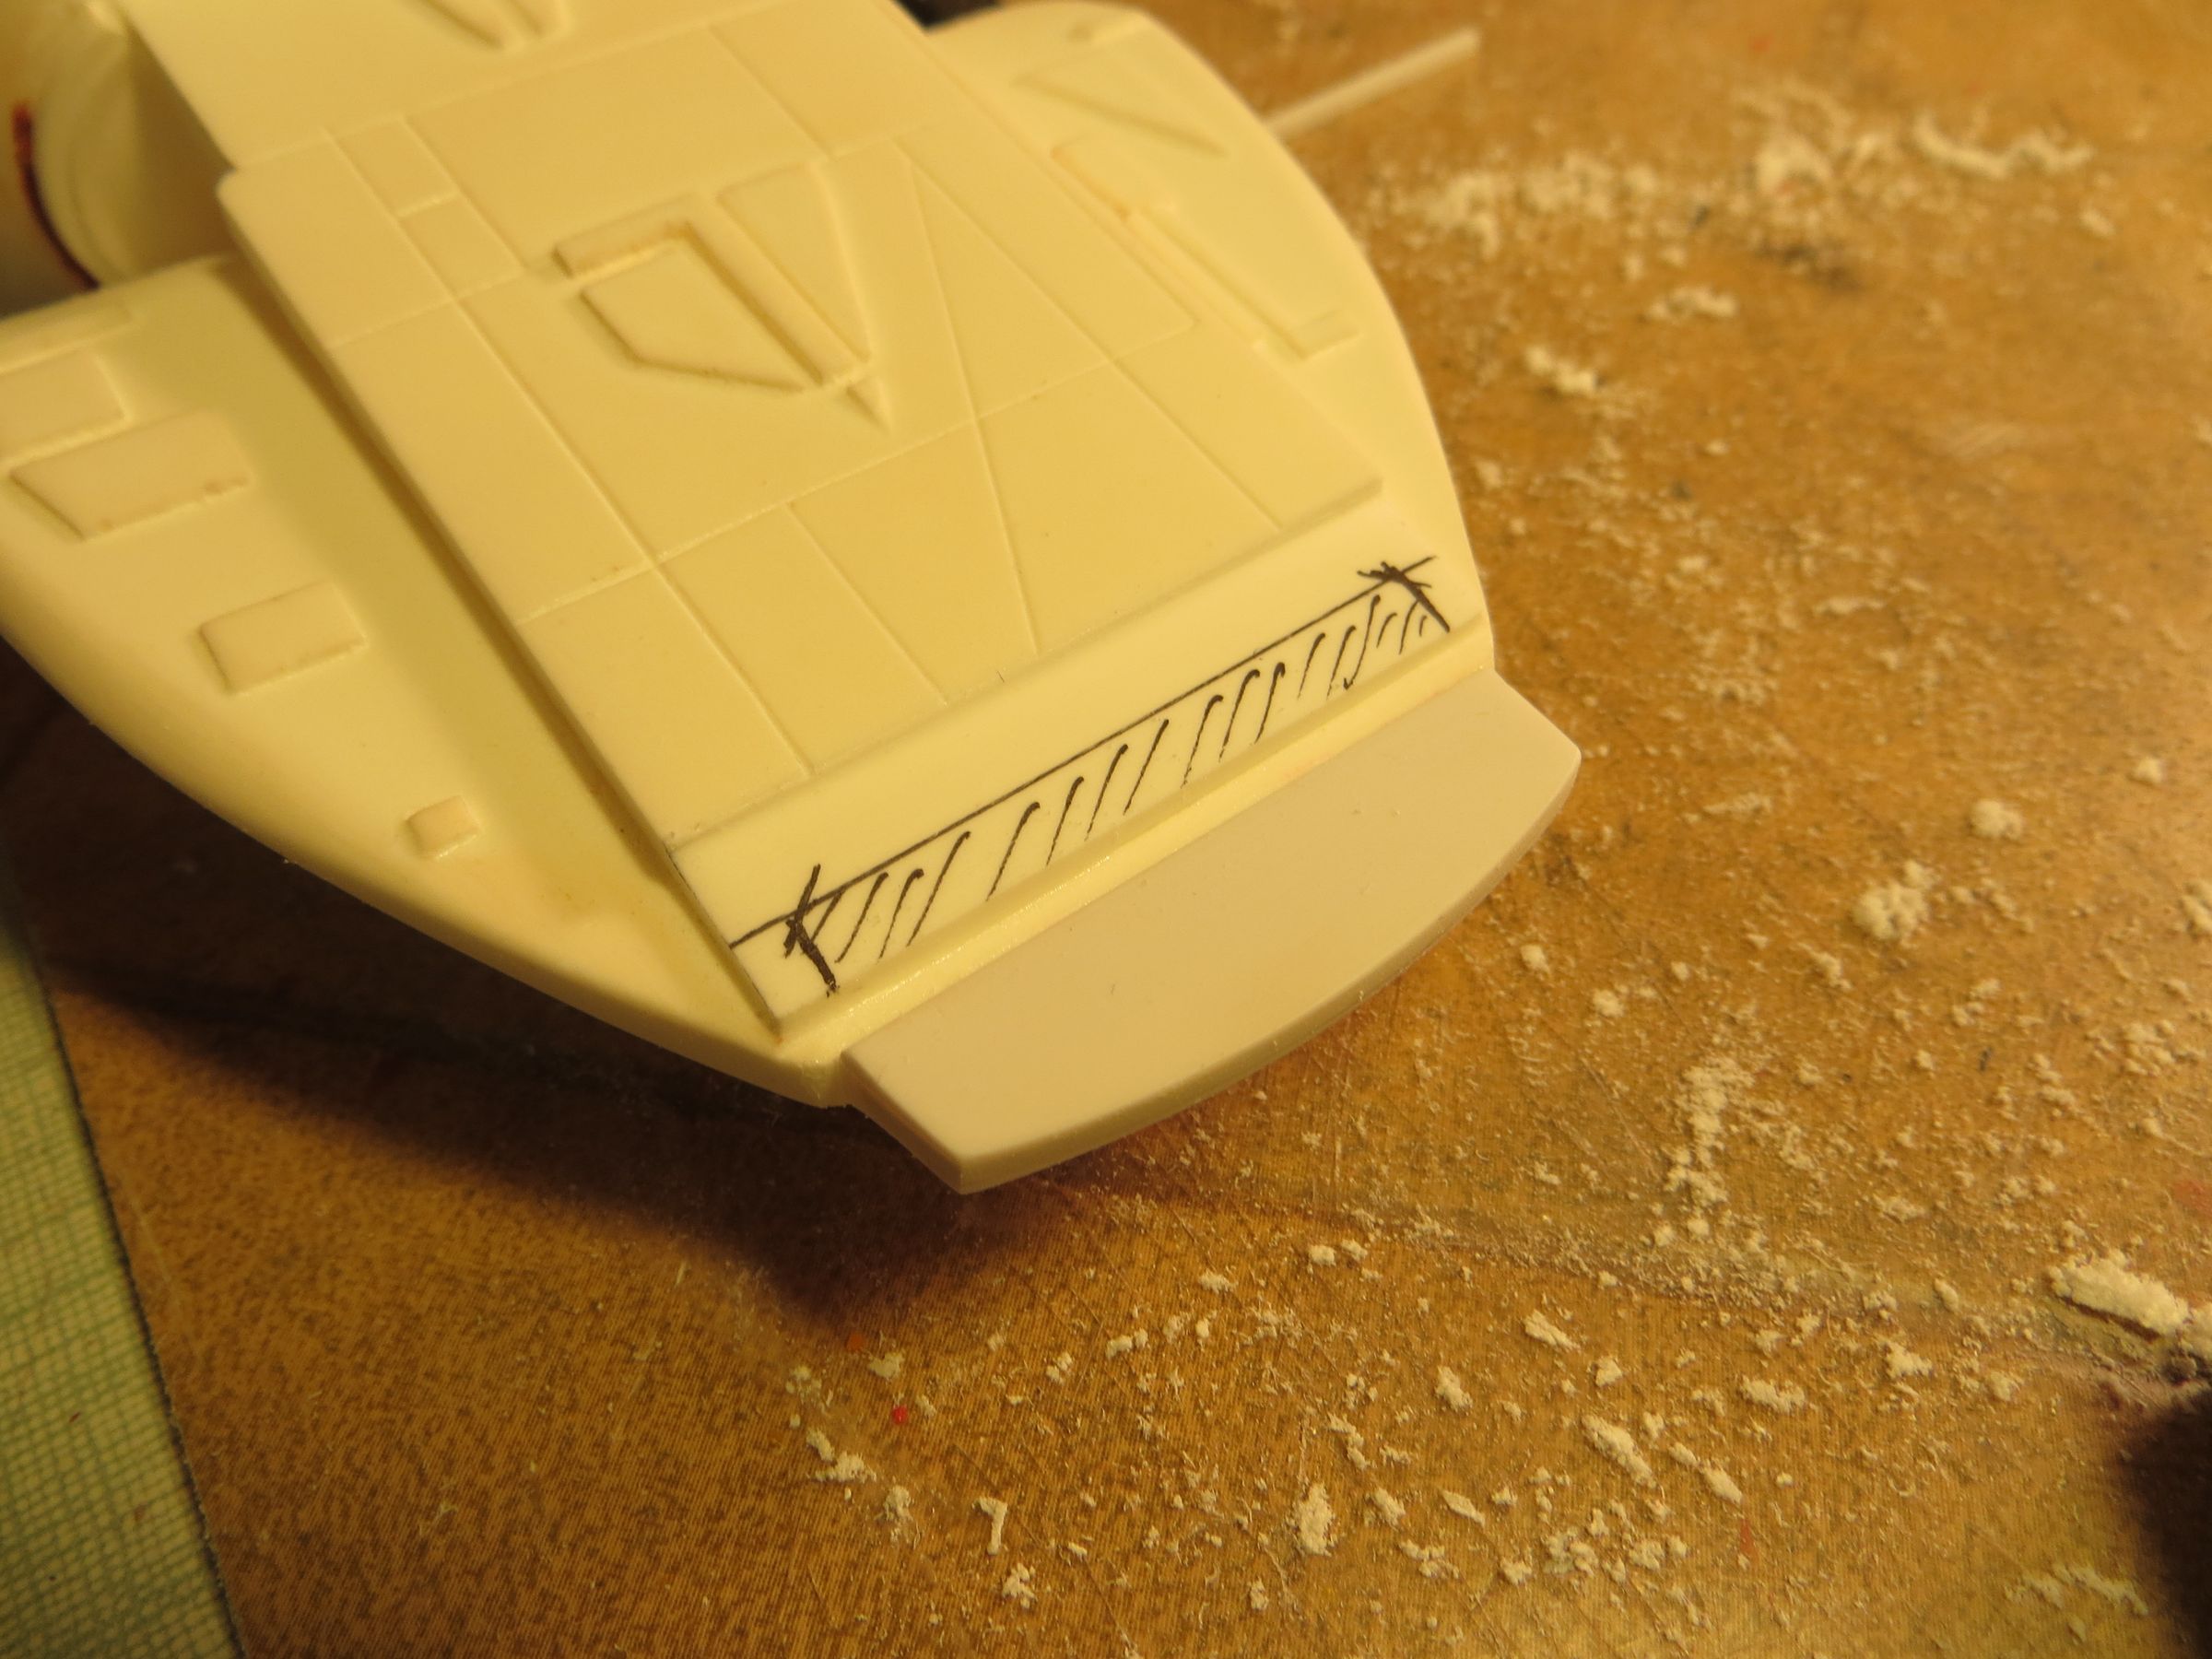
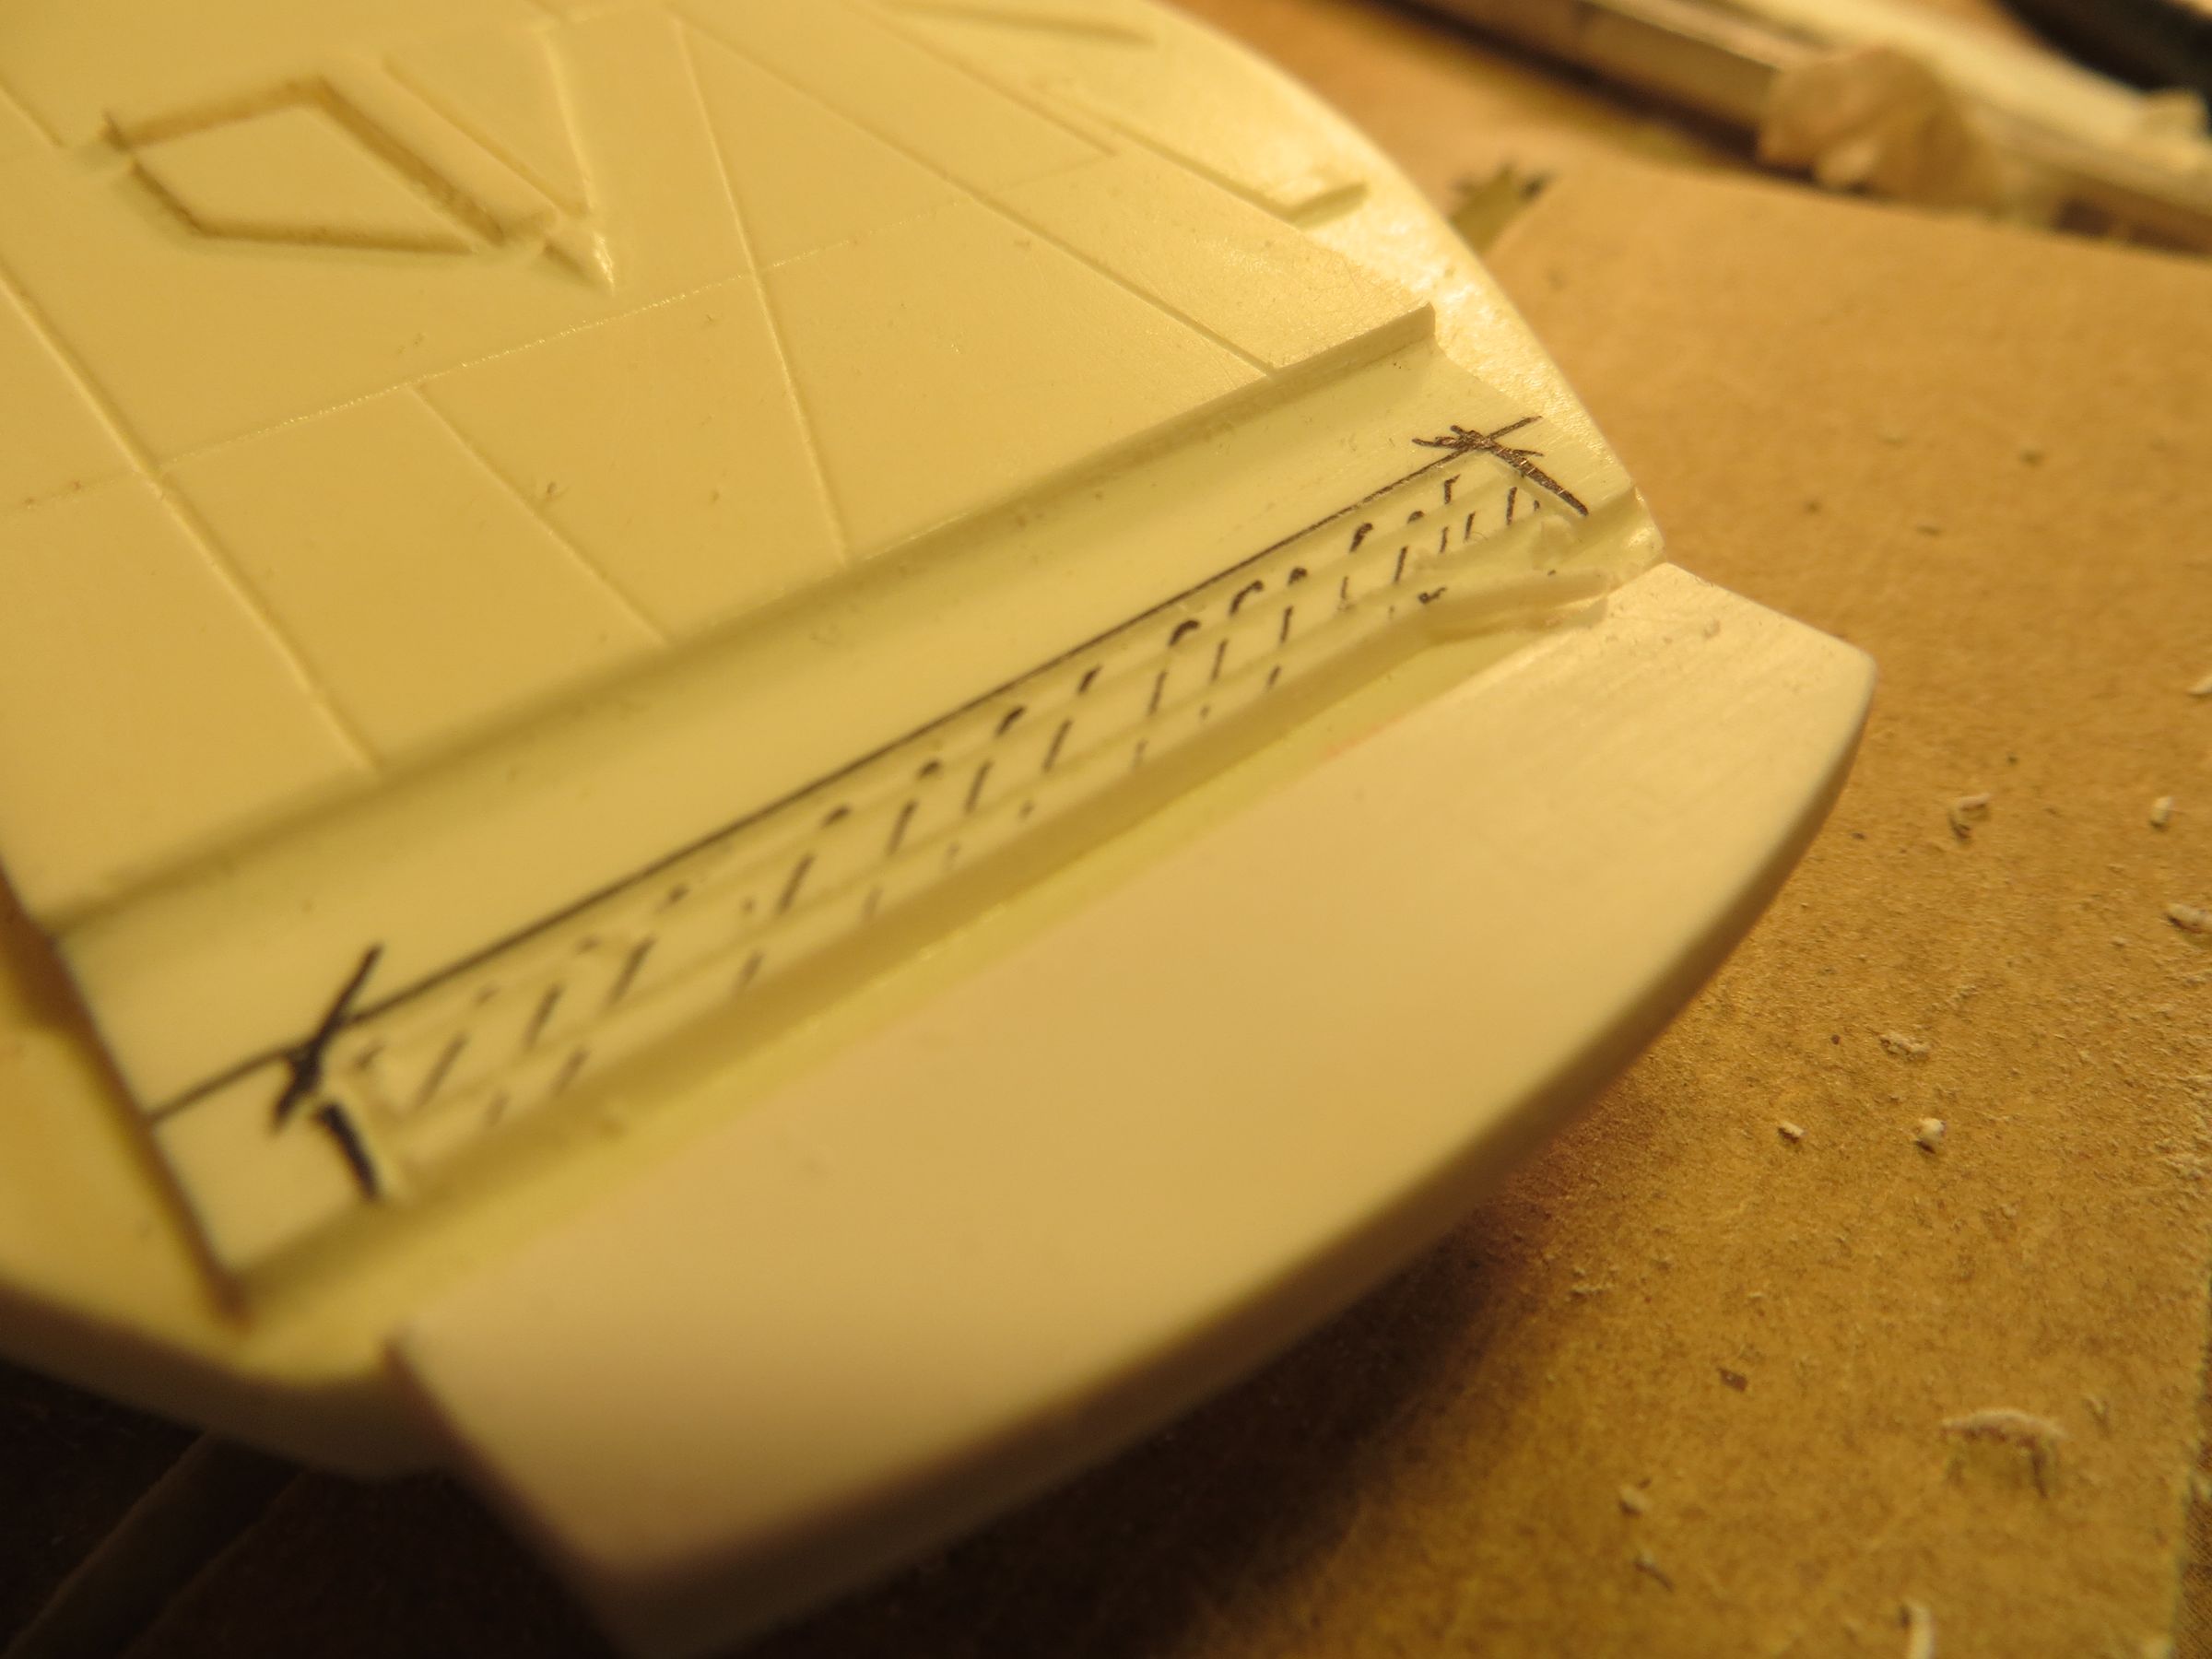
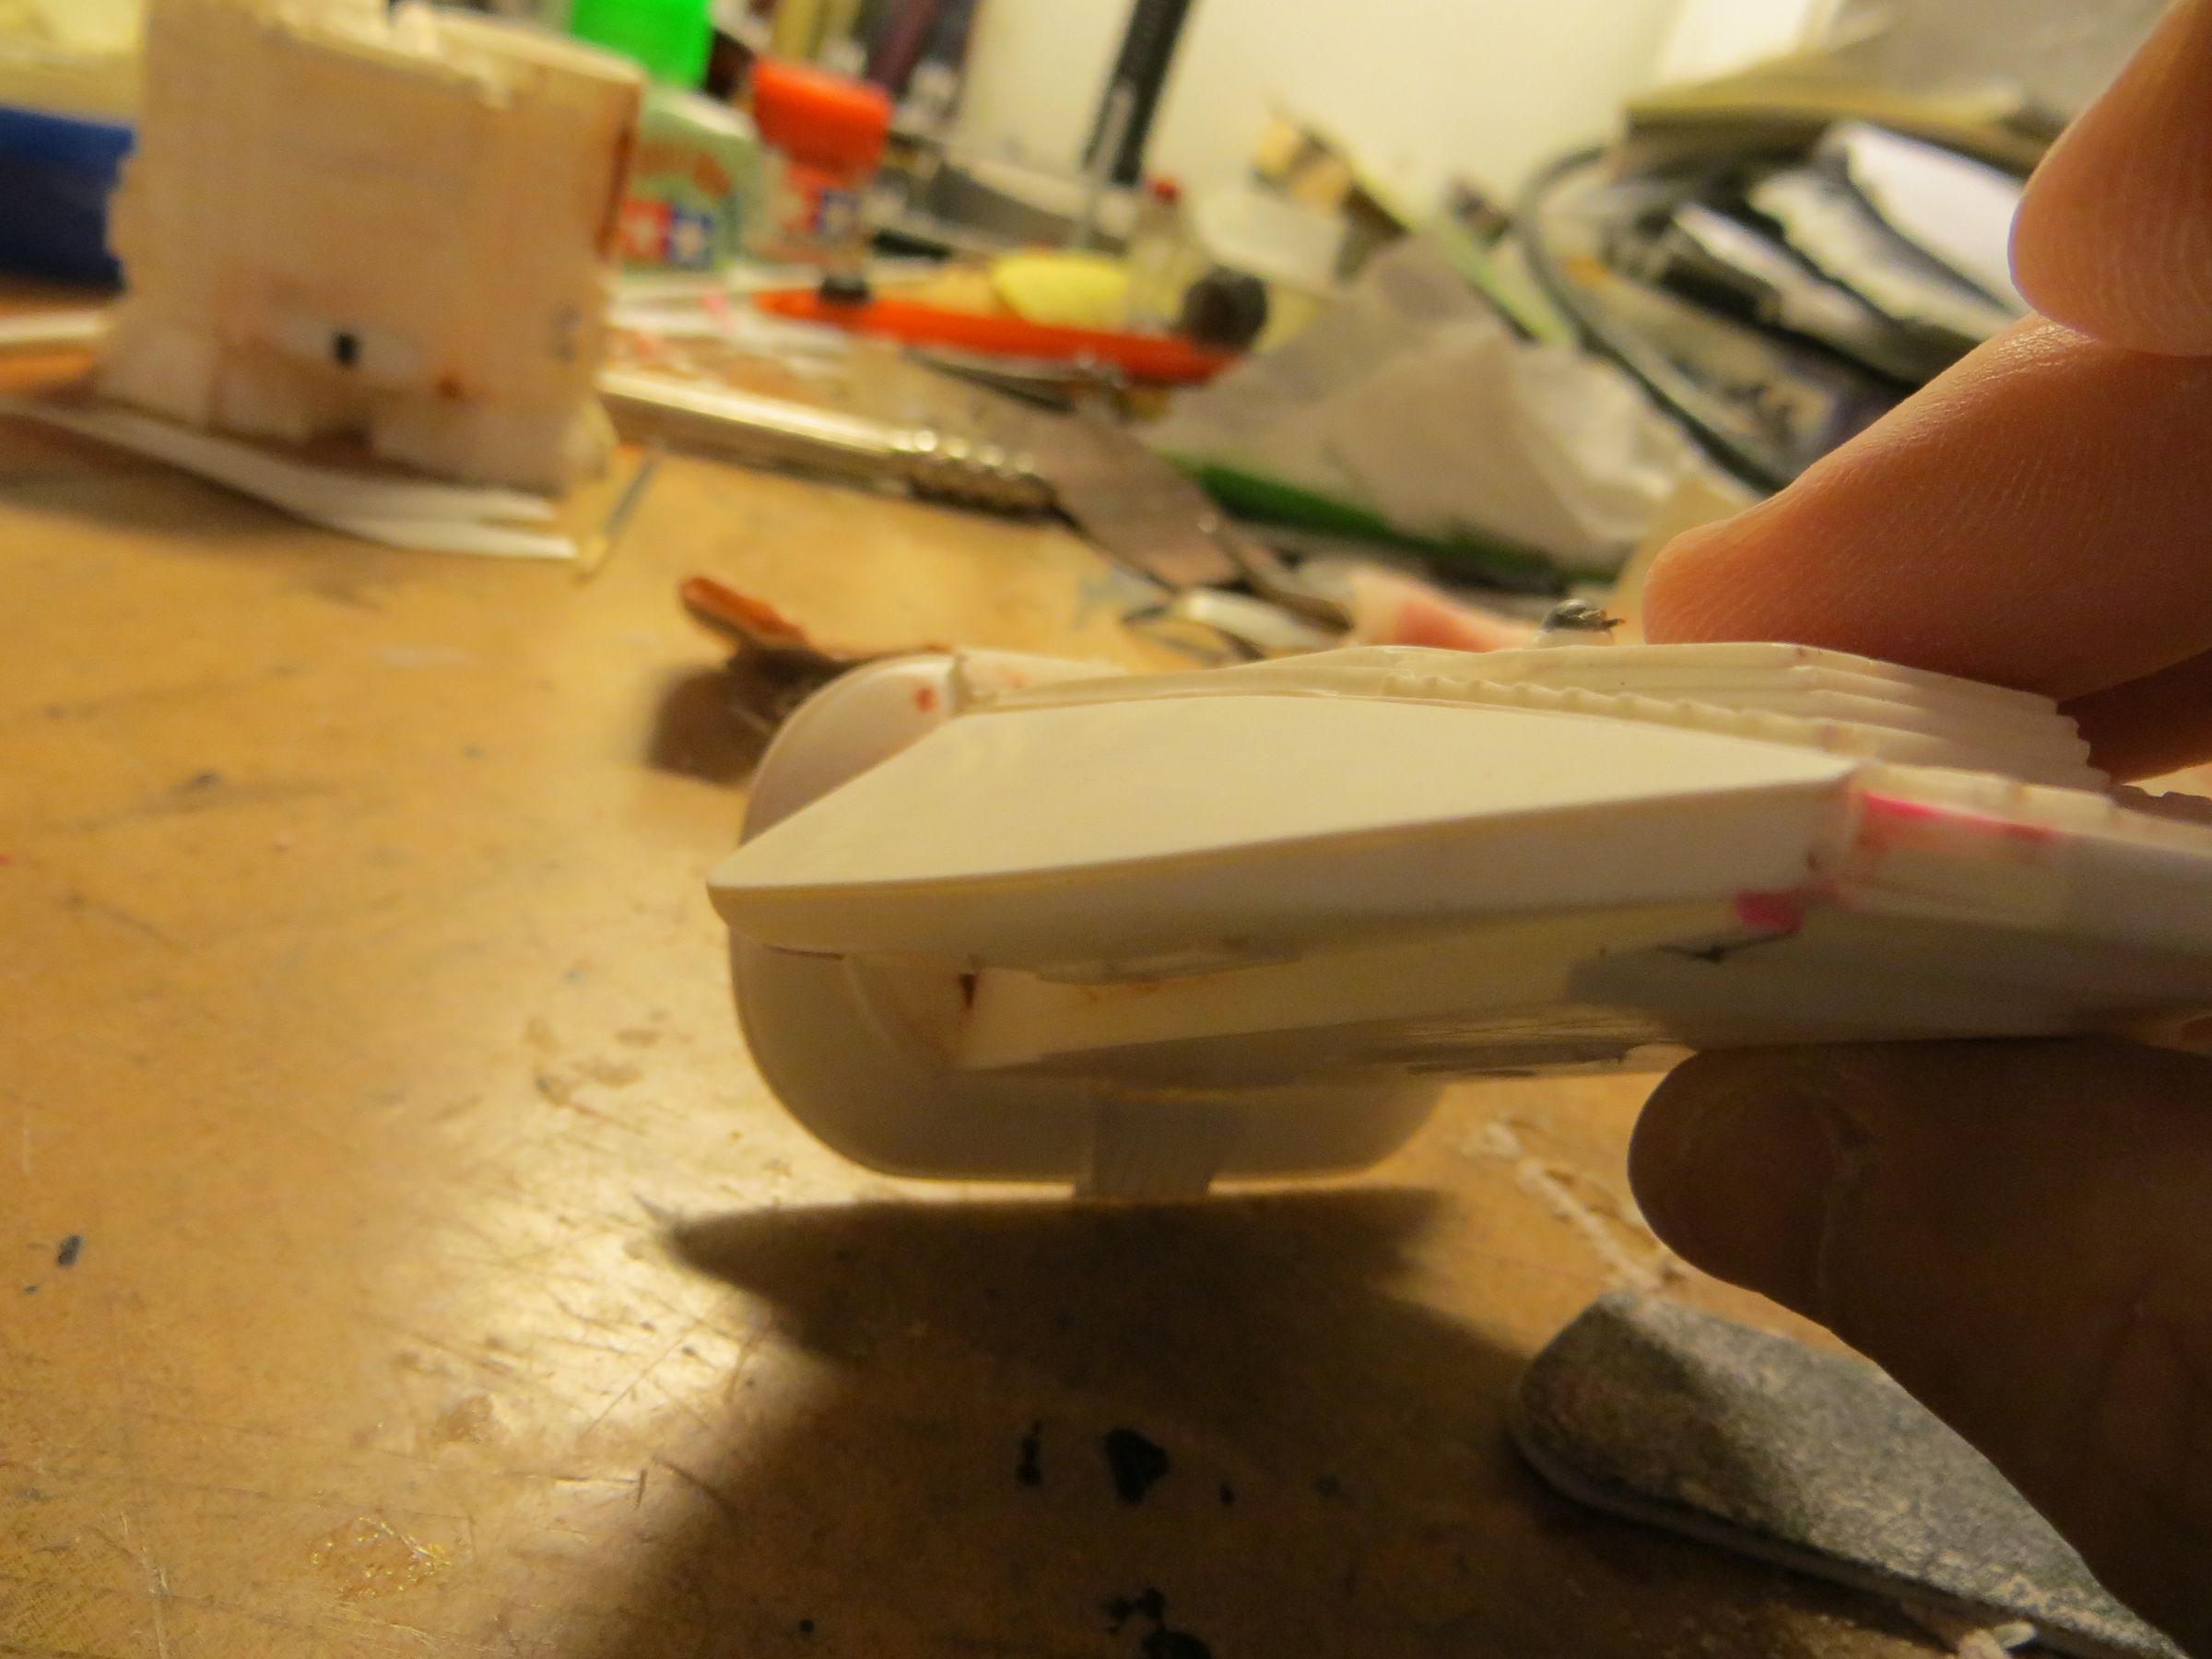
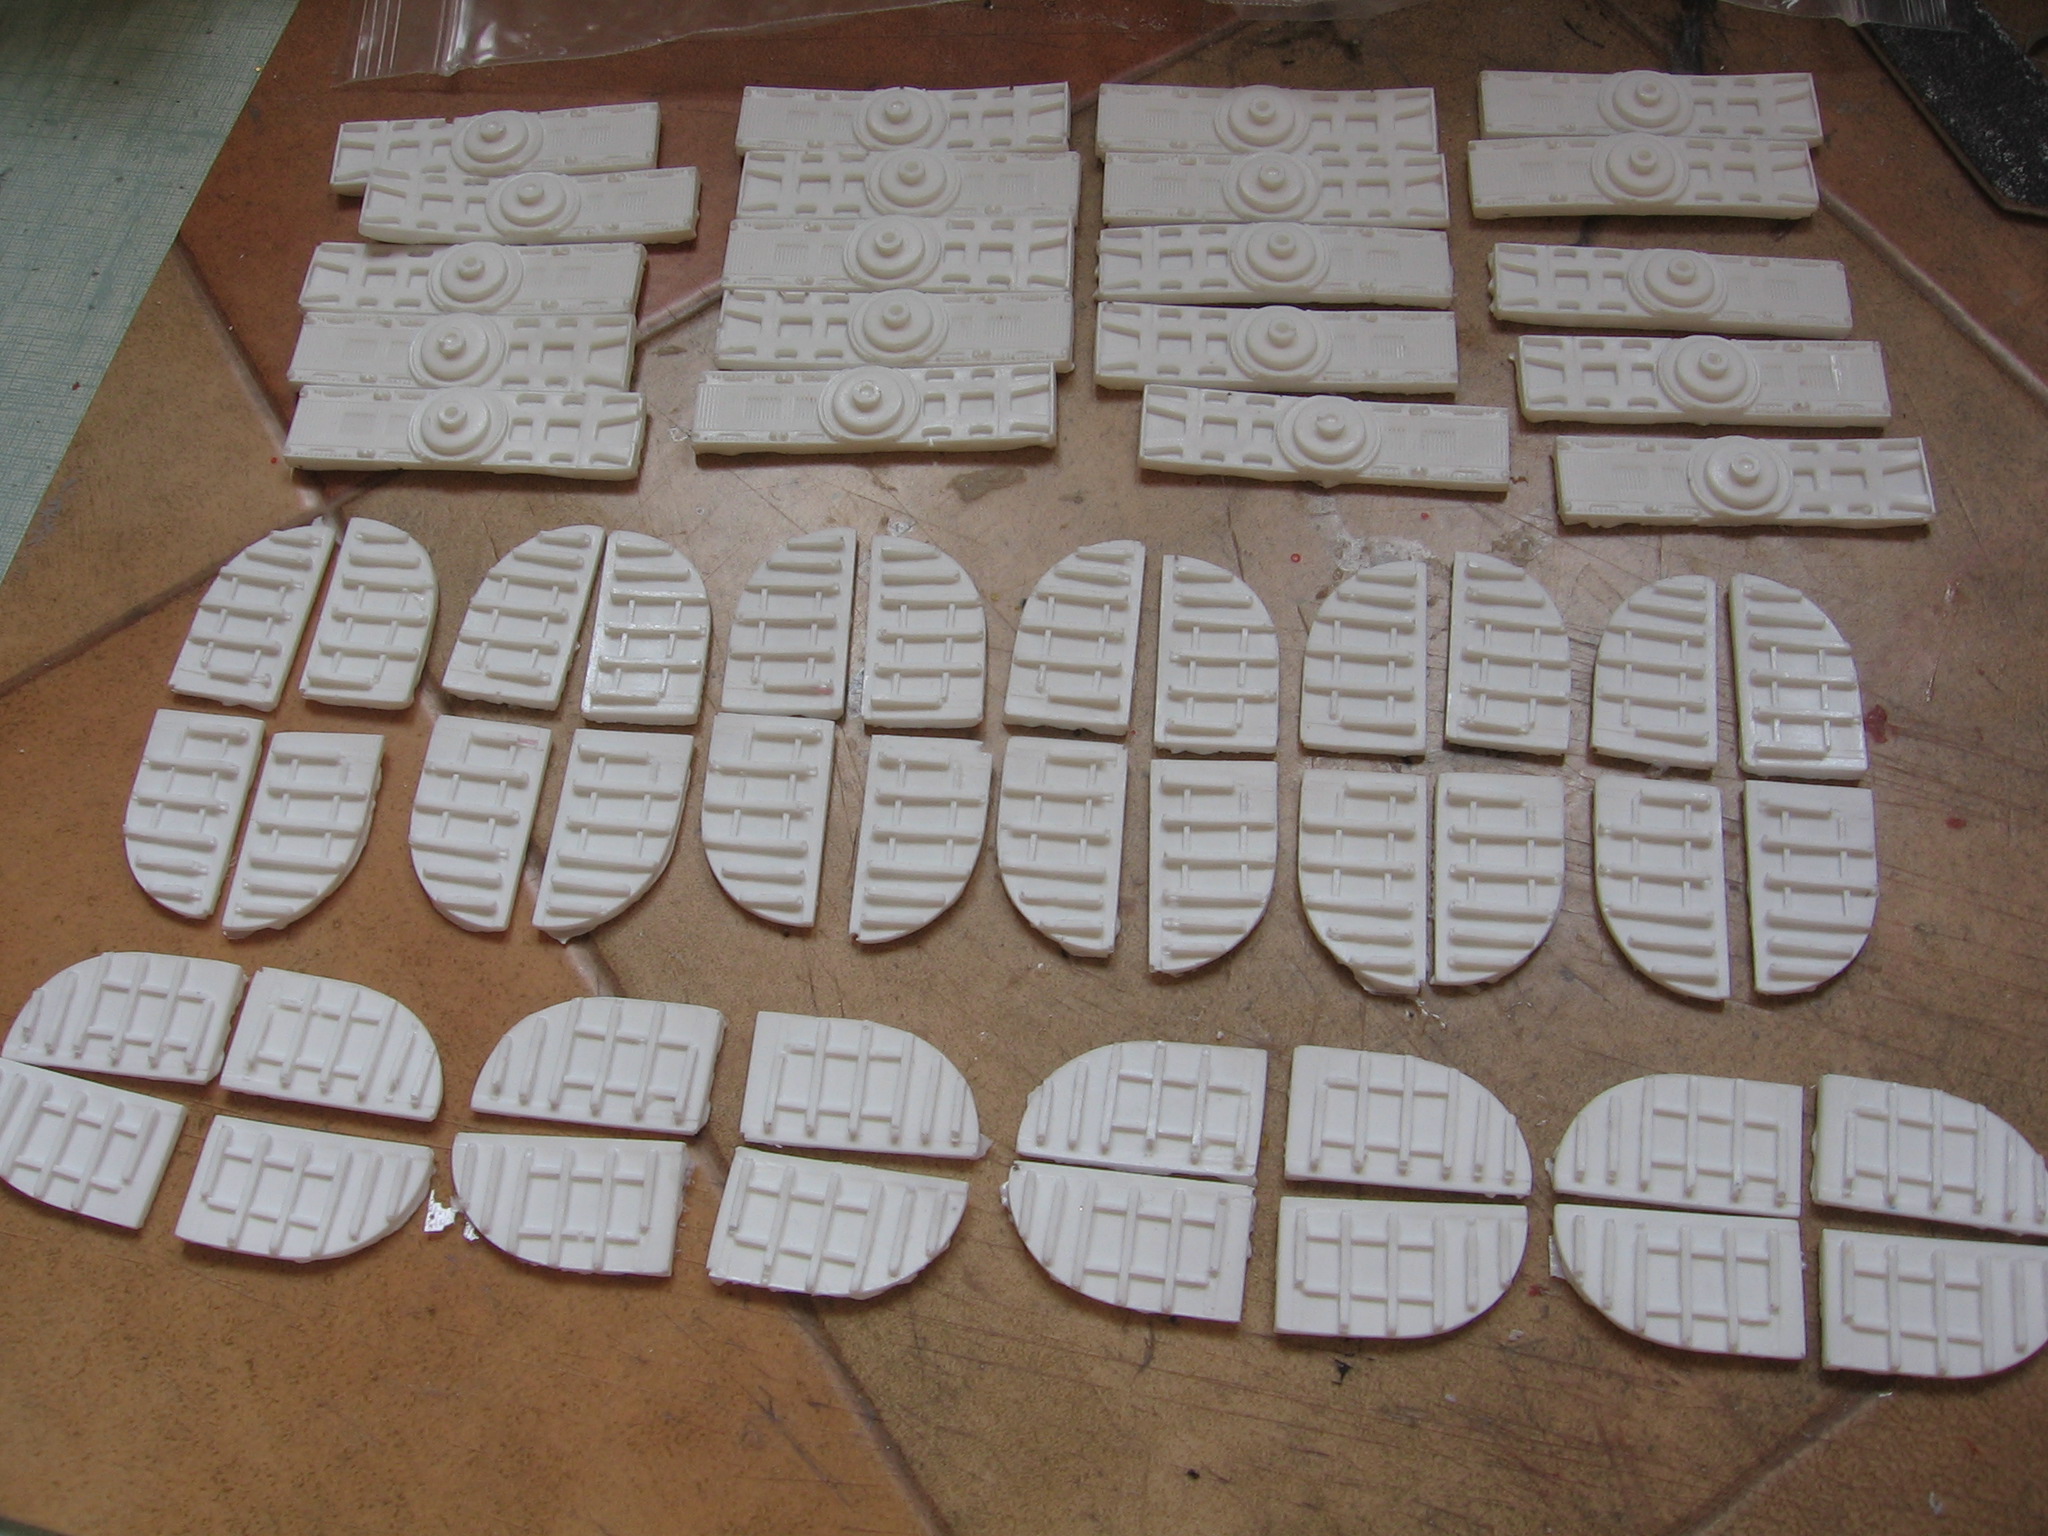
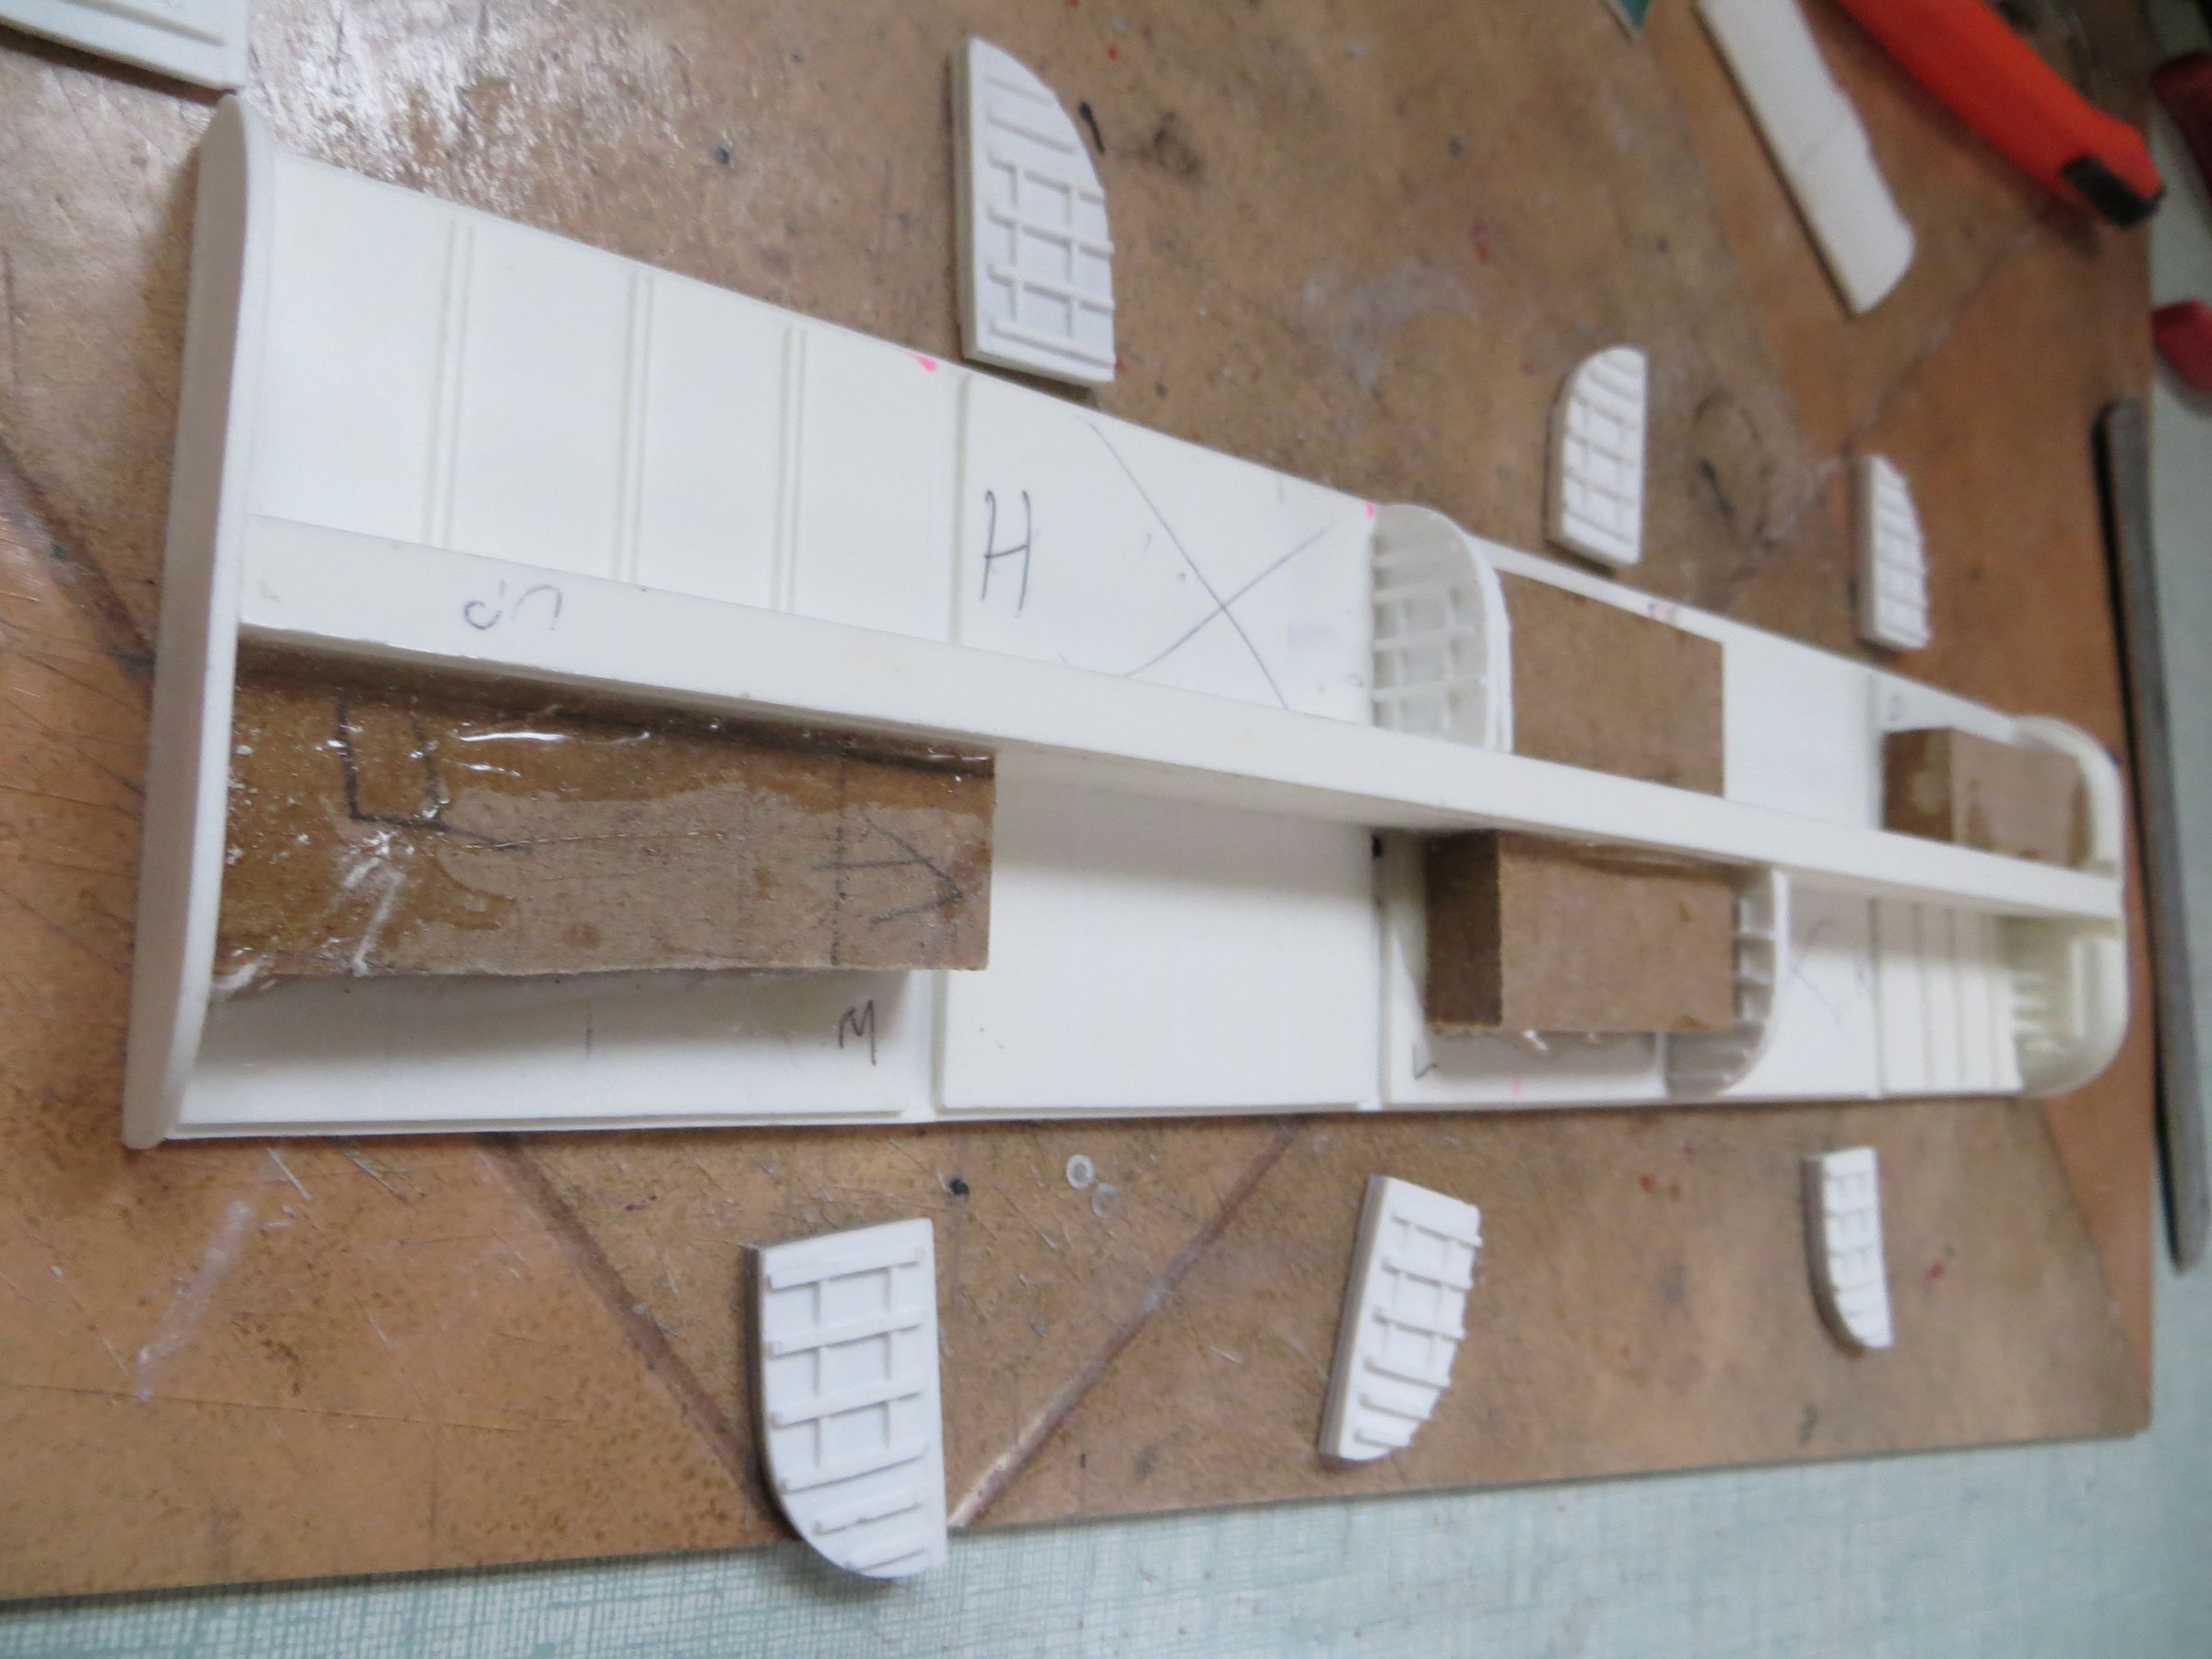
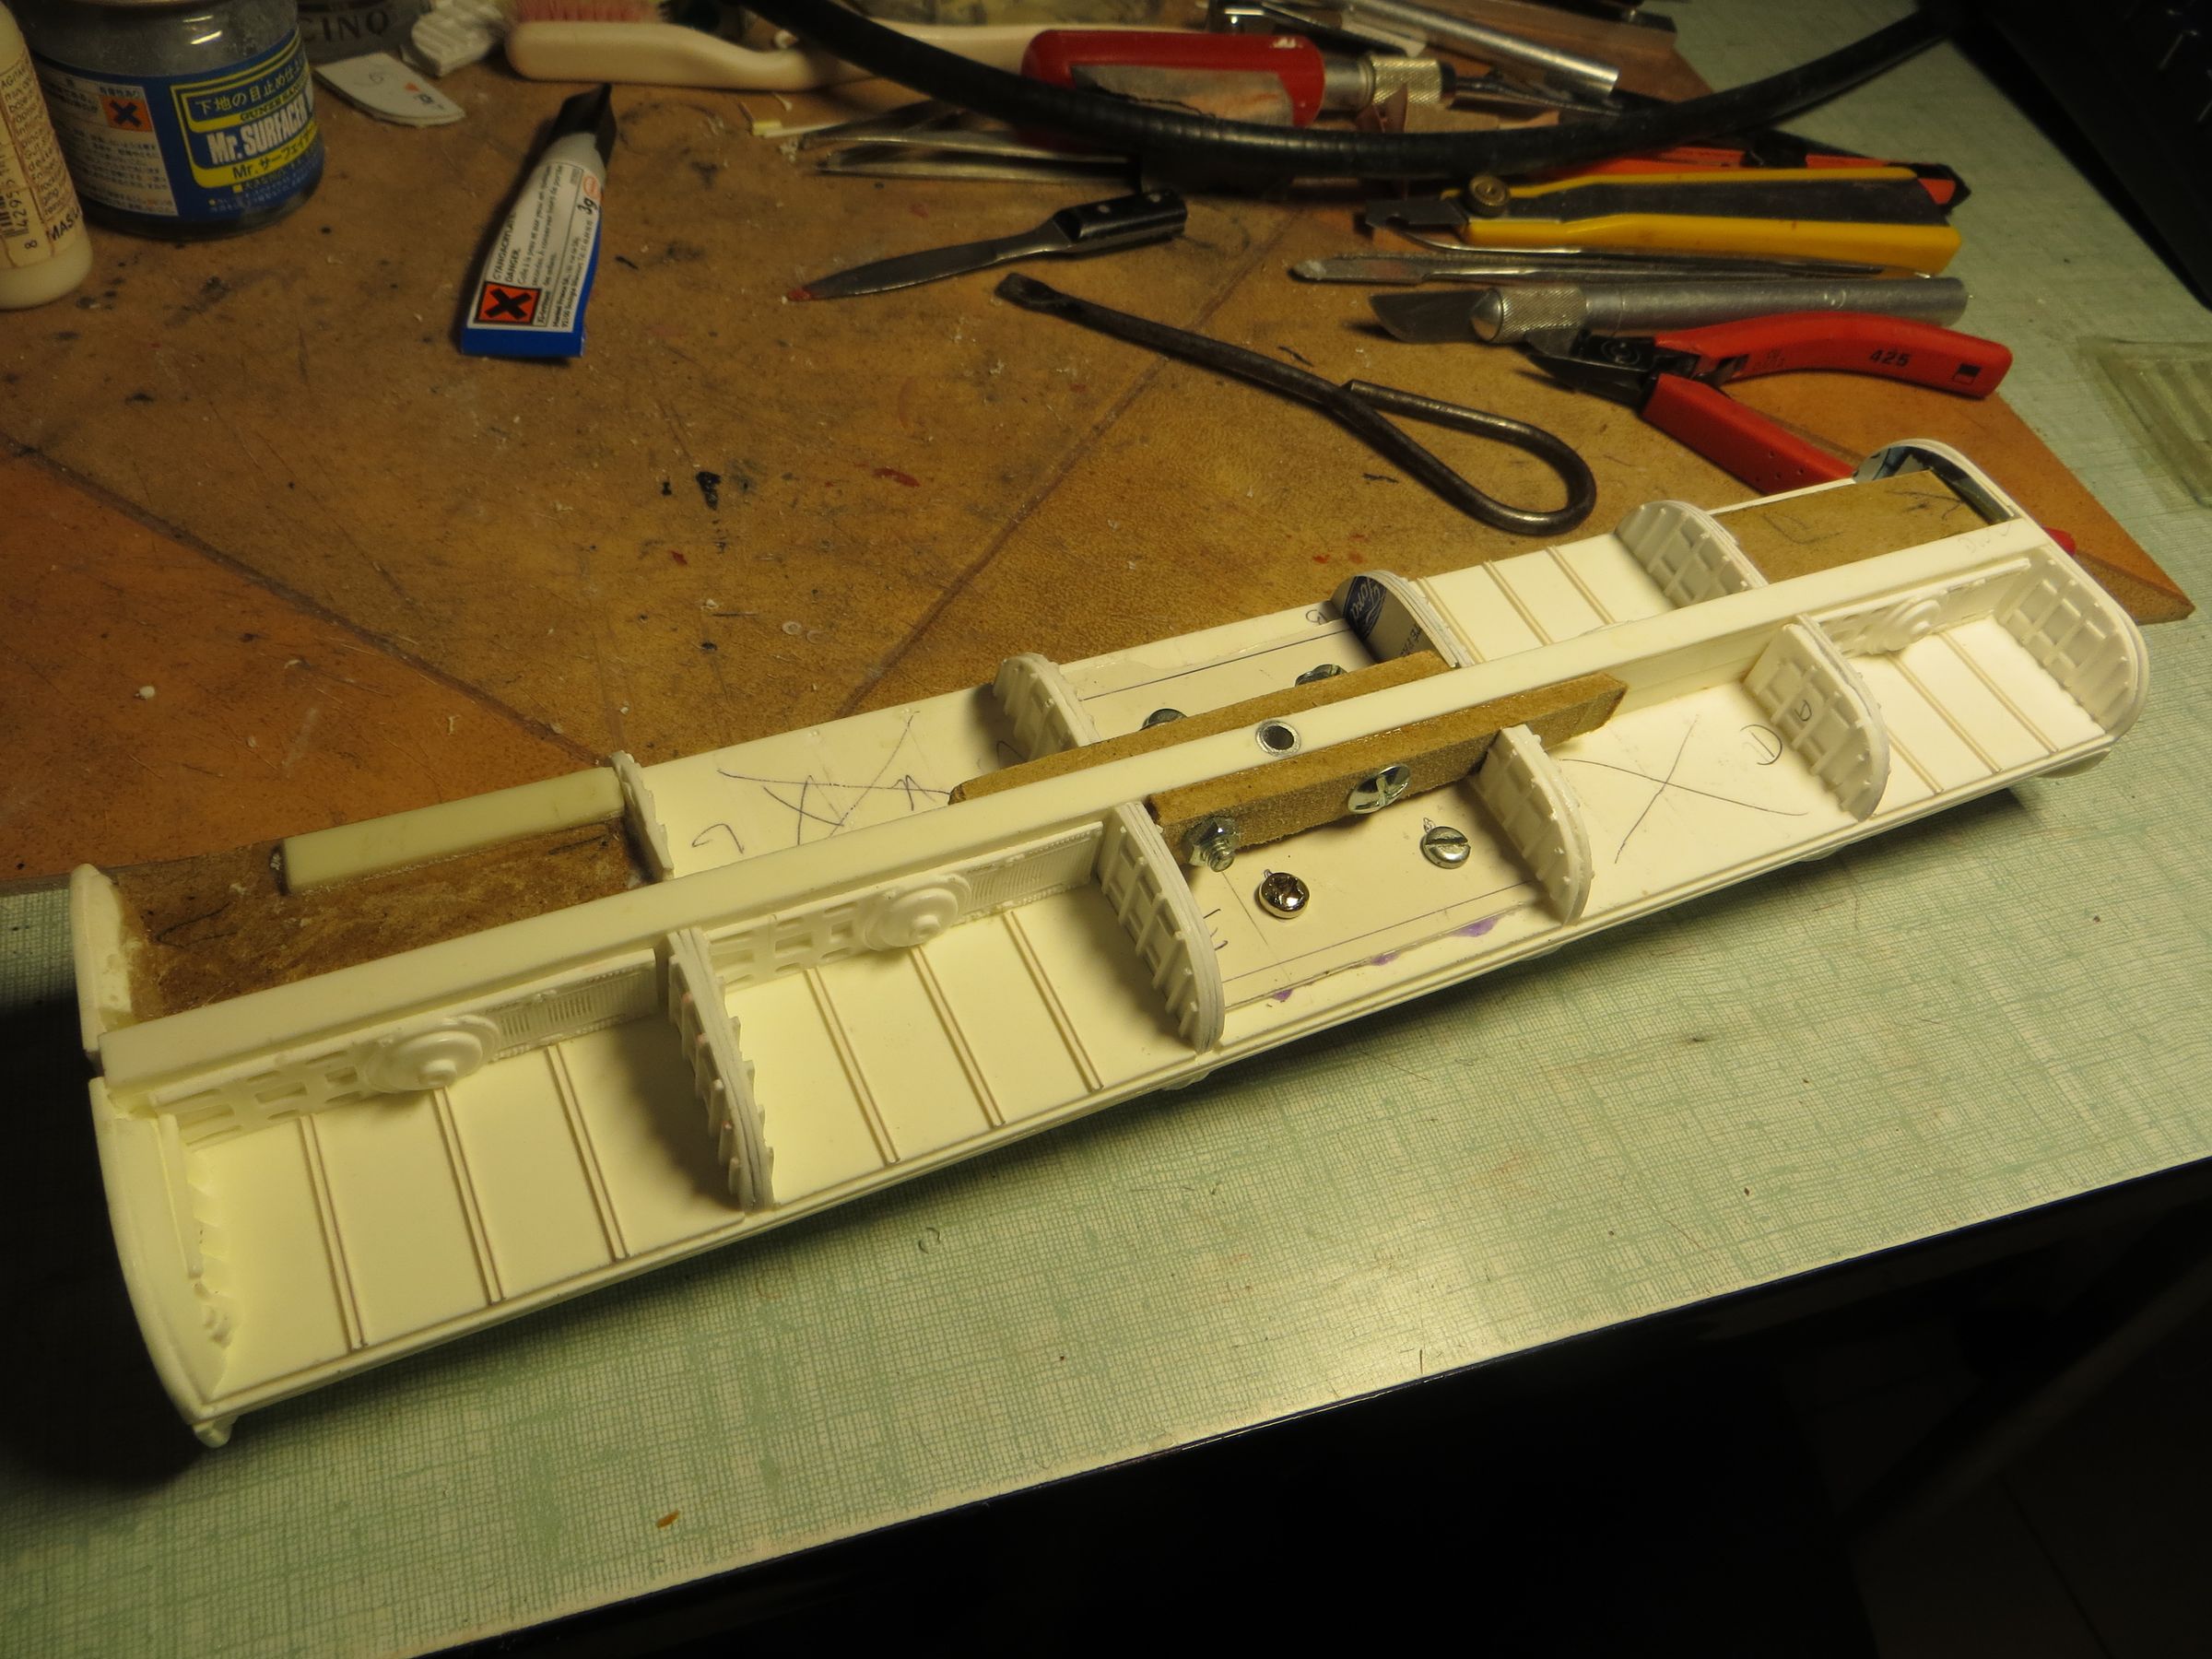
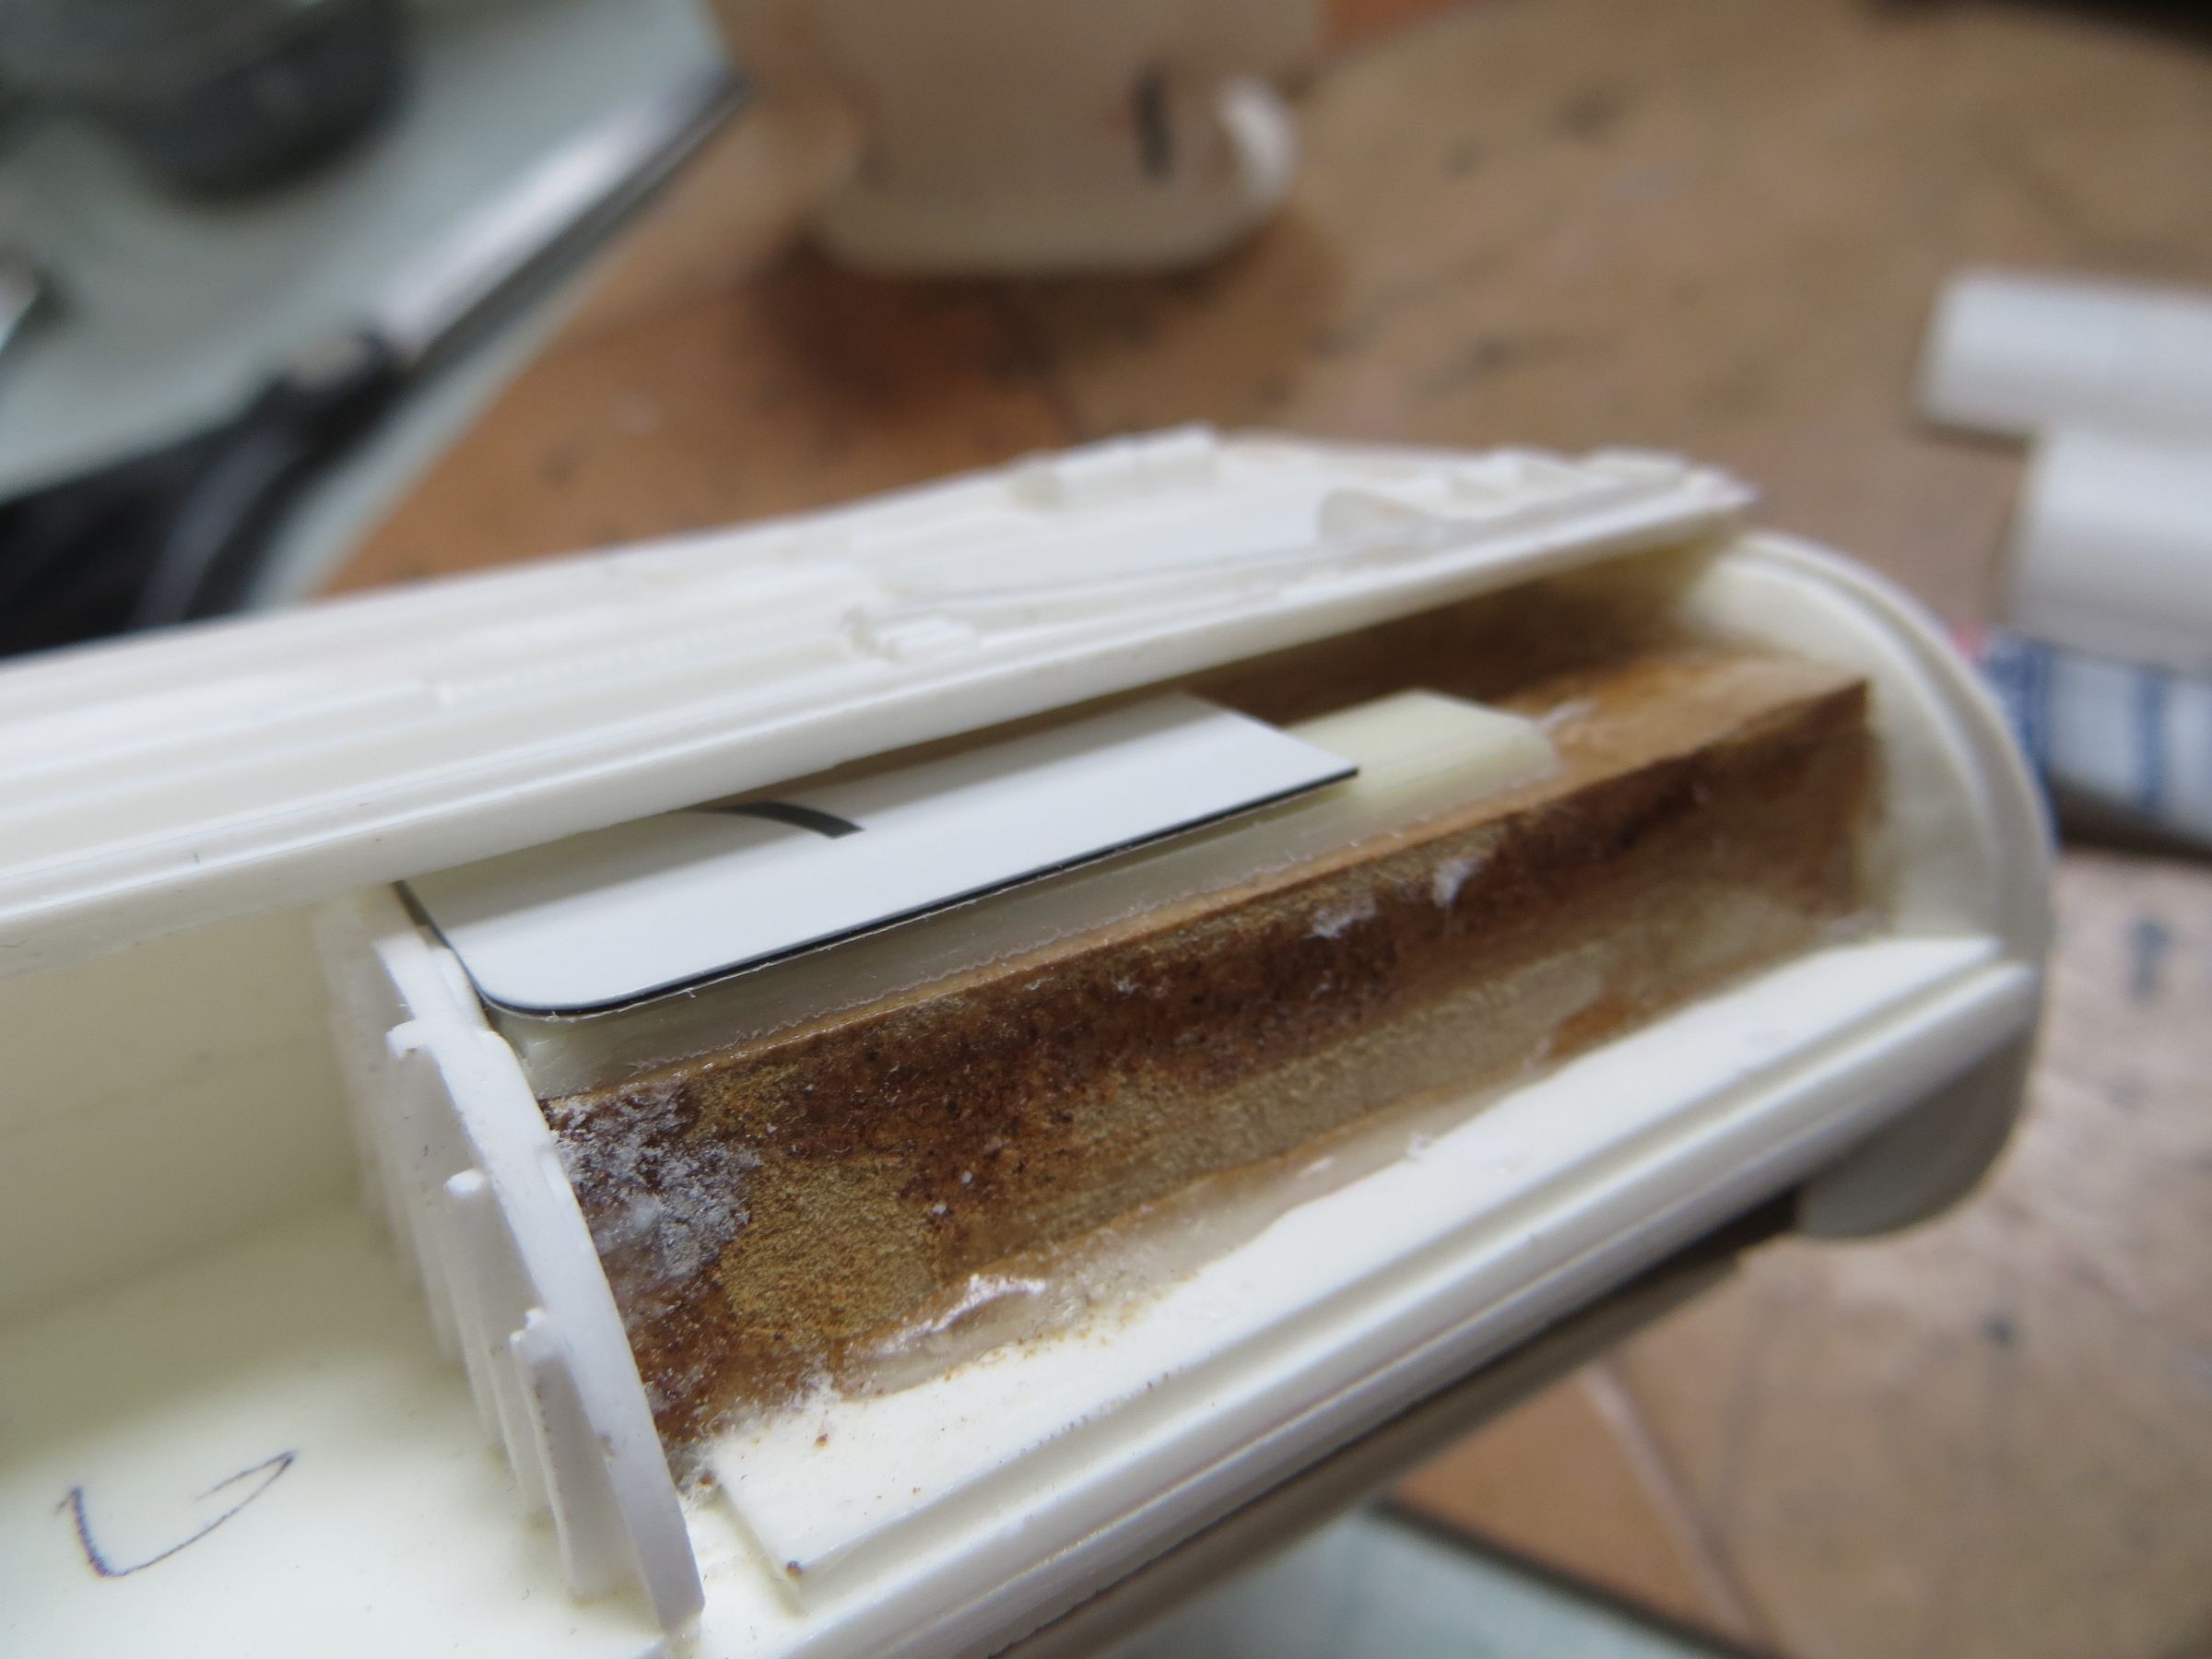
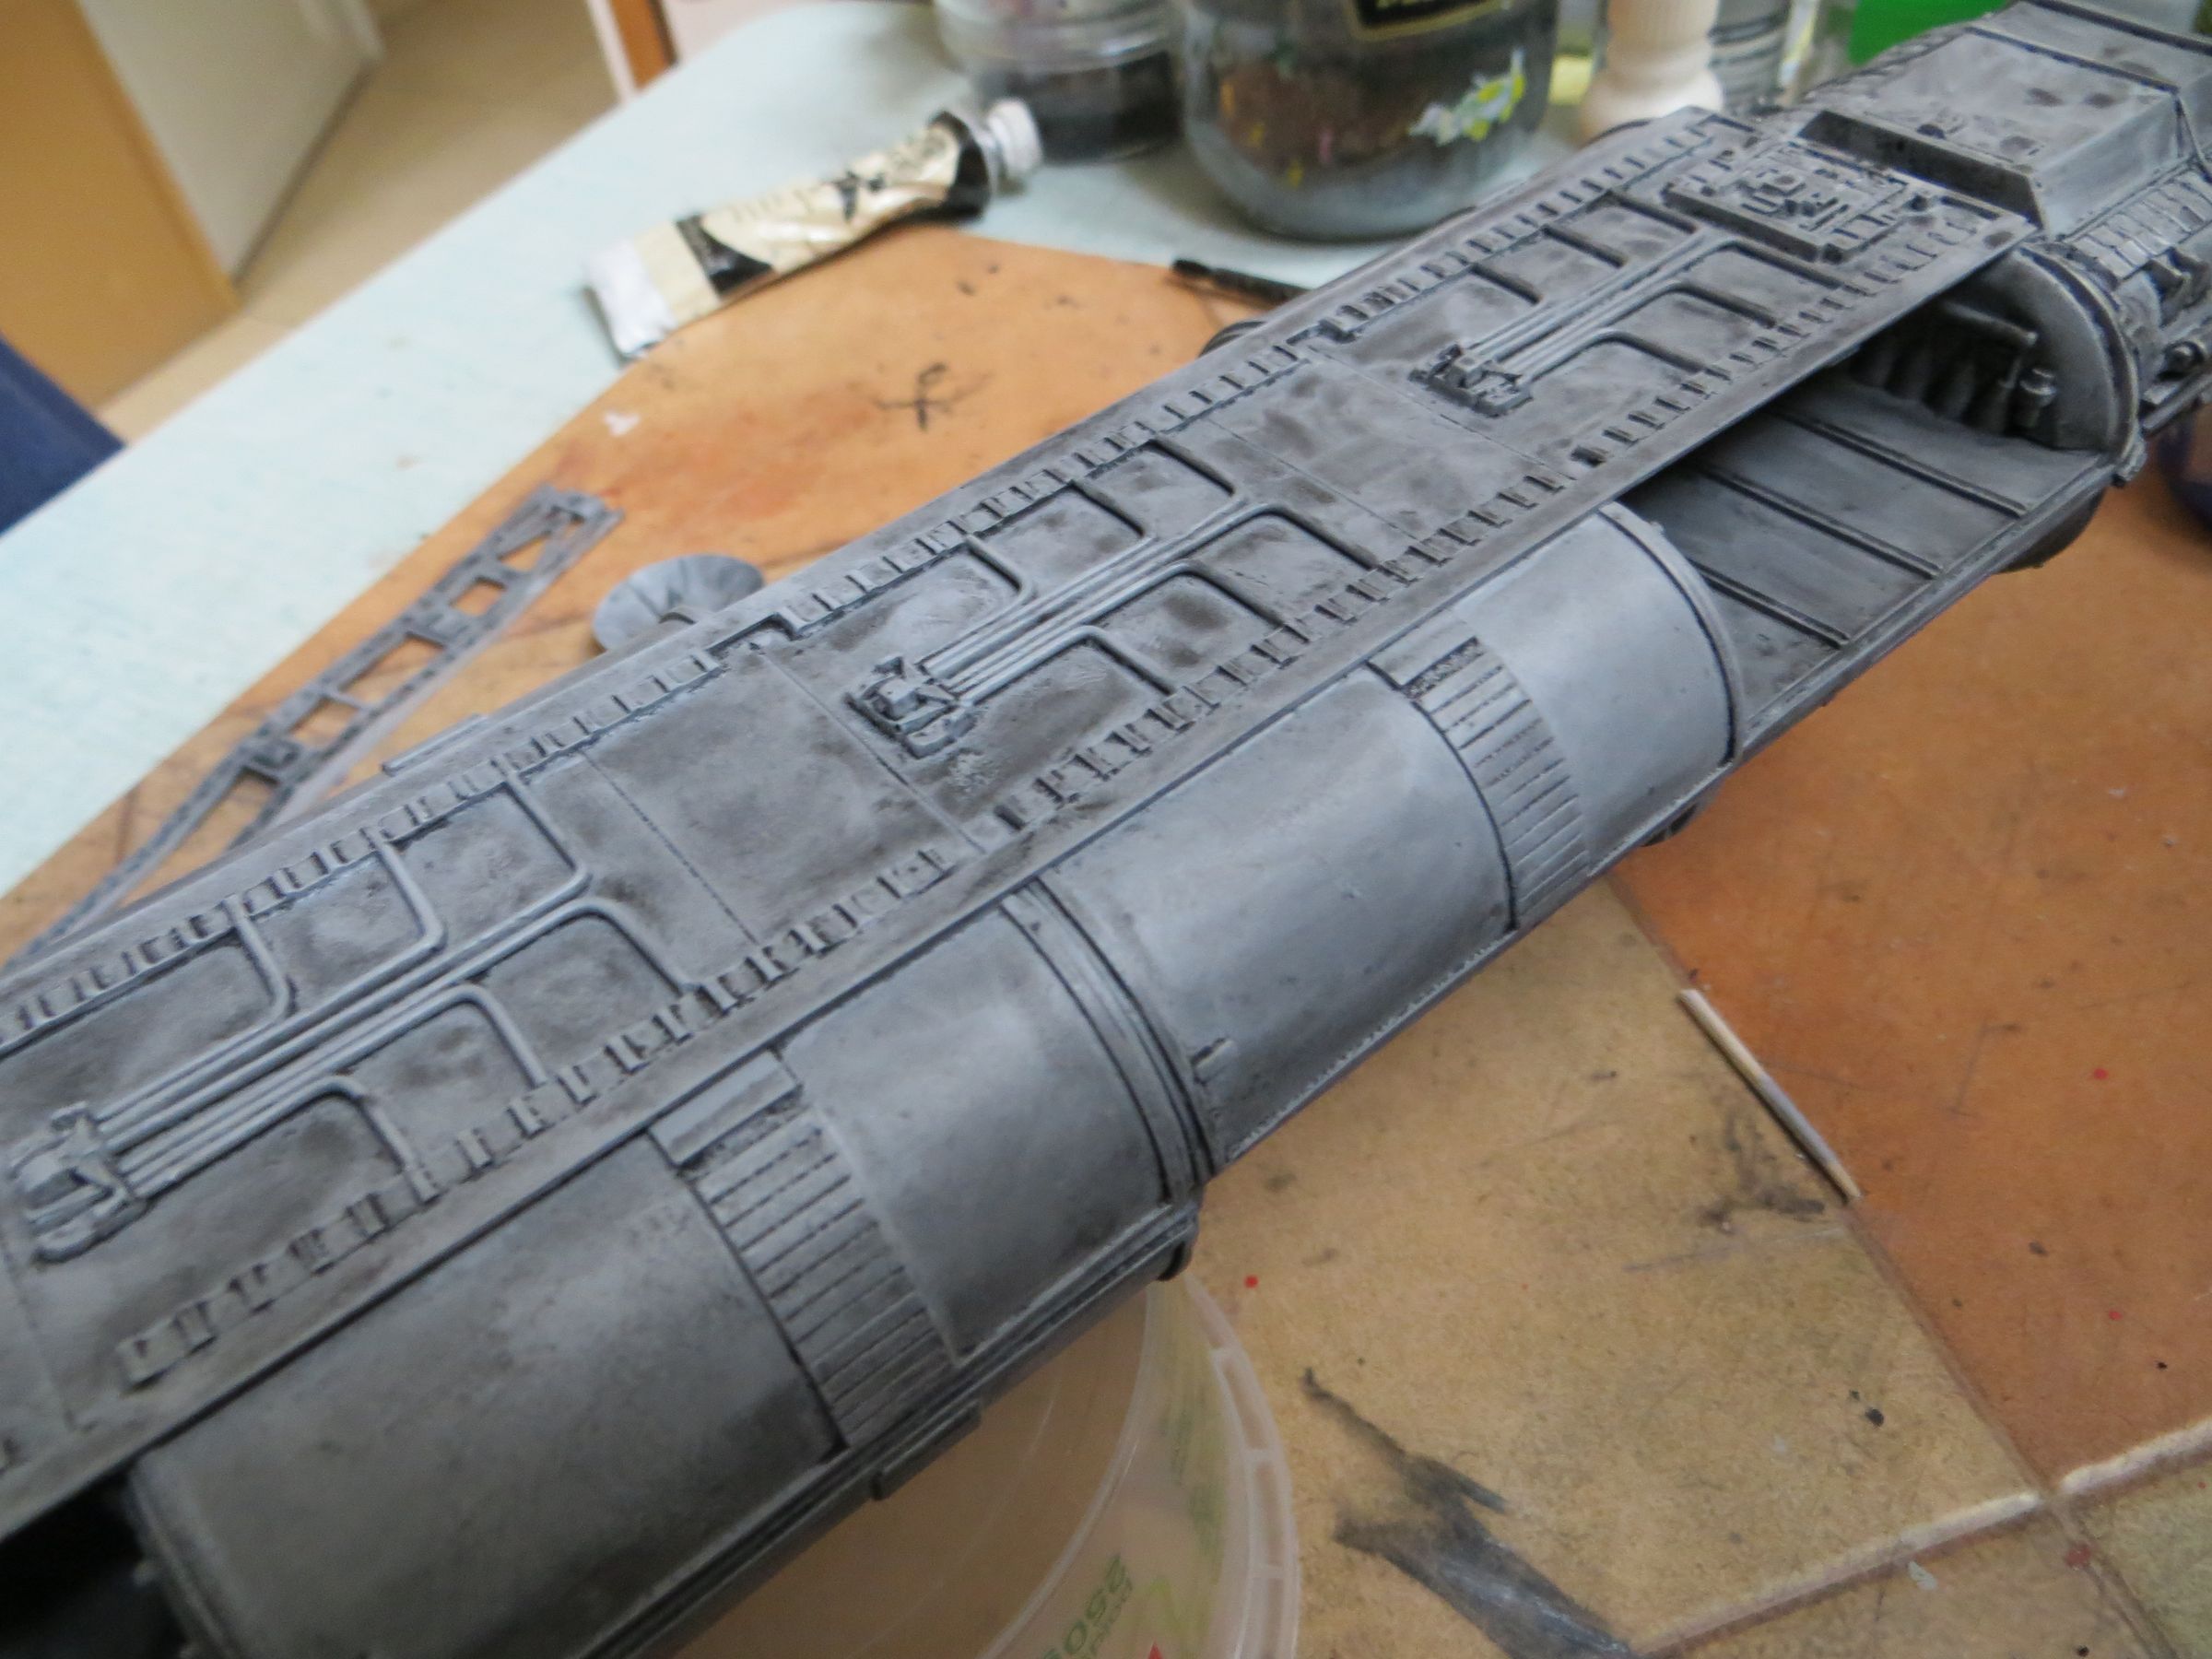
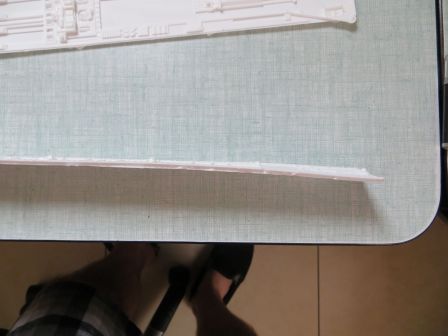
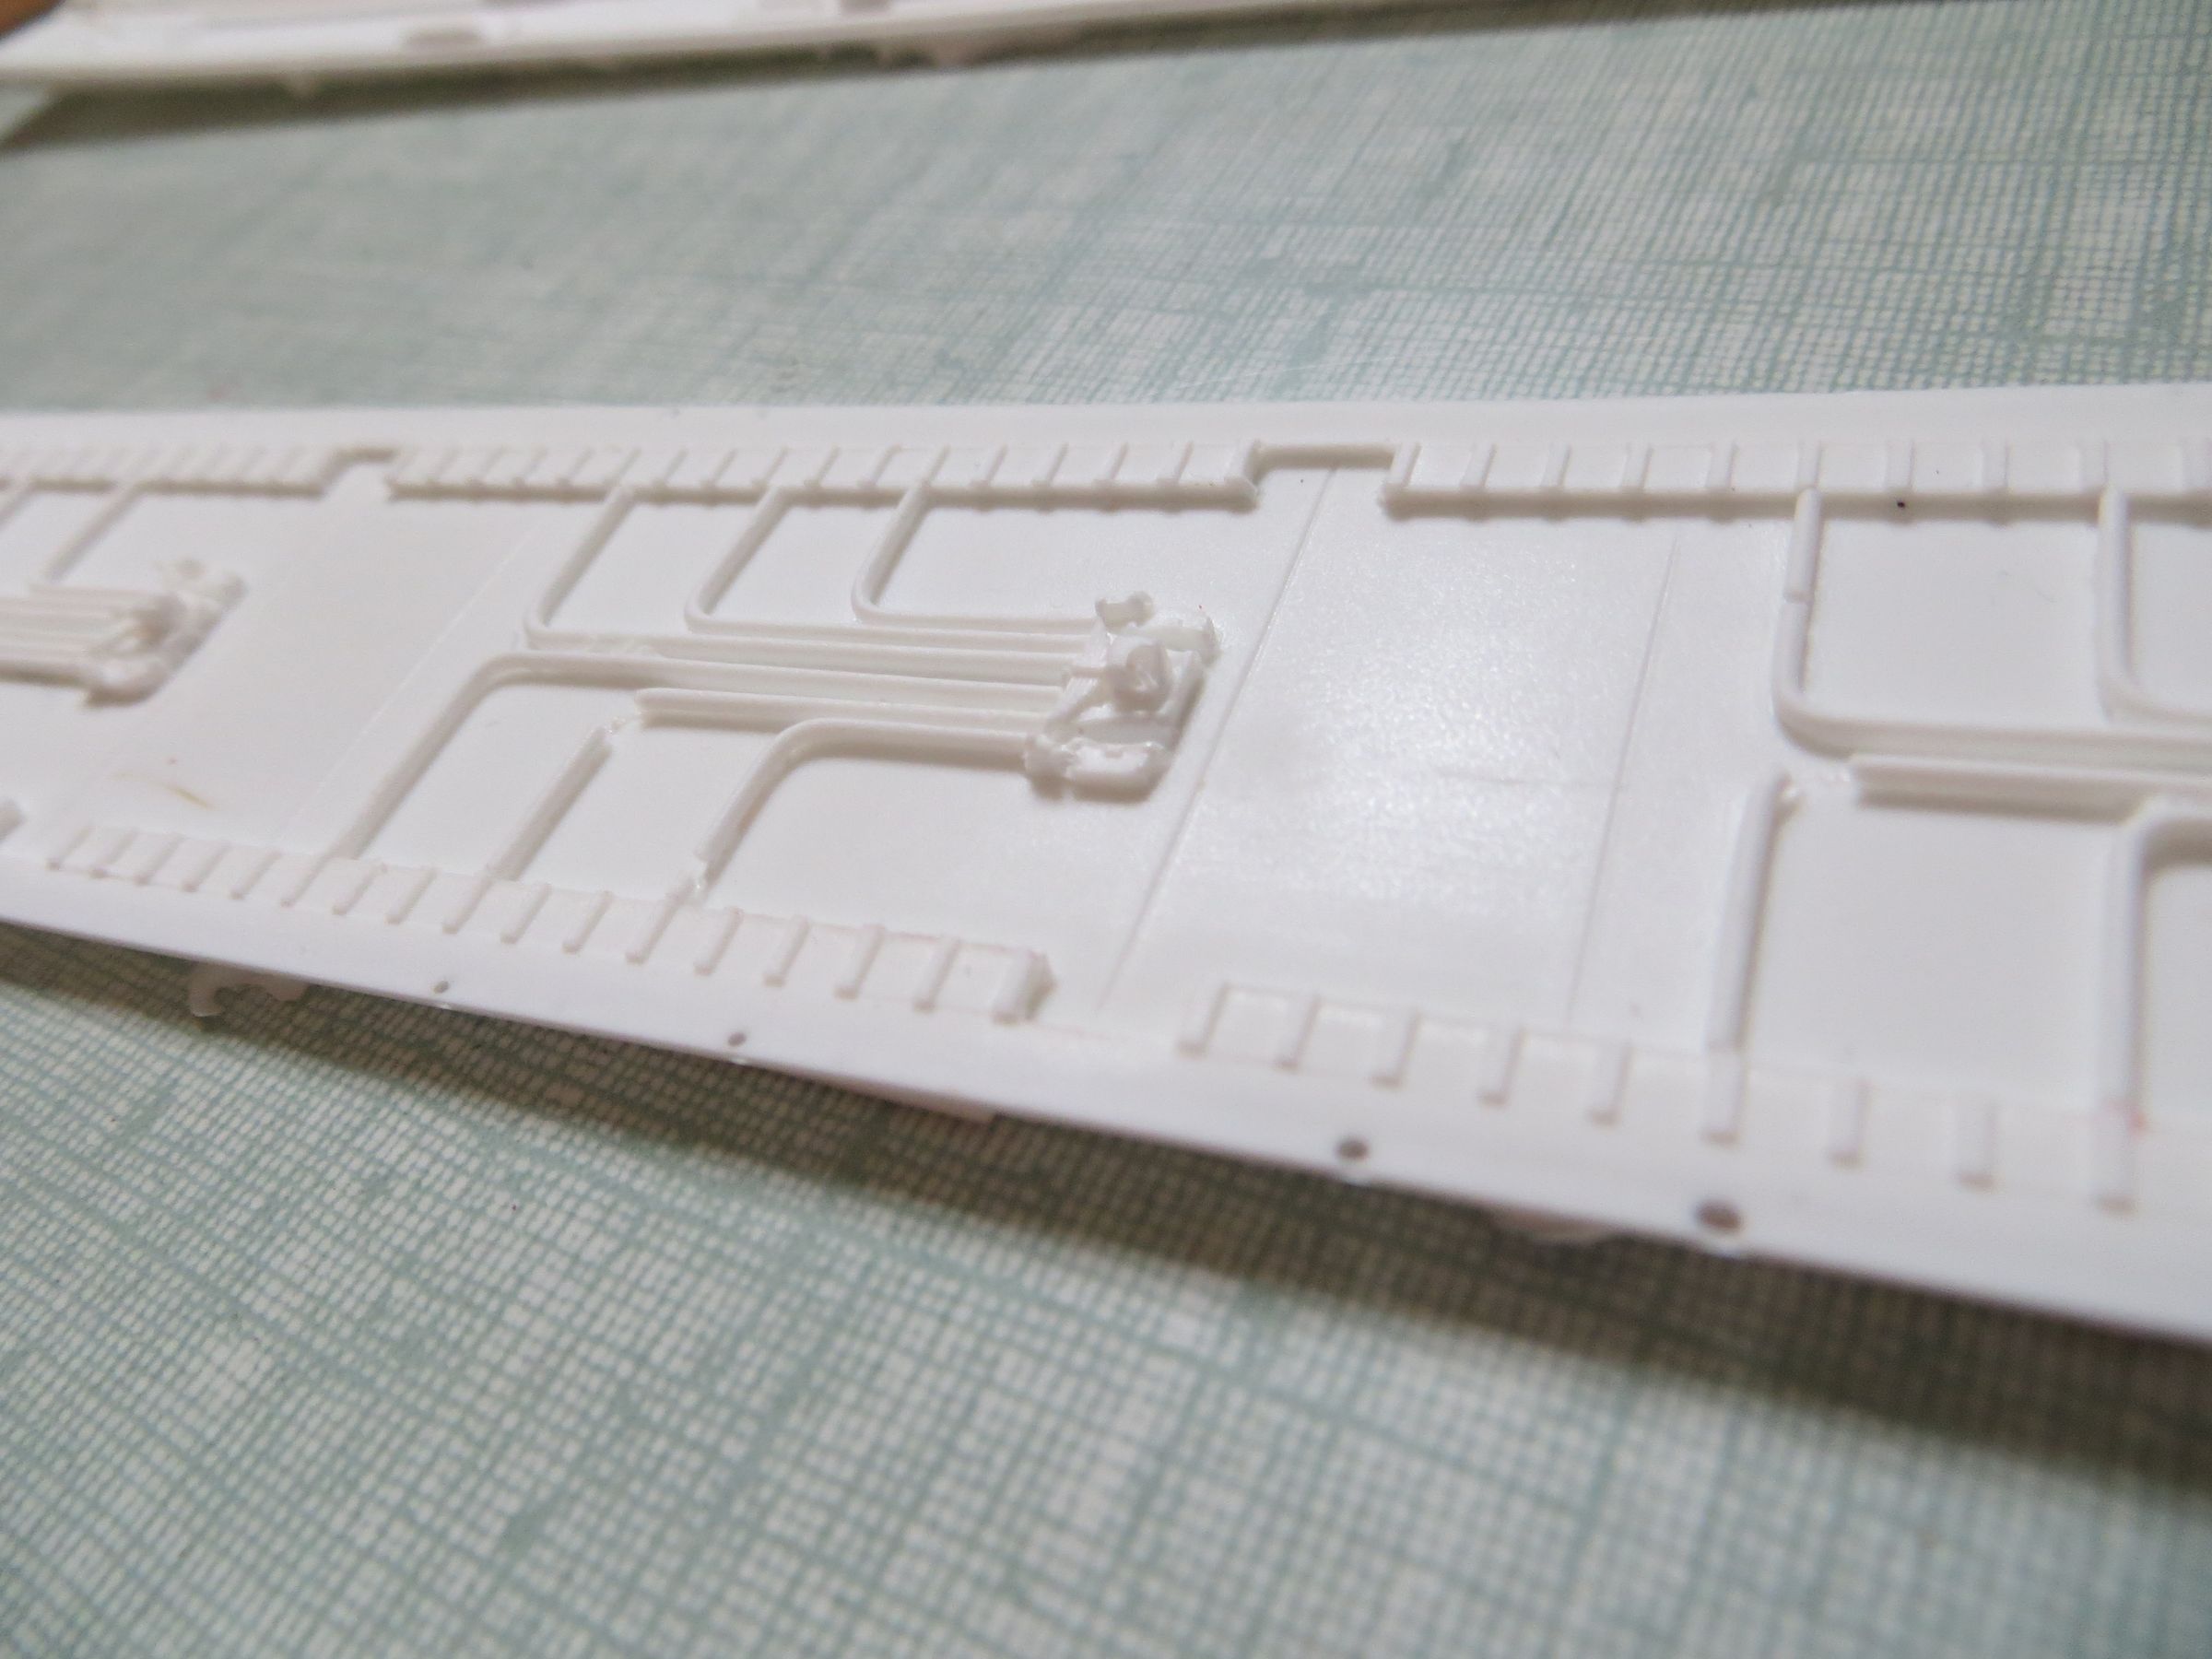
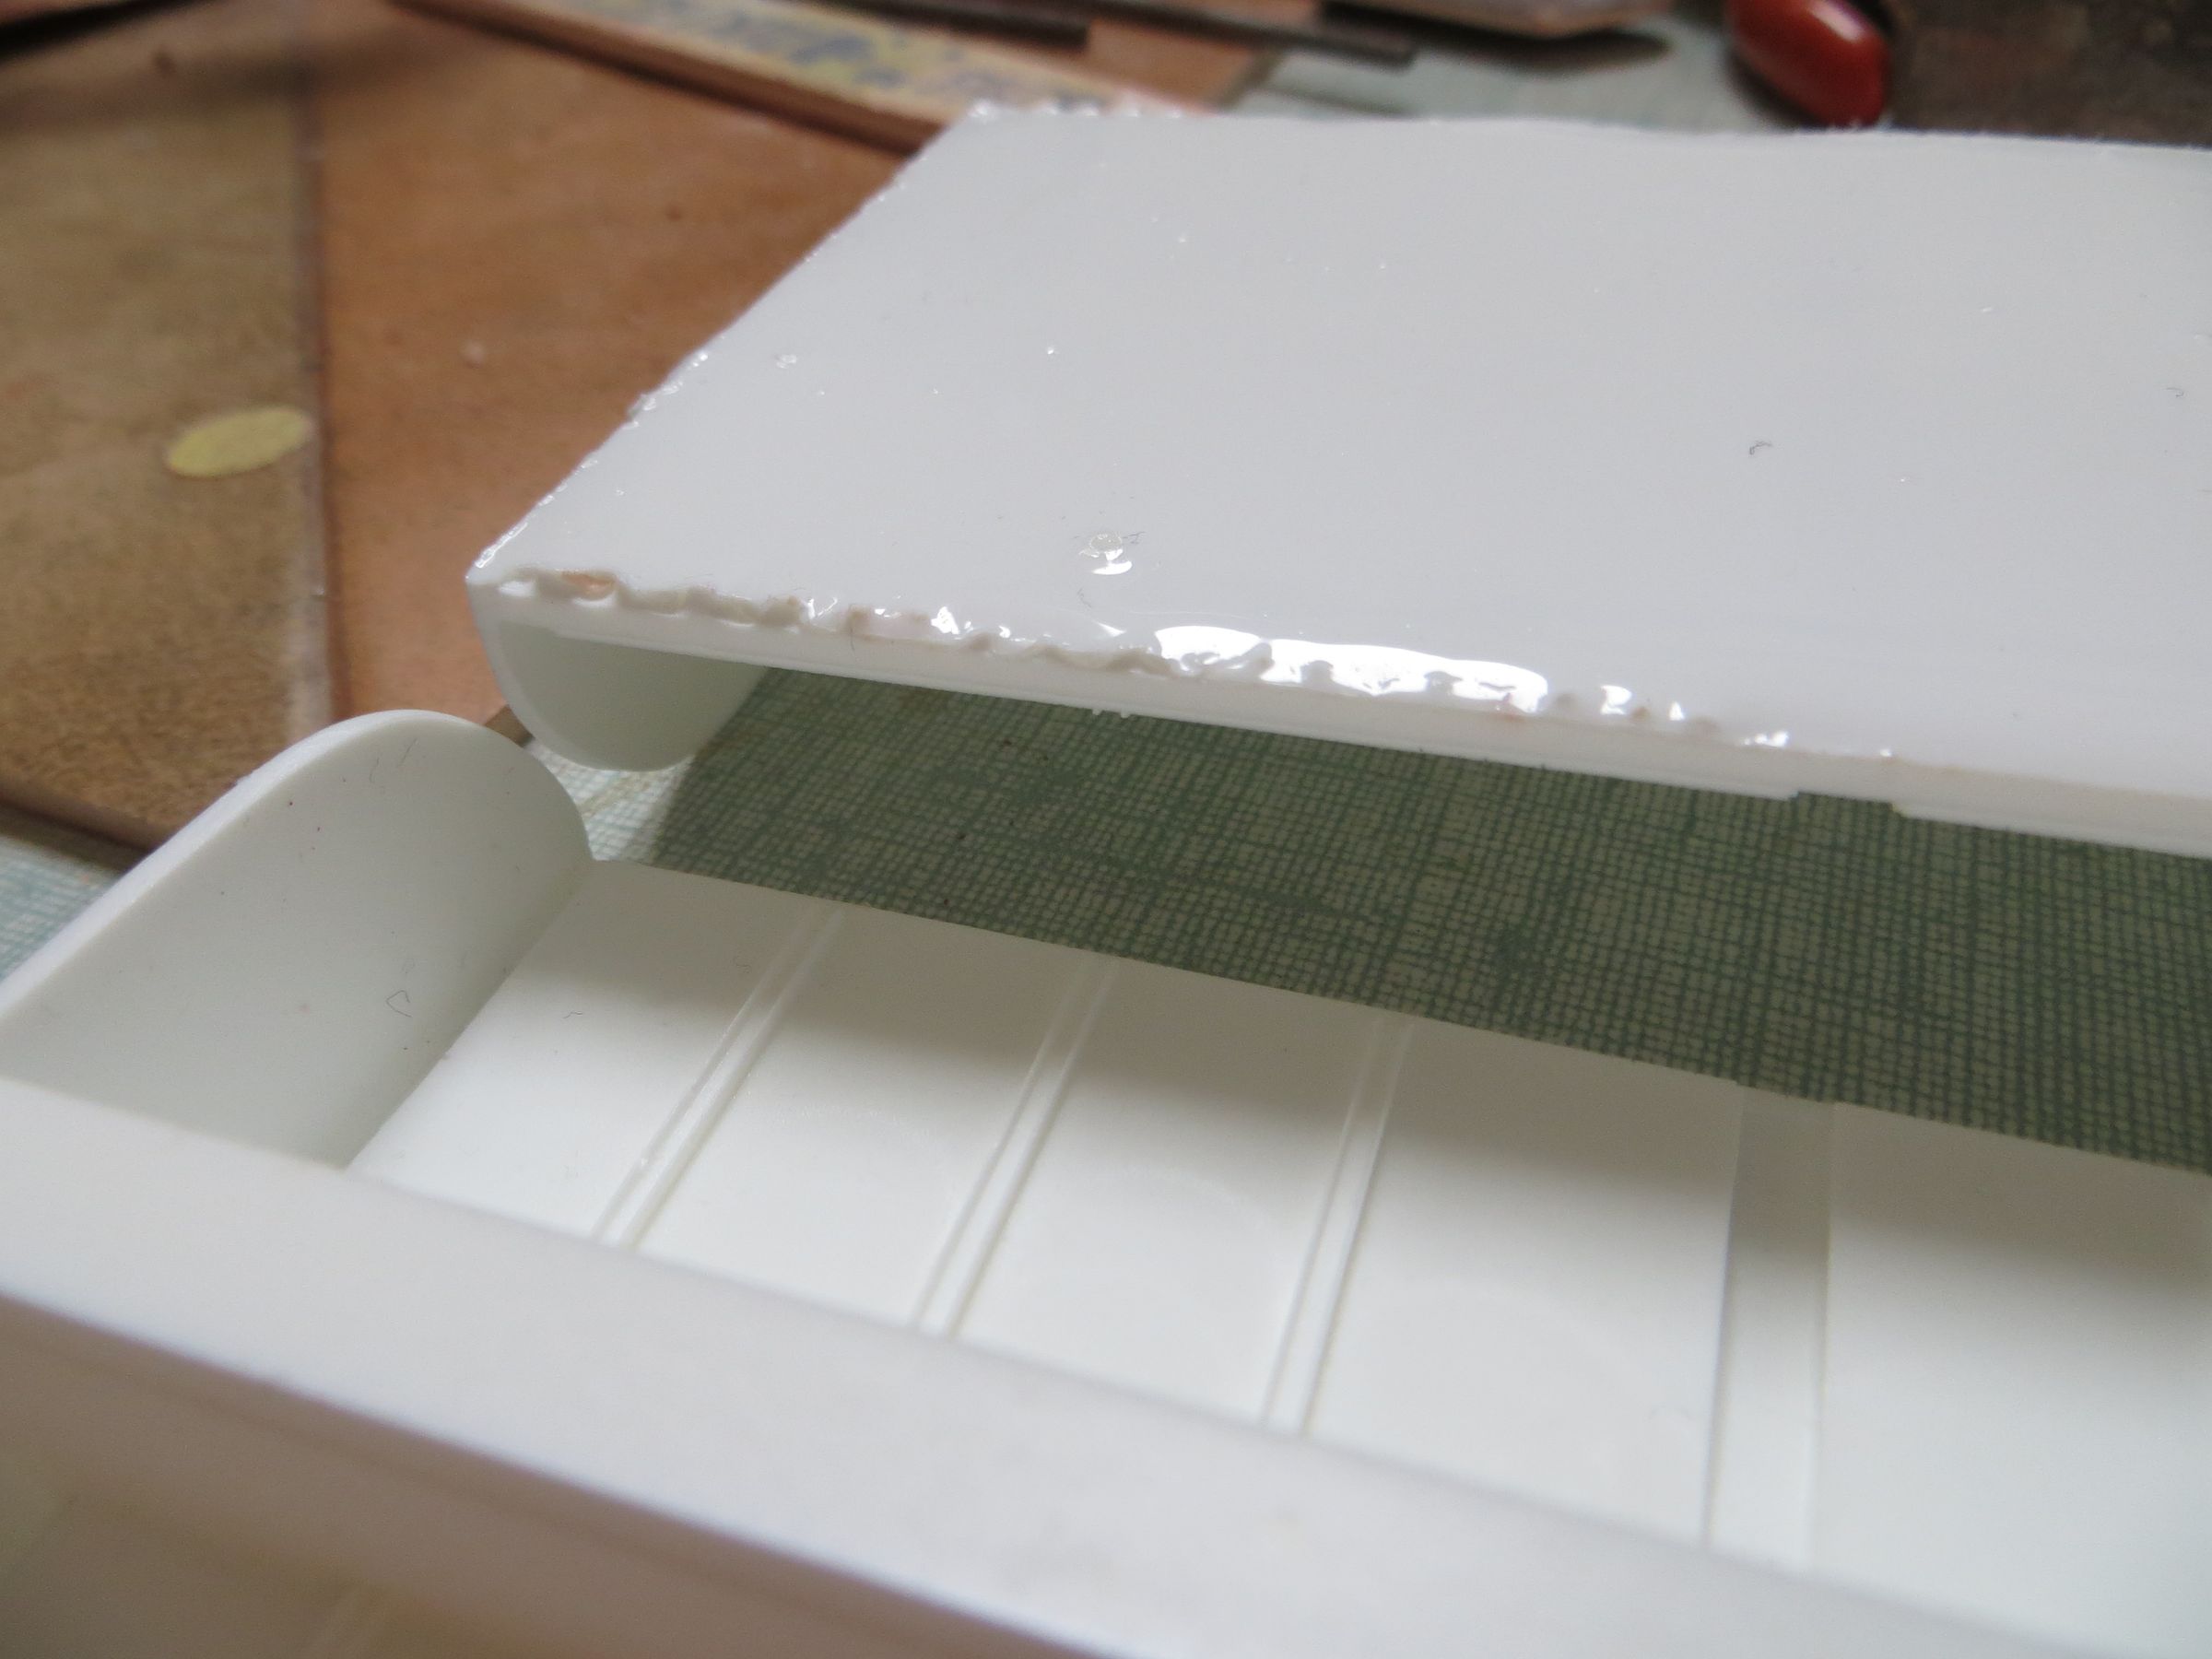
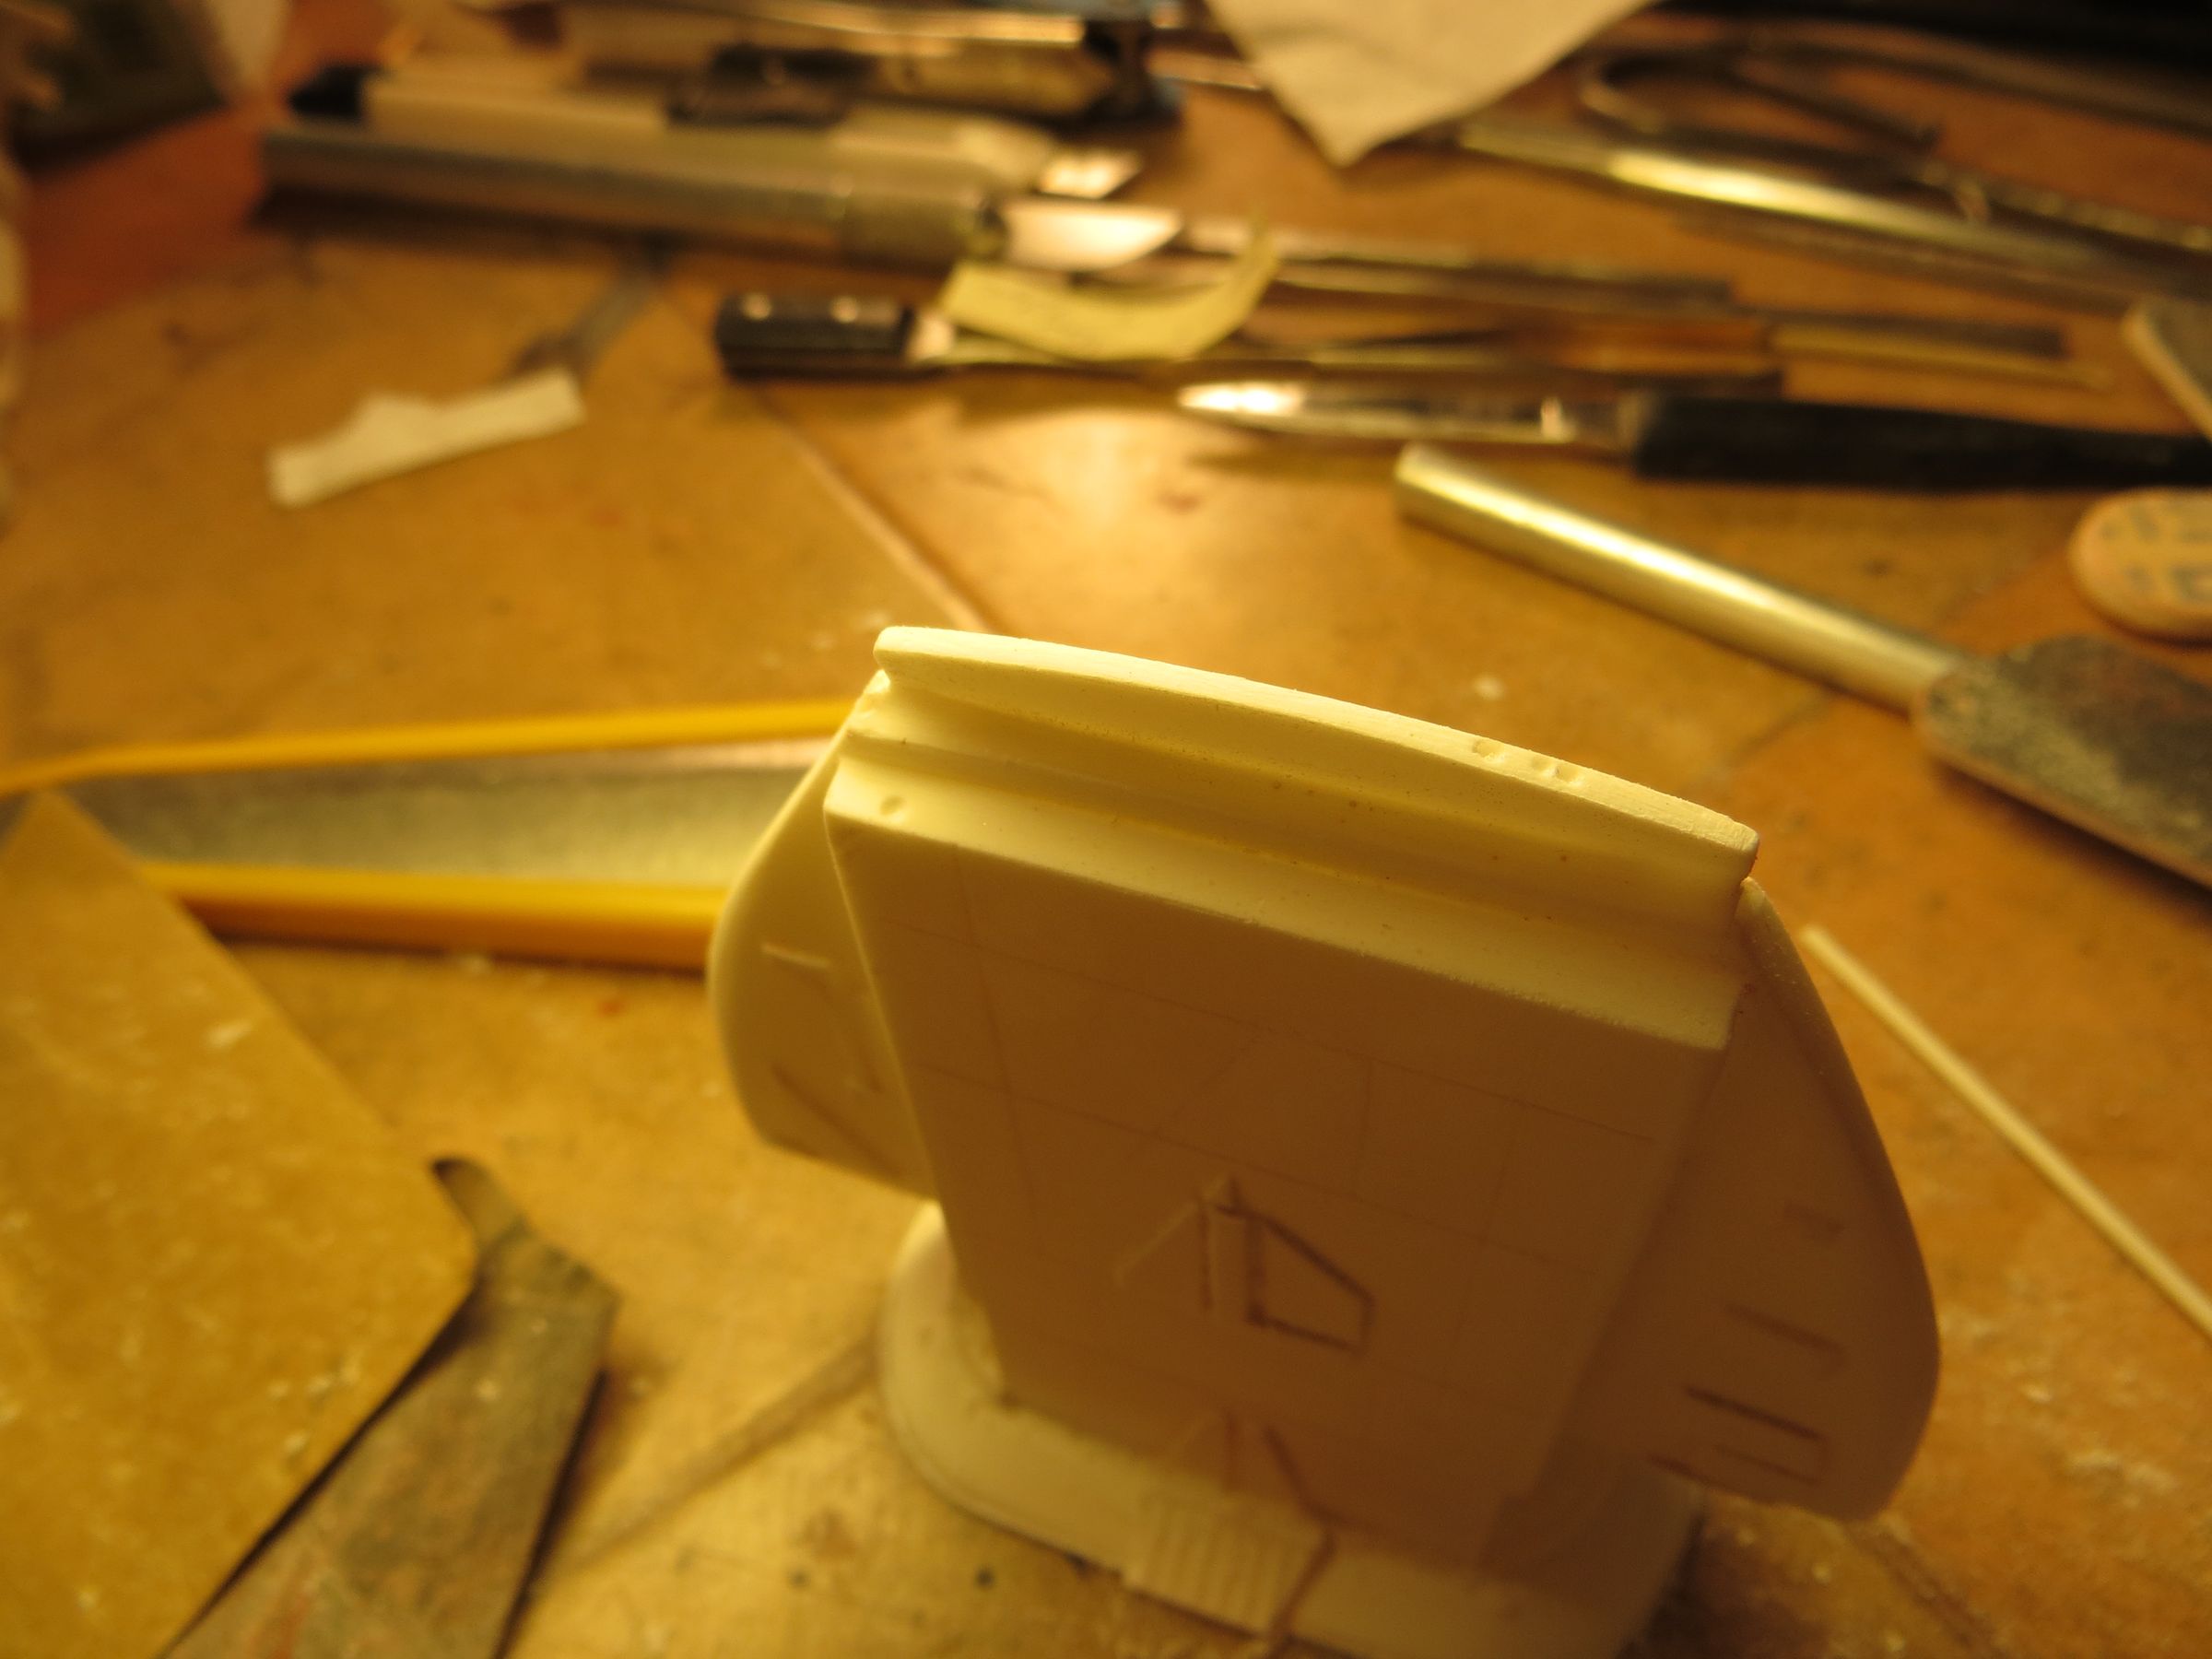
The long parts of the bays will require a good run to the belt sander to remove several millimeters of excess material in the thickness. And a bath in very hot water to straighten them.

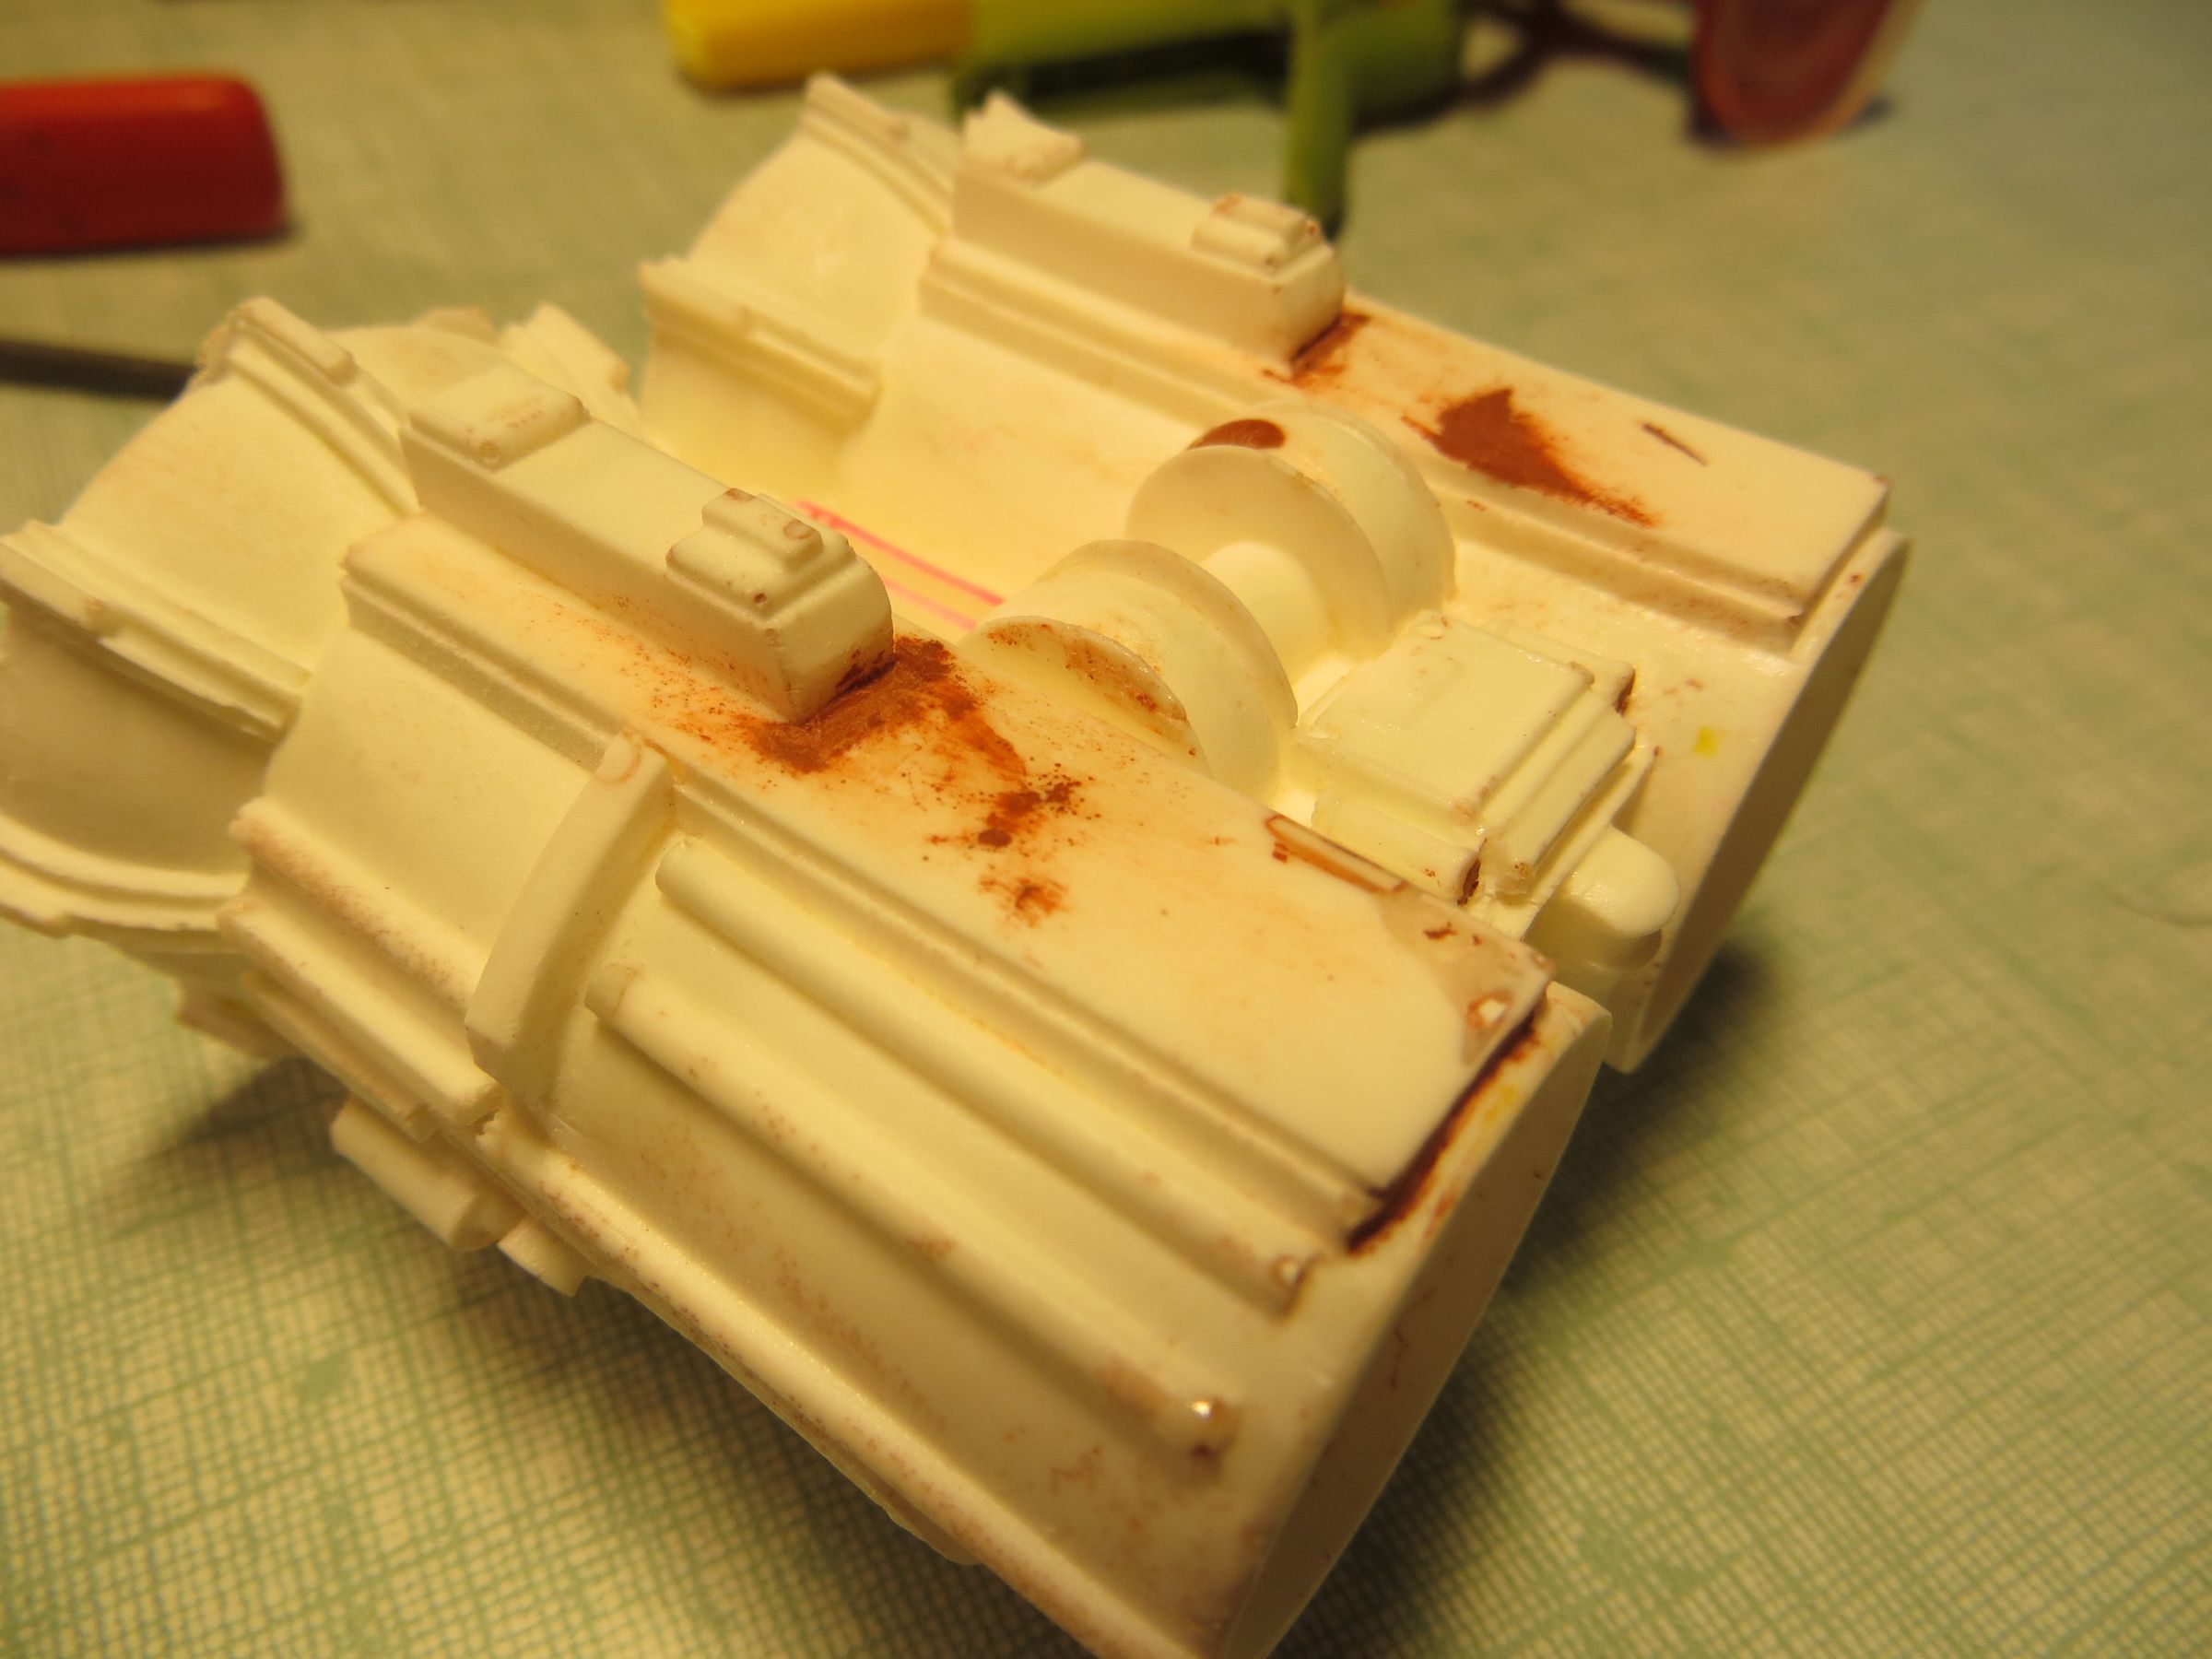
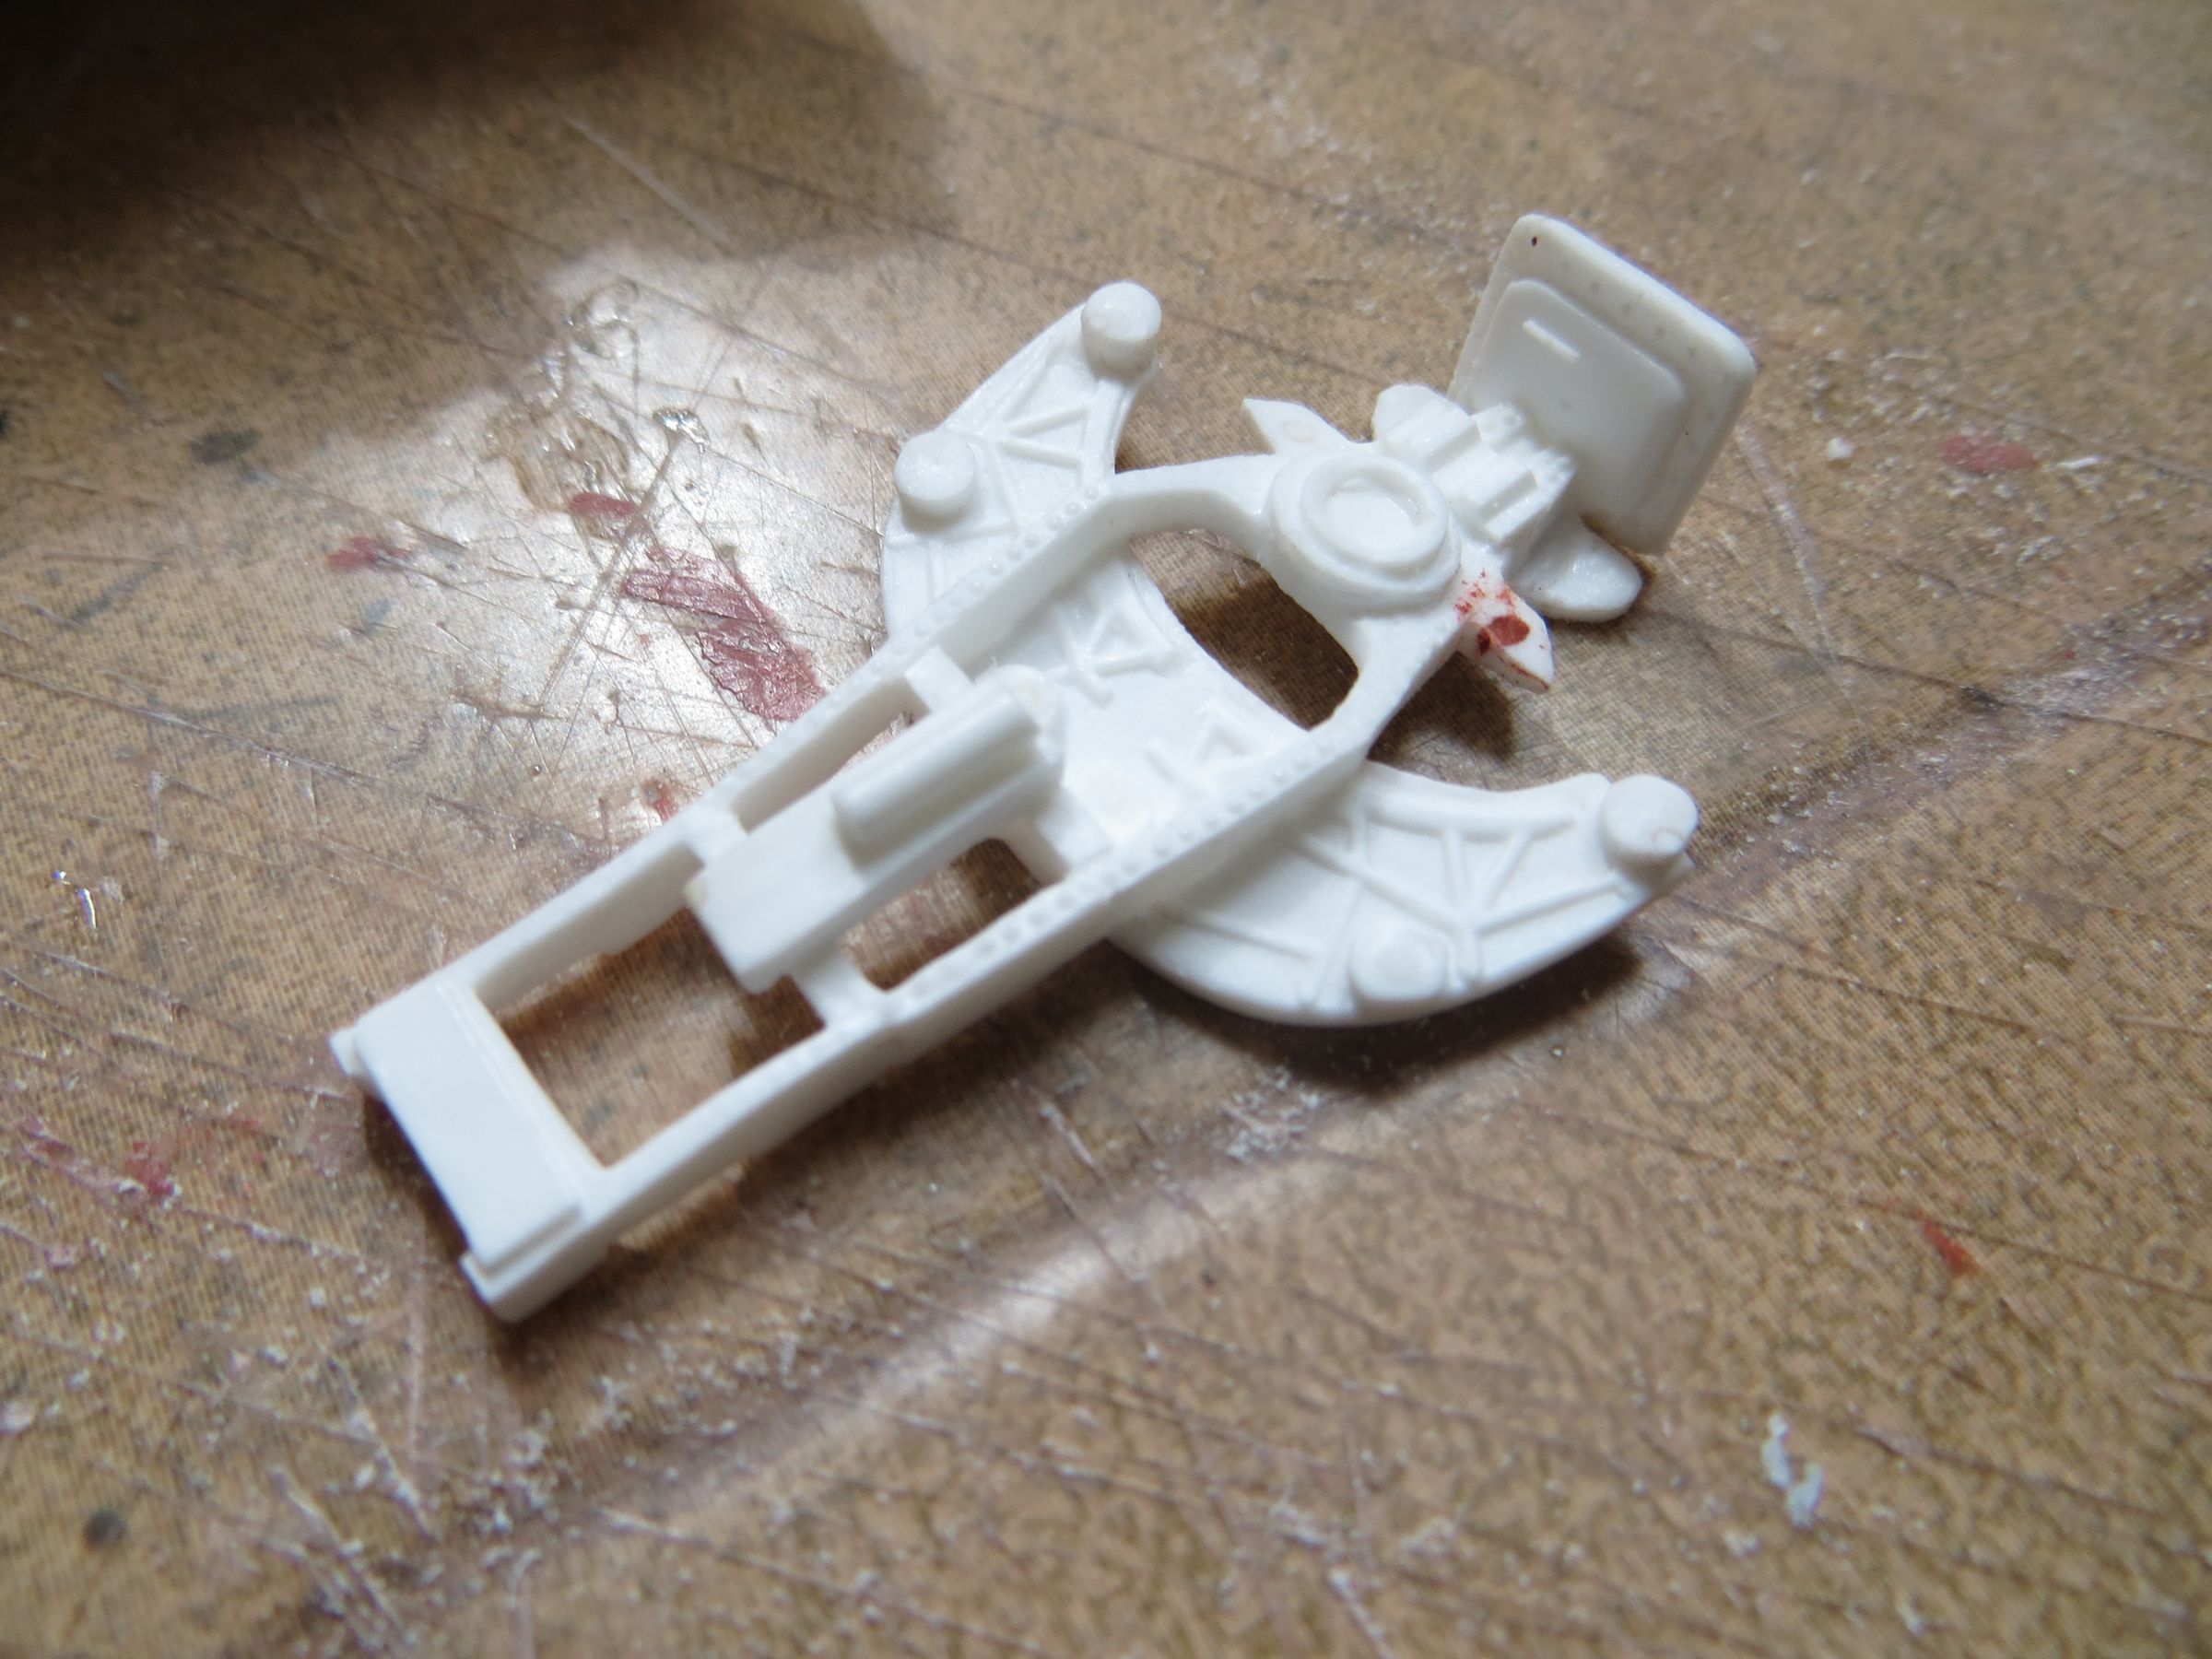
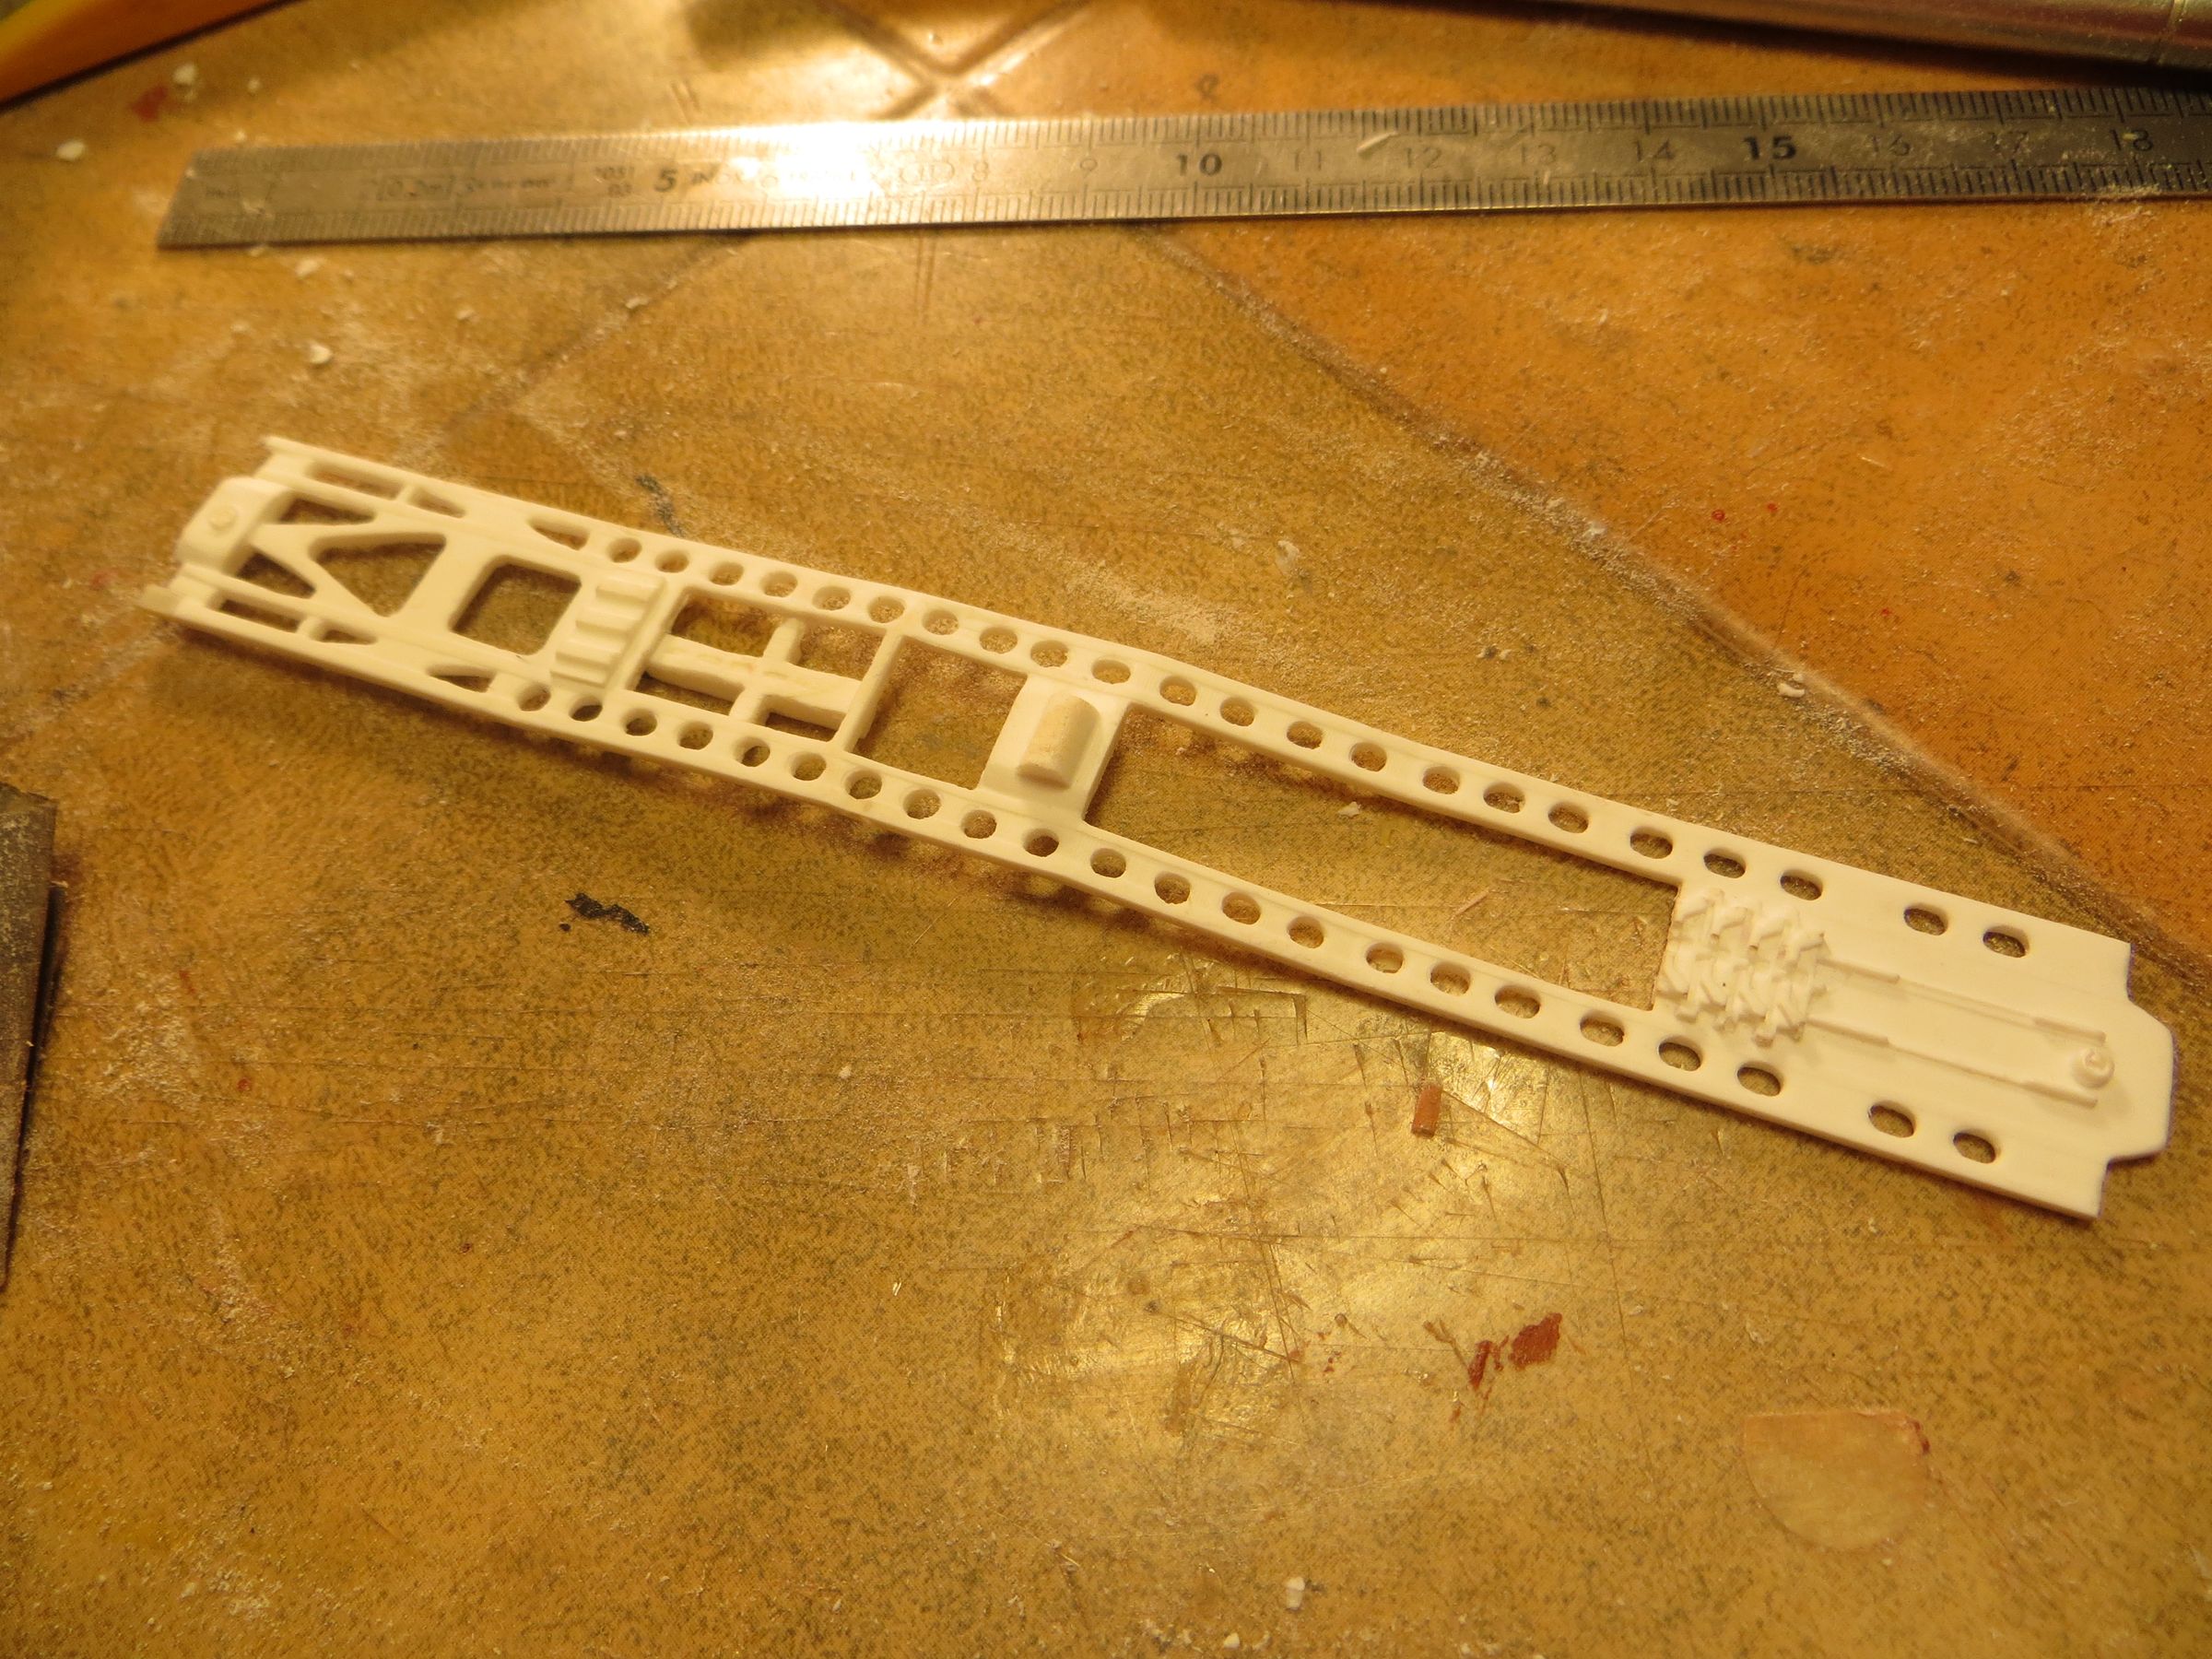
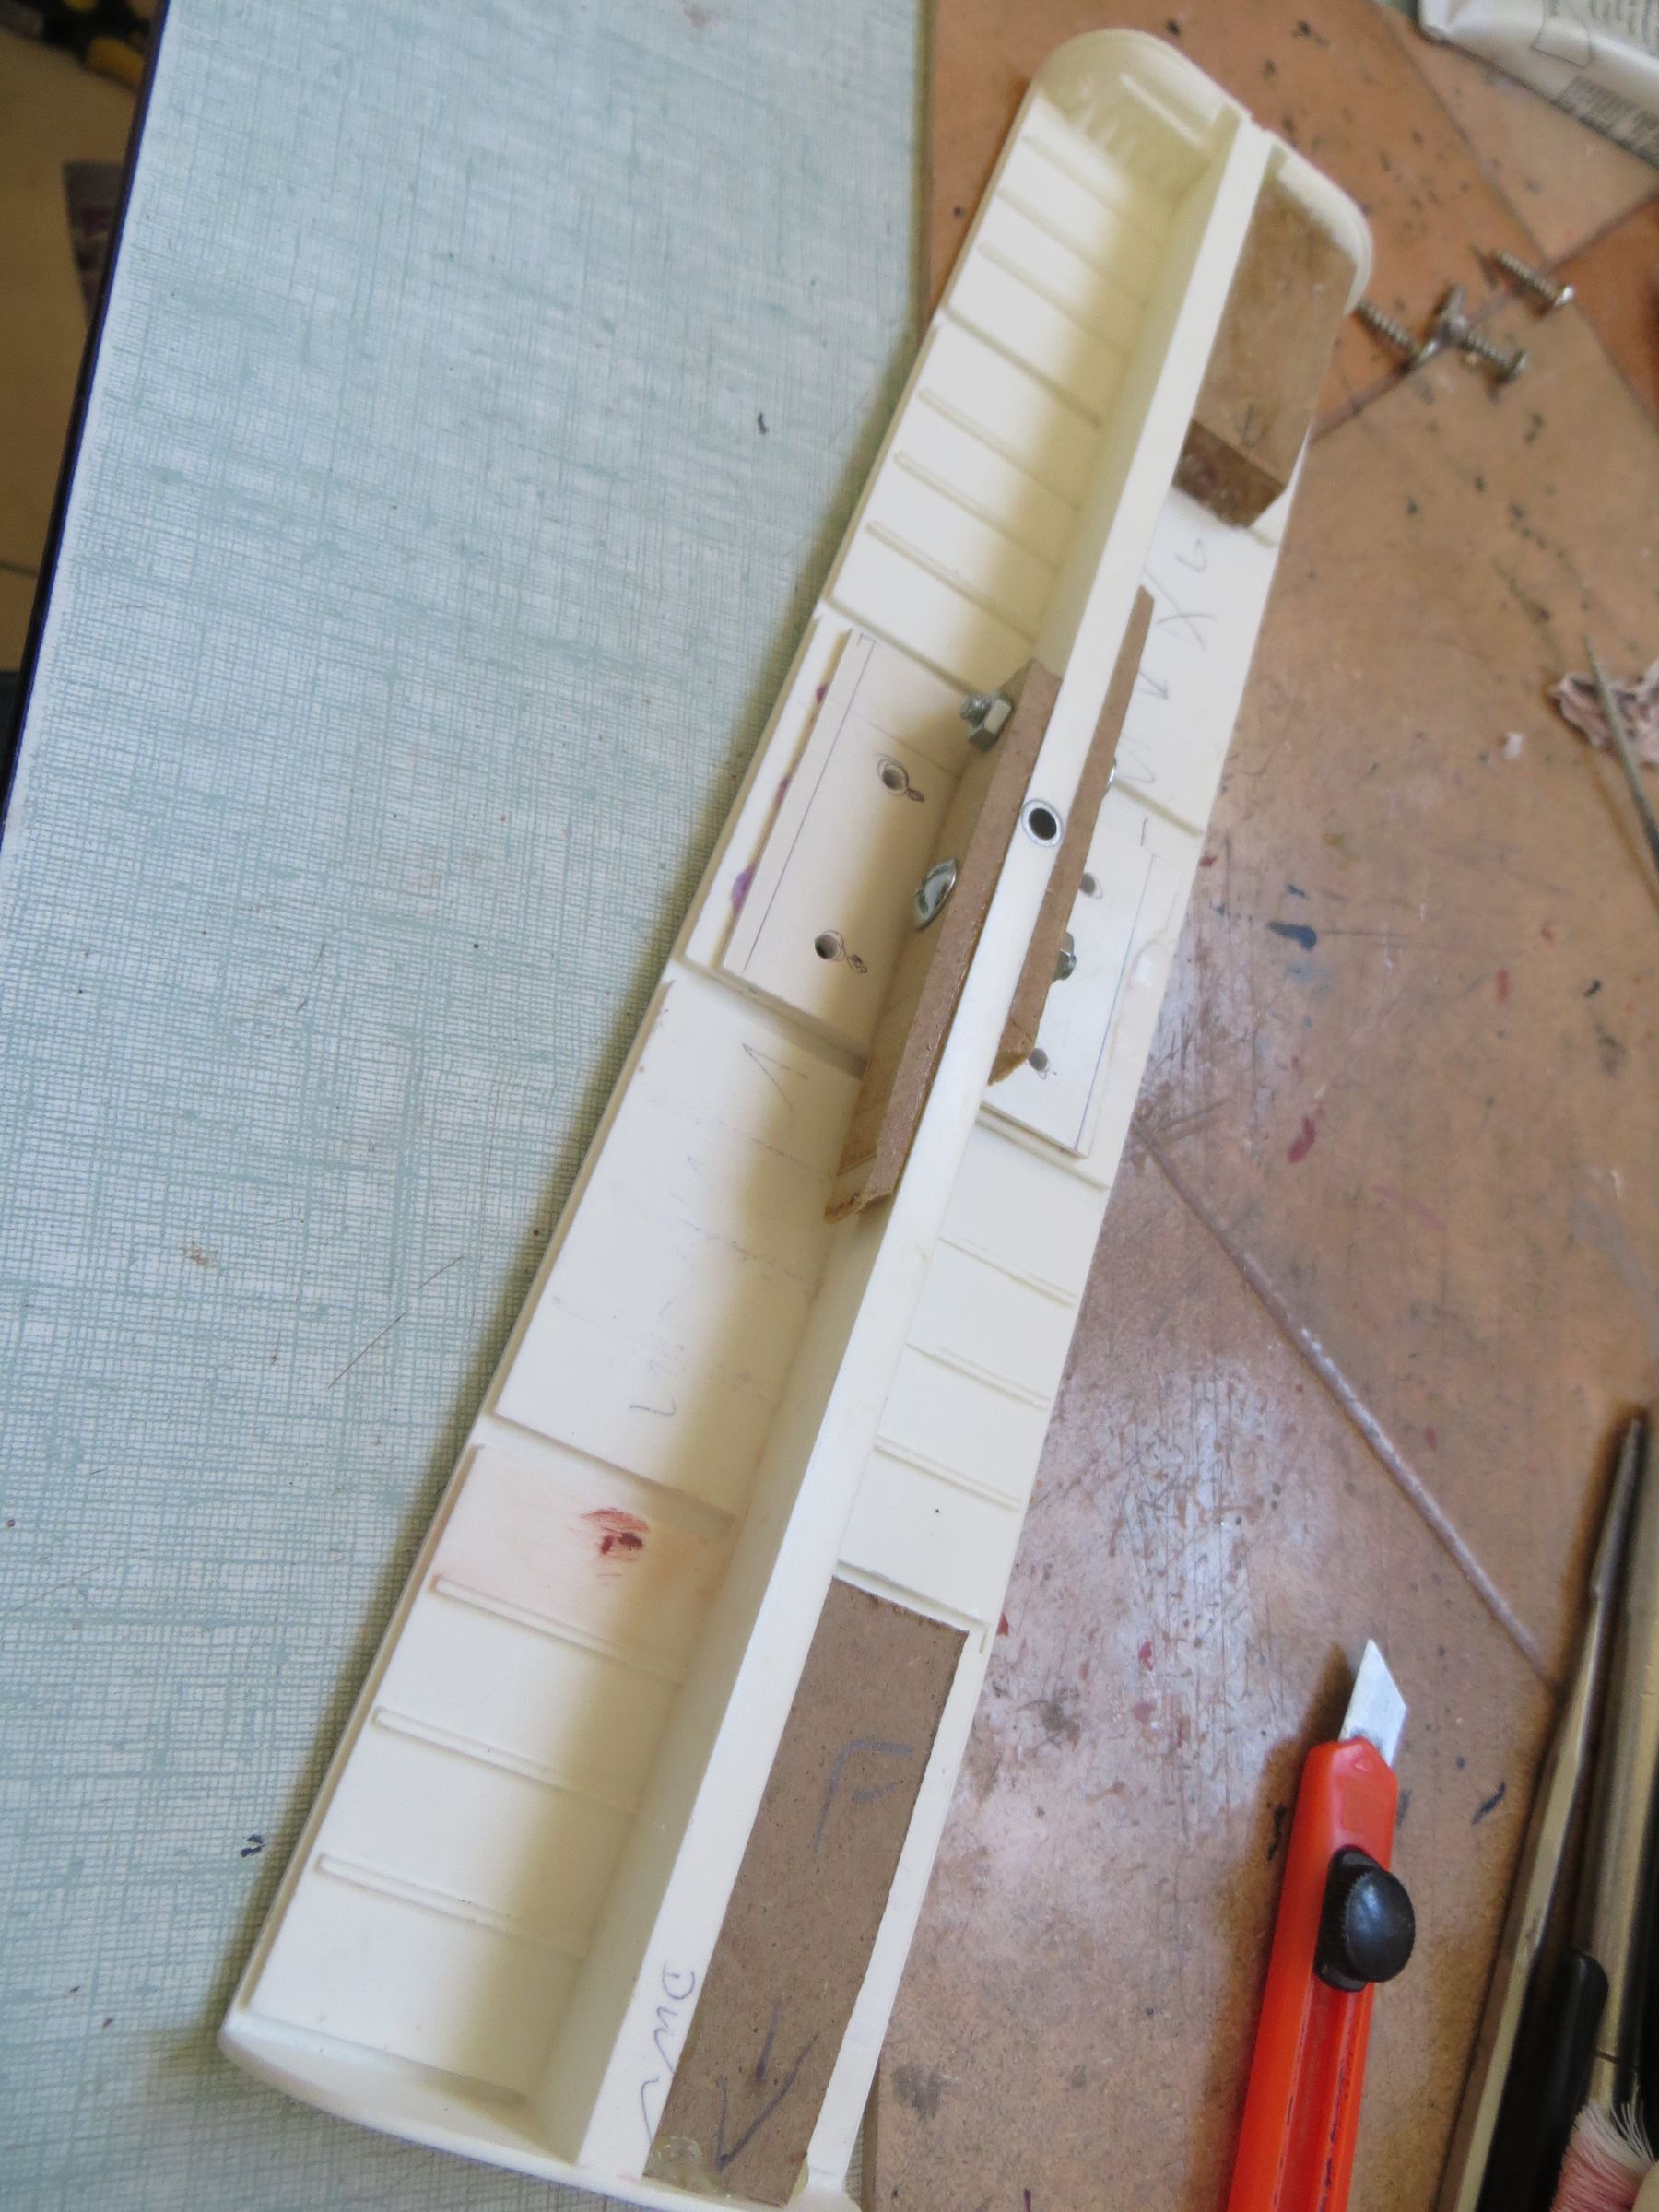
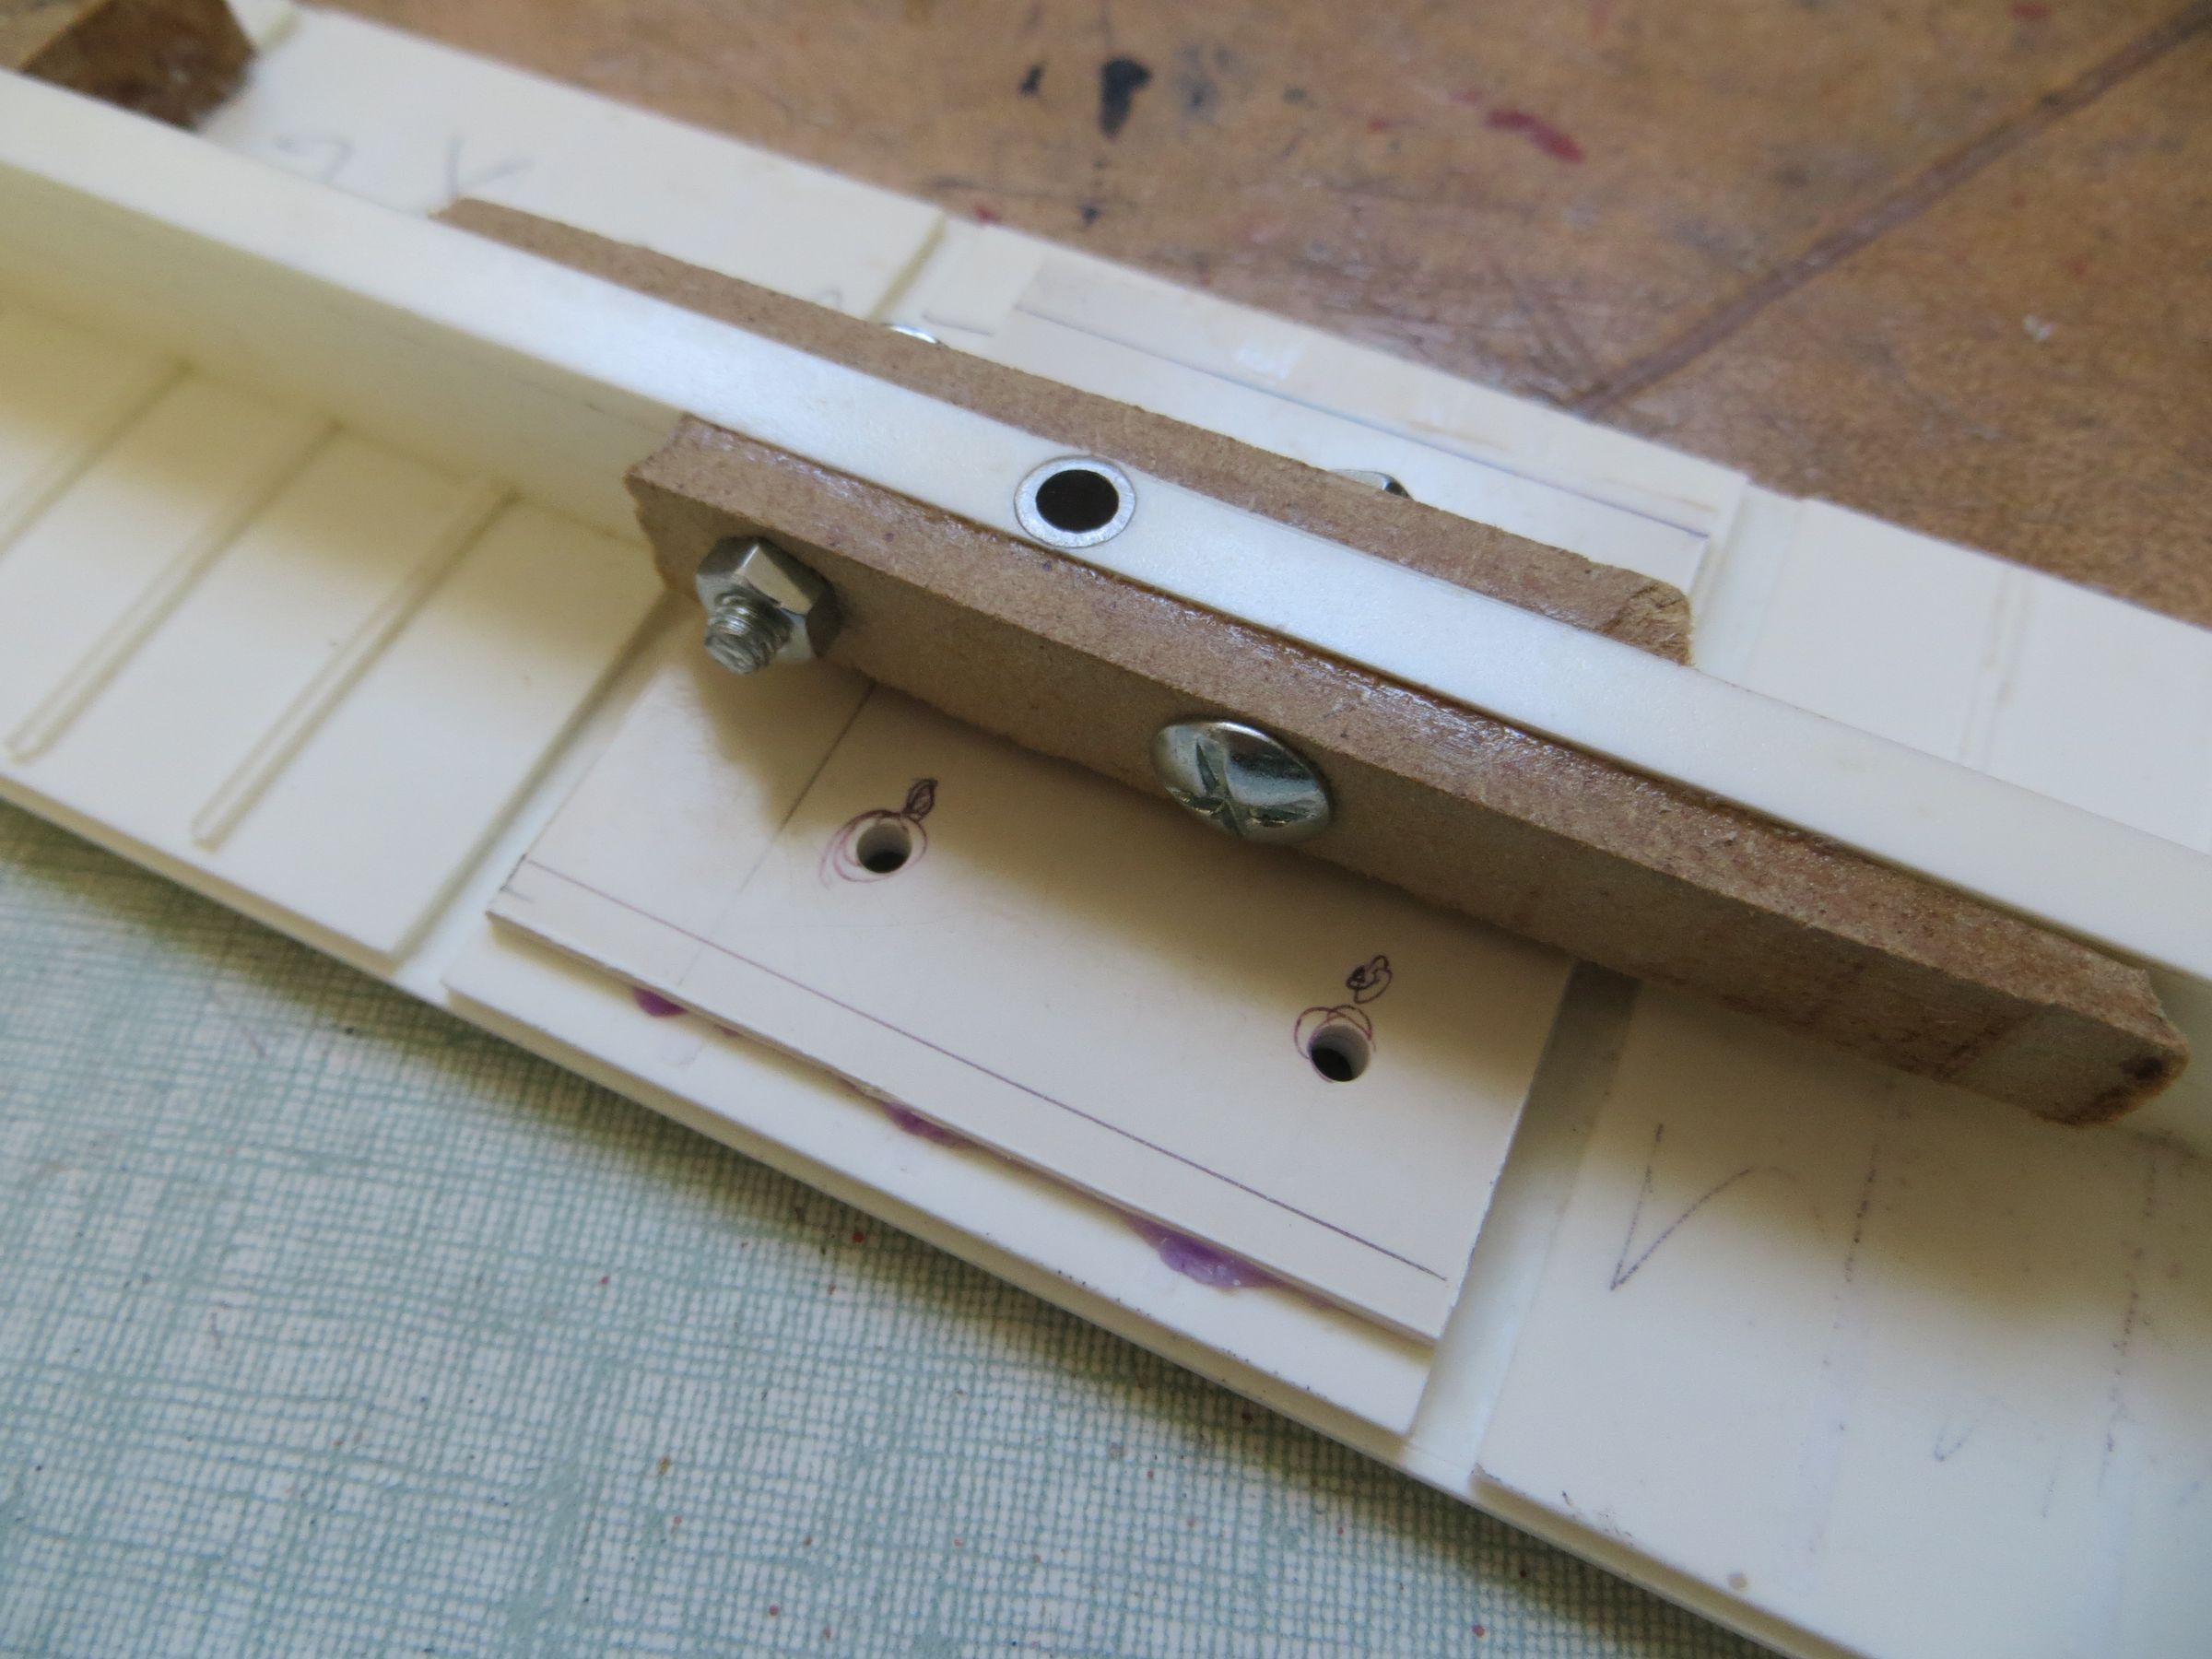
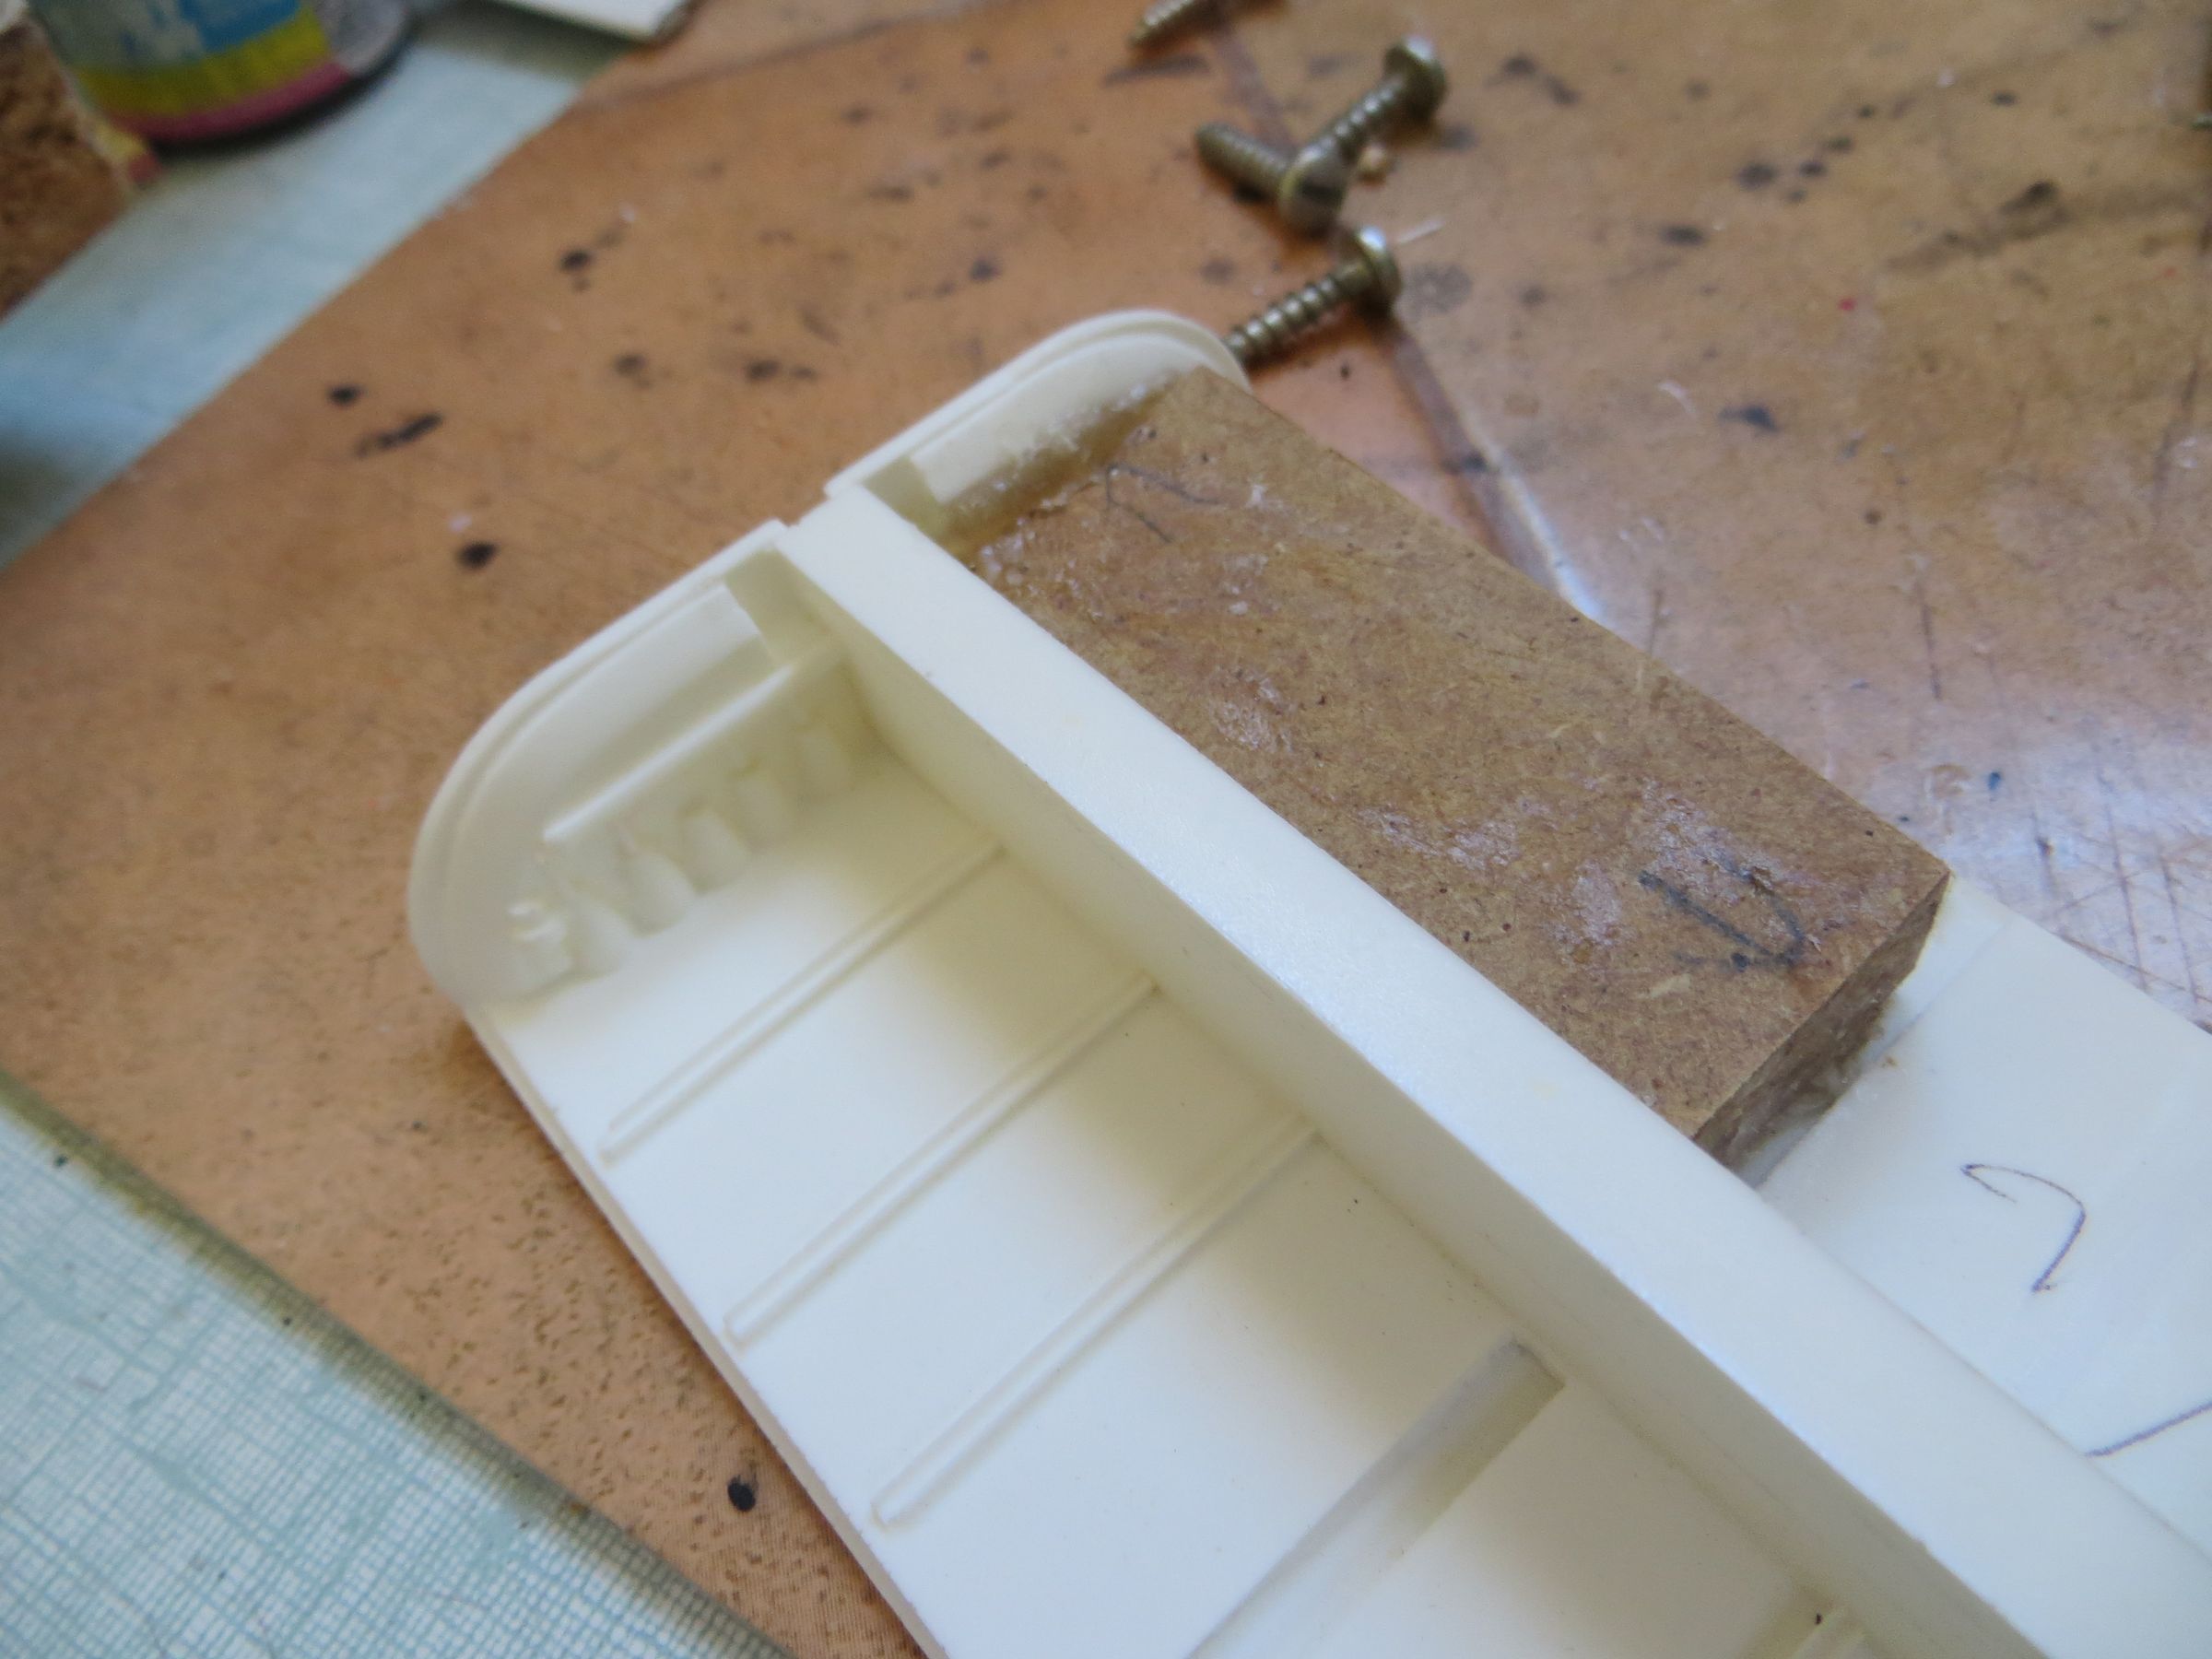
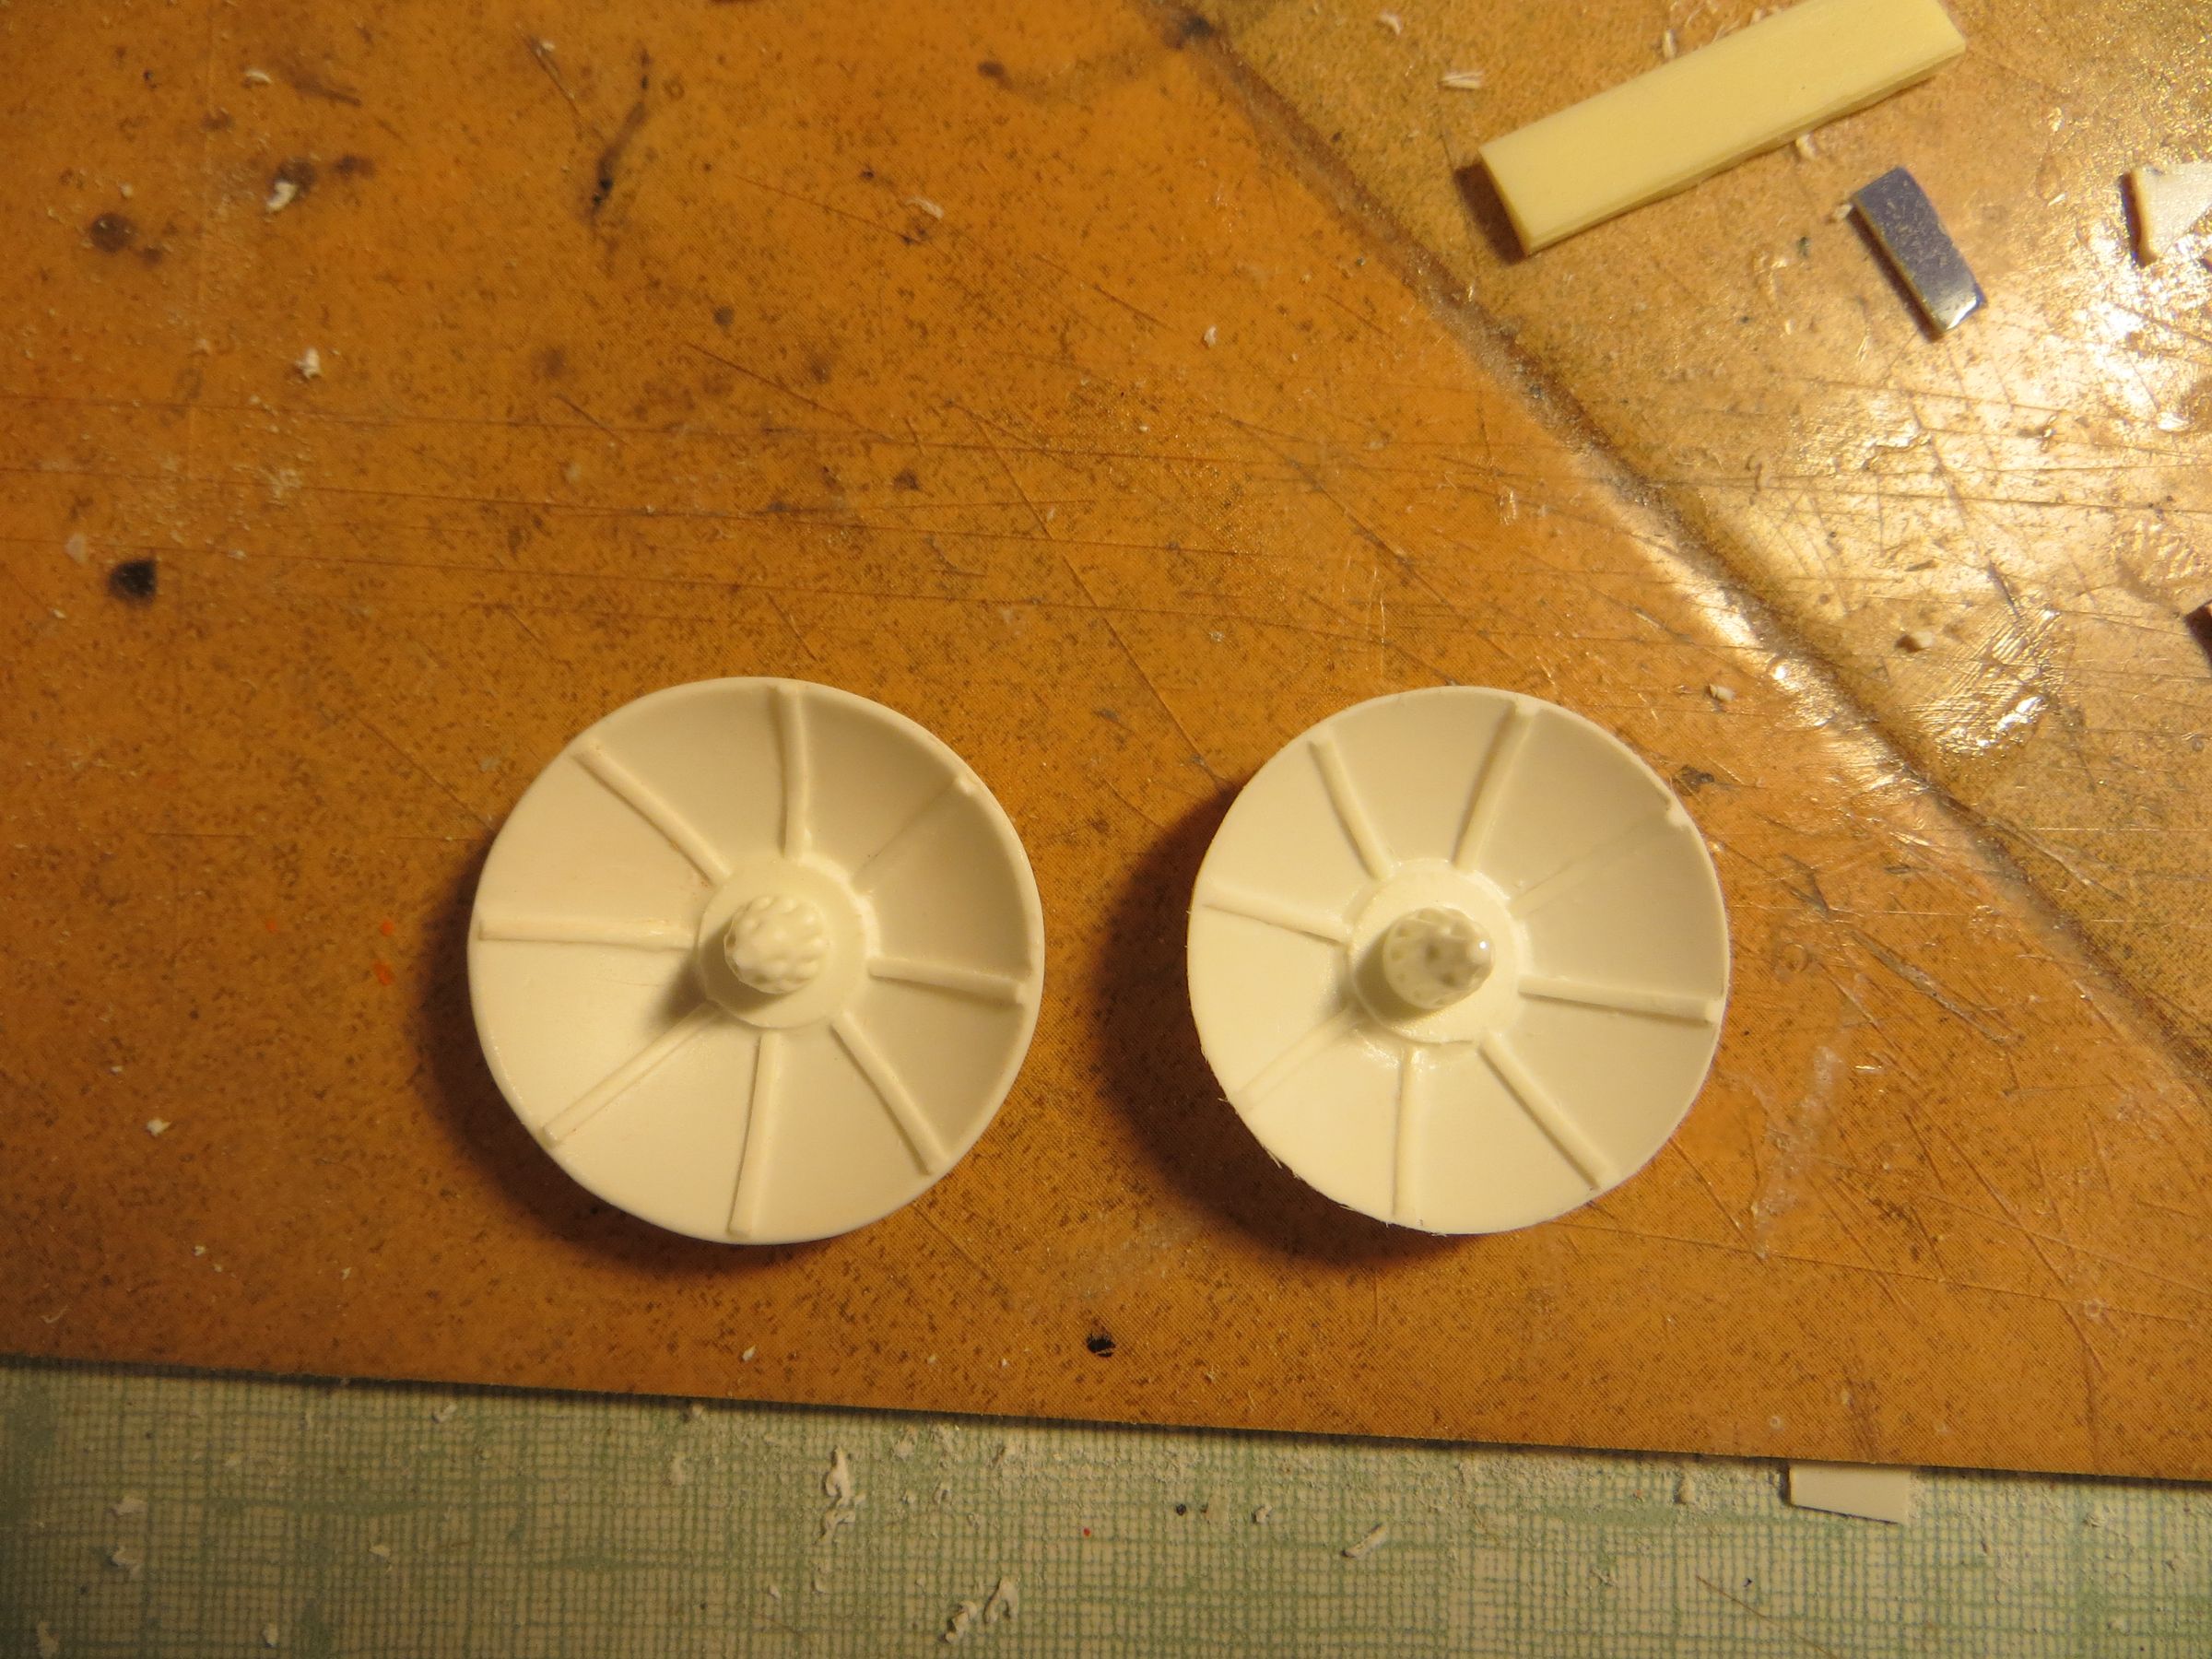
The kit is in a half studio scale
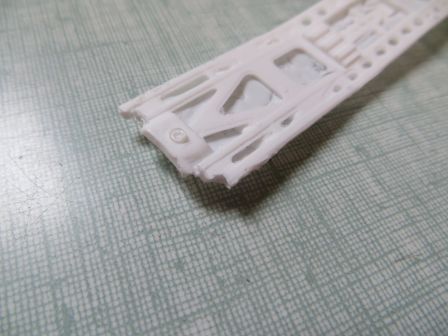
Why?
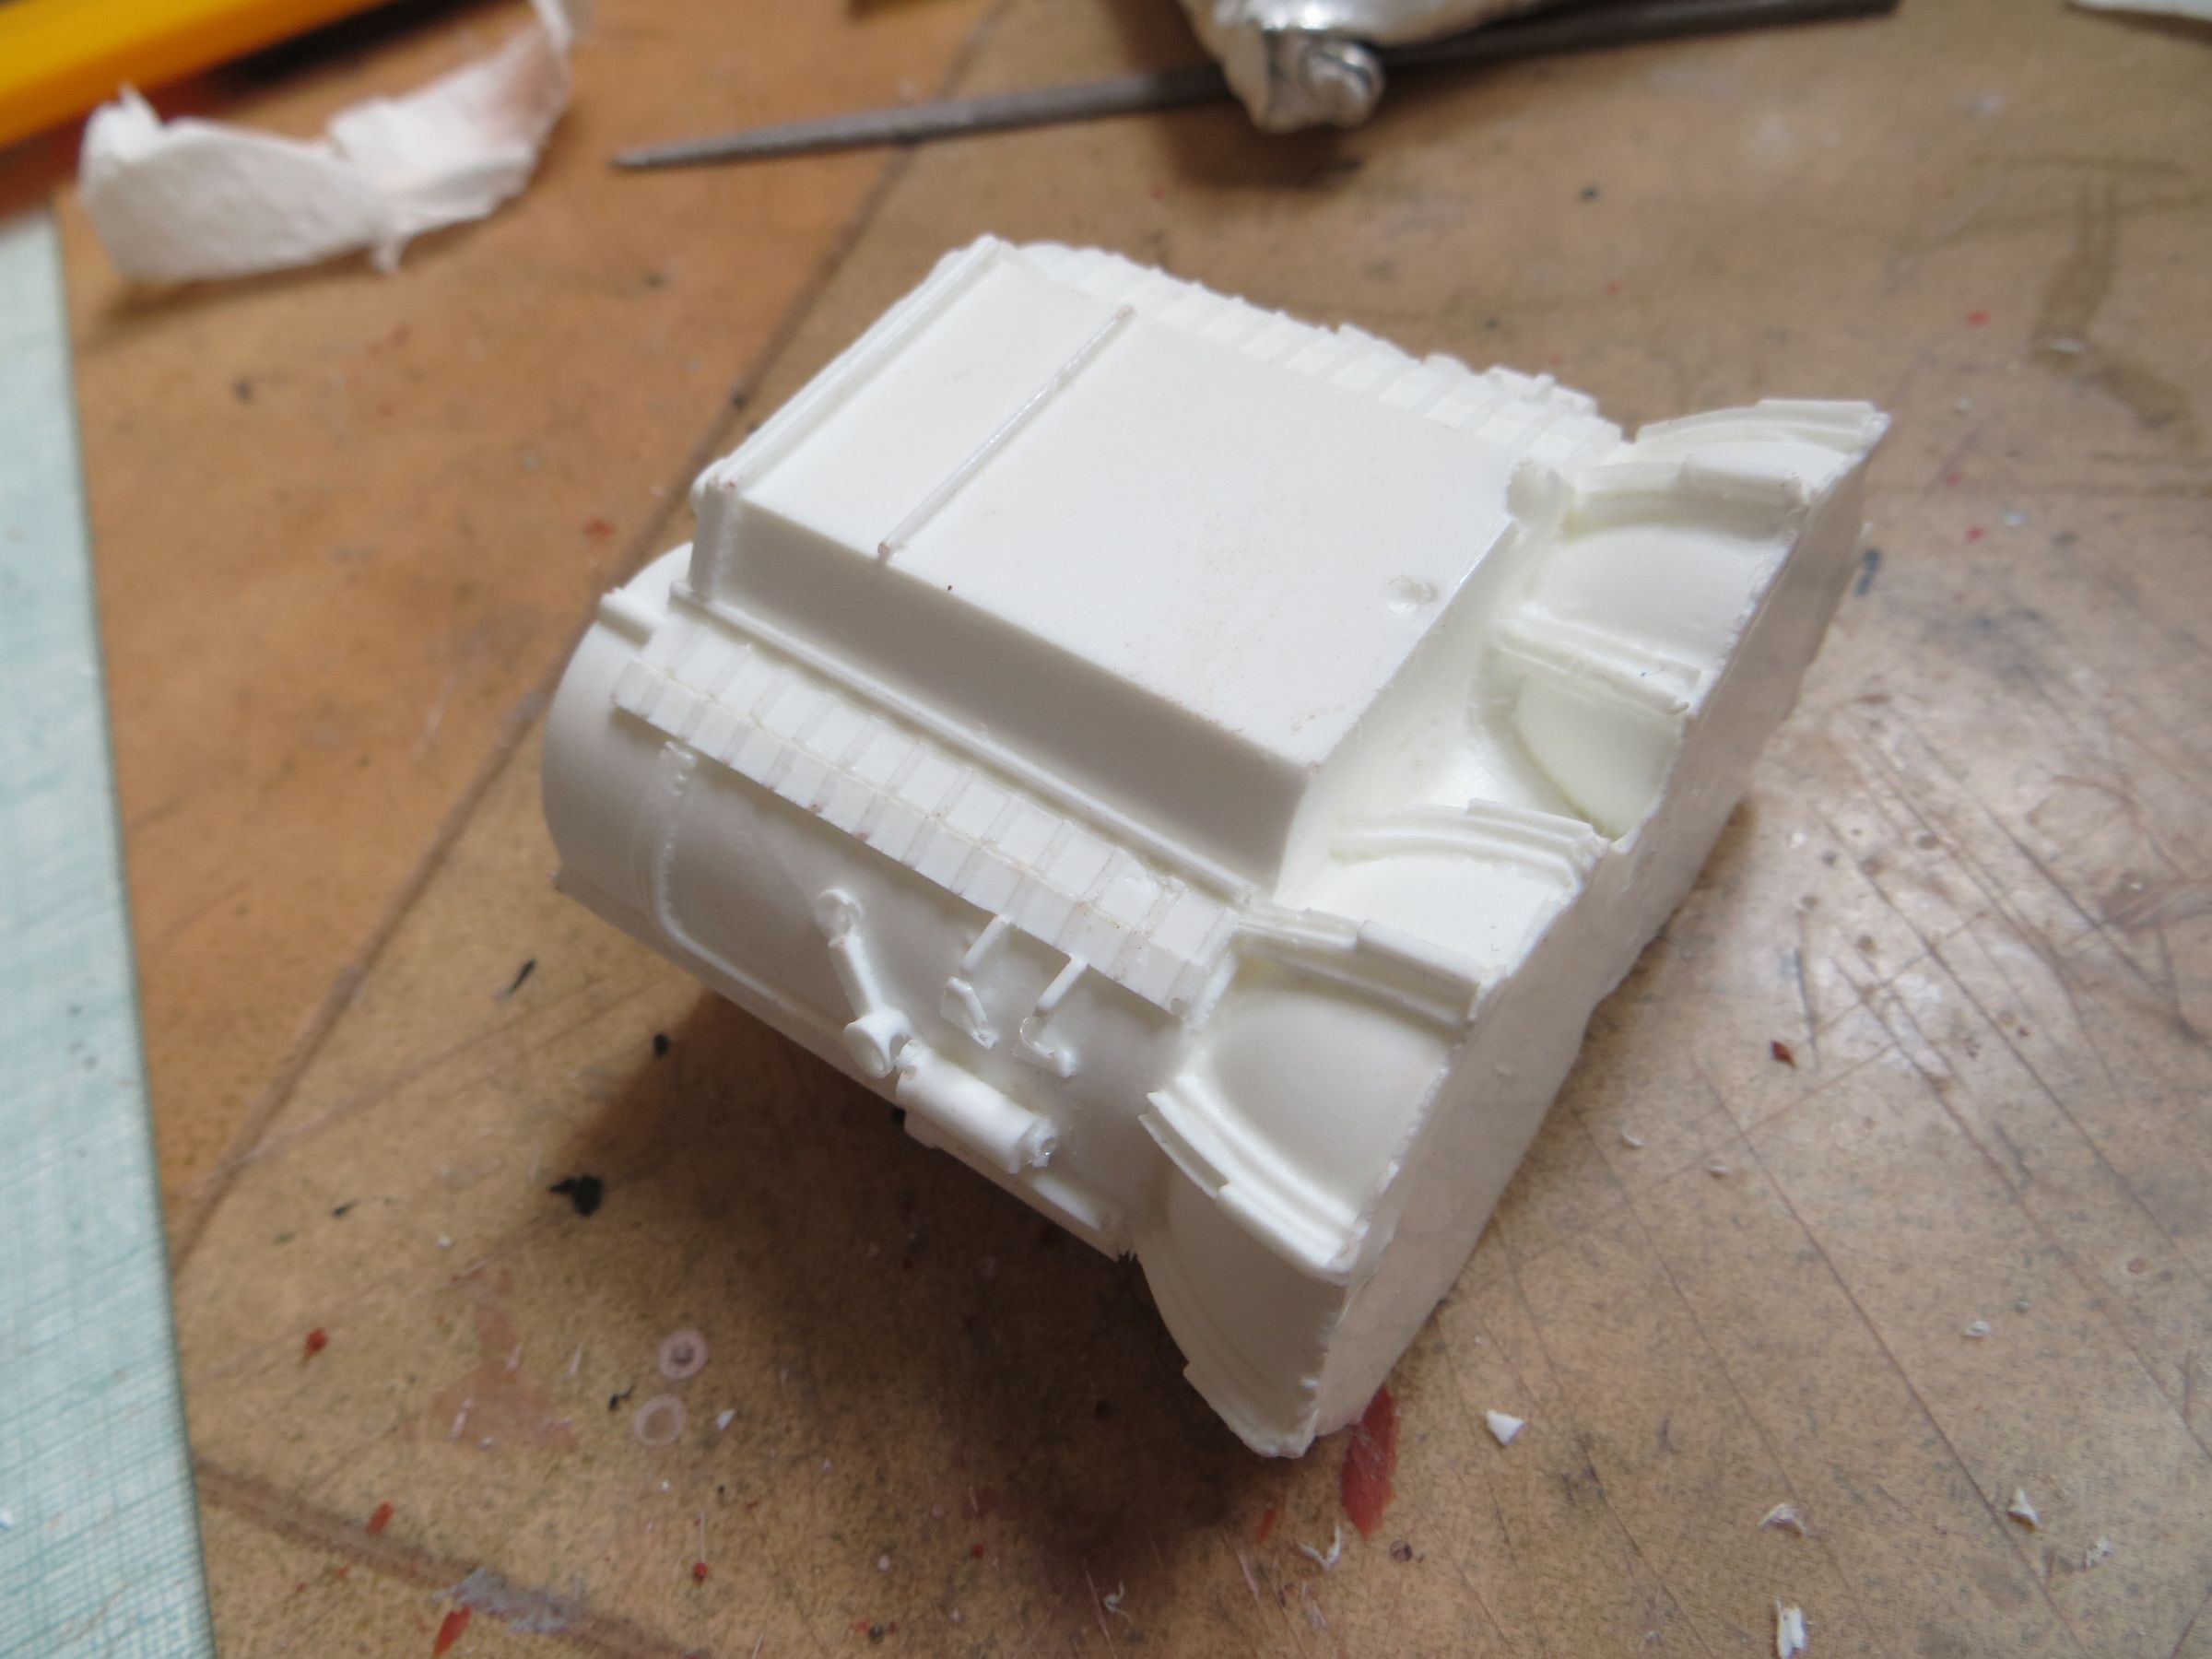
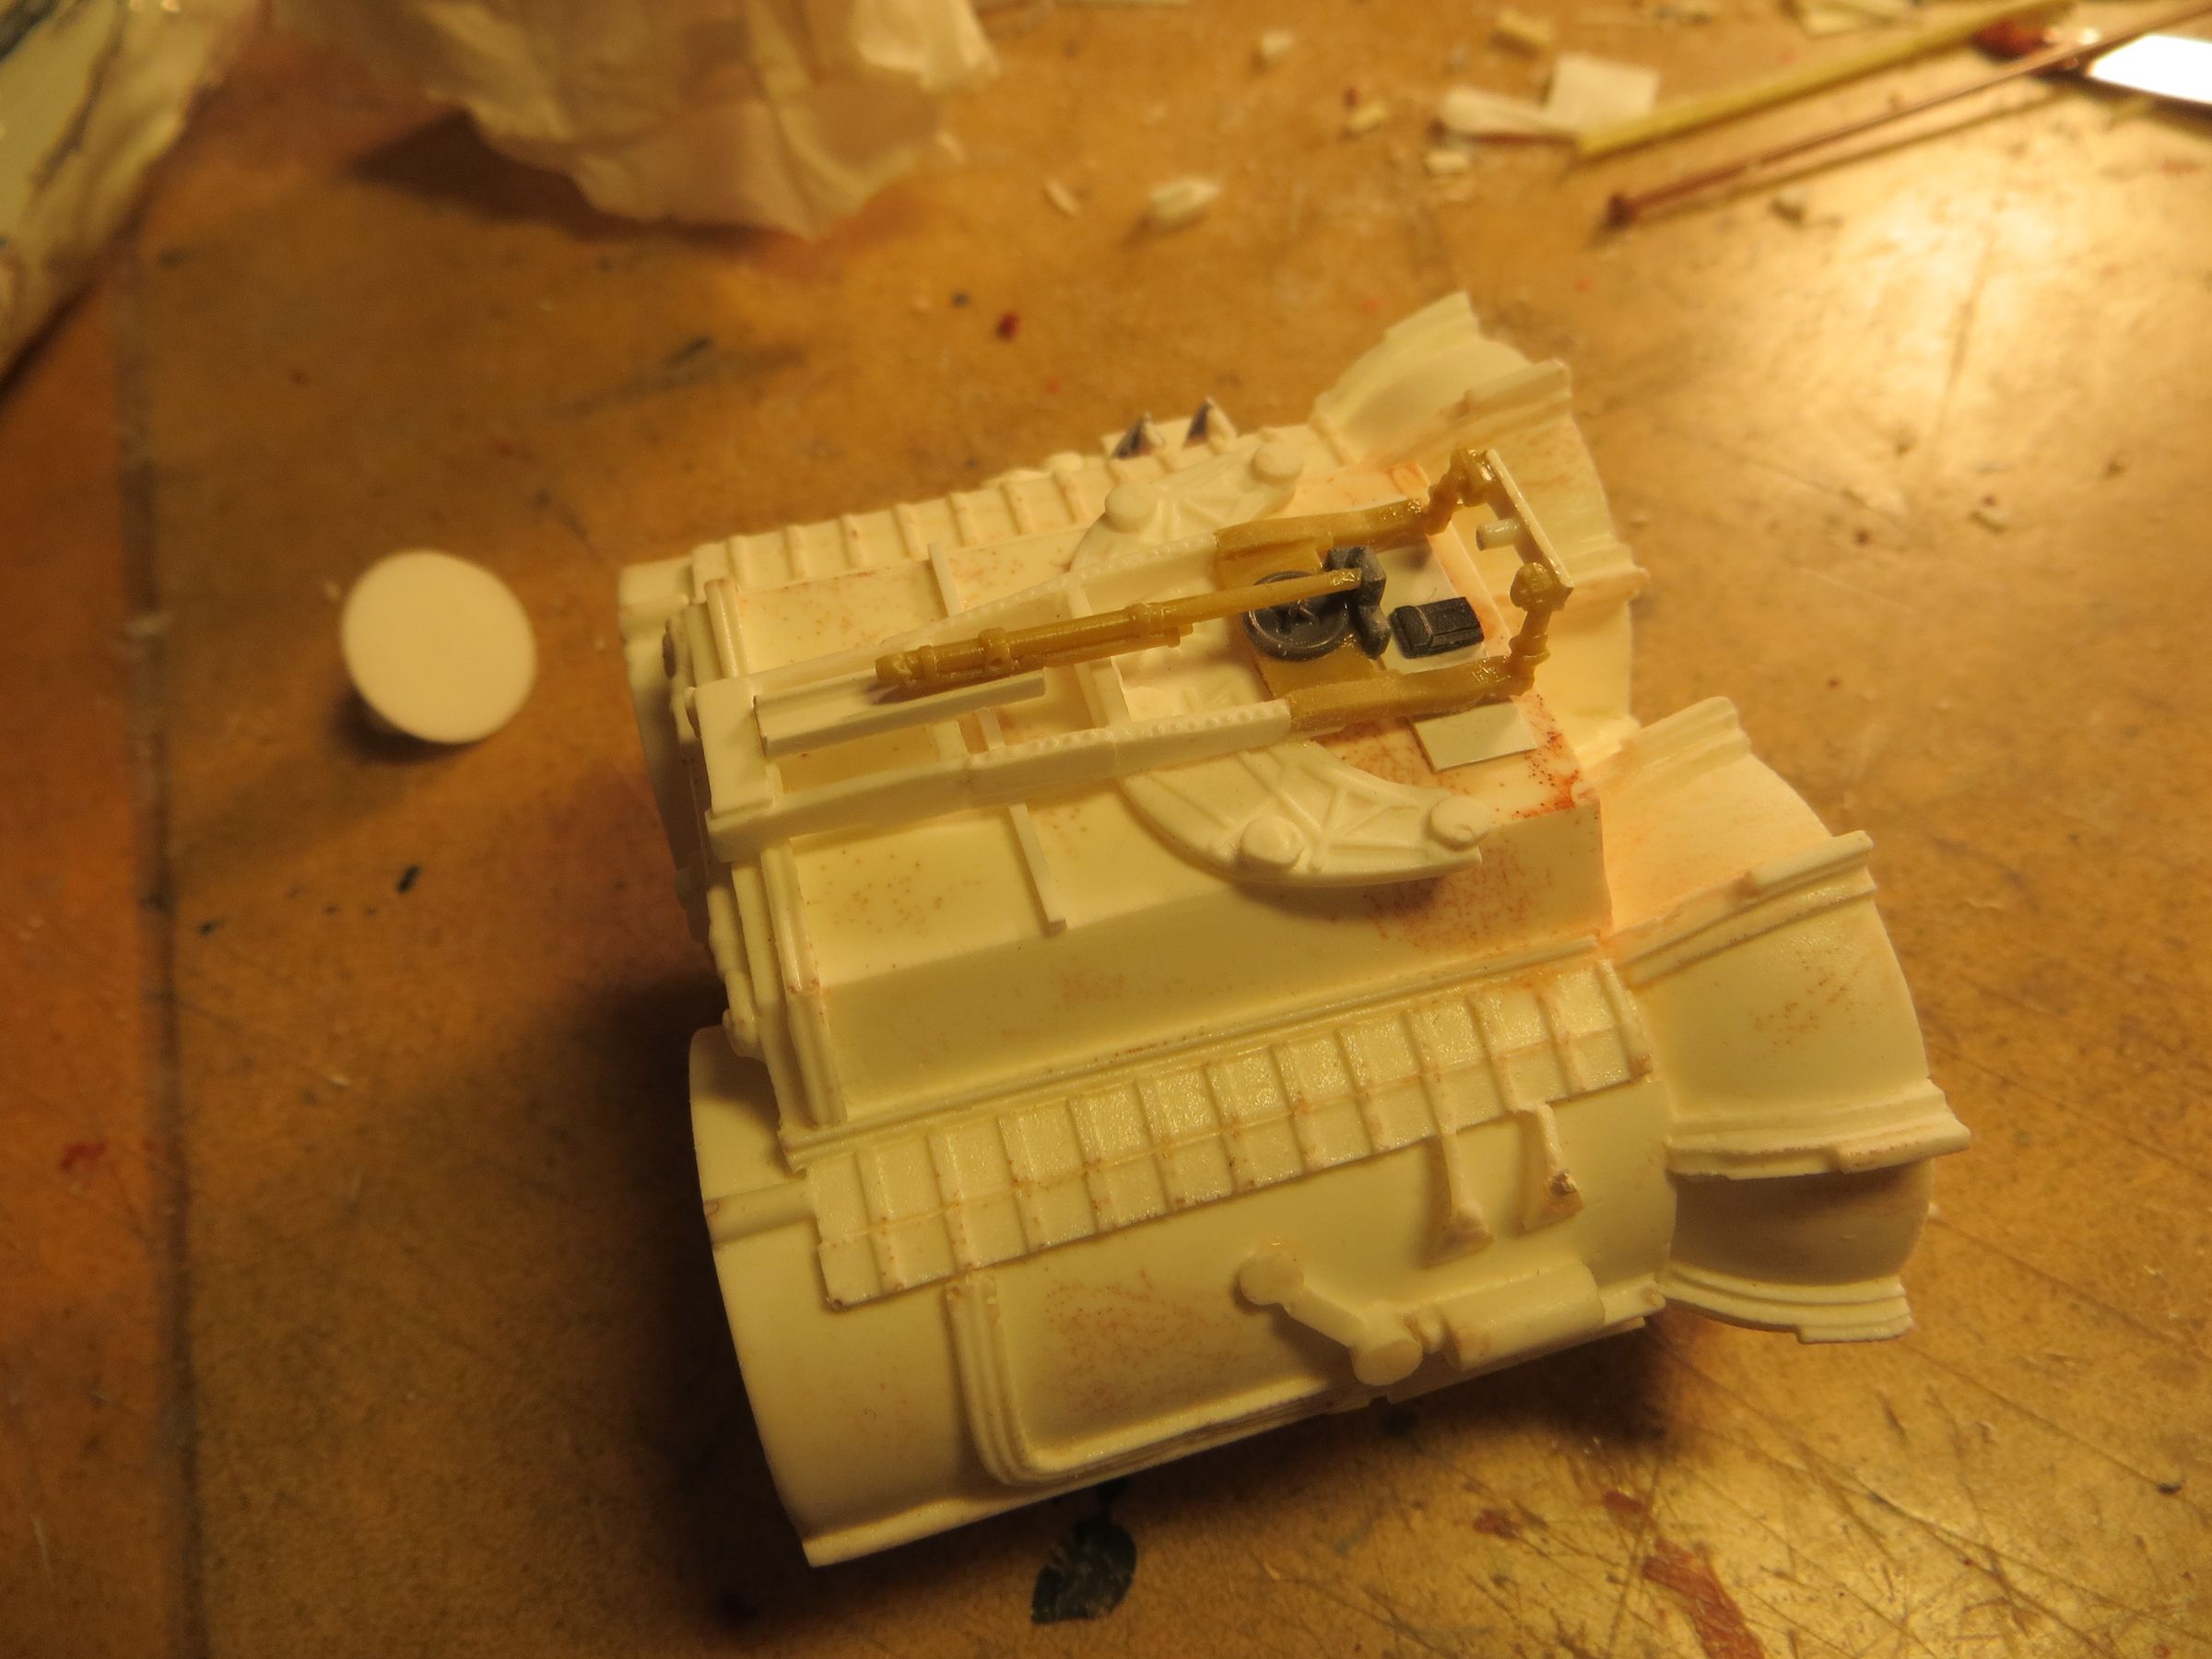
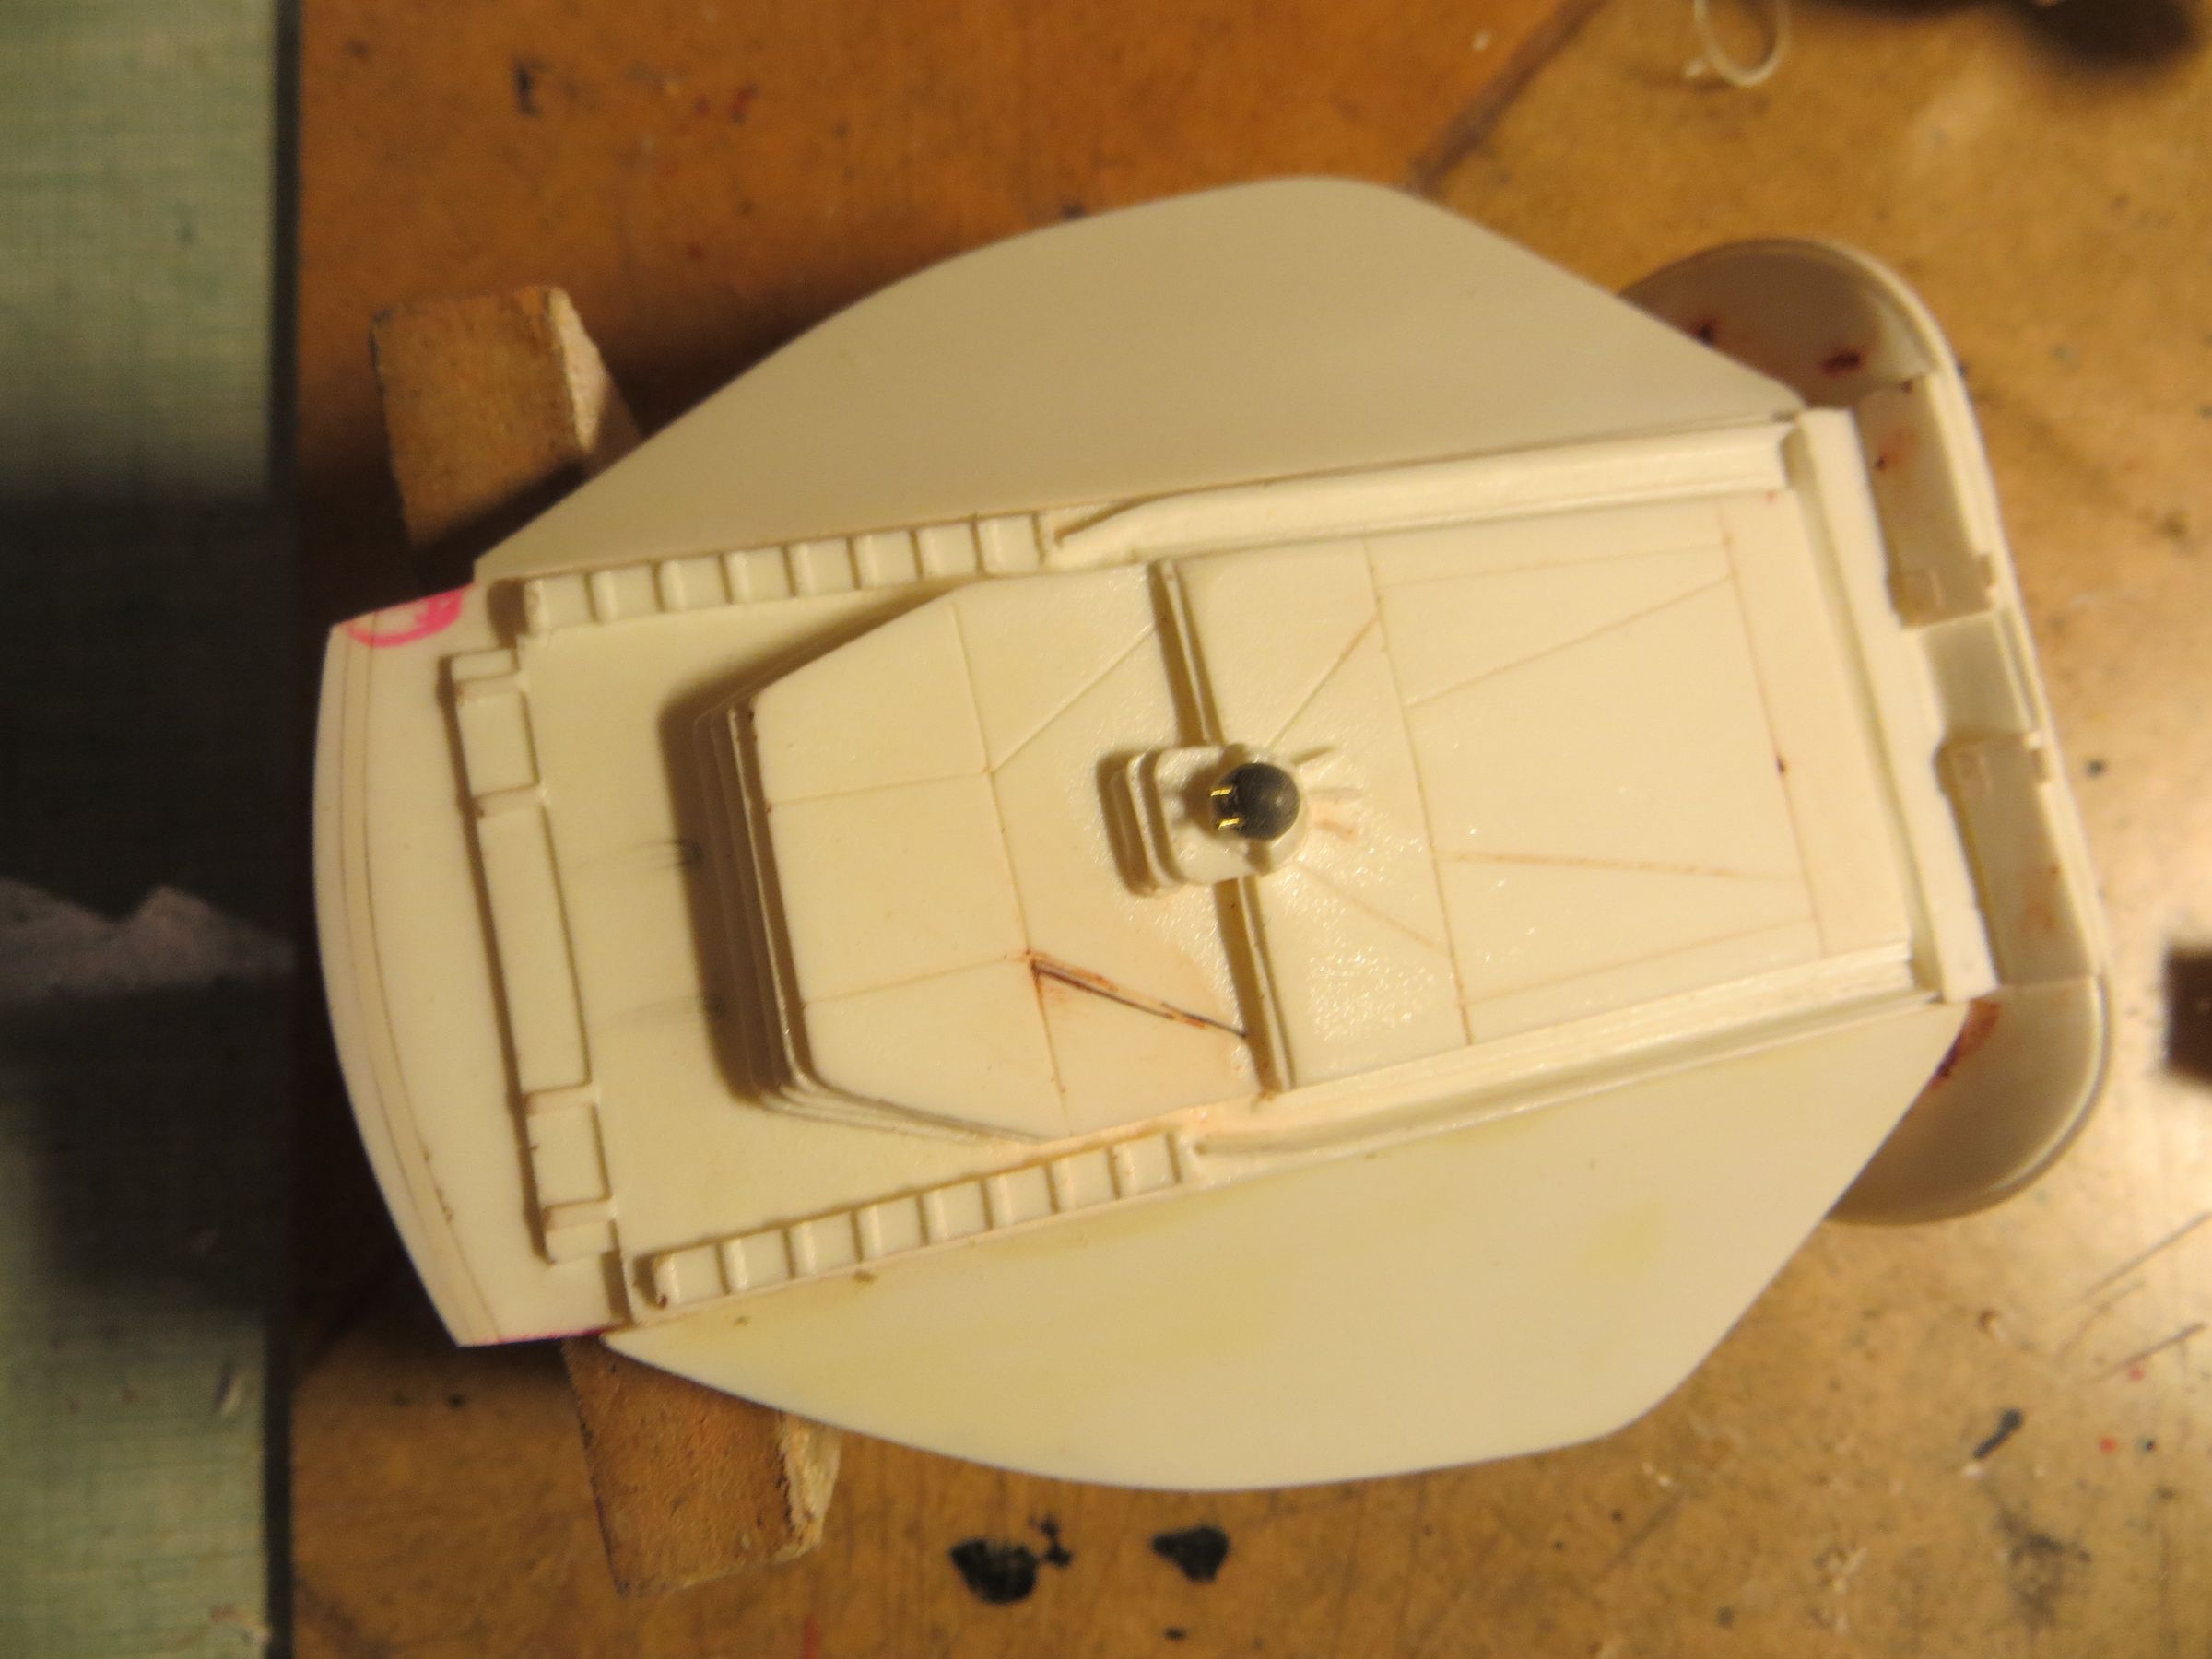
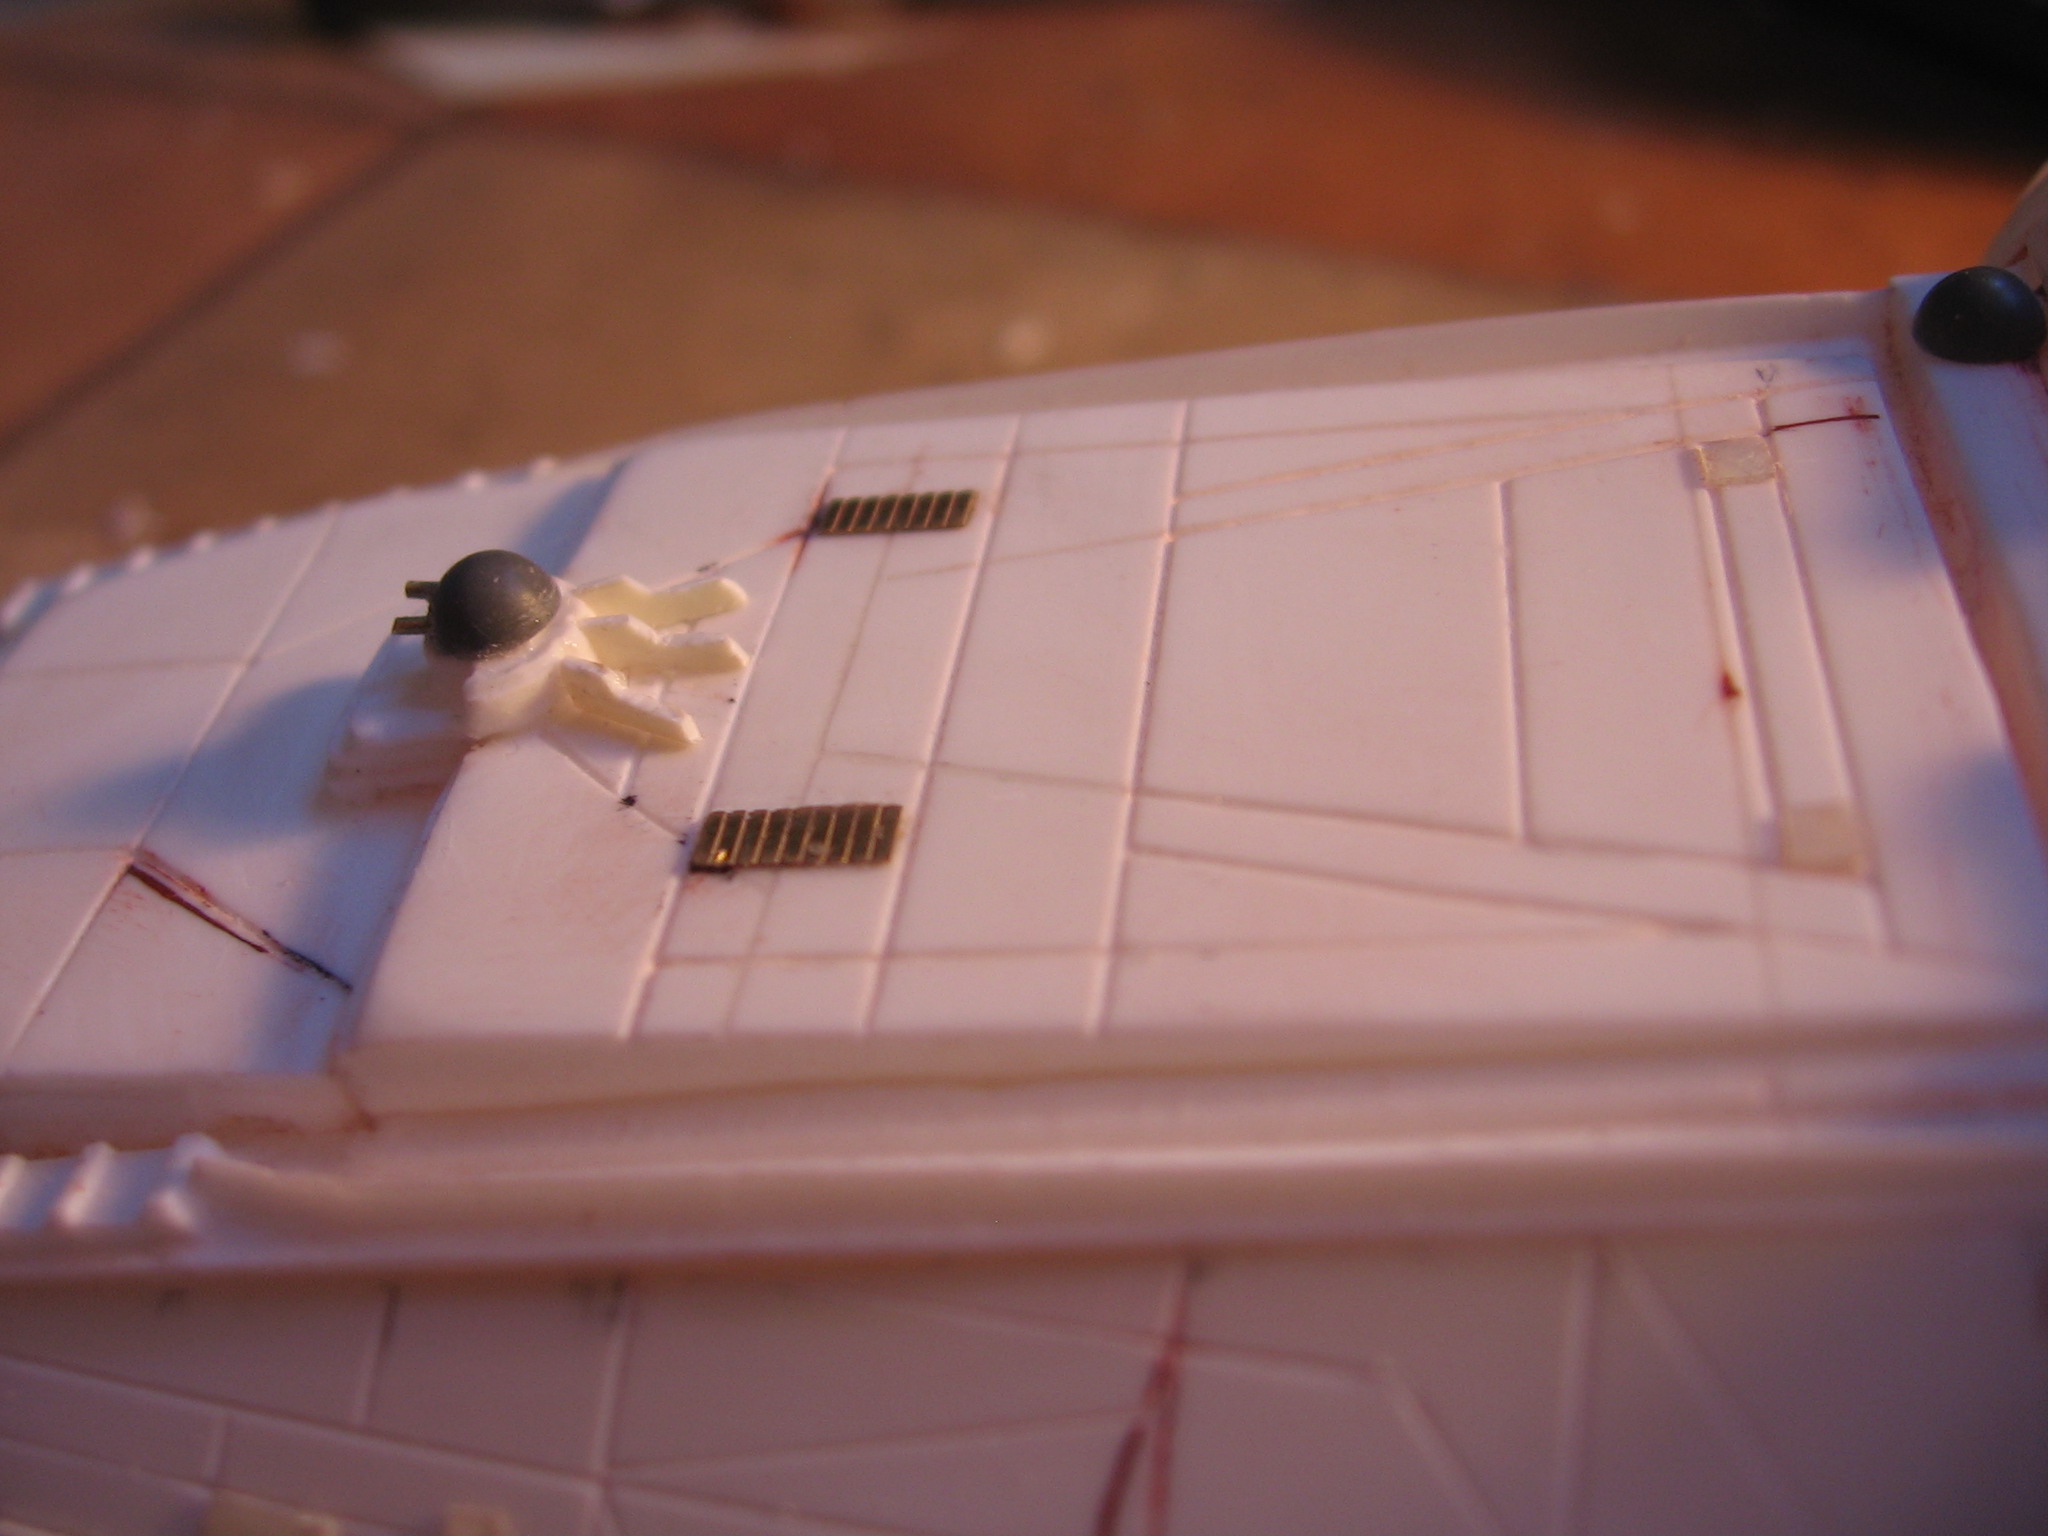
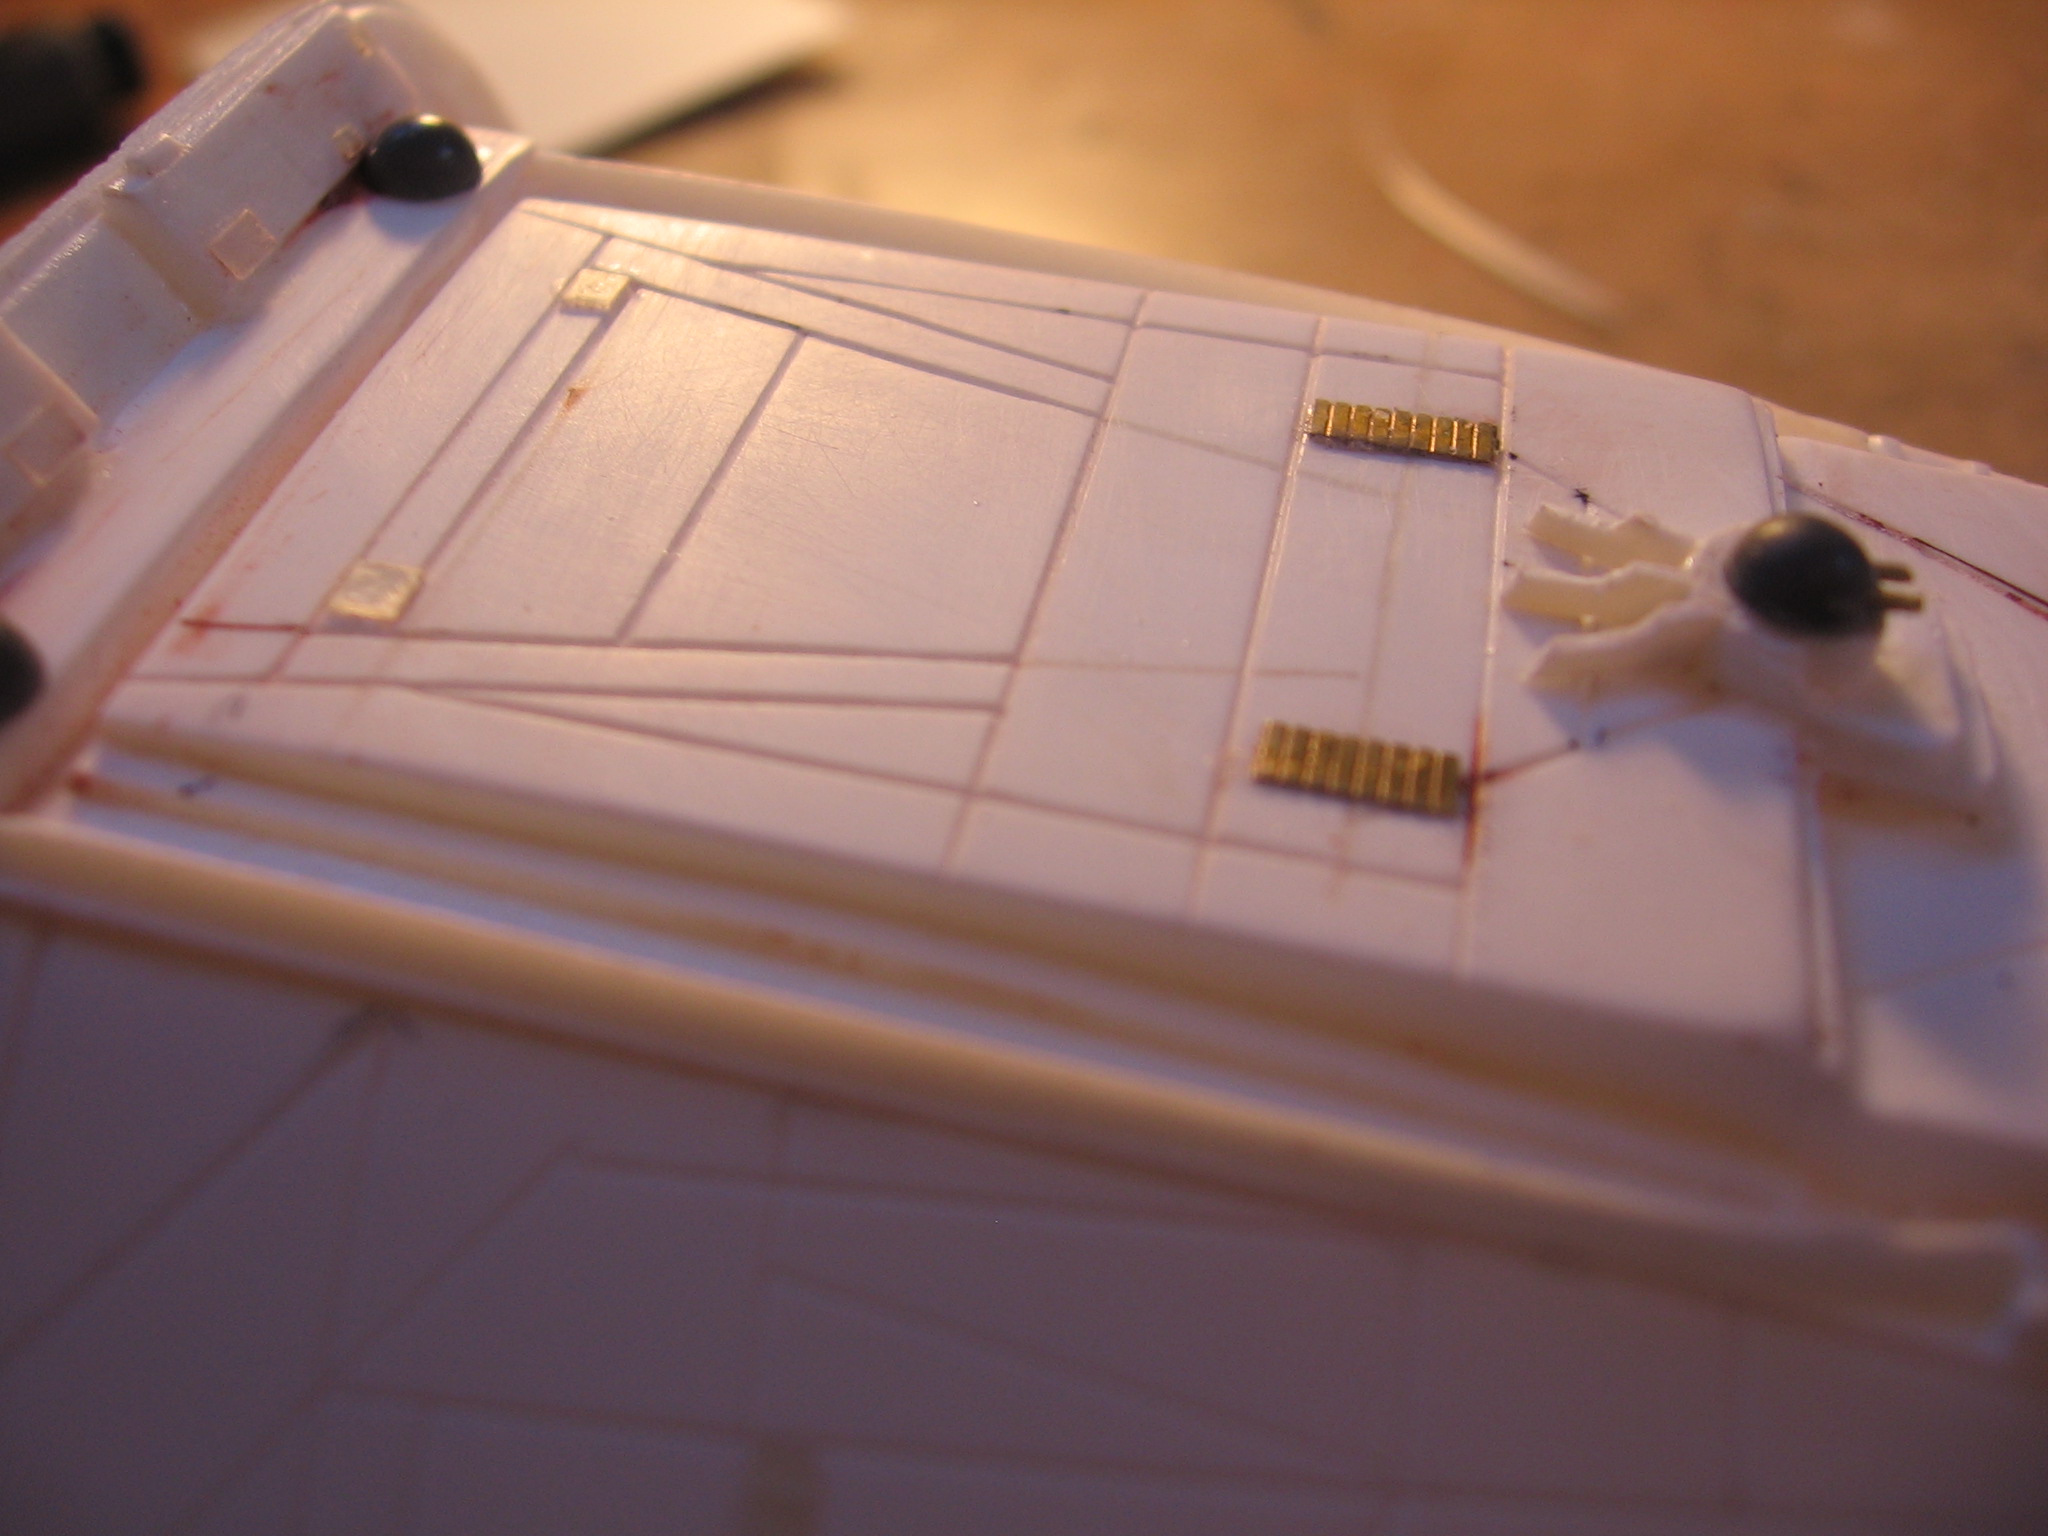
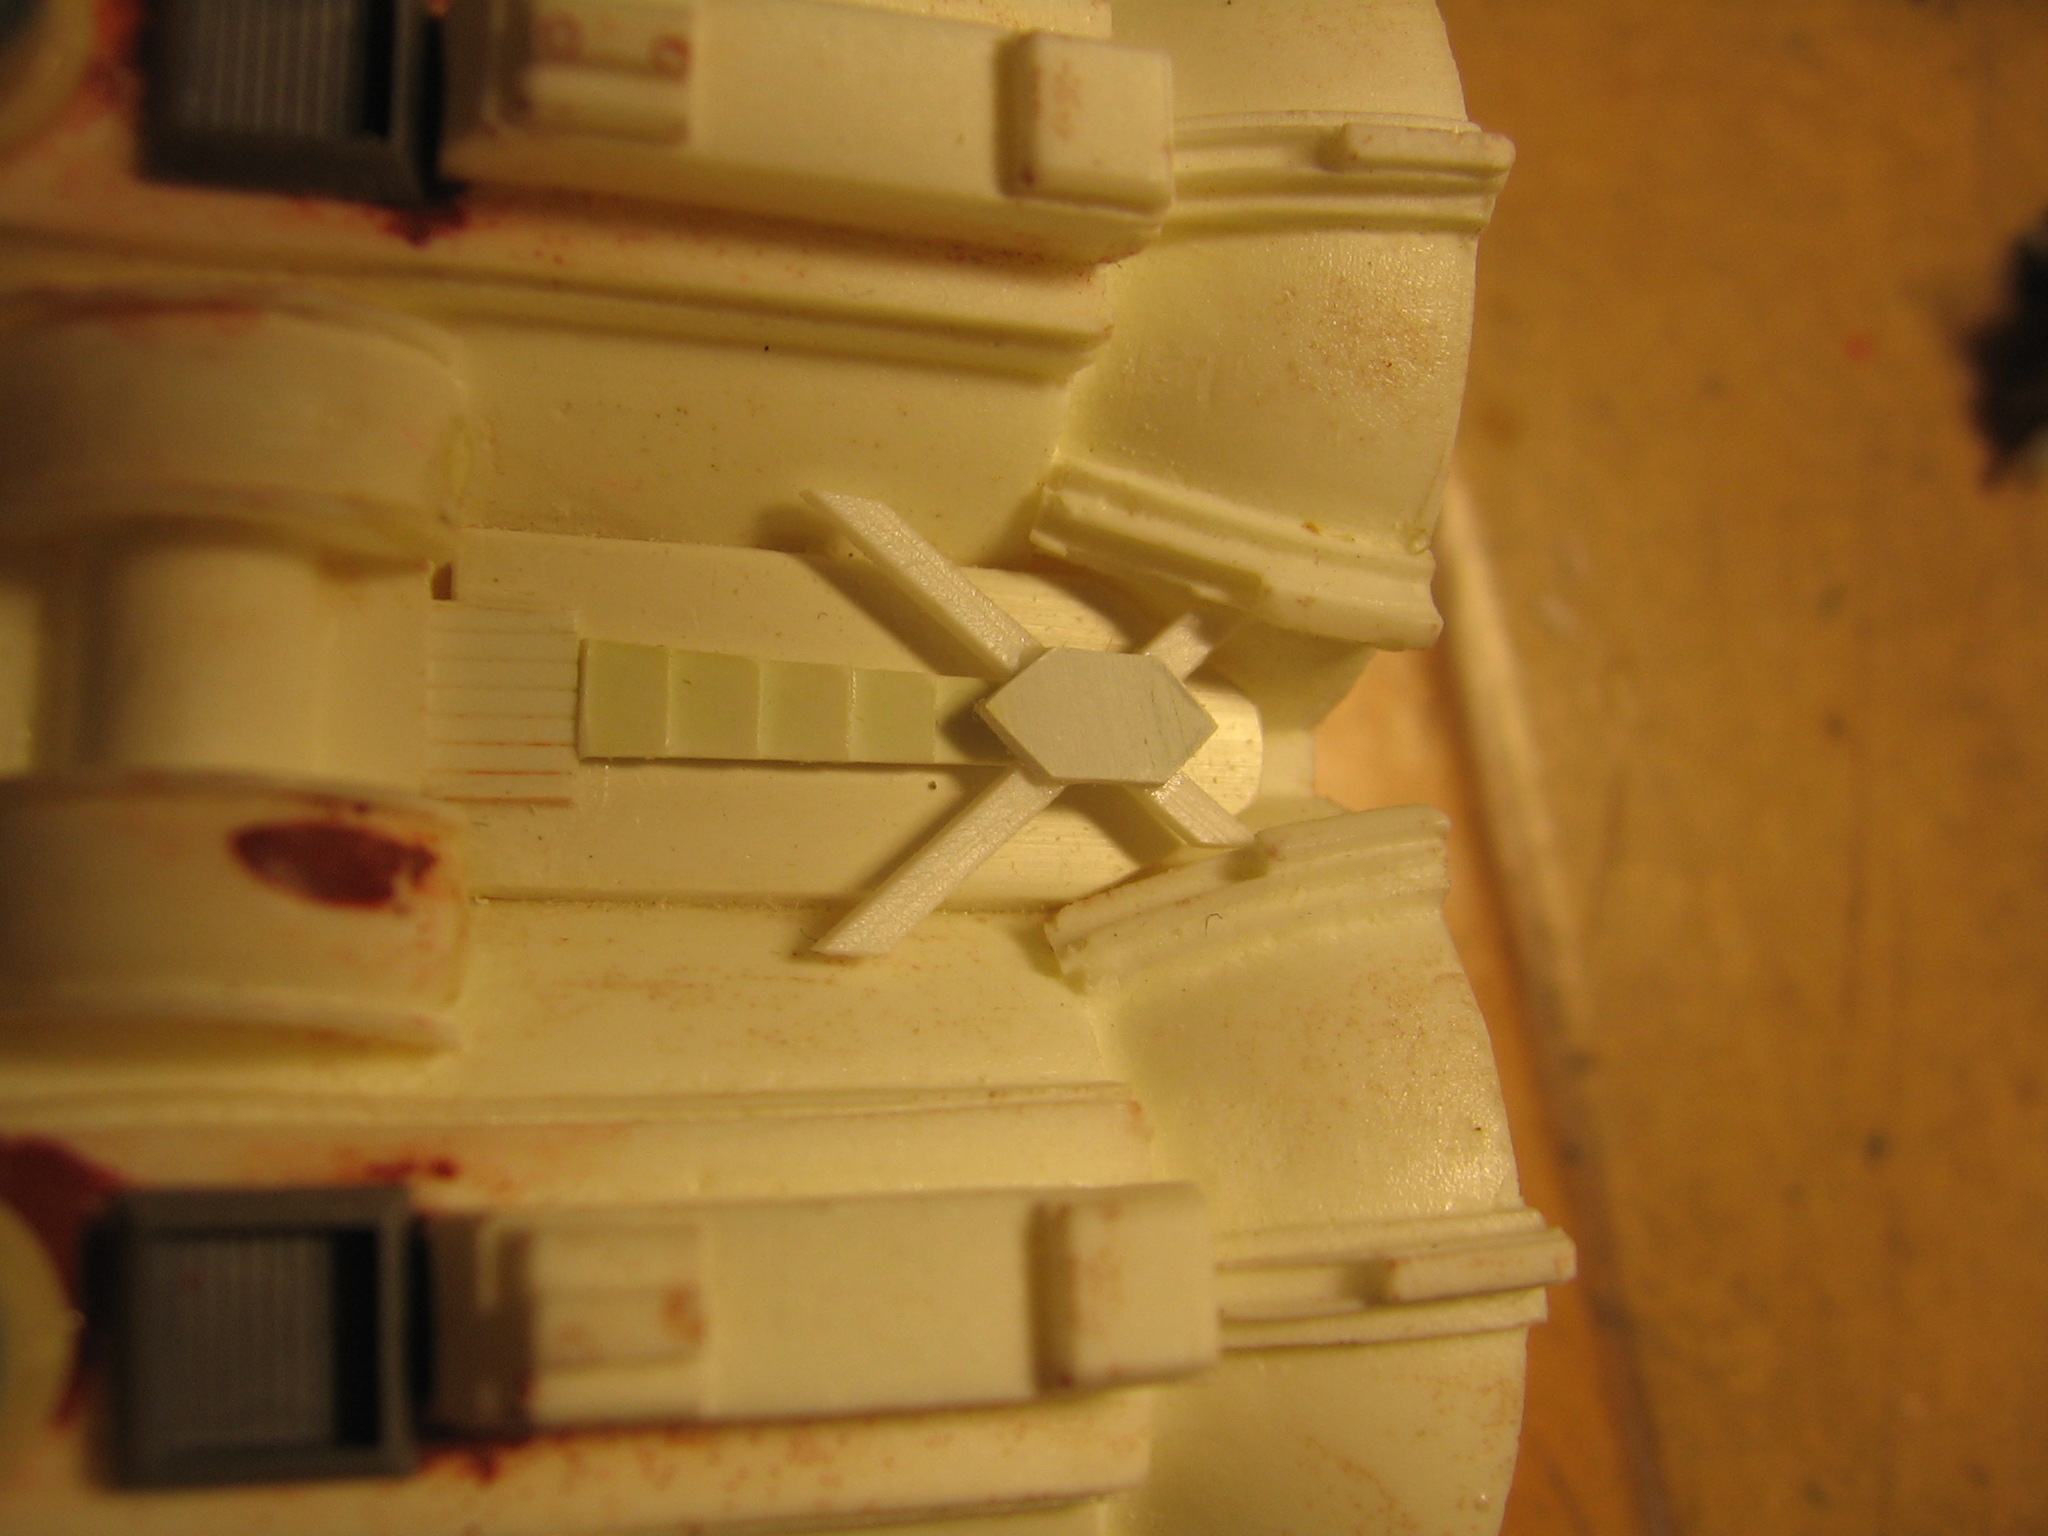
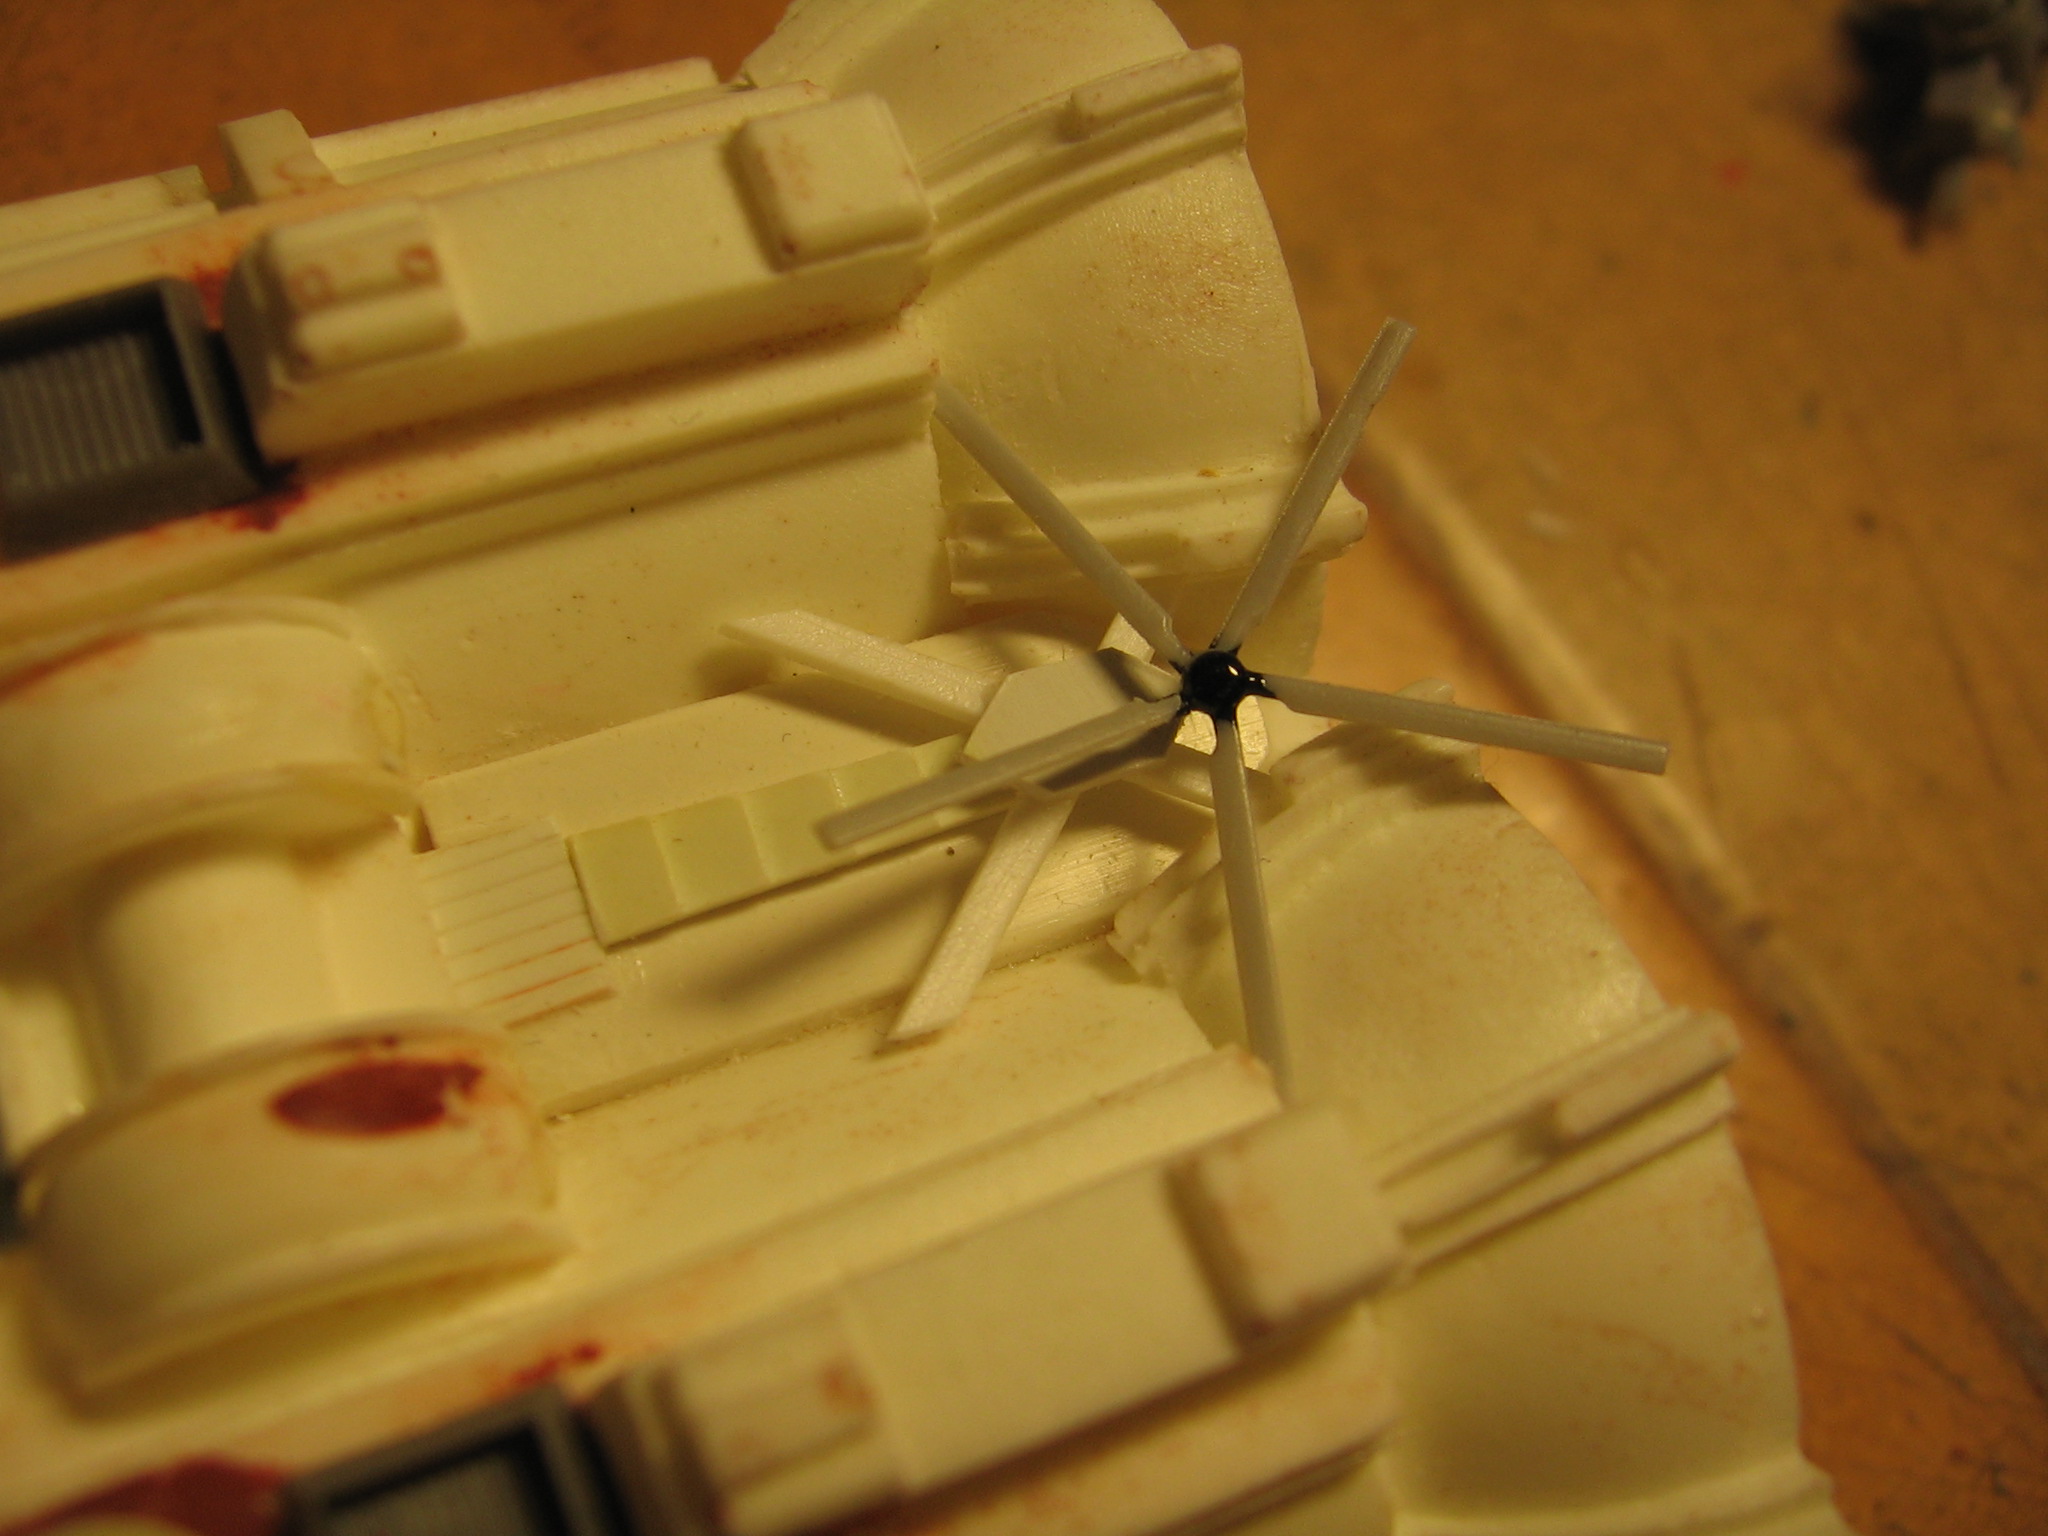
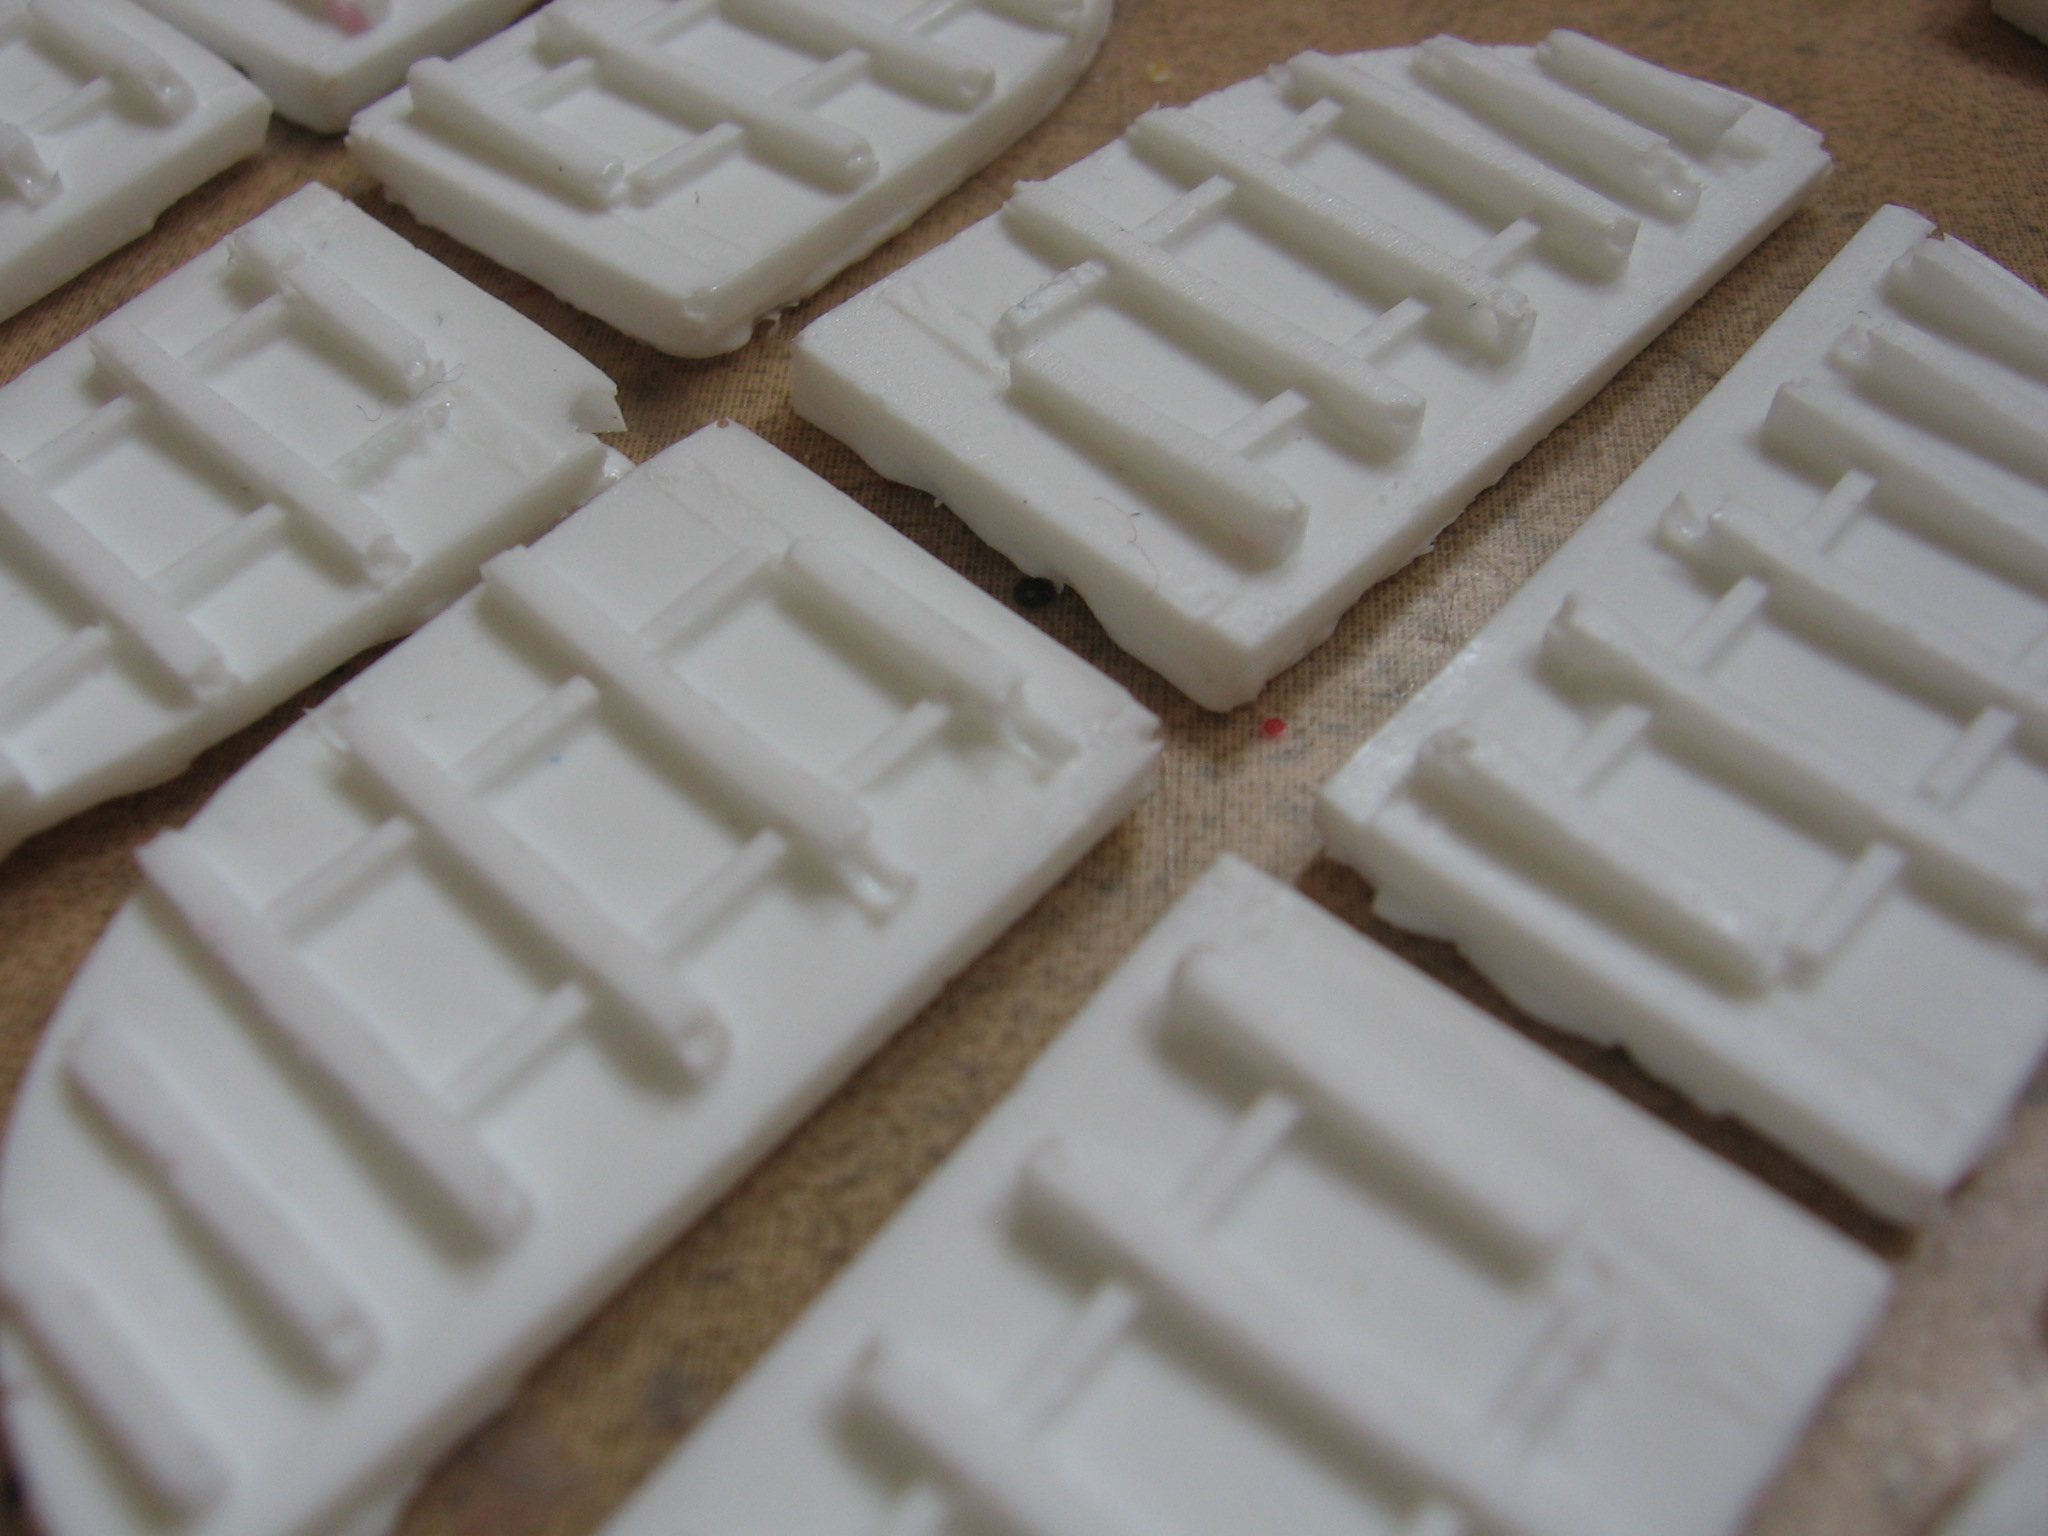
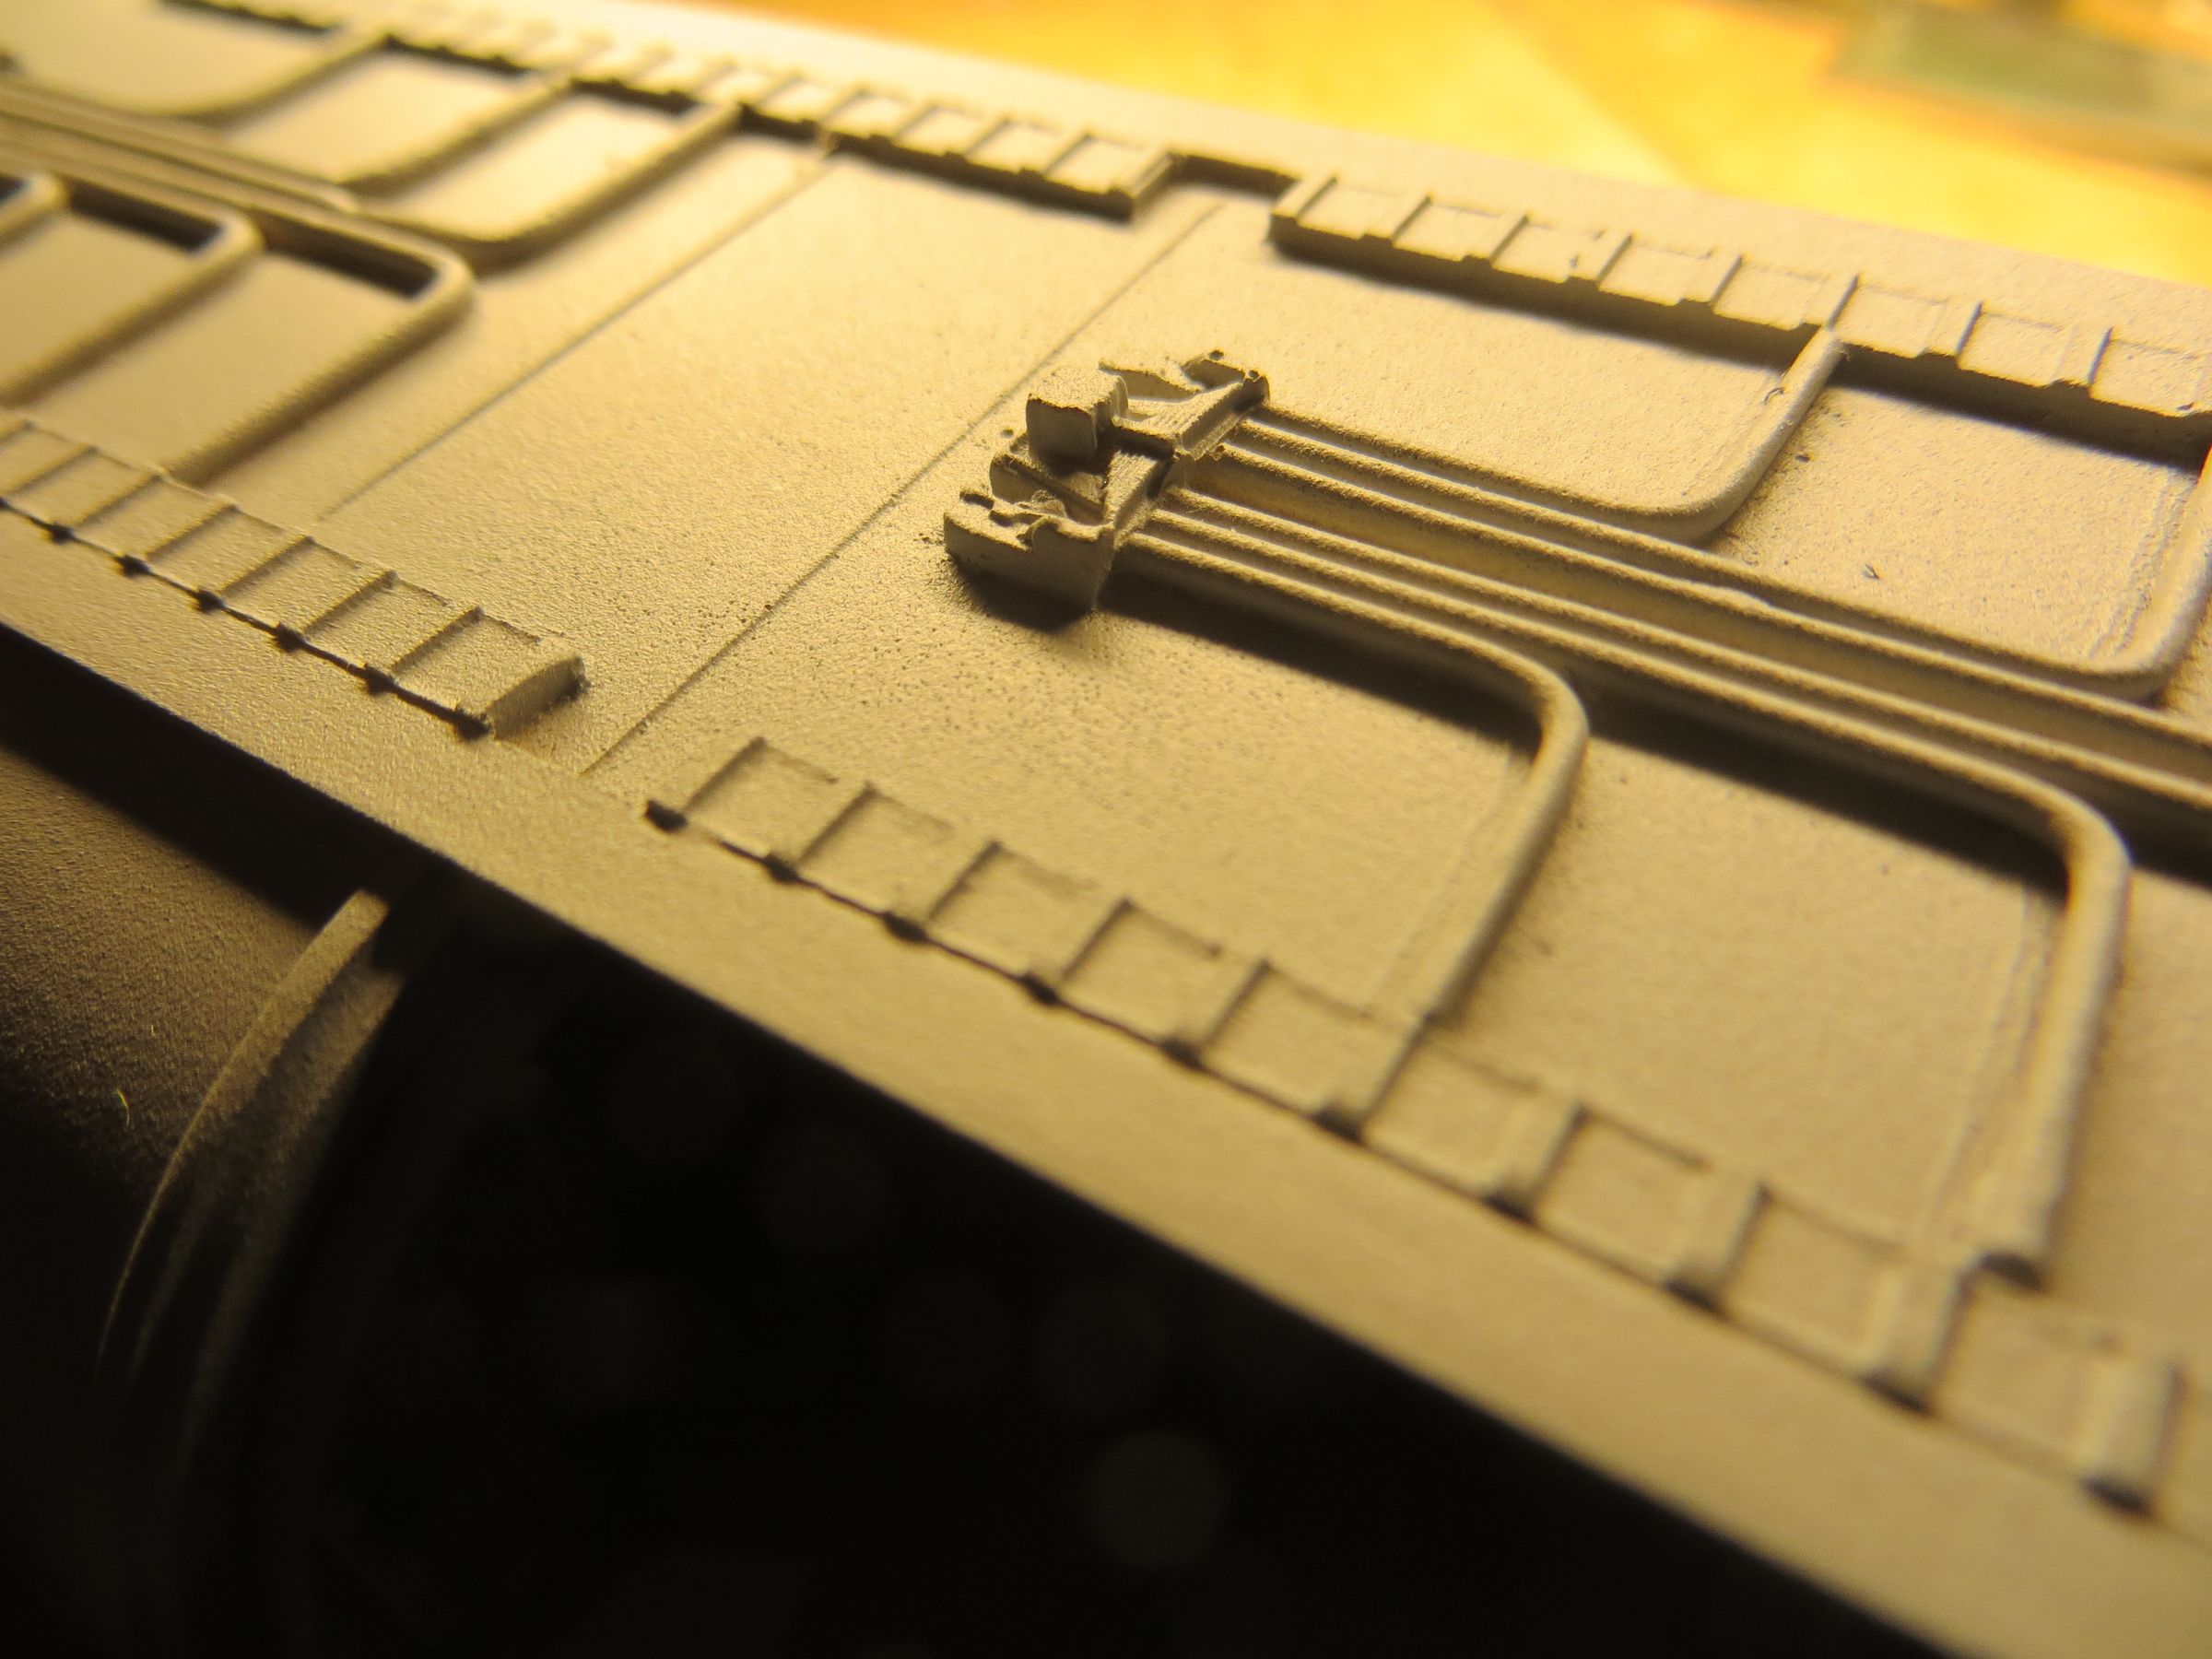
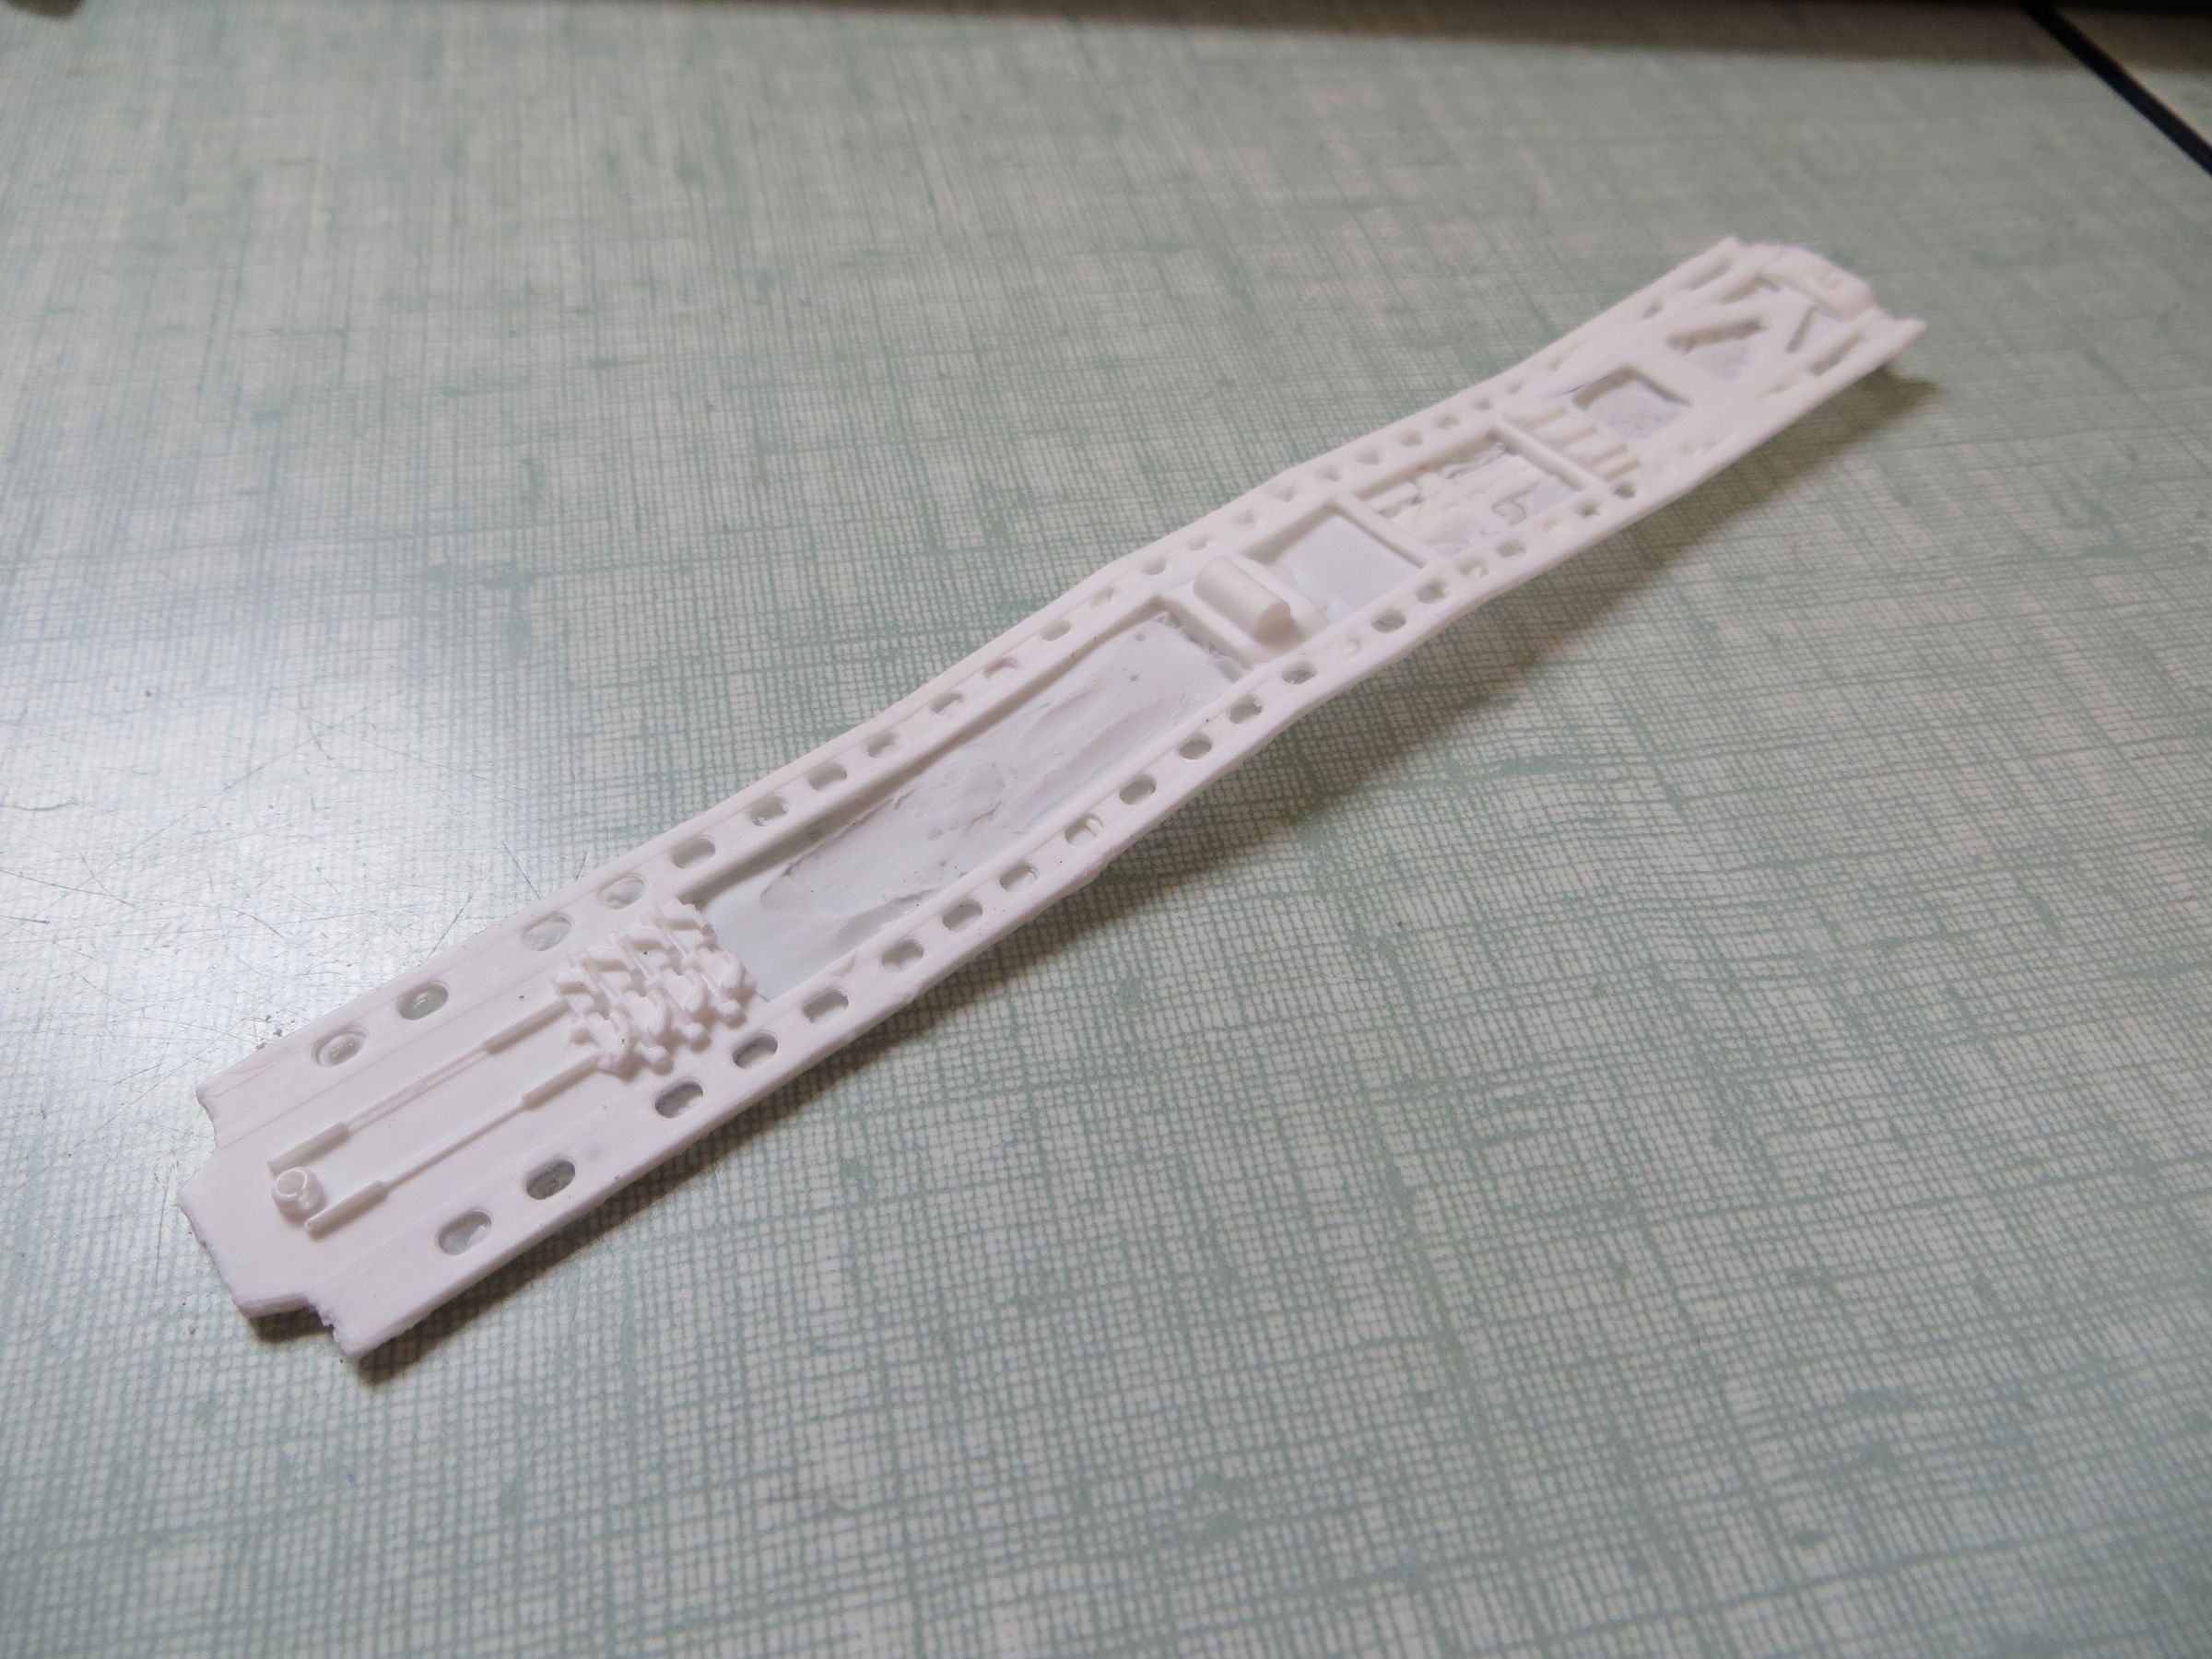
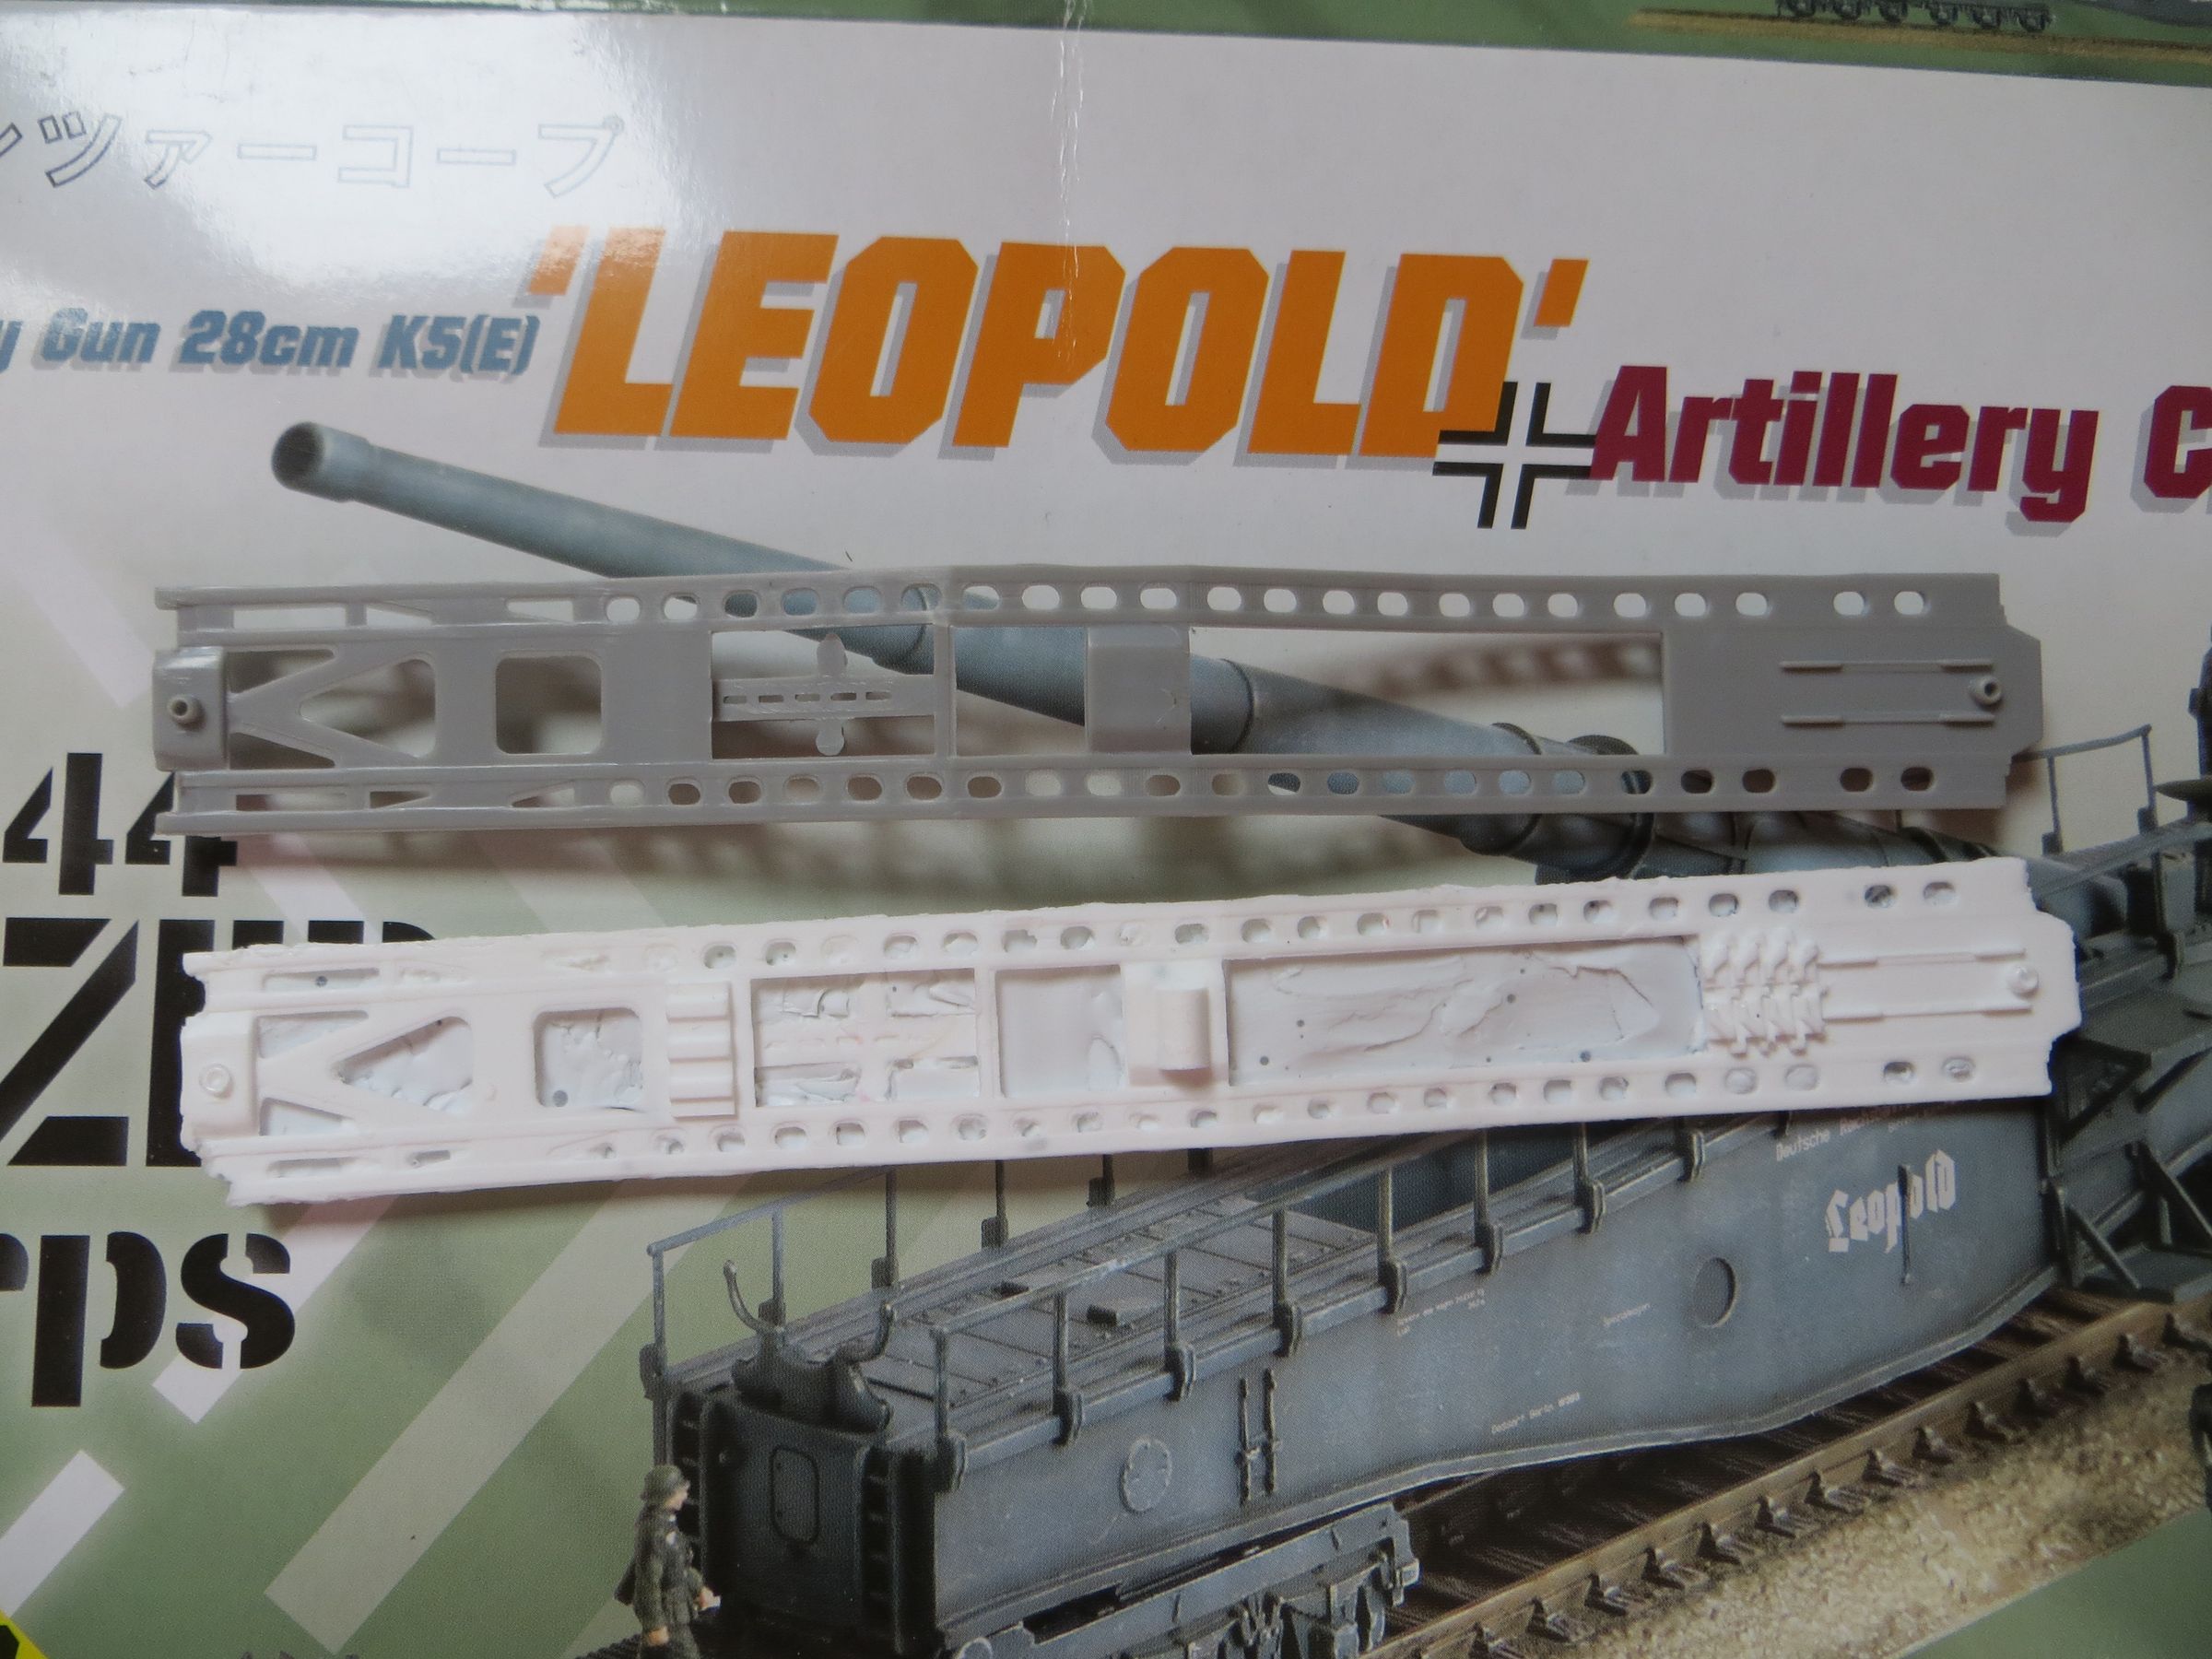
Because we can recognize this part, it is the floor of the WW2 Leopold german rail gun.
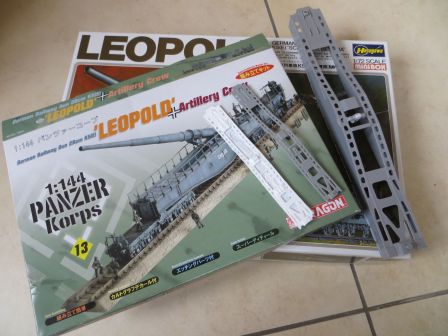
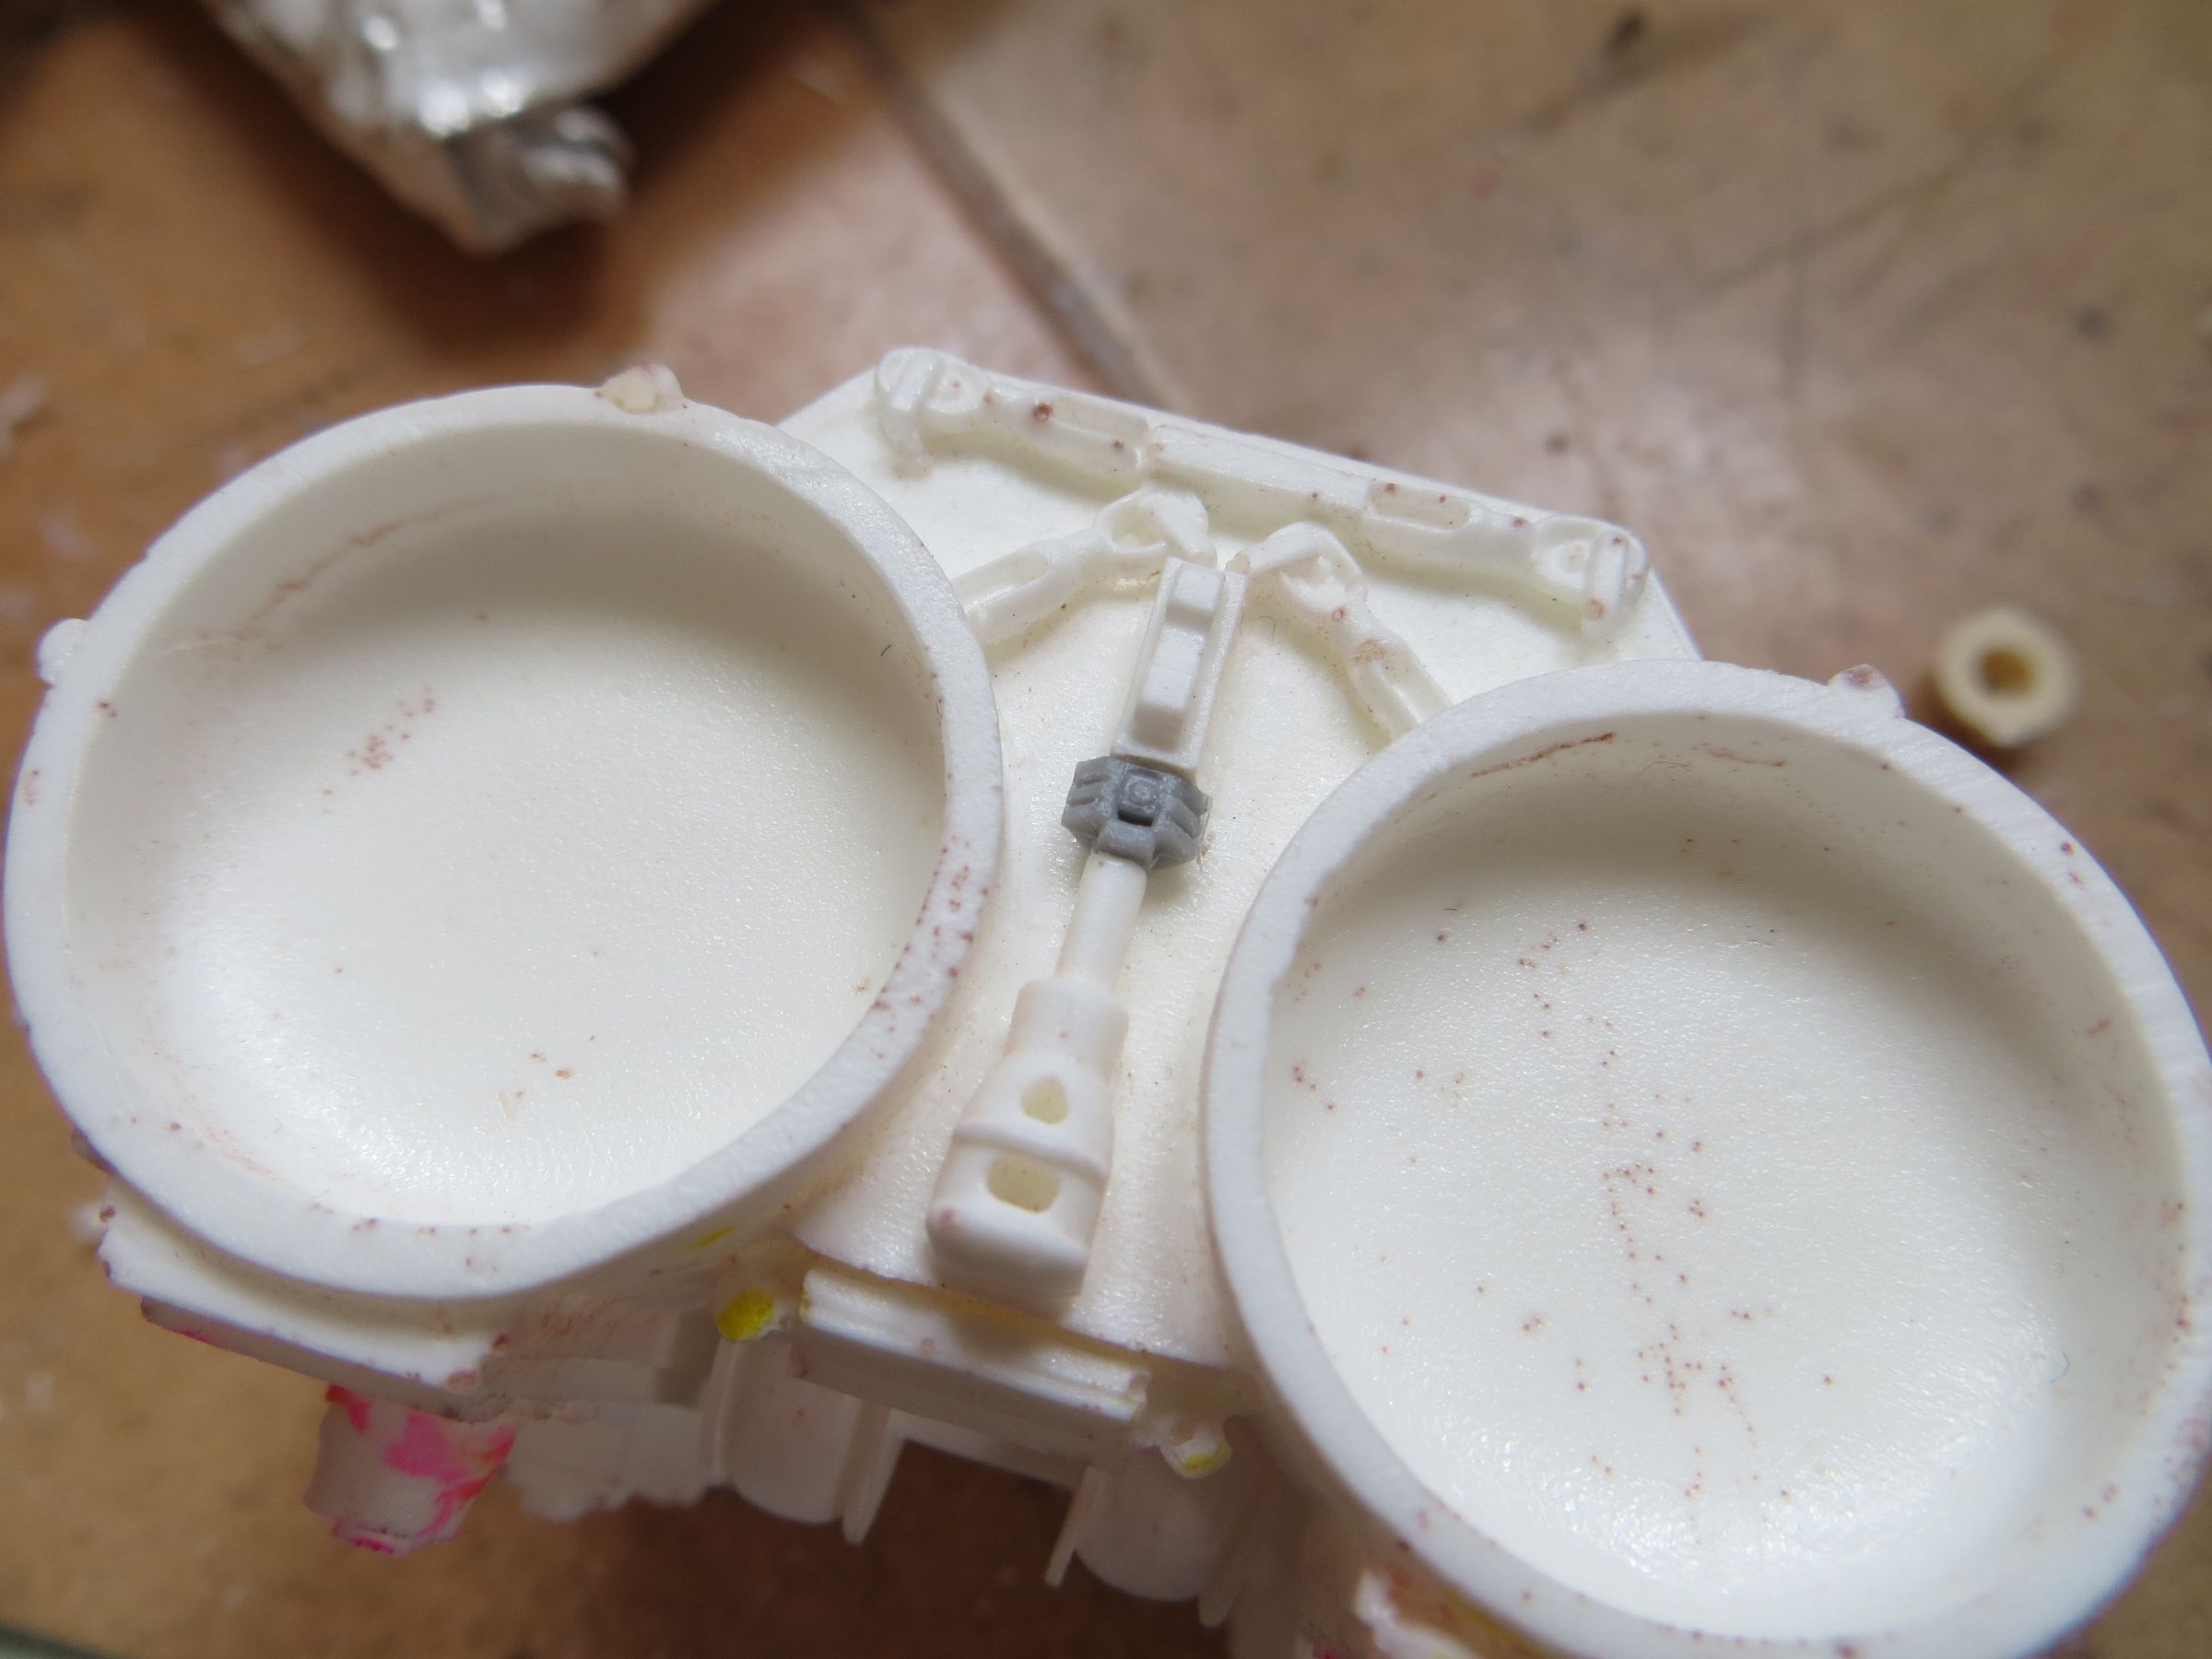
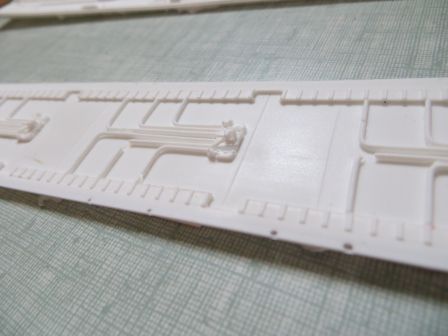
Here the LarsonDesign kit part next to Dragon kit one in 1/144.
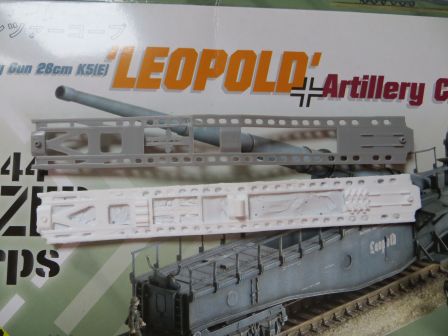
On the studio model, this is the 1/72 Hasegawa part that was used (it can be found on many other ships of the classic serie, and also on some SW ships (many of the same modelers worked on the 2 shows).
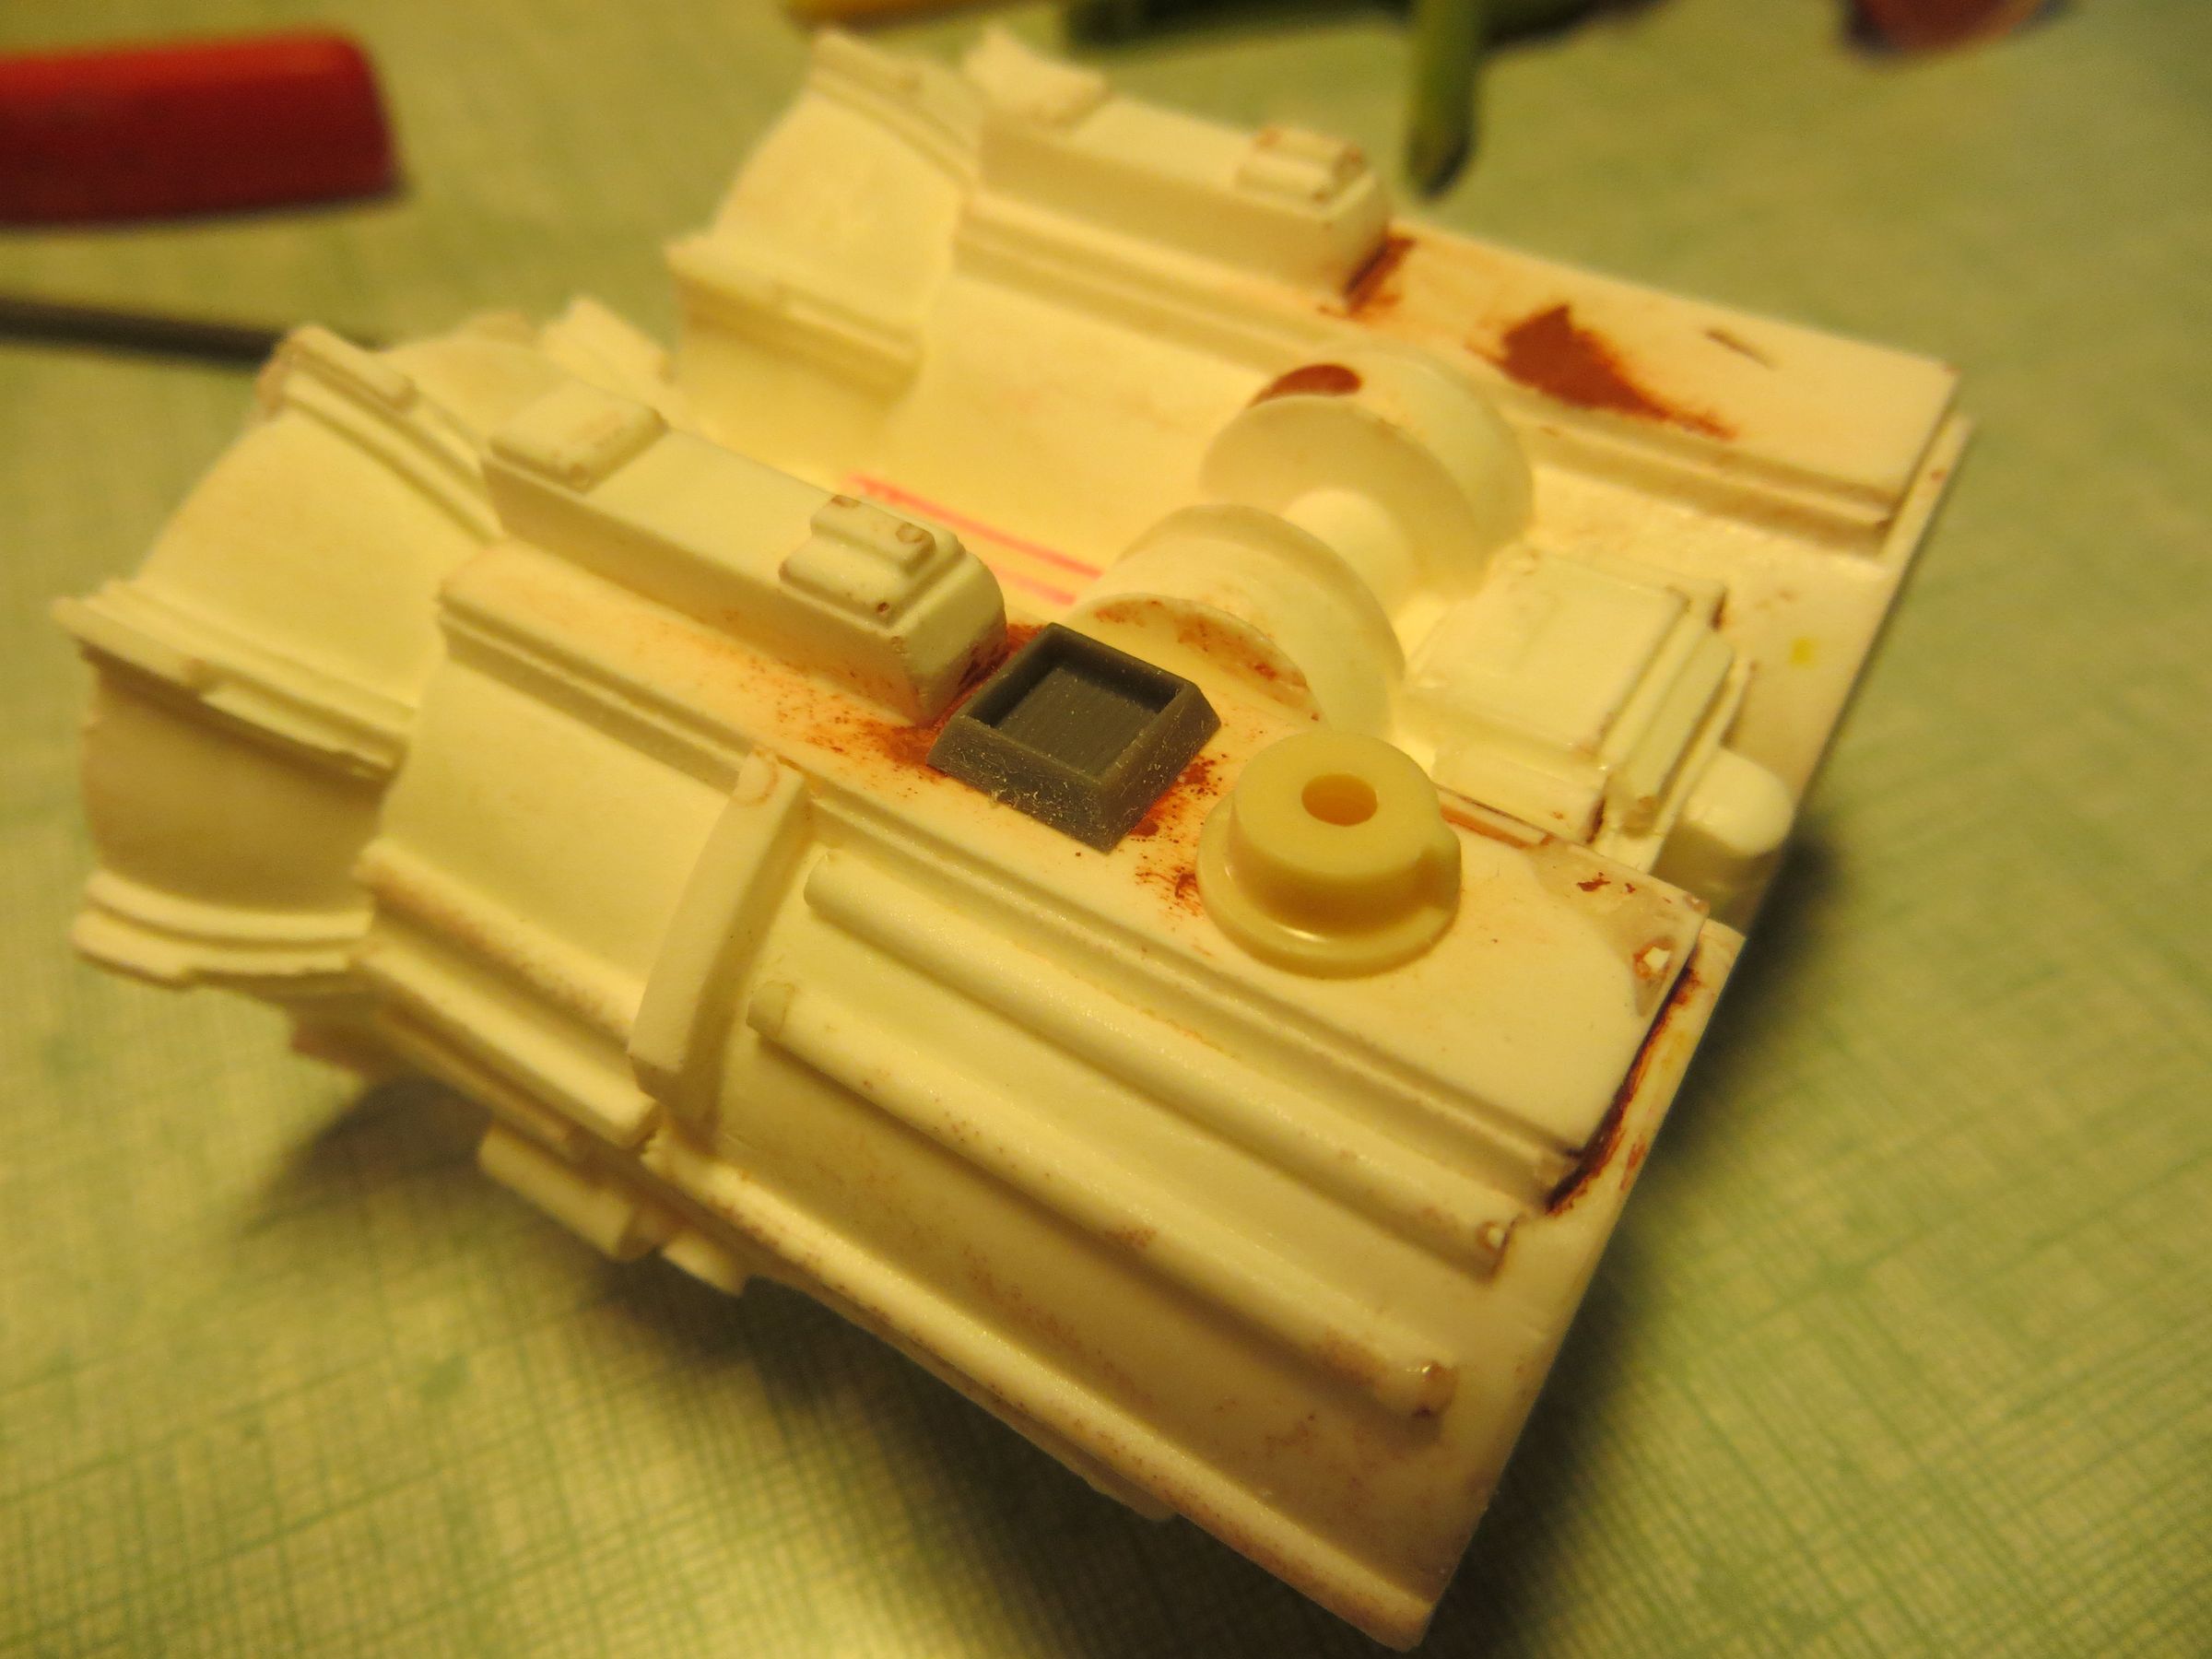
I saw this Cylon Tanker kit specified as being in 1/700 in a German forum (the only thing I understood there except photos), but I have no element to confirm this.
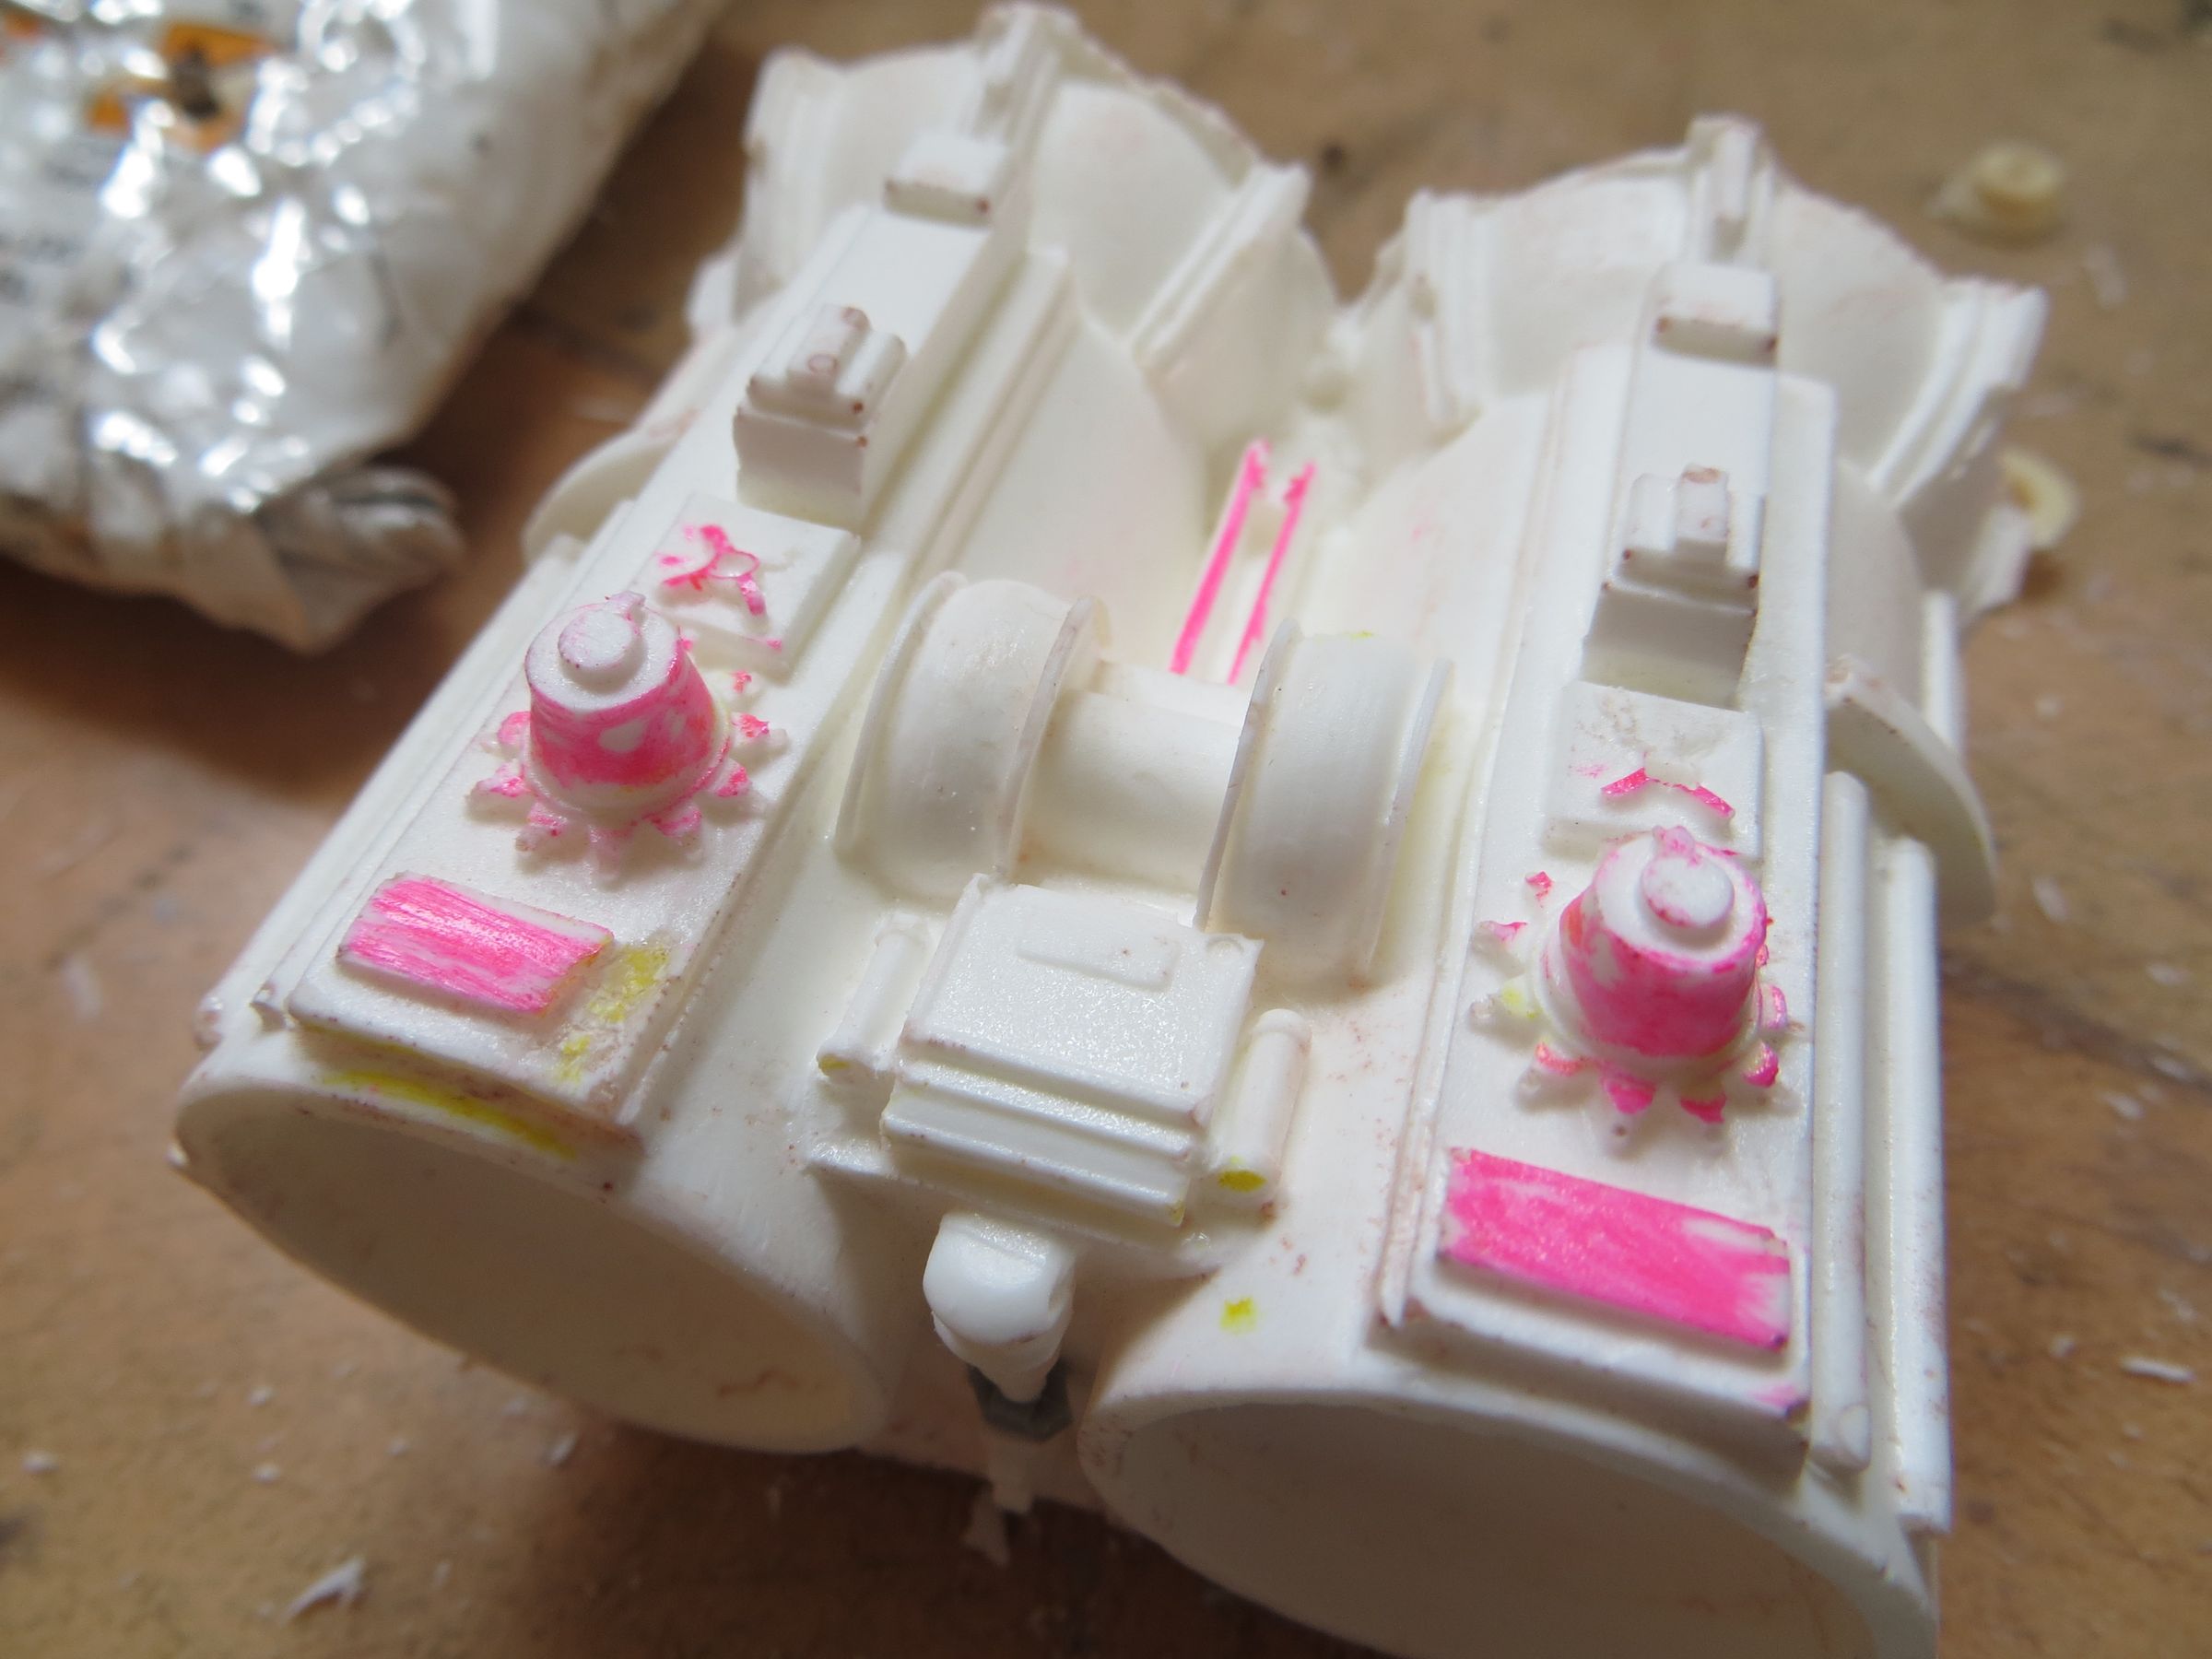
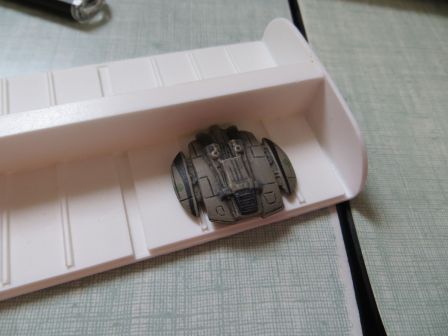
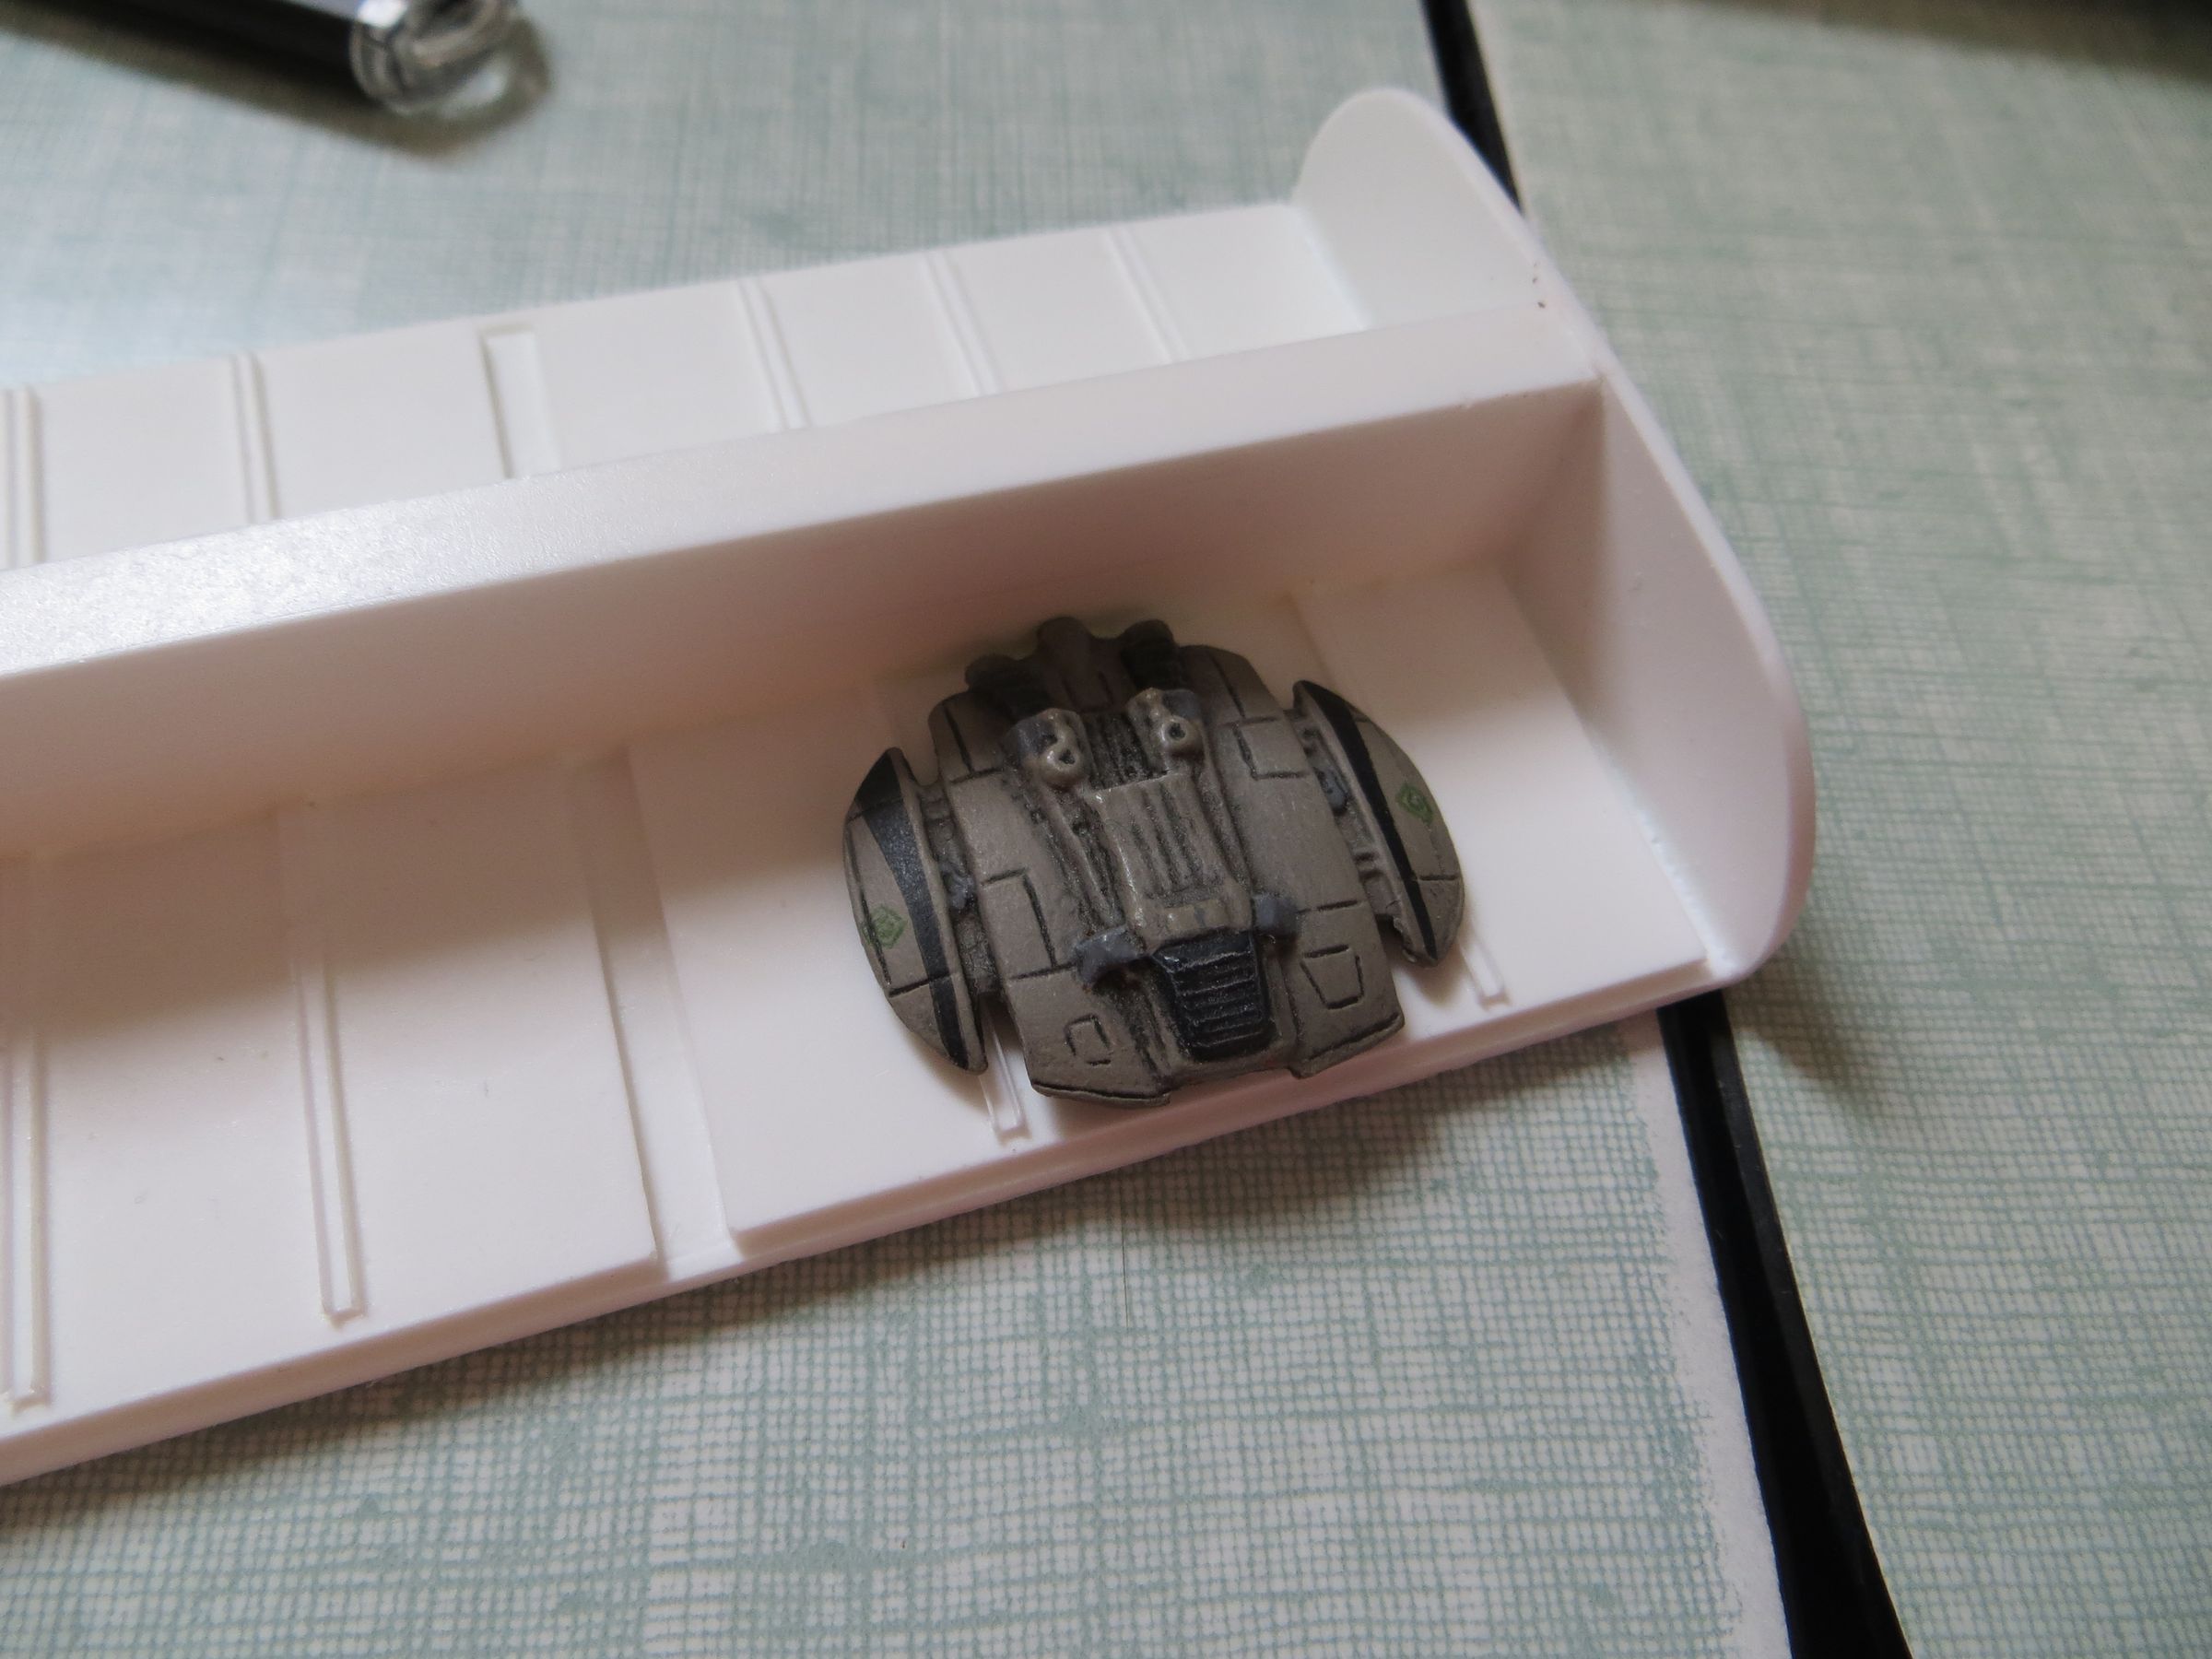
A little test with an old small mini metal model, from Comet Miniatures, to see if it could go in the bays, but it was too big. So I had to find another solution (scratch, 3D print ou papercraft model).
This resin kit comes from Larson Design (Kit Alert!! 18 Inch Battlestar Galactica Cylon Tanker from Larson Designs). It consists of 93 parts, where 76 are for dressing the containers (doors and internal walls).
This allows to represent all bays opened, all closed or a mix of both.
I will go with an opened / closed mix following the studio model.
The internal walls were missing, and I started the assemblying while waiting for them.

At first view, this kit gives a good feeling at the opening of the bags.
However, there are bubbles, some fat details, but nothing dramatic at first.
Some parts look greasy, so cleaning in warm soapy water and brush would be the step.
Overall, it seems that the proportions are correct.
On the detail side, this is not accurate, but this seems enough near for this little known ship. I think I still will do some improvements on the engine module.


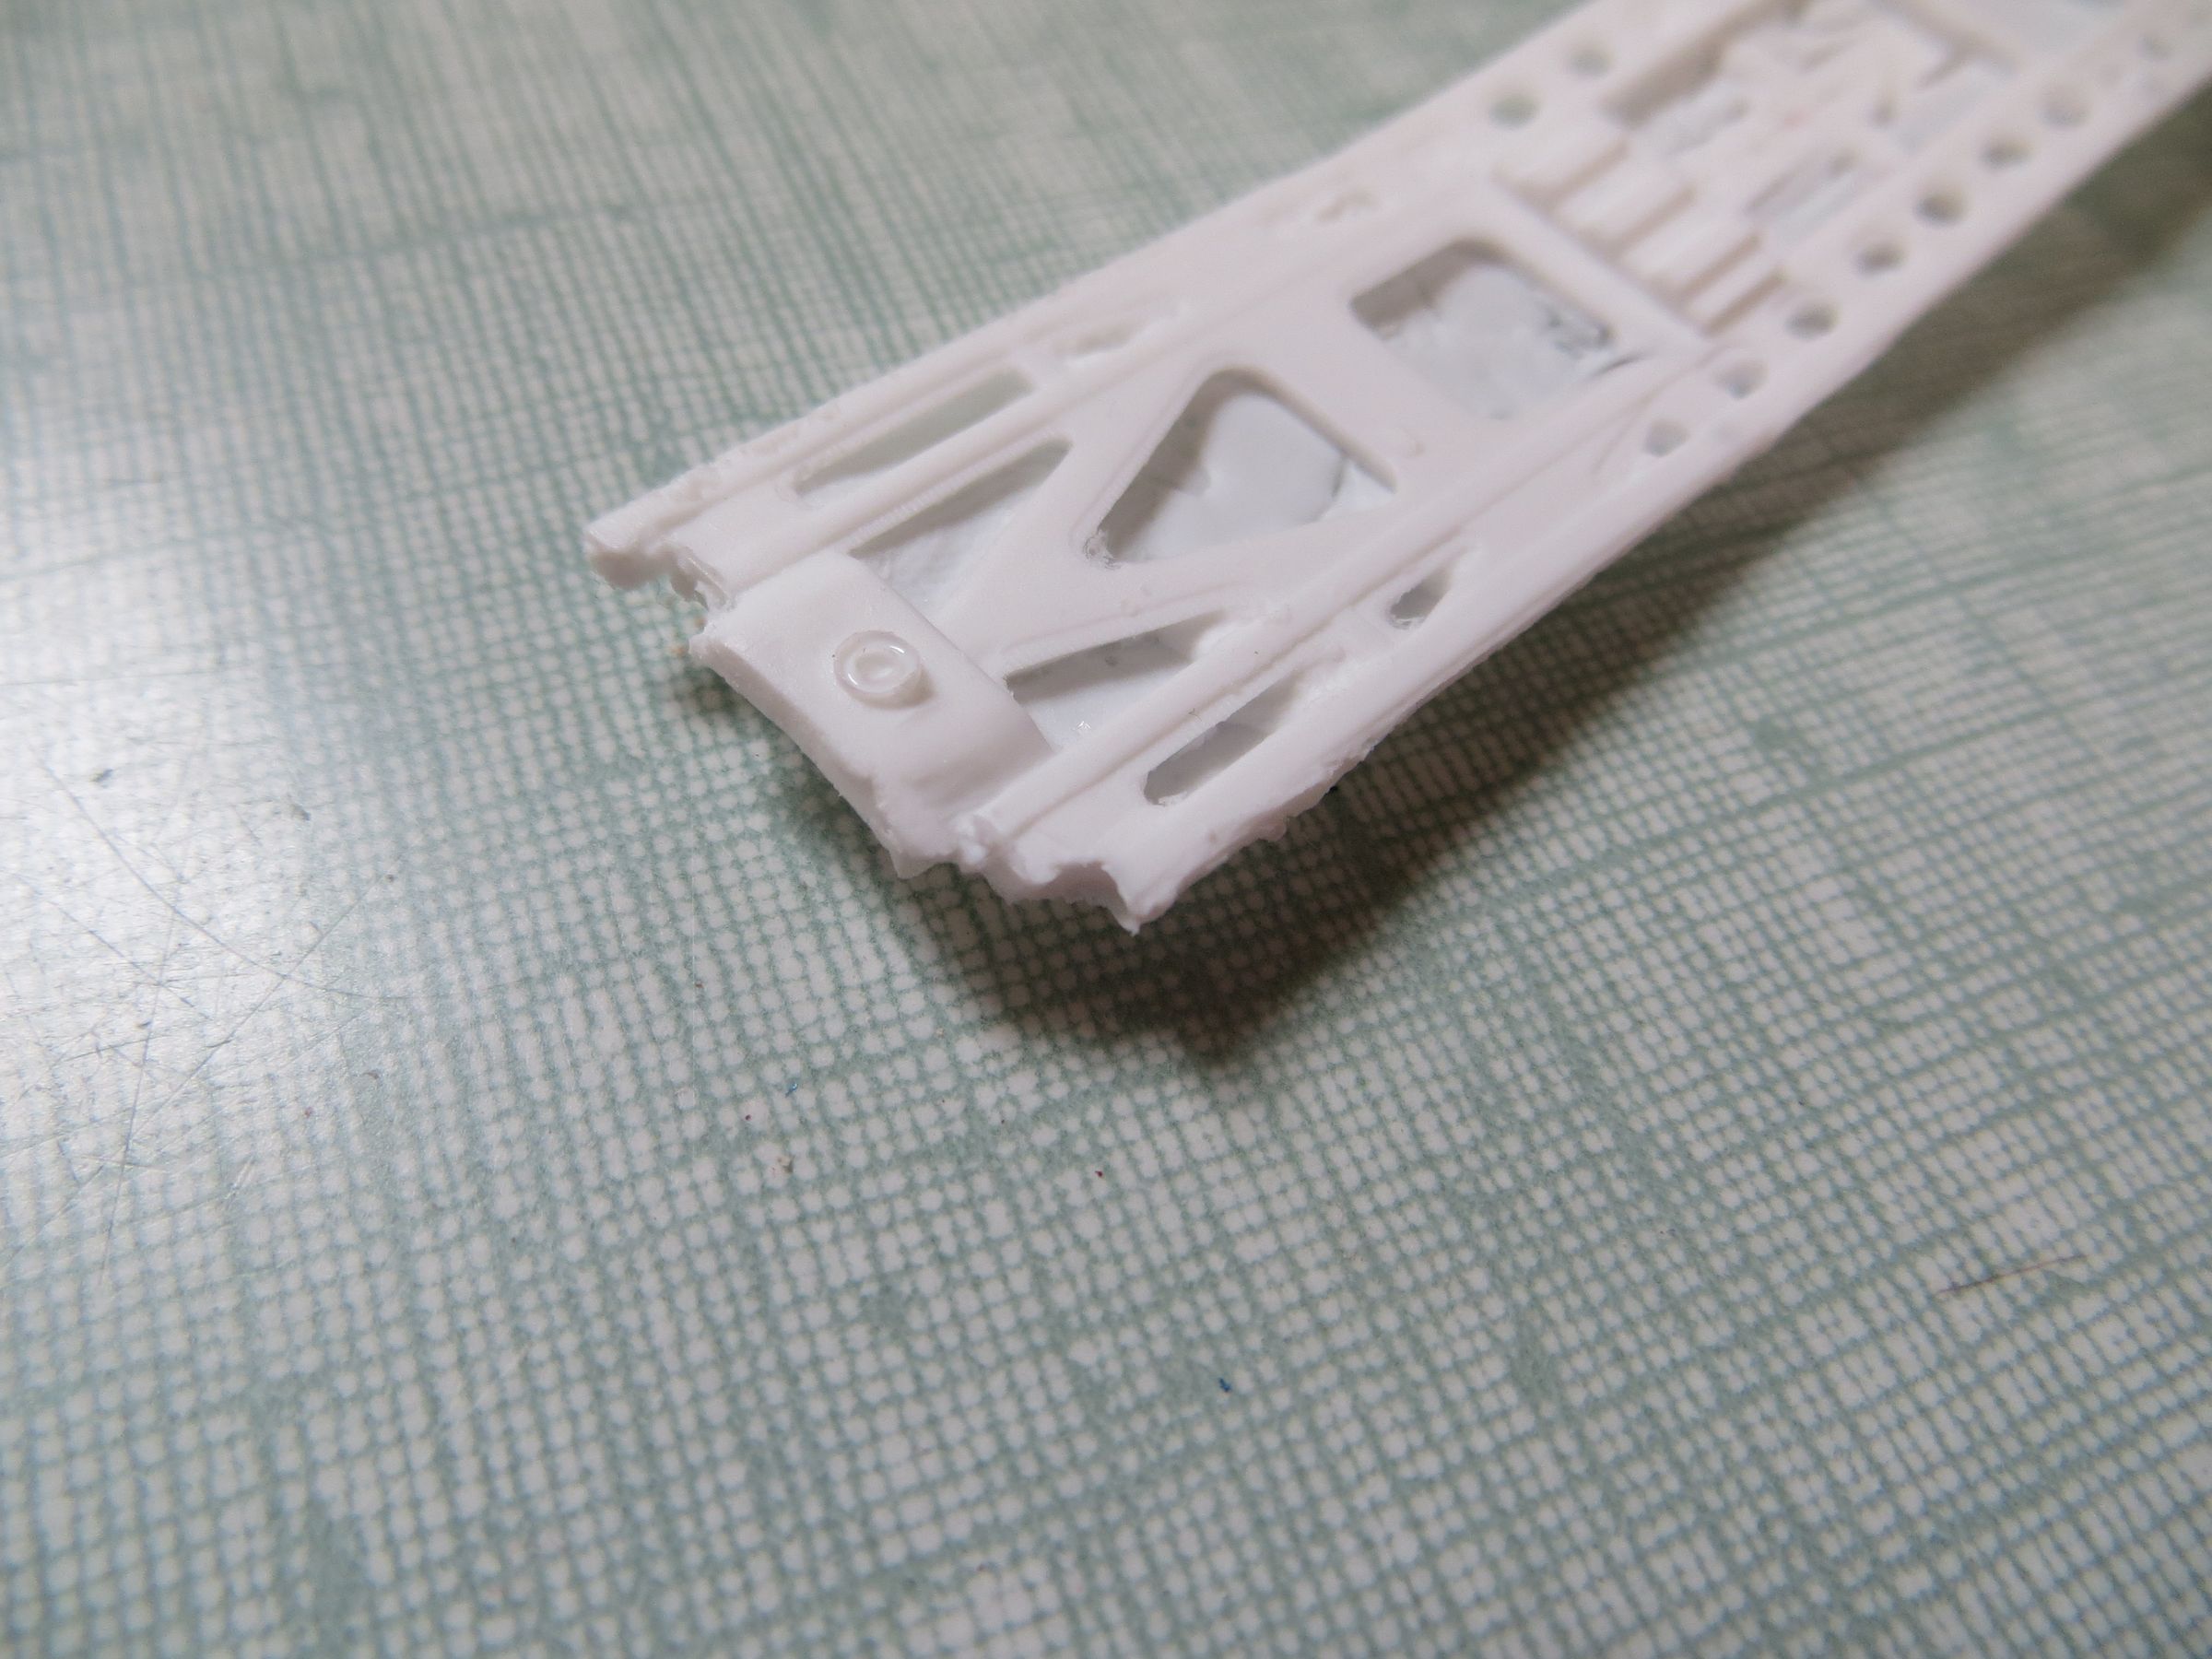

The long parts of the bays will require a good run to the belt sander to remove several millimeters of excess material in the thickness. And a bath in very hot water to straighten them.


The kit is in a half studio scale
Why?
Because we can recognize this part, it is the floor of the WW2 Leopold german rail gun.

Here the LarsonDesign kit part next to Dragon kit one in 1/144.
On the studio model, this is the 1/72 Hasegawa part that was used (it can be found on many other ships of the classic serie, and also on some SW ships (many of the same modelers worked on the 2 shows).
I saw this Cylon Tanker kit specified as being in 1/700 in a German forum (the only thing I understood there except photos), but I have no element to confirm this.
A little test with an old small mini metal model, from Comet Miniatures, to see if it could go in the bays, but it was too big. So I had to find another solution (scratch, 3D print ou papercraft model).
") )
)