Rocketeer Cirrus X3 Rocket Pack Build

mburkit

Sr Member
Hello everyone! I have been working on a Rocketeer project for over a year now, and the project is quickly coming to a close so I felt the need to share my build! I am trying my best to finish this up for Dragon Con 2013. I am gonna divide this build into several posts; ranging from the helmet, the leather gaunlets along with the outfit and finally the Cirrus X3 itself. So lets start with something fun: the helmet!

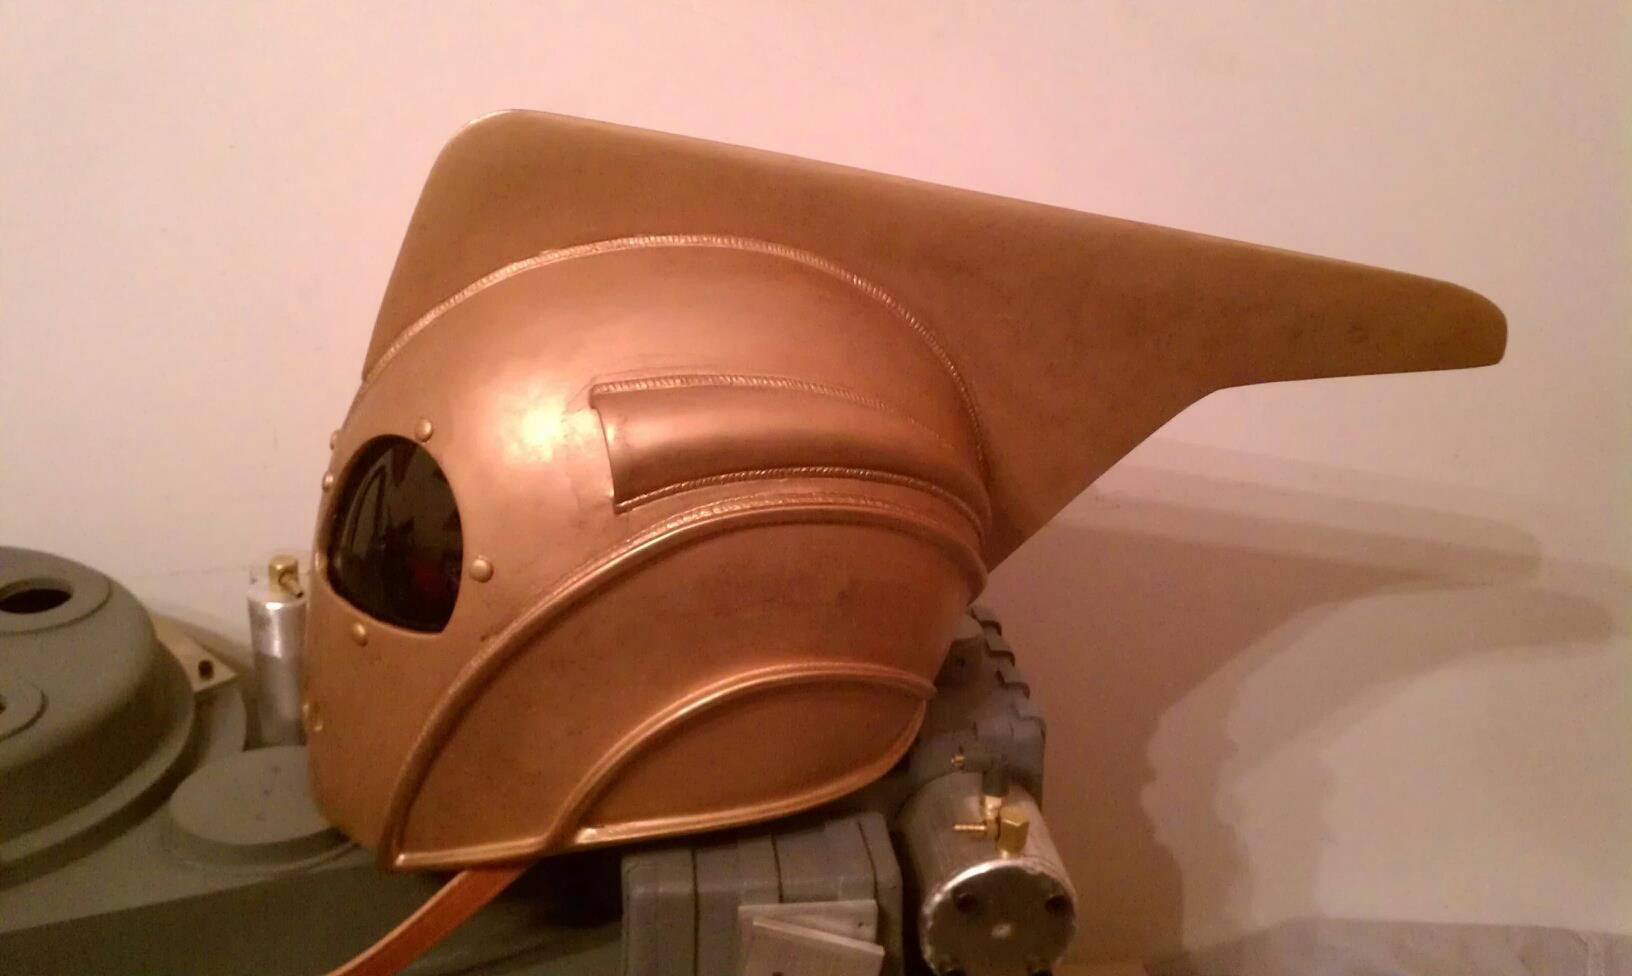
I started off with an Ozymandius Rocketeer helmet. . .


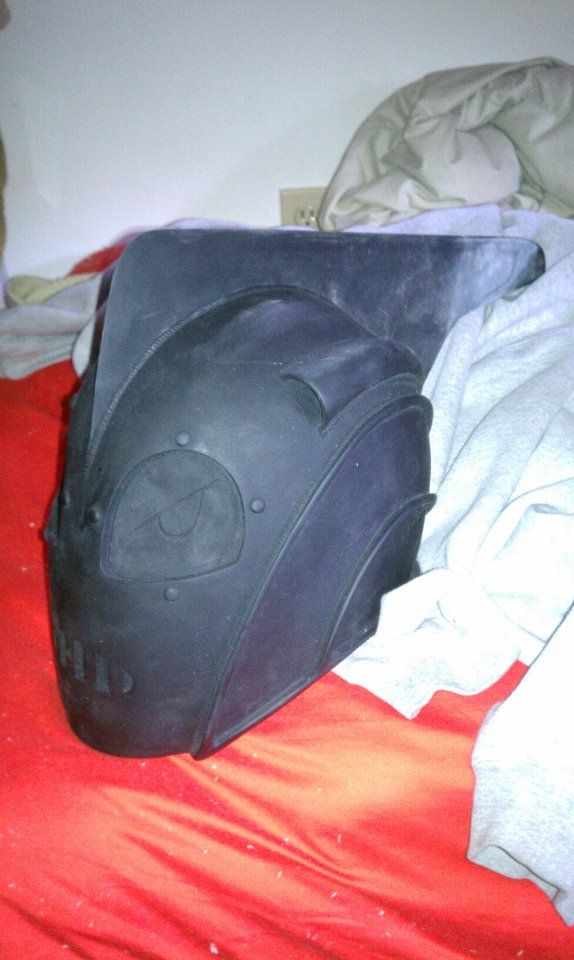
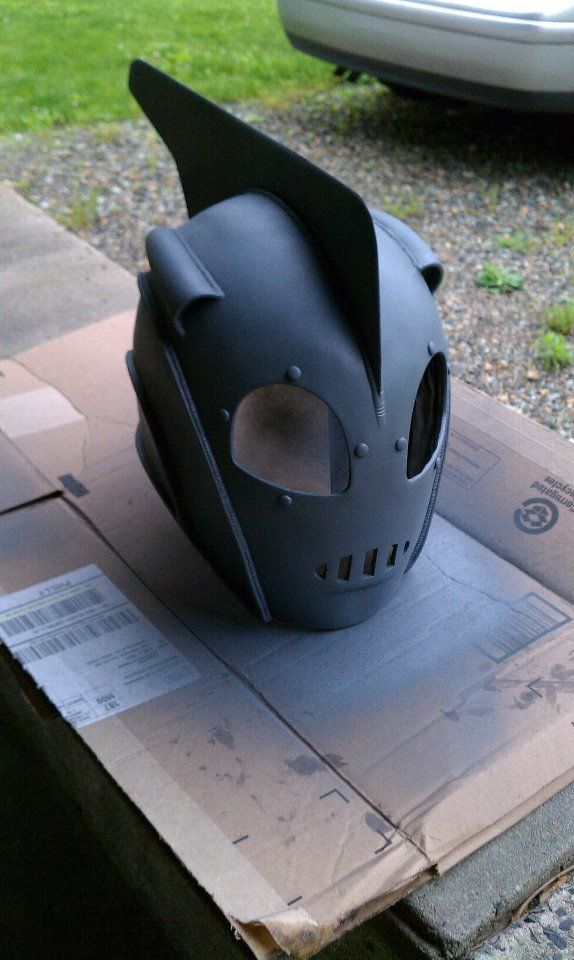
It was a really clean cast, so there was very little clean up, other then cutting out the eyes and vent holes for the mouth and on the temples.


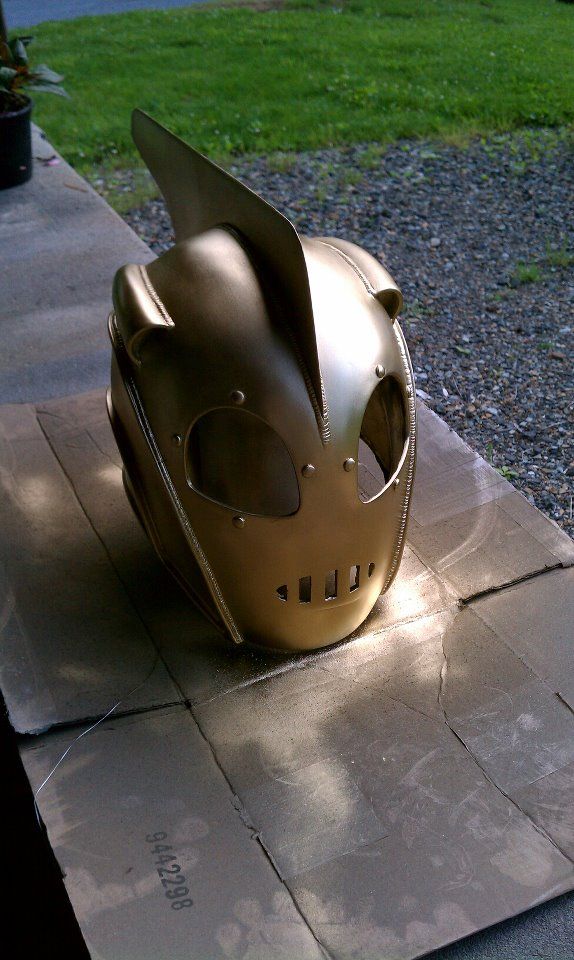
The paint job was pretty easy: primer > Rustoleum Metallic Gold > Antique Gold Rub N Buff > A brown & white acrylic wash.


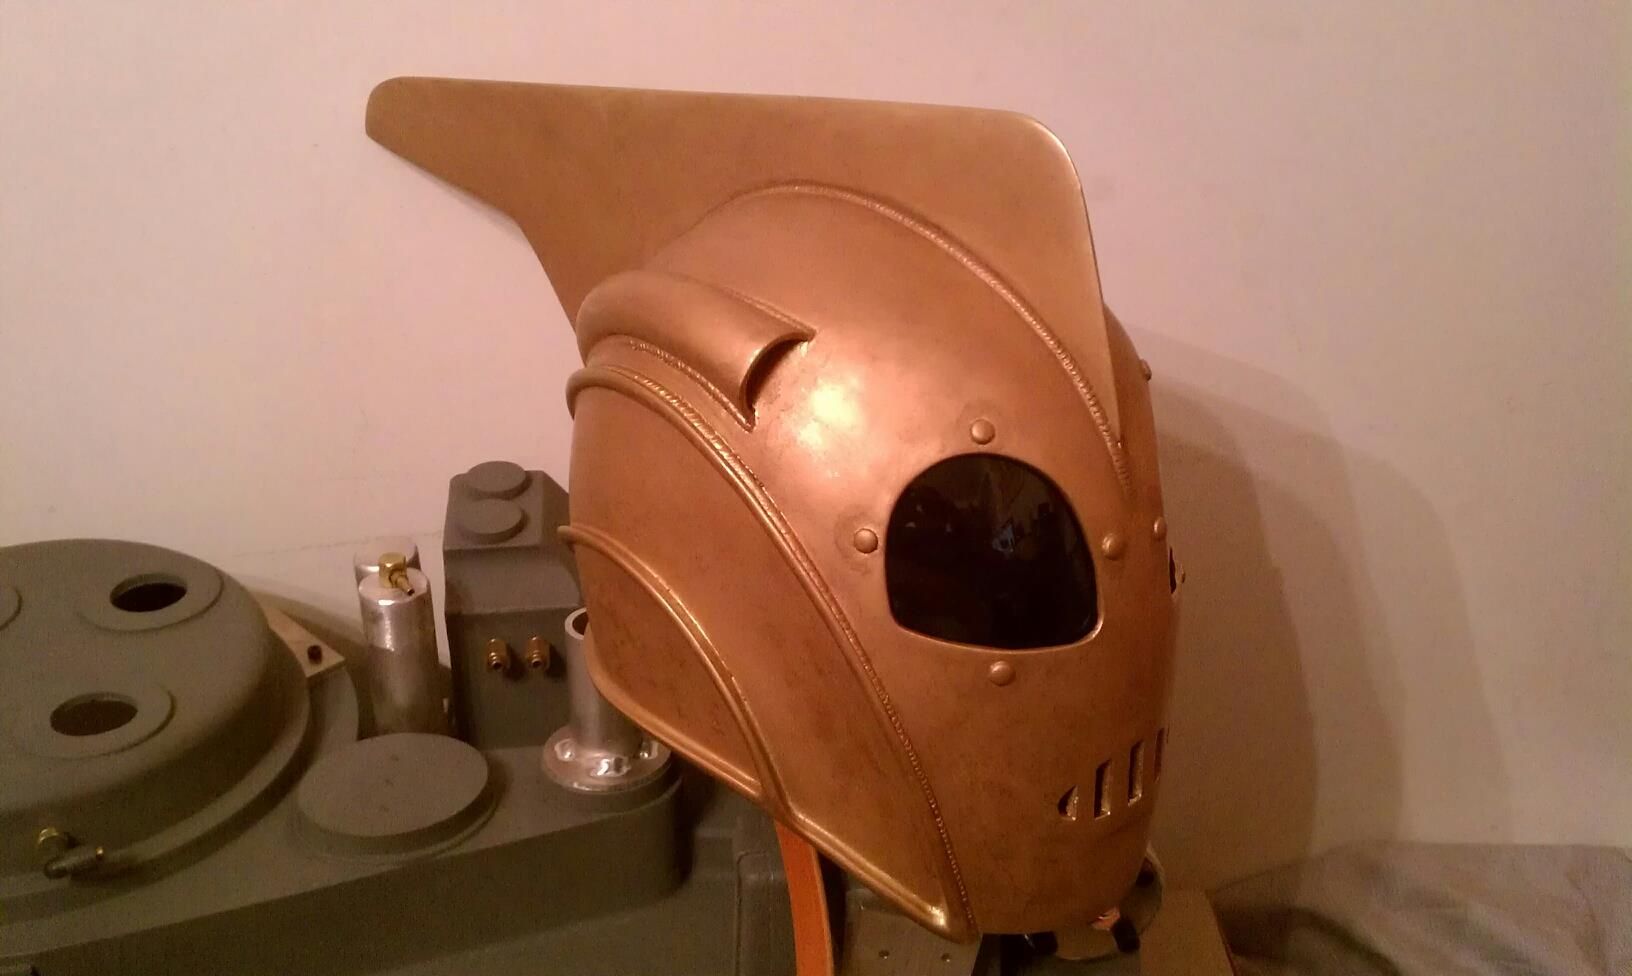
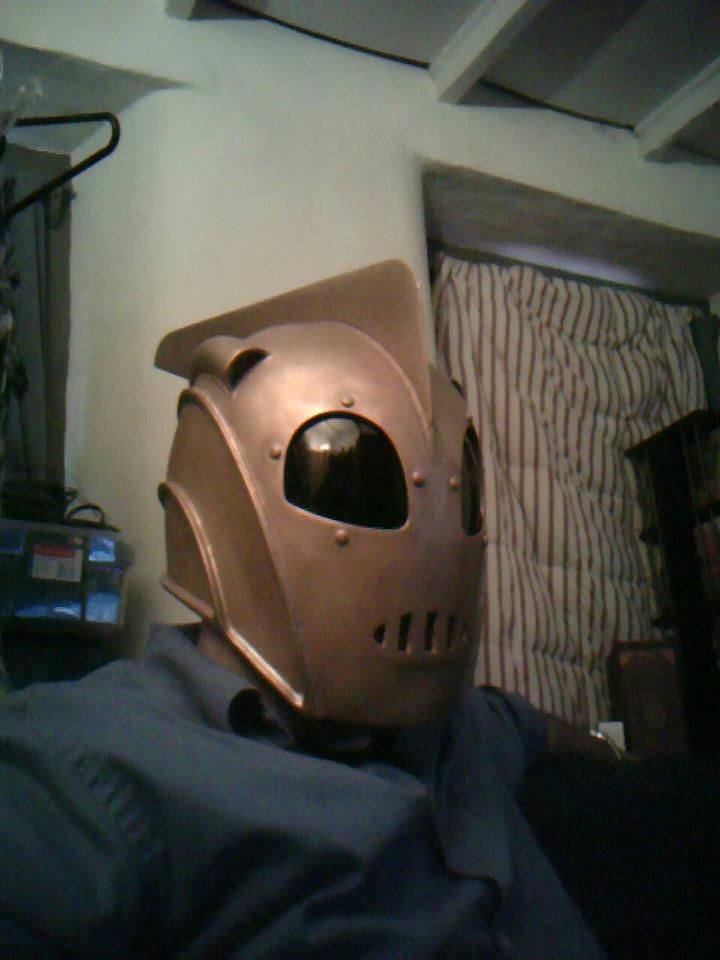
I also installed a helmet liner from a member here named Valor. The helmet was really easy because of how good the parts were I started off with. I finished it within a day. Next post will be the gaunlets and over all outfit!

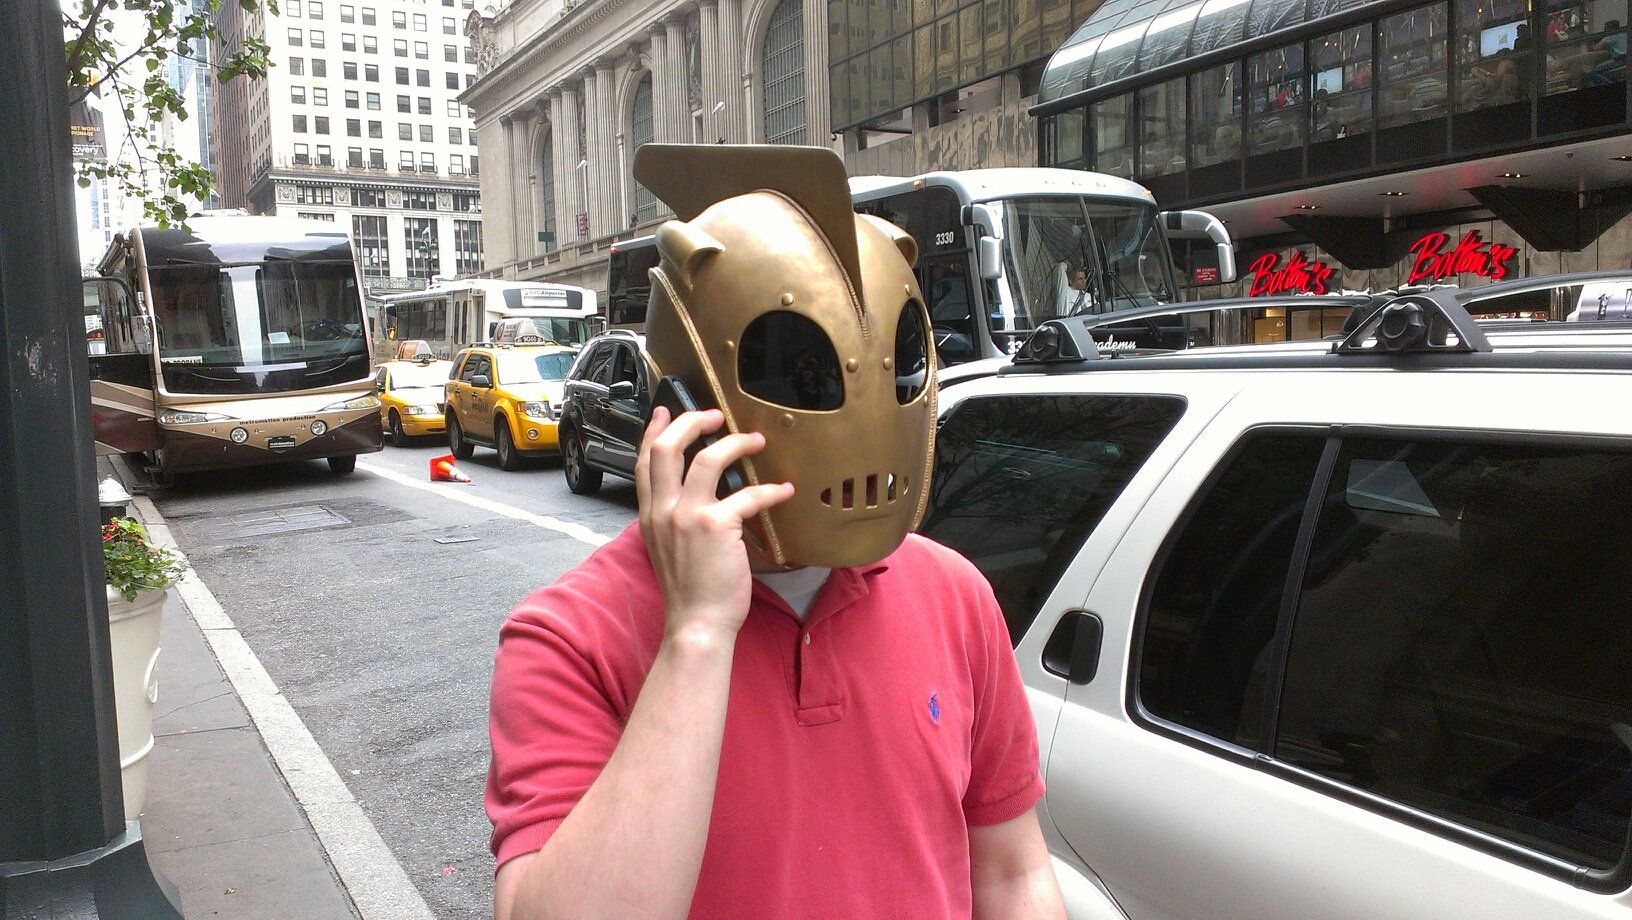
Bonus picture! My buddy Chris making a phone call outside of Grand Central Terminal!

 
Post number 2! Leather gauntlets.

These were a lot more work then the helmet. I have never really worked with leather, so I really worked my hands raw hand sewing these suckers together. I started off with some leather work gloves I got from the hardware store and cut them down to size.


I had purchased some dark brown leather pilot gloves for this build. Here is a test fit on glove.


After cleaning up the edges of the gloves I cut, I then proceeded to dye the leather.


From here, I didn't end up taking a ton of photos of the back leather part because I just muscled through both of them quickly, but here are the finished product.


I actually wired up the push buttons for future electronics in my build. They are pre-wired to the cat-5 wire you see coming off the gauntlets.

From here, I made a few purchases. I got ahold of a Wested Jacket, motorcycle cop boots (which look pretty much the same as the ones in the film, just with zippers in the back) and some jodhopers. The Jodhopers are wool, which kinda sucks, but they were all I could find. I will probably upgrade them after I sweat to death in them.


Okay, the next post will be what people actually want to see, my build of my Cirrus X3.
 
Okay, the actual interesting part of my build, the rocket pack.

I ended up getting a Monsters in Motion kit.


Much like my helmet, the cast was very clean. I have very little clean up. Most of the clean up was just reinforcement to thin spots inside of the cast.

I was able to literally go from the raw kit to this within an afternoon:


Quick pic of the fan I pulled from a Federal Equipment Speedy Sprayer Airbrush Compressor PC201-11.


Then I got that sucker all primered up and ready for some real paint.


As far as the paint job, I did a paint test on some polystyrene, which you can see here, so you can get a better idea of how I achieved my look.


Here's a shot of the pack painted and the jets primed.


From here, I moved onto painting, constructing and installing the jets into the pack.

I used real braided hose and brass fittings on the jets. The bottoms were painted with Rustoleum hammered black paint. I painted the tops with Rustoleum metallic silver and did a little bit of detail work on some of the knobs and what-not with some gold enamel paint. I didn't put too much work into the tops of the jets because you can't really see them once they are installed.


To install the jets into the pack, I cut some 1/8" polystyrene circles, mounted those circles on top of each jet and ziptied all the hosing to the polystyrene. From there, I pop-riveted some aluminum brackets I made out of 1/16" aluminum. The bracket has a 1/4-20 threaded hole on them and is held inside the pack via a 1/4-20 button head screw through the back of the pack. I can easily removed the jets if needed.


I made a similar bracket to attach the fan to. That bracket is pop-riveted to the bottom of the Radiator on to top of the pack, which is also removable. The fan can spin freely, but as of right now, has no motor attached to it.


That's it for the Monsters in Motion kit! The final piece to this puzzle is the leather harness. I currently have someone local to me constructing it. It will HOPEFULLY be completed within the next 2 weeks; just in time for me to install it and have this project completed for Dragon Con 2013. Once the harness is completed and installed, I will post more pictures for all of those interested. Thanks for looking!
 
Love your work. Its coming along really well.

I'm just about to start my own Rocketeer outfit and right now it seems pretty daunting. Hopefully it'll come out half as neat as yours! Looking forward to seeing the harness.

Just one question, where'd you get the lenses for the helmet, or did you do a 'heat'n'mash' job?
 
Luckily the lenses came with the helmet! They were already cut and formed for the helmet, I just had to carefully glue them in.
 
Here's a test fitting of the upper half of the outfit. The harness is ALMOST done; I'm just waiting on the guy that's making it for me to finish the straps for the chest buckle so I can' rivet those on and call it a day on the whole affair. But its all still wearable, so here's a teaser before its full debut at Dragon Con.

 
From here, I made a few purchases. I got ahold of a Wested Jacket, motorcycle cop boots (which look pretty much the same as the ones in the film, just with zippers in the back) and some jodhopers. The Jodhopers are wool, which kinda sucks, but they were all I could find. I will probably upgrade them after I sweat to death in them.

http://i66.photobucket.com/albums/h279/mburkit/Rocketeer Project/Outfit/th_DSC01363_zpsc9b5e8cb.jpg

http://i66.photobucket.com/albums/h279/mburkit/Rocketeer Project/Outfit/th_DSC01364_zps8340b5f5.jpg
Okay, the next post will be what people actually want to see, my build of my Cirrus X3.

Hey, what size Wested did you get? thanks!
 
Also, I completely forgot I had this thread! I guess I should update it a little bit. Since 2013, I got a few upgrades to my harness, namely a 3D printed metal buckle and a screen accurate smaller upper buckle. So I might as well share!

Before assembly
IMAG2790_zpsy3t6l9i6.jpg


After
IMAG2798_zpsold7neei.jpg


IMAG2800_zpsahgorlte.jpg


And then installed on my vest with the correct upper buckle too.

Harness_zps9oulfwnr.jpg


And then, all together.

_DSC3855_zpsmff3g7qt.jpg


This outfit almost killed me last year at Dragon Con. No idea when I'll wear it again. I need to fix some of the upper fins on the pack since they have a habit of breaking off; but other than that, this puppy is gonna sit safe and sound in a box until I have a good way to display it in my home.
 
Looks great! I'm still going back and forth on if I'm gonna add my lower buckle to my harness or not, I like the clean flat look of the bib without it. I'm still using 2 of the upper style buckles on my harness at Cons. When I remake my harness I'm going to figure out a way to be able to switch them for display/wearing it. For your fin problem, did you pin and glue them or just glue them on? I drilled small holes into the fins and the pack and put wire into the holes before gluing. After 5-6 years they are all still attached.

- Jeff
 
Back
Top