So I got this RIG several years ago, made for me by someone else. I honestly haven't touched it much and I wore it once.
It's been sitting on a shelf in my work area for two months now and decided I want to try and refurbish it and make it look more "correct" than it is. Maybe even have it good to go by Denver Comic Con. Will probably be asking questions on here since I have never worked with EVA foam before and will be taking pictures of my progress for critique.
Problems I plan on fixing.
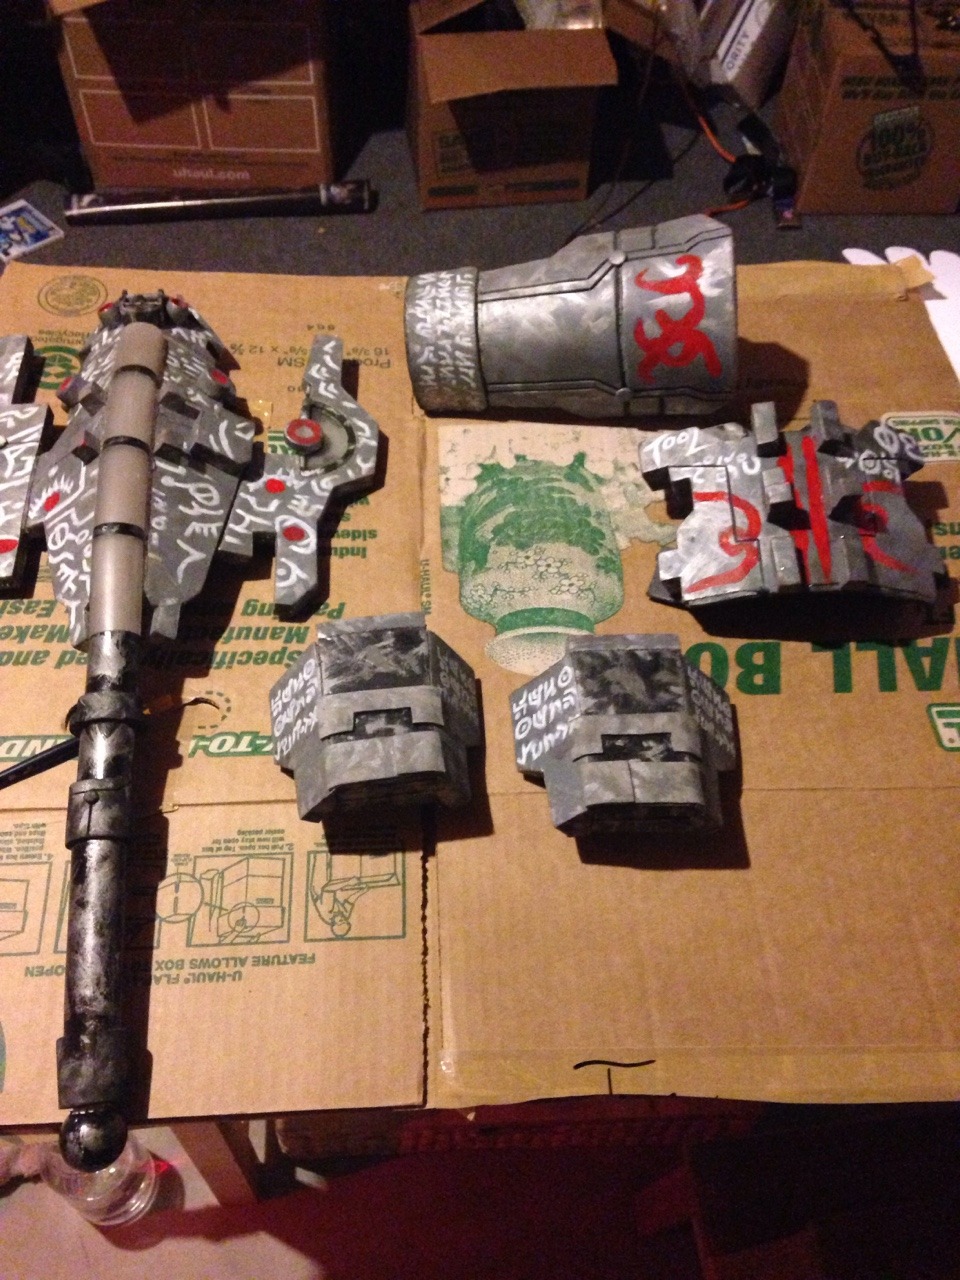
Bad photos because I had to take them myself, but you get the idea. Also just used a random nerf gun, haha. Might mod it so it looks like the pulse rifle.
Any ideas, links to good tutorials, and any critique would be greatly appreciated.


It's been sitting on a shelf in my work area for two months now and decided I want to try and refurbish it and make it look more "correct" than it is. Maybe even have it good to go by Denver Comic Con. Will probably be asking questions on here since I have never worked with EVA foam before and will be taking pictures of my progress for critique.
Problems I plan on fixing.
- He didn't use any of the Unitologist symbols like I had asked him to. He just slapped them on there. Repainting it all and adding the correct symbols along with better weathering, nicks, and more blood splatters. [making the unitology script actually say something instead of just random symbols]
- The helmet was huge. Doesn't even fit me and makes me look like a bobble head. The only thing that can be salvaged are the LED's.
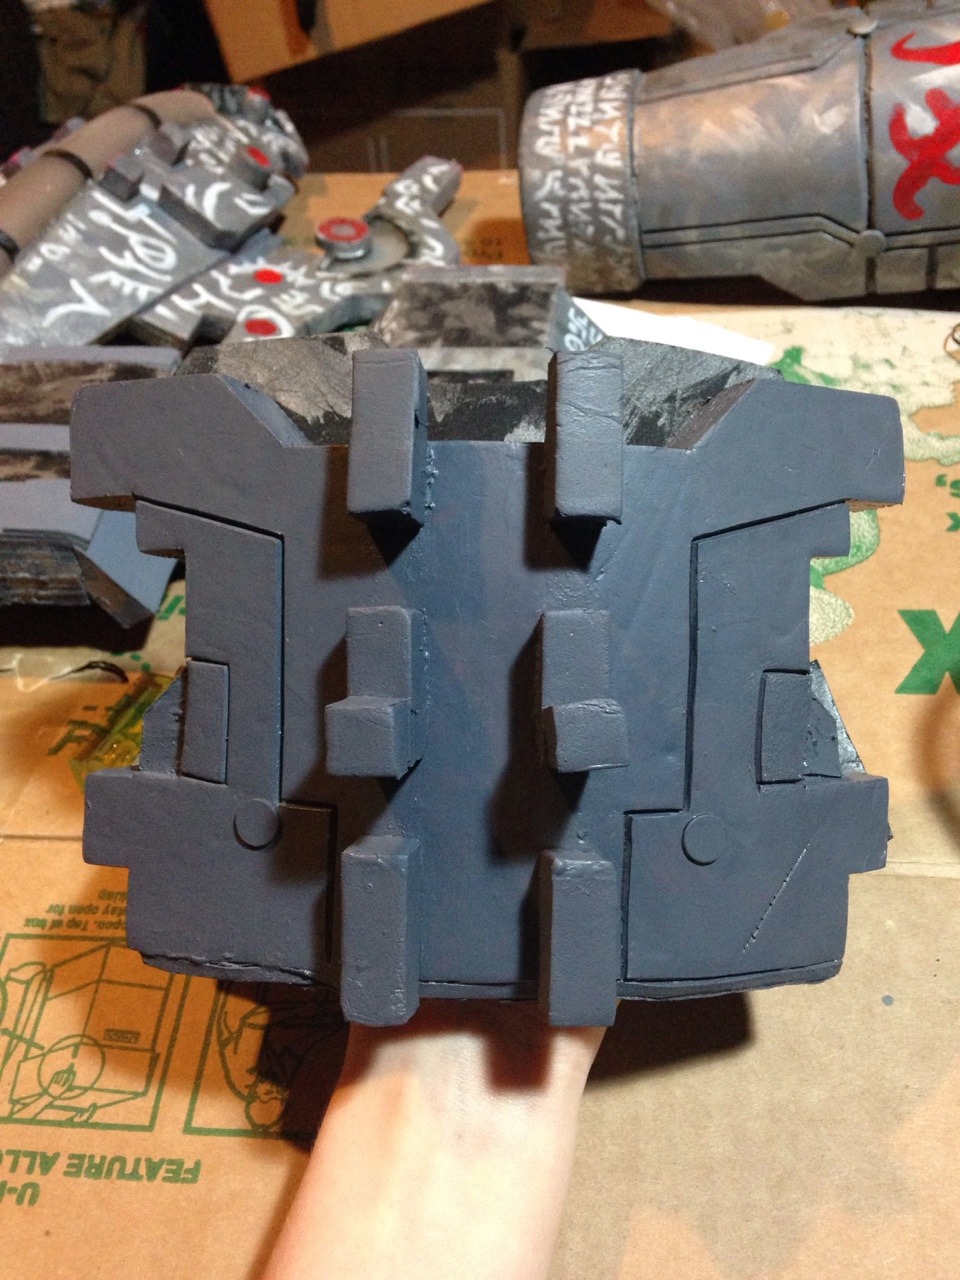
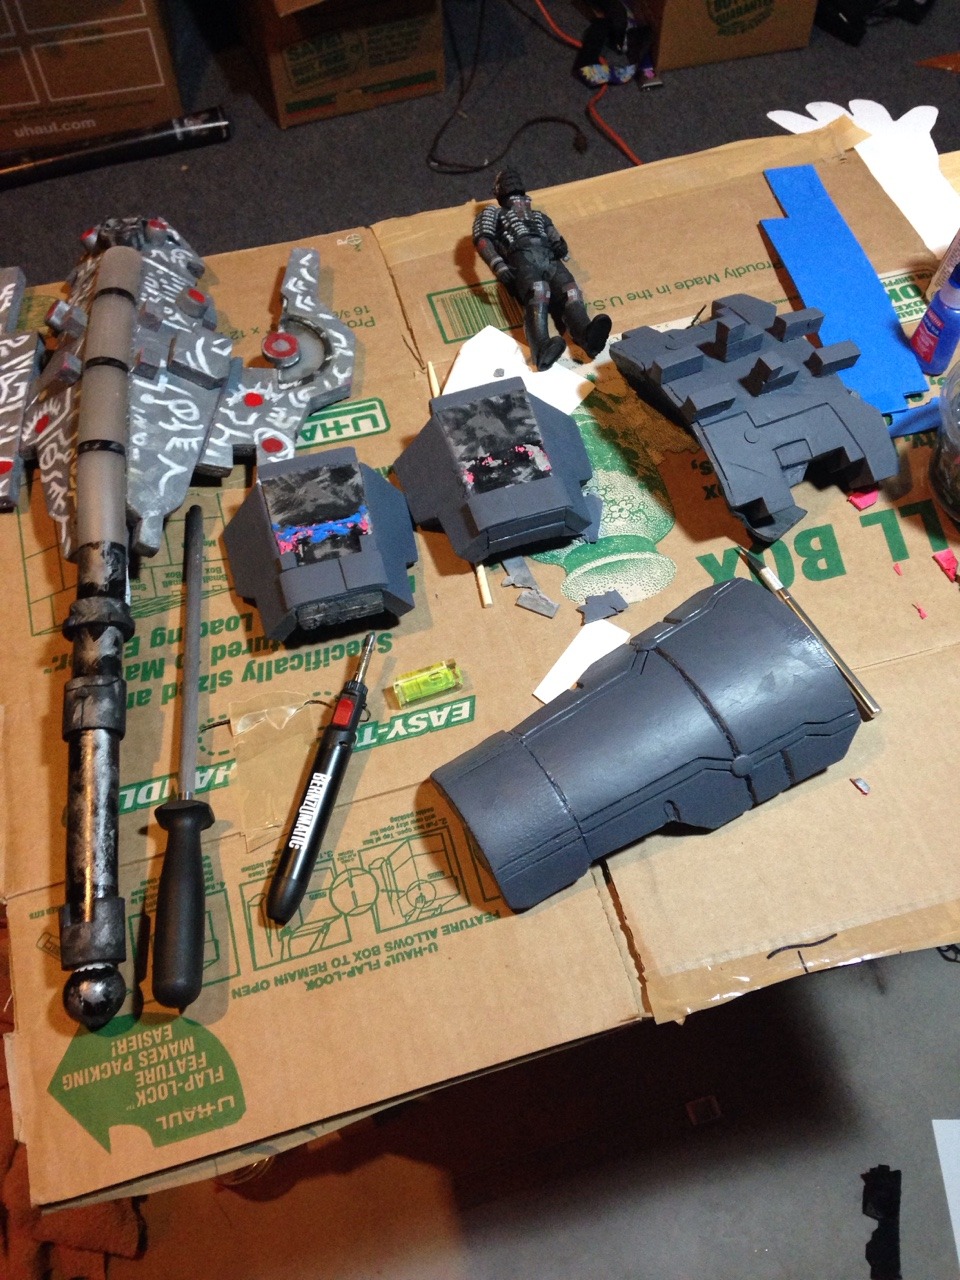
- Shoulder armor was HUGE too, never stayed on. These must be completely remade.
- Stasis Module on the arm is huge, need to make it smaller.
- Replace the lights in the RIG and Stasis meter with white LED's instead of blue. [I don't remember why he used blue in the first place when I asked for white...]
- Shirt doesn't fit now [lost weight since then] so I have to figure out how to bring in the slack without having to start over completely.
- Re make the strap around the waist
- Put the RIG up higher on my back, trim off the end that hangs over my butt.
- Half of what keeps the stuff on me is velcro, and is very noisy to walk around in and things fall off all the time. Thinking about using industrial strength magnets. Thoughts?
- New gloves and probably new pants. The pants are literally just spandex and make my butt way more visible than I'd like it to be. My butt must be flat like Isaac's.
- Add LED's to the stasis module and the chest piece.
- find where the heck I put my plasma cutter and slap some LED's on that thing.
Bad photos because I had to take them myself, but you get the idea. Also just used a random nerf gun, haha. Might mod it so it looks like the pulse rifle.
Any ideas, links to good tutorials, and any critique would be greatly appreciated.