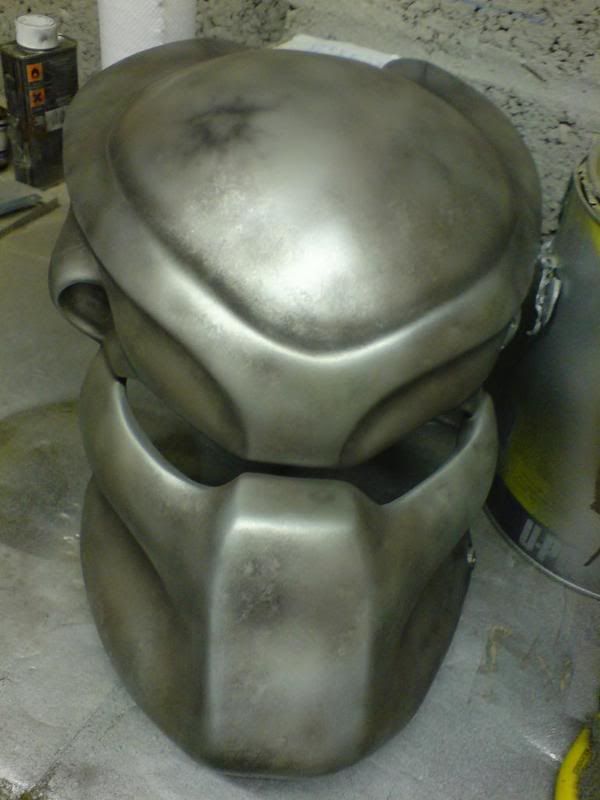
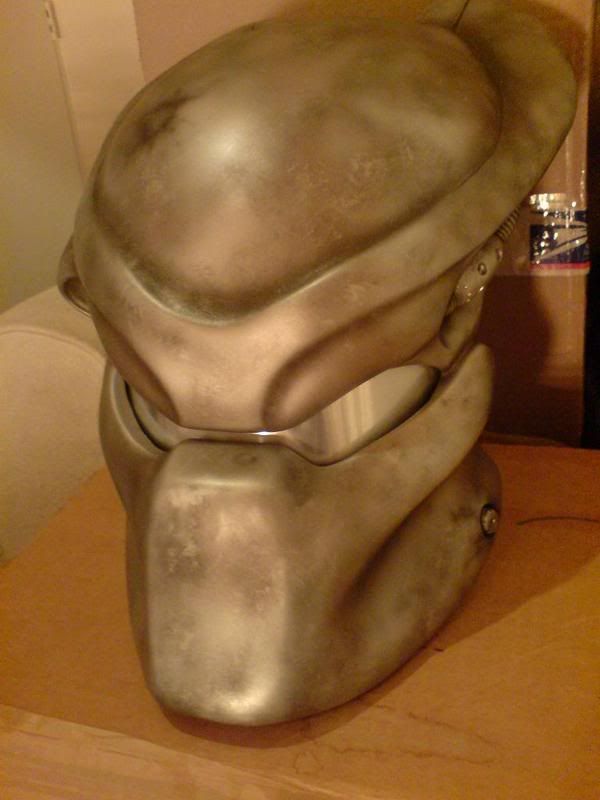
Pred Helmet Fresh New paint job

zorg

Master Member
RPF PREMIUM MEMBER
polished up this turd of a helmet i got the other day, its an icons recast that had seen better days. dusted off the airbrush and let rip yesterday painting it.i must add i spent days filling and sanding and trying to repair it first:sick

i used some of keiths tips on painting but i didnt follow them to the letter though.

its a common prop i know, and its been done a million times so sorry if its boring you.

ive since installed a brushed alu lense which looks very nice.

waiting on a new trilaser to arrive.
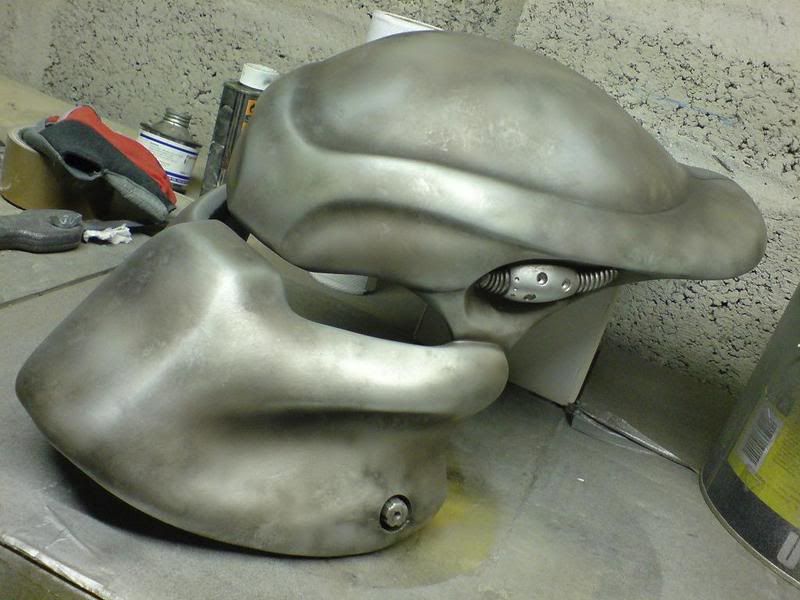
DSC00095.jpg

DSC00094.jpg

DSC00117.jpg
 
Last edited:
Nice job! I never get tired of Predator stuff.
I have p1 bio but like yours i'm gonna have to do ALOT of work to it before its presentable.
 
Looks great, I love the details and weathering.. I have one that needs to be painted as well, might wait for the warmer wearther...

Will you be installing tri-lasers or leds?
 
im not going to instal any lighting, just a resin piece. cant really be bothered in my old age.:lol

ive got an icins recast wallmount to fix up next so i can mount this thing on it.

cheers

z
 
thats looking a seriously nice turd mate i bet the guy that sold it you is sick as a parrot :):eek:cryat least it keeps you from hanging around on street corners :)
 
That's a beauty of a paint job and looks a lot better than the "turd" I have hanging on my wall.
 
thats looking a seriously nice turd mate i bet the guy that sold it you is sick as a parrot :):eek:cryat least it keeps you from hanging around on street corners :)


:loli always make time for those street corners.

it was a desent deal ill have to admit:thumbsup
 
So obviously you can, and did polish a turd, nice one!! :lol Both your threads have had me laughing out loud tonight, cheers :thumbsup
 
twat and turd are 2 words that are just not used enough, i aim to change this in my forthcoming threads and posts.

glad i made you smile:lol
 
What did you use for the lenses? Are they see through?

I would like to see if I could use that material to make some Doc Brown BTTF glasses from part 2 if they are see through.

Brad
 
What did you use for the lenses? Are they see through?

I would like to see if I could use that material to make some Doc Brown BTTF glasses from part 2 if they are see through.

Brad


hey brad, sorry they are not see through. they are silver/metal/brushed effect alu vinyl. looks good but not fuctional. if it were see through it would be ideal for doc's specs.

z
 
Lovely mate. Any insight as to your paintint? I'm still a noob to that side of this hobby. Better yet, will it be for sale? LOL

Regards
TAZ
 
Beautiful job! :love

You don't happen to have some shots of the turd in its original turdy condition? Nothing like "before and after" comparisons to throw your improvements into high relief. :)

And it looks as if you changed your mind about the lighting? I notice your first post says you're waiting on a new tri-laser. :love

Man, you're great with airbrush. Really splendid work! :thumbsup
 
hey brad, sorry they are not see through. they are silver/metal/brushed effect alu vinyl. looks good but not fuctional. if it were see through it would be ideal for doc's specs.

z

That's cool...I'll keep looking.

Great Mask non-the-less!!!
 
Beautiful job! :love

You don't happen to have some shots of the turd in its original turdy condition? Nothing like "before and after" comparisons to throw your improvements into high relief. :)

And it looks as if you changed your mind about the lighting? I notice your first post says you're waiting on a new tri-laser. :love

Man, you're great with airbrush. Really splendid work! :thumbsup


hi gary, i forgot to take pics of the before. i will take some of the wall mount now you have mentioned it.

as for the trilaser, its just going to be a solid resin piece, no electronics as i cant be arsed.

TAZ, matt black undercoat, aluminium top coat (about 3 coats) matt black in an airbrush and spray a mottled patch about the size of an egg then before it has had time to dry dab it with a scrunched up paper towel. repeat over the whole helmet and then go into all the grooves to give it some depth. there is a green and brown mottled patches in there too however the camera doesnt seem to capture it very well. them when its all dryish go over the corners with a scotch pad, rubbing through to the alu underneath. hence the 3 coats, hope this helps:thumbsup
 
Back
Top