ob1al
Sr Member
Re: Polar Lights 1:350 Enterprise refit - build up, questions and reference images
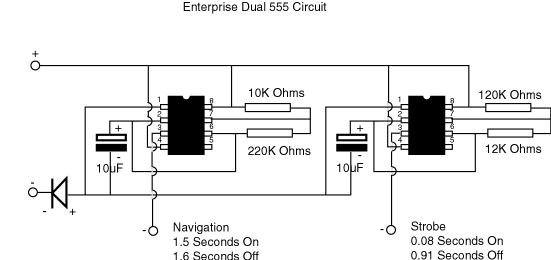
Thanks opal. It was really the fact that I couldn't get them in sequence, along with the possibility of a reduced lifespan on the flashing LED's. As you mentioned, I didn't want the lights to fail a year or two down the line, once this is sealed and painted I want it to stay that way.
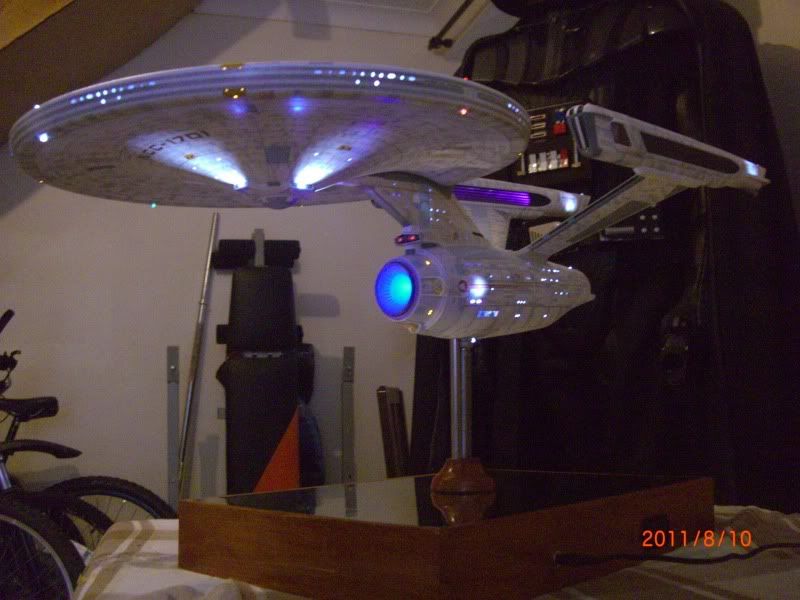
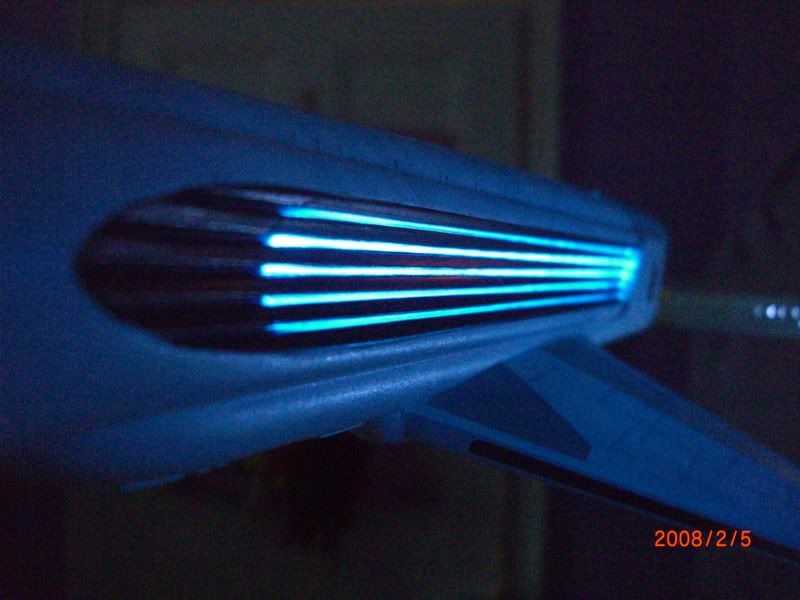
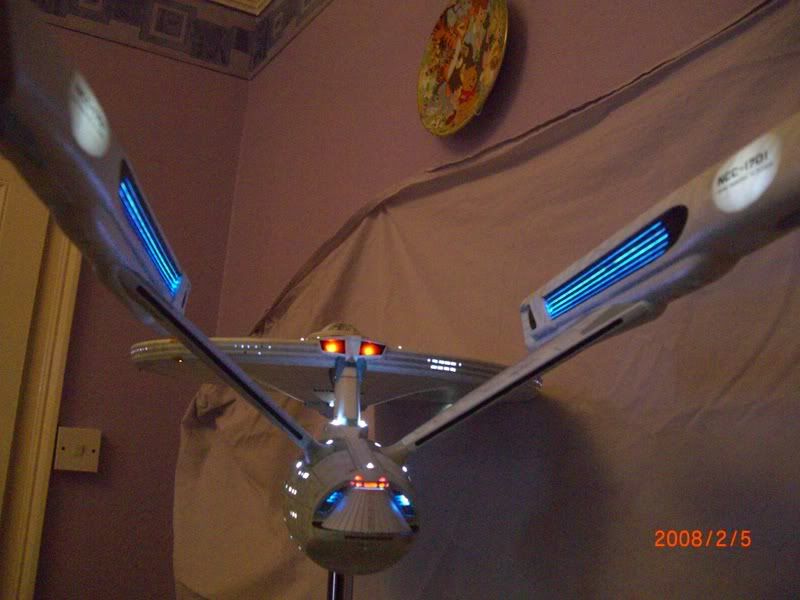
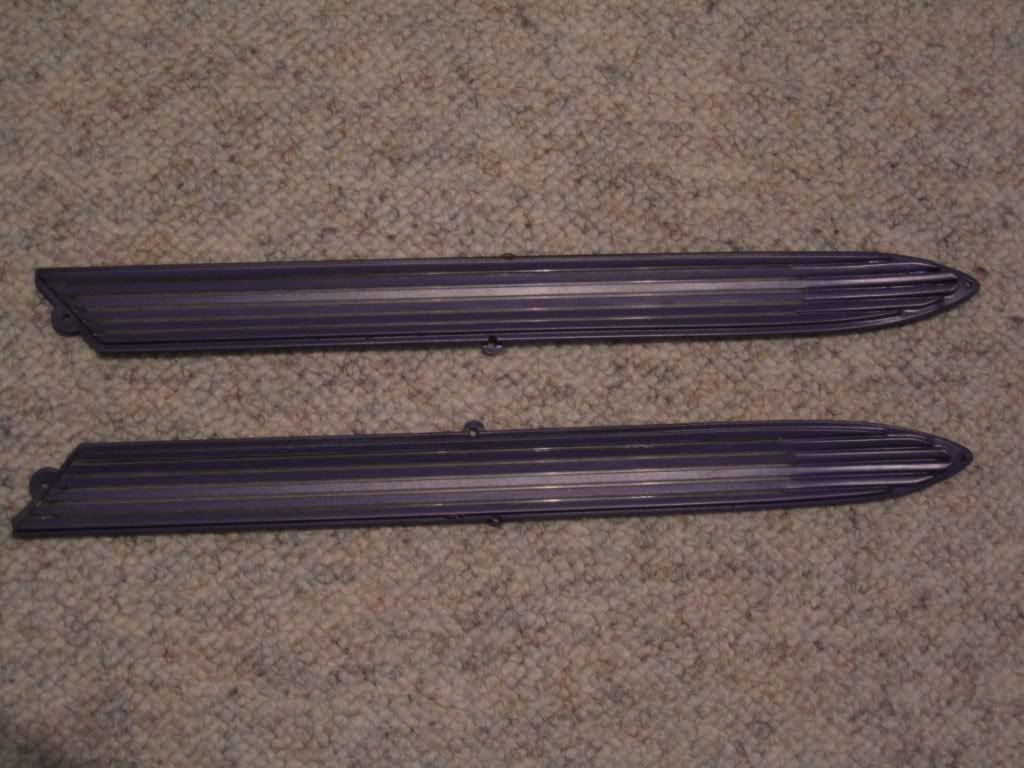
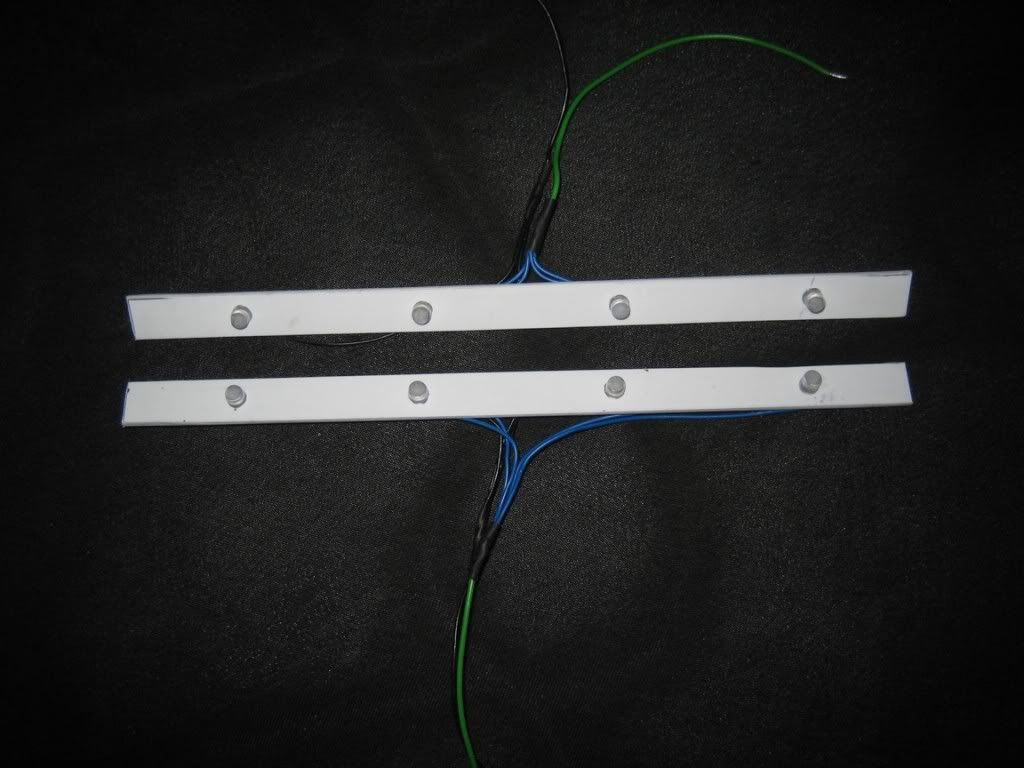
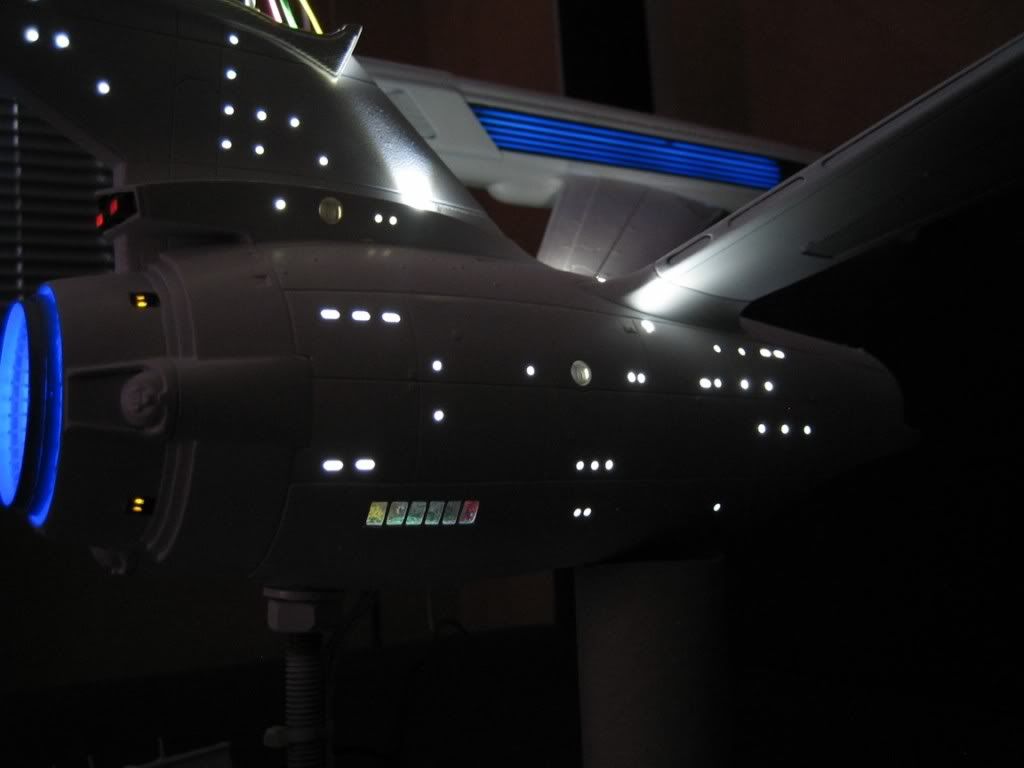
I'm still working on designing and installing the lights, building them up as I go along:
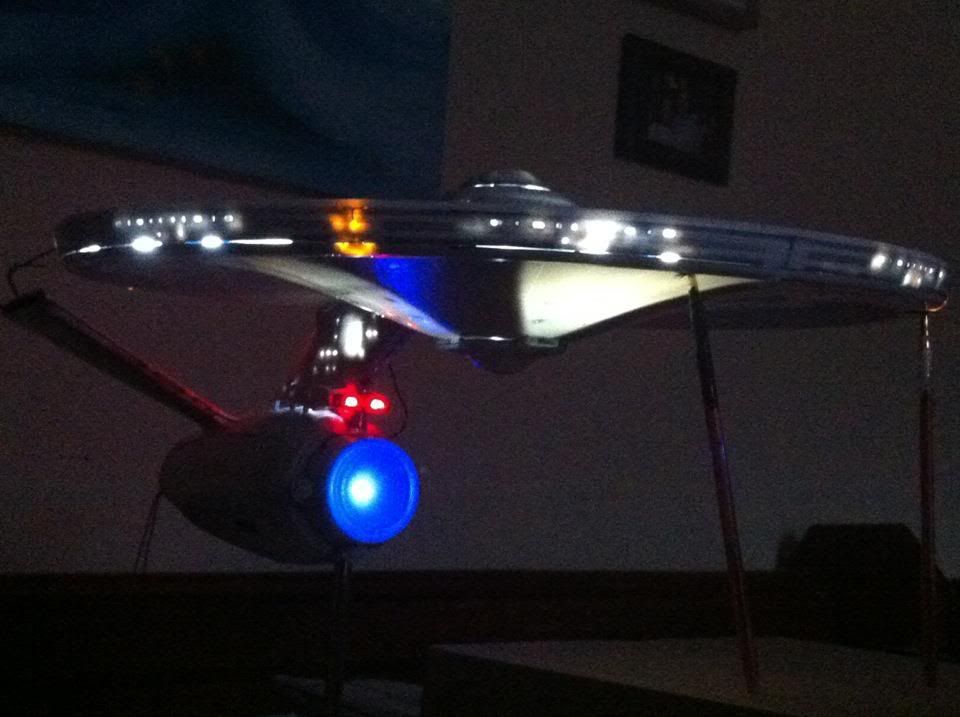
Since this pic was taken I've installed the four yellow LED's around the deflector dish too.
I'm getting too much light bleed in certain areas, I will try to fix that later.
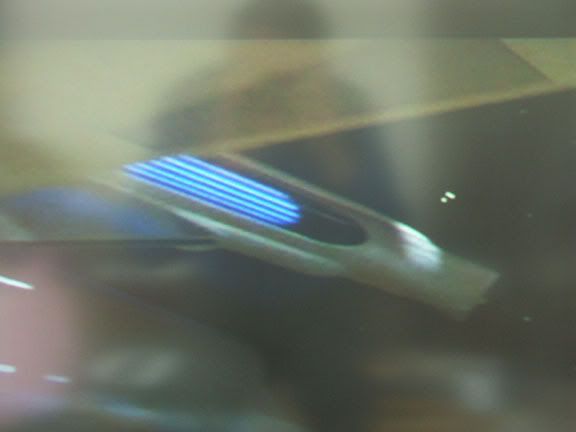
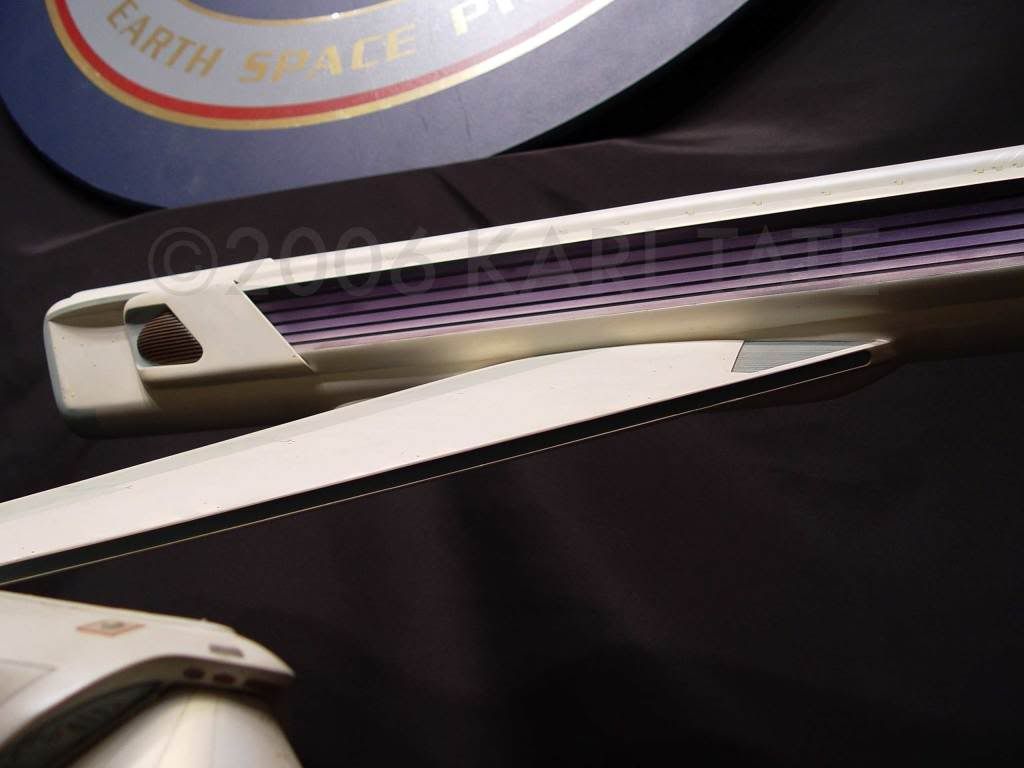
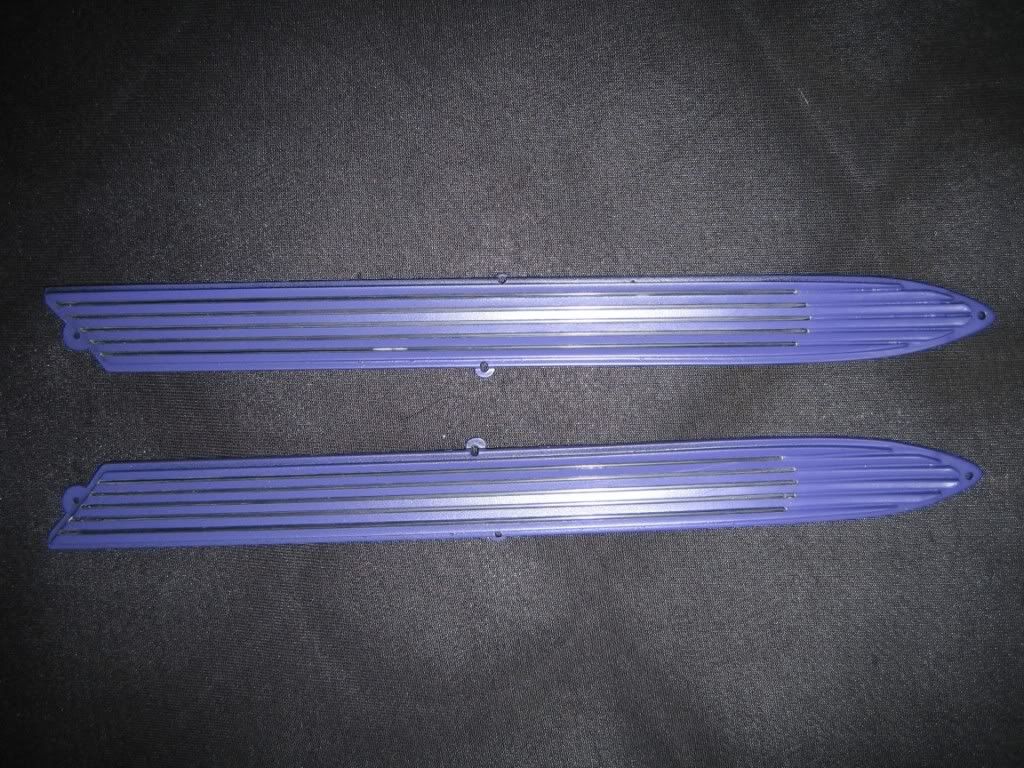
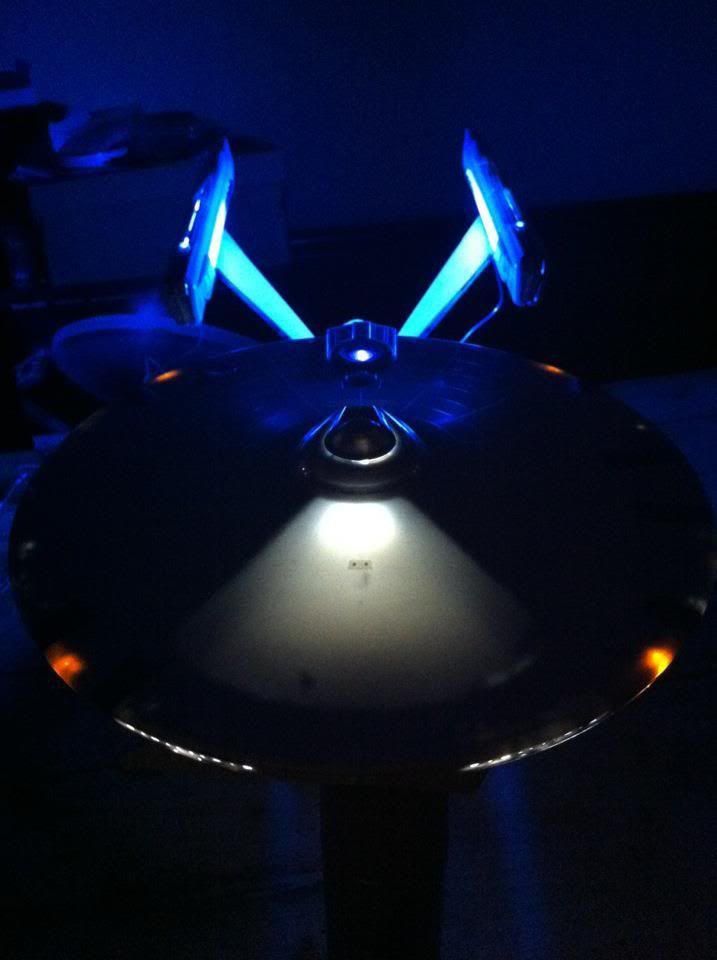
I'm working on the nacelles and the shuttle bay at the moment. I'm scratching my head on the best way to light the nacelles, still experimenting and trying to figure this problem out.
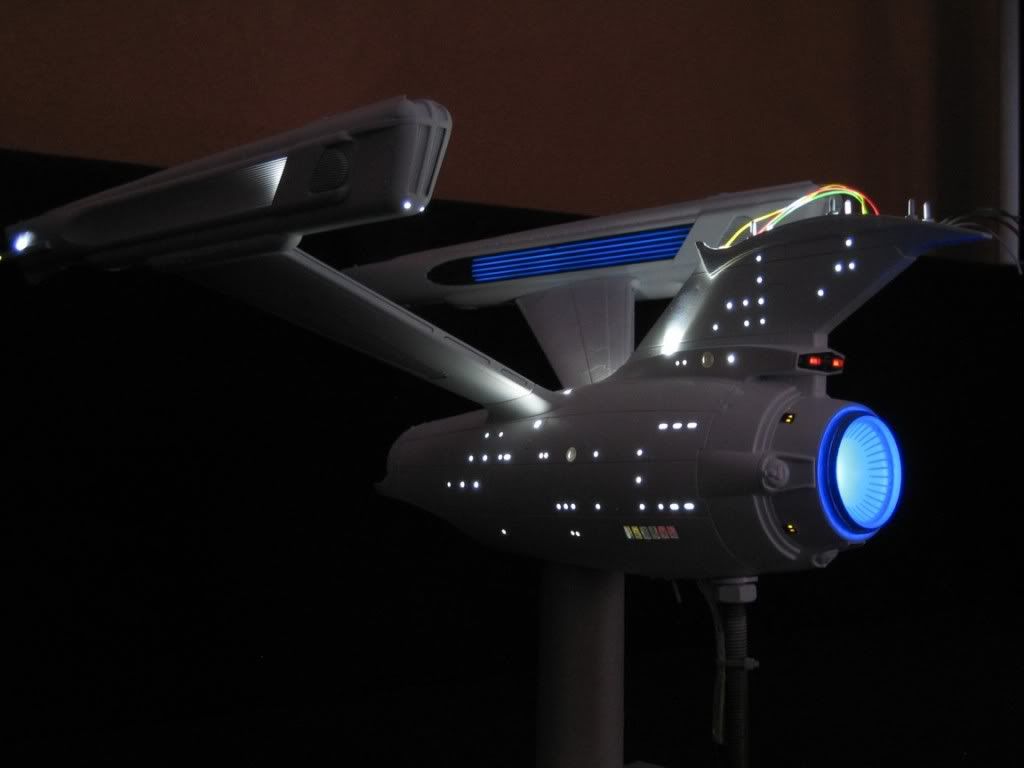
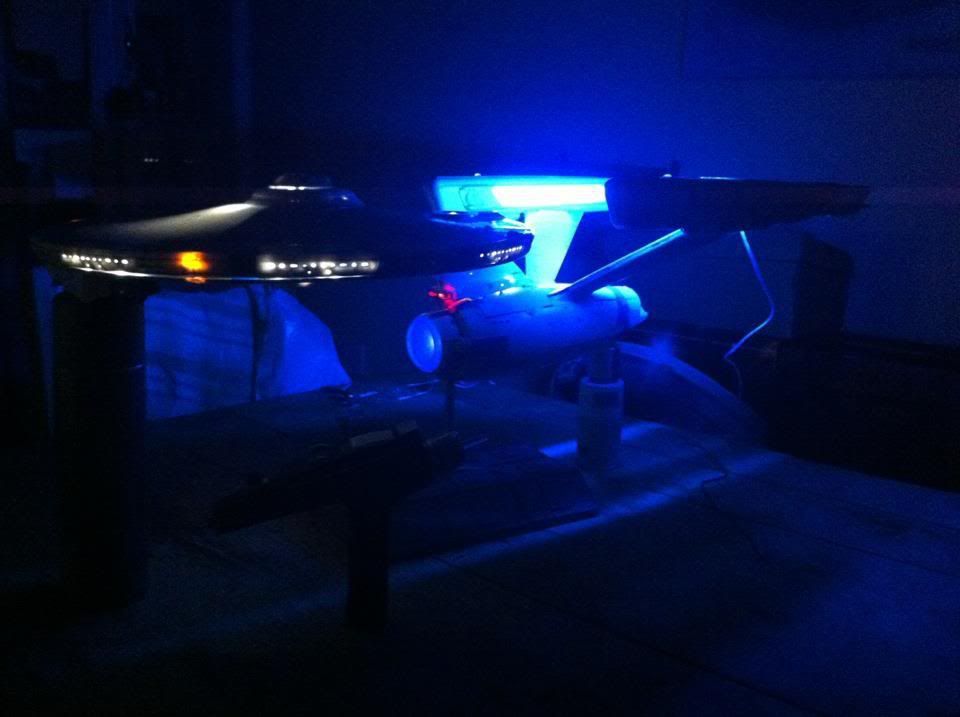
Several times over the course of this build to date, I've wished I'd just ordered a trek modeller lighting kit. It would have been much quicker, I think. The only 2 positives from my method are the ability to customise the lights to suit and the satisfaction of having done it myself. The downside is a few more grey hairs...
Thanks opal. It was really the fact that I couldn't get them in sequence, along with the possibility of a reduced lifespan on the flashing LED's. As you mentioned, I didn't want the lights to fail a year or two down the line, once this is sealed and painted I want it to stay that way.
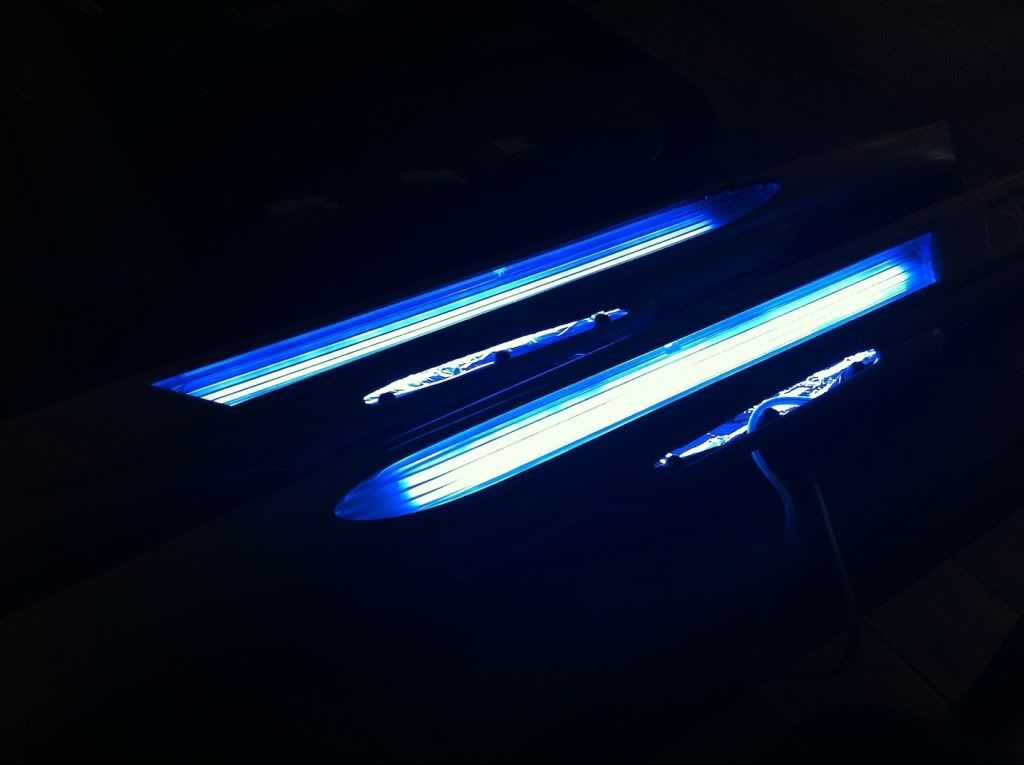
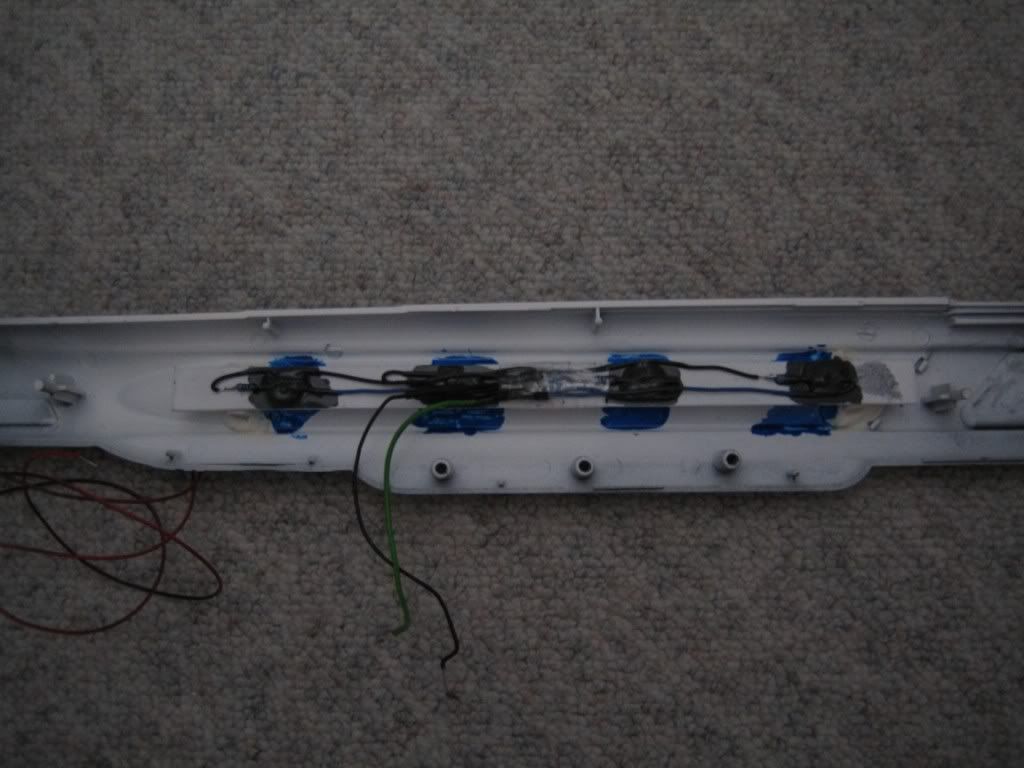
I'm still working on designing and installing the lights, building them up as I go along:
Since this pic was taken I've installed the four yellow LED's around the deflector dish too.
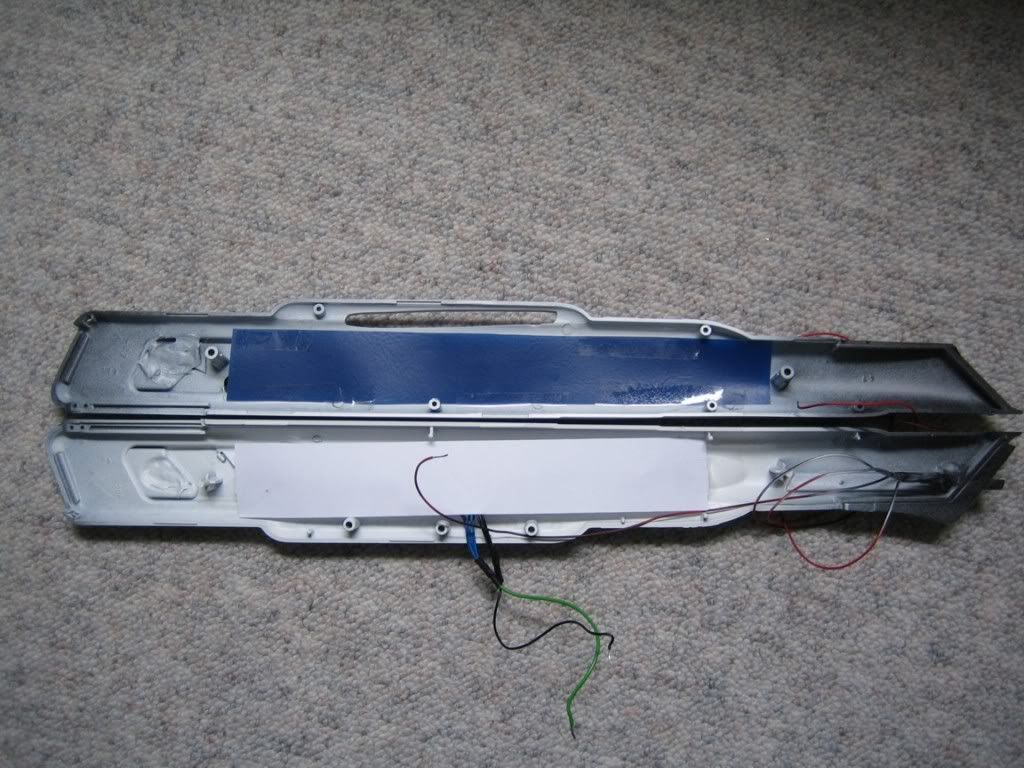
I'm getting too much light bleed in certain areas, I will try to fix that later.
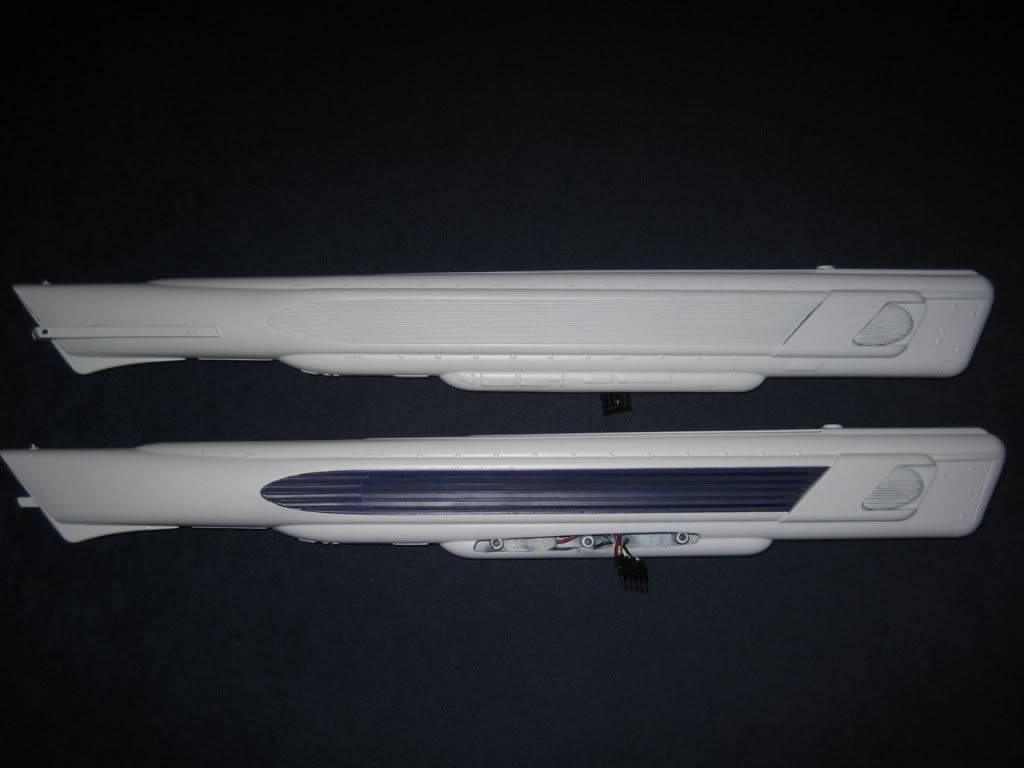
I'm working on the nacelles and the shuttle bay at the moment. I'm scratching my head on the best way to light the nacelles, still experimenting and trying to figure this problem out.
Several times over the course of this build to date, I've wished I'd just ordered a trek modeller lighting kit. It would have been much quicker, I think. The only 2 positives from my method are the ability to customise the lights to suit and the satisfaction of having done it myself. The downside is a few more grey hairs...


")