It's been a long time since I did any work on the costume unfortunately. With finishing the build on my car, summer camping trips, the Calgary Stampede, and my hectic workout and social life....there just isn't enough time in my day.
I did manage to get some work done on it last night though. IronManiac inspired me to get going on the belt buckle with the incredible results he had. I had made one previously, but realized it was not correct in size (too large) and was missing some detail that IronManiac pointed out. I re-rolled the main plate and added the under plate, then added in the rolled beads. I only hand rolled them because I wanted the little deviations in width, but I did my best to minimize them by hand.
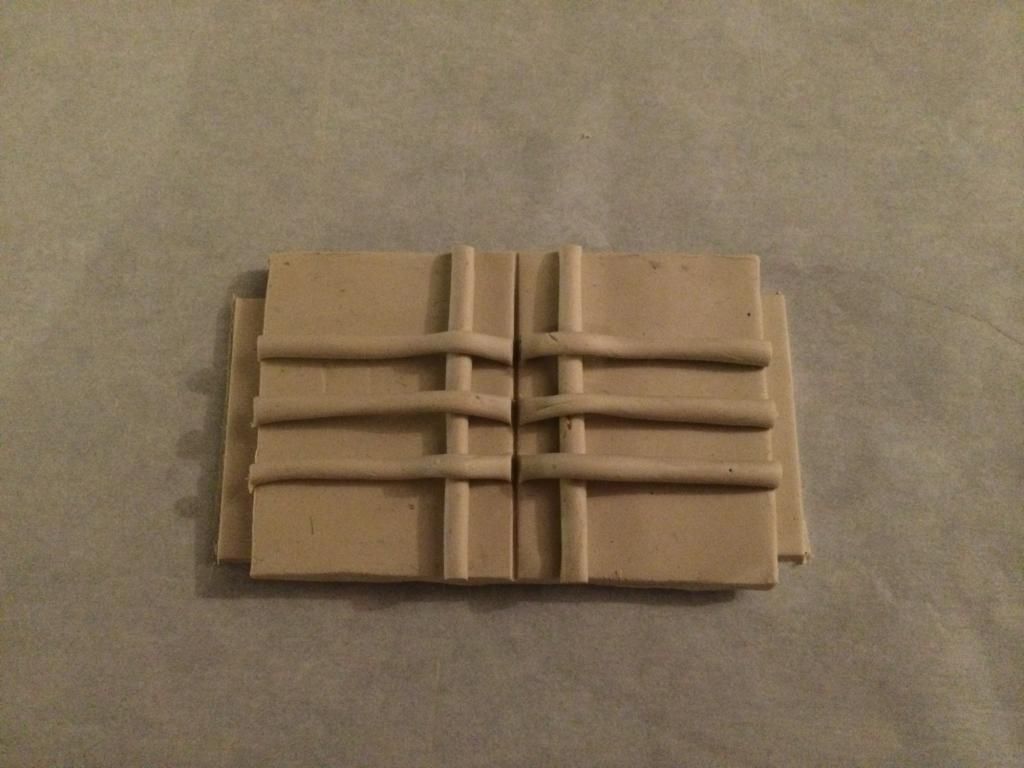
I liked the deviations in the rolled widths because I decided to go with a more worn buckle. I have a belt buckle that I've had for a very long time and it has been banged up, dented, scratched, discoloured through the years (shame too, because its a cool pinup buckle) I imagine that the Star-Lord gets into more ****** than I do (barely, haha) and as such his buckle would be really ratched up like in many of the reference pics. I see Quill's outfit as cobbled together, and made from found parts. This makes me want to go for a very weathered look to the whole outfit.
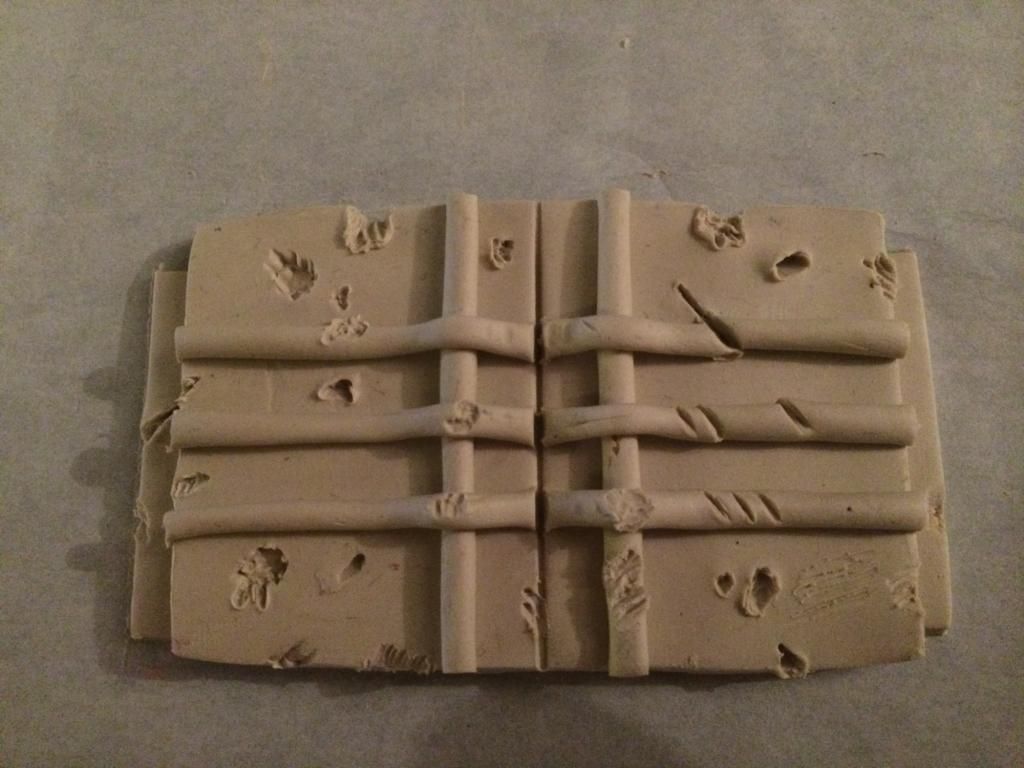
I used various tools and items to make many different battle scars on the multiple layers of buckle. I have never tried to weather anything before, so please be gentle in your evaluations.
Then it was on to the casting of the mold. Also something I'm really new to.
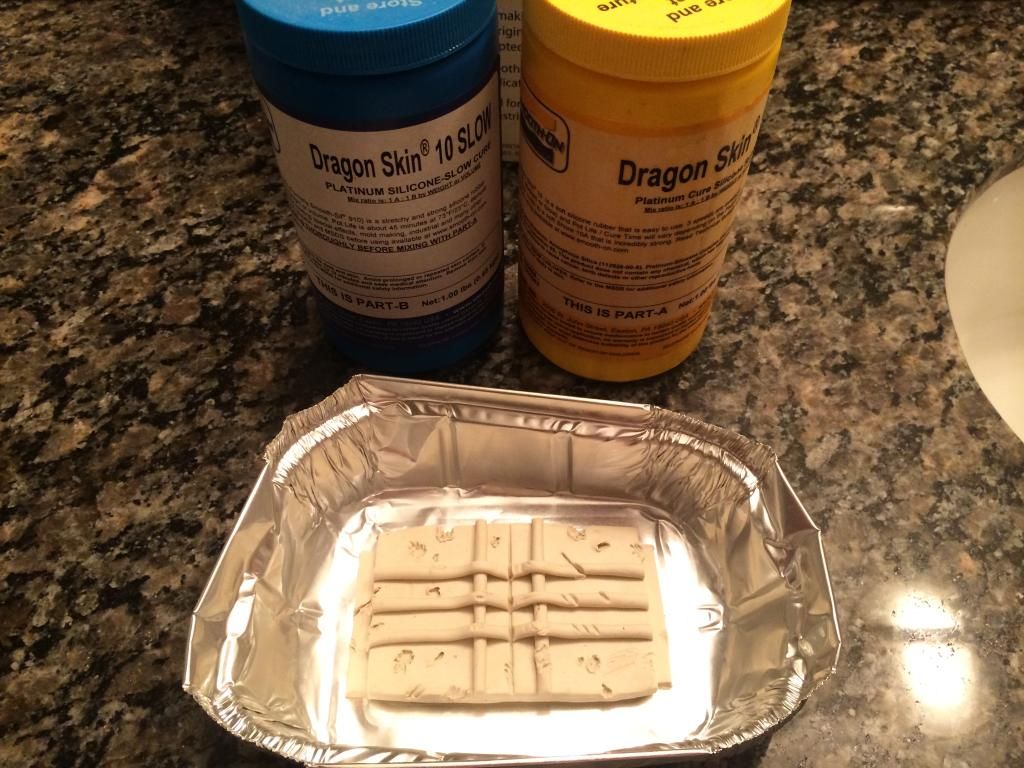
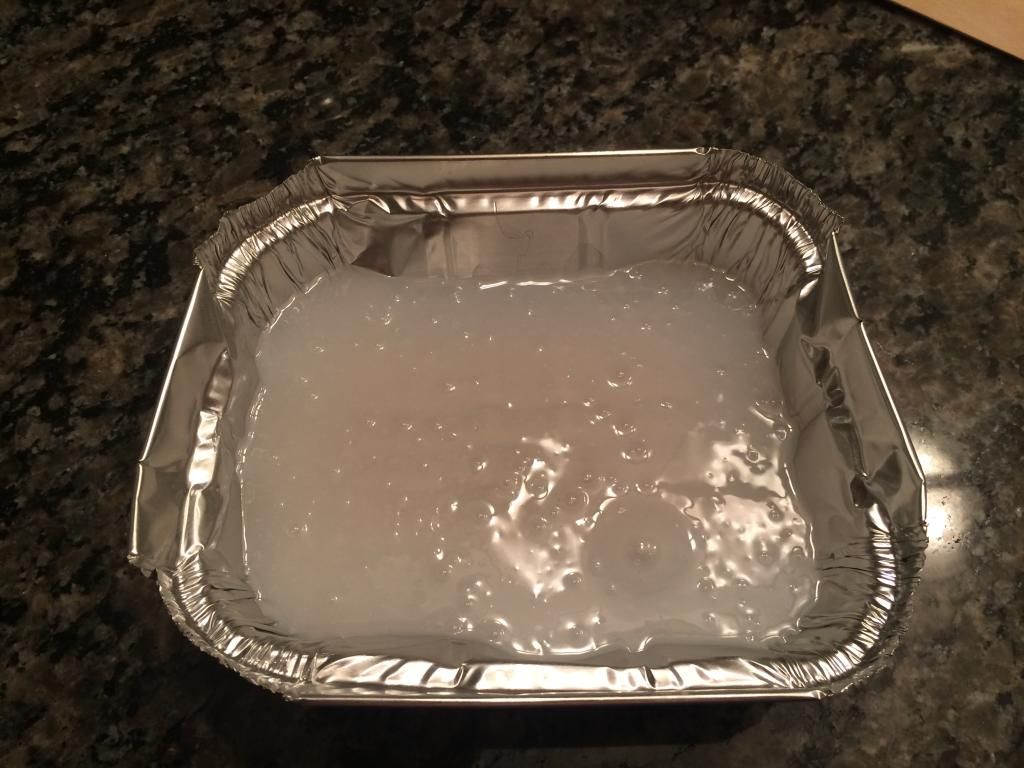
I woke up early today and cleaned out the mold and cleaned up some of the edges for casting. I then mixed my plastic and added a black tint to it. The idea here is that I can continue to scar it up, and it won't affect how the part gets painted. I forgot to take pictures though, and will have to wait until tonight to see how it turns out. Tonight I'm working on the car, and getting a haircut, but I hope to be back at it again Friday night with starting on the thigh switches.


 I want it to fit fairly tight and affixed with magnets. I can also use the magnets for a magnet switch for the led's in the helmet. I am terrified of doing this though.


