Peter Flarkin' Quill ( Star Lord)

Hey, I was wondering if there was a thread for that helmet? You said it was made by Davy, but apparently I can't search the forum by username. Are they still available?

Thanks!

ETA: Aha, found it, he's in Germany. I've actually talked to him on Facebook. How is that helmet?

I ordered mine the other day from him and i just talk with him through Facebook, easiest way to get ahold of him.
 
It's been a long time since I did any work on the costume unfortunately. With finishing the build on my car, summer camping trips, the Calgary Stampede, and my hectic workout and social life....there just isn't enough time in my day.

I did manage to get some work done on it last night though. IronManiac inspired me to get going on the belt buckle with the incredible results he had. I had made one previously, but realized it was not correct in size (too large) and was missing some detail that IronManiac pointed out. I re-rolled the main plate and added the under plate, then added in the rolled beads. I only hand rolled them because I wanted the little deviations in width, but I did my best to minimize them by hand.
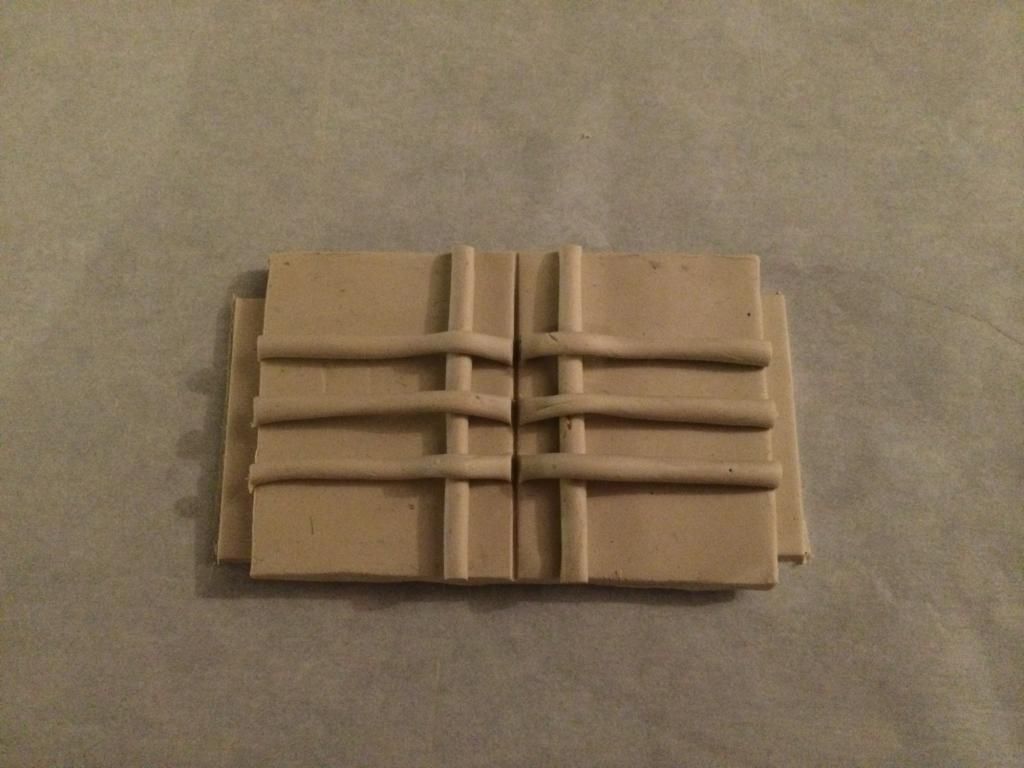


I liked the deviations in the rolled widths because I decided to go with a more worn buckle. I have a belt buckle that I've had for a very long time and it has been banged up, dented, scratched, discoloured through the years (shame too, because its a cool pinup buckle) I imagine that the Star-Lord gets into more ****** than I do (barely, haha) and as such his buckle would be really ratched up like in many of the reference pics. I see Quill's outfit as cobbled together, and made from found parts. This makes me want to go for a very weathered look to the whole outfit.

I used various tools and items to make many different battle scars on the multiple layers of buckle. I have never tried to weather anything before, so please be gentle in your evaluations.
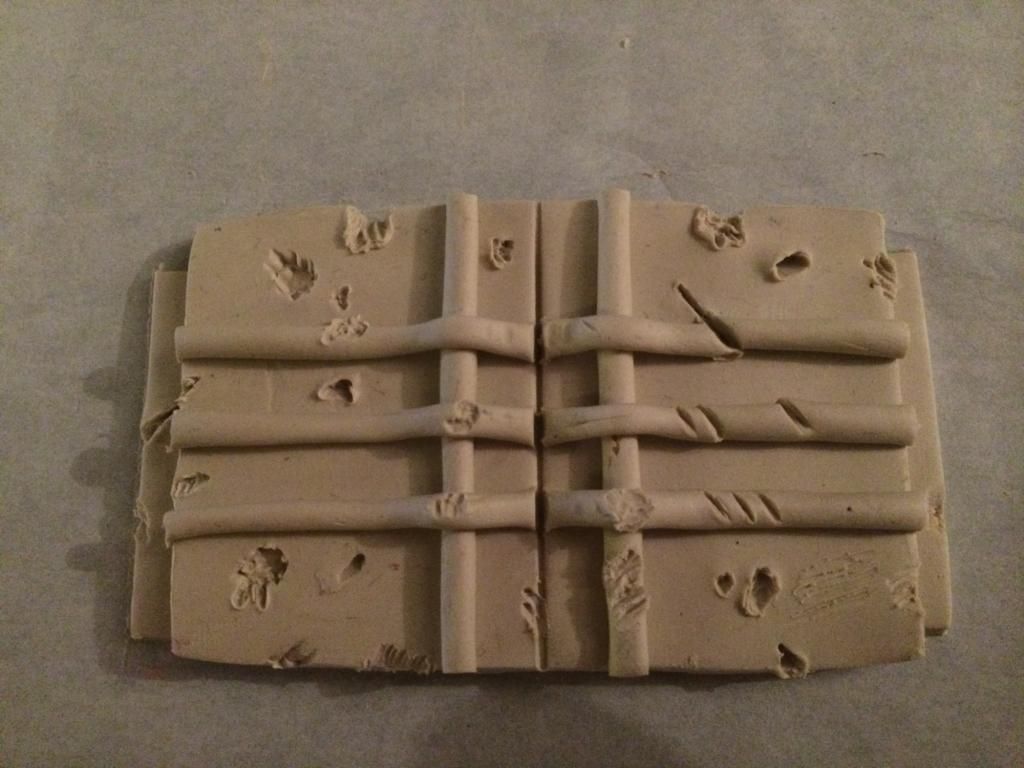


Then it was on to the casting of the mold. Also something I'm really new to.
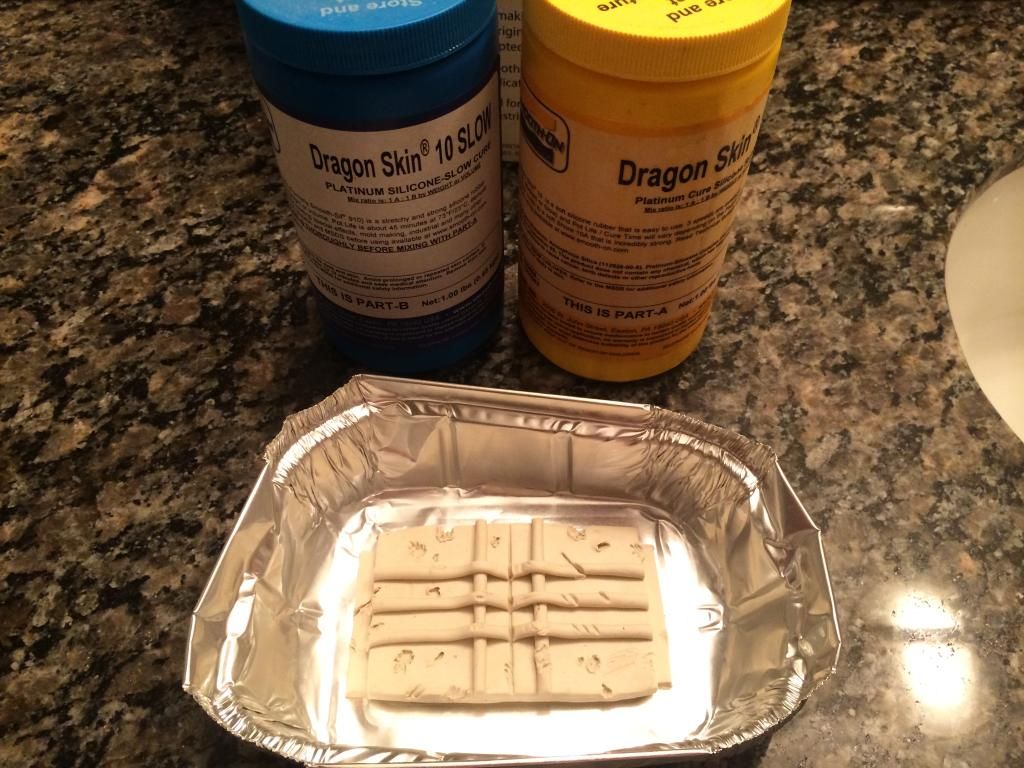


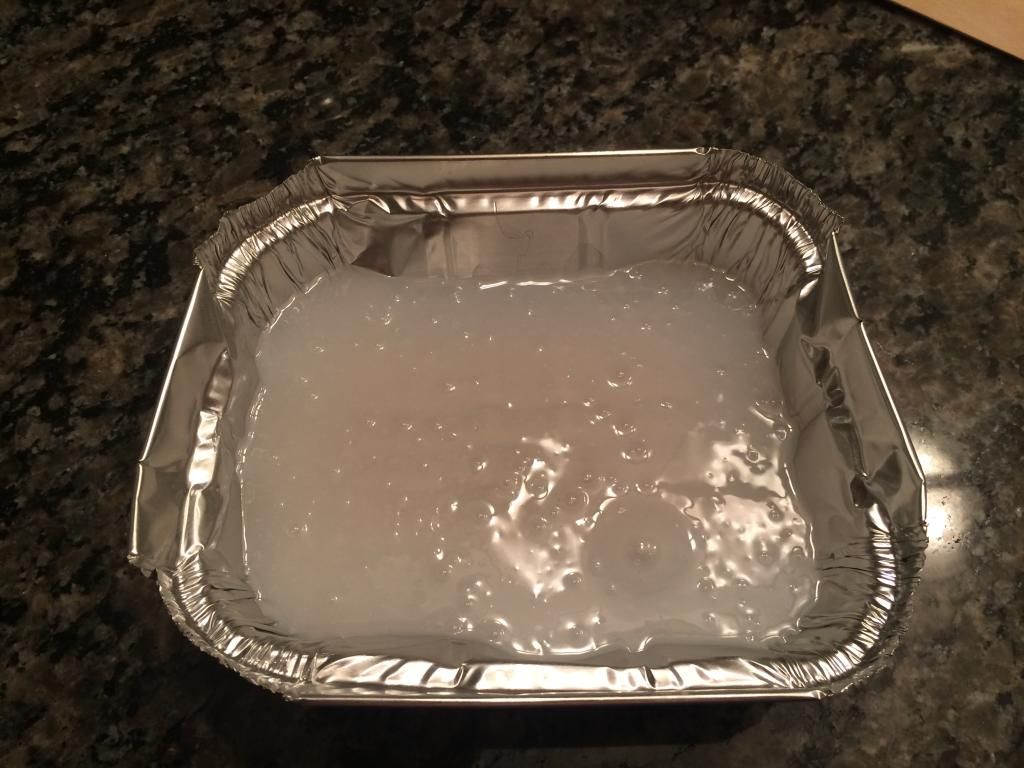
I woke up early today and cleaned out the mold and cleaned up some of the edges for casting. I then mixed my plastic and added a black tint to it. The idea here is that I can continue to scar it up, and it won't affect how the part gets painted. I forgot to take pictures though, and will have to wait until tonight to see how it turns out. Tonight I'm working on the car, and getting a haircut, but I hope to be back at it again Friday night with starting on the thigh switches.
 
I like the weathering! After seeing more screen caps, it looks like there's a great deal of battle damage on the buckle. Honestly, after i spent 45 minutes making mine, i didnt want to jam a fork or a screwdriver into the smooth clay, so props on your bravery.

I'm excited to see how your final buckle turns out.
 
You know it's kind of funny to see _that_ much damage on the buckle. It may be best for Quill to not lead into battle junk first. :facepalm lol

Yeah, it took a while to get the buckle to where it was, and took a bit of bravery to mash it up. On the other side of things though, it meant I could hide imperfections and not have to worry about making the buckle as perfect as yours is. It made it a little easier to jam a torx bit into it. lol

I like that I can use a tint in the plastic to allow for me to continue to finesse the damage, but the danger is not making it look like I was finessing it. It should allow for me to go straight to the buff and rub.

Speaking of bravery, I think I have to cut up the awesome helmet from Davy. :( I want it to fit fairly tight and affixed with magnets. I can also use the magnets for a magnet switch for the led's in the helmet. I am terrified of doing this though.
 
Last edited:
Hey Jackal, this is gonna sound weird but how big is your head and how snuggly does Davy's helmet fit you? I'm wondering if my head being an inch bigger than what he made it for will just make it fit snuggly on my head without any modifications.
 
Speaking of bravery, I think I have to cut up the awesome helmet from Davy. :( I want it to fit fairly tight and affixed with magnets. I can also use the magnets for a magnet switch for the led's in the helmet. I am terrified of doing this though.

You ARE brave! good luck with that project.

- - - Updated - - -

I really wanted to order one of his helmets, but my head is 24 inches and his is made for a 23 inch head -_-

What does he want for a helmet? A 23" helmet would fit me right, but i'm already pretty deep into this costume's budget. Gotta get fiancee approval for big purchases! :p
 
$250 for the kit and $50 for shipping, I believe. He responds pretty fast on Facebook (which you can find in his profile here).
 
Hey Jackal, this is gonna sound weird but how big is your head and how snuggly does Davy's helmet fit you? I'm wondering if my head being an inch bigger than what he made it for will just make it fit snuggly on my head without any modifications.

I just went and measured, and my head is 23" in circumference at the eyebrow and around the widest part of my head. When I trimmed up the helmet and put my head in, I have about a full finger width (maybe more....It's been a while since I put it on) between the back of my head and the inside back of the helmet. When checking the fit, I have my face comfortably up against the foam I've put on the inside front of the helmet. The sides are comfortably resting along my head and ears with a thin 1/4" padding there as well.

EDIT; I'll see about getting some pictures of the fit tonight, but it's difficult stabilizing the helmet and getting the shot. I've tried before so I know how much I'm cutting and didn't have any success.
 
Last edited:
$250 for the kit and $50 for shipping, I believe. He responds pretty fast on Facebook (which you can find in his profile here).

Ouch. I'd love to have it, especially considering how much time and money i've put into this costume so far, but it looks like i'll be making it out of foam and hot glue for $25.
 
Ouch. I'd love to have it, especially considering how much time and money i've put into this costume so far, but it looks like i'll be making it out of foam and hot glue for $25.

The detail level is great, and it comes with all the LED's and wiring you need to make it work. The plastic lenses are there too. Cost wise, it's on par with many of the others offered that I've seen, and Davy is a heck of a guy to work with.
 
If I can't get the helmet it's not the end of the world. I look enough like Chris Pratt to still do the cosplay, but it'd be so awesome to have it as a finishing touch.
 
I just went and measured, and my head is 23" in circumference at the eyebrow and around the widest part of my head. When I trimmed up the helmet and put my head in, I have about a full finger width (maybe more....It's been a while since I put it on) between the back of my head and the inside back of the helmet. When checking the fit, I have my face comfortably up against the foam I've put on the inside front of the helmet. The sides are comfortably resting along my head and ears with a thin 1/4" padding there as well.

EDIT; I'll see about getting some pictures of the fit tonight, but it's difficult stabilizing the helmet and getting the shot. I've tried before so I know how much I'm cutting and didn't have any success.

So would you recommend that a 23.5 inch head would be a good fit, or would it be too small?

Aeric
 
The helmet will have room for a 23.5" head. At least mine does. The only reason I'm considering cutting the helmet is to cut sections out to make it tighter on my head.
 
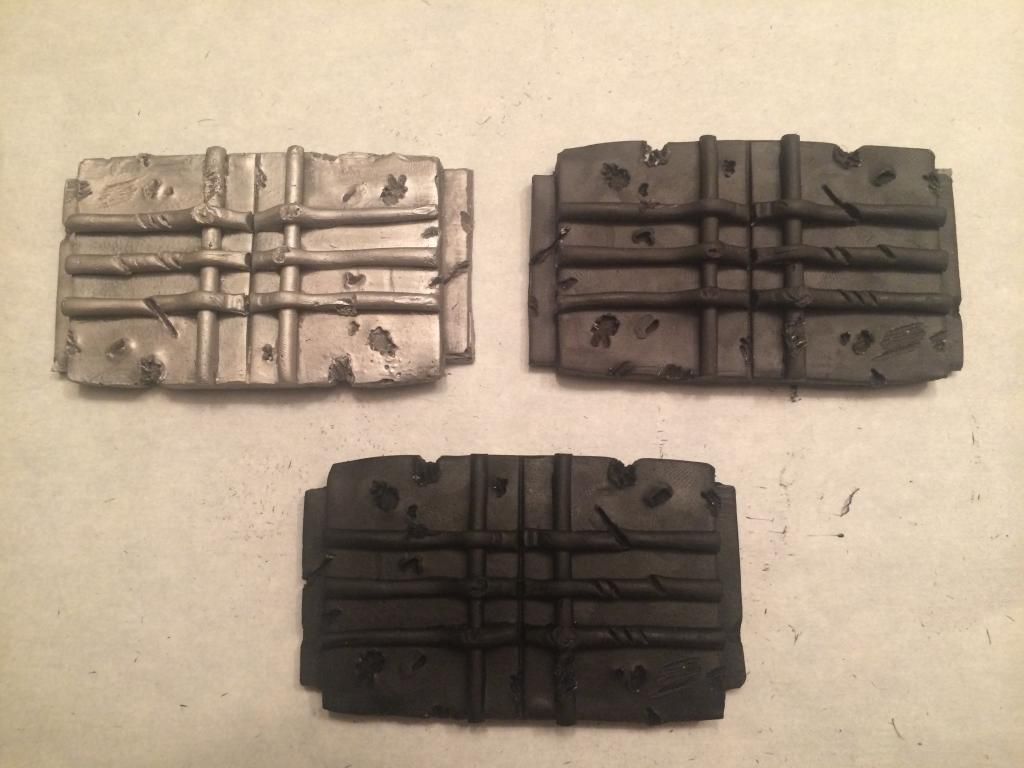
So I made three buckles. For the first buckle I followed the colouring instructions and it turned out a mid grey. The second buckle I doubled the colour, and the third I pretty much made sure it was going to be black.


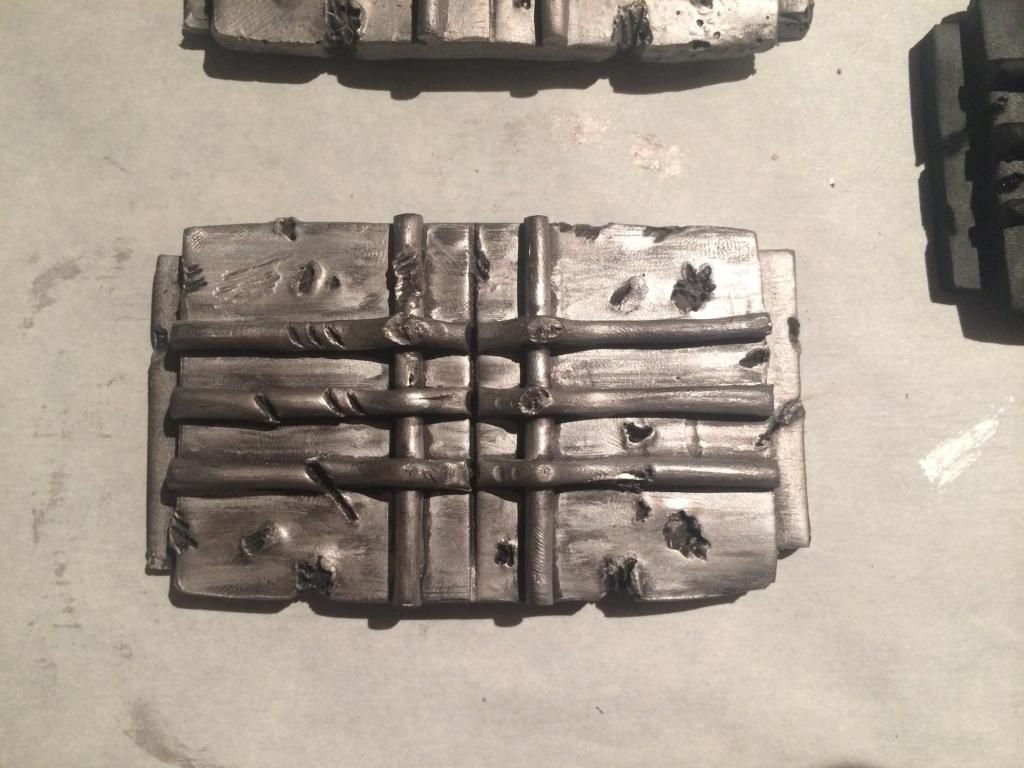
I also played around with the Rub 'n Buff. I chose the middle one to work on first to experiment with it. I'm not too good with it yet, but I'll keep working on it.


I'm really liking the distressed/used look of the one on the bottom. Is that overtop of the Rub 'n Buff, or is that the actual colour of the buckle showing through?
 
Depending on how nerd-accurate you wanna be, you can always magnify a buckle pic to your liking the use spray on glue to attach that to whatever you are going to make the buckle from. In my case, a 3/8 inch chunk o' aluminum. The dings will be correctly positioned because I will use a drill or nail to poke the holes I want, wherever I want by=uckle.jpg

- - - Updated - - -

EDIT : posted twice...ugH!
 
Back
Top