Hi guys,
This is Lee from Northern Ireland, I have just recently joined the community and I'm looking to see if anybody could please help me with an issue I have.
This is my first post so hopefully everyone will keep me right here or steer me in the right direction, apologies if I have posted this is the wrong thread, please be constructive and I will move it if need be")
I have built a few hand-made dioramas and model kits (eg 1:500 scale titanic / military tanks etc) but now I have decided to have a go at wooden model ship building and recently purchased the 1:43 scale of the Black Pearl.
I have learned that the model I purchased is from a company who apparently *pirated* the pirate ship so I cannot name any names of manufacture - some of you may already know who it is.
The 11 sheets of instructions are mostly made up of pigeon English which is very hard to follow and a lot of the components are not numbered or have no explanation as to where they are supposed to be placed.
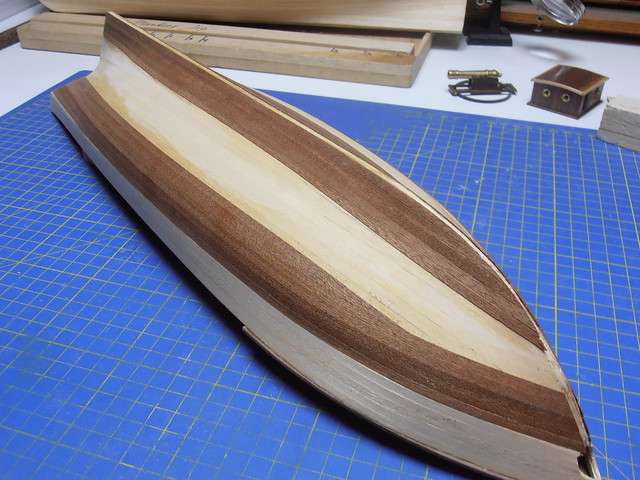
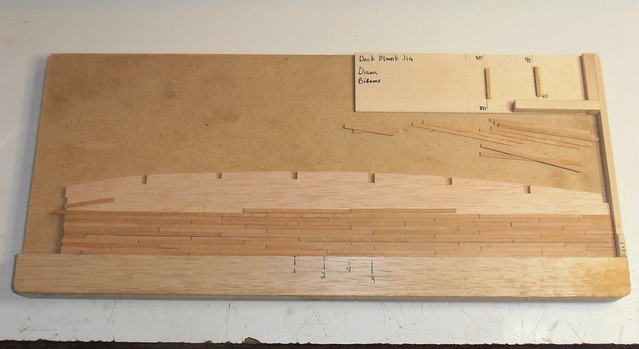
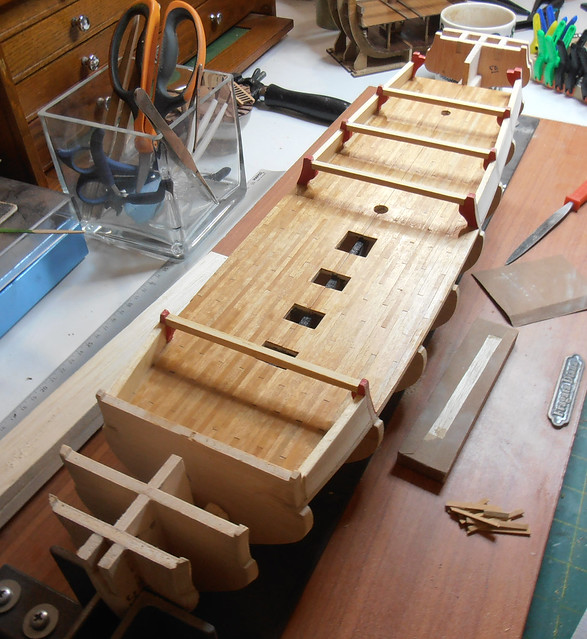
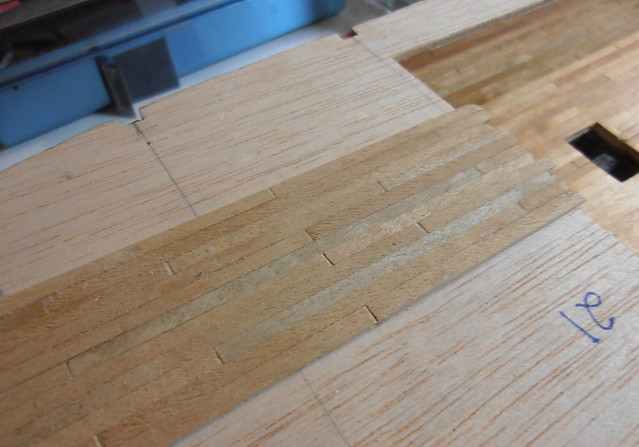
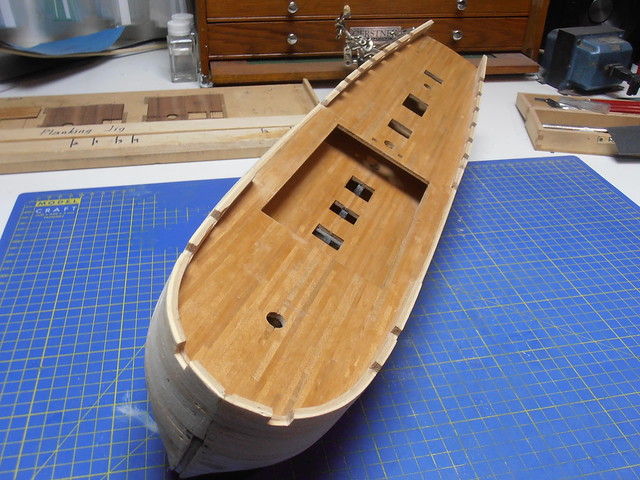
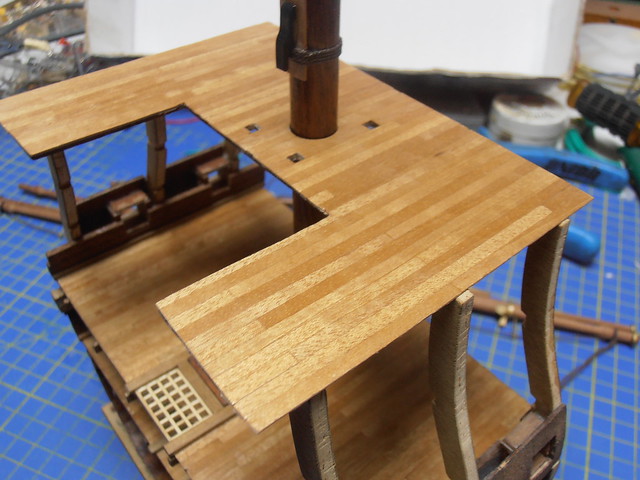
My knowledge of ships is sparse so a lot of the terminology is tricky at the best of times (working on that at the min with a new book on the way) I am currently trying to lay flooring on the lower deck and my issue is I have 2 bales of flooring (decking?) one is Paulowina Wood (65 pieces @ 2mm X 4mm X 500mm) the other is Black Walnut (170 pieces @ 0.5mm X 4mm X 550mm)
Could someone guide me as to which bale should be used for decking and which should be used for the Hull? I have a feeling the Paulowina should be used for the deck flooring and Black Walnut for the Hull as it is thinner and easier to shape?
If I could find out this I could make a start and hopefully pick up more as I go along.
Thanks so much in advance!!
Lee
This is Lee from Northern Ireland, I have just recently joined the community and I'm looking to see if anybody could please help me with an issue I have.
This is my first post so hopefully everyone will keep me right here or steer me in the right direction, apologies if I have posted this is the wrong thread, please be constructive and I will move it if need be
I have built a few hand-made dioramas and model kits (eg 1:500 scale titanic / military tanks etc) but now I have decided to have a go at wooden model ship building and recently purchased the 1:43 scale of the Black Pearl.
I have learned that the model I purchased is from a company who apparently *pirated* the pirate ship so I cannot name any names of manufacture - some of you may already know who it is.
The 11 sheets of instructions are mostly made up of pigeon English which is very hard to follow and a lot of the components are not numbered or have no explanation as to where they are supposed to be placed.
My knowledge of ships is sparse so a lot of the terminology is tricky at the best of times (working on that at the min with a new book on the way) I am currently trying to lay flooring on the lower deck and my issue is I have 2 bales of flooring (decking?) one is Paulowina Wood (65 pieces @ 2mm X 4mm X 500mm) the other is Black Walnut (170 pieces @ 0.5mm X 4mm X 550mm)
Could someone guide me as to which bale should be used for decking and which should be used for the Hull? I have a feeling the Paulowina should be used for the deck flooring and Black Walnut for the Hull as it is thinner and easier to shape?
If I could find out this I could make a start and hopefully pick up more as I go along.
Thanks so much in advance!!
Lee


.jpg")