New Hasbro Vintage 2010 Luke's Snowspeeder

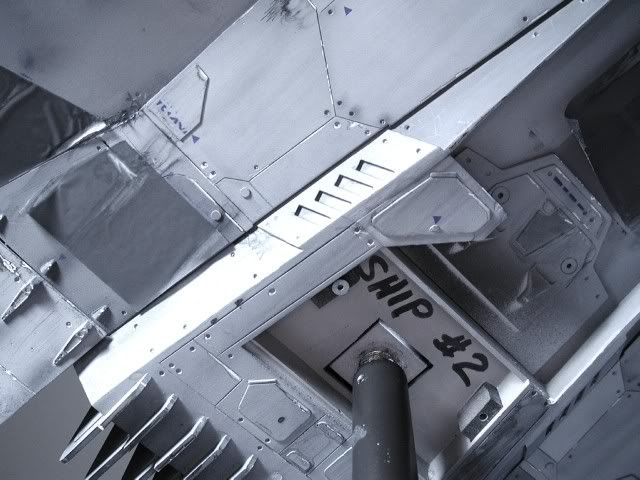
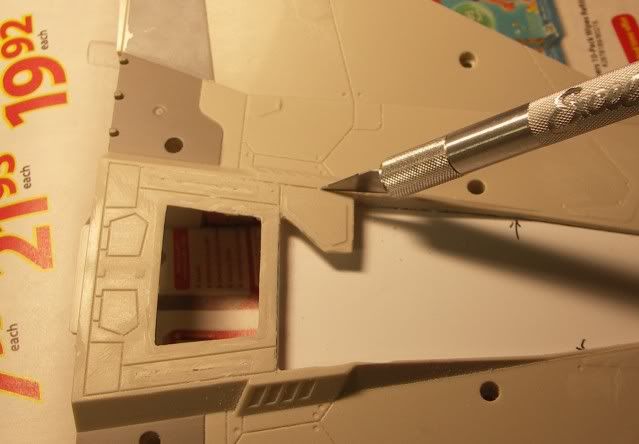
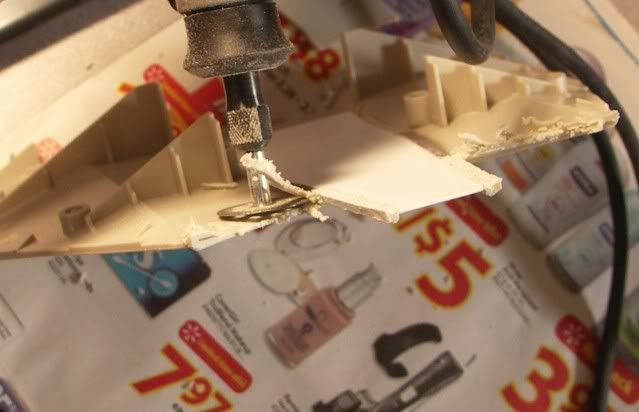
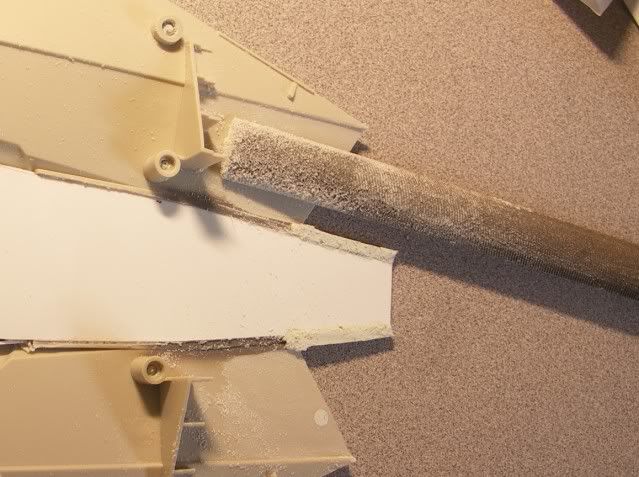
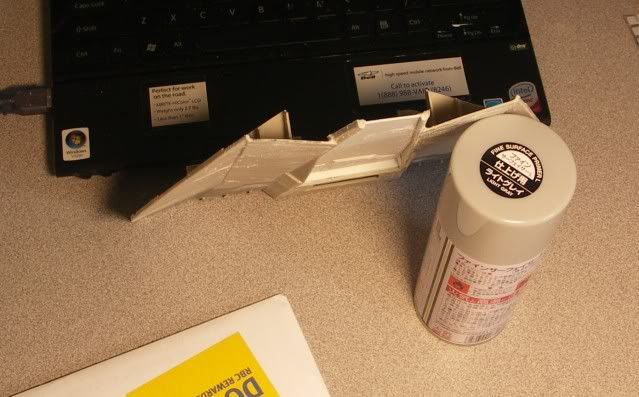
You're a braver man than me, Crackerjazz. I may pluck up the courage to do the same as you but for now I'll just keep tabs on your progress.

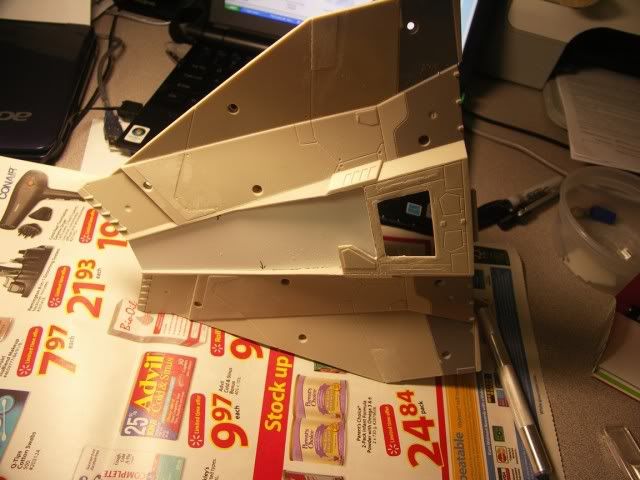
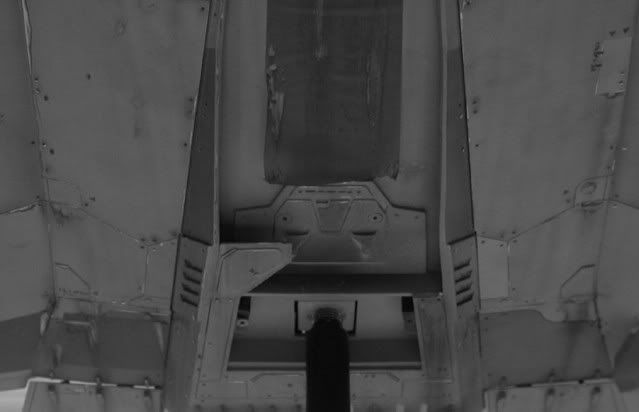
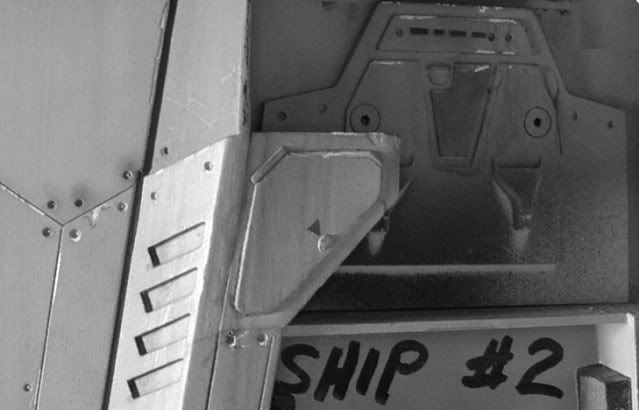
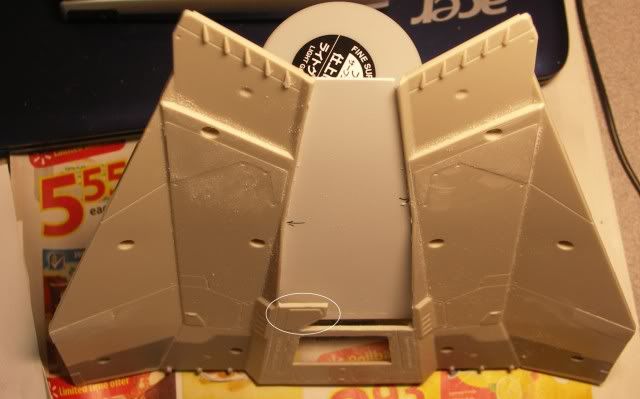
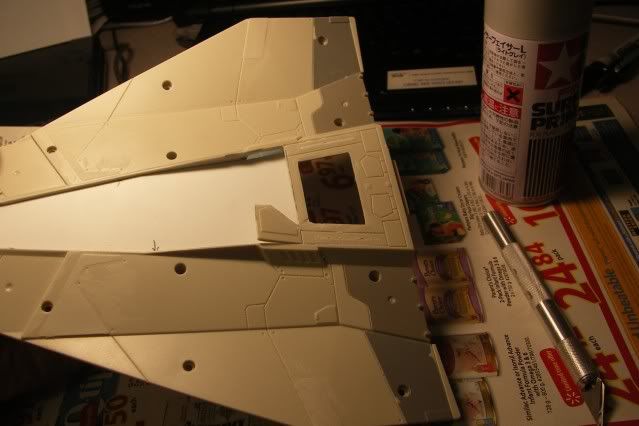
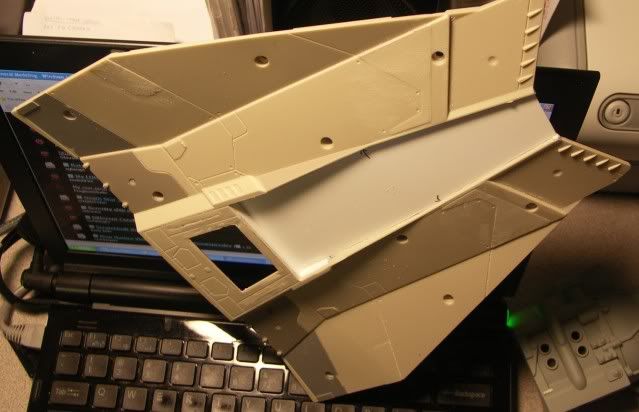
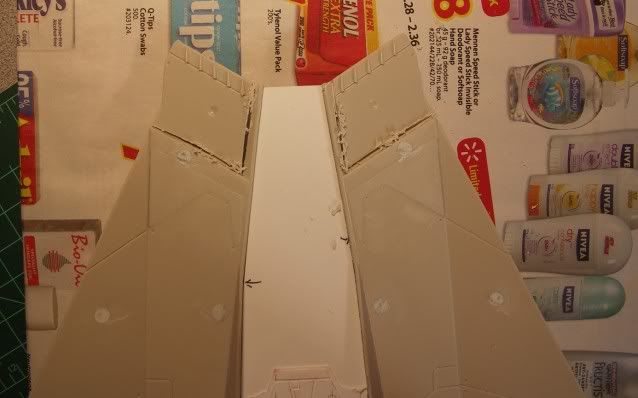
But it's looking good so far.
 
BTW Crackerjazz, I am documenting your build in a word document, with your text and images for future reference but if any one else wants it let me know.

Hope you don't mind.
 
Thanks, Sasymysquatch!

Patched up the bottom:

04Patched.jpg


And started working on these details (photos from modelermagic):
01Airintakedetails1.jpg


02Airintakedetails2.jpg


03Airintakedetails.jpg


Not too happy with the "tab" as it was too thick and had wrong details so I cut it off to scratch a new one.

05Nottoohappywithtabtoothick.jpg


06Endedupcuttingitoff.jpg


07Pluckedoffthetab.jpg


08Tabgone.jpg


09Tab.jpg


10Testfit-better.jpg


Drafting onto index card:

11Draftingthedetailsonindexcard.jpg


Scoring to styrene:
12Scoredthestyrenewithtemplate.jpg


Rubbing with marker:
14Coloredwithmarker.jpg


Cutting:
15Cutting.jpg


Gluing on the details:
16Detailing.jpg


17Cutnotches-1.jpg


Cut notches. Still thinking about how to do those two tiny air scoops.
 
Sorry for the confusion Junk Pilot. I meant the shark gills. I should have said "squared off the edges" instead of "cut notches". The edges of these vents weren't shaped right on the toy. It's a bit thick too and the openings shaped incorrectly. Still figuring out how to correct those further. I could probably shave the vents off and scratch new ones in or just trim it down and reshape the openings, which is more tricky.

18Thenotches3.jpg


The 2 airscoop-like things do look like kitbashed parts, and would surely welcome any hints/scans just to take a closer look at it and scratch it better. I have a vague memory of seeing a kitlist of the snowspeeder sometime ago.
 
Last edited:
Thanks for the tip, Junk Pilot, I'll look into that. I'd also been trying to look into my stash of the photo of the unpainted MR speeder to get a clearer view but I couldn't find it. Maybe I'll try to work off that closeup shot. Looks clear enough anyway.

BTW, in Moffeaton's blog of his 1/48th speeder project (Fine Molds 1/48th Star Wars Snowspeeder Project « HobbyLink.tv), there is a nice early photo of the prop.

This is the photo. The gray-striped prop had both tabs intact! When I saw this it felt just like seeing a photo of my granddad in his younger years with a full mop of hair. I wonder if at an even earlier stage it even had a middle part. I'm betting it would have, since this photo clearly comes from the "archiving" years as it had "Ship#2" written on it and some fins at the back had fallen off.
Referencephoto-ShipNo2-ed.jpg
http://i469.photobucket.com/albums/rr52/crackerjazz/Referencephoto-ShipNo2-ed.jpg

A more current photo of the prop (from Modelermagic) with only one tab remaining. I guess the years are slowly taking a toll on our beloved ILM props. Still, they could've just glued the part right back on.
01Airintakedetails1.jpg


And this is Master Replica's speeder with only one tab, true to the later, damaged, incarnation of the motion control Rogue Leader prop. It kinda looks like smiling with a broken tooth but I might just go ahead and do it this way. We'll see...

MasterReplicasSnowspeederBottomViewed.jpg
 
Last edited:
Thanks, Junk Pilot. That's the Rogue 3 (Ship #1) red-stripe prop by the way. Started puttying up screw holes.

01Puttiedupholes.jpg


And worked on the air intake openings. Of which there isn't much on the 2010 Hasbro:

02Doesnthavetheairintakesweneed.jpg


I heard the 1/48 Finemolds speeder suffers from closed intakes as well. But that is 1/48 scale - a speeder that would fit in your palm. This Hasbro is 1/18 - so this detail shouldn't have been missed. Oh well, it is a toy, after all - I need to be reminded of that fact. At least it provides us with more conversion fun.

This is what we are after:
03Gray-stripepropsairintake.jpg


Started cutting this way...

03bStartedcutting.jpg


And that way....

03cAndthatway.jpg


03dDremeledabit.jpg


And ground the air intakes.....
04Filetheairintakes.jpg


to a fine blade:
05Grindintoafineblade.jpg


Couldn't wait to see how the Hasbro looks with the intakes properly opened up.
 
Last edited:
OMG
I want to do this now
I saw the Snowspeeder and the Cloudcar the other day at my Local Target.
Almost pulled the trigger but thought I already had enough toys
Silly me.
 
What glue are you using, crackerjazz?

I need to update all my tools and basically start from scratch again as far as equipment goes. I have really been out of the loop as far as modelling goes for some time and need to play catch up.
 
This thread is more than 12 years old.

Your message may be considered spam for the following reasons:

  1. This thread hasn't been active in some time. A new post in this thread might not contribute constructively to this discussion after so long.
If you wish to reply despite these issues, check the box below before replying.
Be aware that malicious compliance may result in more severe penalties.
Back
Top