Timmythekid
Sr Member
Wow this is going to be a nightmare making and cutting all those panels out.
Oh, massively tedious, you have no idea. But you'll feel sooooo good when the last one goes on. Promise
Wow this is going to be a nightmare making and cutting all those panels out.
new to this forum but checking in frequently. great amount of awesome work and inspiring minds.
just received the mf vents from shapeways, blown away by the quality of FZ6s work and the quality of the prints in general.


Many thanks for your great feedback!! Happy that you liked them!
Just one tip: sand gently the backside of the grilles -the bottom-, to eliminate all the printing debris. They will look better!!!
Installed Tony's turbines and prepped the grills last night. They look awesome!
If i had one suggestion though, possibly making the outer wall of the turbine thicker slightly to fill the void around them on the hasbro (shown on the picture below). It would help not have to have the turbine up inside the ring for glueing and it could be a little lower down. As things stand i feel the grating/cover is a little too flush with the surrounding plastic. Maybe i'll try to build out the edge of the turbine bit with some styrene and see how that looks. Pretty darn happy though with the look. Tony's work is stellar once again! He needs to construct some maintenance wells for printing!! lol

I have looked at Tony's parts on Shapeways and I'm planning on ordering a few pieces to go along with the kit I have on order from SirCharles.
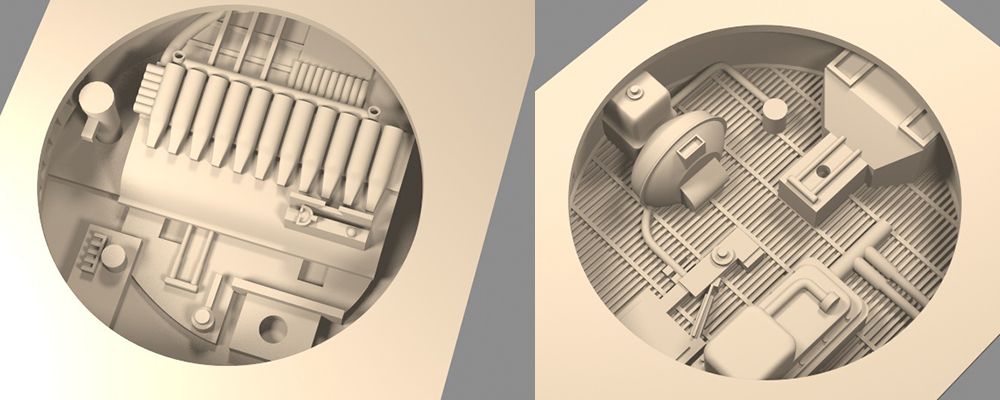
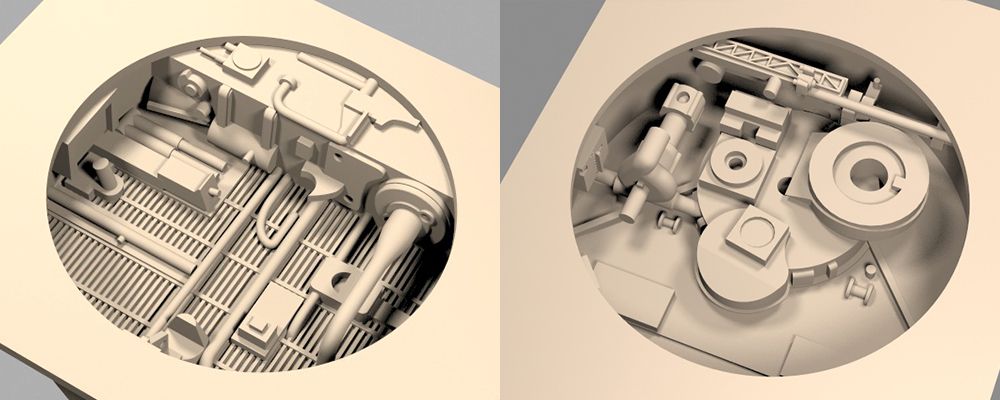
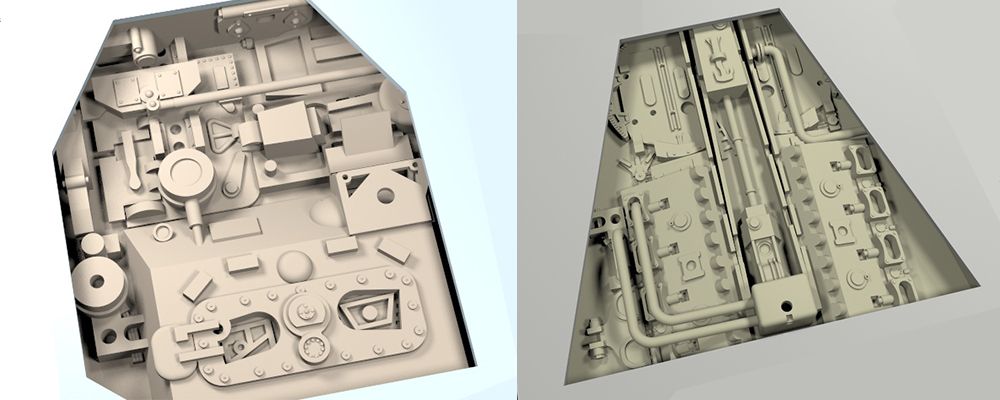
I've been playing around with a design program this past week and created one of the upper mandible pits that I'm going to have printed. If it turns out decently I may try to draw up/print the flaps and pair them with a set of Tony's actuators.
If we're talking about the same part, Randy Cooper has those exhaust flaps in his 73 part kit here: http://randycoopermodels.com/content/resin-upgrade-parts-30-hasbr-falcon


This looks pretty cool! Do you know what resolution this was printed with?Got my 3D printer in yesterday and decided to try out on of the mandible pits I've drawn up. I only have black filament until the middle of next week but the results turned out pretty well. I'll cut the put out and dry fit the printed one later today to get a better idea of how it will look.
http://i.imgur.com/TFbvox9l.jpg
Finding pictures of these pits aren't real easy and the best one I had to go off of was this screen shot from a youtube video of someone's Master Replica
View attachment 578237
EDIT
Did a dry fit after cutting one of the pits out. Looks pretty good to me, going to start drawing up the other 7 and get some grey filament on order this week.
http://i.imgur.com/VrgKIYhl.jpg
http://i.imgur.com/YCpugt1l.jpg
I ran it through on the high quality setting through Simplify3D with 0.1mm layer height. With such small details on these pieces I don't know if there will be any smoothing them out. I'm going to print a few of them to do some trial and error with.
Looking pretty good Capo! What printer did you get?


