GBRyker61
Well-Known Member
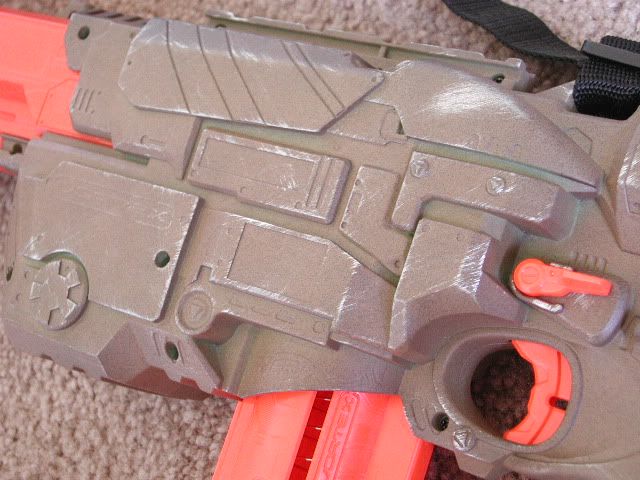
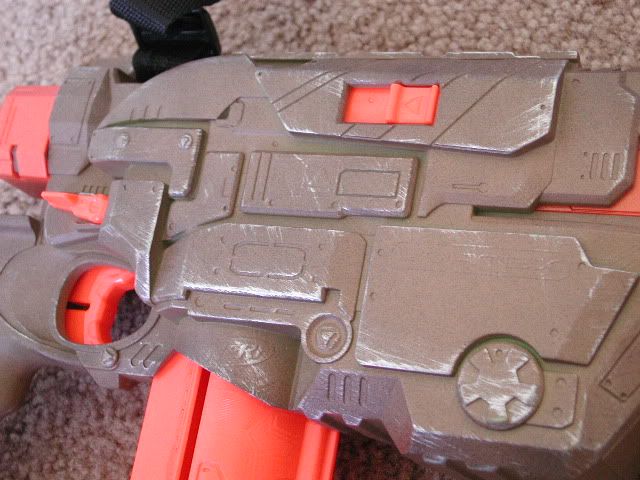
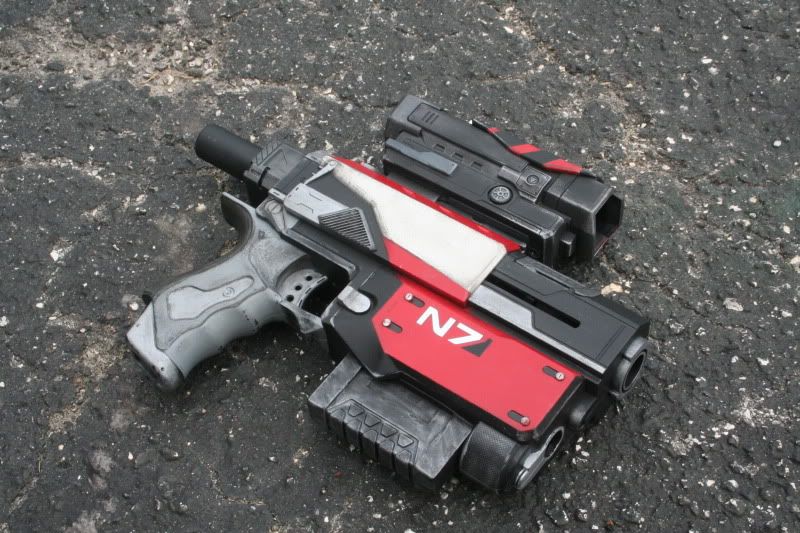
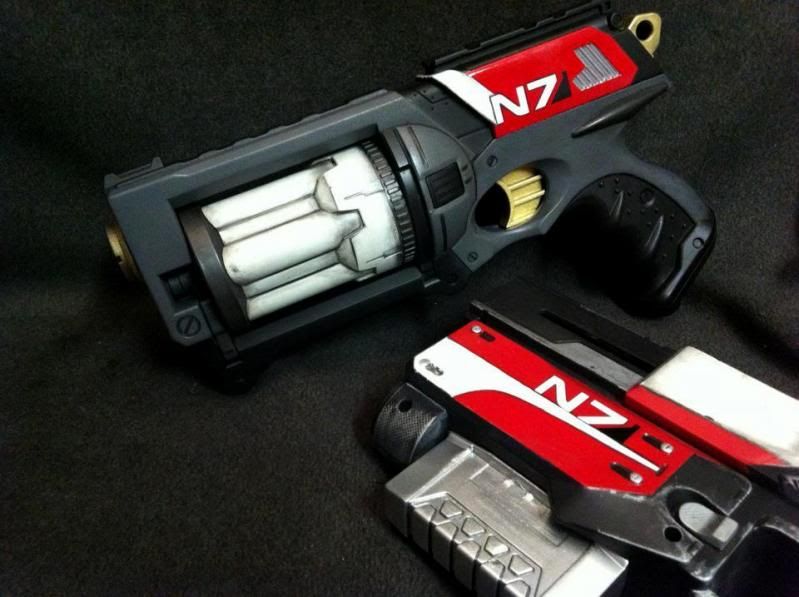
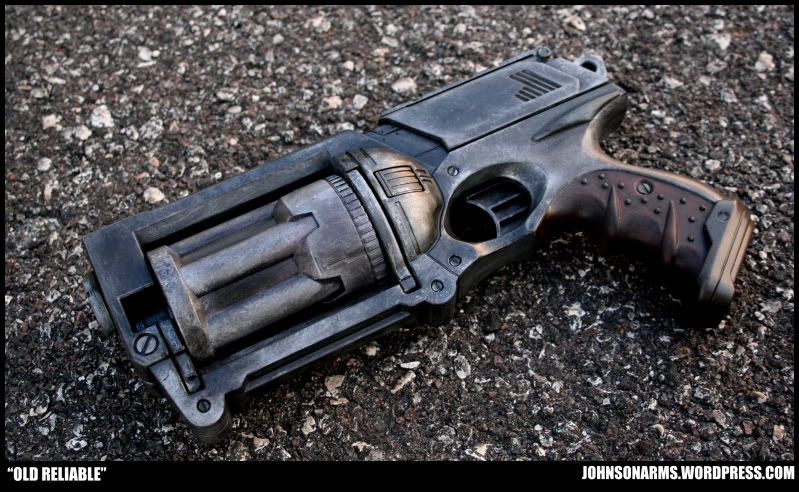
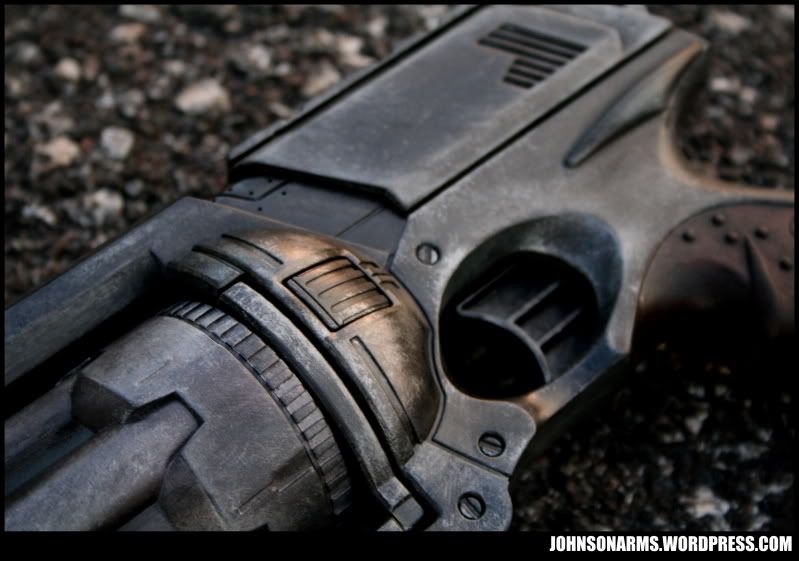
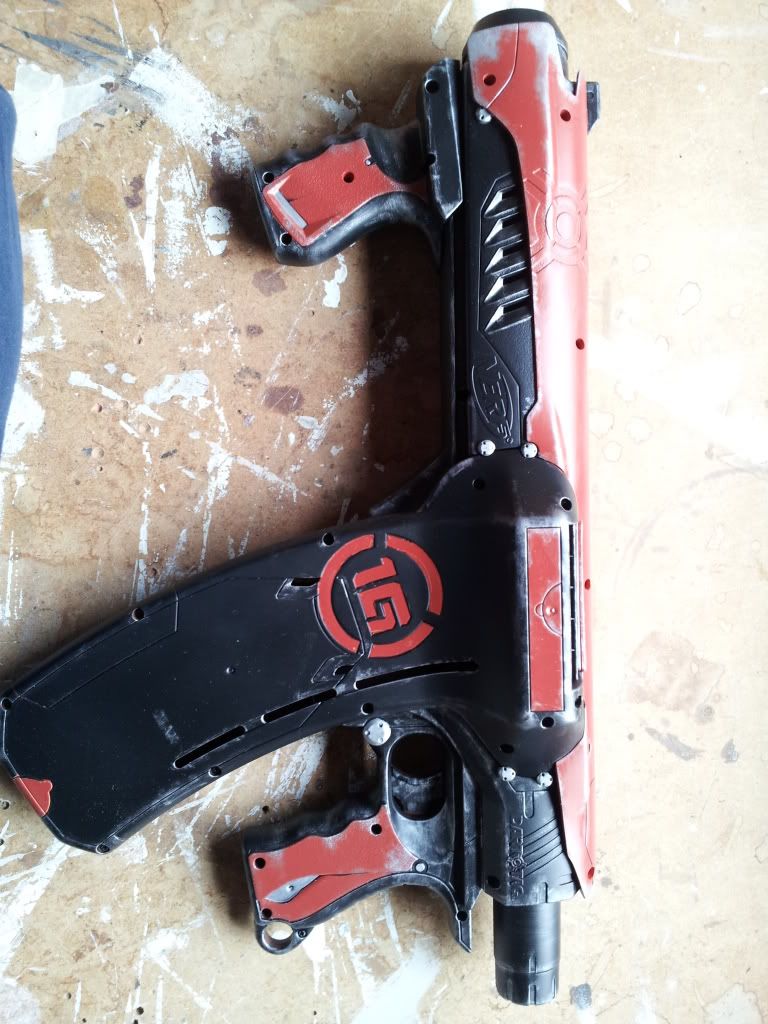
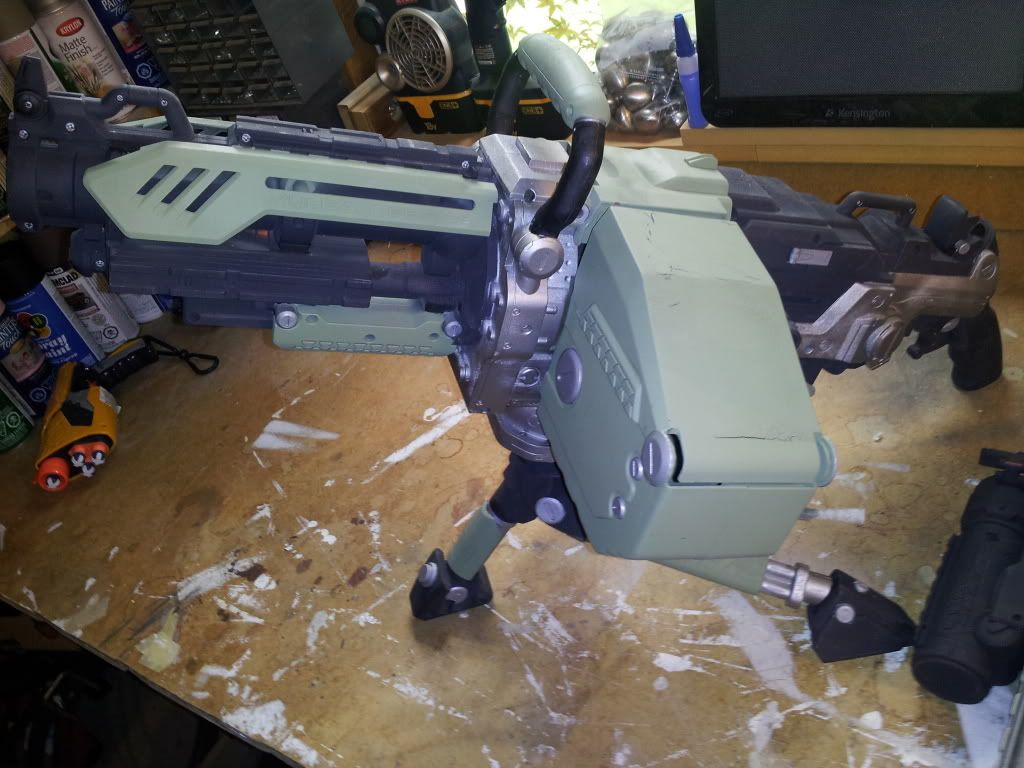
And here is one more before I go to bed. It was finished and painted in an afternoon.
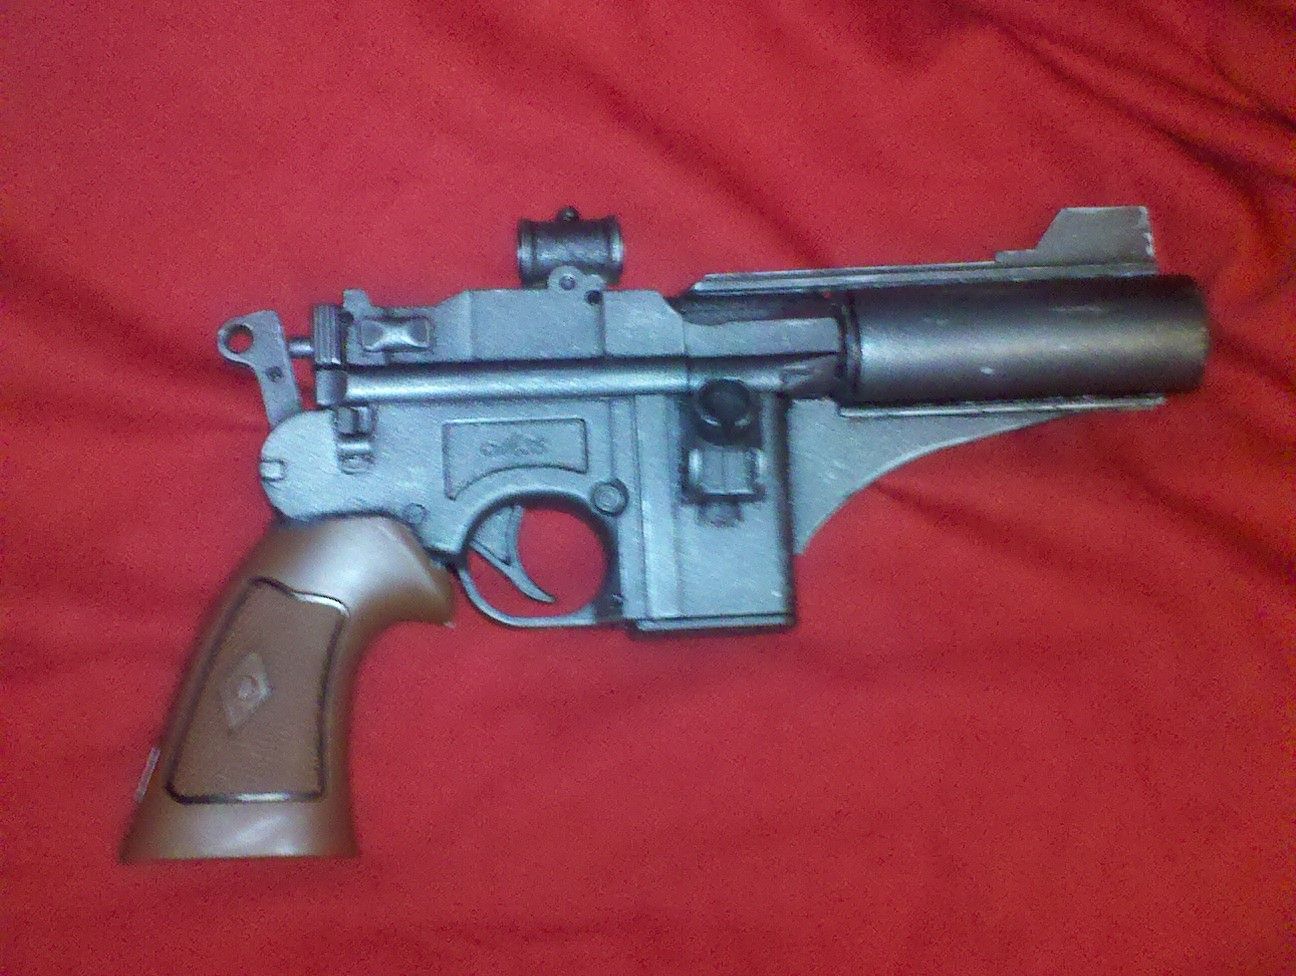
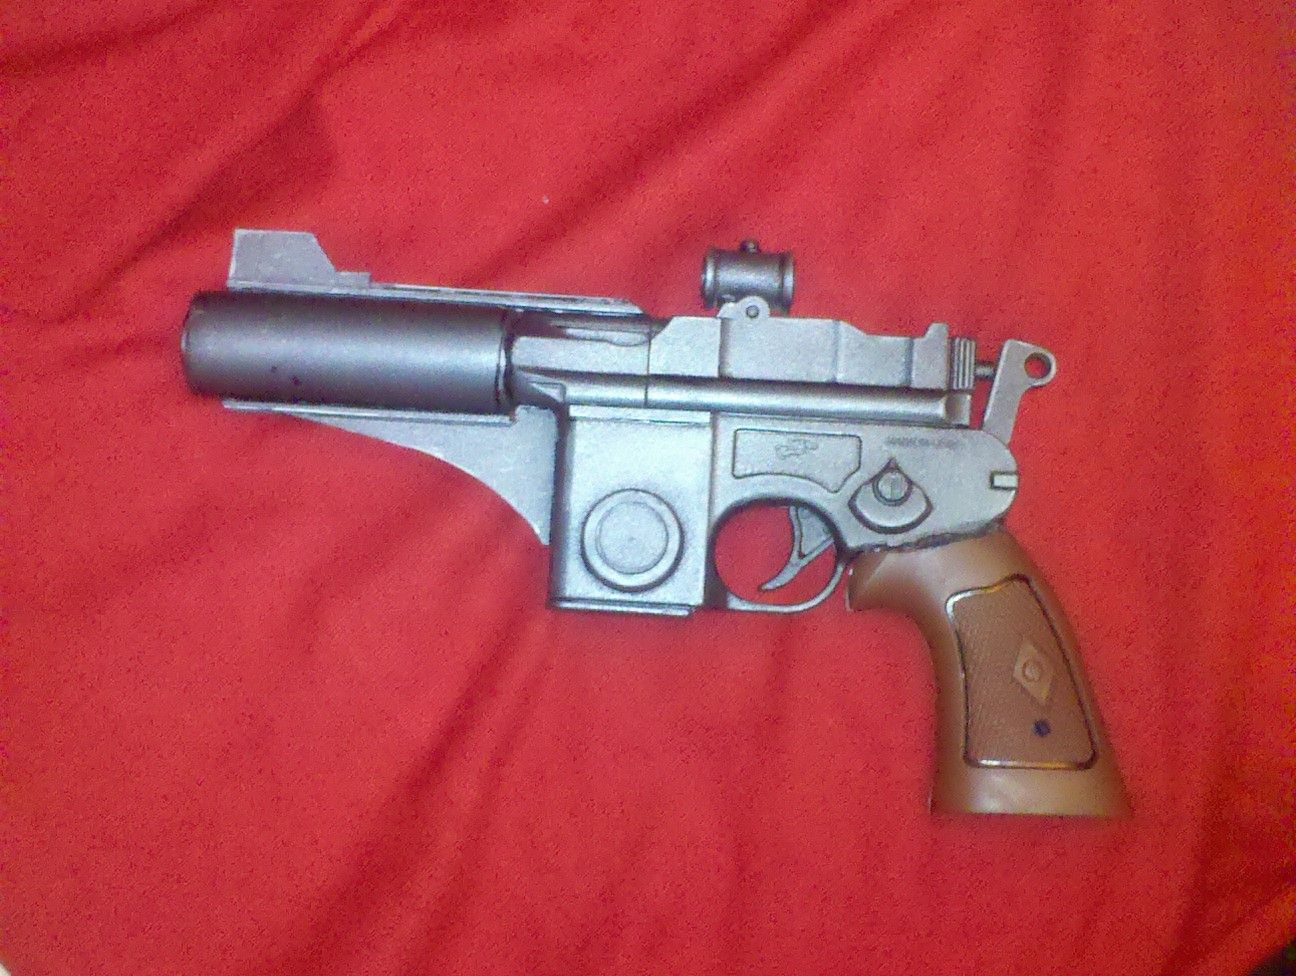
That's a pretty cool looking gun. It looks like it would belong in the Star Wars universe.
And here is one more before I go to bed. It was finished and painted in an afternoon.
So for these repaints do you take apart the entire gun? I have never modded ANYTHING before but I really want to take a shot at this. I have a Firefly Rev-8 and a Green lanters disc shooting thing I got for free so I think it will be fun.
I am assuming I should disassemble, sand all plastic and use the Krylon flat in light layers. I will be masking areas I don't want painted.
Has there been a tutorial or tip list I don't see? thanks in advance

Hi alvysyngr
Yeh, the guns get stripped down for sanding and painting. I'd never modded a nerf before coming across this thread, but JA's work inpired me to have a go.
There are a plethora of tutorials on YouTube for modding/stripping nerf guns of all types, which is where I went :thumbsup
There have been some great weathering/distressing techniques shared earlier in this thread, and it's worth going back to read them :thumbsup
My first attempt, just a simple paint and easy part mod:
")
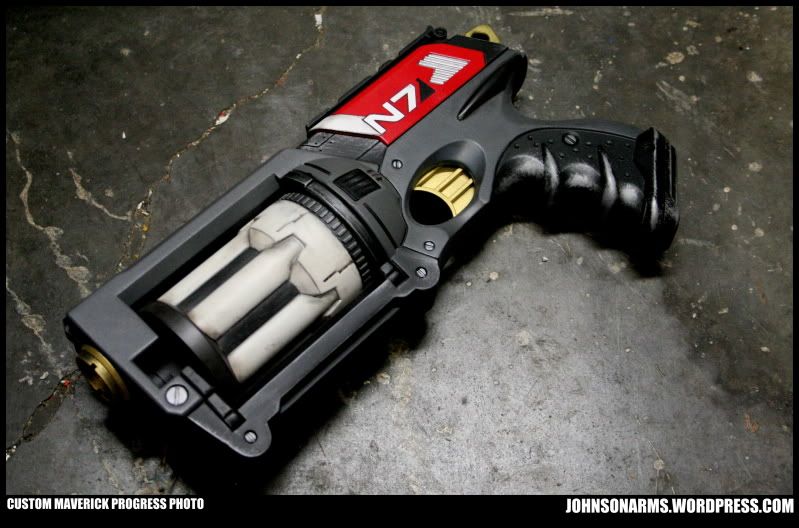


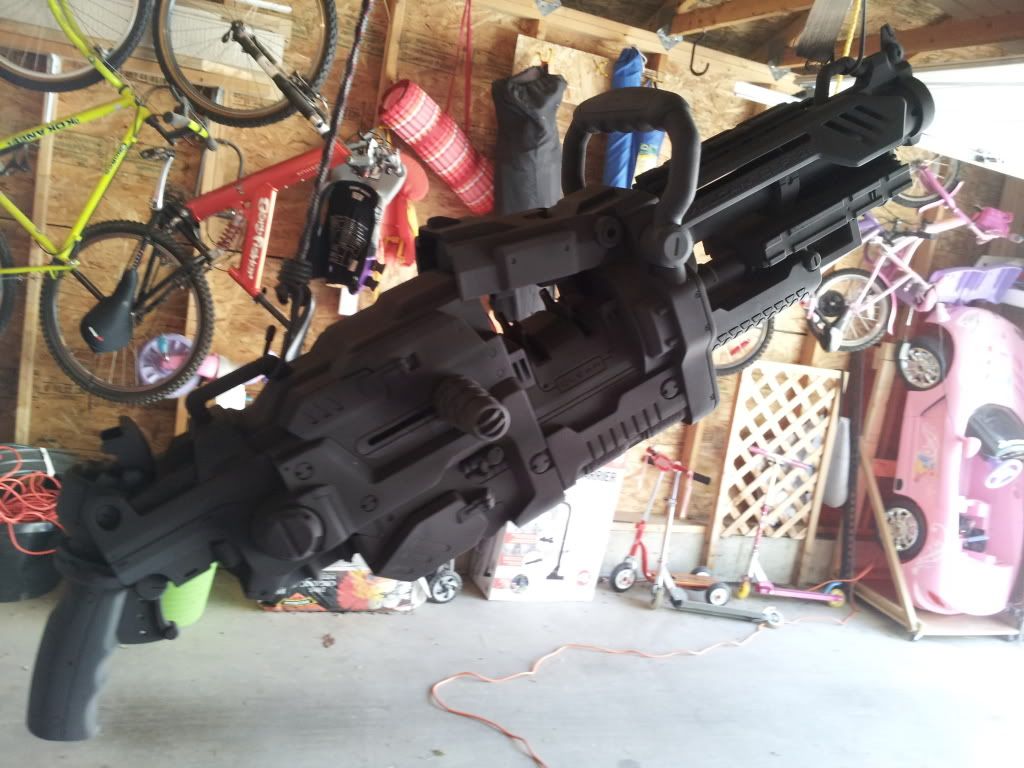
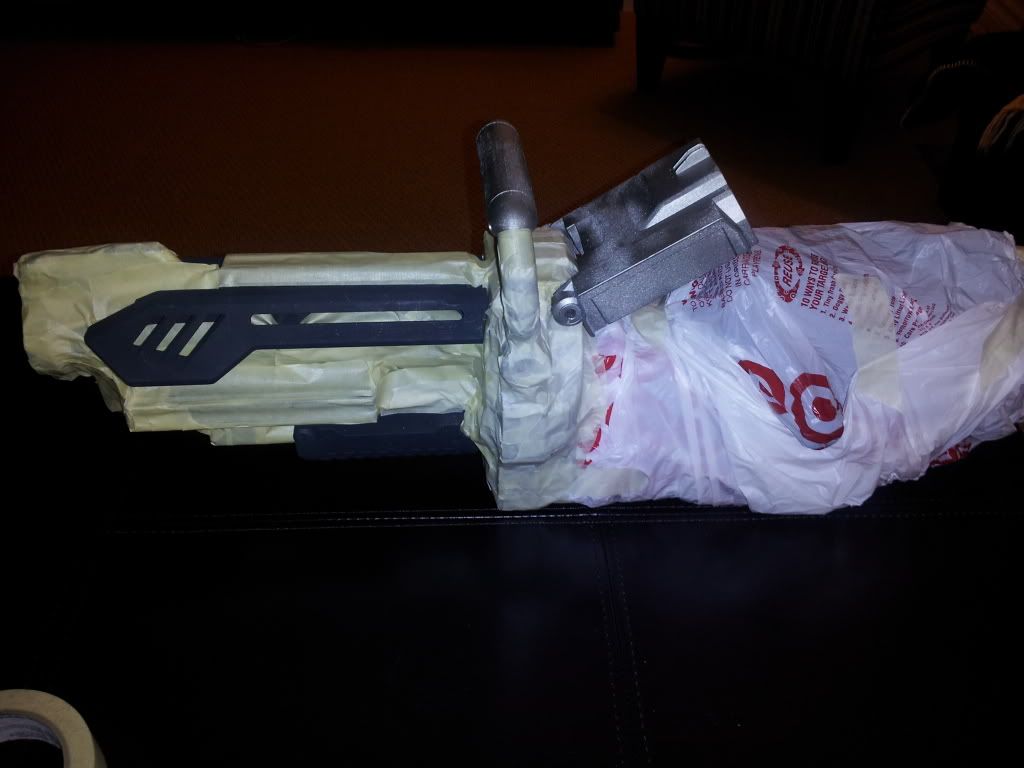
Here's a few more things in progress, weather's nice and the kids keep me busy, but here's a few things I'm working on. I still bow down to Brian at Johnson Arms.
PS - anyone been able to link to a dropbox image in the message window? I'm trying to, but keep getting a broken link. For now, attachments will have to work.

Hey Aeon,
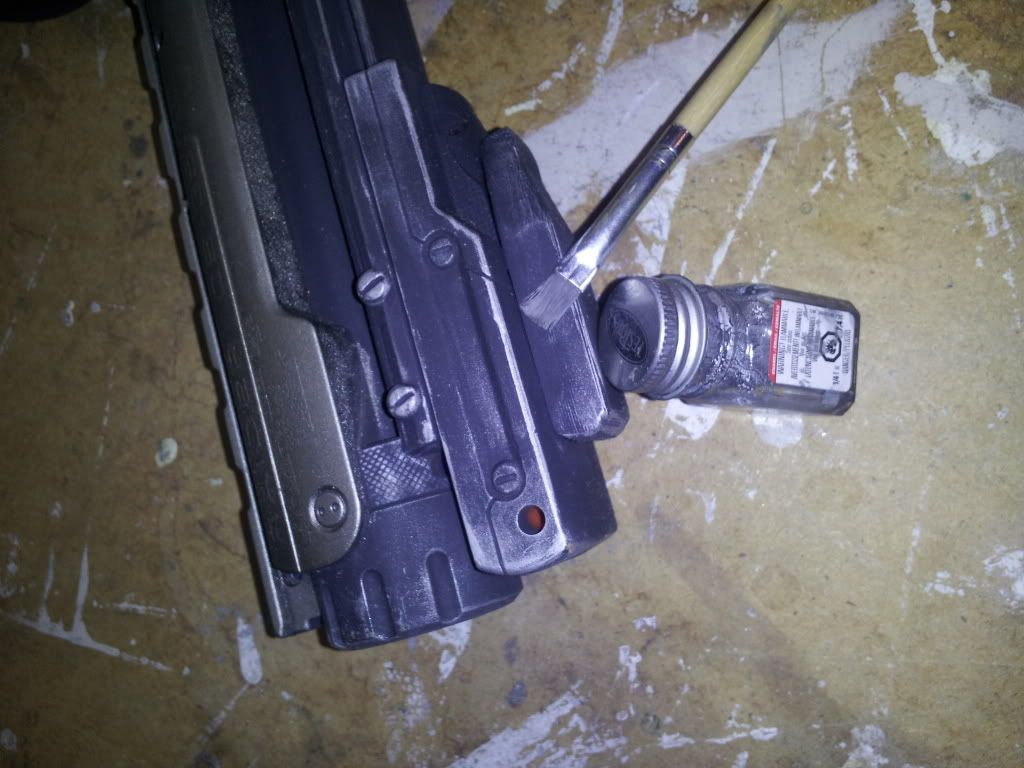
I don't claim to know much, most of what I've done in the last couple months have been trial and error. Instead of painting silver, then black, then sanding, what I do is paint black (then any other colors via masking areas) then dry brush.
I use testors (model paint) flat aluminum and a brush. I dip the tip, then rub off almost all the paint, then hit the areas that would be worn (edges, grips, etc). Here's a pic:
Again, I don't believe this is the only way, it just seems to work, and it's pretty fast to do.
It works better on some colors (dark and colorful) than on others (lighter colors)
Hope that helps...