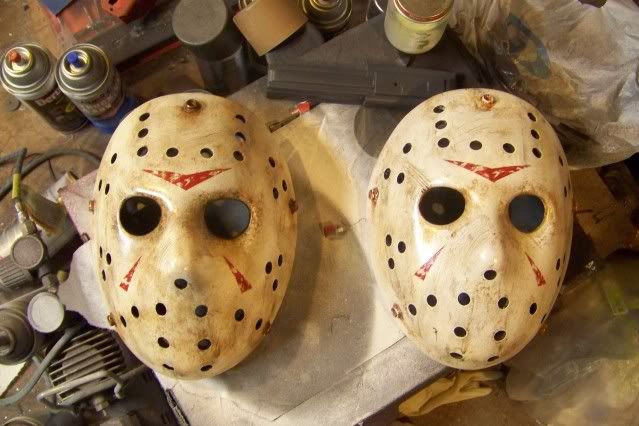
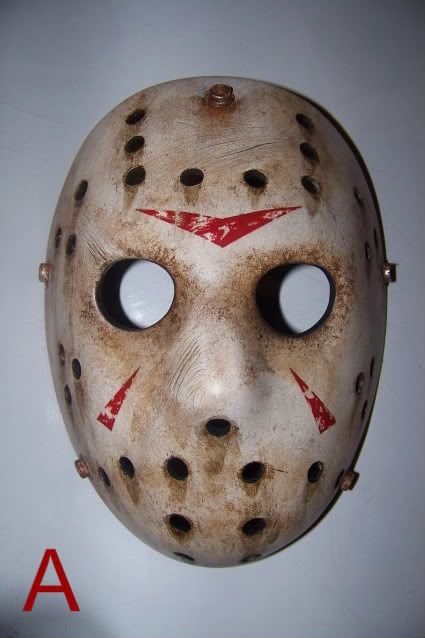
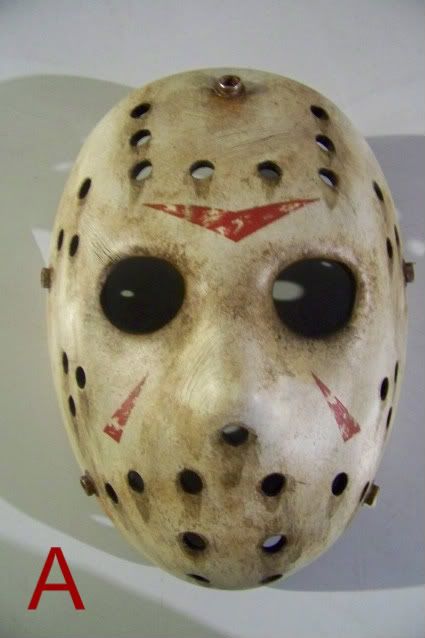
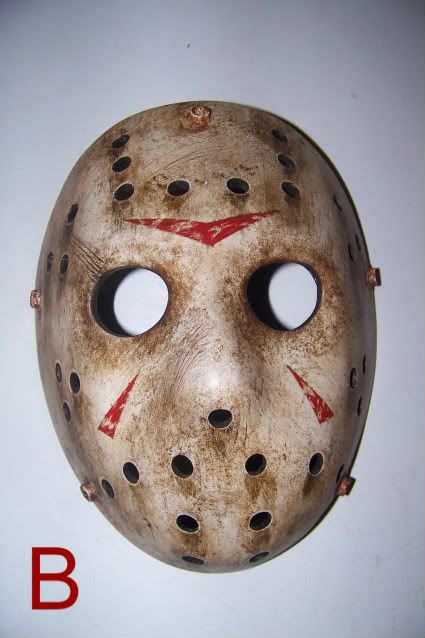
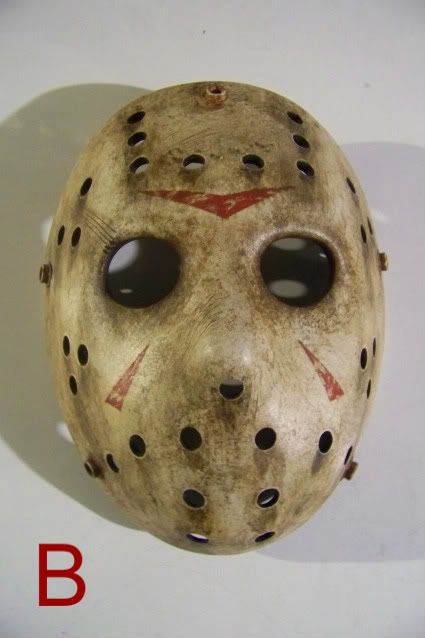
I've been asked by a local friend, and also an out of country member of this board to accurize and repaint the NECA Jason Hock. I was going to do them side by side, but unfortunately, I'll only be chronicling one now, as the one for my friend is undergoing some repairs after a big chunck of mask broke off during the snap replacement.
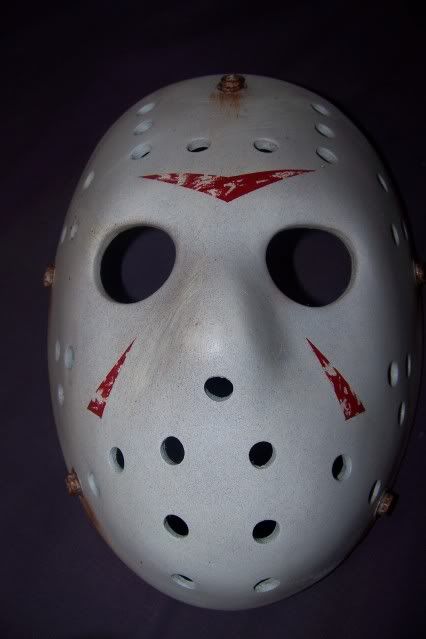
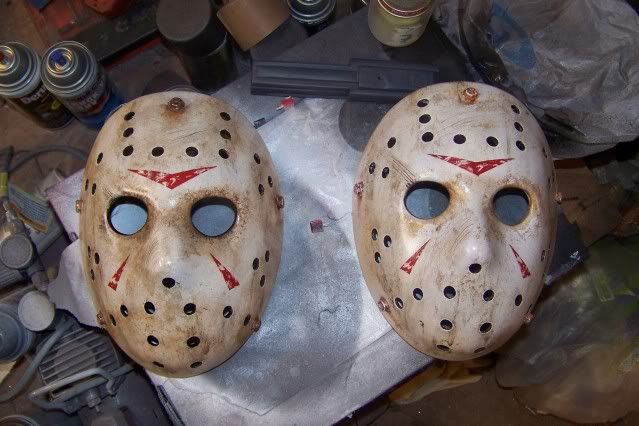
First off, here's a factory paint job next to one I wiped down with acetone. We've got Jason the Grey, and Jason the White who will duke it out in a tower and...wait..mixing genres...:

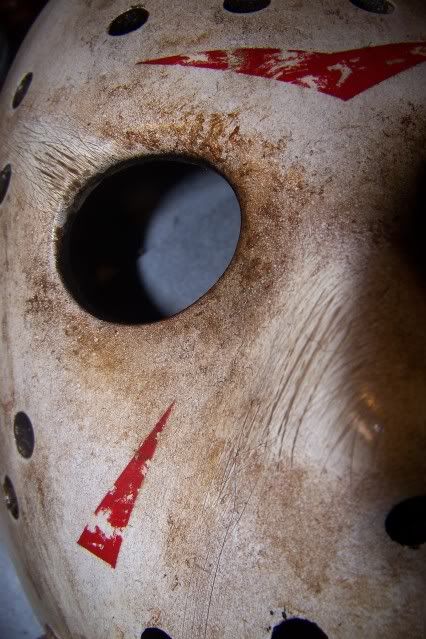
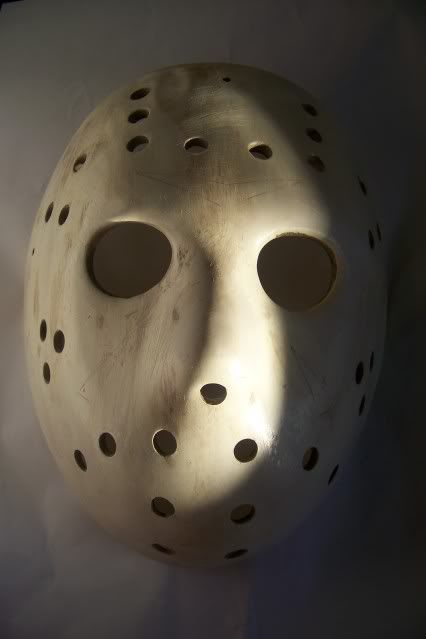
Artsy-fartsy shot of a naked mask:
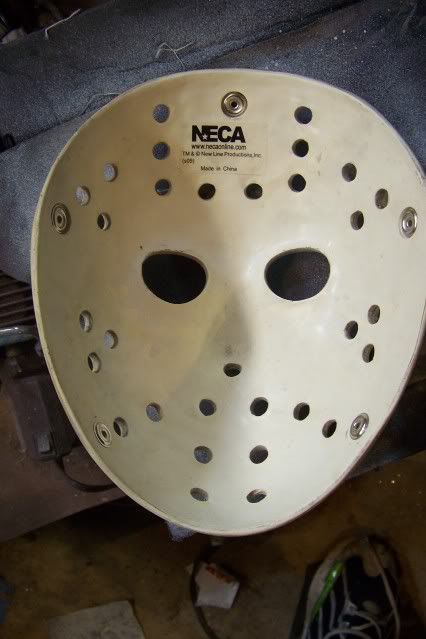
I wanted to try to get shots of the snap replacing process, but I would have needed arms like Ganesh to pull that off. Essentially, the original fake snaps come right off. Just pry them up a teeny bit with a flathead screwdriver, and they pop right off. I would highly recommend you fill in the recessed holes of the snaps in the rear of the mask with some styrene or a washer. This will make installing the new snaps...well...a snap! I didn't do this, which is why one mask is currently getting a super glue & JB Weld treatment. Of course, if you plunk down the extra $25 for a snap rivet gun instead of the hammer and die method, it will be even easier. Try to get a friend or loved one help you hold the mask steady if you do the hammer method, and don't hammer their thumbs or they will quickly become ex-friends and loved ones.
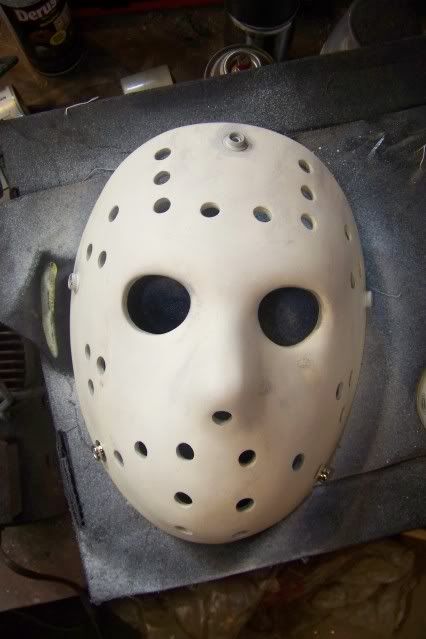
For the two extra snaps at the bottom of the mask, I did the screen accurate unaligned placement. I just drilled two holes through the mask in the appropriate places, and HOLY CRAP did that resin STINK! Just remember to also countersink the hole in the BACK or open up a slightly angle around the rim with a file or the new snaps wont sit flush, as they have a slight fillet to them.
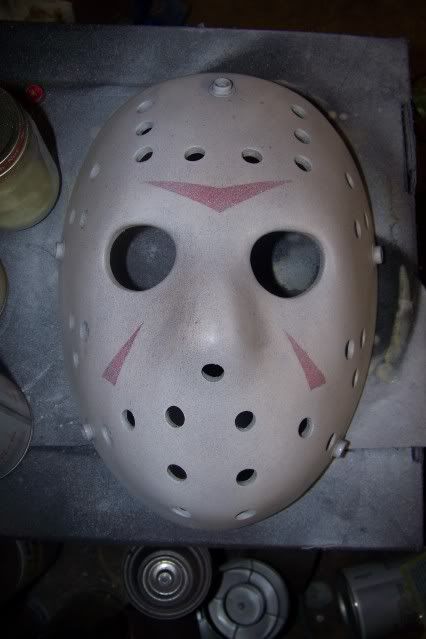
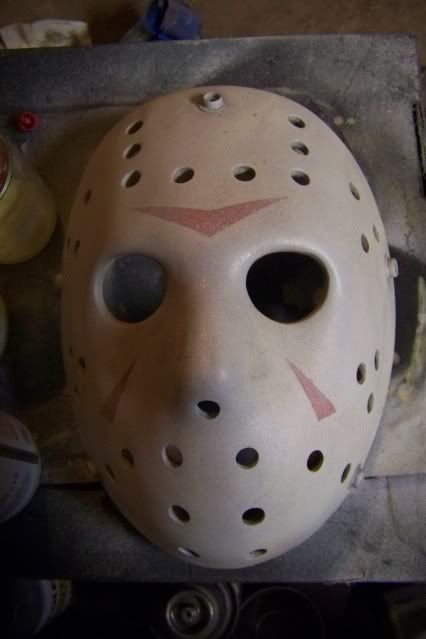
Here are some shots with the snaps and white primer:
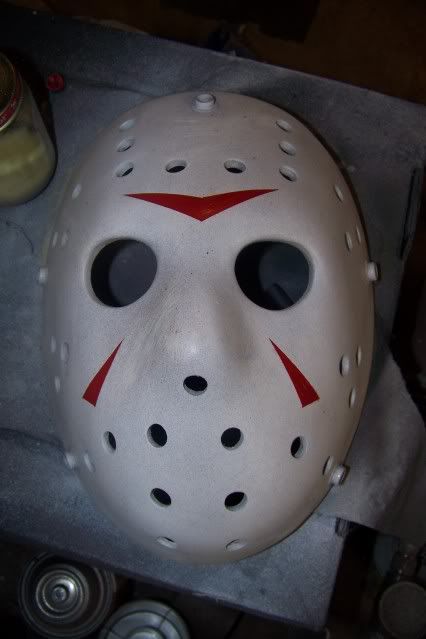
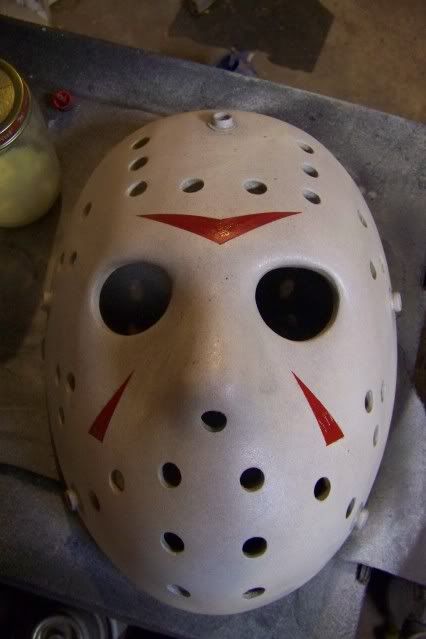
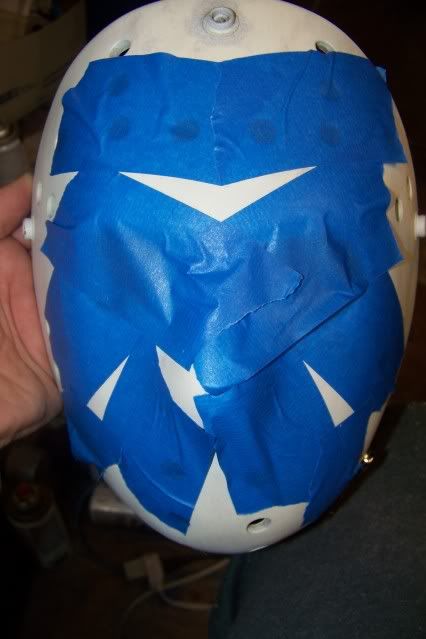
Next I masked off the red accents, and painted them in with a few layers of red. I put a few layers on so that it was a little thicker than normal, which will make chipping and scraping it off during weathering easier. There was a little bleed under, but that will be fixed during weathering:
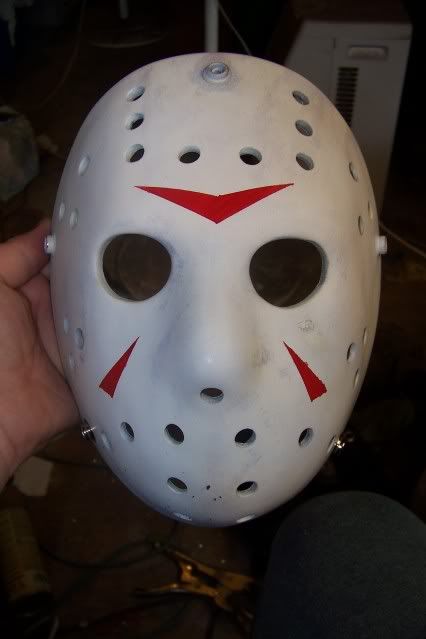
Next, the mask was very lightly misted from a distance with Rustoleum Nutmeg and Dark Brown:
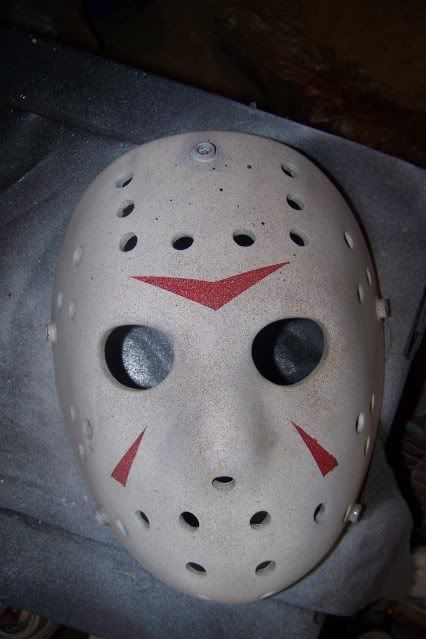
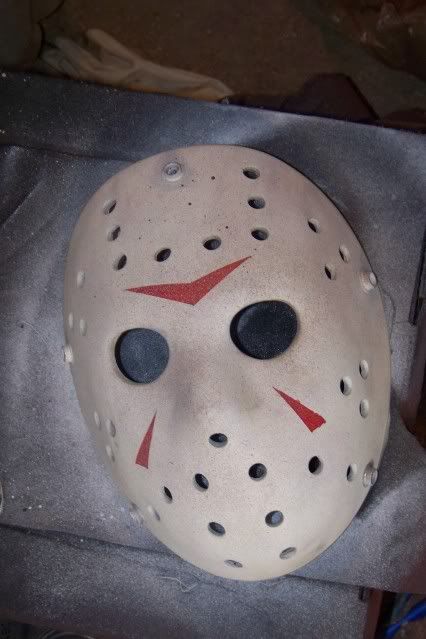
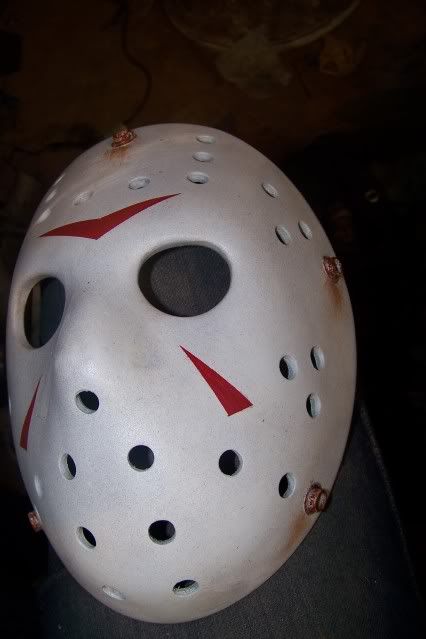
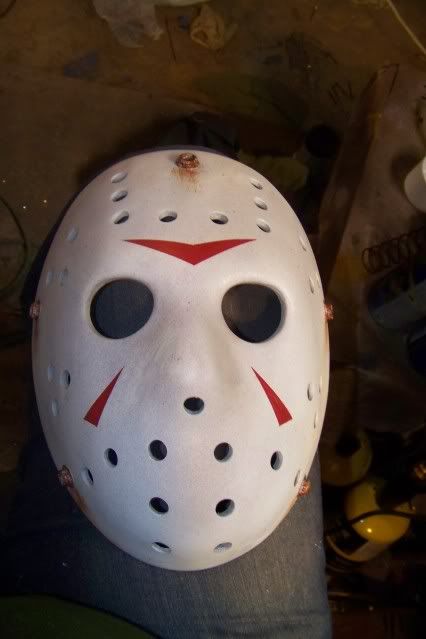
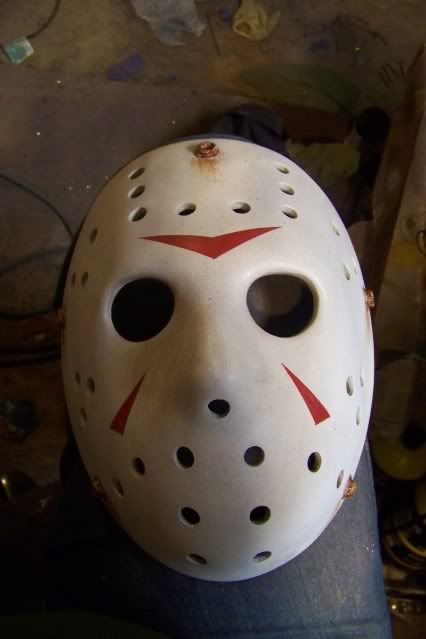
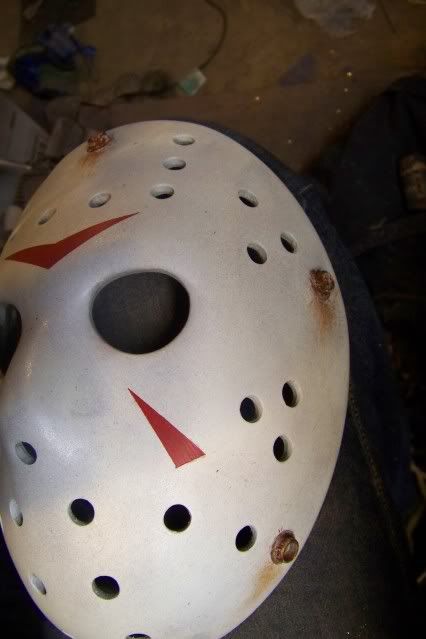
I then smoothed it all out with fine steel wool:
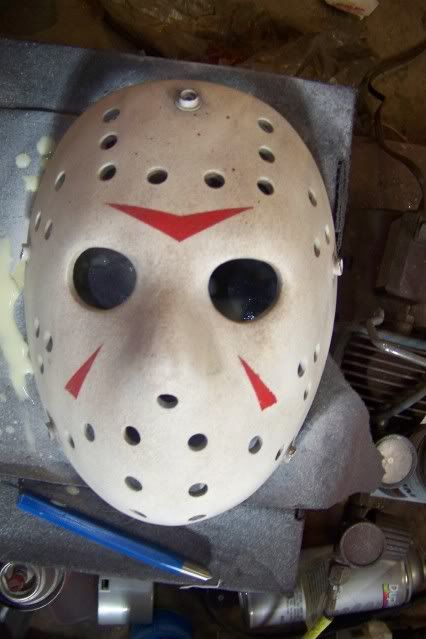
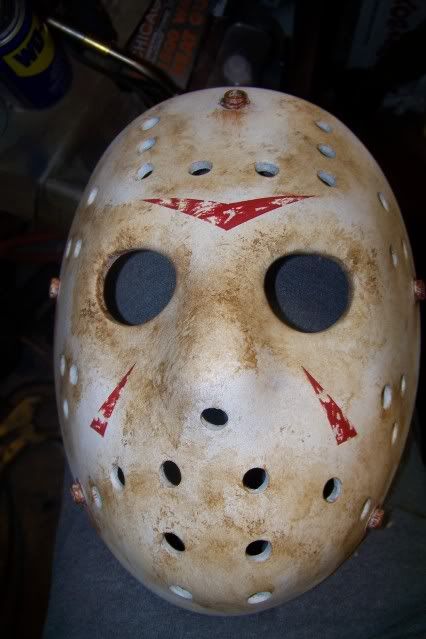
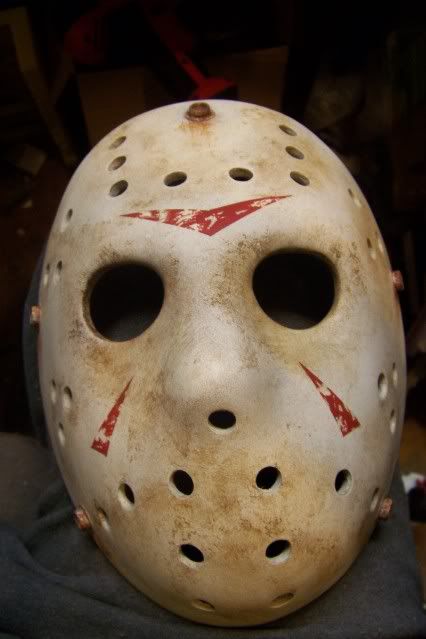
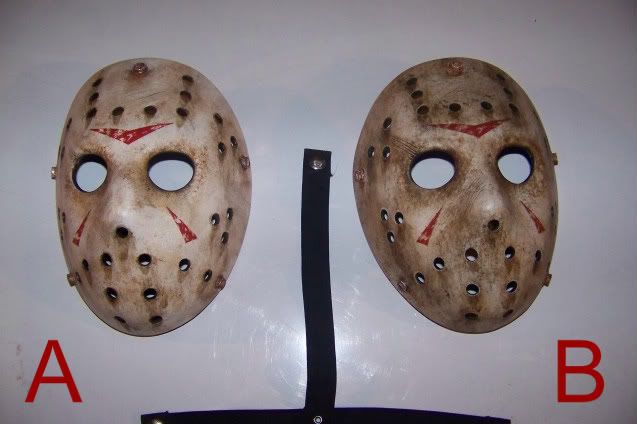
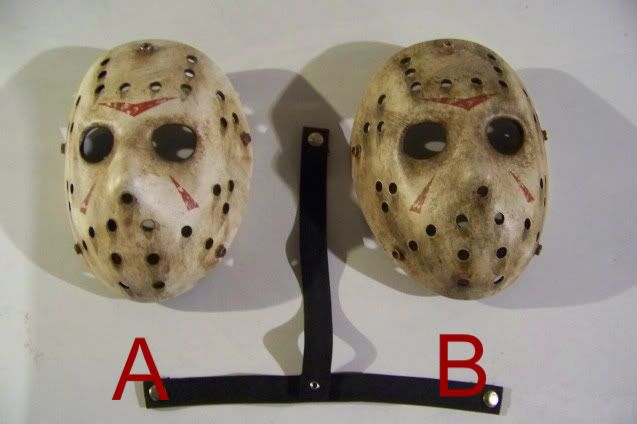
It's currently got a coat of gloss white drying on it, sprayed on lightly enough for the colors of the mistings to slightly show through. When that's dry, it will be steel wooled again, and then I'll start on with the major weathering (smudges, mung, scratches, chips, little dry blood flakes, etc). Stay tuned, more images later tonight.
First off, here's a factory paint job next to one I wiped down with acetone. We've got Jason the Grey, and Jason the White who will duke it out in a tower and...wait..mixing genres...:

Artsy-fartsy shot of a naked mask:

I wanted to try to get shots of the snap replacing process, but I would have needed arms like Ganesh to pull that off. Essentially, the original fake snaps come right off. Just pry them up a teeny bit with a flathead screwdriver, and they pop right off. I would highly recommend you fill in the recessed holes of the snaps in the rear of the mask with some styrene or a washer. This will make installing the new snaps...well...a snap! I didn't do this, which is why one mask is currently getting a super glue & JB Weld treatment. Of course, if you plunk down the extra $25 for a snap rivet gun instead of the hammer and die method, it will be even easier. Try to get a friend or loved one help you hold the mask steady if you do the hammer method, and don't hammer their thumbs or they will quickly become ex-friends and loved ones.
For the two extra snaps at the bottom of the mask, I did the screen accurate unaligned placement. I just drilled two holes through the mask in the appropriate places, and HOLY CRAP did that resin STINK! Just remember to also countersink the hole in the BACK or open up a slightly angle around the rim with a file or the new snaps wont sit flush, as they have a slight fillet to them.
Here are some shots with the snaps and white primer:


Next I masked off the red accents, and painted them in with a few layers of red. I put a few layers on so that it was a little thicker than normal, which will make chipping and scraping it off during weathering easier. There was a little bleed under, but that will be fixed during weathering:


Next, the mask was very lightly misted from a distance with Rustoleum Nutmeg and Dark Brown:


I then smoothed it all out with fine steel wool:

It's currently got a coat of gloss white drying on it, sprayed on lightly enough for the colors of the mistings to slightly show through. When that's dry, it will be steel wooled again, and then I'll start on with the major weathering (smudges, mung, scratches, chips, little dry blood flakes, etc). Stay tuned, more images later tonight.

