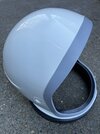
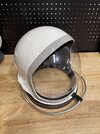
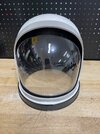
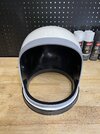
I was wrong, that seal looks very close.
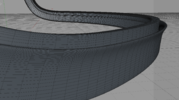
When I searched for seal many years ago, it became evident that I was not going to find something that was even close to this profile, so we made ours.
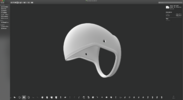
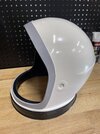
If you want to make your own seal, this is how we made ours:
To produce our seal, (before 3d printing was readily available) we fabricated a 6 inch piece of the seal profile, then made an RTV mold of it. Cast up 8 or 10 of them, glued these together and surface finished the resulting 4-5 ft straight piece of visor seal. It was about a foot longer than we needed for the finished seal. We then made an RTV mold of this straight piece and cast the seals in a urethane elastomer and glued it around the face opening.
To ensure a good cast, we inclined the long mold at about 30 degrees, attached a tygon tube to both ends. The bottom tube was attached to a reservoir we could fill with elastomer and the top tube was attached to a vacuum pump. This drew the rubber into the mold from the bottom, and drew out any air.
It is much easier to mold and cast a long straight piece, then a seal in the shape of the face opening.
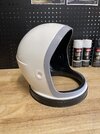
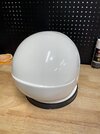
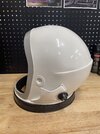
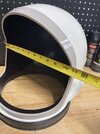
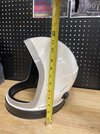
 With only about 5 minutes of light wet sanding I did get good results reducing the orange peel across the entire helmet. I may go just a bit further. Started with 1000, then to 3000 then to 5000. Probably some bufffing/polishing will help too. Here is a shot of the rear of the helmet.