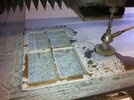
re: My New Series Dr Who Tardis Build (image heavy)
Not much to show for the weekend's work. I really thought I'd be done with the walls at least, but I'm far short of that. One good thing though was I installed a new tool today, which is something I always look forward to.
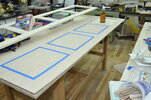
Part of the delay was my fault and the result of deciding to use Gorilla glue to attach the first wall panel to the plywood. I wanted to use it because though it's not a gap filling glue, it does fill gaps better than wood glue, which doesn't at all. With the boards not being completely flat on all surfaces, I went with Gorilla. Knowing it foams out during curing a lot, I protected the panels with painters tape, which was definitely necessary. So much came out I had to spend a couple hours cleaning up the dried squeeze out, though happily not off the panel since the tape protected it. Part of the joy of building something for the first time is not being able to predict everything that will happen.
I used Titebond III on the second half of the panel, which went fine so that will be my plan on the remaining panels. This is the strongest glue and it has a longer open time than either Titebond I or II.
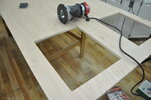
Preparing to do the actual gluing I marked the window locations, which had to be cut out with a jigsaw first, and after gluing, a bearing gilded flush cutting router bit was used to trim the plywood to the edge of the overlay boards.
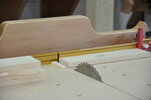
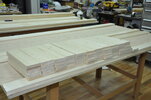
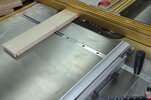
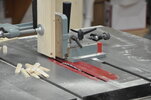
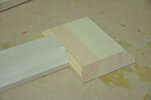
At the end of the day, I started work on the pieces that surround the wall panels and form the outside trim. It's a small piece that gets a cove cut into the edge and is the part the three wall panels attach to. I need one side done so I can put up the first wall and make sure it's all going as planned.
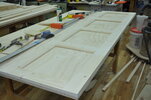
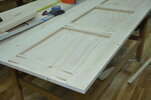
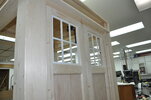
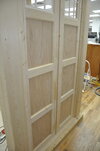
Here's a finished wall panel.
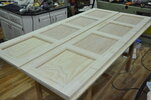
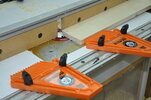
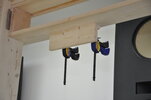
This is the setup for attaching the second stile when making up the panel overlays. It has to be glued then clamped and screwed pretty quickly since the glue begins to stick in a few minutes and that make things hard to adjust as you go along.
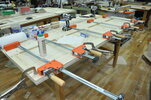
To cut the windows out, I marked them with the overlay in place, and cut close to the line with the jigsaw.
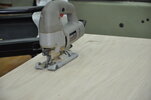
Here you can see my first try with Gorilla glue that went wrong. You can see the panels protected with painter's tape. Good thing.
This is the router setup used to trim the window plywood edges flush.
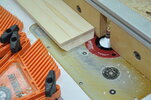
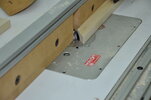
This is the router setup that puts the cove in the edge of the board.
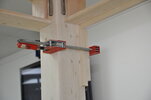
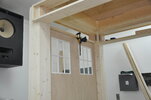
Here I'm putting up some gauge blocks that I'll attach the boards to. This way it's much easier to put it in the exact place it belongs, which is 1-1/8" from the outside of the posts. UPDATE: You'll see later that I ended up using biscuits to attach the trim strips, so these gauge blocks weren't necessary with just one of them being used to mark the front edge of the trim board.
