DorkDaddy
New Member
Nothing that hasn't been done before, but when I launched on my own private journey to make the Neighborhood Trolley there didn't seem to be many resources out there for guidance, so I had to figure it out on my own. I'm posting here (MASSIVE imposter syndrome going on right now) so that anyone else looking to go down the same path might find the thread and use my documentation to help avoid all of the missteps I made along the way. Here goes:
I used this reference photo countless times. Print it out. Mark it up. Use it to scale up your measurements to real life:

The G-Scale Bachman Open Street Car is what you need to get started:


I used Inkscape to make PDF's of the bench endcaps and a laser cutter at a local maker space to make 'em real:


It'll feel a little dirty, but there's an omelet to be made, so break the eggs:

You'll need a base for the cabin and some vertical supports. You can see mine were too long at first. Also notice the hand rails individually measured, bent and placed on each vertical support.


Painting the bits, obviously:


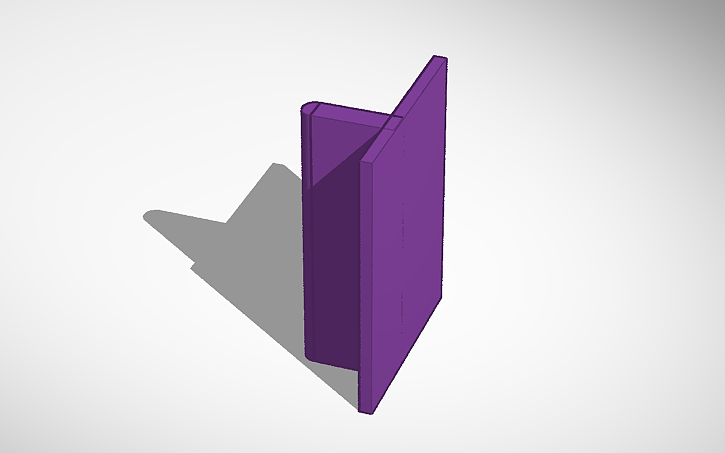
Turns out the whistle on the original trolley was a 1940's-era, Little Orphan Annie, brass slide whistle. Ebay worked out nicely for that. The benches and barrel for the whistle were a simple design on tinkercad:


We all know that adrenaline rush when you put all the pieces together in the same place:

Over the decades there were dozens of screen-used, "official" Trolleys - each of them had different nuances to their look. The font on the yellow marquis was different every time. That gives you the latitude to take the easy road with some 1/2" vinyl stickers:

Final assembly for me was with methyl methacrilate:


The completed trolley is magical to look at. Of course, as the maker, all I see are its flaws. But I know enough to know that nobody else does:

When you're making something like this, you have to give some thought to how it's going to be displayed. The project wouldn't feel finished for me without this:


And that's it. Please be gentle. (c:
-Sam
I used this reference photo countless times. Print it out. Mark it up. Use it to scale up your measurements to real life:
The G-Scale Bachman Open Street Car is what you need to get started:
I used Inkscape to make PDF's of the bench endcaps and a laser cutter at a local maker space to make 'em real:
It'll feel a little dirty, but there's an omelet to be made, so break the eggs:
You'll need a base for the cabin and some vertical supports. You can see mine were too long at first. Also notice the hand rails individually measured, bent and placed on each vertical support.
Painting the bits, obviously:
Turns out the whistle on the original trolley was a 1940's-era, Little Orphan Annie, brass slide whistle. Ebay worked out nicely for that. The benches and barrel for the whistle were a simple design on tinkercad:
We all know that adrenaline rush when you put all the pieces together in the same place:
Over the decades there were dozens of screen-used, "official" Trolleys - each of them had different nuances to their look. The font on the yellow marquis was different every time. That gives you the latitude to take the easy road with some 1/2" vinyl stickers:
Final assembly for me was with methyl methacrilate:
The completed trolley is magical to look at. Of course, as the maker, all I see are its flaws. But I know enough to know that nobody else does:
When you're making something like this, you have to give some thought to how it's going to be displayed. The project wouldn't feel finished for me without this:
And that's it. Please be gentle. (c:
-Sam
")