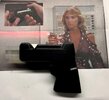
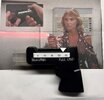
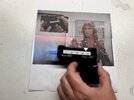
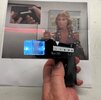
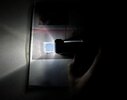
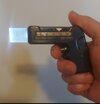
Reference photos:
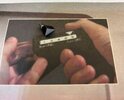
Screen used:

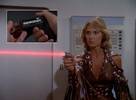
Sherese uses her laser pistol to stop an attacker, so is this the “Sherese Blaster”?
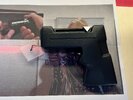
Alternate or fan made version:
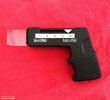
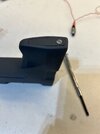
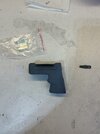
I had some spare time last night, so I decided to start cleaning up the kit. I got this back in 2020.
Ironically, I just happened to be watching the beginning of Season 2. Maybe this prop is used at some point in the season. We'll see.
The clear acrylic nozzle needed to be polished, so I thought I would start with that part.
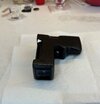
I forgot to take a before shot, but here's the kit with the finished nozzle. I also bought a mini sound card I'm hoping to add to it at some point:
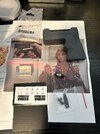
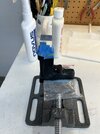
I wet sanded the acrylic piece with 220, 600 and 1500 grit sandpaper. Then I used some Novus (#2) polish and spent about an hour polishing the part with an old T-Shirt.
Today I used an X-acto knife to clean up the blaster and found a small, slotted screw for the access panel on the bottom of the blaster. The hole for the screw is too large, so I used some JB Weld to fill the hole for drilling/taping later.
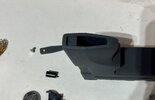
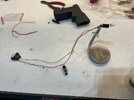
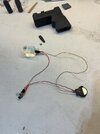
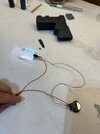
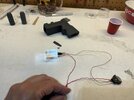
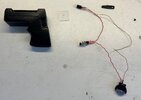
I found a standard size, 5mm white, LED that should do the trick. Mounting it could be difficult. I might use some silicone to keep it in place. I also found a "slide" connecting battery button cell holder that should fit nicely inside the handle:
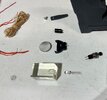
The two, very small resin parts are actually for the sliding "power adjustor". It's hard to see, but the smaller piece fit's inside. Both pieces needed to be trimmed, but they fit together nicely:
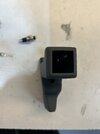
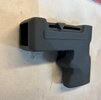
Here's a shot of the larger, triangular part:
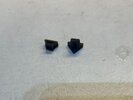
Here's the two, small pieces. Notice the triangular indentation on the smaller, back piece:
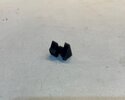
And here they are, joined. This is how they appear inside of the blaster:
Screen used:

Sherese uses her laser pistol to stop an attacker, so is this the “Sherese Blaster”?
Alternate or fan made version:

I had some spare time last night, so I decided to start cleaning up the kit. I got this back in 2020.
Ironically, I just happened to be watching the beginning of Season 2. Maybe this prop is used at some point in the season. We'll see.
The clear acrylic nozzle needed to be polished, so I thought I would start with that part.
I forgot to take a before shot, but here's the kit with the finished nozzle. I also bought a mini sound card I'm hoping to add to it at some point:

I wet sanded the acrylic piece with 220, 600 and 1500 grit sandpaper. Then I used some Novus (#2) polish and spent about an hour polishing the part with an old T-Shirt.
Today I used an X-acto knife to clean up the blaster and found a small, slotted screw for the access panel on the bottom of the blaster. The hole for the screw is too large, so I used some JB Weld to fill the hole for drilling/taping later.

I found a standard size, 5mm white, LED that should do the trick. Mounting it could be difficult. I might use some silicone to keep it in place. I also found a "slide" connecting battery button cell holder that should fit nicely inside the handle:

The two, very small resin parts are actually for the sliding "power adjustor". It's hard to see, but the smaller piece fit's inside. Both pieces needed to be trimmed, but they fit together nicely:

Here's a shot of the larger, triangular part:

Here's the two, small pieces. Notice the triangular indentation on the smaller, back piece:

And here they are, joined. This is how they appear inside of the blaster:

Last edited:

