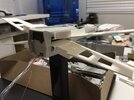
Had a chance to work on some test assemblies today. The prototype wing modifications worked out as planned. Both configurations for attaching the wings now result in the wing tips closing completely. Kit wing modifications for attachment to both mechanism designs have been validated with replicas of the kit wings.
The kit wings are not flat and the wing roots are not 90 degrees from the rest of the wing. This results in annoying wing gaps at the tips when the wings are in the closed position.
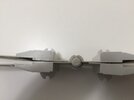
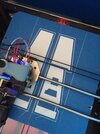
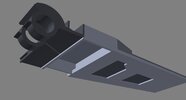
When adapting the wings of the kit to the PM-1A (no folding wing root panels and exposed bearings) the end of the trimmed wing root needs to be sanded down to 1mm thick or less. Laying the wings on a flat surface with 3 pieces of paper under the wing root edge (left side of the rendering) and a 1mm high sanding guard on the front and back then sanding off anything above it should give the desired tapper. No sanding should take place at the end close to the engine box.
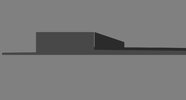
For the PM-2A with folding wing root panels the corner between the small root stub and the vertical wall of the engine box needs to be sanded to 90 degrees. This need to be done on the printed mechanism part adn on the kit wing. No sanding at the top of either mating part will give the proper taper as it mates flush to the vertical wing mount face on the mechanism. This configuration is much easier to adapt the wings to for getting them flat in the closed position but is a little more complicated to assemble with the wing root panels that will go in after wign attachment.
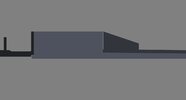
Not sure if all kits wings are warped more or less than mine so be aware that the possibility of some adjustments might be in order to get things to line up as intended. I'm considering printing out a wing base and cutting up the kit wings to use the surface details and glue them to the printed base just to get a flatter wing but keep the kit details.
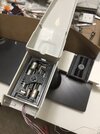
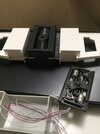
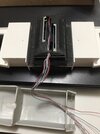
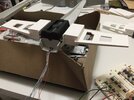
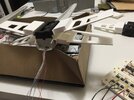
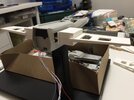
At any rate here are the progress pictures of the adaption in practice.
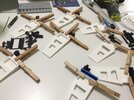
Wings getting attached to the various mechanism wing roots.
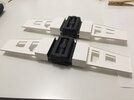
Assembled Units. PM-1A in the back and PM-2A in the front. The new test top wing covers fit nicely on both.

PM-1A test fit in the model body with wings open and closed. Nice solid operation with no body wiggle and a satisfying synchronized motion.
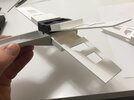
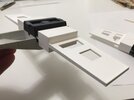
PM-2A test fit in the model body with wings open and closed. Same solid operation with no body wiggle and a satisfying synchronized motion.
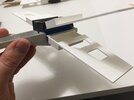
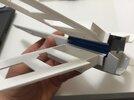
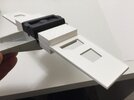
Very pleased with the wing gap correction measures for both of these.
For anyone that just wants a manual wing mechanism upgrade for their kit both of these configurations are ready for release.
I'll post details soon.
Next step tonight or Monday will be soldering leads onto motors. We shall see how it goes.
Then I can finally test a motorized version working with the body around it!
Thanks for stopping by to check out the progress.
