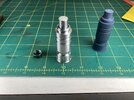
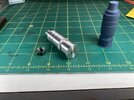
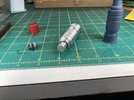
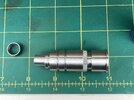
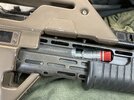
I’ve decided to revisit one of the first prop projects I did when I joined the RPF in the late 90’s early 00’s When I made my first M40 grenade the dimensions were way off but after working with Steve from SD Studios I ended up with a pretty presentable replica.
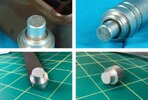
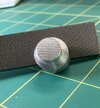
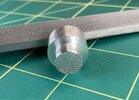
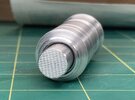
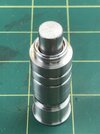
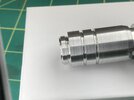
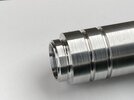
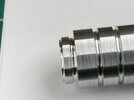
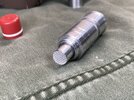
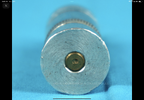
This time I’d like to make it as accurate to the movie prop as I can. I made my “functional” versions before with a body, plunger button, and housing pressed into the body that captured the button and spring. Looking at the pictures of the real prop it’s pretty clear there is no seam at the end around the button so it must be a solid piece. The button/spring will be held in place with a sleeve pressed into the front of the body. Also, the cuts at the end, by the button, look like they should be machined with the same radius cutter used for the grooves in the main body, rather than flat. The button will be much larger and I’d also like to add the diamond knurling on the end. It’s easy enough to add the knurling on a 3d printed model but haven’t figured the best way to do it in aluminum yet.
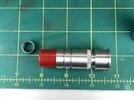
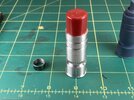
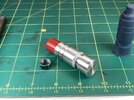
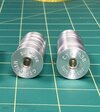
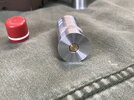
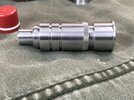
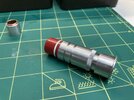
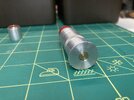
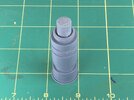
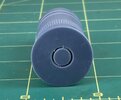
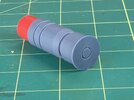
I drew up a few models in CAD and have printed a few test models on my resin printer.
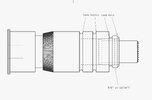
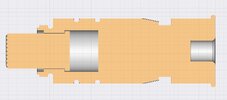
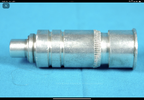
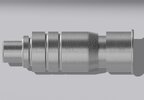
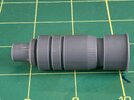
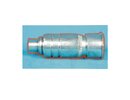
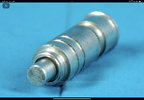
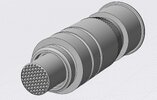
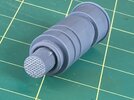
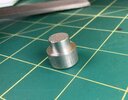
I would like to get you guys opinion in the proper size cap. I think that the capo should be 5/8” and this is what I used when i made then before. I see that others have used an 11/16” cap, which to me looks too large. Based on my CAD drawing it appears that I have the 5/8” dimension correct but which looks more correct?
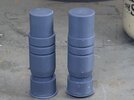
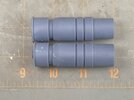
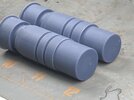
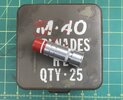
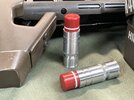
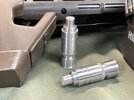
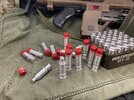
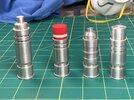
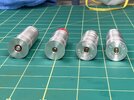
BTW, here are some pics of the grenades I made WAY back when. Left to right: my first M40 with really bad dimensions, first “functional button” version using better dimensions. Third is the M51 based on the Pulse Rifle manual by Derrick Baena, and last a solid type M38.
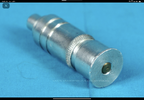
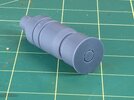
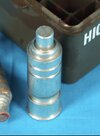
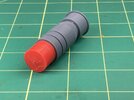
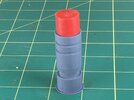
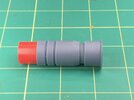
Here are more pics of the latest 3d printed prototype.
This time I’d like to make it as accurate to the movie prop as I can. I made my “functional” versions before with a body, plunger button, and housing pressed into the body that captured the button and spring. Looking at the pictures of the real prop it’s pretty clear there is no seam at the end around the button so it must be a solid piece. The button/spring will be held in place with a sleeve pressed into the front of the body. Also, the cuts at the end, by the button, look like they should be machined with the same radius cutter used for the grooves in the main body, rather than flat. The button will be much larger and I’d also like to add the diamond knurling on the end. It’s easy enough to add the knurling on a 3d printed model but haven’t figured the best way to do it in aluminum yet.
I drew up a few models in CAD and have printed a few test models on my resin printer.


I would like to get you guys opinion in the proper size cap. I think that the capo should be 5/8” and this is what I used when i made then before. I see that others have used an 11/16” cap, which to me looks too large. Based on my CAD drawing it appears that I have the 5/8” dimension correct but which looks more correct?


BTW, here are some pics of the grenades I made WAY back when. Left to right: my first M40 with really bad dimensions, first “functional button” version using better dimensions. Third is the M51 based on the Pulse Rifle manual by Derrick Baena, and last a solid type M38.


Here are more pics of the latest 3d printed prototype.


