Ironhand
New Member
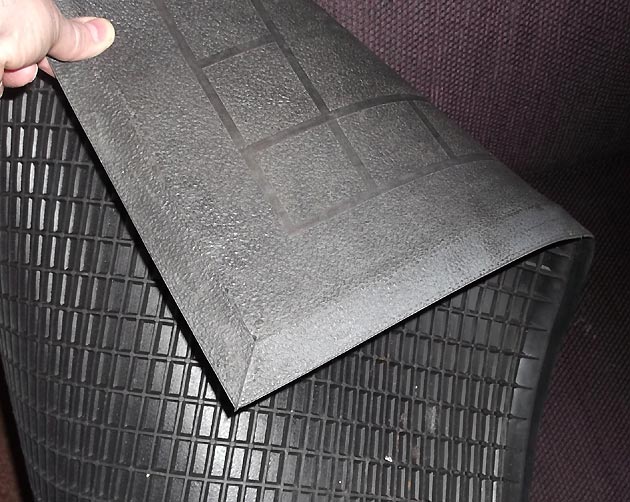
That's right, Randy! I found great looking car mats (Rubbermaid brand, of all things) for only $13 at Fred Meyer's.
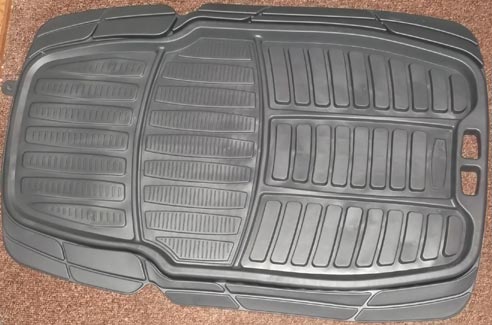
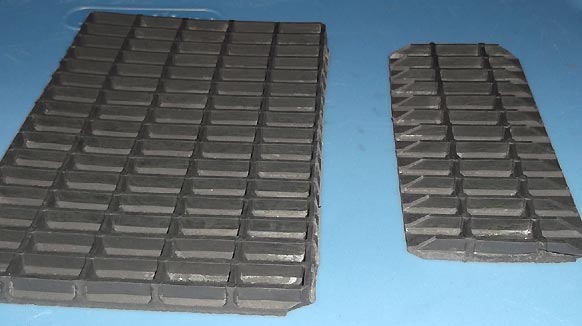
Here's a shot of the mat before any modifications. (I later found them in black, but the first ones I made started out gray).
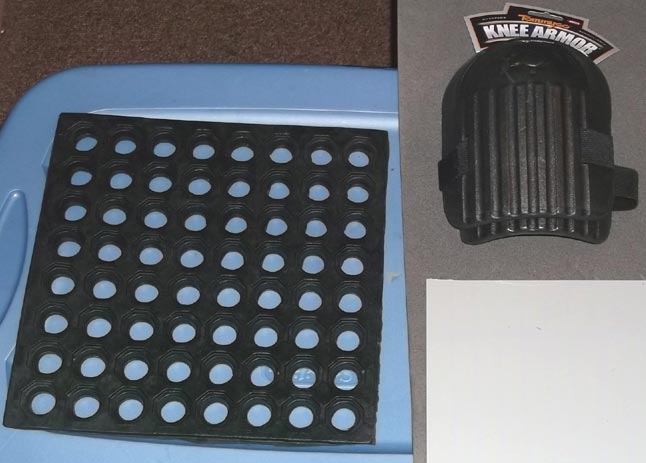
Here's the rest of the materials used:
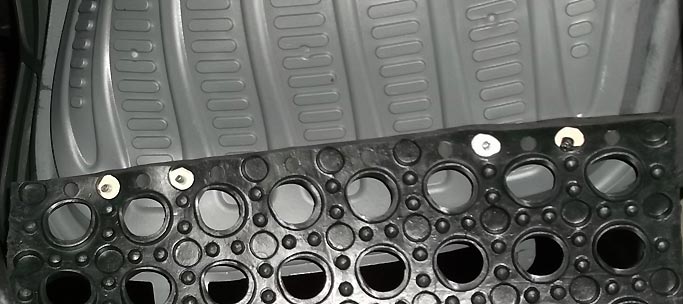
1. Some industrial floor mat I bought at Home Depot (the black stuff with holes). This is just one square from the mat- it cuts down easily with a sharp knife.
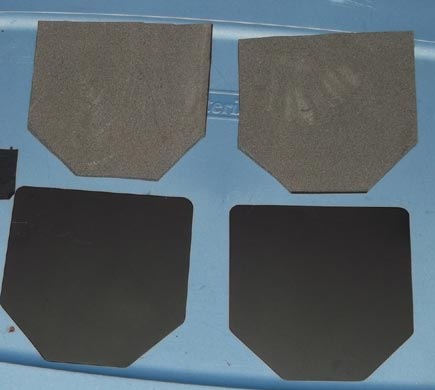
2. Foam rubber (the dark grey stuff). I cut up an insulation pad.
3. Sheet plastic (the light grey stuff). Ideally you should try to get some black ABS plastic, but I had some of this stuff already lying around.
4. Foam knee pads (Tommyco brand). These were only $5, and they had a cool look to them.

Because the Mat I started with wasn't black already, I just used some black craft paint. It stuck to the floor mat surprisingly well!
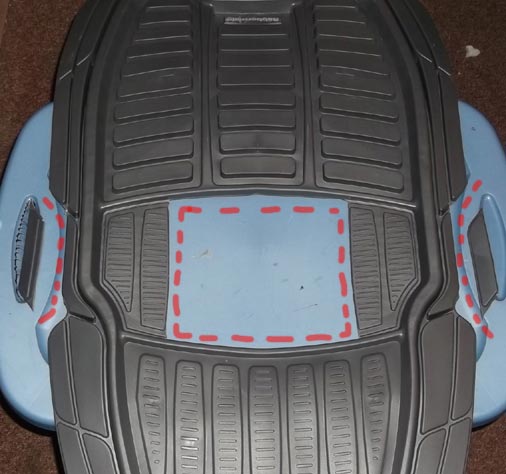
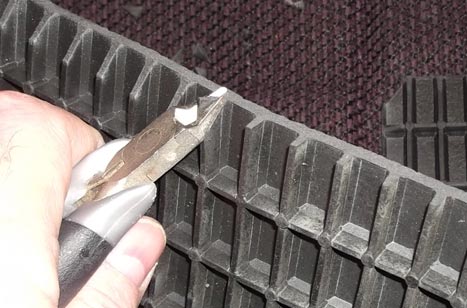
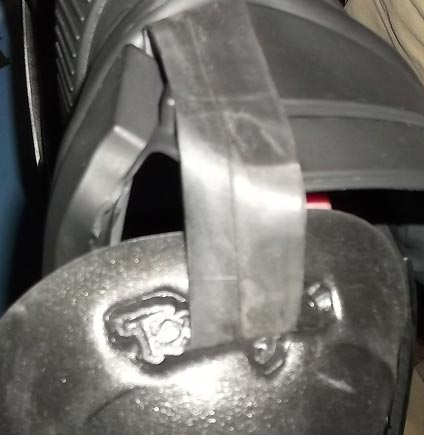
First, I trimmed the car mat as shown above, to form a neck hole and make the shoulders bend a bit easier.
Trim down the inside edges after cutting the neck hole, so the sharp corners don't jab you in the neck, right?
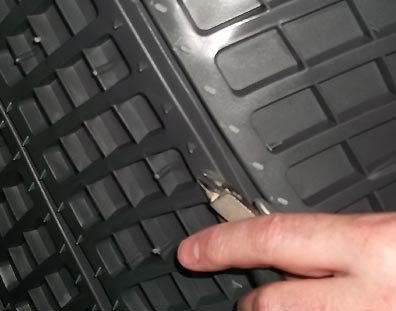
And while you're at it, trim off the little poky nubs on the underside too.
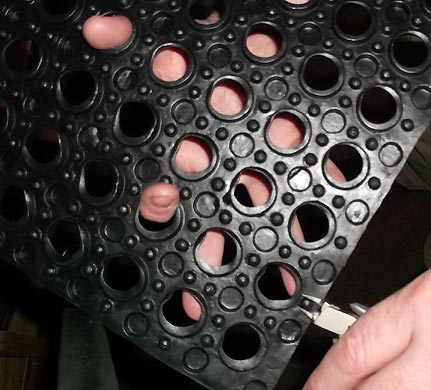
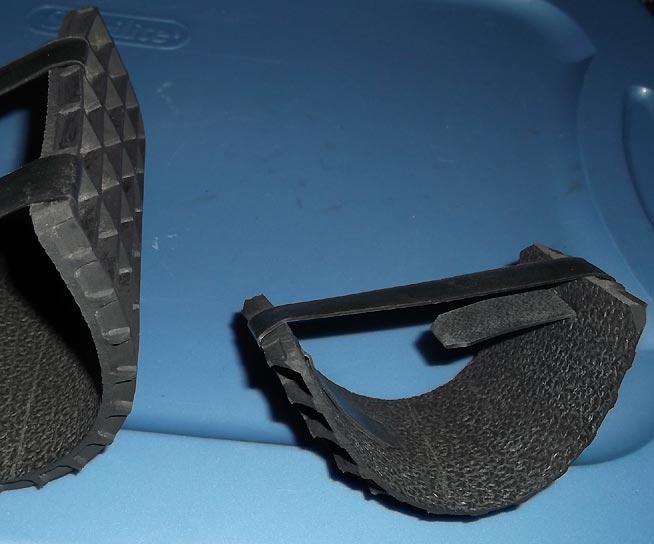
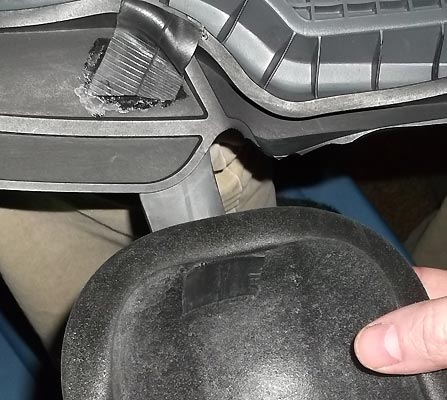
For the back plate, you might want to trim off the nubs around the edges of the bottom side.
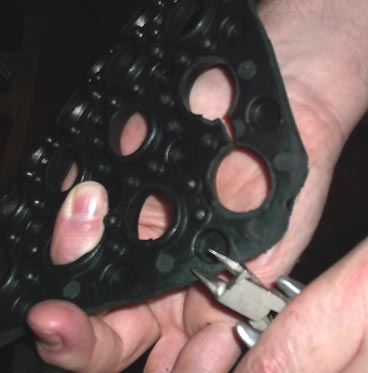
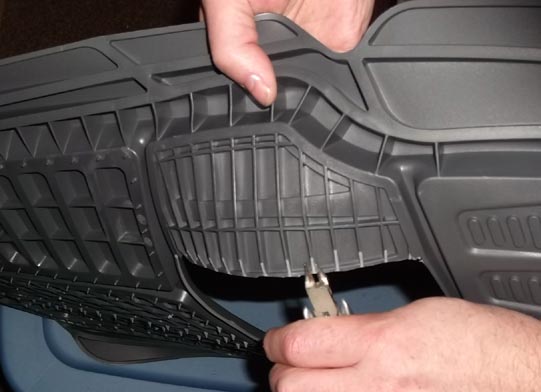
Cut a slit on either side of the bottom of the mat- this is where the belt will go. Bevel the bottom corners, and trim down the edges so they don't poke into your sides.
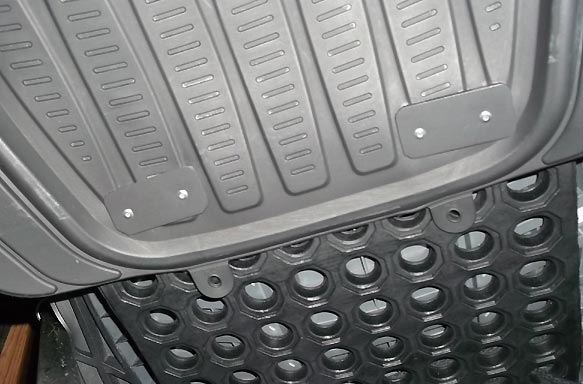
To attach the back plate, I made a couple plastic rectangles and ran pop rivets through them, the car mat, and through the floor mat.
Be sure to use washers on the back side so the pop rivets don't just pull through. I made these washers out of plastic, but later picked up some proper poprivet washers.
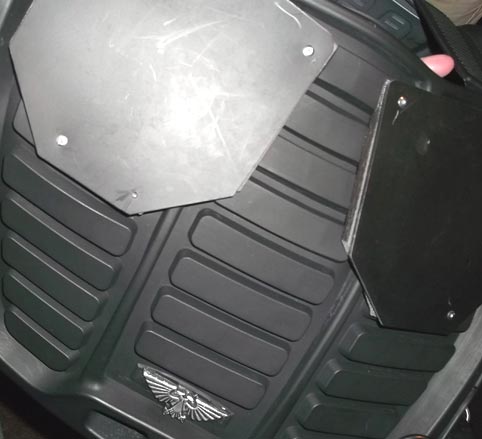
To make the chest plates, I cut the plastic sheet down to 6" squares, then beveled the corners (note I spraypainted the plastic flat black here). Then I cut the foam rubber to match- these foam rubber pieces just help give the plates some thickness.
To attach the chest plates, I used extra long pop rivets and drilled holes first. Then the rivets go through the plate, the foam pad, and into the car mat. Use washers on the back again.
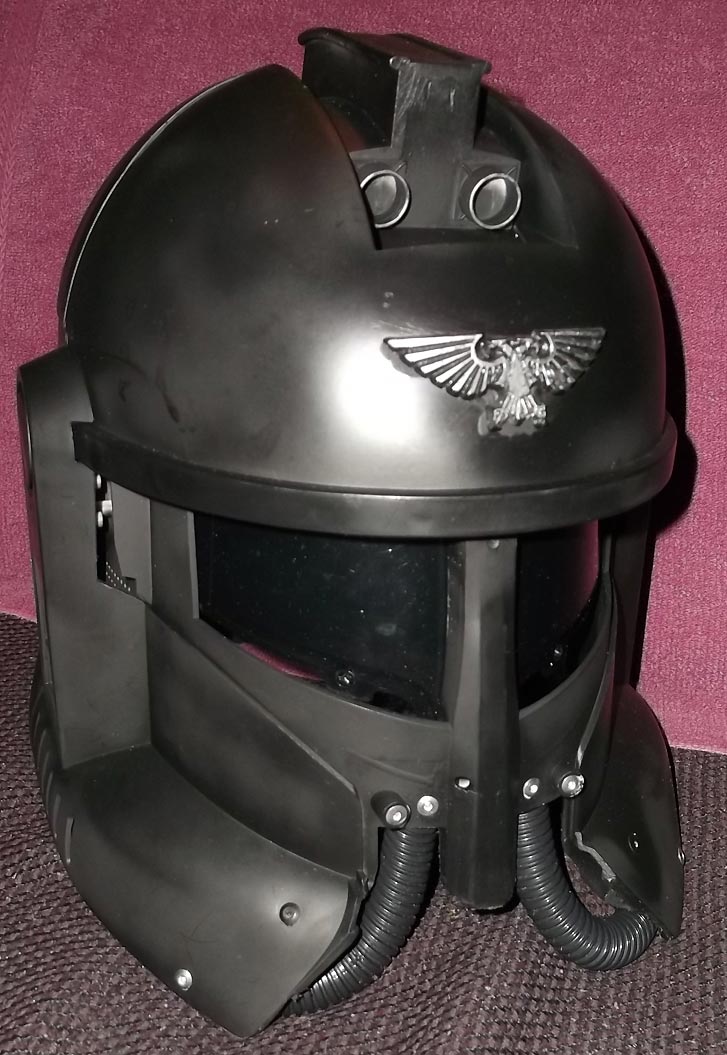
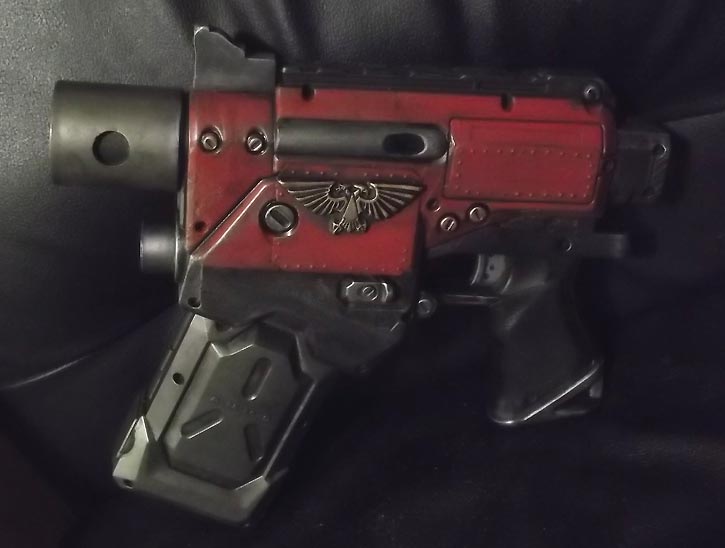
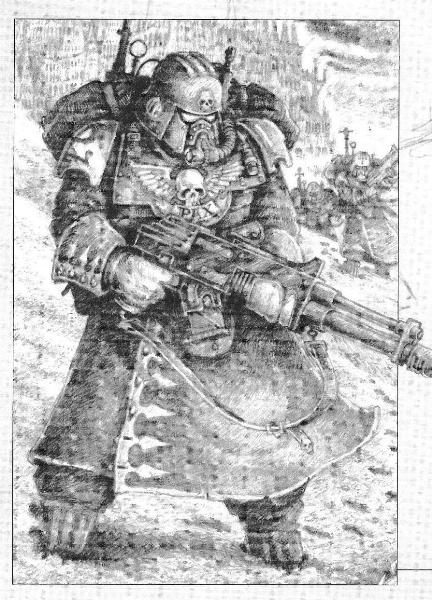
The Eagle is an old 40K imperial eagle badge- I cast up some with Sculpey, spraypainted them silver, then used black craft paint to shade them.
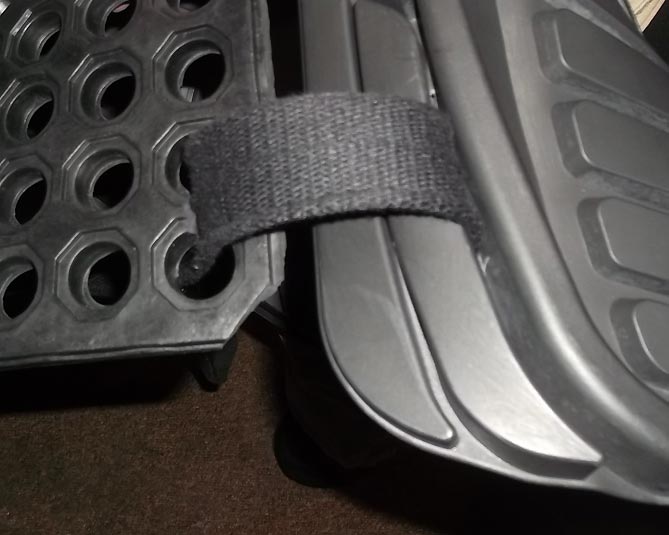
To attach the front to the back, cut a slit in either side of the front plate (we cut slots in the back plate already, if you remember). Use a black belt and run it out from the inside, over the edges, then back in and around the inside. Buckle the belt at the other side.
To attach the shoulders, I cut some bicycle innertube into strips, cut a slot in the armor and the shoulder pad, fed the strips through, and glued them on.
Here's a view from the inside. To keep the shoulders from flipping around, I glued the straps completely over the top of the shoulders and the armor. There's probably a better way to attach these, but at least they're easy to put on this way.
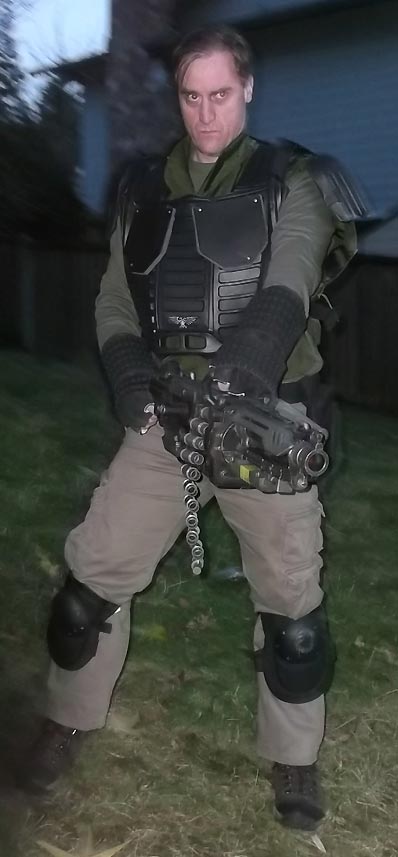
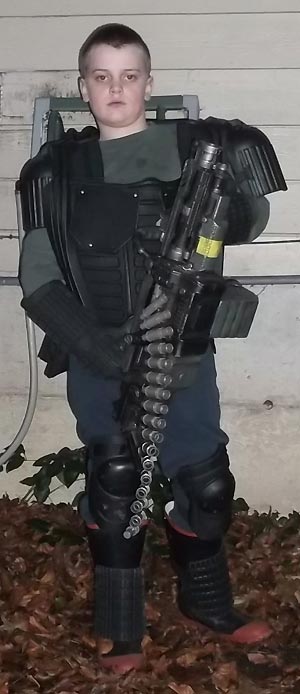
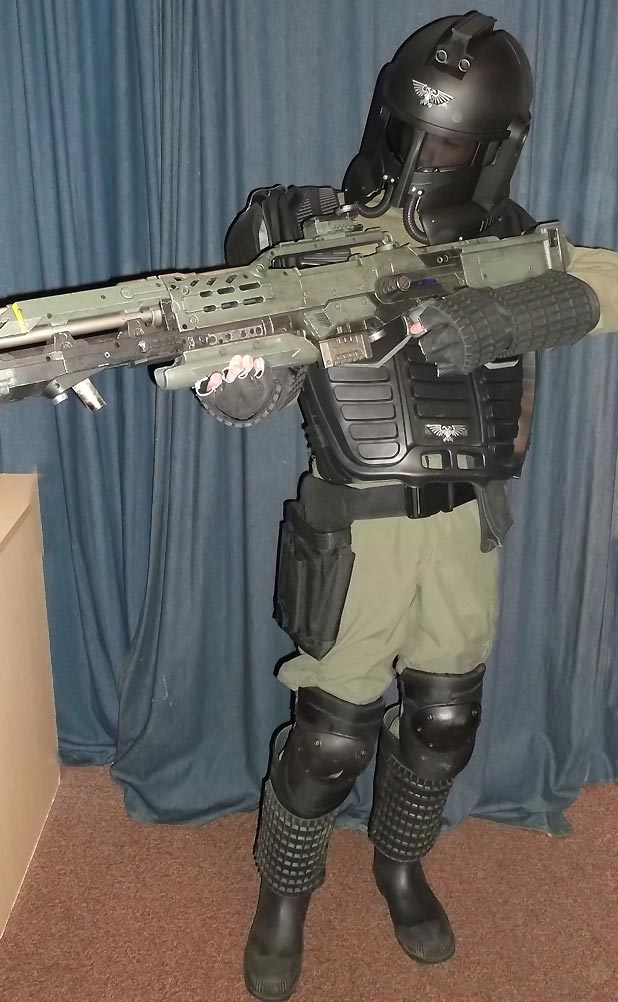
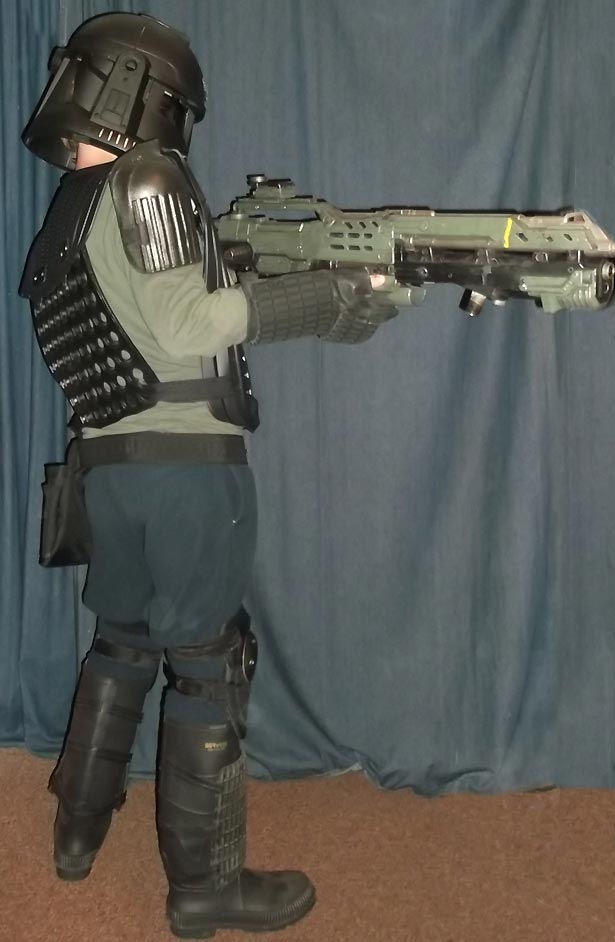
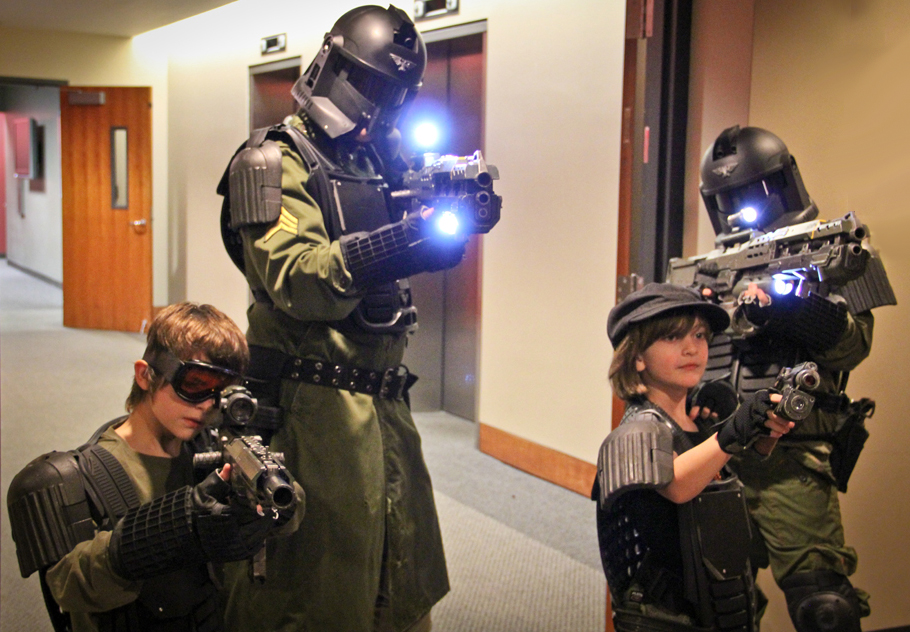
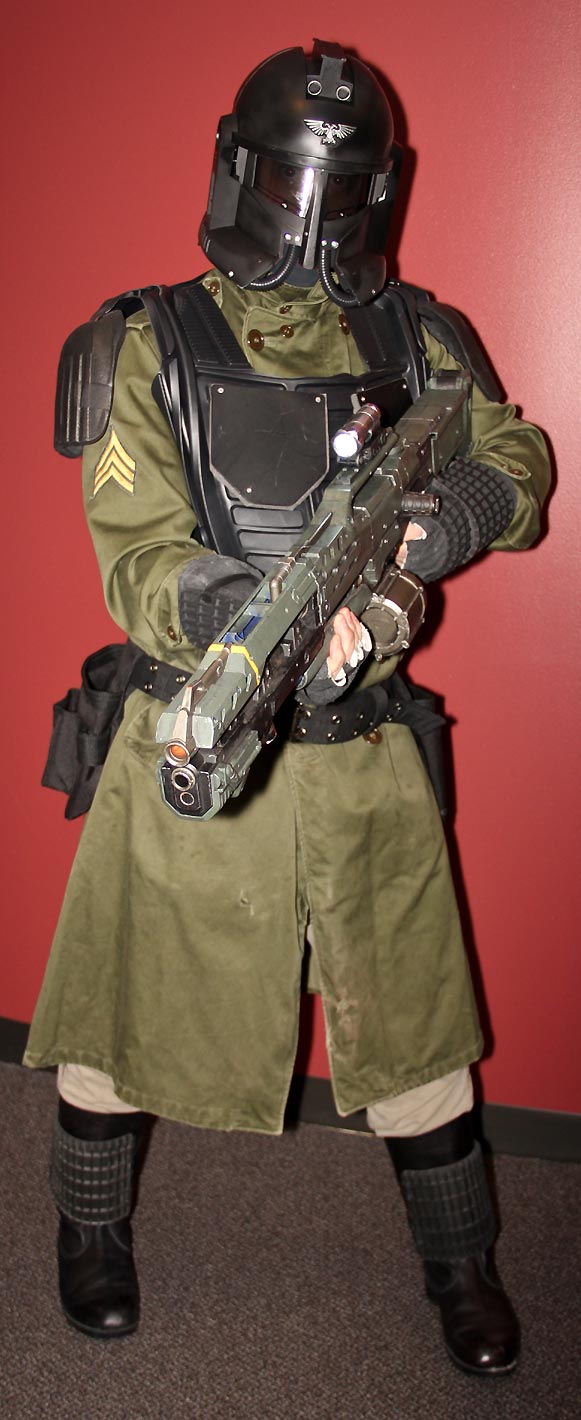
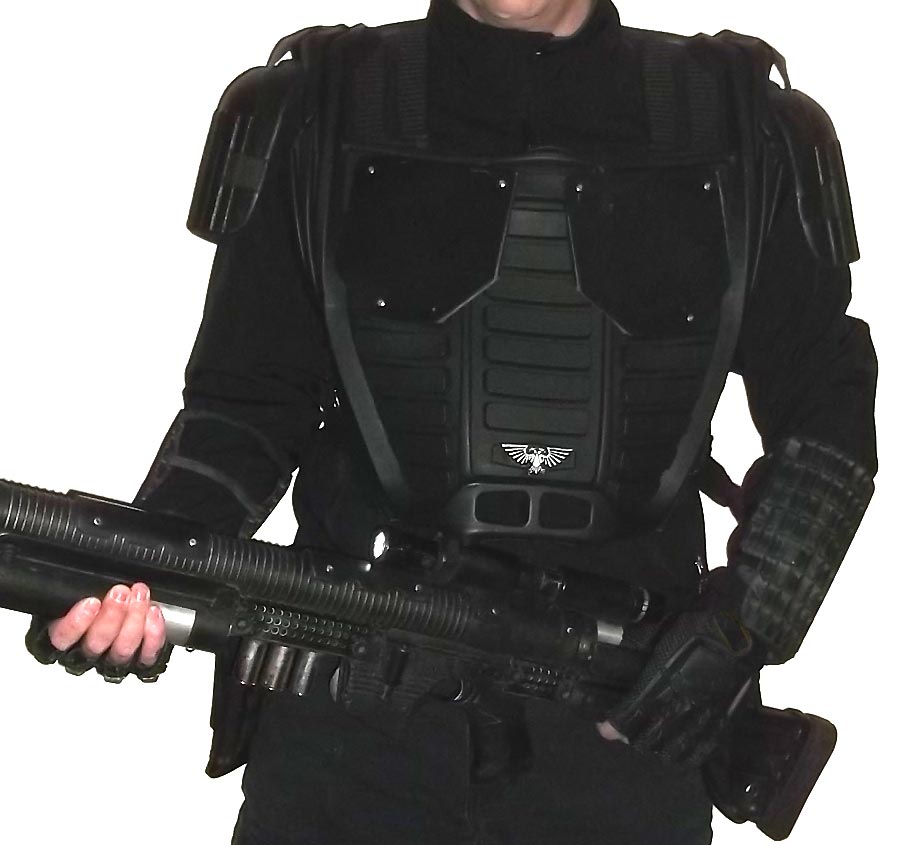
End result again for reference:
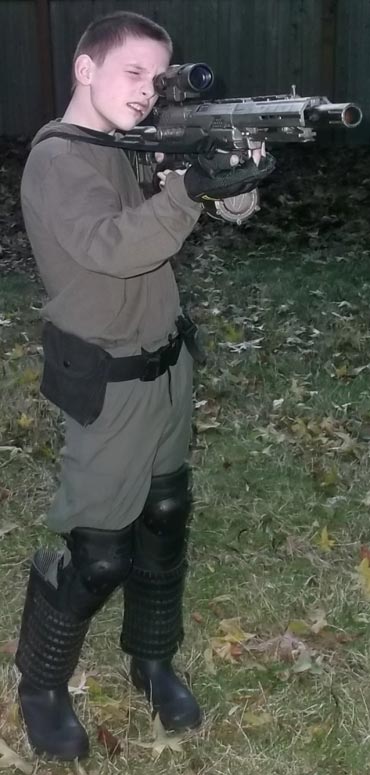
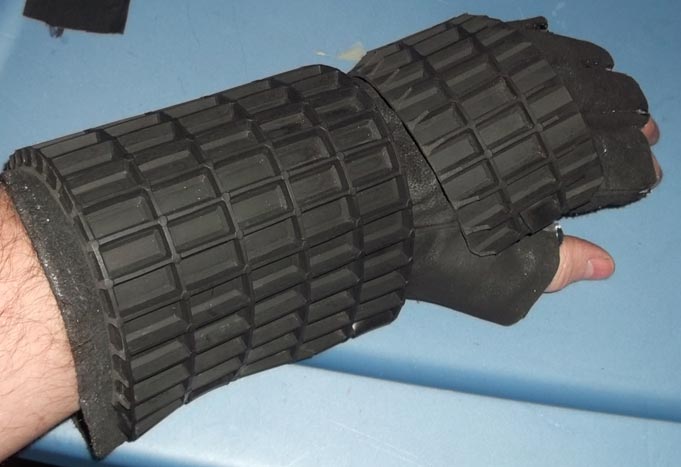
Coming up: some really wicked looking Arm Guards made from cheap welding gloves, craft paint, and yet more floor matting. Stay tuned...
=I=
Here's a shot of the mat before any modifications. (I later found them in black, but the first ones I made started out gray).
Here's the rest of the materials used:
1. Some industrial floor mat I bought at Home Depot (the black stuff with holes). This is just one square from the mat- it cuts down easily with a sharp knife.
2. Foam rubber (the dark grey stuff). I cut up an insulation pad.
3. Sheet plastic (the light grey stuff). Ideally you should try to get some black ABS plastic, but I had some of this stuff already lying around.
4. Foam knee pads (Tommyco brand). These were only $5, and they had a cool look to them.
Because the Mat I started with wasn't black already, I just used some black craft paint. It stuck to the floor mat surprisingly well!
First, I trimmed the car mat as shown above, to form a neck hole and make the shoulders bend a bit easier.
Trim down the inside edges after cutting the neck hole, so the sharp corners don't jab you in the neck, right?
And while you're at it, trim off the little poky nubs on the underside too.
For the back plate, you might want to trim off the nubs around the edges of the bottom side.
Cut a slit on either side of the bottom of the mat- this is where the belt will go. Bevel the bottom corners, and trim down the edges so they don't poke into your sides.
To attach the back plate, I made a couple plastic rectangles and ran pop rivets through them, the car mat, and through the floor mat.
Be sure to use washers on the back side so the pop rivets don't just pull through. I made these washers out of plastic, but later picked up some proper poprivet washers.
To make the chest plates, I cut the plastic sheet down to 6" squares, then beveled the corners (note I spraypainted the plastic flat black here). Then I cut the foam rubber to match- these foam rubber pieces just help give the plates some thickness.
To attach the chest plates, I used extra long pop rivets and drilled holes first. Then the rivets go through the plate, the foam pad, and into the car mat. Use washers on the back again.
The Eagle is an old 40K imperial eagle badge- I cast up some with Sculpey, spraypainted them silver, then used black craft paint to shade them.
To attach the front to the back, cut a slit in either side of the front plate (we cut slots in the back plate already, if you remember). Use a black belt and run it out from the inside, over the edges, then back in and around the inside. Buckle the belt at the other side.
To attach the shoulders, I cut some bicycle innertube into strips, cut a slot in the armor and the shoulder pad, fed the strips through, and glued them on.
Here's a view from the inside. To keep the shoulders from flipping around, I glued the straps completely over the top of the shoulders and the armor. There's probably a better way to attach these, but at least they're easy to put on this way.
End result again for reference:
Coming up: some really wicked looking Arm Guards made from cheap welding gloves, craft paint, and yet more floor matting. Stay tuned...
=I=
Last edited: