Interactive Blast Doors from The Phantom Menace

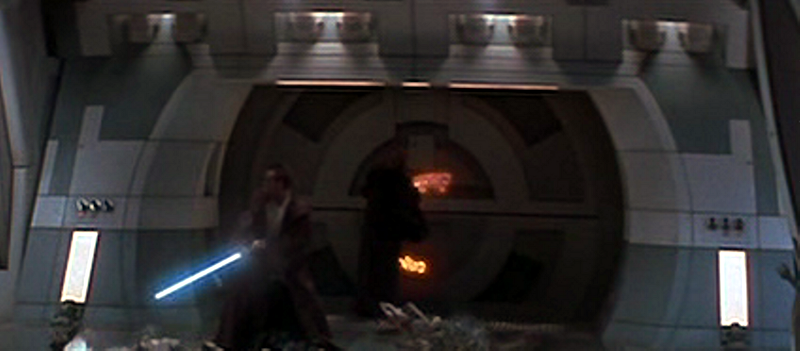
I could use some brain cycles from the RPF community.

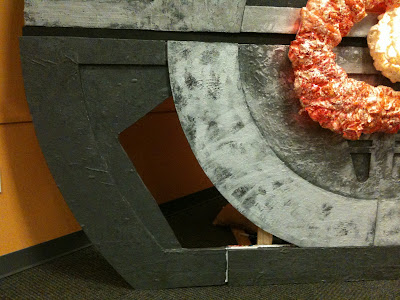
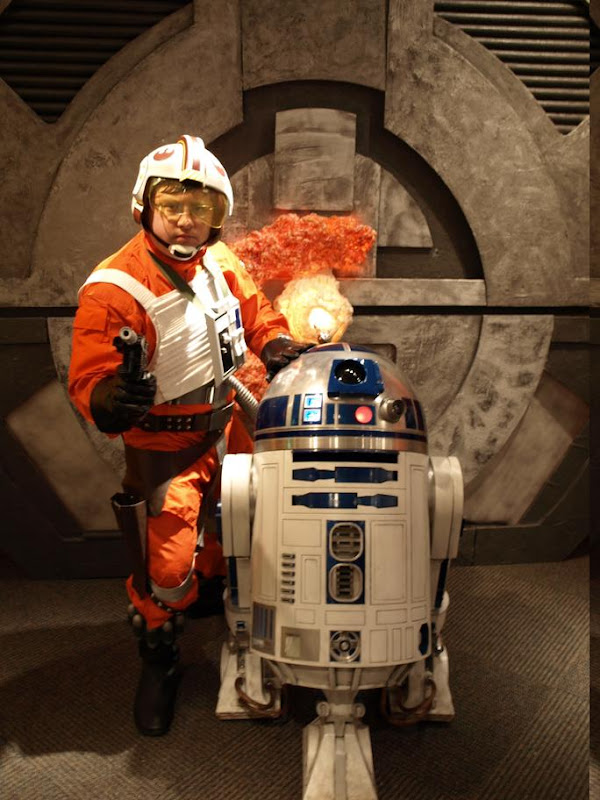
As you know I plan to make these doors interactive so that when the lightsaber goes in, the "molten metal" effect lights up. Right now I'm thinking about diffusion and I could use a hand thinking about what to use.

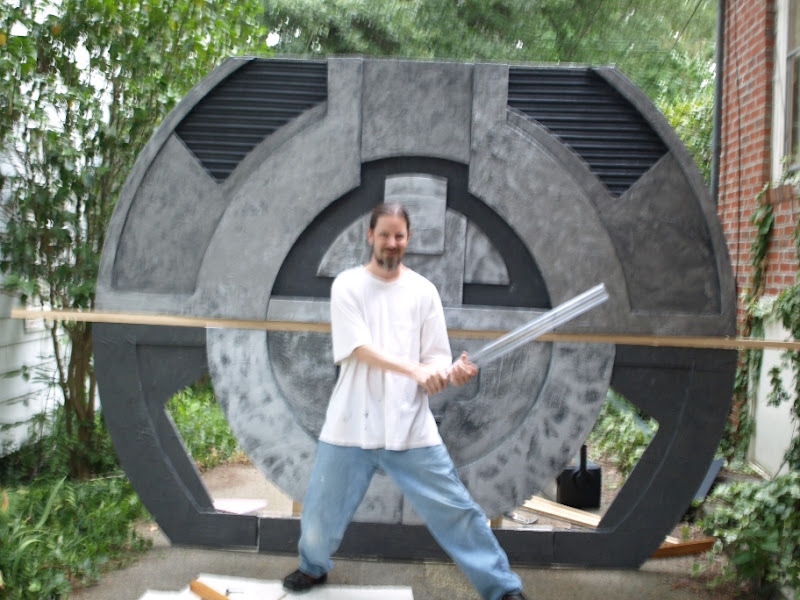
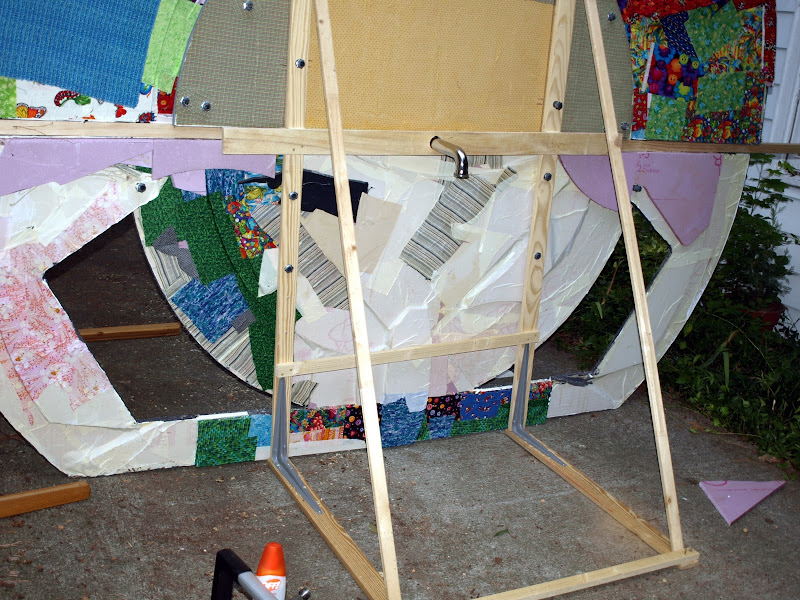
Here are the layers in order from viewer to blast doors:

varnish > paint > great stuff sprayfoam insulation > wiffle ball hemispheres > orange lights > reflective mylar > blast door surface

I'm currently looking at wiffle golf balls and baseballs for the diffusion layer, and that could work. However, it might be cheaper and look better to make a mold out of foam or clay, then thermoform a single layer of plastic over that to achieve the diffusion effect. It would be more sturdy and seamless.

Does anyone know a relatively cheap plastic that is thermoformable with a heat gun that would work for this purpose?
 
I could still use some brain cycles from the RPF community. :)

Does anyone know a relatively cheap plastic that is thermoformable with a heat gun that would work for light diffusion?

Anyway, here is an update with some of the structural scaffolding in place:

p8195049.jpg


p8195052.jpg


p8195054.jpg


p8195055.jpg


I can tell a few things from this test fitting:

1) compositionally speaking, everything matches up within a few millimeters, which is great!

2) Once the pieces are all in place, this will be pretty stable. The unstable parts will be the outside edges of the curve but I might be able to stablize those with outside "walls."

3) I'll definitely need to homogenize the paint job once the whole structure is in place. I may need to apply a spraypaint overcoating to at least the topmost "shiny" pieces.
 
It has been since April, but tonight there has been a decisive turn of events: The blast doors have stood up for the first time! I now have the structural elements mainly in place. The next step is to homogenize the paint a bit, then to build the interactive light-up unit which should go quickly.

Here are some very poor pics.

What we're aiming for:
blastone.png


driveway0.jpg


driveway1.jpg


driveway3.jpg


This thing I'm holding is the "saber receptacle" which will mount on the back to funnel the kids sabers to the switch.

driveway5.jpg


driveway6.jpg


driveway7.jpg


Here's some shots of the structure in back which holds it together:

driveway8.jpg


Here's where the water comes out:

driveway9.jpg


One thing that has become obvious to me while working on these is that the movie doors are based on an oval, not a circle. The screenshots all have a wider and fatter presence than these doors do. Perhaps my camera lens is to blame, I dunno. But to the casual observer I think they will pass.
 
The spray foam expanded to 18 times it's size and gave me JUMBO molten metal unit! I am not particularly pleased about that. It diffuses the light too much and looks weird. But the museum staff said I was being to hard on myself and it looks good. So that said, may I present the almost completed Blast doors in their inaugural location:

img_0112.jpg


img_0105.jpg


I still need to patch the bottom holes:
img_0110.jpg


Tomorrow, thousands of people will take 'er for a spin. *fingers crossed*
 
I'm curious as to whether you tested the foam before you sprayed it on the door.

It looks kinda cool, but there's definitely too much foam over the lights.
:confused
 
Thanks, Geniepants! My next goal is to integrate the proper lighting into the backdrop so that it looks better in pictures. Lighting is half the battle!
 
Nice pic Chris! Here are two more from the Durham Herald Sun article which was cut out and put on my desk today by my boss's admin assistant....

p9145192.jpg


p9145190.jpg


I am totally going to redo that lighting unit.
 
That is awesome, I just want some blast doors for my house. Maybe for the enterance to my movie room...... GREAT JOB!!!!
 
Back
Top