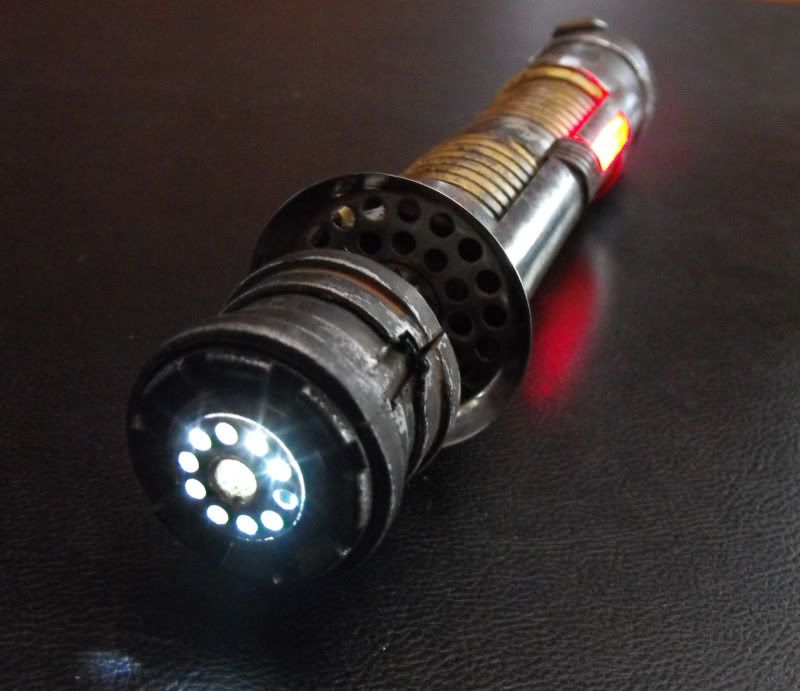
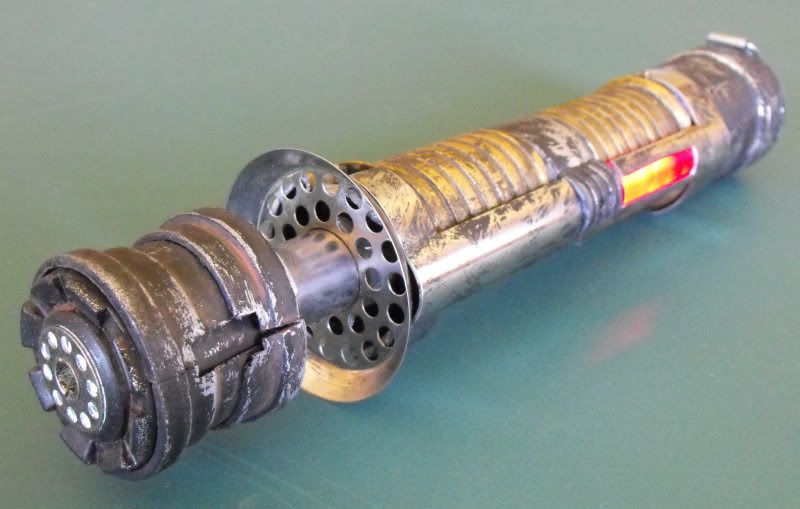
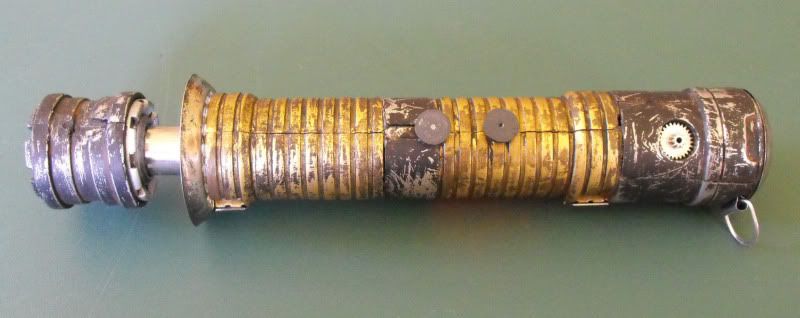
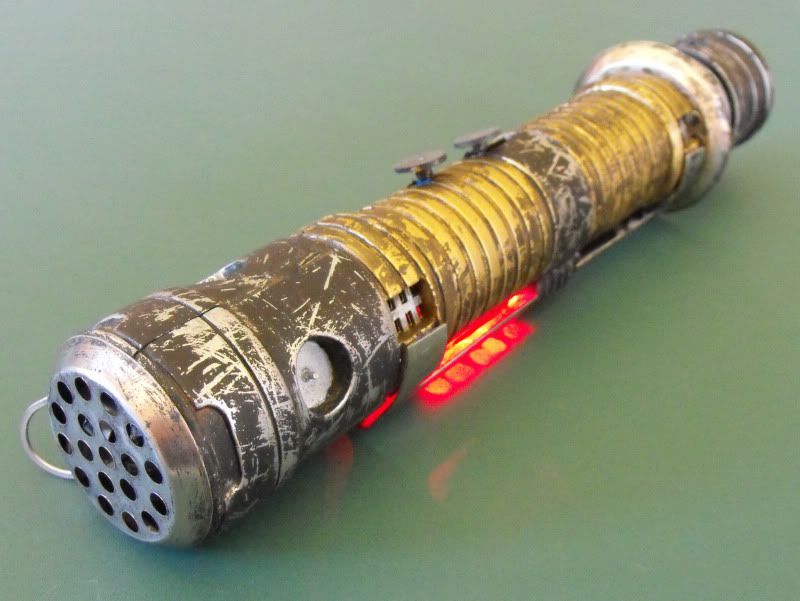
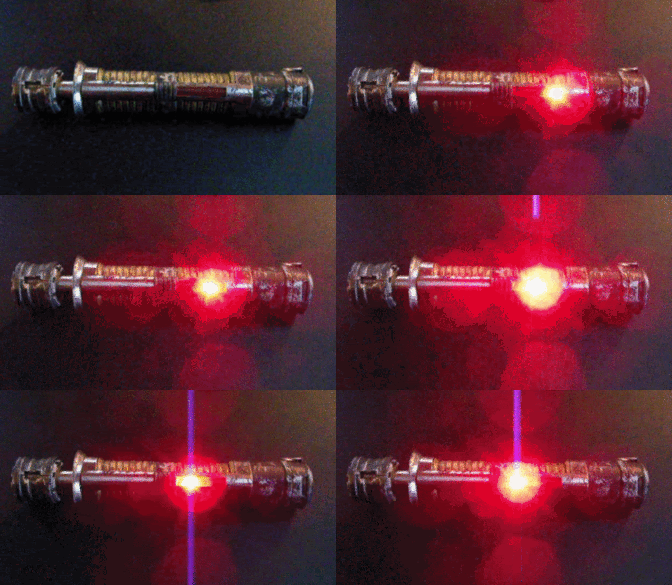
Like many of you, I thought I'd place higher than I did (11th place, or three-way tie for 9th place if you're just counting the votes) so I took A LOT of build photos.
So, even if mine didn't rank terribly high, I hope you enjoy this build as much as I did:
I started with these items:
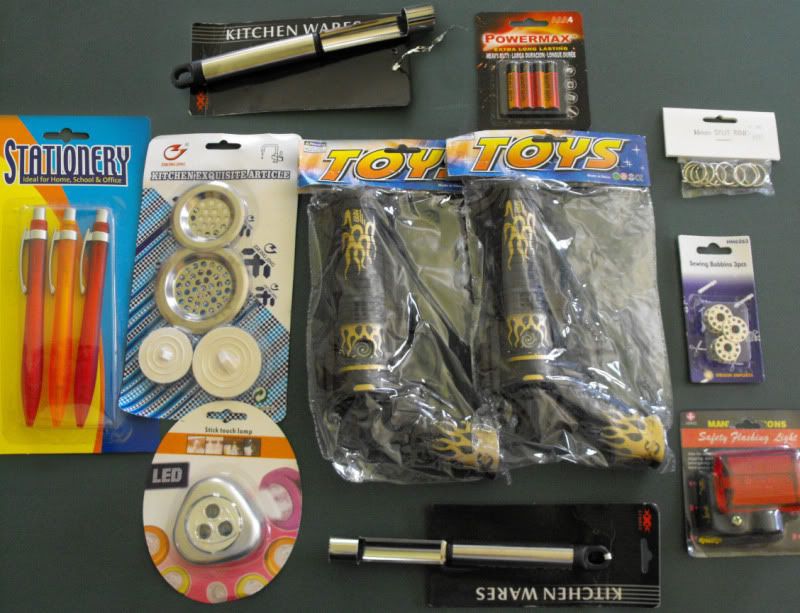
It took me a while to pick out everything for my saber, but the two toy guns had a great round barrel that would become the base of my saber:
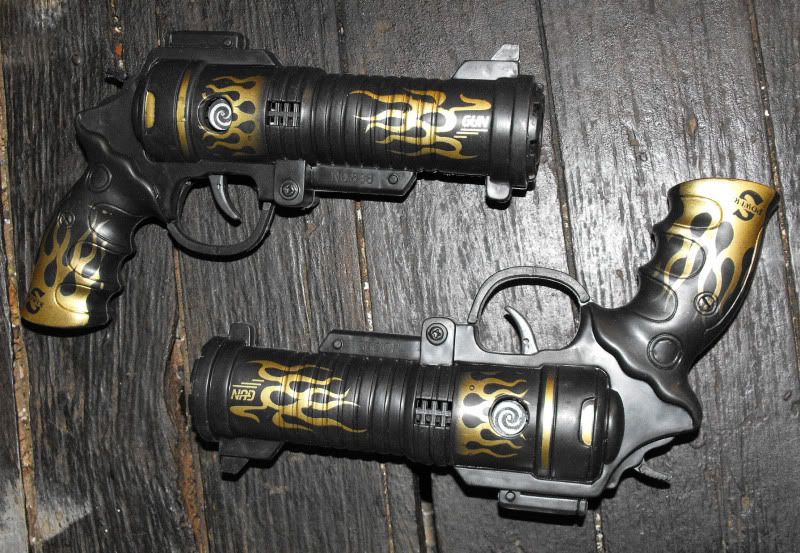
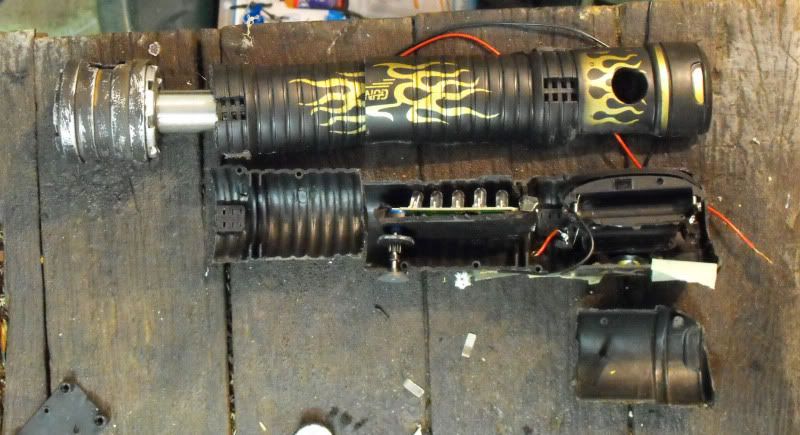
Opened up the gun looks like this:
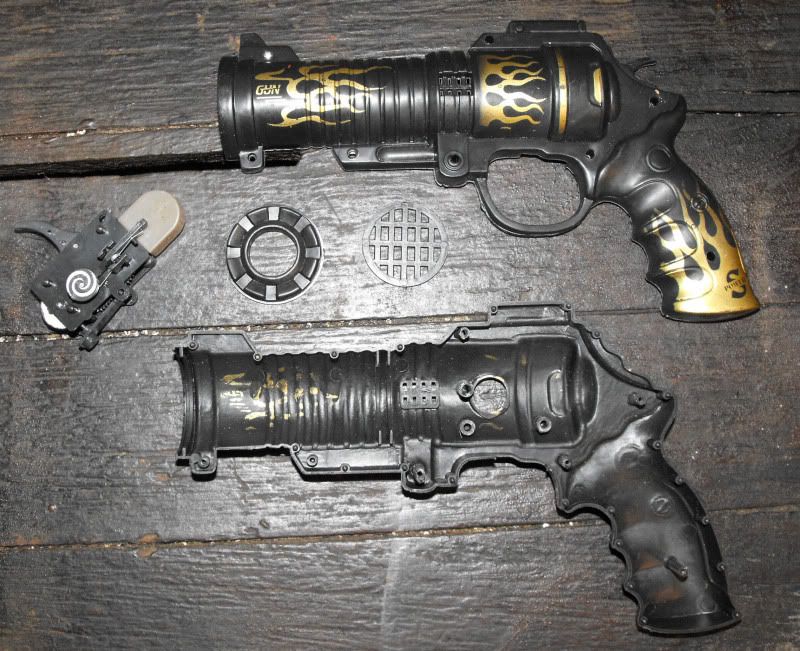
The trigger mechanism has a bunch of little things that I used all over the saber... waste not, want not!
I started with the emitter... which comes from the tip of the gun. The first step was setting the sewing machine bobbin into the gun emitter (I couldn't resist weathering it from the start):
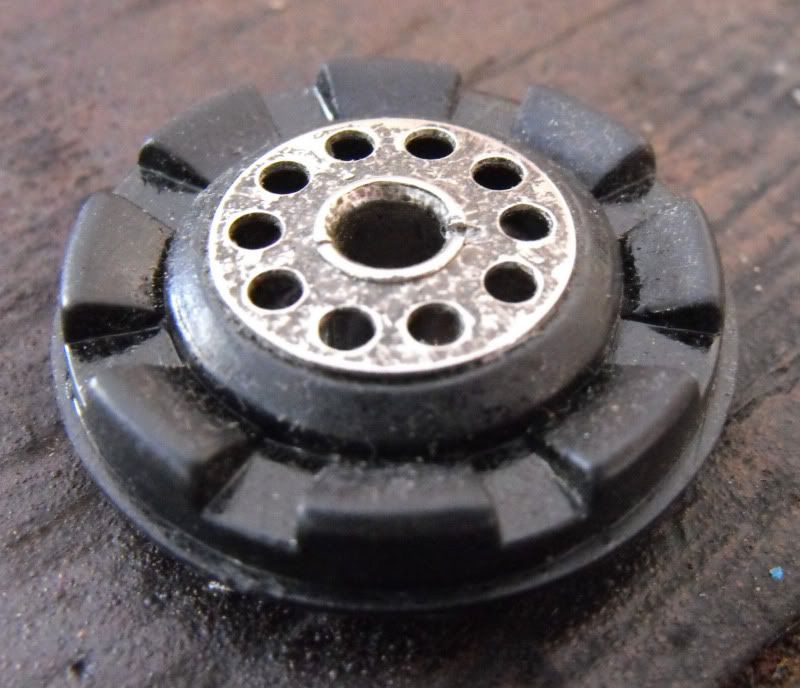
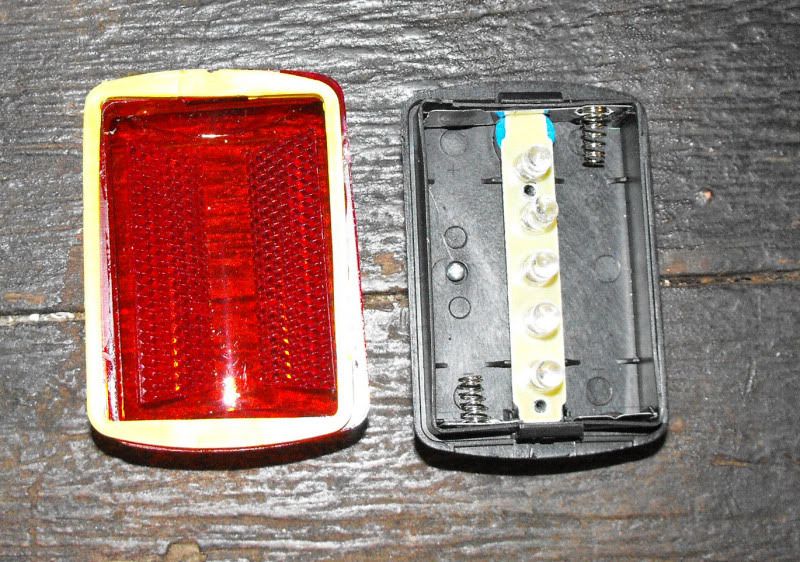
I knew from the beginning I wanted to have lights on my saber and this would turn out to be my biggest challenge since I know very little about electronics. I opened up the wall mounted light to find this:
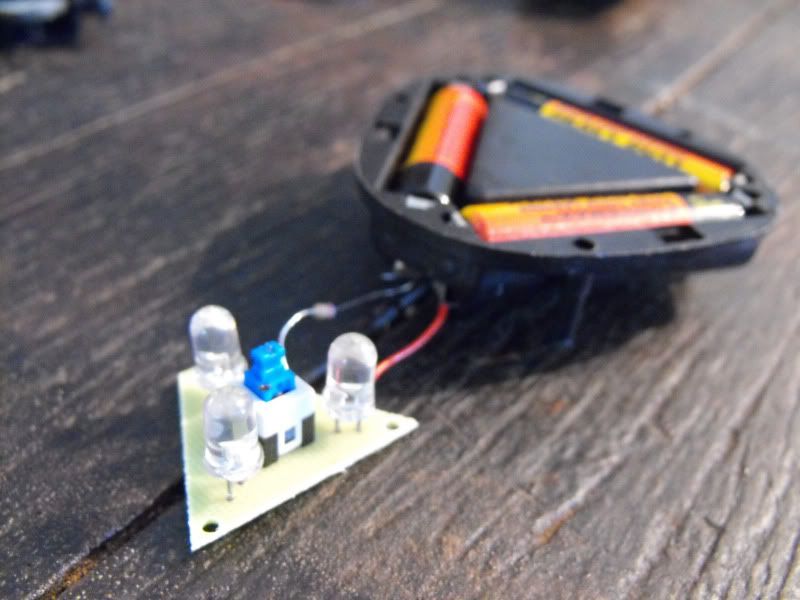
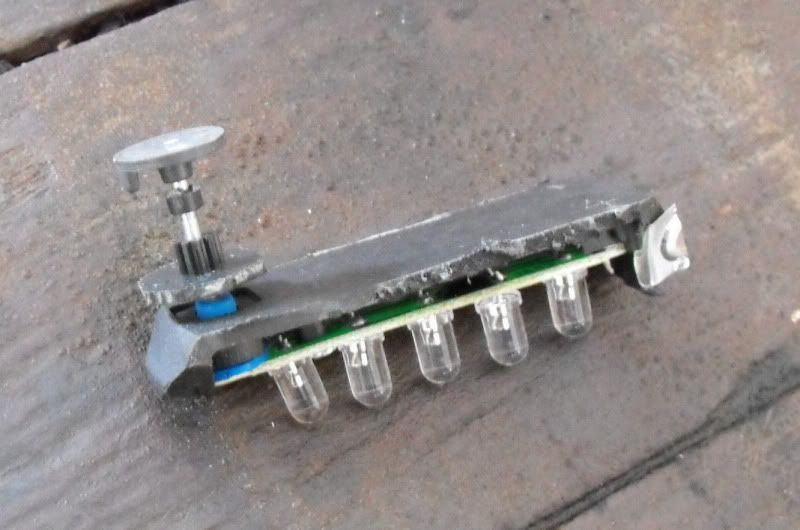
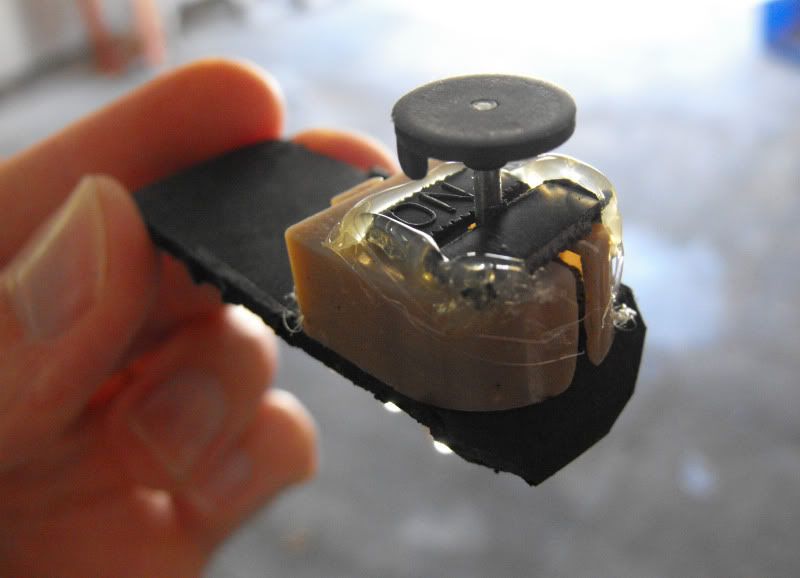
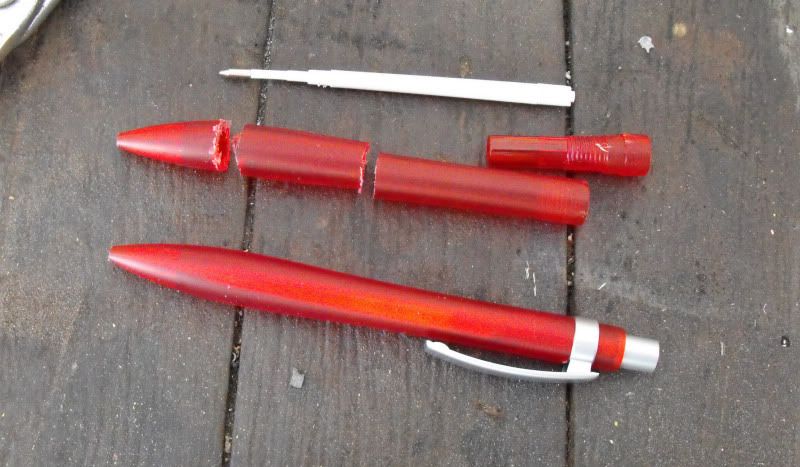
I removed the switch that was mounted between the bulbs and added some wires in its place:
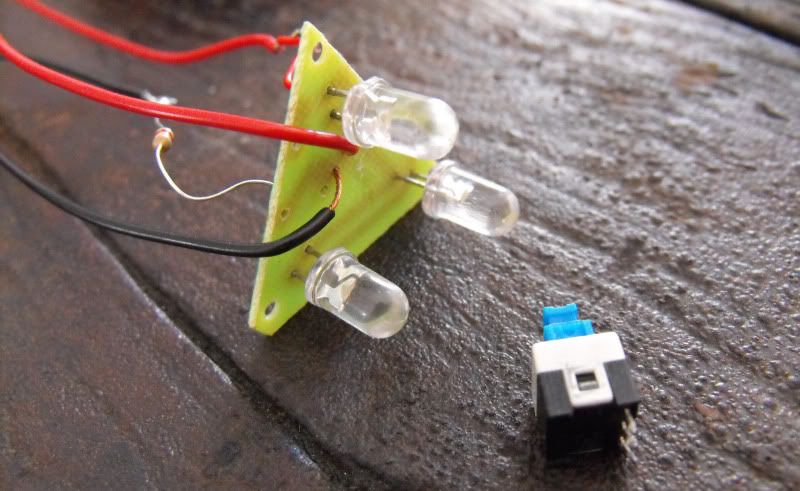
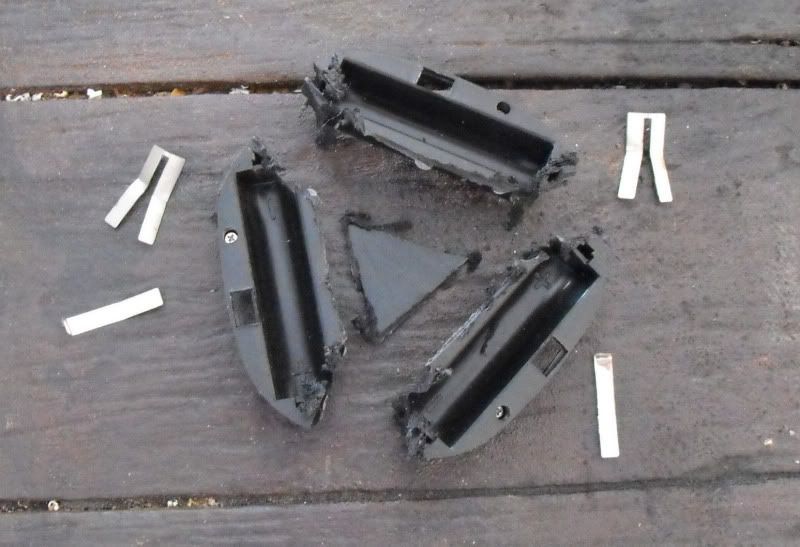
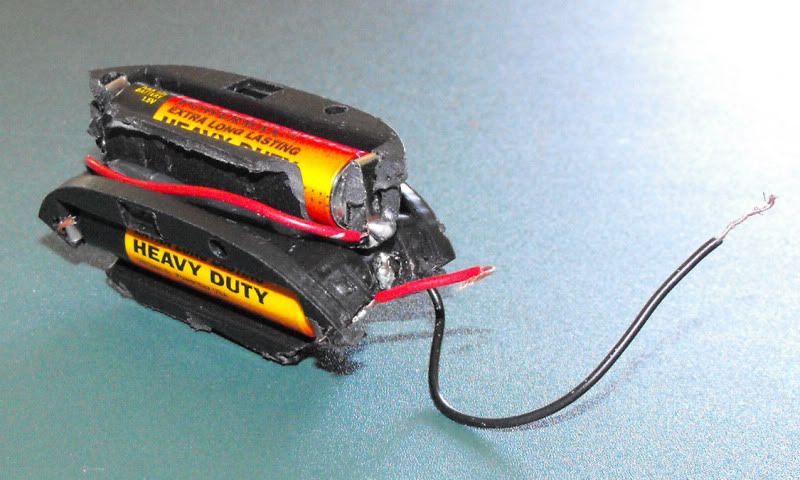
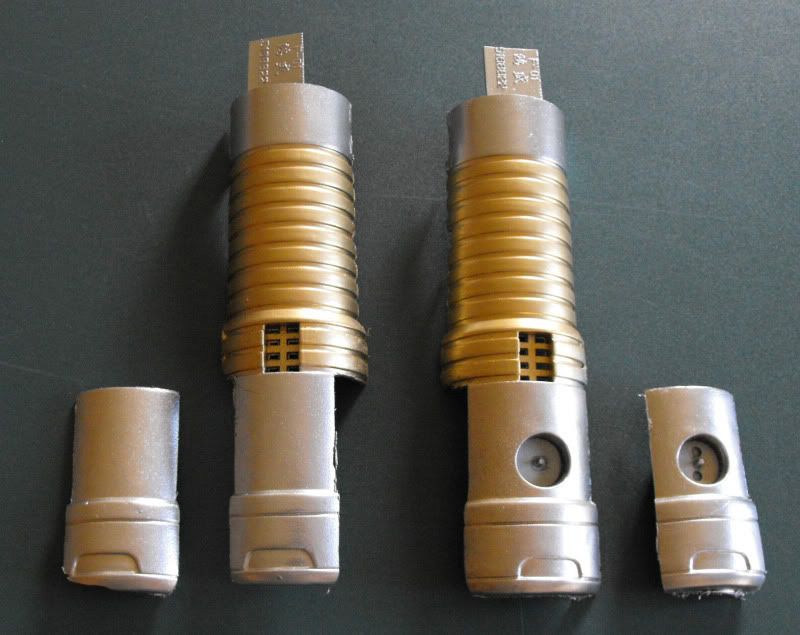
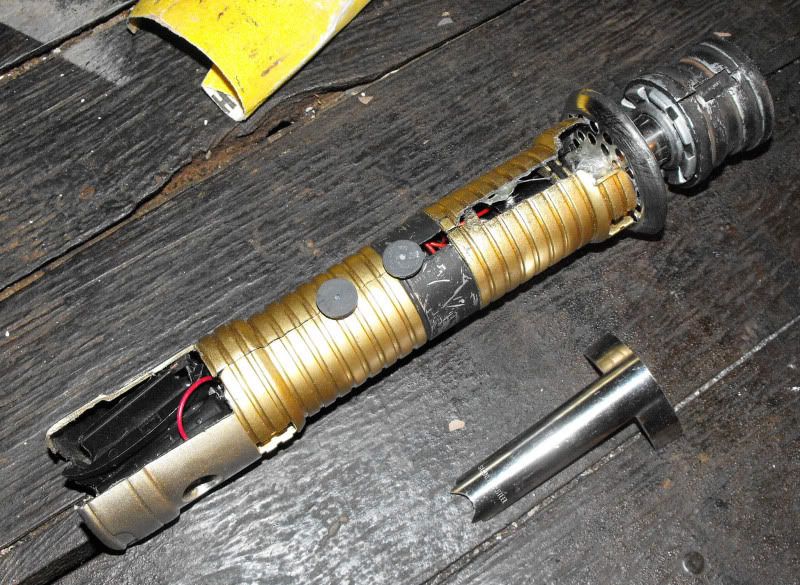
After cutting off part of the gun barrel and fitting in the light, I arrived at this:
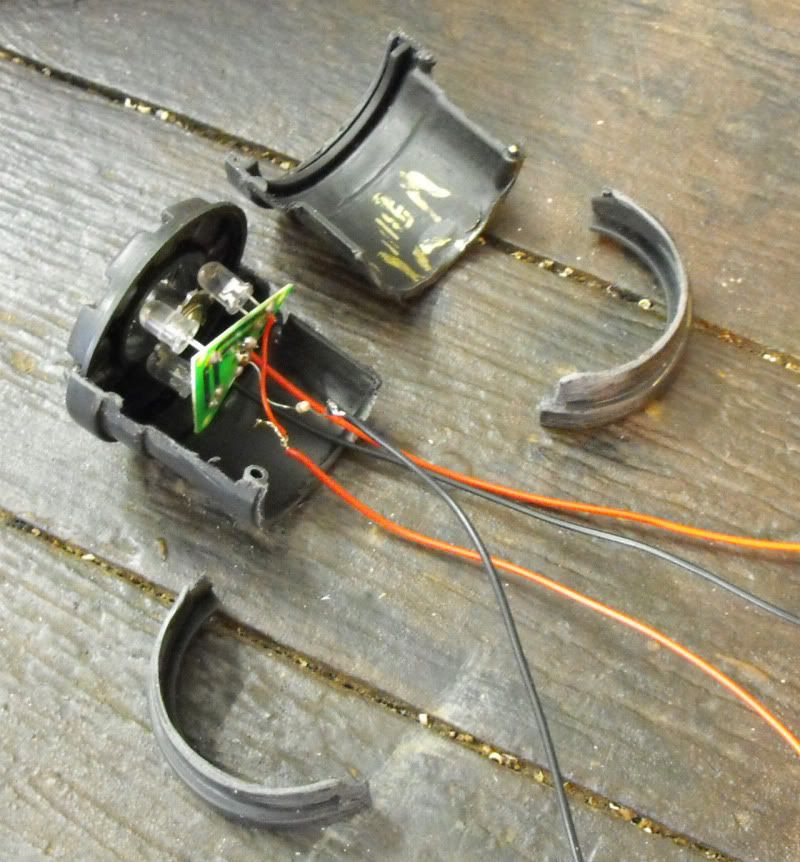
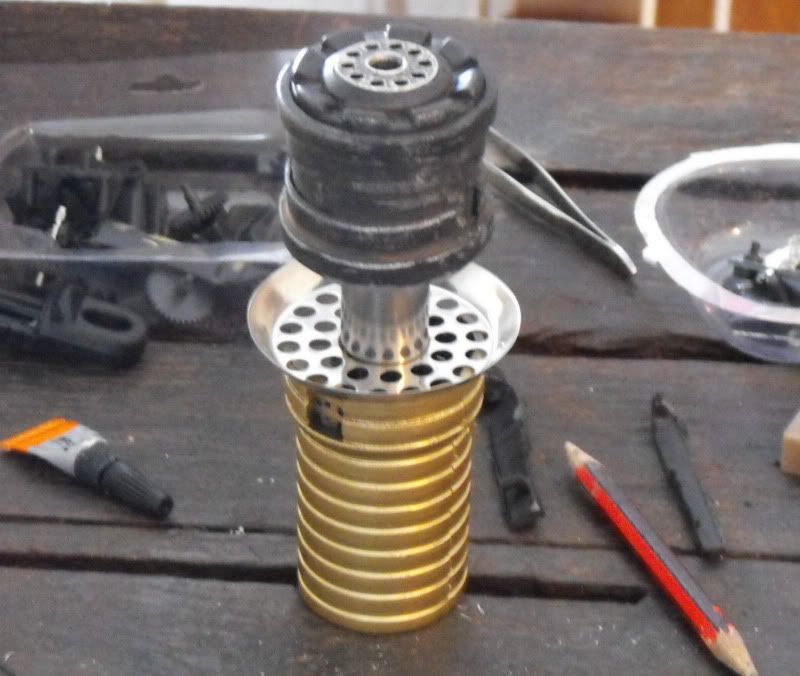
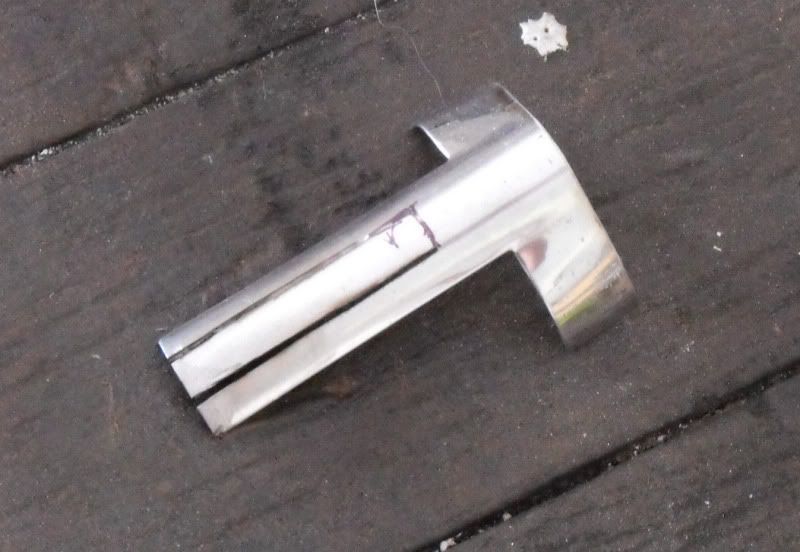
I disassembled the apple corer, purchased mainly for the metal tube that would be the neck of my saber:
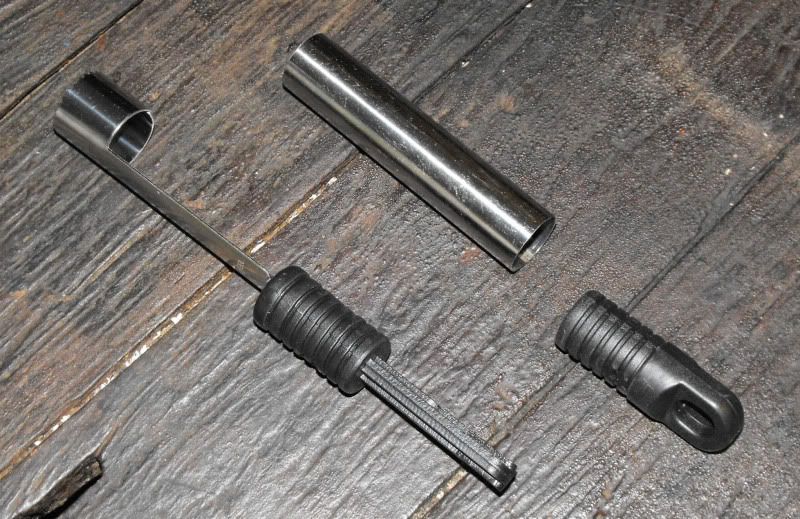
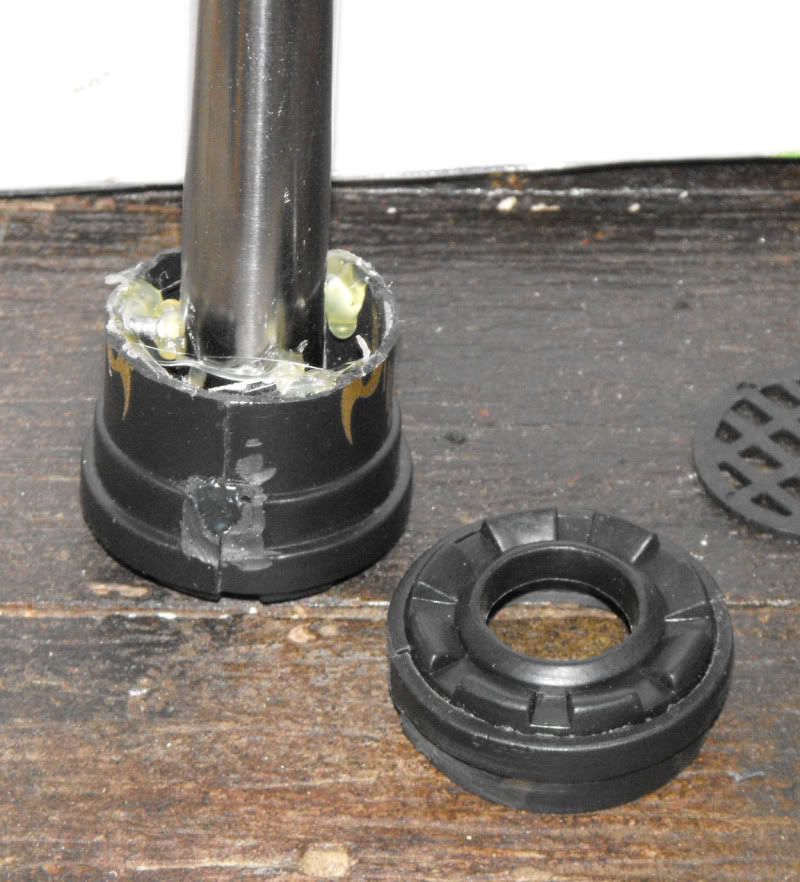
As it turns out though, the interior plastic pieces had some nice ribbing, so I used that as well on the body of the saber. After setting the metal tube with a bunch of hot glue:
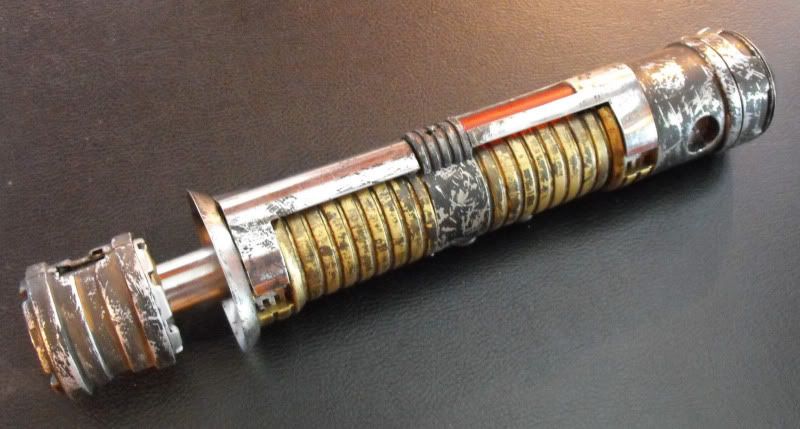
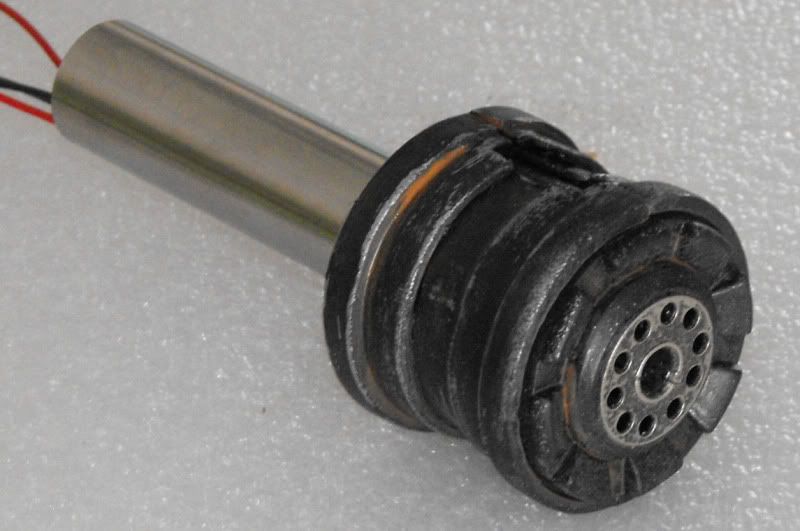
And the finished emitter, already painted and weathered, waiting for the rest of the saber to be built:
More to come...
Kind regards,
Magnoli
So, even if mine didn't rank terribly high, I hope you enjoy this build as much as I did:
I started with these items:

It took me a while to pick out everything for my saber, but the two toy guns had a great round barrel that would become the base of my saber:

Opened up the gun looks like this:

The trigger mechanism has a bunch of little things that I used all over the saber... waste not, want not!
I started with the emitter... which comes from the tip of the gun. The first step was setting the sewing machine bobbin into the gun emitter (I couldn't resist weathering it from the start):

I knew from the beginning I wanted to have lights on my saber and this would turn out to be my biggest challenge since I know very little about electronics. I opened up the wall mounted light to find this:

I removed the switch that was mounted between the bulbs and added some wires in its place:

After cutting off part of the gun barrel and fitting in the light, I arrived at this:

I disassembled the apple corer, purchased mainly for the metal tube that would be the neck of my saber:

As it turns out though, the interior plastic pieces had some nice ribbing, so I used that as well on the body of the saber. After setting the metal tube with a bunch of hot glue:

And the finished emitter, already painted and weathered, waiting for the rest of the saber to be built:

More to come...
Kind regards,
Magnoli

