You are using an out of date browser. It may not display this or other websites correctly.
You should upgrade or use an alternative browser.
You should upgrade or use an alternative browser.
Hero Phaser Scratchbuild
- Thread starter robn1
- Start date

Chrisisall
Master Member
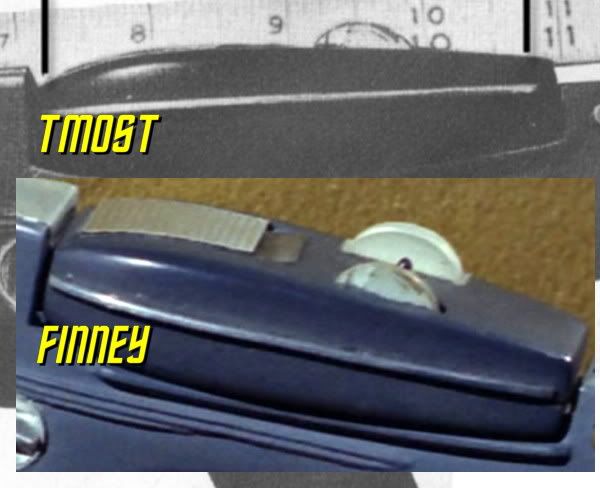
Basking in brilliance?Wow! I think you have the black border around the power meter numbers perfect under that acrylic.
Yeah, I've done that my own self.:cool
robn1
Master Member
Thank you everyone! The black border doesn't stand out as much as it does in the pics. And of course it's just there to simulate the undersized paper on the original, but having the border makes it easier to glue together because I don't have to worry about the glue squeezing out.
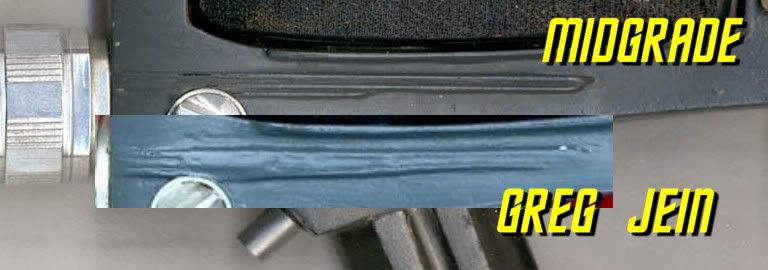
The originals appear to have been sanded a bit on the P1 ledge, mostly on the front making the ribs thinner there. I tried to idealize it somewhat, to capture what was most likely there to start with.
The originals appear to have been sanded a bit on the P1 ledge, mostly on the front making the ribs thinner there. I tried to idealize it somewhat, to capture what was most likely there to start with.
robn1
Master Member
I'm really having trouble with the p2 masters. It seems the wood is shrinking slightly, and that's causing cracks along the styrene sheet edge. I fill it, sand and paint, then a new crack opens up.
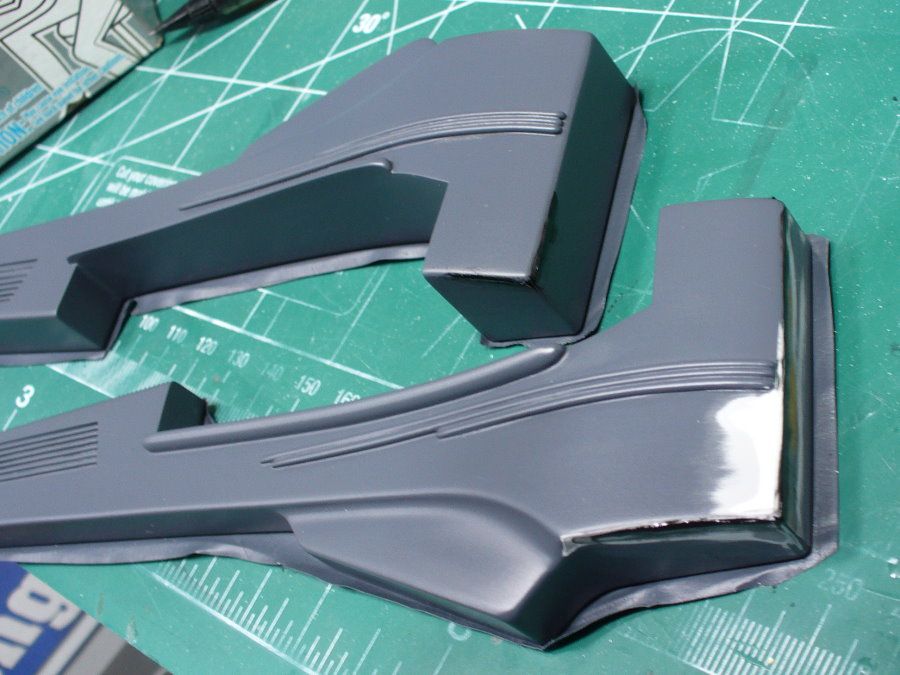
I'll have to mold it as is. Then cast a solid resin copy, clean up the cast, then make a new mold from that. Otherwise every cast will need repair. Making a waste copy will allow clean casts afterward.
I'll have to mold it as is. Then cast a solid resin copy, clean up the cast, then make a new mold from that. Otherwise every cast will need repair. Making a waste copy will allow clean casts afterward.
ewww...
I think you are right. I would mold in PLATINUM to reduce any shrinkage.
For your new master castings if you use resin, its going to shrink due to the heat in generates.
Make your mold, then spray it with primer. I would use a polyester primer like sandable DURACOAT.
Then hit it with Bondo, mixed with fiberglass (60/40) each kicked respectively, done as a gloss coat, the backed with fiberglass might reduce any shrinkage and provide you with a nice workable master.
Frank
CaptStarshine
New Member
I've learned so much this morning, just reading all 14 pages of this thread. Thanks guys!
")
Chrisisall
Master Member
robn1 does rock.
He brings order out of chaos.
He brings order out of chaos.
NakedMoleRat
Legendary Member
Bumping for awesome! :cool
FoxhoundTCF
Active Member
Awesome work
Chrisisall
Master Member
We are a patient bunch.
redshirt
Sr Member
We are a patient bunch.
Yes, especially for TOS Phasers!


Similar threads
- Replies
- 1
- Views
- 1,111
- Replies
- 9
- Views
- 1,431