Greetings all!
Inspired by my fun time converting the BS Vader closer to actual ROTJ Vader specs, I next began the task of converting the BS Rogue One trooper to ROTJ as well ( as best I can, anyway).
Not a whole lot of before/after pics, but enough that you can tell what is going on.
Starting out with side/side of the Hasbro (on right) next to the EFX PCR ANH Trooper (on left), for some basic comparsion shots.
Note on the side shot of the Hasbro, I've already started to putty in the seams of the dome.
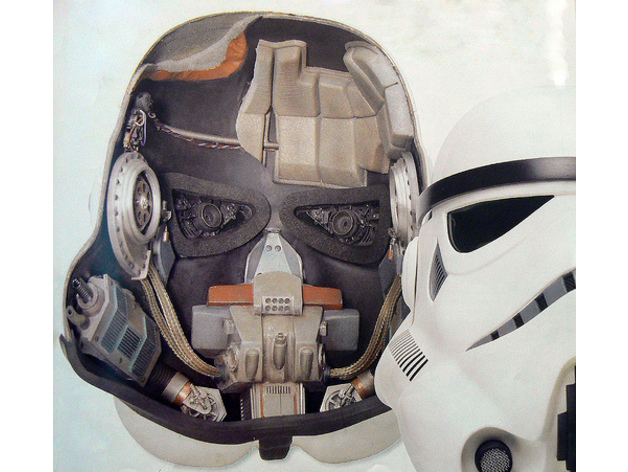
I had previously taken the whole helmet apart and gutted all the electronics, and nose piece, and dremelled out all the jaggy bits, and welded all the pieces of the helmet together with styrene welding glue.
2 seconds....welded.
Be careful when using! lol
You can see the gutting on the inside shots.
Also, you can see where I puttied in the speaker vents, and on the outside, I had glued shut the battery door, and puttied it's seams as well.
I considered changing out the lenses as well, but again, these worked fine for me, so....
I do have a set of Army helmet pads on the way, so they will be affixed in at a later date.
Next shot is the whole helmet masked out and base primered white.
I left the front half black strip on the helm, as it was glued on, and way too hard to tear off without damaging anything, but removed the back half weather strip, and replaced with 501st approved weather stripping from www.etsy.com/shop/StarWarsCostumeProps
I also got a set of accurate mic tips from them as well that I am going to try and swap out now that the paint is done, but they aren't shown on the helm here.
Next was painting the bloody thing....
About 4 coats of Krylon white gloss on there.
Then about 4 or 5 coats of Rustoleum clear gloss.
I purposefully did not mask out the frown or the side stripes.
After a few days letting the gloss coat really settle and dry, I then taped off, very meticulously, the slots of the stripes on the side tubes, and shot them with straight Rustoleum True Navy, not laying it on too heavy, as I didn't want it too dark. Let a little white through.
A few hours to dry, then hit them with a layer of satin clear.
Few hours more, then taped off the rest of the helm, and leaving the frown exposed, including the "lips", and hit it with straight gloss black, ( for the ROTJ paint scheme ) and like the stripes, a shot of satin clear after the black dried.
Gave it a day, then removed all the tape.
Next three shots are the final results.
And last two, of the newly dressed Hasbro helm next to the EFX again, for updated comparison.


