Freemananana
New Member
I've always been a big Gundam fan. I wanted to start with a more simple Gundam, so I went with a classic from the 90's. I'll be basing this off of the original Gundam Heavyarms, not the custom. I will also be doing it pre-space modifications (AKA single gun on the left arm).

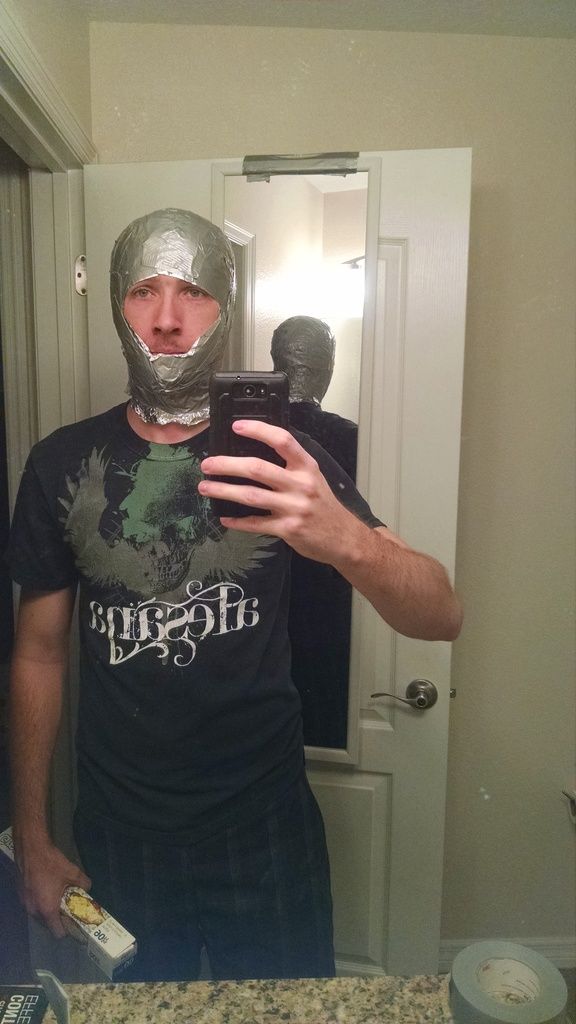
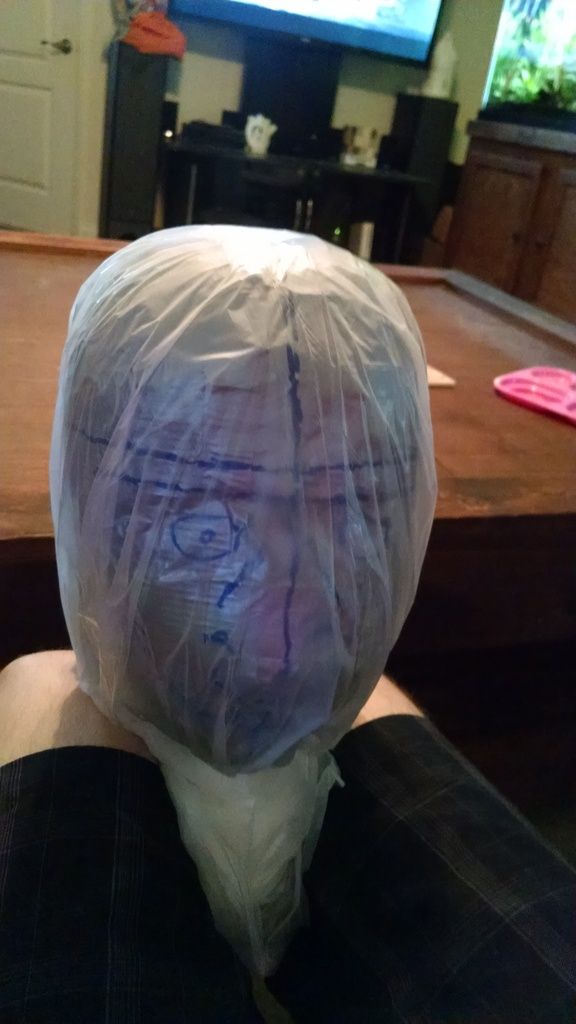
I found Clive's tutorial ages ago and thought he did a magnificent job. I just recently found interest in making a foam set of armor. So I'll be combining his method with some traditional cosplay EVA foam methods. First thing first, according to Clive's tutorial, would be the head. I wanted to make a cast of my head for wearing props anyway. So I started with that before making the actual helmet.You can see the excitement oozing out of my pores here. (It was actually just uncomfortable with tinfoil against my skin)
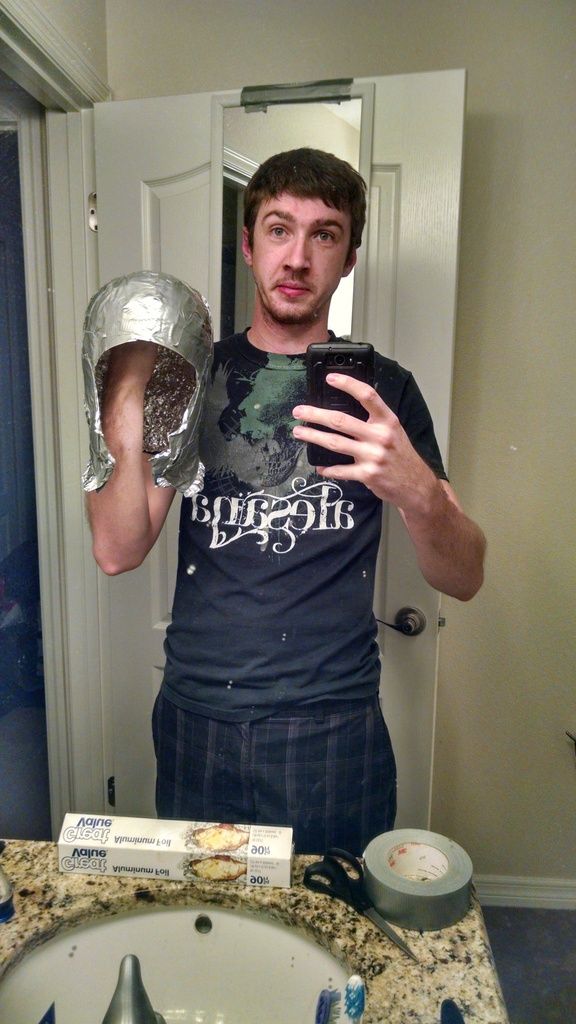
Glad to have it off my head!
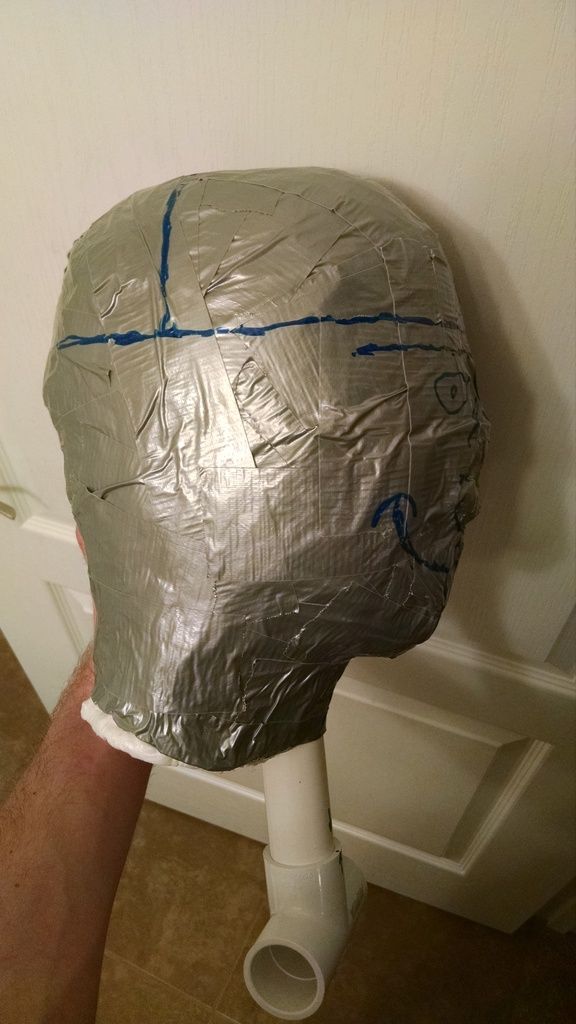
I taped up the front and added a tinfoil cast of my nose. I didn't want to cover my entire face since I was doing this solo.
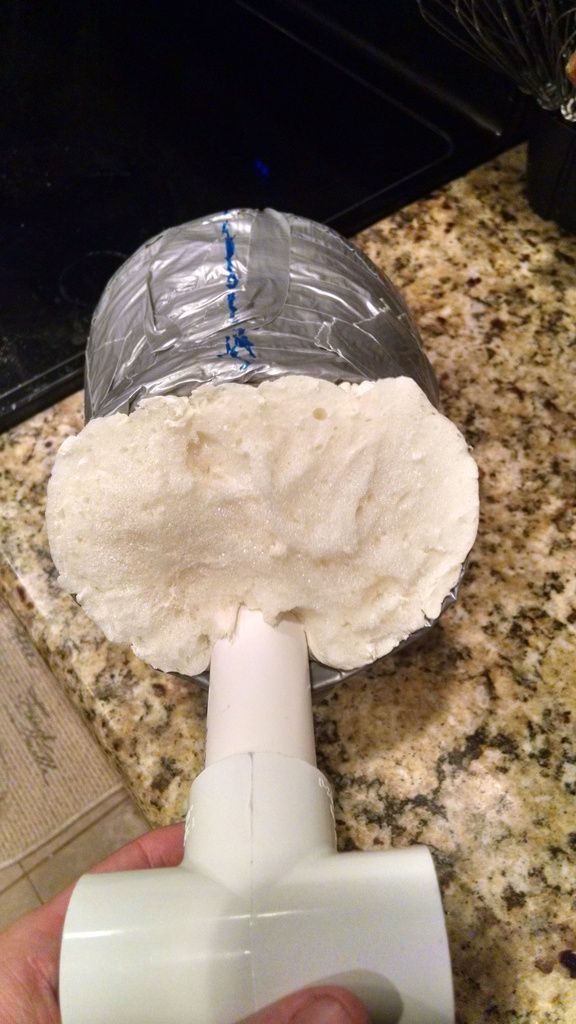
I filled the head with several layers of expanding foam. Unfortunately, it didn't fill the nose. But for wearing helmets, it will be fine.
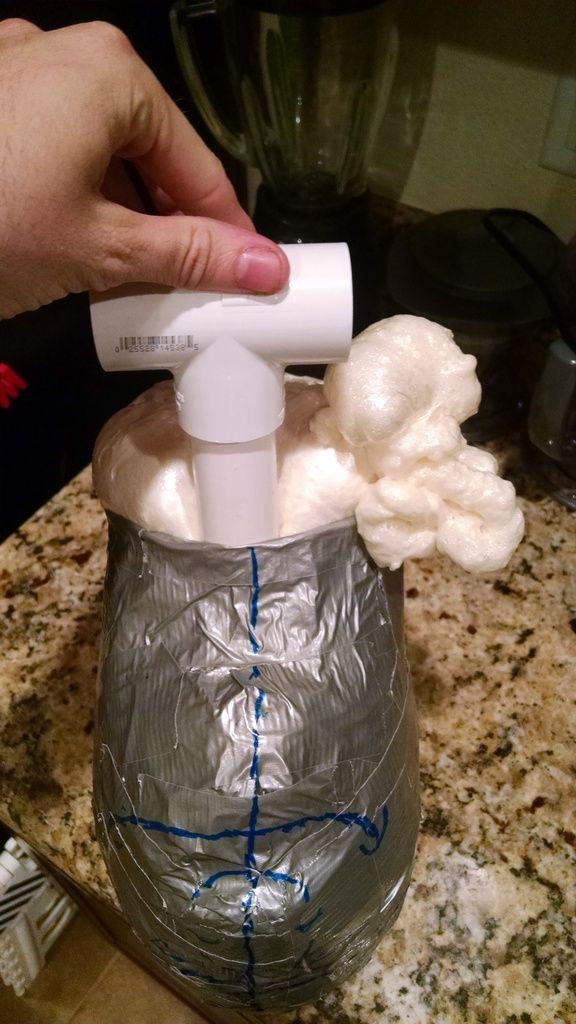
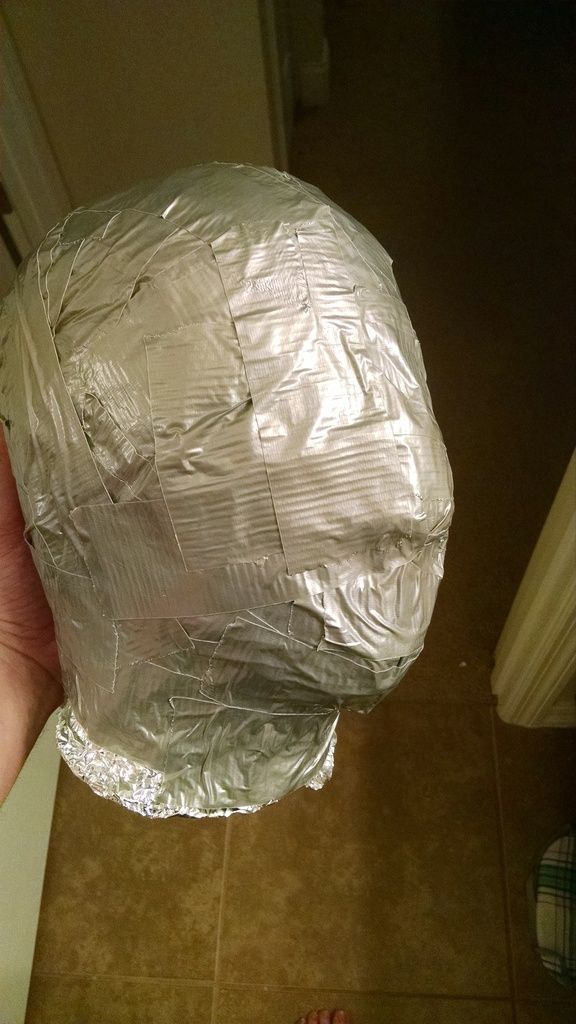
I trimmed the excess. You can see I have a PVC pipe that goes into the head with a T fitting on the end. This will connect to a PVC mannequin.
Looks more like a turtle than my face...
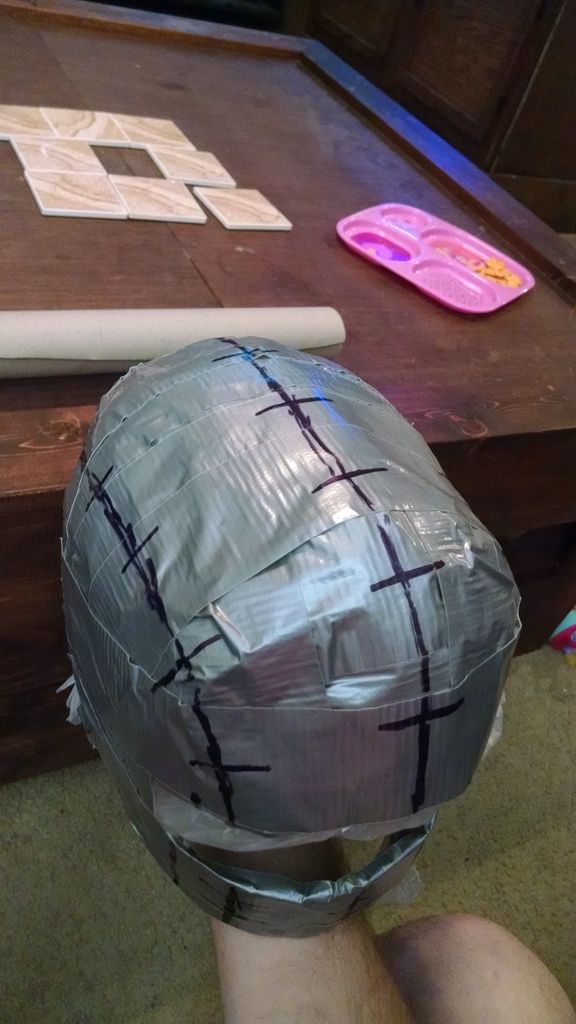
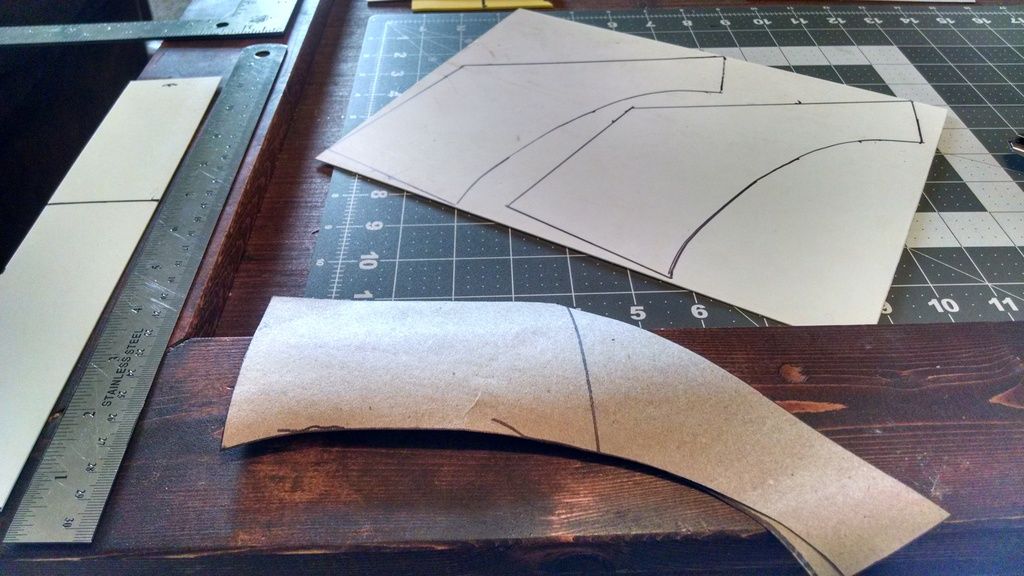
Now I started making a template for the helmet. I followed Evil Ted's method that he outlined on YouTube for an EVA foam helmet.
The plastic bag material is NOT a good substitute for tinfoil. Anyway, it came out alright.
Trimmed and traced onto paper.
Craft foam mock up
Not terrible. I modified the template a bit here and there.
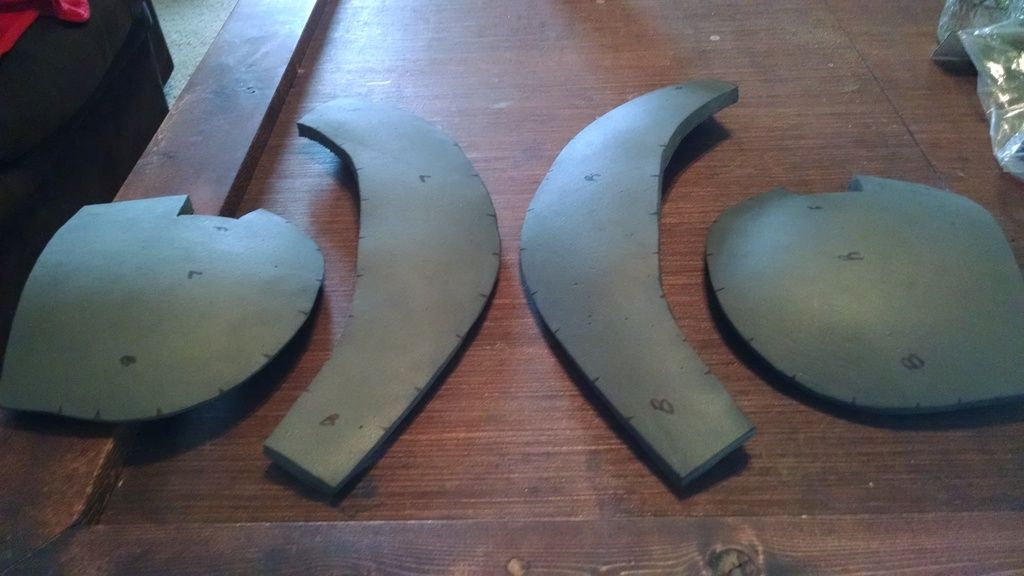
Transferred to EVA, cut out, and preformed.
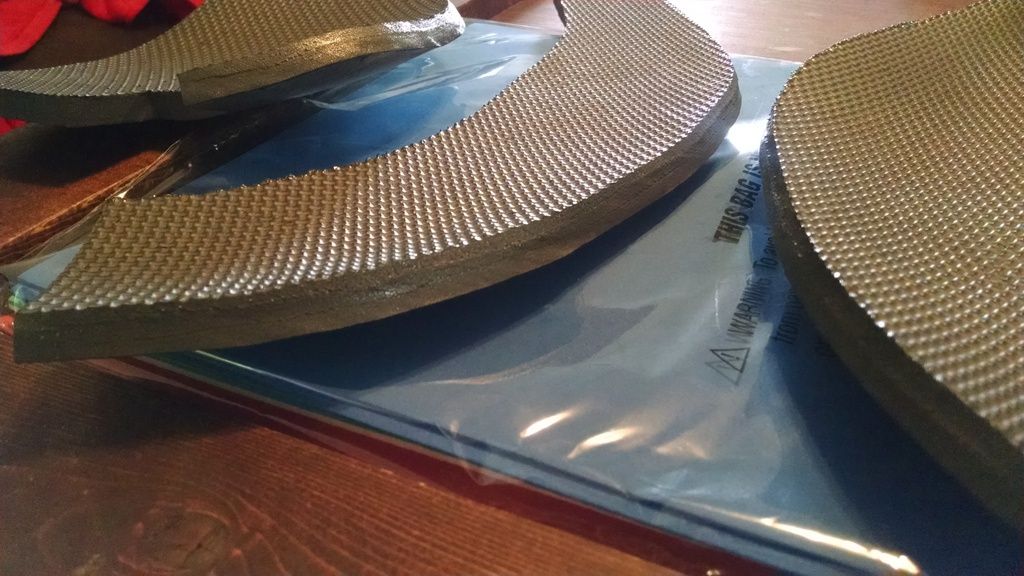
The application of contact adhesive. It is not barge cement, but it is a 3m contact cement.
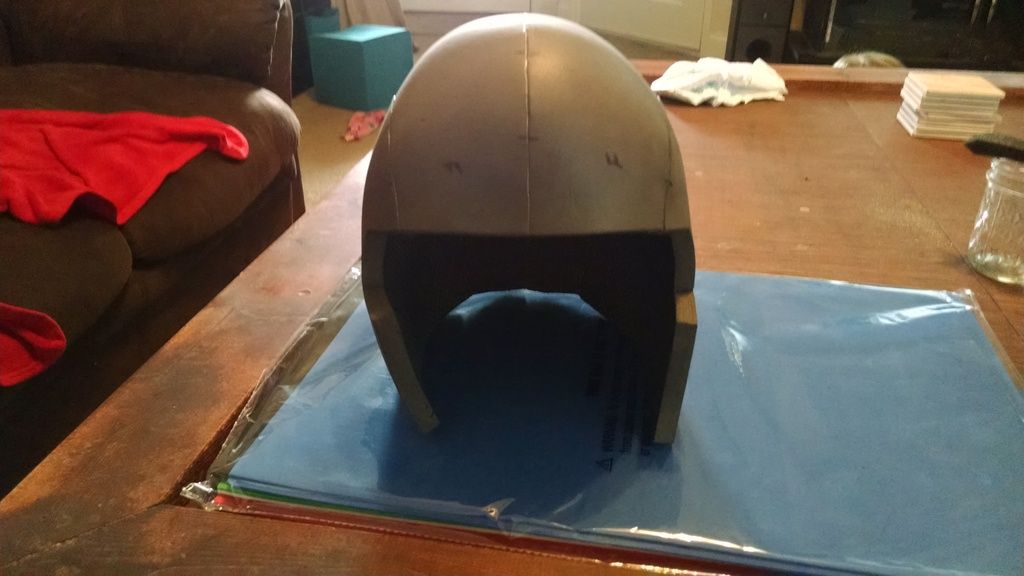
Together at last!
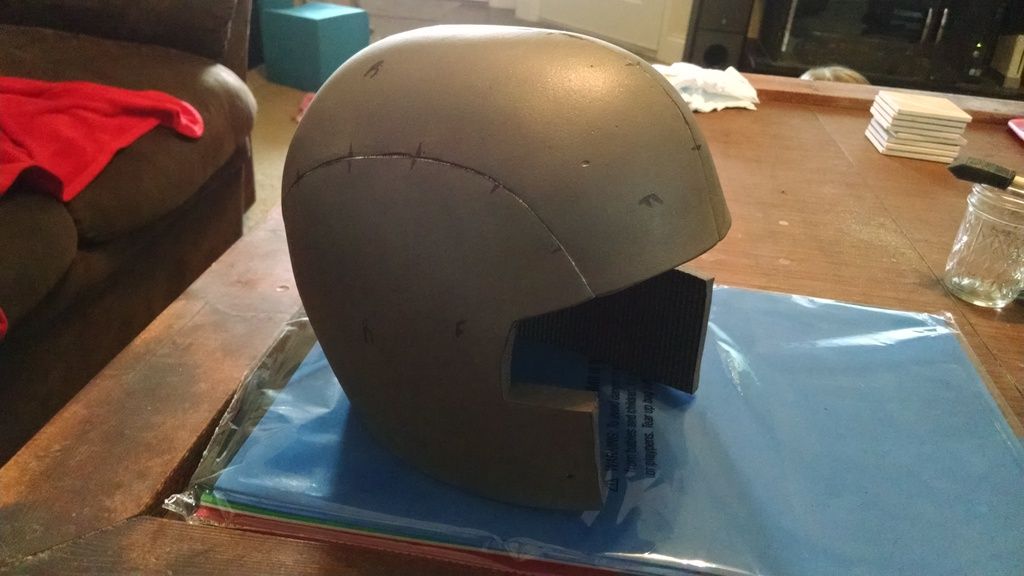
It isn't symmetrical, but it went together quite smoothly and I can fine tune the shape with heat.
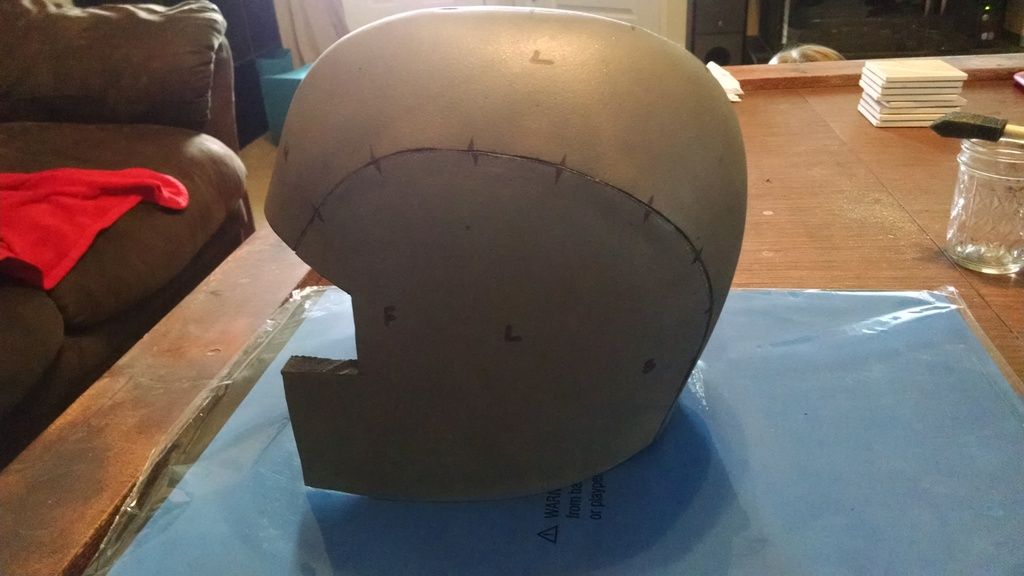
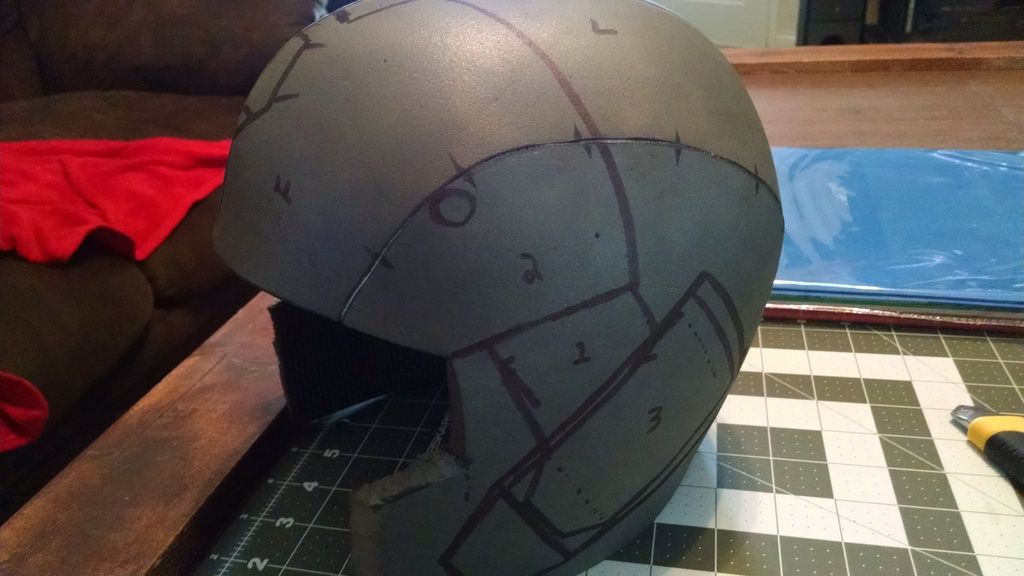
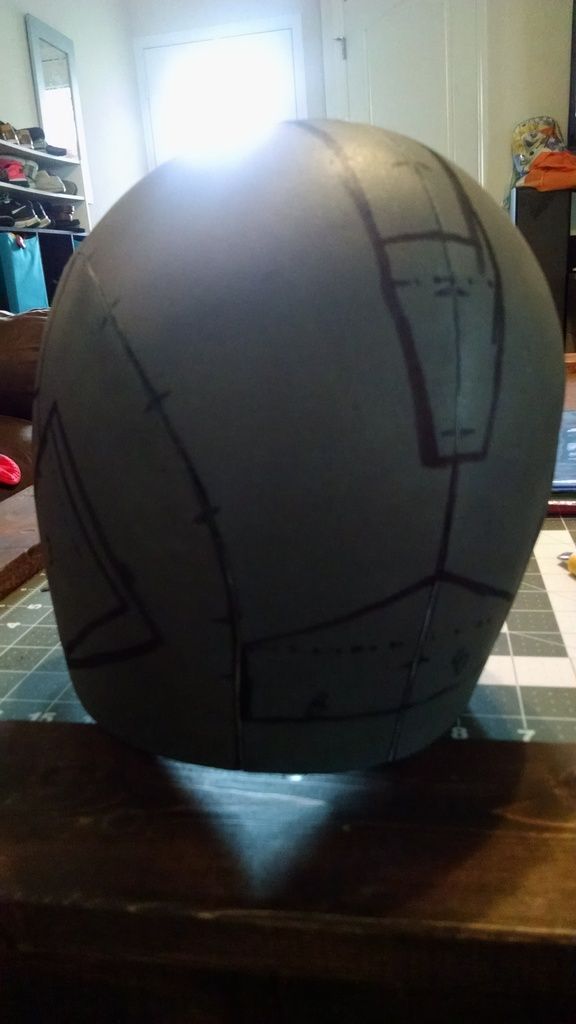
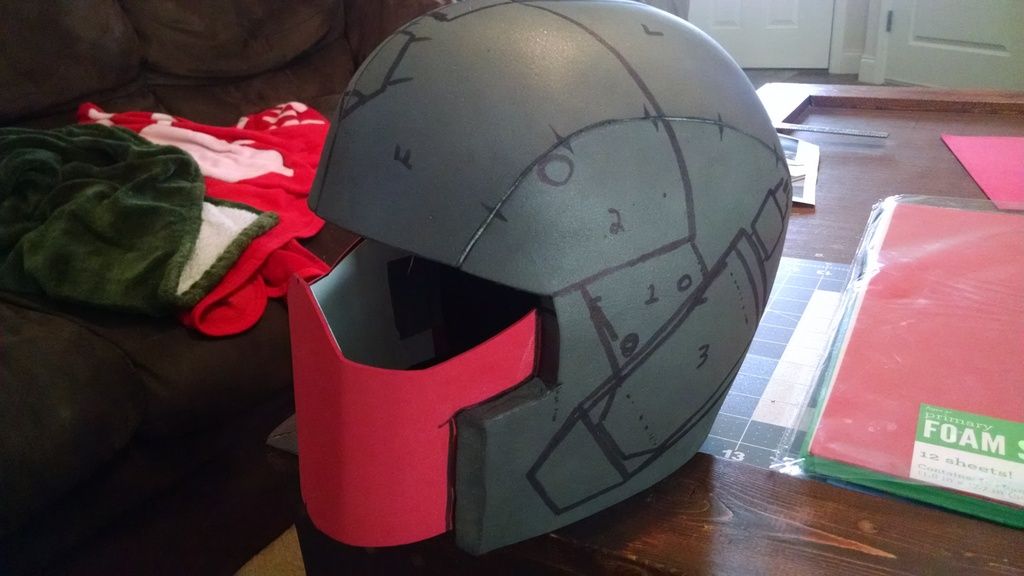
I started drawing the shapes I thought I'd need directly to the helmet. This gave me a sense of proportion.
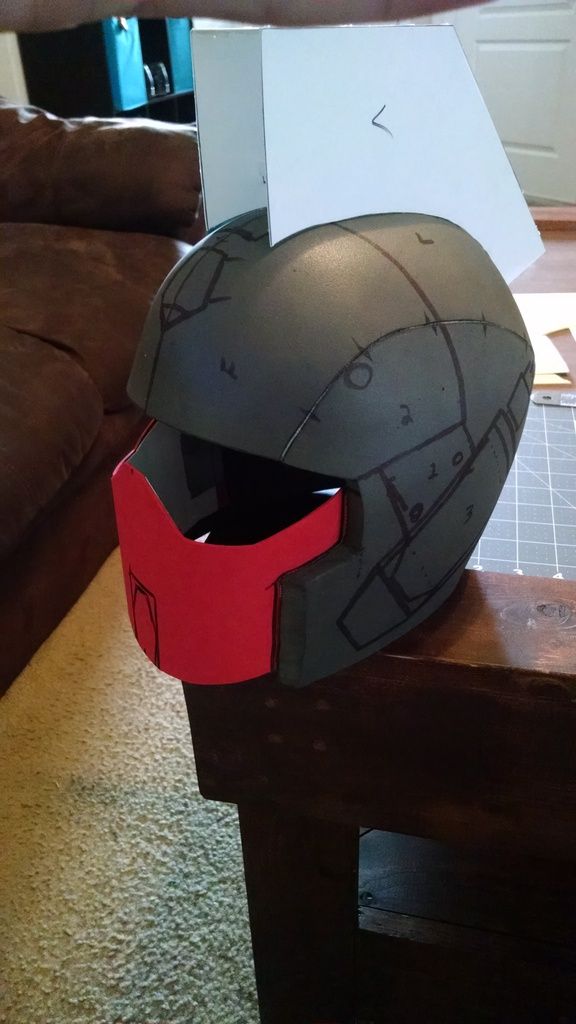
Then came the mask. I exaggerated the eyes so I have a larger viewing area.
Looks good in the helmet to me.
Transferred to craft foam with a plastic backing for strength.
Fit into the helmet. Requires some additional molding at this point, but looks the part.
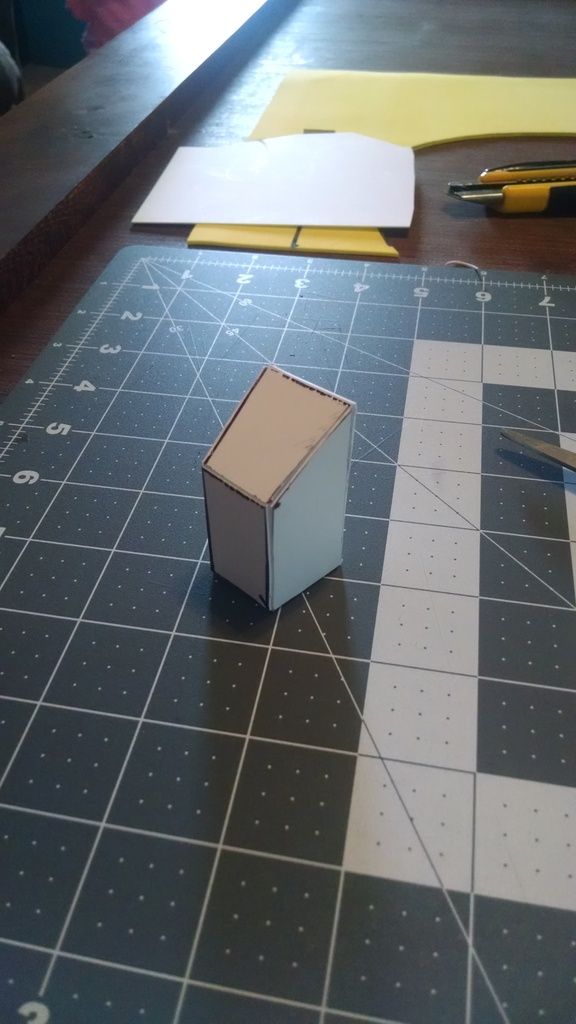
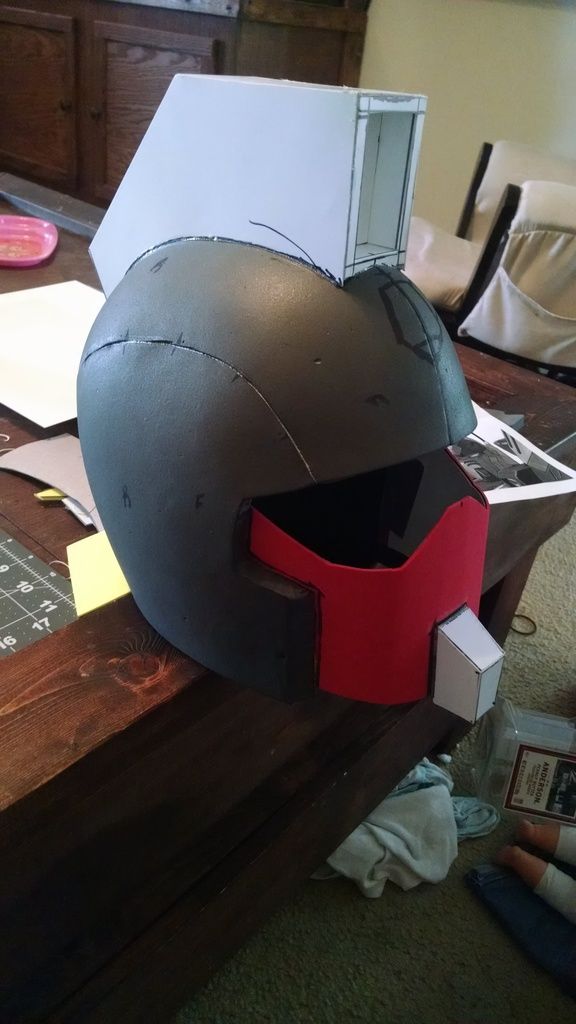
Moving onto the iconic Gundam 'chin'. I made several attempts at this and finally came to a form, shape, and method that worked.
It is a single piece that folds into the chin.
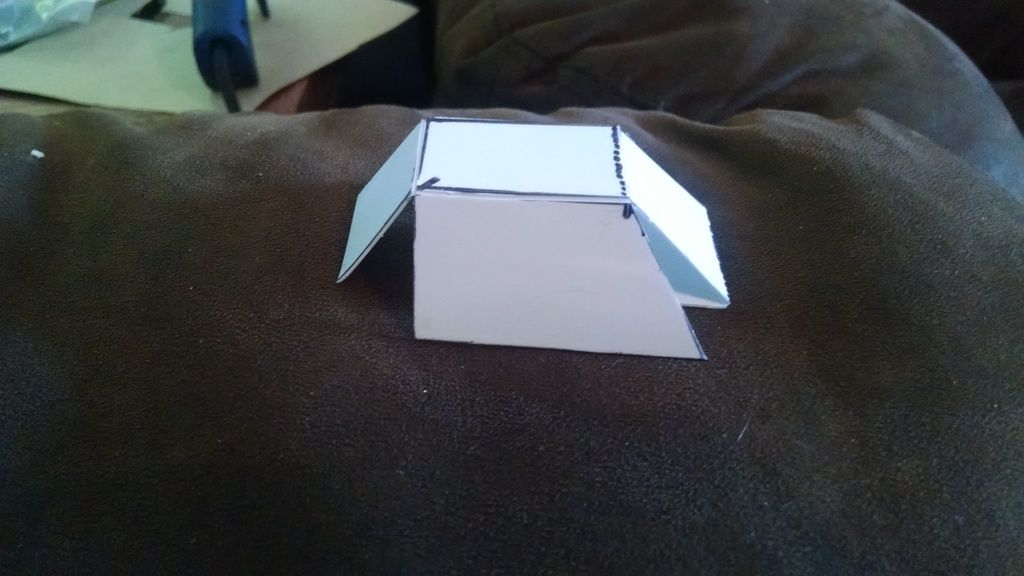 Glued from the inside:
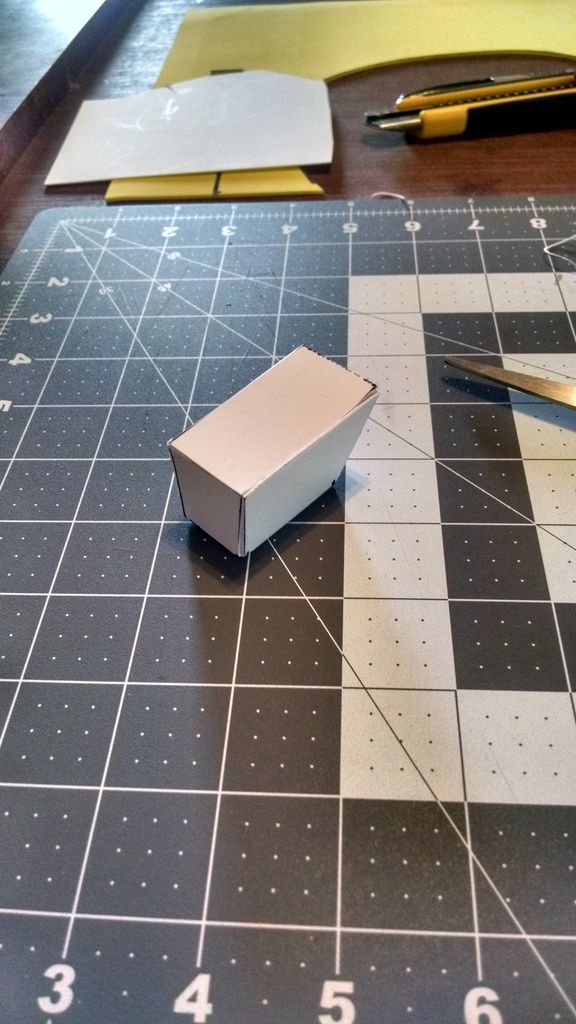
Test fit for proportion and placement.
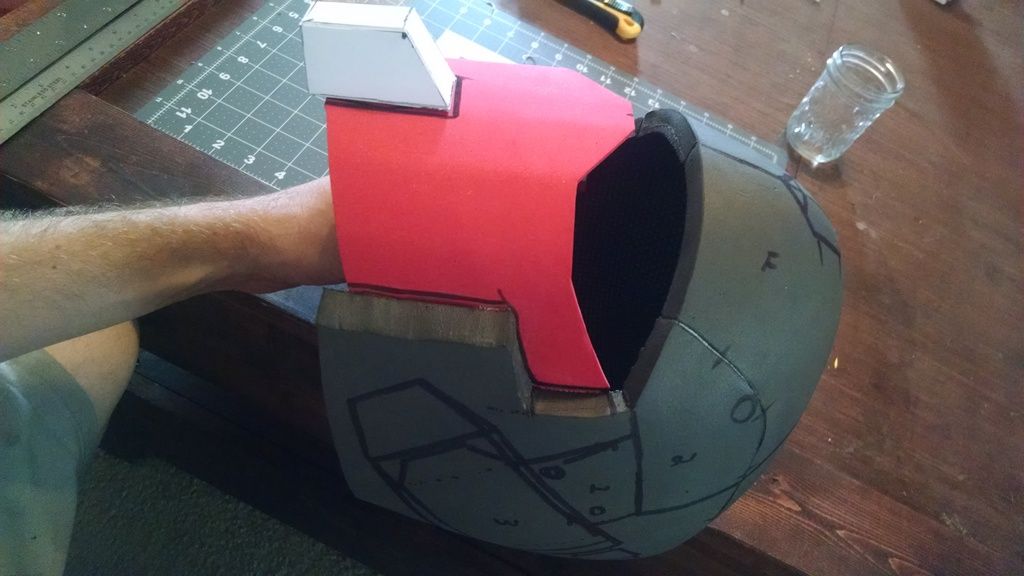
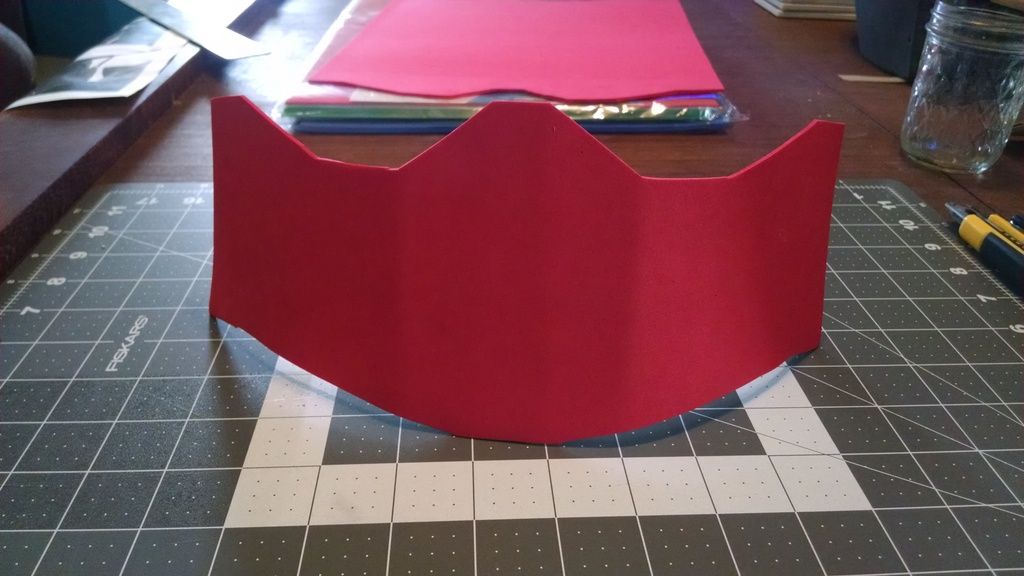
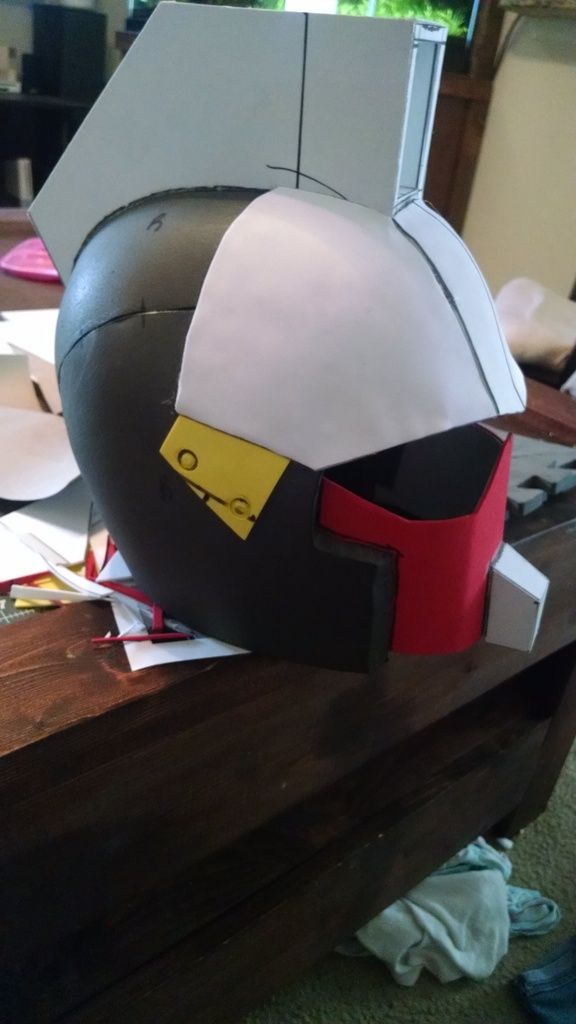
Moving onto the Mohawk. This is my v1 template. It ended up being a bit too tall when I re-measured the proportions. It did, however, leave me plenty of space for final trimming to fit the contour of the helmet.
This is the Mohawk pre-trim to fit the exact shape of the helmet.
Trimmed and details added to the Mohawk. It now has a front indent and a rear (not pictured).
I added several layers of craft foam for the visor portion of the helmet and added some side detail. I made 'rivets' with a dremel too.
I added the signature Gundam V and tried it on
.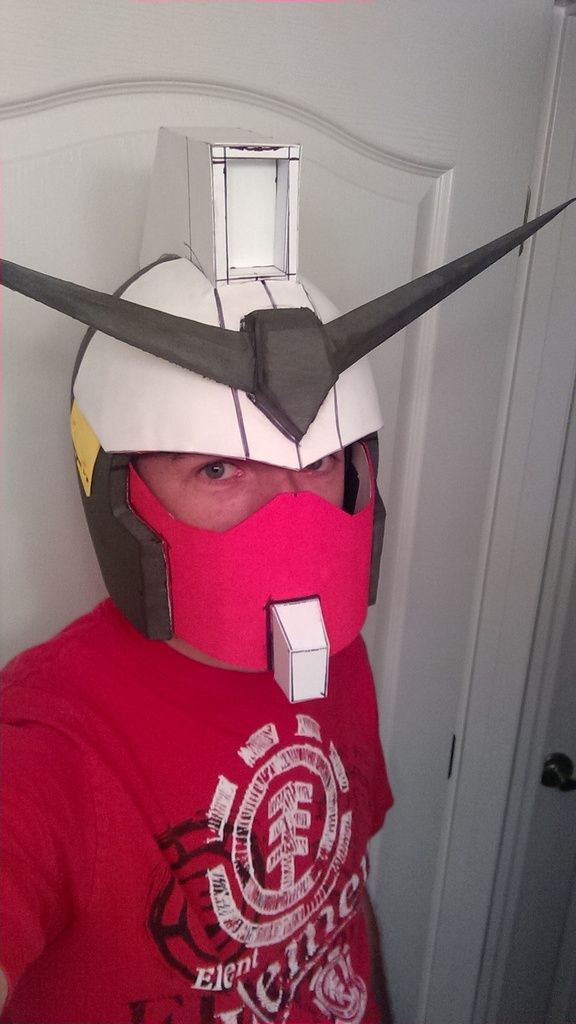
That's where I ended today. The helmet still needs the 'ear' portions, some details to be cleaned up, notches in the mask, a visor, eyes, filling the cracks, and then sealing and painting. This is a weekend project, so updates may be sparse. The goal is to have it finished my March-April 2016.
I found Clive's tutorial ages ago and thought he did a magnificent job. I just recently found interest in making a foam set of armor. So I'll be combining his method with some traditional cosplay EVA foam methods. First thing first, according to Clive's tutorial, would be the head. I wanted to make a cast of my head for wearing props anyway. So I started with that before making the actual helmet.You can see the excitement oozing out of my pores here. (It was actually just uncomfortable with tinfoil against my skin)

Glad to have it off my head!

I taped up the front and added a tinfoil cast of my nose. I didn't want to cover my entire face since I was doing this solo.

I filled the head with several layers of expanding foam. Unfortunately, it didn't fill the nose. But for wearing helmets, it will be fine.

I trimmed the excess. You can see I have a PVC pipe that goes into the head with a T fitting on the end. This will connect to a PVC mannequin.

Looks more like a turtle than my face...

Now I started making a template for the helmet. I followed Evil Ted's method that he outlined on YouTube for an EVA foam helmet.

The plastic bag material is NOT a good substitute for tinfoil. Anyway, it came out alright.

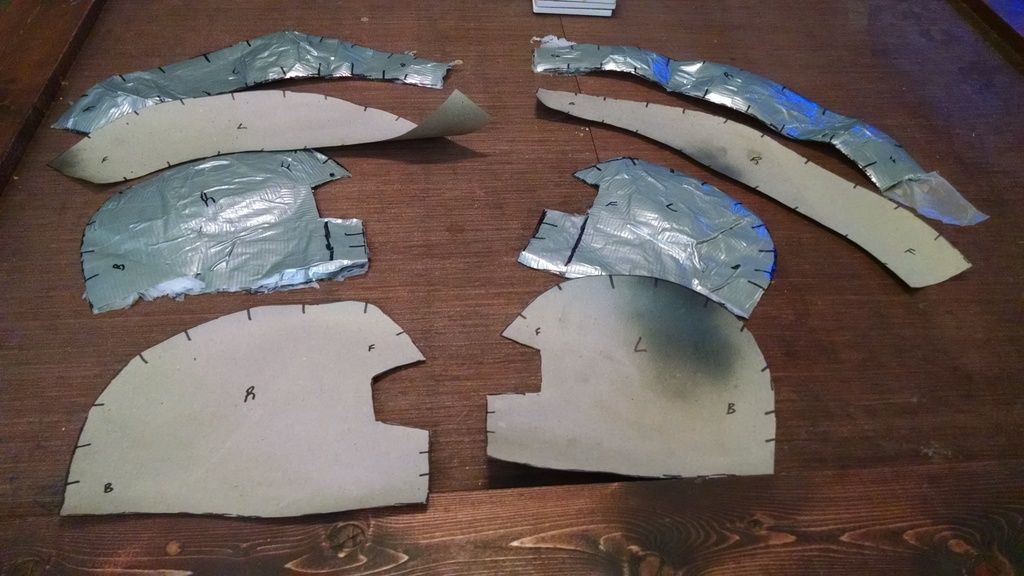
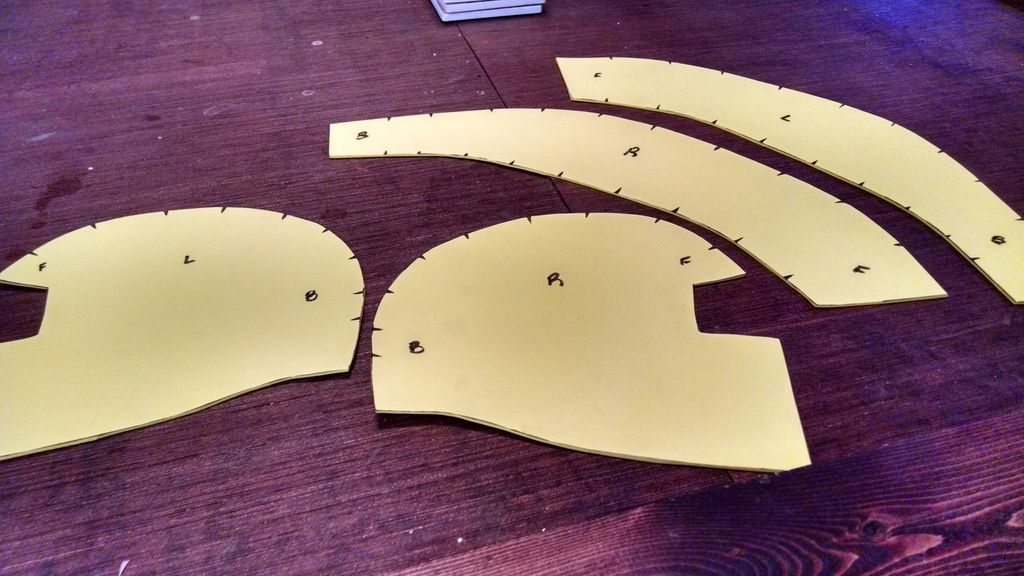
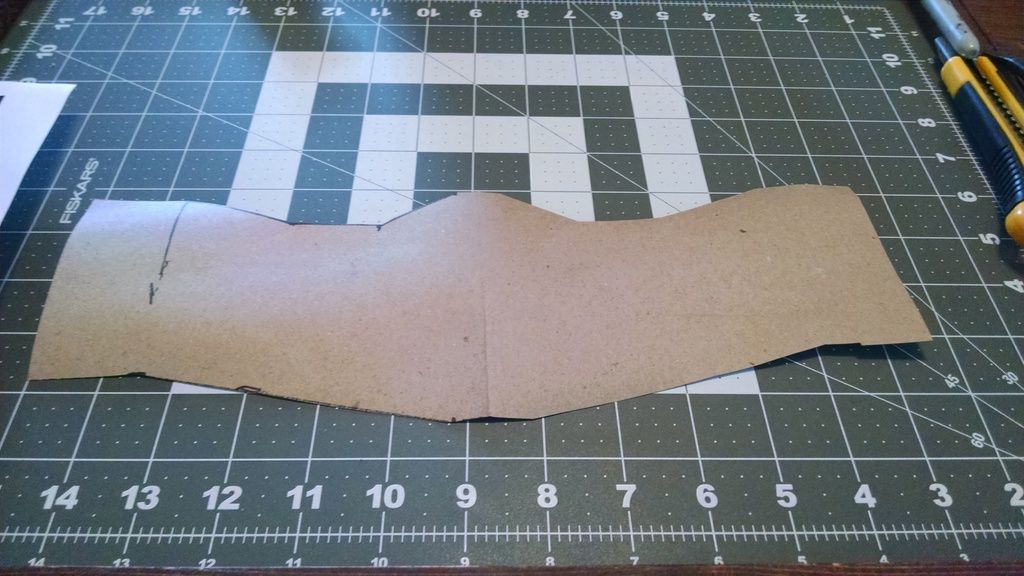
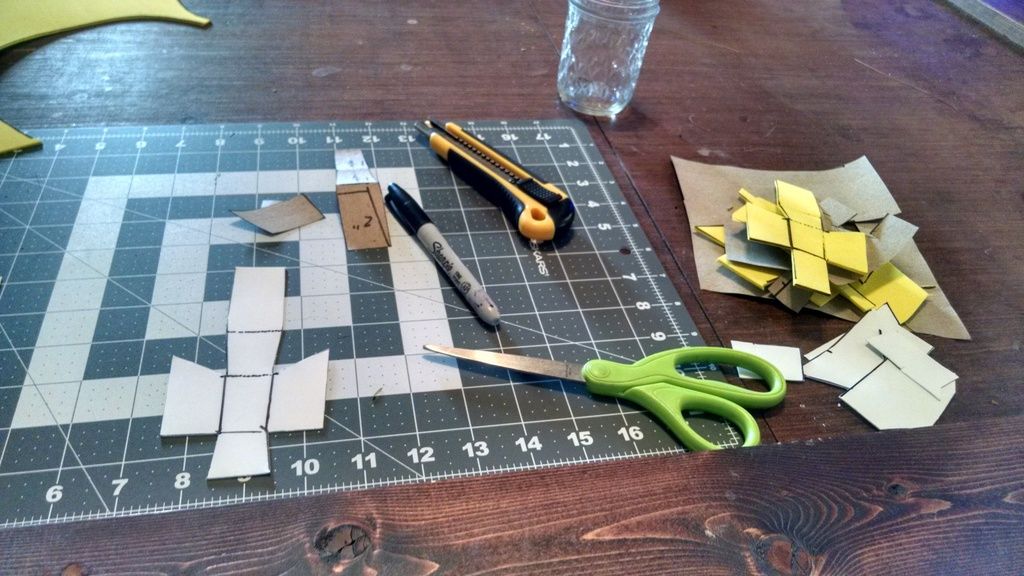
Trimmed and traced onto paper.

Craft foam mock up

Not terrible. I modified the template a bit here and there.


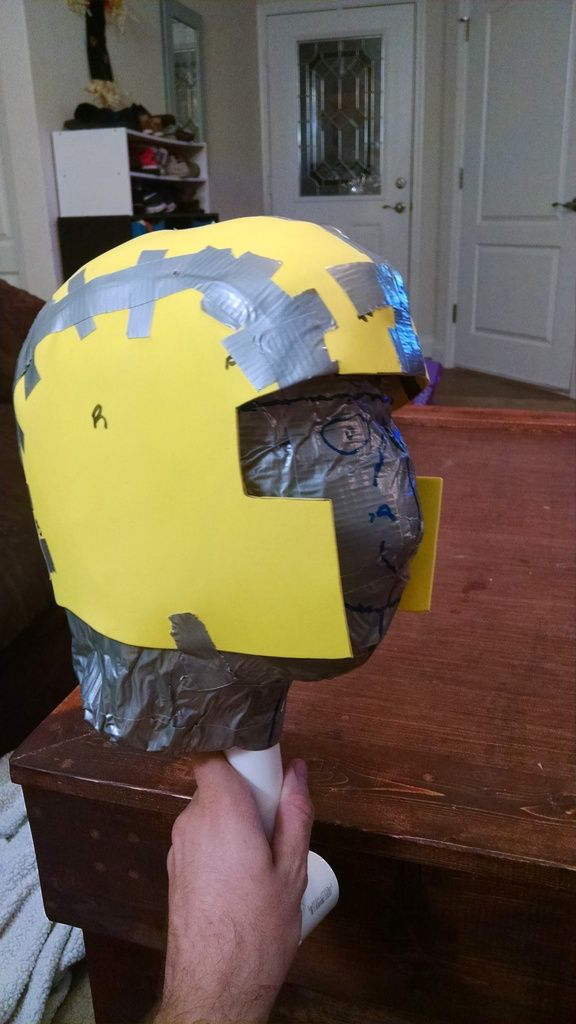
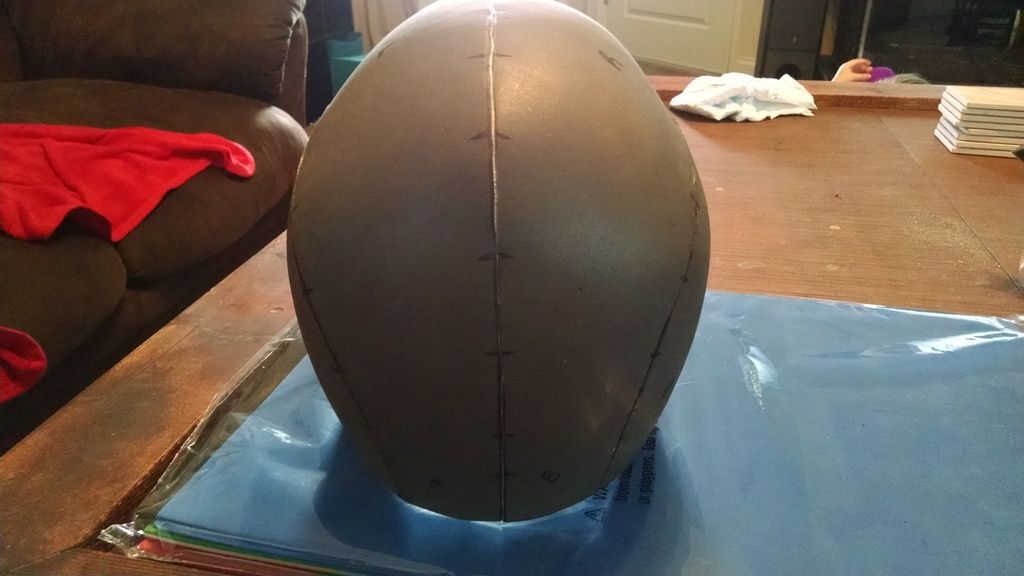
Transferred to EVA, cut out, and preformed.

The application of contact adhesive. It is not barge cement, but it is a 3m contact cement.

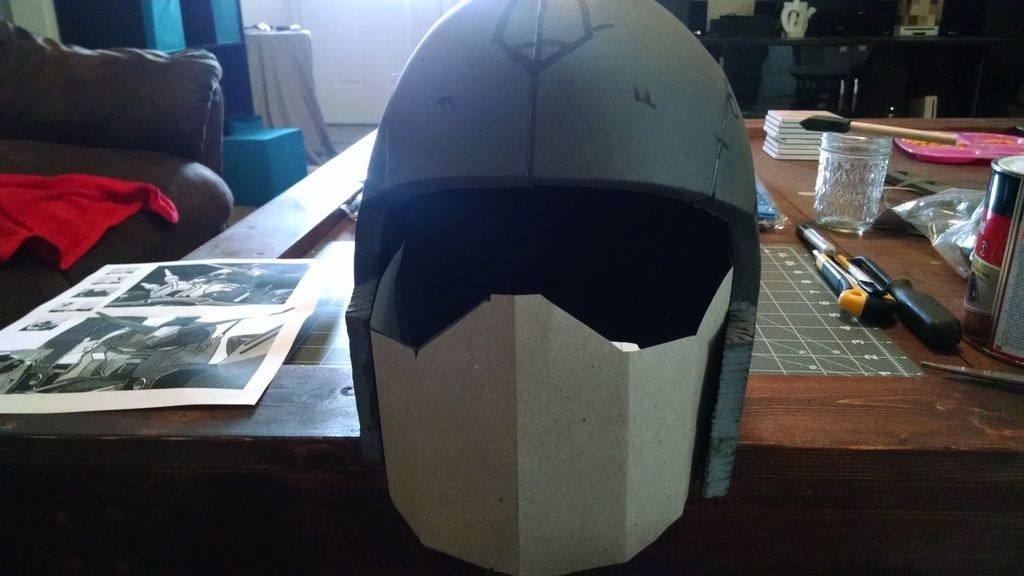
Together at last!

It isn't symmetrical, but it went together quite smoothly and I can fine tune the shape with heat.


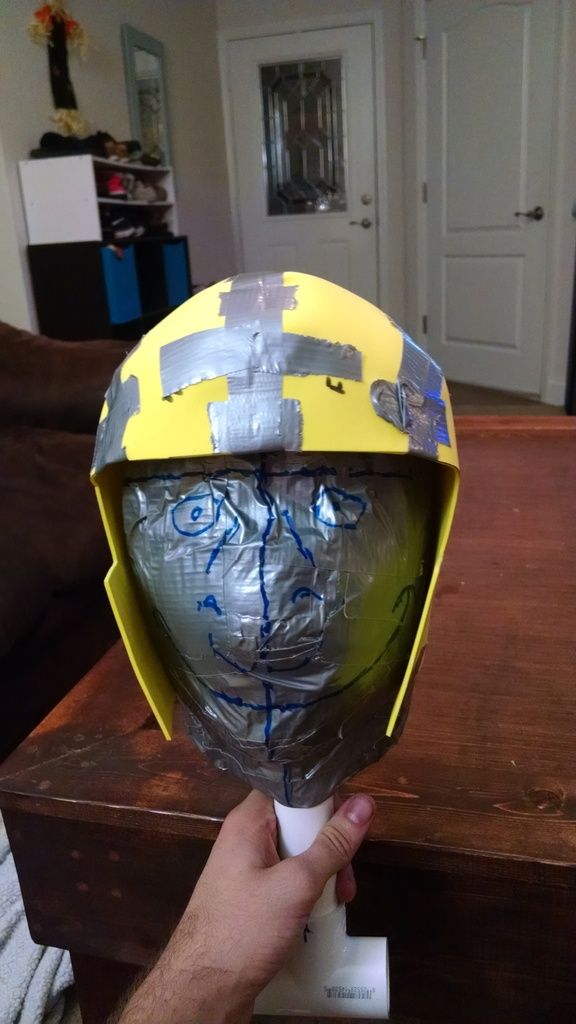
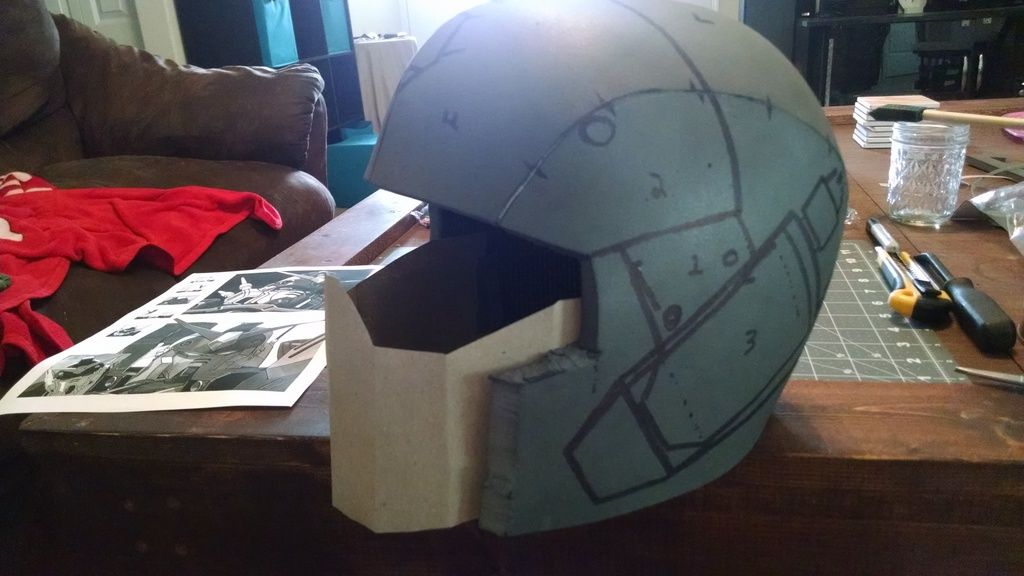
I started drawing the shapes I thought I'd need directly to the helmet. This gave me a sense of proportion.


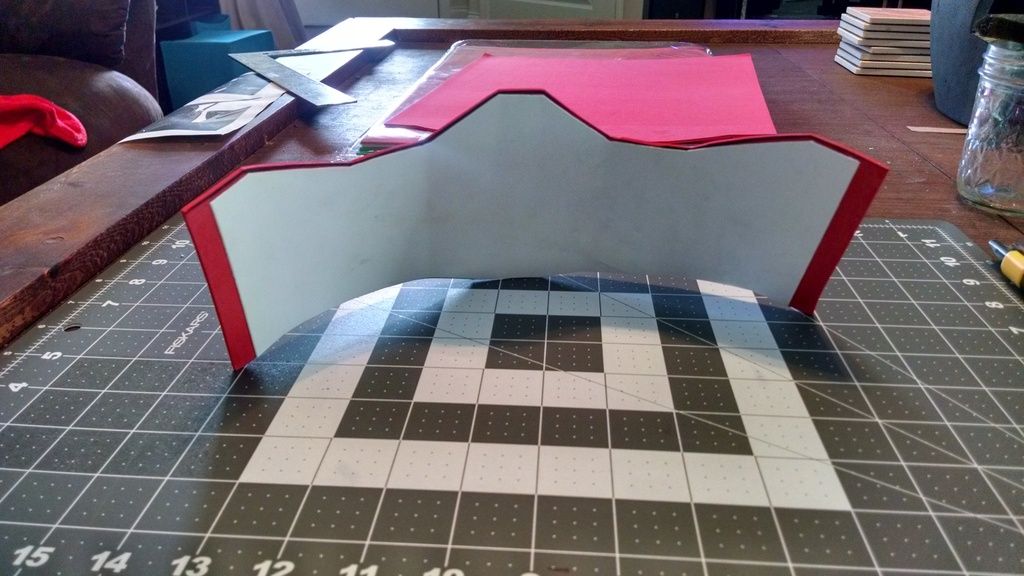
Then came the mask. I exaggerated the eyes so I have a larger viewing area.

Looks good in the helmet to me.


Transferred to craft foam with a plastic backing for strength.


Fit into the helmet. Requires some additional molding at this point, but looks the part.

Moving onto the iconic Gundam 'chin'. I made several attempts at this and finally came to a form, shape, and method that worked.

It is a single piece that folds into the chin.
 Glued from the inside:

Test fit for proportion and placement.

Moving onto the Mohawk. This is my v1 template. It ended up being a bit too tall when I re-measured the proportions. It did, however, leave me plenty of space for final trimming to fit the contour of the helmet.

This is the Mohawk pre-trim to fit the exact shape of the helmet.

Trimmed and details added to the Mohawk. It now has a front indent and a rear (not pictured).

I added several layers of craft foam for the visor portion of the helmet and added some side detail. I made 'rivets' with a dremel too.

I added the signature Gundam V and tried it on
.

That's where I ended today. The helmet still needs the 'ear' portions, some details to be cleaned up, notches in the mask, a visor, eyes, filling the cracks, and then sealing and painting. This is a weekend project, so updates may be sparse. The goal is to have it finished my March-April 2016.

