Daniel Nelms
Sr Member
Daniel Nelms (3D printer/designer) and IronManiac (Artist/Illustrator) have joined forces to bring you something very special.
We've collaborated to design and produce a very accurate representation of Star Lord's rocket launch buttons from Marvel's hit movie, The Guardians of the Galaxy.
Our Buttons:

Movie button:

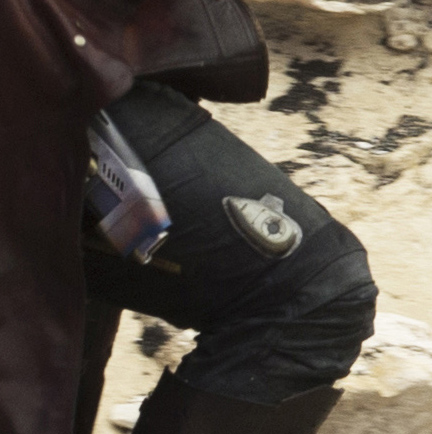

I really thing we got the design down very well and personally feel that these launch buttons are the most screen accurate to date.
Perhaps one of the greatest things about our design is the way in which they mount to the pants. Each kit comes with a custom cut, two layer iron on patch which you simply apply to your pants in the proper position. Each button is embedded with strong rare earth magnets to easily snap in place on to the pants. They are strong enough to keep the buttons in place all day while you walk around at a con but easy enough to remove for cleaning.
Now you can wash your stinky sweaty trousers without having to worry about damaging your beautiful props! :lol
We have 2 options:
Option 1: We are offering unfinished kit that contains two cold cast aluminum buttons, four magnets, and two iron on patches. Cost $40
Option 2: IronManiac is offering finished and painted buttons, these are the same as option one except he'll do the painting for you. All you have to do is unbox and iron on the patches! See the pictures above, they look amazing! Cost $60.00
Where?
At our Etsy shop located here. https://www.etsy.com/shop/NovaPropsCompany
From IronManiac:
Time for an image dump. If you're not quite sold on a pair of our launch buttons, have a look.
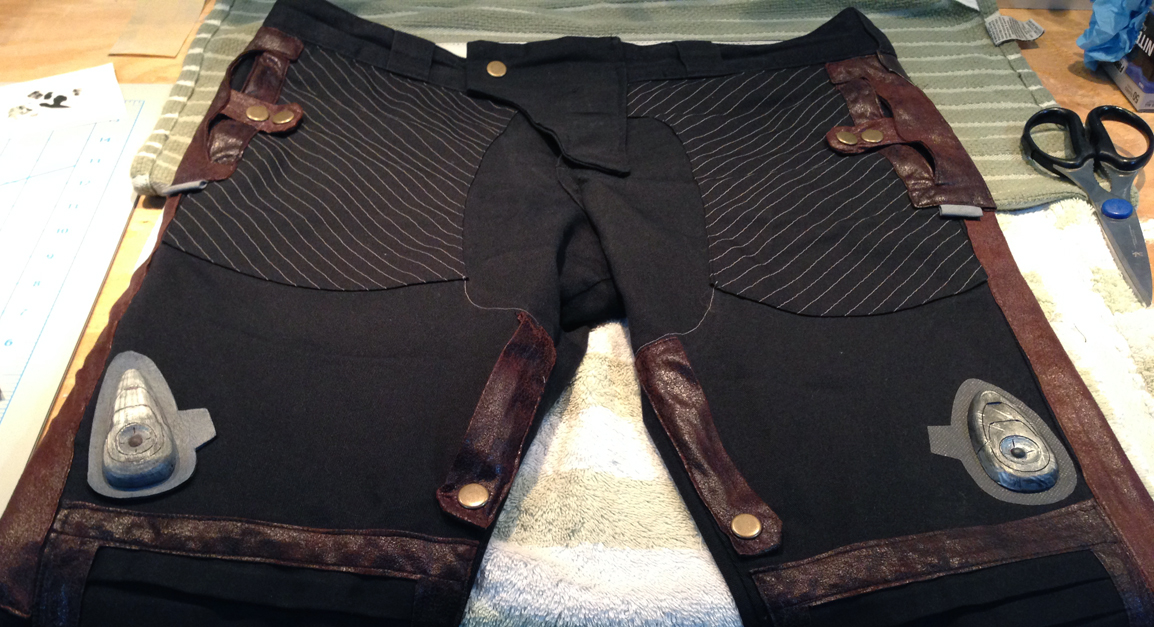
Ok, here are my Star Lord pants. I worked with a pair of ladies who are amazing seamstresses and former cosplayers who are just as nitpicky about the details as I am. We started with a pair of Dickies work pants, skinny fit. Then we meticulously measured all the unique details of the pants based on limited photos we could find before the movie came out. They set to work and managed to get all the details just right, and I love them. They fit great, they look unique, and NO, they are not taking commissions.
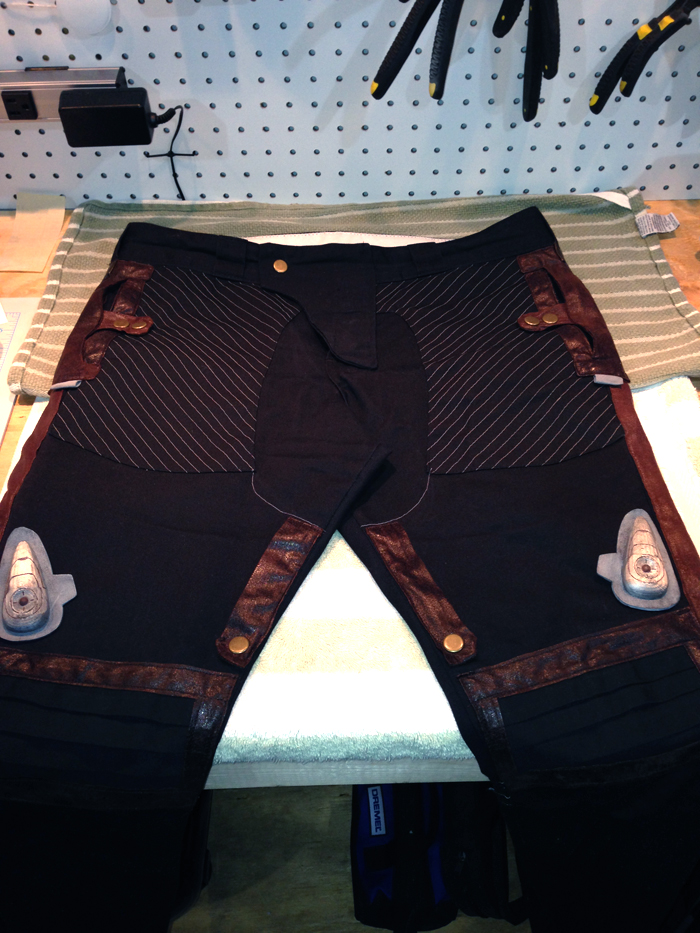
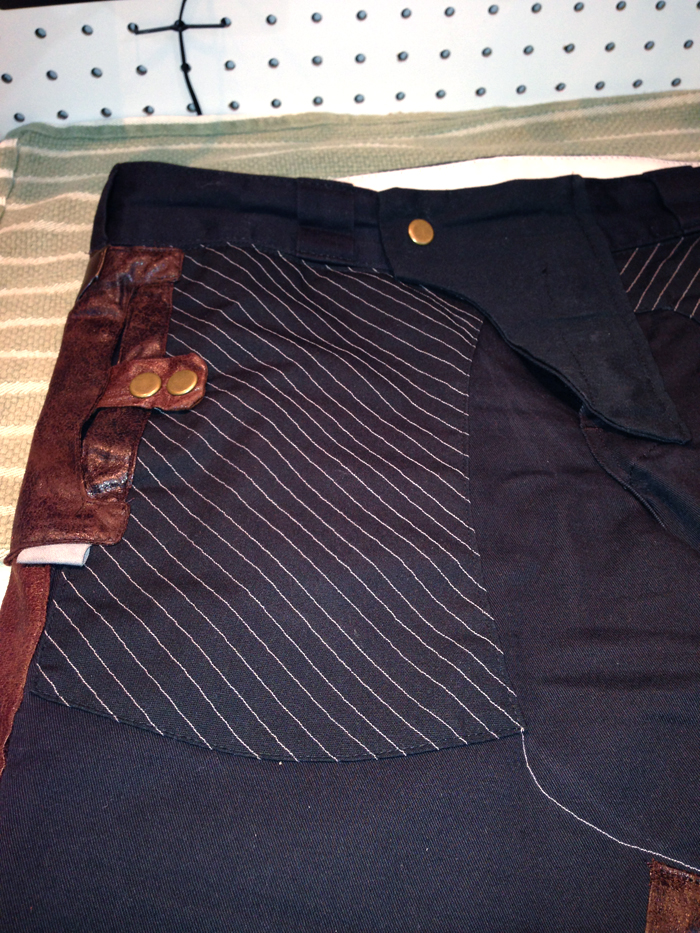
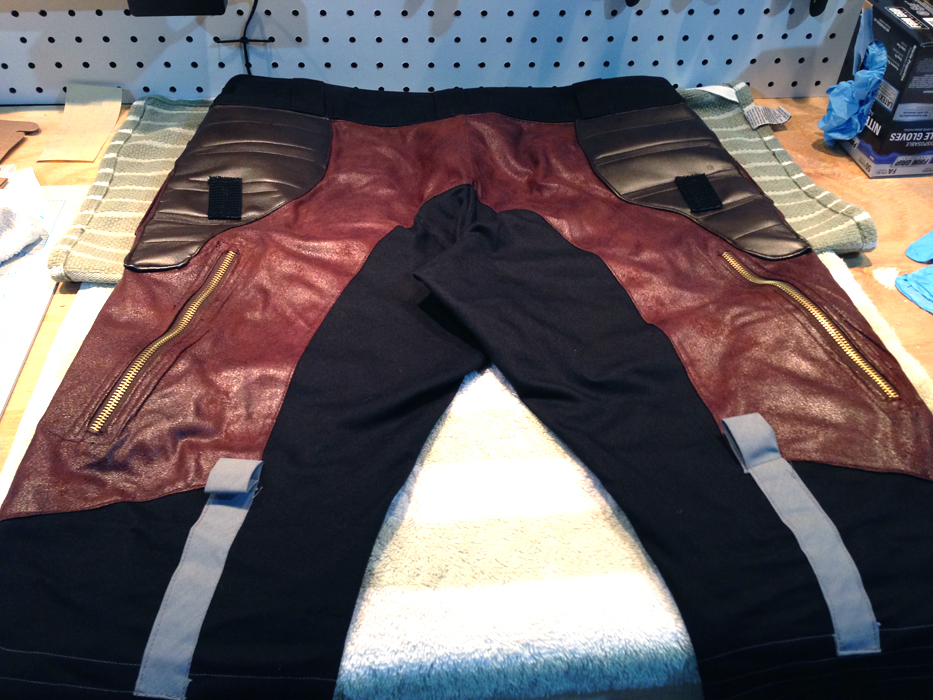
So obviously, they deserve some really good looking rocket buttons and patches. That's where Daniel came in. First, I drew up a rocket button and he modeled and 3d printed my design. It was pretty good, but not perfect. Looking back I didn't have quite the right shape. And I was running out of time before dragoncon, so I had him print me a pair, i painted them without sanding and called it a day. I used some thin craft foam, painted it silver, and put a few stitches through the foam into the leg. Then i superglued the button to the foam. Not a bad effort, but I knew we could do better.
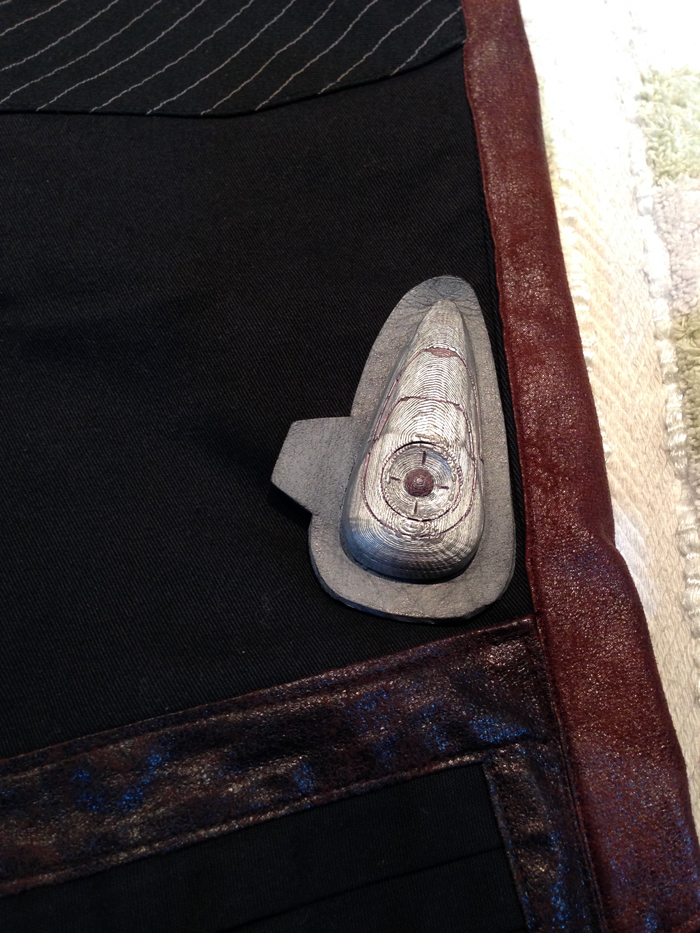
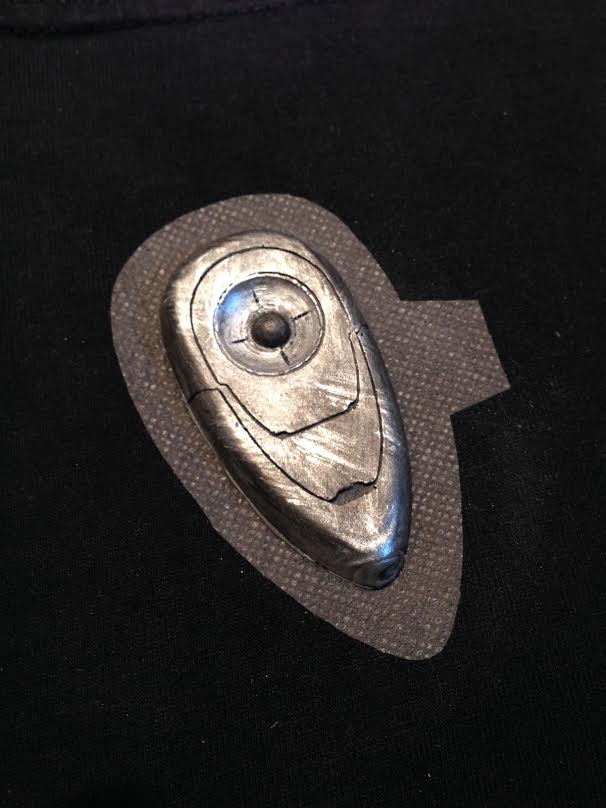
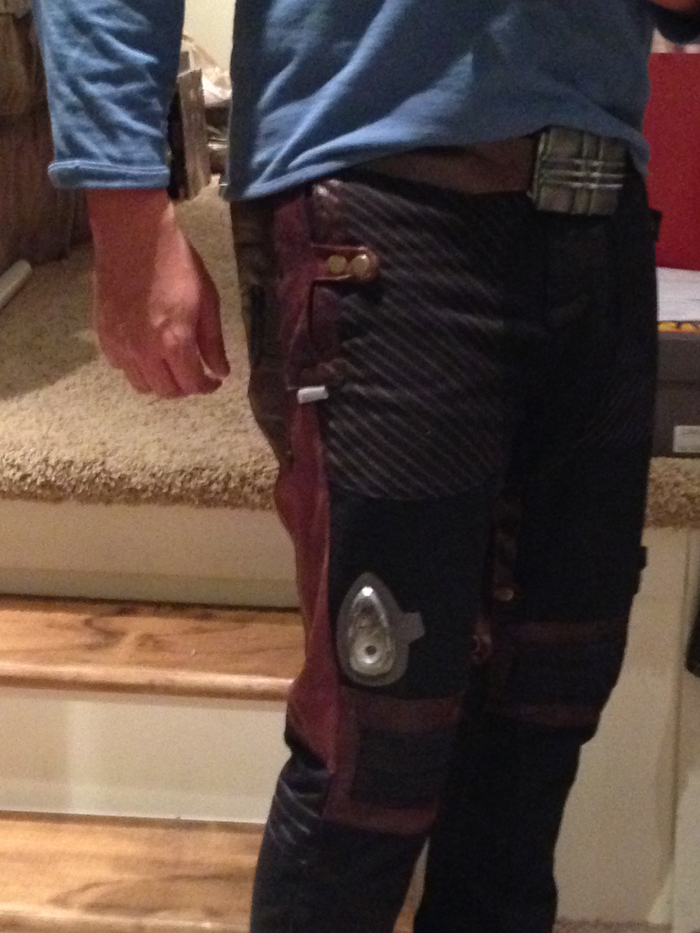
Behold the mark II.
It's a night and day difference and the results speak for themselves. Daniel Nelms and I went back over the design and worked out how we could tweak it to make the button even more accurate. Then, after 3D printing out a new model, Daniel did an absolutely AMAZING job of smoothing and sanding to get a button that's much smoother. He also went back and hand carved the detail lines. I may have helped with the design, but it was really Daniel's hard work that made the buttons look as good as you see here.
So I have the pants, and I have a patch and button. Lets put em together. Now everyone, pay attention. We'll be posting this info in the first post of the thread, because while adding the patches to your pants is easy, we don't want anybody to mess up their new patches or their pants. All you'll need is an iron and a clean hand towel.
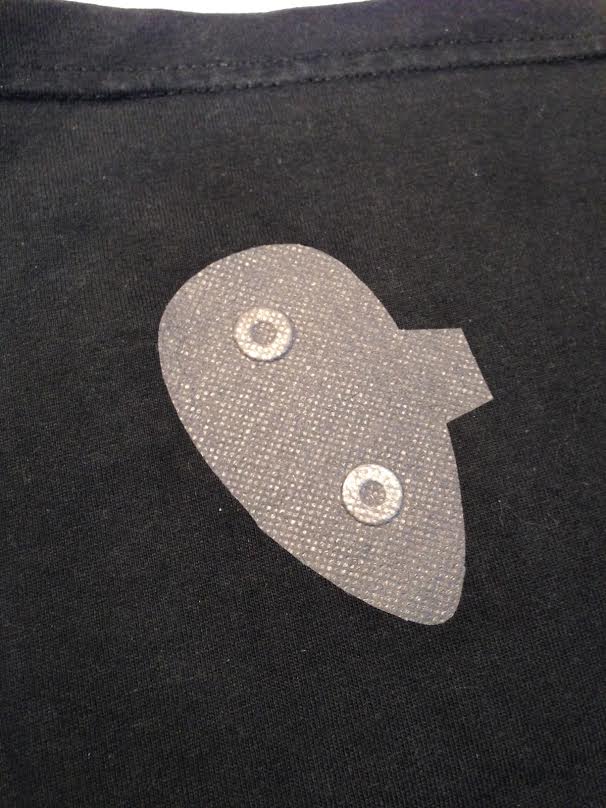
You'll receive two patches, just like the one above. On the patch, youll find a thin waxy paper on the back. VERY carefully, peel that away from your patch. Like so:
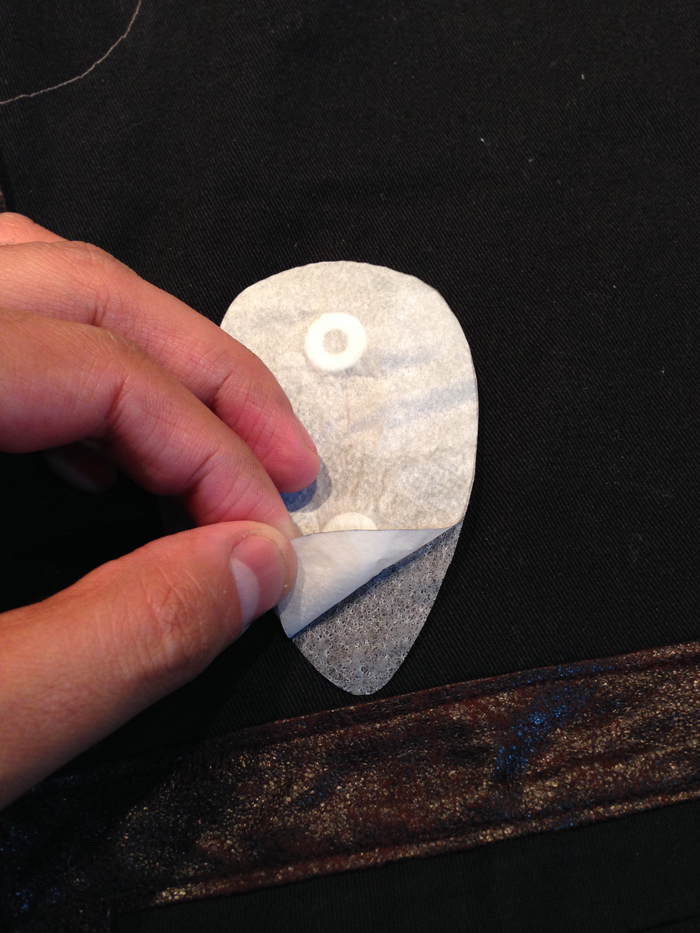
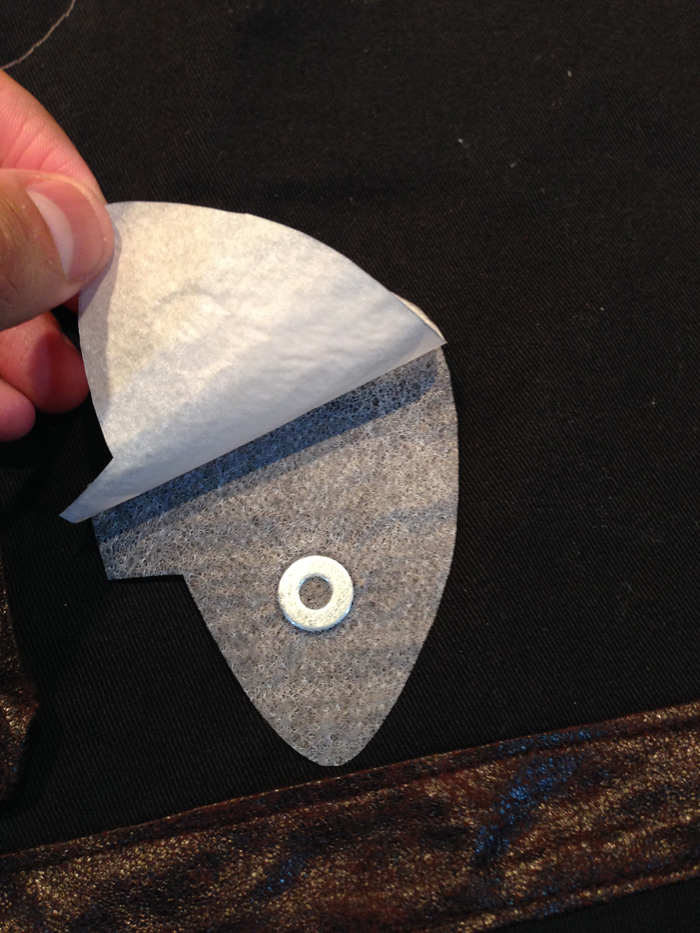
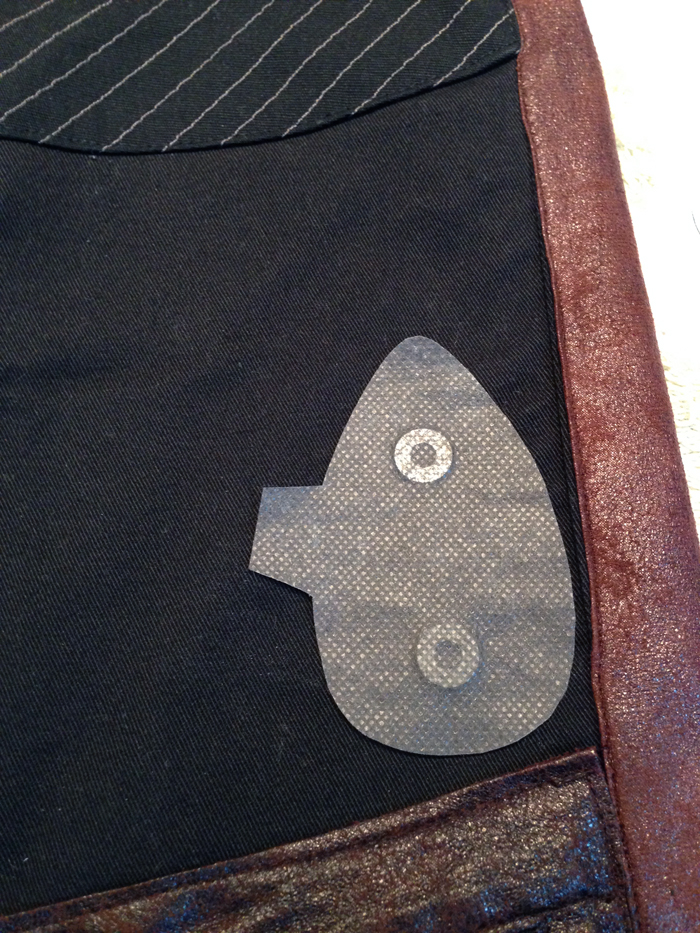
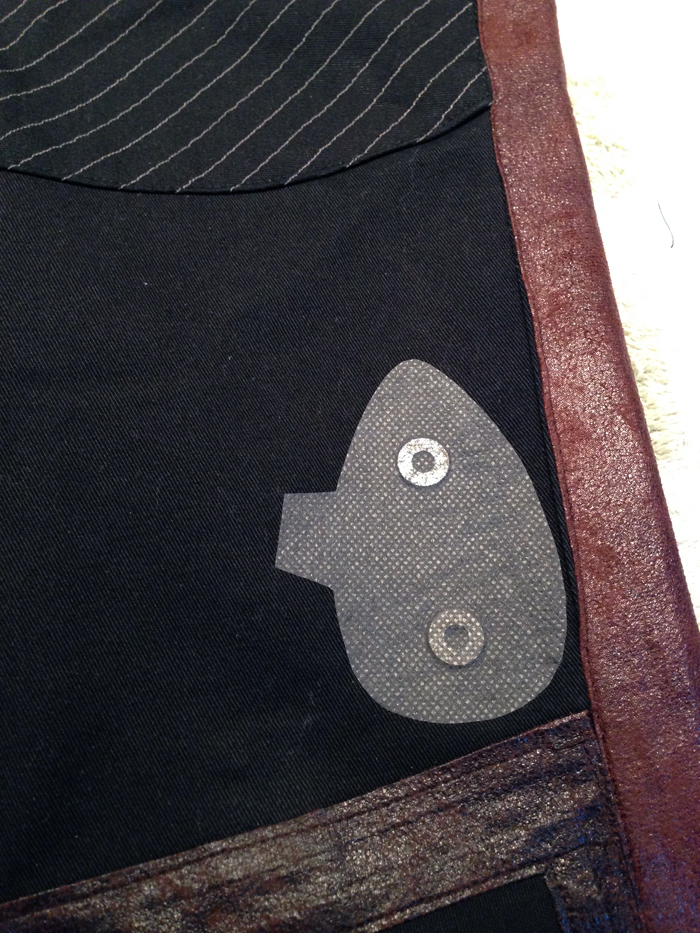
You'll be left with a very thin mesh, and the metal washers will be embedded between grey and white meshes. This is what you'll be ironing on.
Take some time and figure out how you want to position the patch on your pants. You want the side that you just peeled the wax paper from to be facing DOWN toward the PANTS. That white mesh is the iron on material, so you want it facing the piece you are ironing to.
Use your button as a visual aid to help position them where you want. Once you're happy with the placement, it's time to get out that hand towel and heat up the iron. Set the iron to MEDIUM heat. Take your hand towel, and lay it over the patch gently so your patch doesn't move from where you want it. Once your iron is hot, apply it to the towel over your patch with some strong pressure hold it for 30-45 seconds. This will bond your patch to your pants permenantly.
Take your time. When you're ready, remove the iron and the towel. Your patch should now be bonded to your pants. If any of the edges or corners are still not quite stuck down, Put the towel back over the patch and apply the iron for another 30-45 seconds. Once it's all stuck down, you're done!
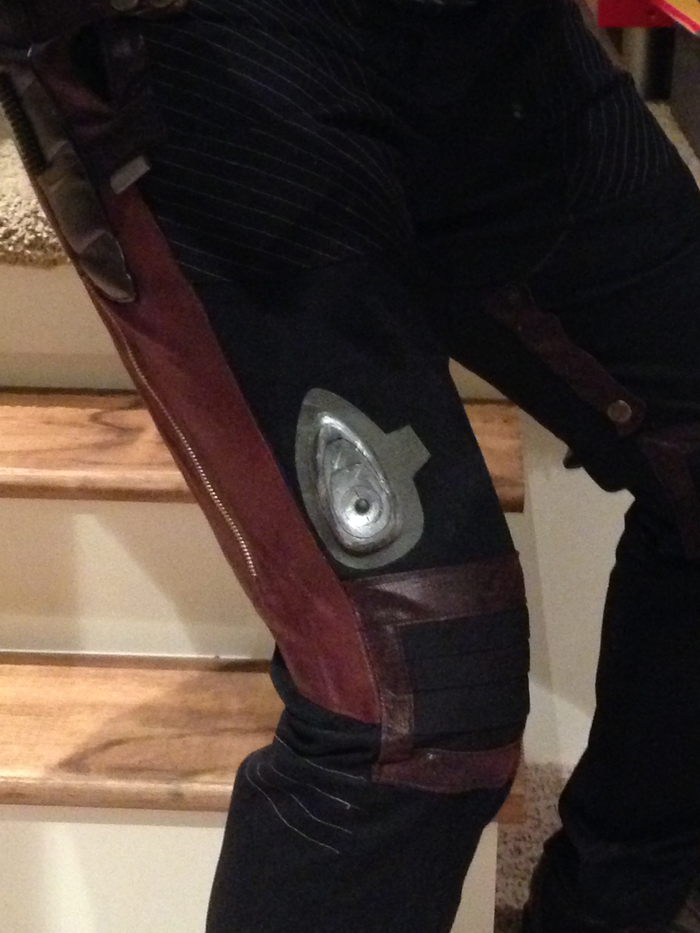
OOooooooOOOH!

All magnetized and ready to save the galaxy!
Here are a few more pics:
Sorry for the crappy selfie quality. But these buttons aren't going anywhere!
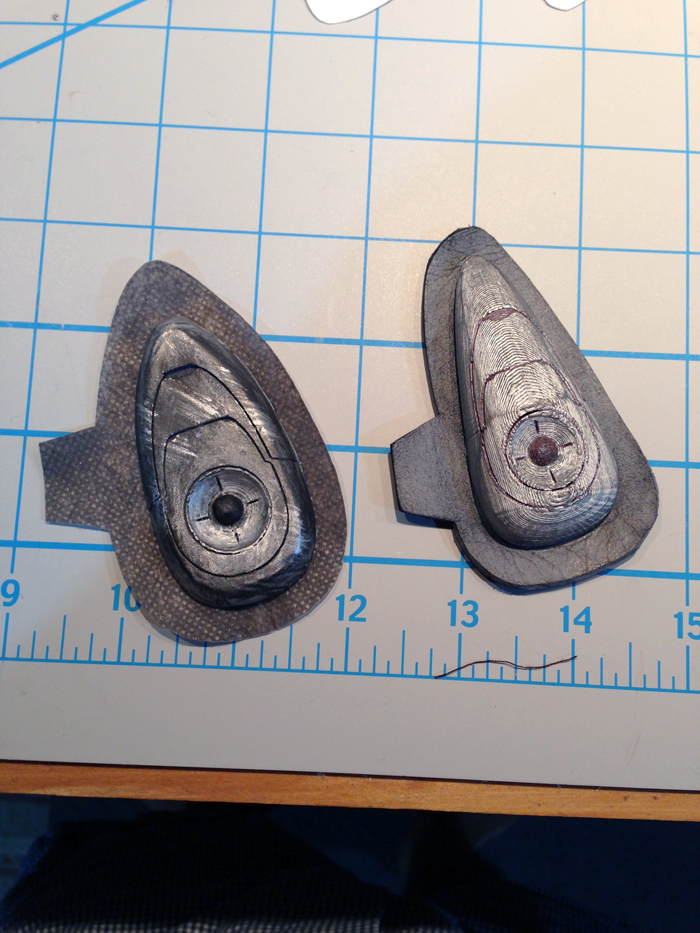
Before on the left, after on the right. Such an improvement.
Thanks for looking. Spots are still available, so get yours while you can!
Here's a video showing how to finish our cold-cast buttons:
<em>


We've collaborated to design and produce a very accurate representation of Star Lord's rocket launch buttons from Marvel's hit movie, The Guardians of the Galaxy.
Our Buttons:
Movie button:
I really thing we got the design down very well and personally feel that these launch buttons are the most screen accurate to date.
Perhaps one of the greatest things about our design is the way in which they mount to the pants. Each kit comes with a custom cut, two layer iron on patch which you simply apply to your pants in the proper position. Each button is embedded with strong rare earth magnets to easily snap in place on to the pants. They are strong enough to keep the buttons in place all day while you walk around at a con but easy enough to remove for cleaning.
Now you can wash your stinky sweaty trousers without having to worry about damaging your beautiful props! :lol
We have 2 options:
Option 1: We are offering unfinished kit that contains two cold cast aluminum buttons, four magnets, and two iron on patches. Cost $40
Option 2: IronManiac is offering finished and painted buttons, these are the same as option one except he'll do the painting for you. All you have to do is unbox and iron on the patches! See the pictures above, they look amazing! Cost $60.00
Where?
At our Etsy shop located here. https://www.etsy.com/shop/NovaPropsCompany
From IronManiac:
Time for an image dump. If you're not quite sold on a pair of our launch buttons, have a look.
Ok, here are my Star Lord pants. I worked with a pair of ladies who are amazing seamstresses and former cosplayers who are just as nitpicky about the details as I am. We started with a pair of Dickies work pants, skinny fit. Then we meticulously measured all the unique details of the pants based on limited photos we could find before the movie came out. They set to work and managed to get all the details just right, and I love them. They fit great, they look unique, and NO, they are not taking commissions.
So obviously, they deserve some really good looking rocket buttons and patches. That's where Daniel came in. First, I drew up a rocket button and he modeled and 3d printed my design. It was pretty good, but not perfect. Looking back I didn't have quite the right shape. And I was running out of time before dragoncon, so I had him print me a pair, i painted them without sanding and called it a day. I used some thin craft foam, painted it silver, and put a few stitches through the foam into the leg. Then i superglued the button to the foam. Not a bad effort, but I knew we could do better.
Behold the mark II.
It's a night and day difference and the results speak for themselves. Daniel Nelms and I went back over the design and worked out how we could tweak it to make the button even more accurate. Then, after 3D printing out a new model, Daniel did an absolutely AMAZING job of smoothing and sanding to get a button that's much smoother. He also went back and hand carved the detail lines. I may have helped with the design, but it was really Daniel's hard work that made the buttons look as good as you see here.
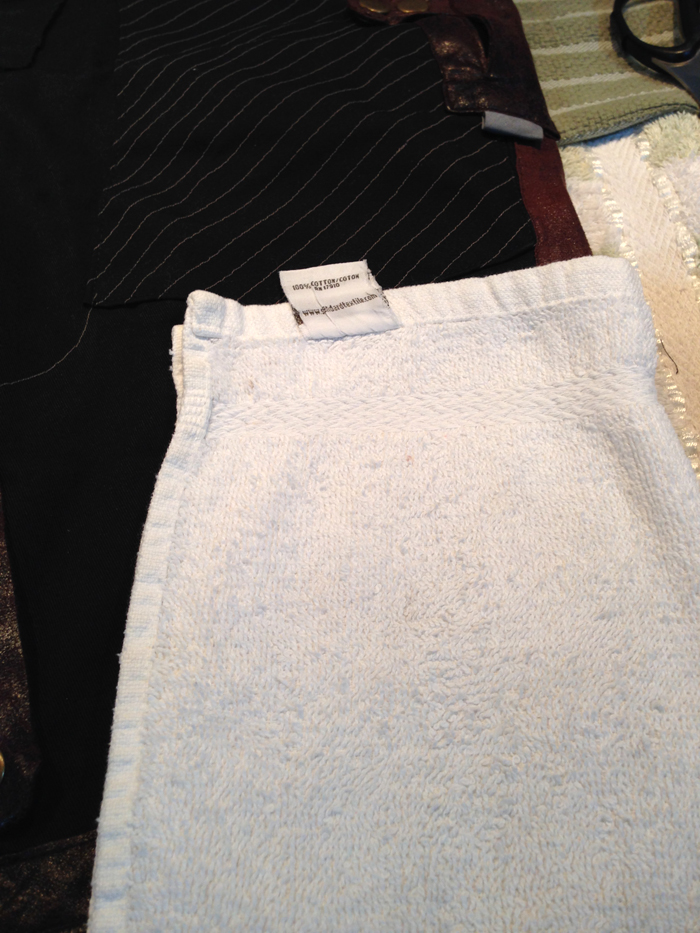
So I have the pants, and I have a patch and button. Lets put em together. Now everyone, pay attention. We'll be posting this info in the first post of the thread, because while adding the patches to your pants is easy, we don't want anybody to mess up their new patches or their pants. All you'll need is an iron and a clean hand towel.
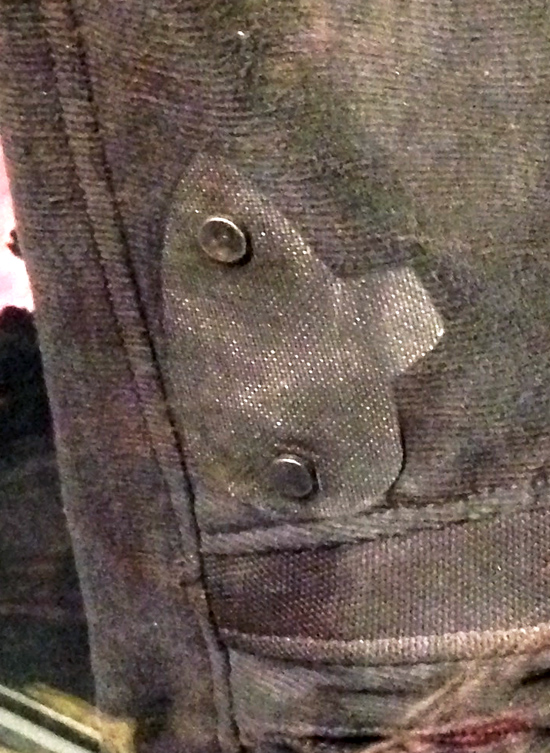
You'll receive two patches, just like the one above. On the patch, youll find a thin waxy paper on the back. VERY carefully, peel that away from your patch. Like so:
You'll be left with a very thin mesh, and the metal washers will be embedded between grey and white meshes. This is what you'll be ironing on.
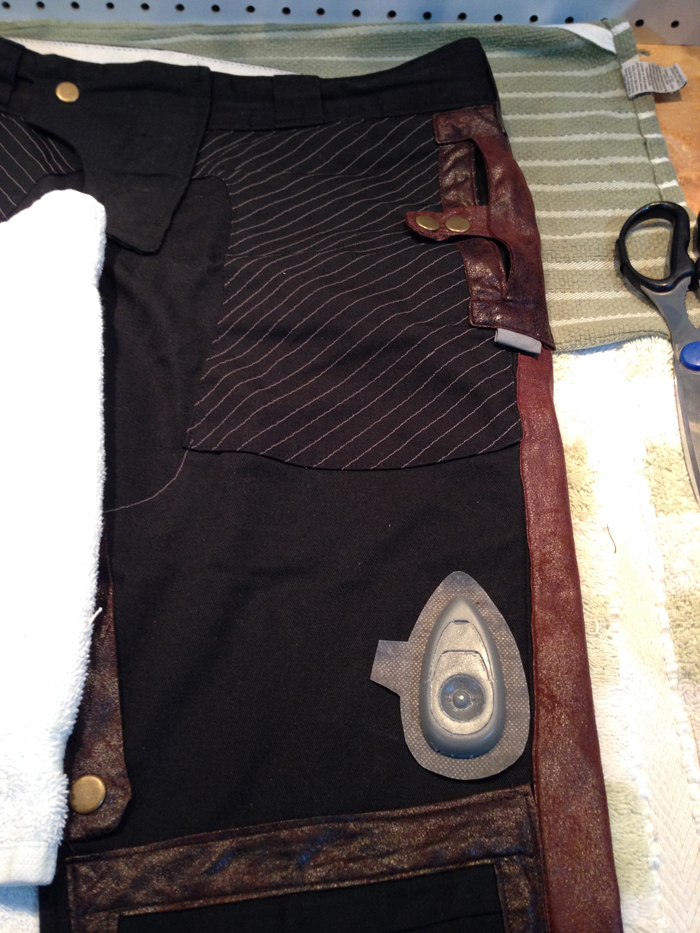
Take some time and figure out how you want to position the patch on your pants. You want the side that you just peeled the wax paper from to be facing DOWN toward the PANTS. That white mesh is the iron on material, so you want it facing the piece you are ironing to.
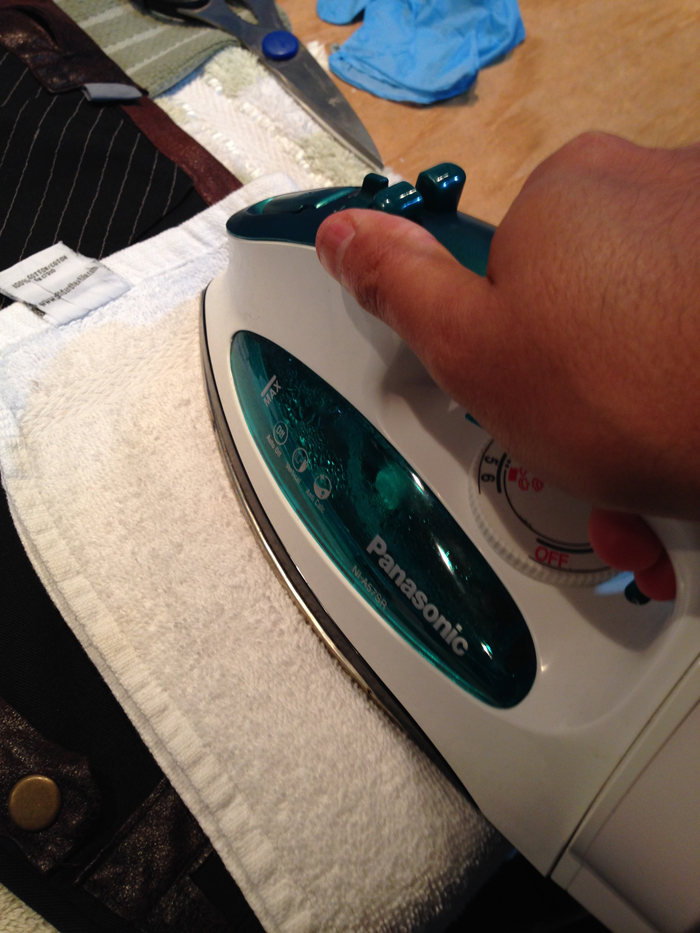
Use your button as a visual aid to help position them where you want. Once you're happy with the placement, it's time to get out that hand towel and heat up the iron. Set the iron to MEDIUM heat. Take your hand towel, and lay it over the patch gently so your patch doesn't move from where you want it. Once your iron is hot, apply it to the towel over your patch with some strong pressure hold it for 30-45 seconds. This will bond your patch to your pants permenantly.
Take your time. When you're ready, remove the iron and the towel. Your patch should now be bonded to your pants. If any of the edges or corners are still not quite stuck down, Put the towel back over the patch and apply the iron for another 30-45 seconds. Once it's all stuck down, you're done!
OOooooooOOOH!
All magnetized and ready to save the galaxy!
Here are a few more pics:
Sorry for the crappy selfie quality. But these buttons aren't going anywhere!
Before on the left, after on the right. Such an improvement.
Thanks for looking. Spots are still available, so get yours while you can!
Here's a video showing how to finish our cold-cast buttons:
<em>
Last edited by a moderator:


