So a fellow RPFer presented me with a very different project that I'm not used to doing, and asked if I would be able to paint and hair a raw latex pull of a William Shat....er...Michael Myers mask. This sounded like a fun and interesting challenge, so I immediately took it.
For those of you thinking of doing one of these....DON'T. This was the most irritating and frustrating prop job I have EVER done. :lol Just save up your cash and pay a professional to do it for you....and don't ask the professional TridCloudwalker to do it.
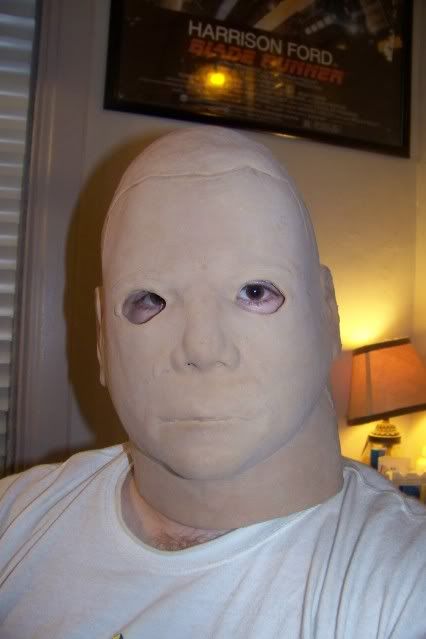
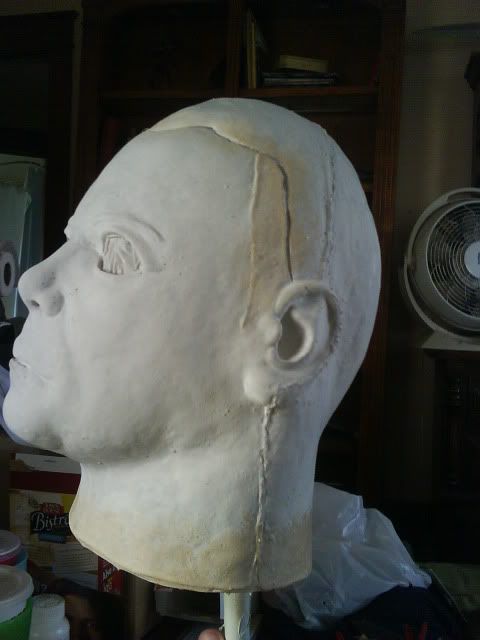
For the life of me, I cannot remember who made this mask, but it truly is THE most screen accurate looking H1 mask out there. However, in its raw form, it makes me look like a muppet with downs syndrome:
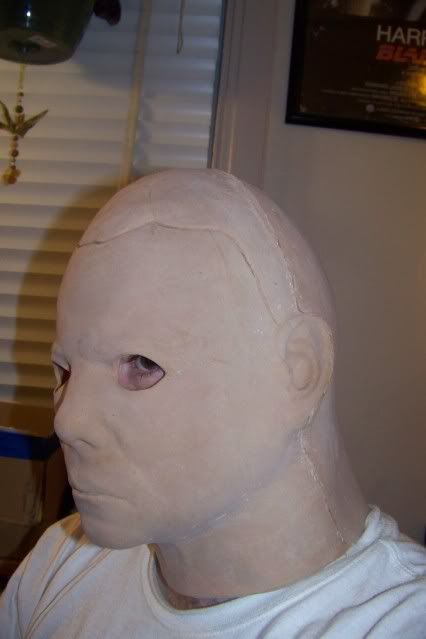
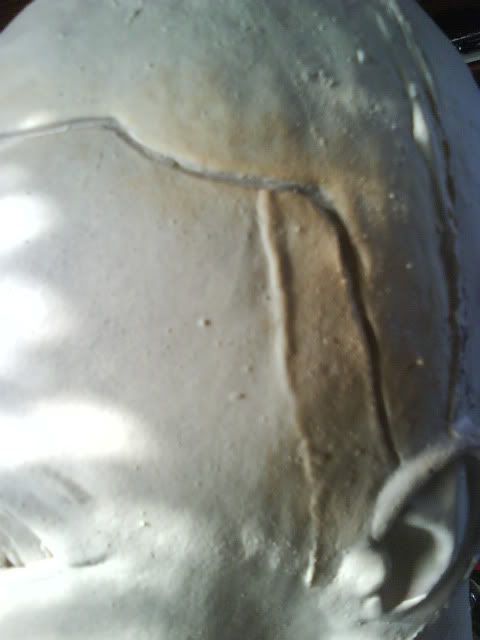
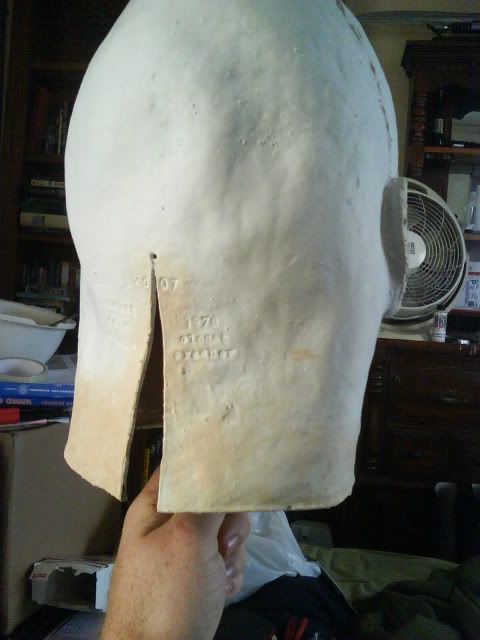
The first thing I did to the mask, and I unfortunately don't have any good pics of it, was to cut out the eyes and seam it. I removed all the mold lines that I could. They're still a bit rough and prominant, but I risked undoing the seams if I removed any more material, even after reenforcing them from behind with more liquid latex:


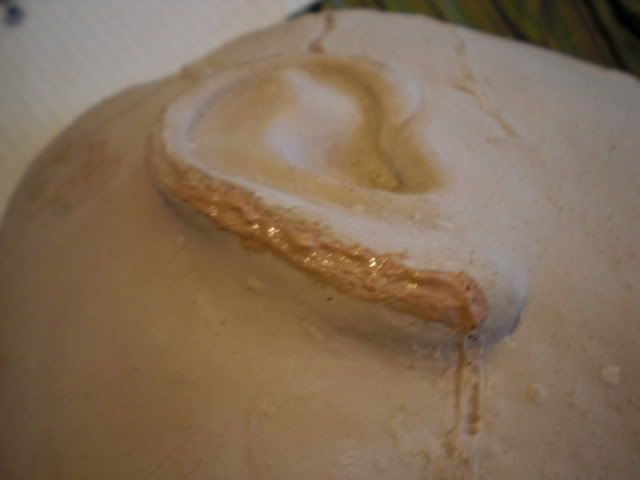
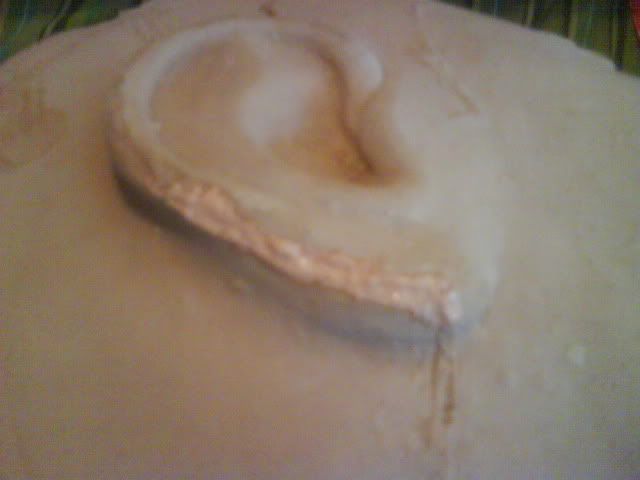
I also noticed some pretty deep craters around the seam areas, so I did my best to fill them in a smoothly as possible with more liquid latex. They still look bad at this point, but after painting and weathering, they pretty much get blended away:
After he was as clean and smooth and prepped as he was gonna get, it was time to start painting. Now, I could choose to be screen accurate, and bomb this thing with a can of white Krylon, but then my client wouls have a pile of latex cumbs sitting around an empty mask stand a few years later. So I went to http://www.monstermakers.com/ and bought a few bottles of their specially formulated latex mask paint. Its consistancy is about twice as thin as standard liquid latex. However, that's still too thick for an industrial gravity fed spray gun with 45psi trying to blast it out. So, i have to thin it with one part amonia to two parts paint, and boy oh boy, did that make my garage smell like a dirty litterbox. But it worked, and that's all the mattered. It took about 3 - 4 coats to get it looking smooth and solid:
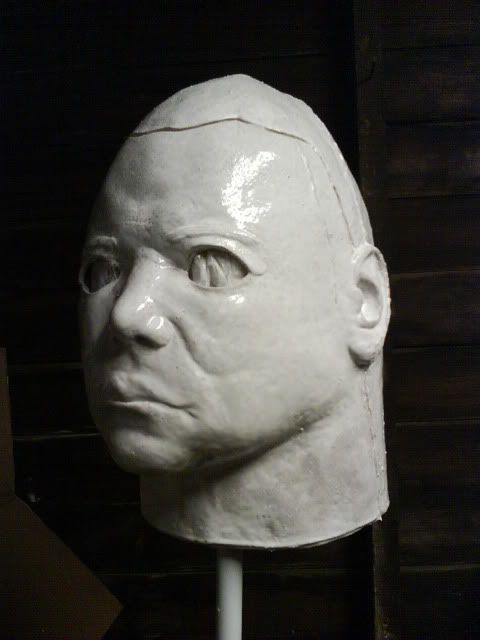
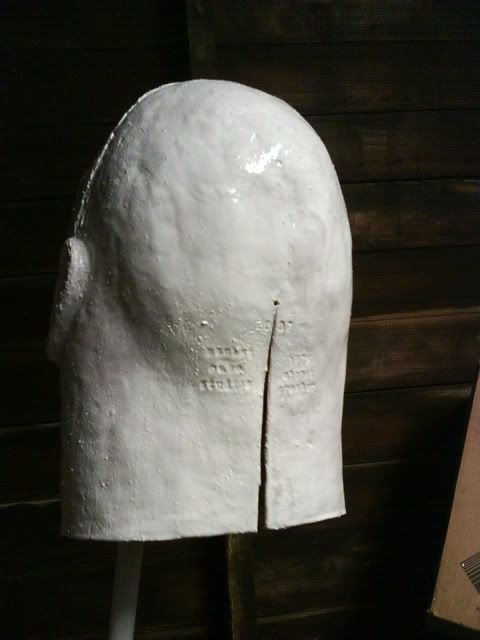
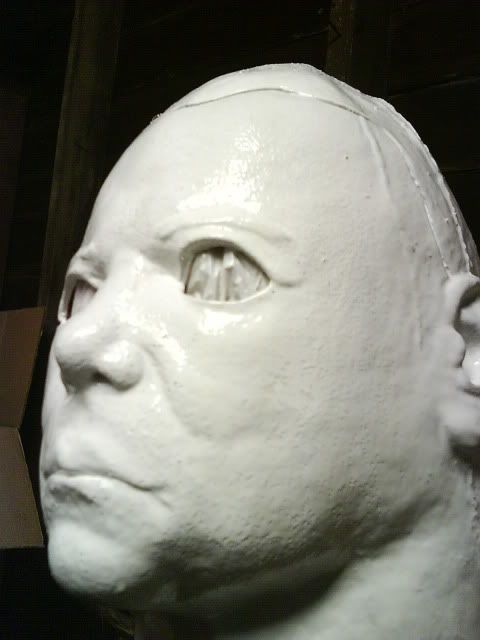
Next on the agenda is "wearing away the white paint to show the original flesh tone beneath." which means faking it and painting a flesh tone on top. Since the original mask was just cheaply spraypainted, the paint wore off quite easily in areas where it was handled and bent a lot, leaving ugly fleshy patches showing through, like around Cesear Romero's neck after a few vigorous takes in Joker makeup. For this I mixed up the same 1:2 ratio of Monster Makers latex paint, but used their Medium Flesh color:
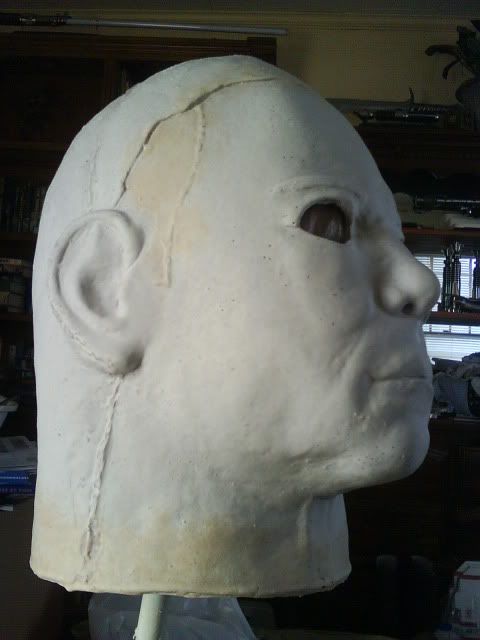
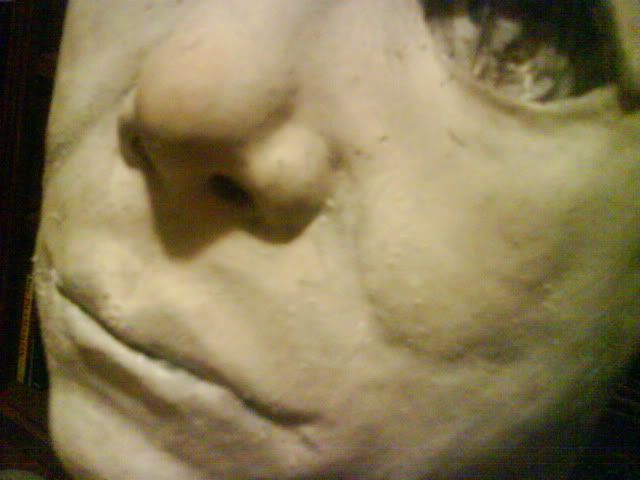
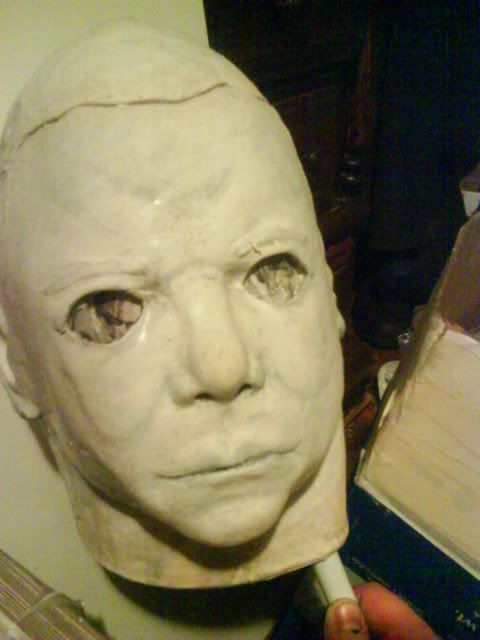
Next, i mixed up some light, medium, and dark greys, but with a 1:1 mix of paint and amonia to make it extra thin. With sponges, brushes, and fingertips (and one accidental instance with a cat's tail), I applied subtle shading into detailed areas like the jowl lines and brow furrow and ears and such, and also started some random smudging here and there to simulate scuff marks the masked received during filming. I also dirtied up the areas where Kirk's sci-burns were uncerimoniously yankked off, leaving an icky dried glue residue. I simulated that with flesh and grey paints applied in stipples:
I will come back and finalize the weathering later, but for now, The Hair! I bought a big bag o' hair from Monster Makers when I ordered the paint. I lopped off chuncks in 3 - 5 inch lengths. Using rubber cement...a LOT of rubber cement...two entire jars of the stuff, I applied the hair. I started off with a row closest to the hairline, posissioning the hair so that it hung down over the brow. The I turned around the head and worked my way from the bottom up, layer after layer after layer after layer. I would glop on rubber cement, spread it around a little, mash the hair into before it dried, hold it there for a few moments until it started getting tacky, then glopped more glue right on the very top inch of the glued down hairs, cementing them all together. Then the next layer gets glues right on top of icky glued layered, making sure to completly cover the glue with plenty of untouchd hair. You're essencially shingling a roof. The only thing I'd do differently is order real hair, whether it be alpaca or human or even just cheap wool crepe. Synthetic acrylic hair, though cheap and looks nice. Is AWFUL to work with. It doesn't like to stick to the glue, and is a b***h to style, but more on that later:
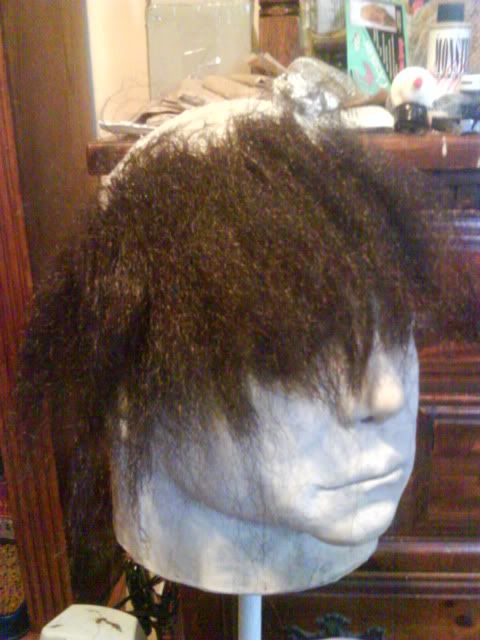
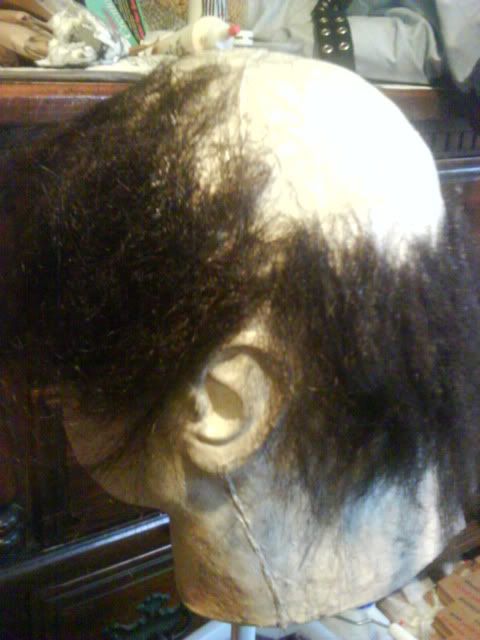
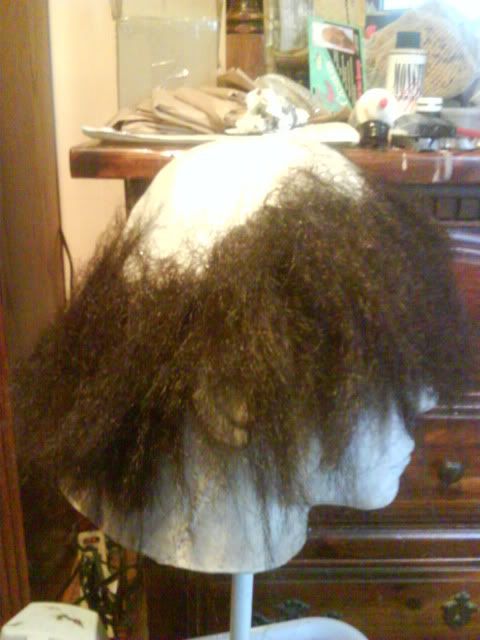
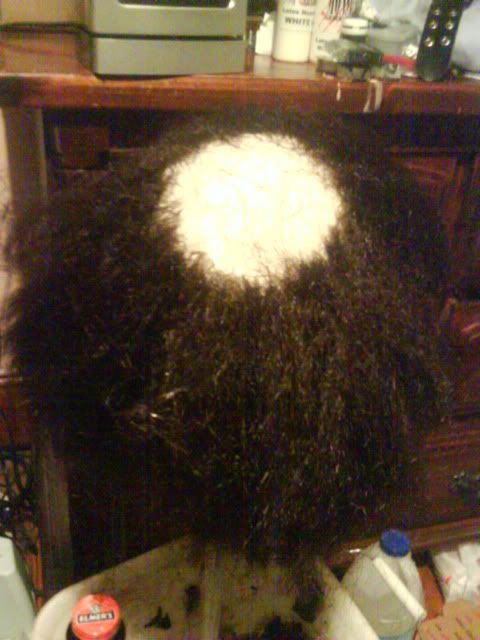
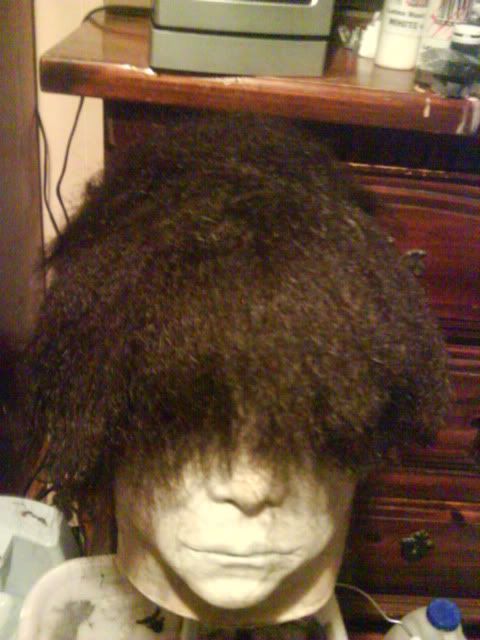
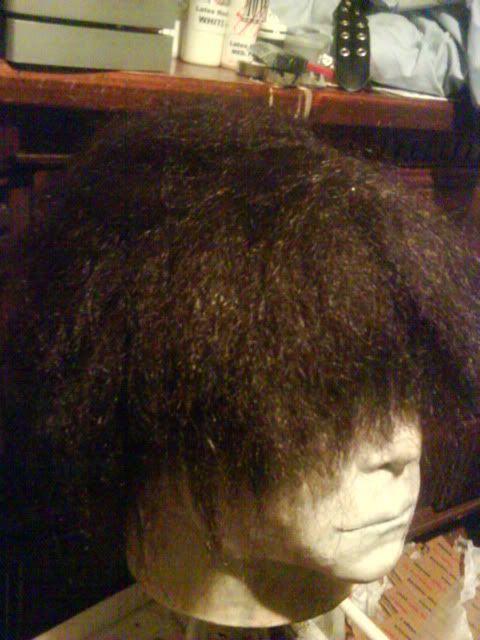
So he went from Kojack to Friar Tuck to one of the Beatles...and looks ridiculous. But that's where styling comes in. First a used a hot glue gun and following molded in hair line, ran long beads into it and mashed he hair down onto it. when it was set a while later, it enabled me to pull the hair back into that famous serial killer pompadour. I bought a very wide toothed comb, some hair spray (Aussie brand, since my client lives down under ), and borrowed a little hair gel from my roomate. Since this was acrylic, it has a shape memory you have to break. So what I did was run the hair under the shower for a few moments and shook it out. Then I saturated everything in hairspray, and added gel to the temple areas, as I knew those would give my the biggest problem staying put.
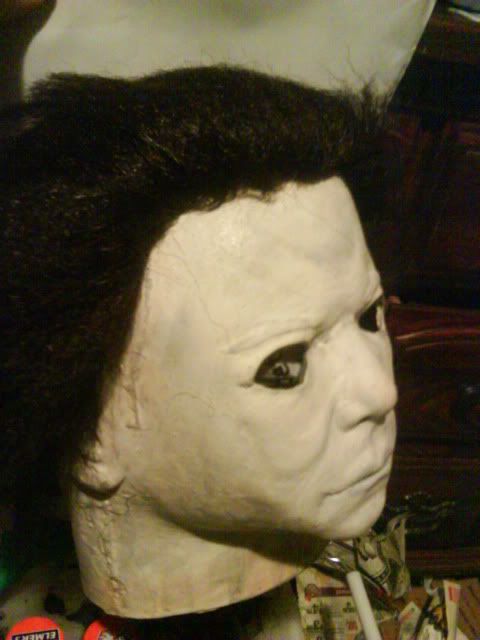
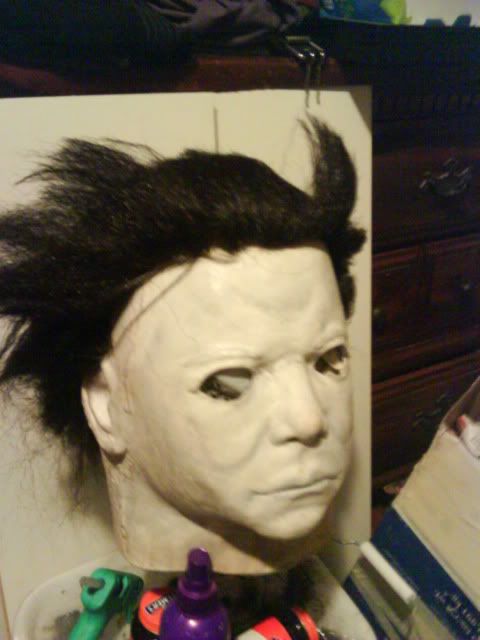
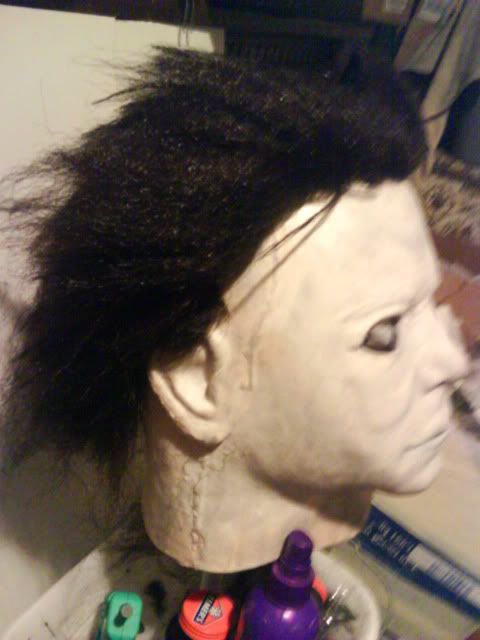
Almost there. I VERY gently combed the hair back, and smooth out knots, and then I put a nylon stocking do-rag over Mike's noggin to mash it all down and keep it in place while the spray and gel dried and set. He's now looking all gangsta, yo!
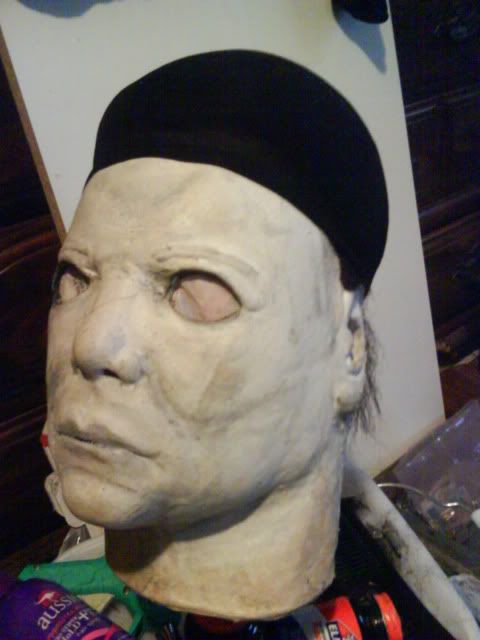
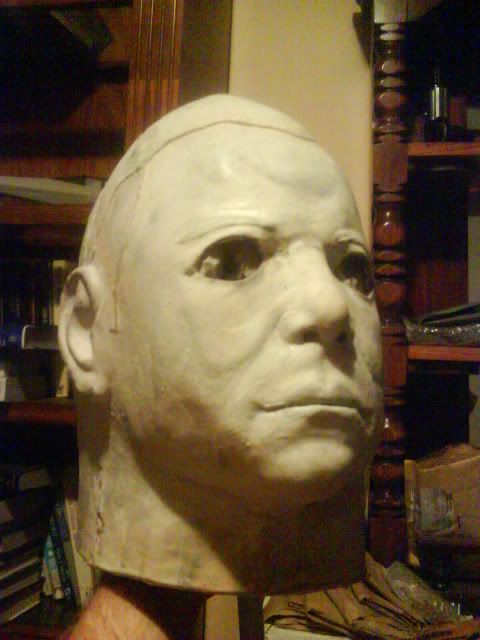
After some last minute weathering adjustments, The Shape has come to shape. The flash and 13 megapixles over-exagerate the weathering a bit. It's actually smoother and more subtle through human eyes and looks fantastic, but you can get the generl idea. Here he is:


For those of you thinking of doing one of these....DON'T. This was the most irritating and frustrating prop job I have EVER done. :lol Just save up your cash and pay a professional to do it for you....and don't ask the professional TridCloudwalker to do it.
For the life of me, I cannot remember who made this mask, but it truly is THE most screen accurate looking H1 mask out there. However, in its raw form, it makes me look like a muppet with downs syndrome:


The first thing I did to the mask, and I unfortunately don't have any good pics of it, was to cut out the eyes and seam it. I removed all the mold lines that I could. They're still a bit rough and prominant, but I risked undoing the seams if I removed any more material, even after reenforcing them from behind with more liquid latex:


I also noticed some pretty deep craters around the seam areas, so I did my best to fill them in a smoothly as possible with more liquid latex. They still look bad at this point, but after painting and weathering, they pretty much get blended away:


After he was as clean and smooth and prepped as he was gonna get, it was time to start painting. Now, I could choose to be screen accurate, and bomb this thing with a can of white Krylon, but then my client wouls have a pile of latex cumbs sitting around an empty mask stand a few years later. So I went to http://www.monstermakers.com/ and bought a few bottles of their specially formulated latex mask paint. Its consistancy is about twice as thin as standard liquid latex. However, that's still too thick for an industrial gravity fed spray gun with 45psi trying to blast it out. So, i have to thin it with one part amonia to two parts paint, and boy oh boy, did that make my garage smell like a dirty litterbox. But it worked, and that's all the mattered. It took about 3 - 4 coats to get it looking smooth and solid:


Next on the agenda is "wearing away the white paint to show the original flesh tone beneath." which means faking it and painting a flesh tone on top. Since the original mask was just cheaply spraypainted, the paint wore off quite easily in areas where it was handled and bent a lot, leaving ugly fleshy patches showing through, like around Cesear Romero's neck after a few vigorous takes in Joker makeup. For this I mixed up the same 1:2 ratio of Monster Makers latex paint, but used their Medium Flesh color:


Next, i mixed up some light, medium, and dark greys, but with a 1:1 mix of paint and amonia to make it extra thin. With sponges, brushes, and fingertips (and one accidental instance with a cat's tail), I applied subtle shading into detailed areas like the jowl lines and brow furrow and ears and such, and also started some random smudging here and there to simulate scuff marks the masked received during filming. I also dirtied up the areas where Kirk's sci-burns were uncerimoniously yankked off, leaving an icky dried glue residue. I simulated that with flesh and grey paints applied in stipples:


I will come back and finalize the weathering later, but for now, The Hair! I bought a big bag o' hair from Monster Makers when I ordered the paint. I lopped off chuncks in 3 - 5 inch lengths. Using rubber cement...a LOT of rubber cement...two entire jars of the stuff, I applied the hair. I started off with a row closest to the hairline, posissioning the hair so that it hung down over the brow. The I turned around the head and worked my way from the bottom up, layer after layer after layer after layer. I would glop on rubber cement, spread it around a little, mash the hair into before it dried, hold it there for a few moments until it started getting tacky, then glopped more glue right on the very top inch of the glued down hairs, cementing them all together. Then the next layer gets glues right on top of icky glued layered, making sure to completly cover the glue with plenty of untouchd hair. You're essencially shingling a roof. The only thing I'd do differently is order real hair, whether it be alpaca or human or even just cheap wool crepe. Synthetic acrylic hair, though cheap and looks nice. Is AWFUL to work with. It doesn't like to stick to the glue, and is a b***h to style, but more on that later:


So he went from Kojack to Friar Tuck to one of the Beatles...and looks ridiculous. But that's where styling comes in. First a used a hot glue gun and following molded in hair line, ran long beads into it and mashed he hair down onto it. when it was set a while later, it enabled me to pull the hair back into that famous serial killer pompadour. I bought a very wide toothed comb, some hair spray (Aussie brand, since my client lives down under


Almost there. I VERY gently combed the hair back, and smooth out knots, and then I put a nylon stocking do-rag over Mike's noggin to mash it all down and keep it in place while the spray and gel dried and set. He's now looking all gangsta, yo!

After some last minute weathering adjustments, The Shape has come to shape. The flash and 13 megapixles over-exagerate the weathering a bit. It's actually smoother and more subtle through human eyes and looks fantastic, but you can get the generl idea. Here he is:


Last edited:


