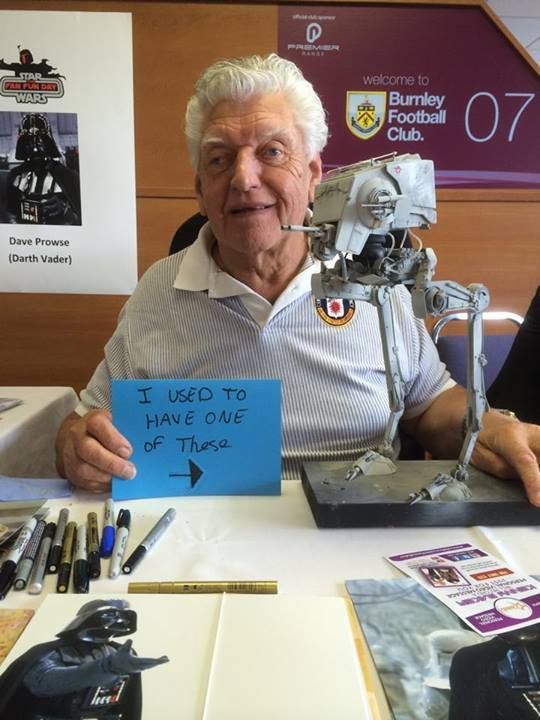
ESB AT-ST Turkey Walker (Chicken to the talented)

Status
Not open for further replies.
Guy,
I left mine lose (not attached). My dio base kinda stops them from moving around.

Like your ideas...but combine them.
Glue a magnet to the bottom of DV-TIE. Attach a partner magnet. Then get a ball of apoxy and "smoosh" it together between the magnets/DV-TIE and the top of the alum foot base. Let apoxy harden. Pull it apart and glue together the lower magnet to the apoxy and glue the apoxy to the alum foot base.

I would probably do some test runs with the apoxy to figure the amount and initial blob/shape?

I love me some magnets.
 
If you're careful, you can cut the Vader TIE part so that it "hugs" the alloy foot. Mine is really just a pressure fit. You can see the cut here:

atstfoot.jpg
 
I was never sure how the rest of the guys attached there feet.I want to keep mine raised like on the prop.

I was going to try bolting a strip of cuverd/bent metal to the top of the armature foot,then make a pocket out of styrene glued to the inside of the DV foot to hook the metal strip on.

If I go that route maybe I'll try a magnet to the DV part like Q said(great idea).

I like Allens way of attaching but I already made mine to wide.

Dave
 
Like Allan's, mine just hug the armature. You can get a nice pressure fit. So they just pop off if you stress them. Might save some breakage that way.
 
I've got my first one pretty snug without any supports, I rounded the armature toe part to achieve this though. Will have a think about the best way to hold in in place though, some great suggestions above

Crap Iphone pics

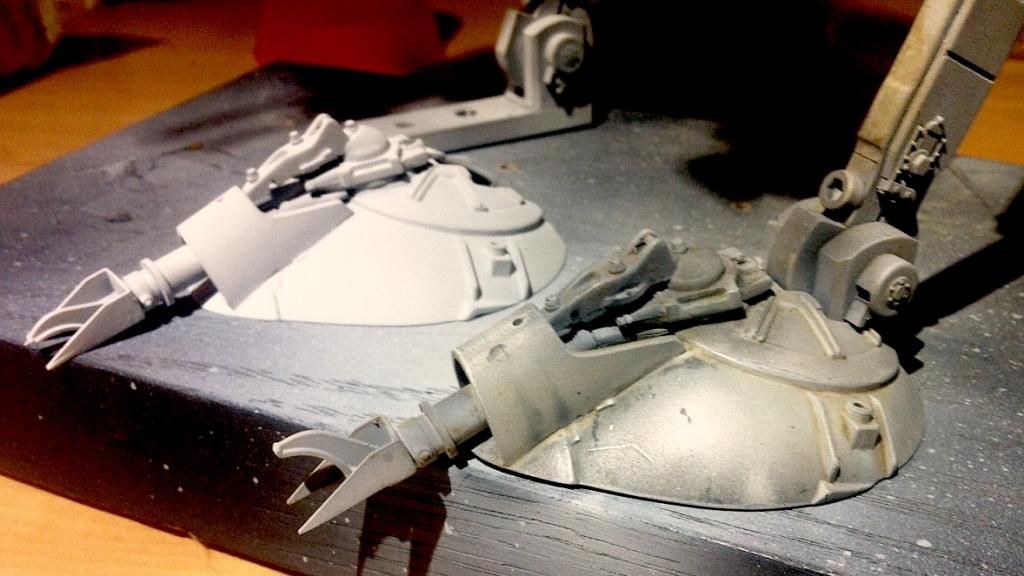
Before and after
Feet.jpg


Not much more to do painting wise
head.jpg
 
And can some body point me the red viking like mark on the side?
Is it decal or just hand paint? Any guide would be appreciated,thanks.

Don
 
Second the kudo's on slinging the paint Guy.

Things like blast marks aren't what catch my attention (no offense the previous posts). Look at the pic of the weathered foot. Review the round "plain area" towards the lower part of the foot between the "talon" and the side of the foot. At first it seems kinda plain but look closely. There's some very subtle gradation work there. I know this is supposed to be capturing the studio model, but even work on "reallife" armor, THATS what sells the true life of a model -- it scale, its weather. Its subtle weathering like that which makes you feel this armor has had a life, but no so obvious to point at -- like a blast mark, a dent, or a splash of mud.

truly great work Guy.
would enjoy hearing you share techniques on how you create those kindsa nuances?
 
Thanks all for the kind words, it's a sticker on the side of the head that I was kindly given by another member.

The paint on the feet is airbrushed with my own mix of grime then sanded away with the best tool in the world for ILM painting. Oakley between coat sanding pads. There'll most certainly be something similar at Home Depot.

Next is a very thin grey Oil wash then reapeat both sanding each time. It just blends it all together. I still need to add some darker tone but only a tiny amount
 
Bout time lol, i did keep nagging you to get back on this eh mate? :lol.
Next up.....B wing completion and pics, i need more inspiration for mine heh!

lee
 
Yep, this is the best one yet! So much character and warmth in your work... something to aspire to!
 
Bout time lol, i did keep nagging you to get back on this eh mate? :lol.
Next up.....B wing completion and pics, i need more inspiration for mine heh!

lee

Yeah,love that bird so much Guy,please more pics when she's completed,please:thumbsup
 
Status
Not open for further replies.
Back
Top