scotthothpatrol
Well-Known Member
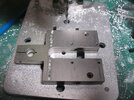
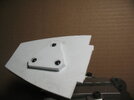
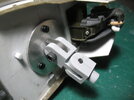
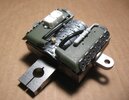
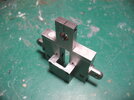
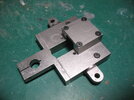
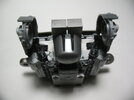
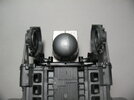
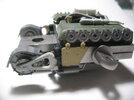
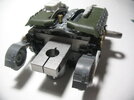
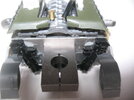
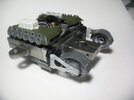
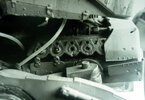
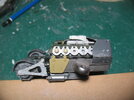
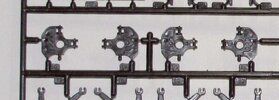
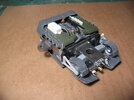
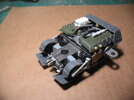
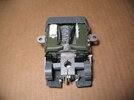
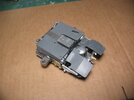
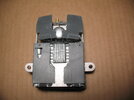
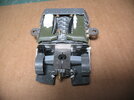
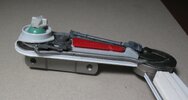
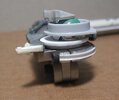
I originally made an at-st with a resin armature I made. Then I bought the Merlin armature when that became available. I was in the process of stripping it down and stripping the paint off. I used VMS Clean Slate for that. During this Jason Eaton did a video with new revelations on the build and making an announcement of a new more accurate armature. Well I already had the Merlin one so I decided to make some modifications to it. I started with the neck by making some shorter resin replacements. I then made a circular disk to attach to the head and cutting the metal bar and screwing that to the disk. After that the main body section needed to be shortened. So I cut the front off removed around 3/16 , 1/4 and re attached it with recessed screws. Finally the block in the back needed to be shortened.