DW Design Studios
Sr Member
Hello everyone,
I currently working on a E2 Clone Pilot tutorial. I am going to post this on several different forums.
Please feel free to post comments and suggestions I will try to answer all questions in a timely manner.
Attached is the info from day one!
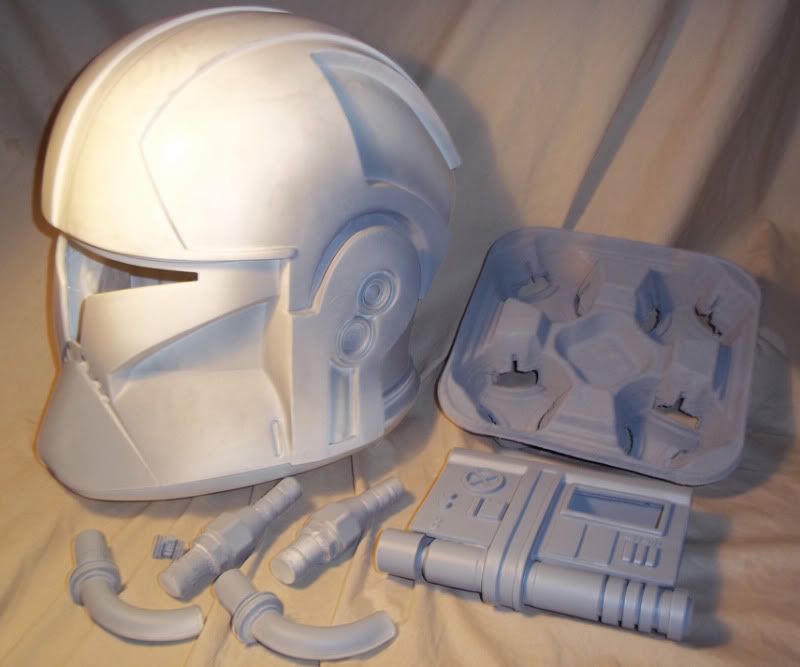
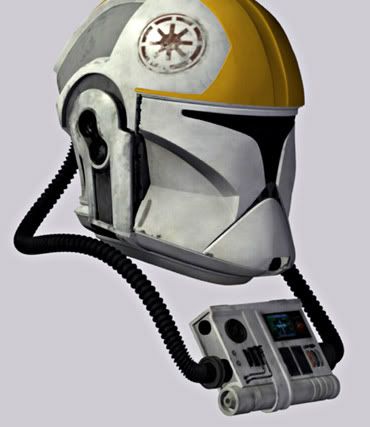
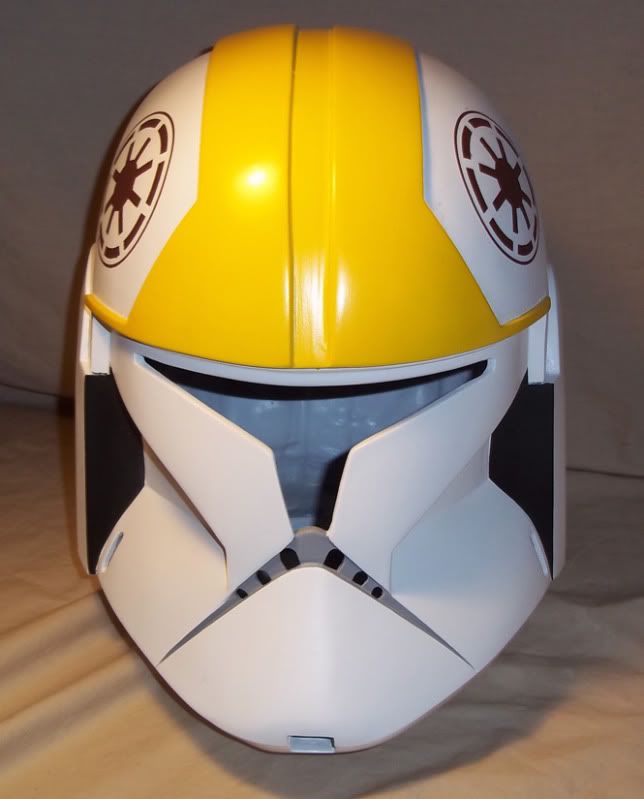
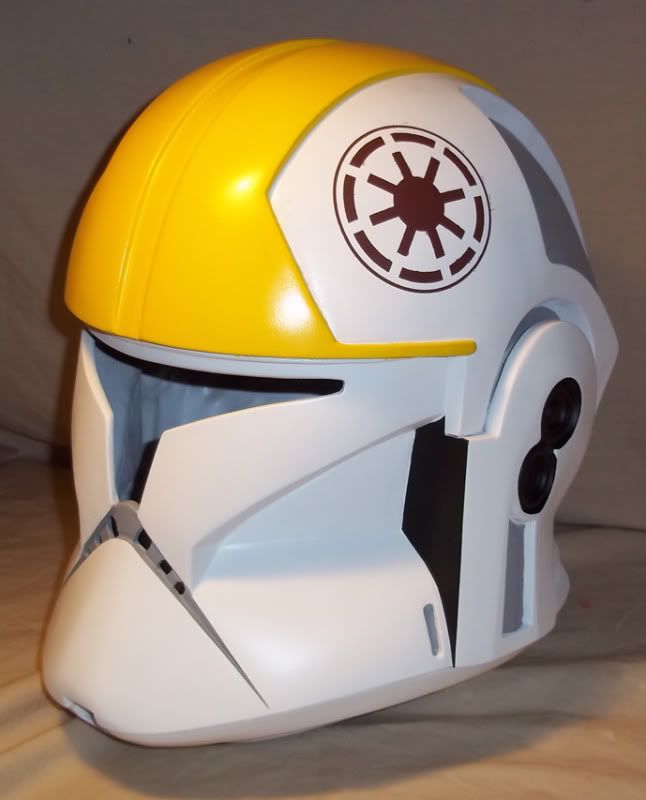
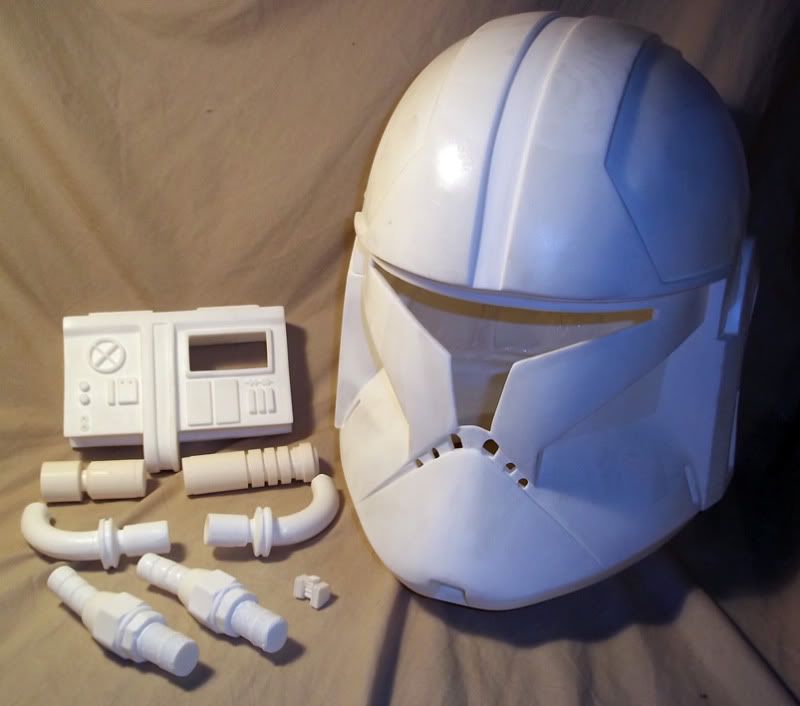
Basic Clone Pilot Kit.
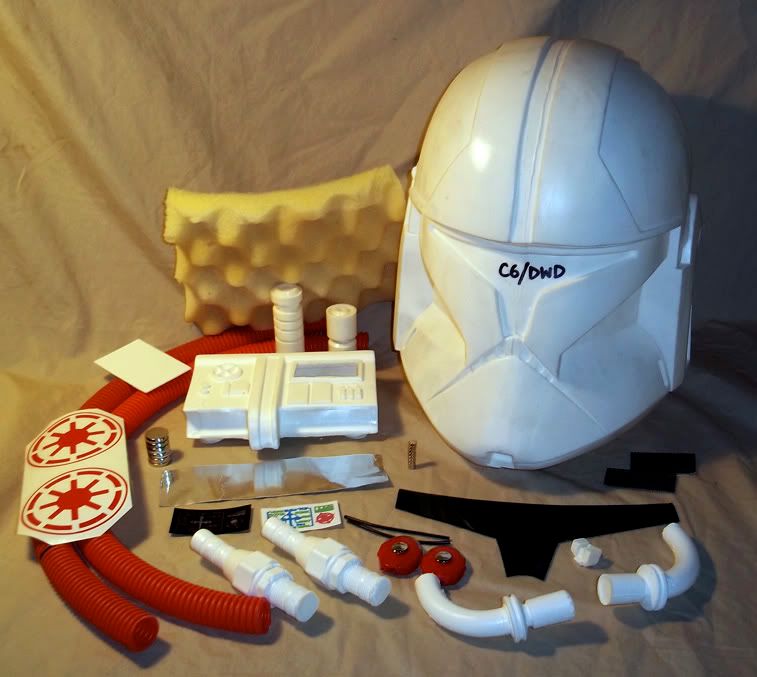
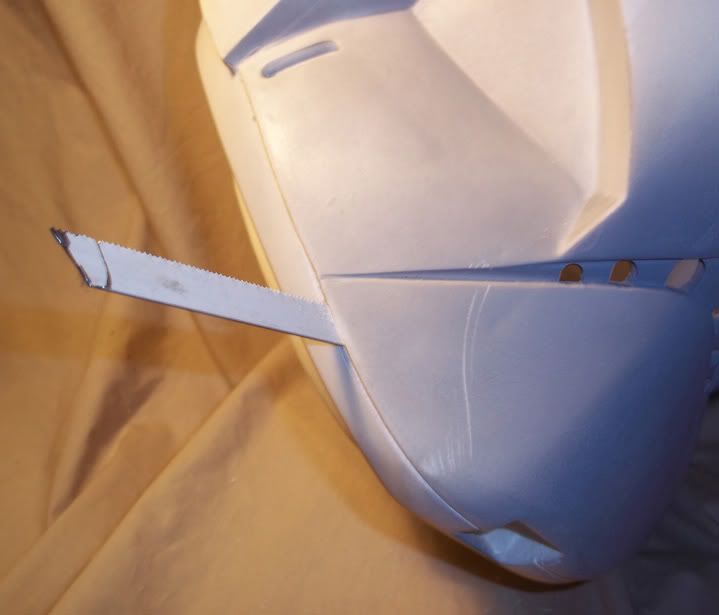
I like to start by removing the visor first. I use a hacksaw blade to cut most of it out. If you are planning
on doing this, don't forget to wear your gloves!

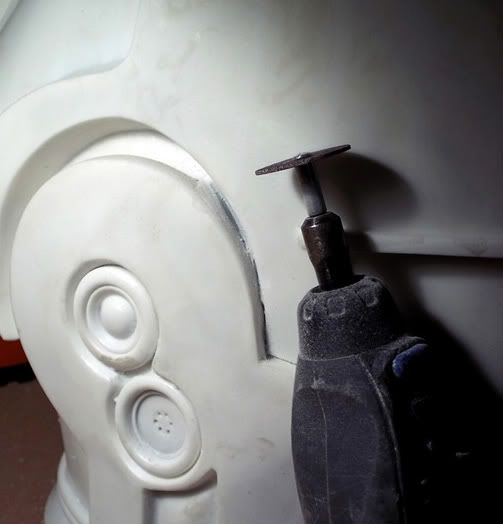
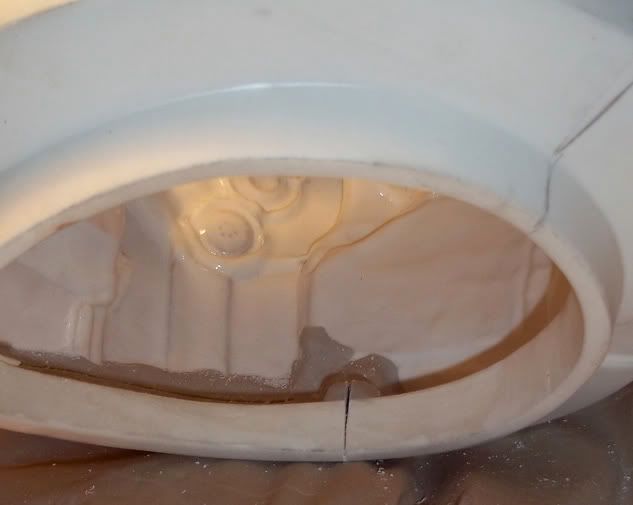
For the area near the bottom, I like to use a dremil.
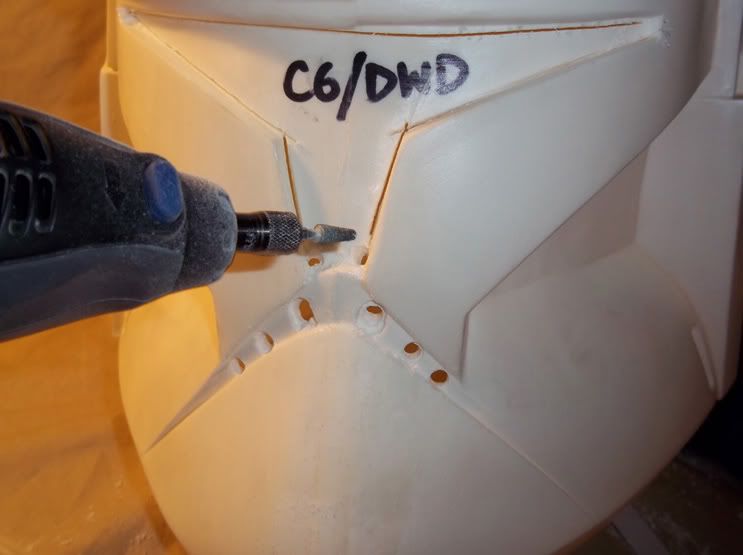
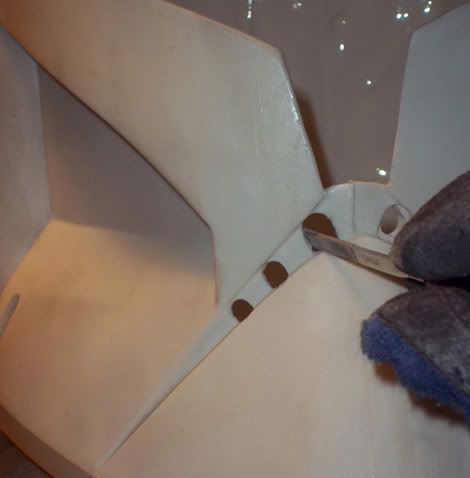
The mouth are can be punched out with a dremil, then cleaned up with a small file.
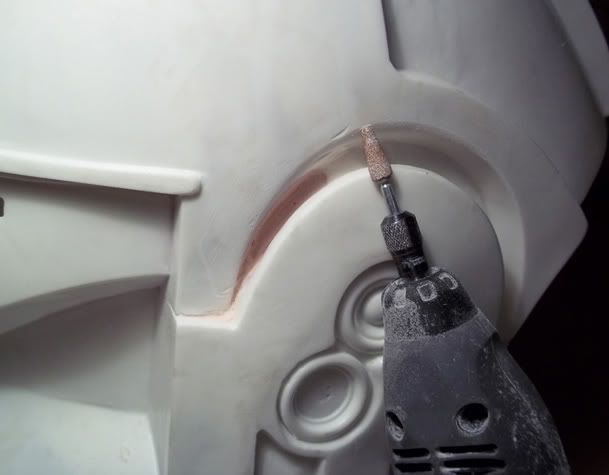
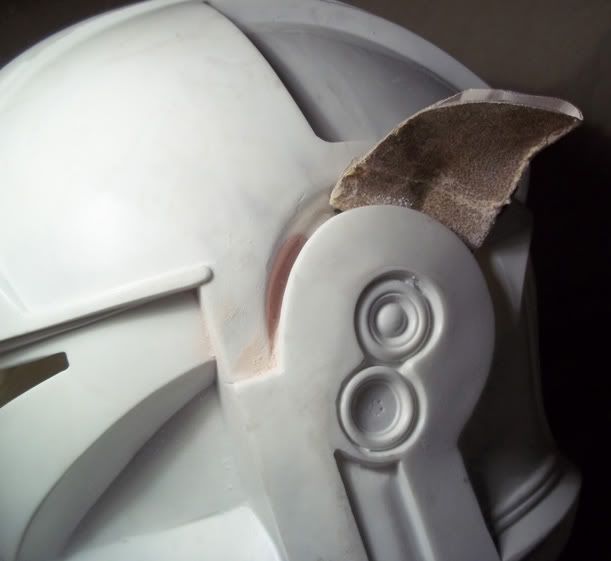
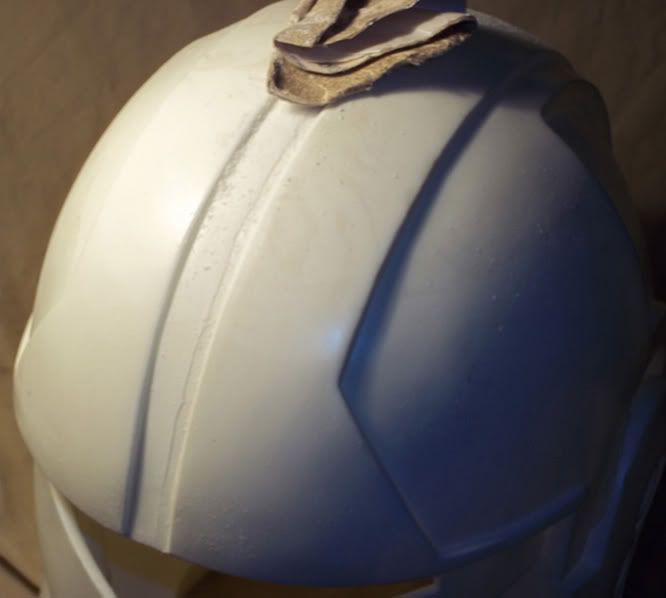
After that area is done, move onto the flashing along the main body. You can clean this up with sandpaper or a mouse sander.
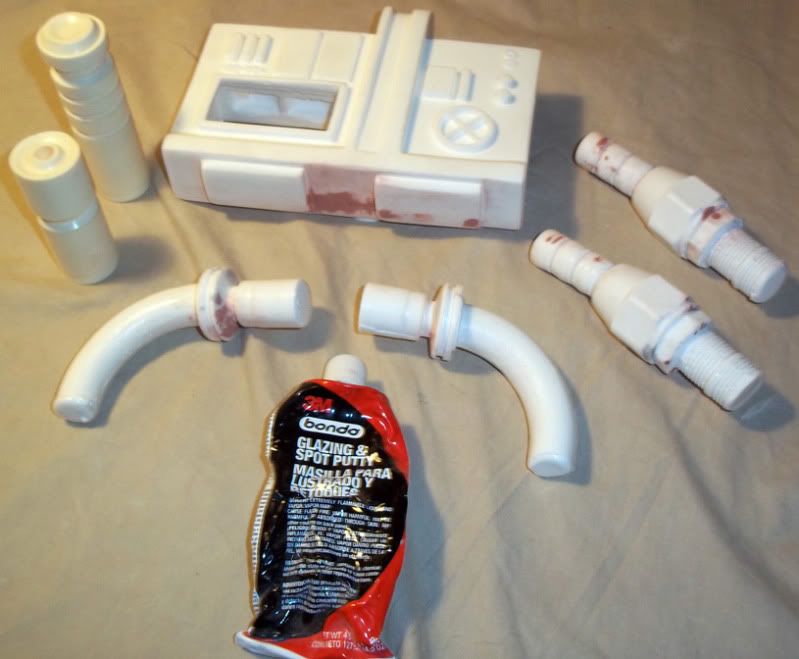
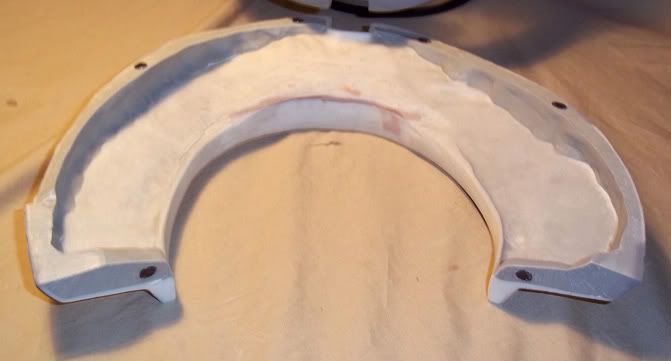
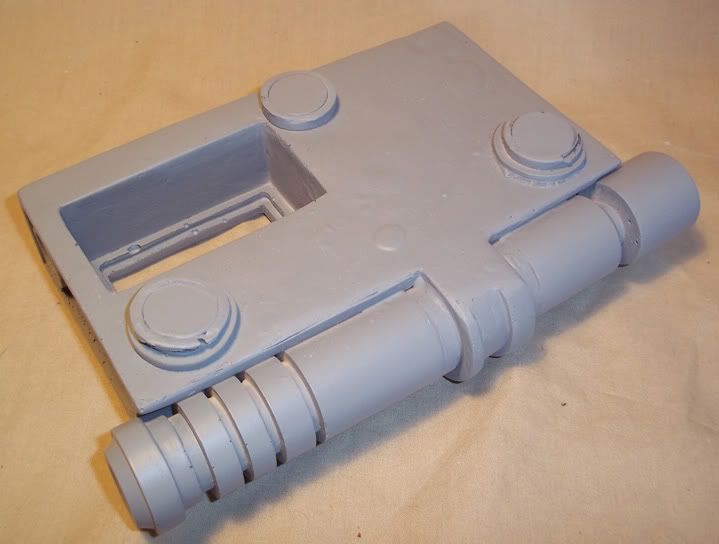
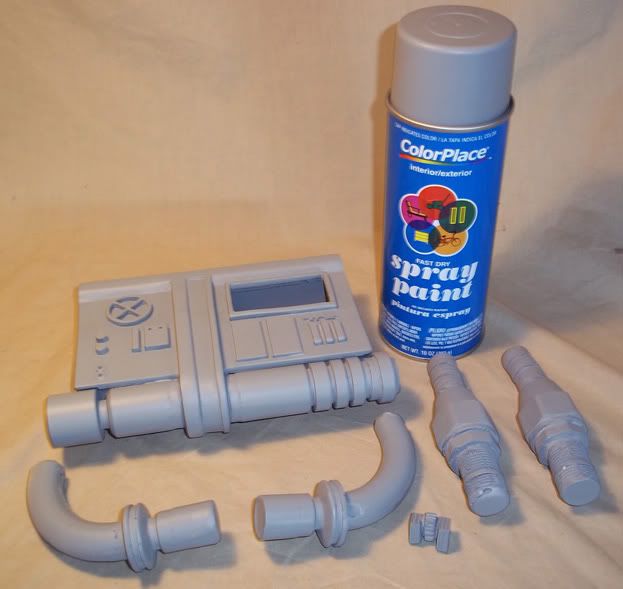
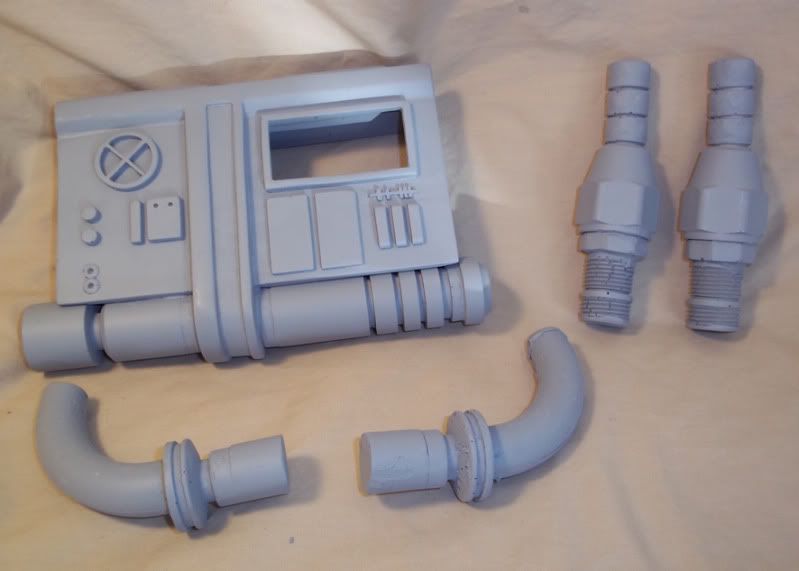
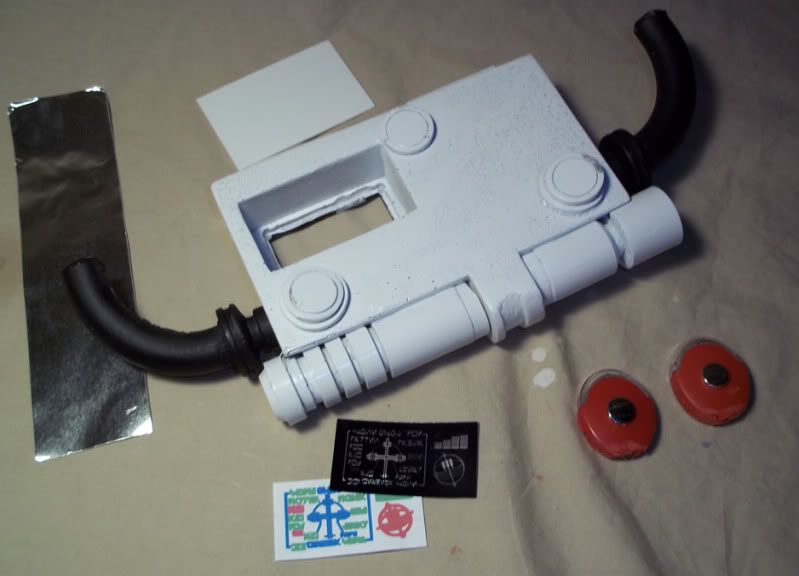
Now lets move onto the Chest Box and other accessories. Clean these up with the same tools as the helmet. Clean up all the flashing and rough areas.
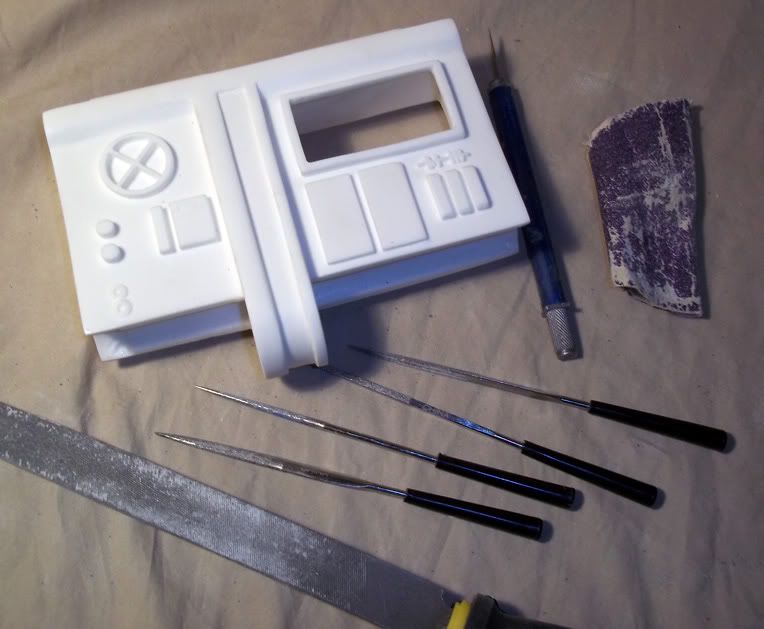
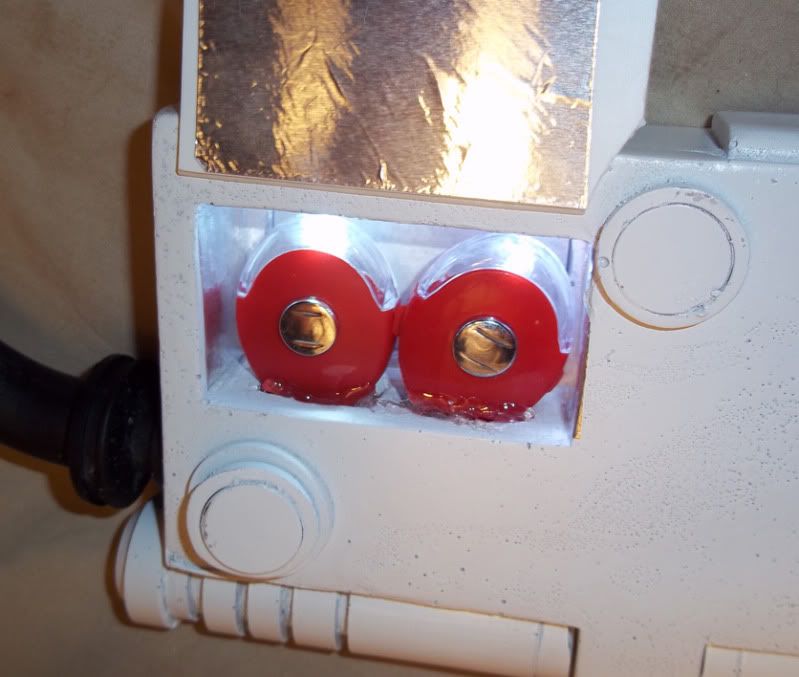
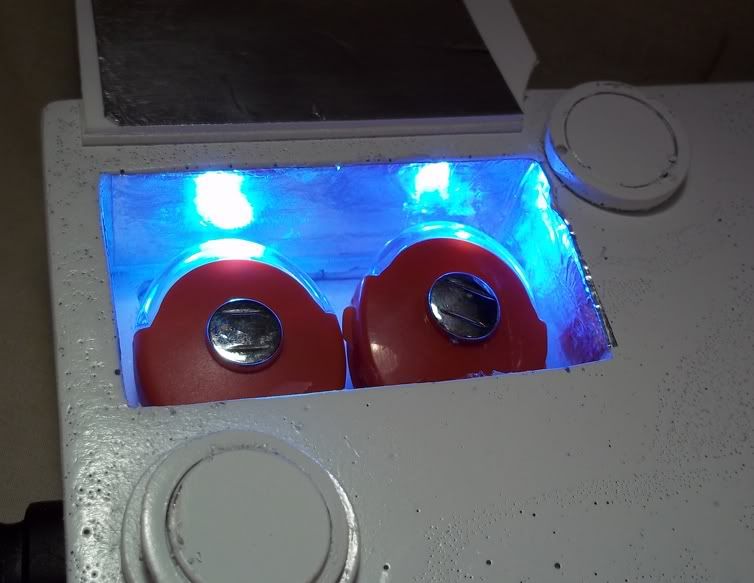
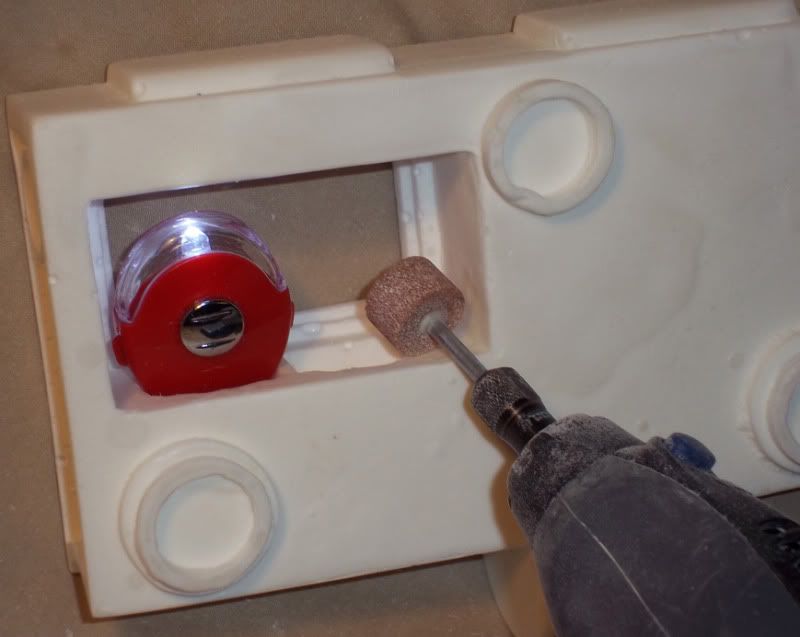
Use a dremil to clean out the holes for the light’s. Try to get them so lamp with be centered when glued in place.
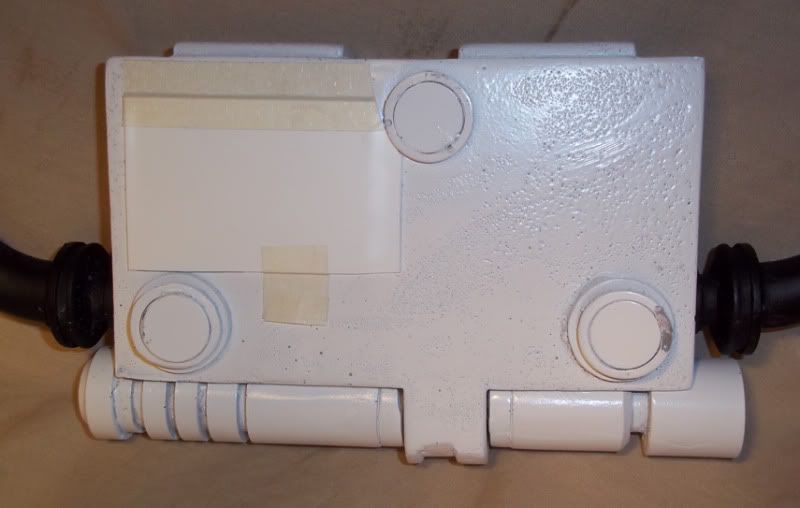
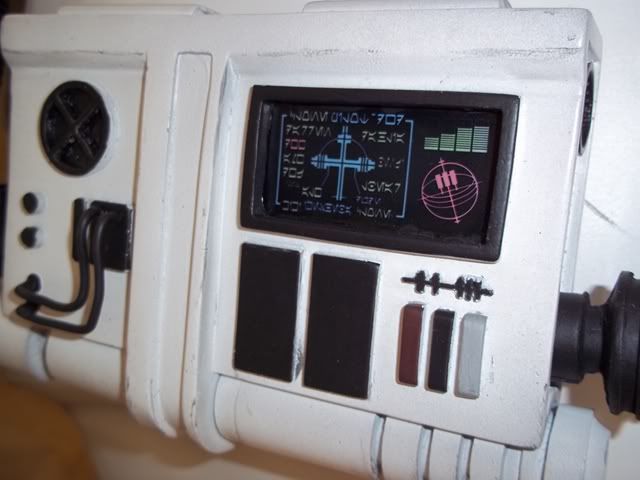
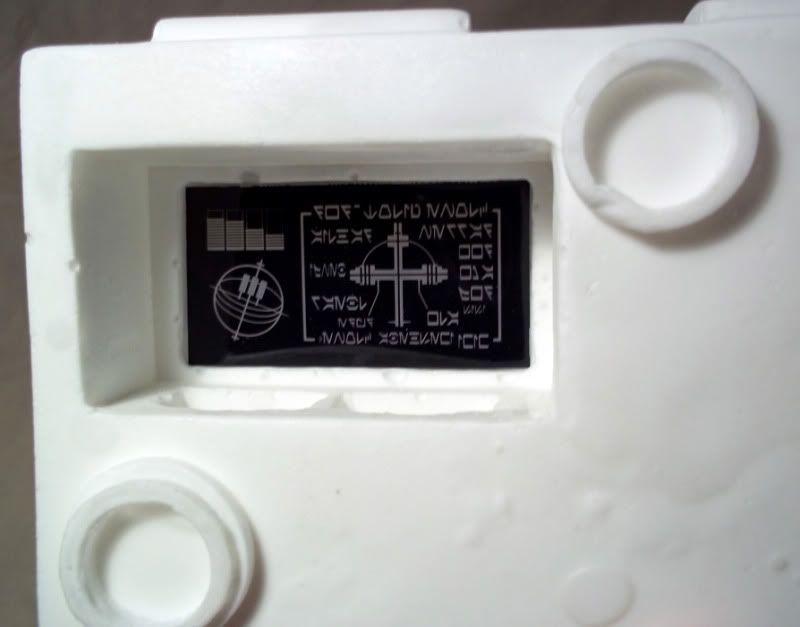
Now is a good time to check the placement of the film for the light up display. Clean with a dremil from the inside if needed.
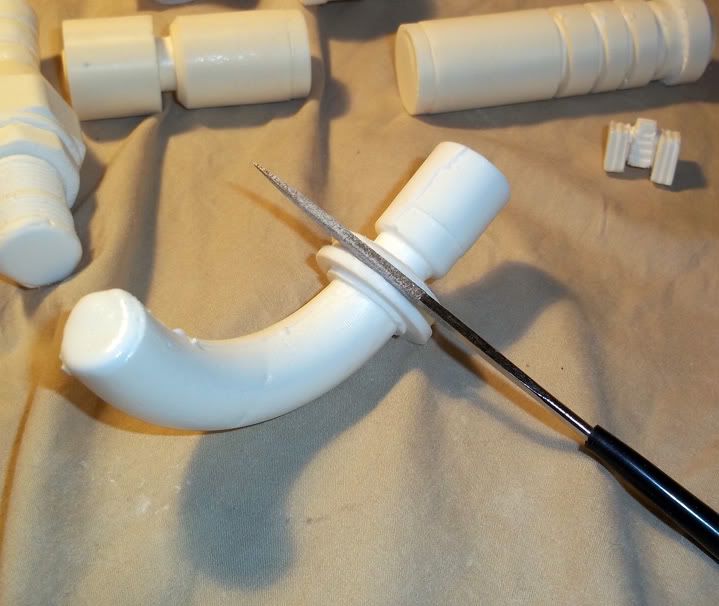
Clean up any other areas that may need a touch up.
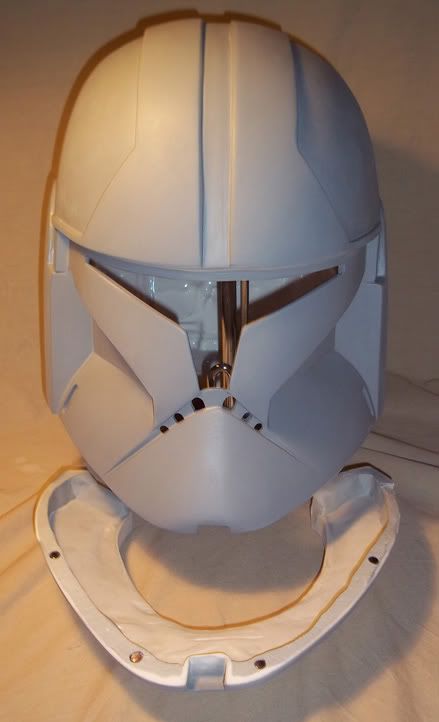
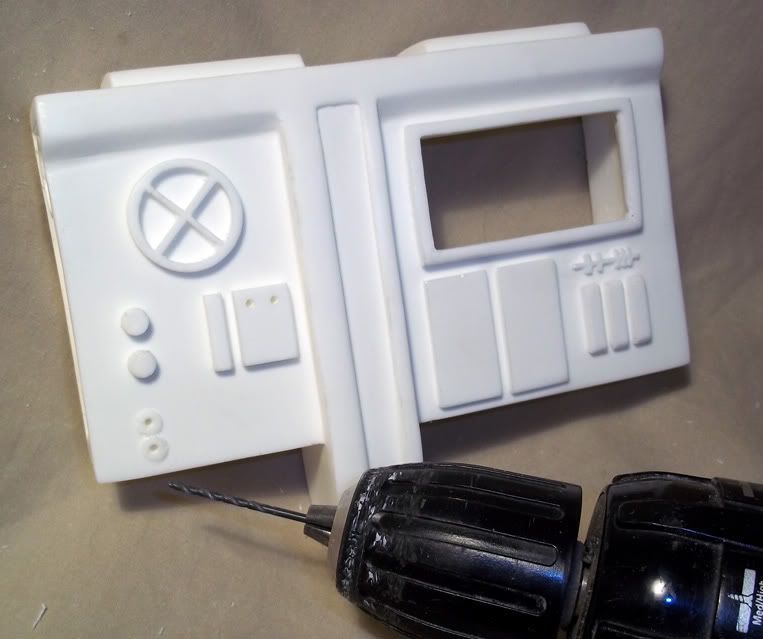
Drill four holes in the front for the placement of the wire. The wire will not be attached until the final stage of the build.
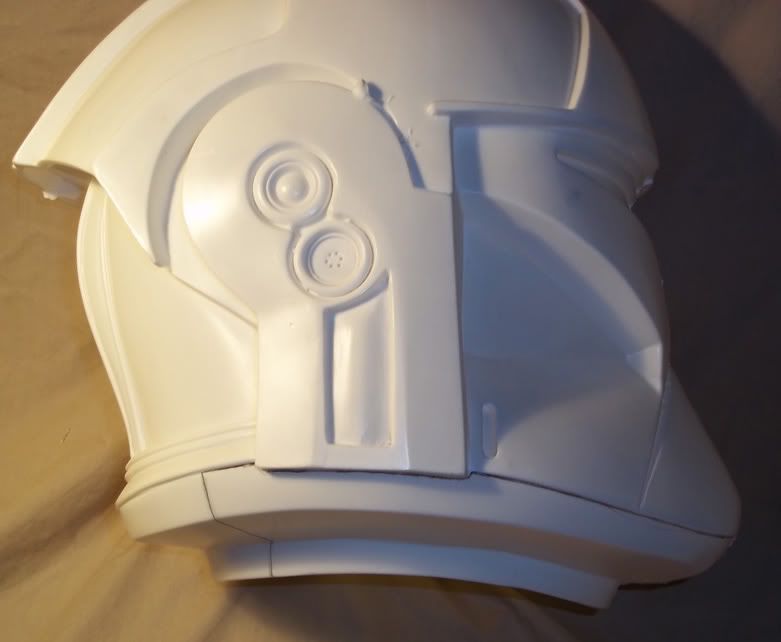
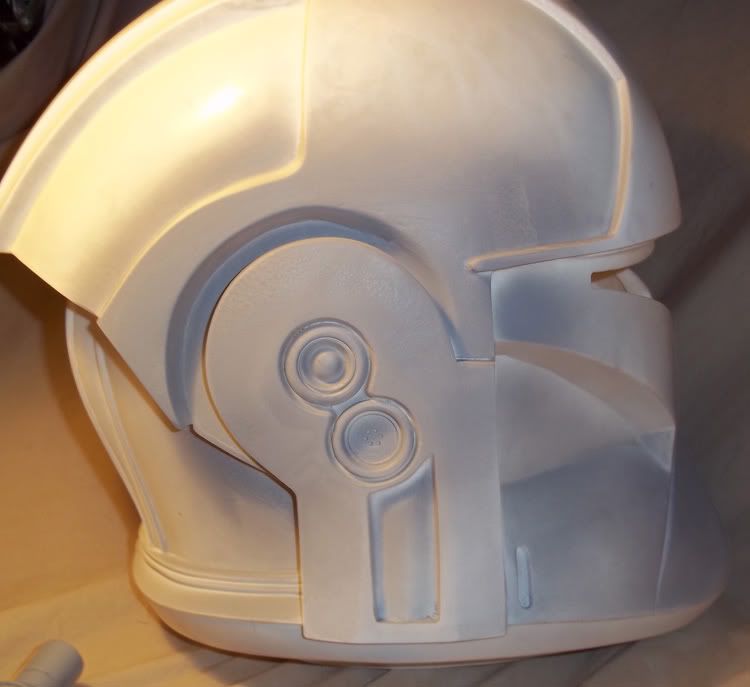
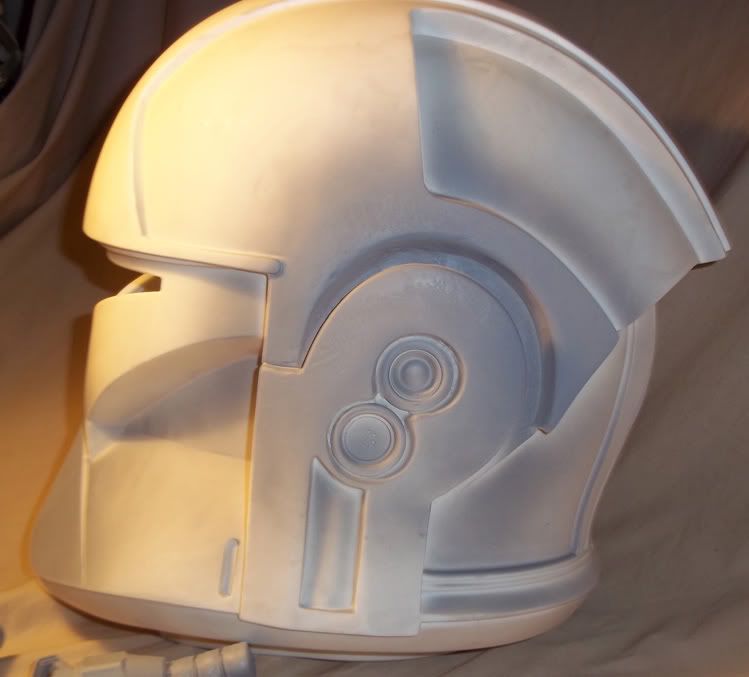
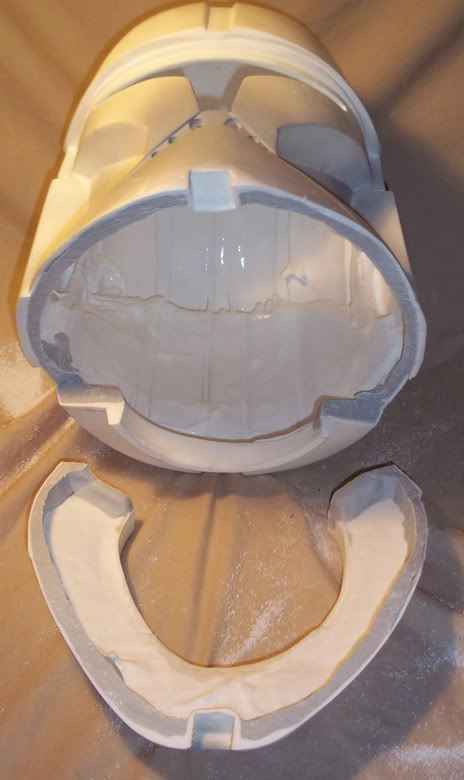
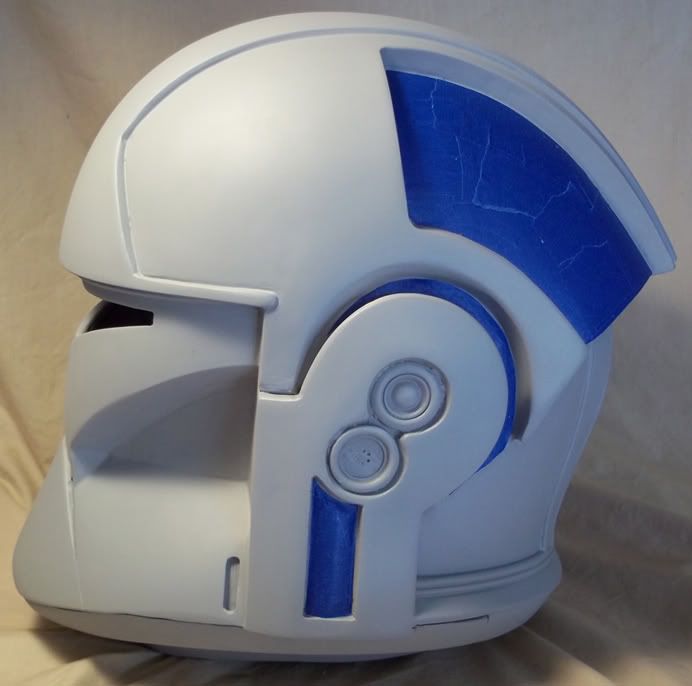
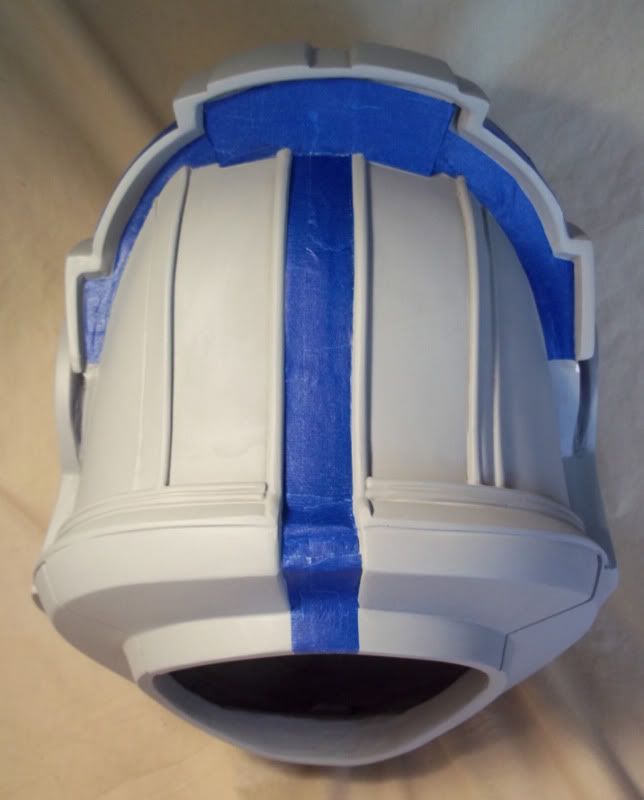
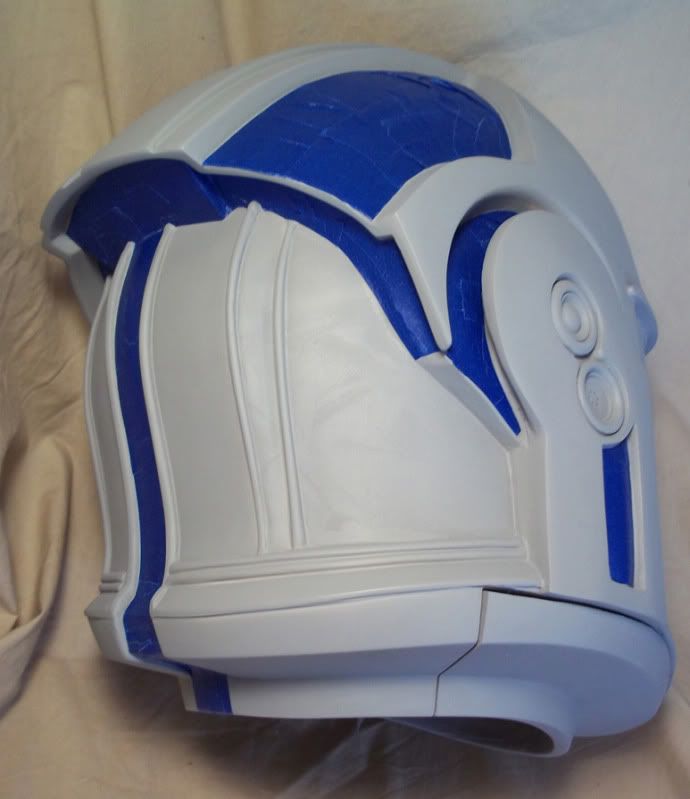
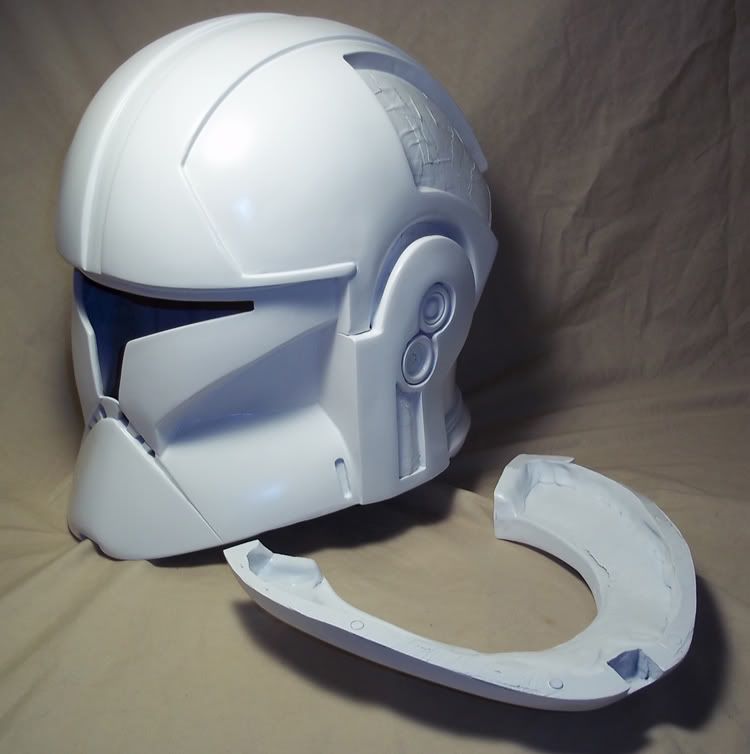
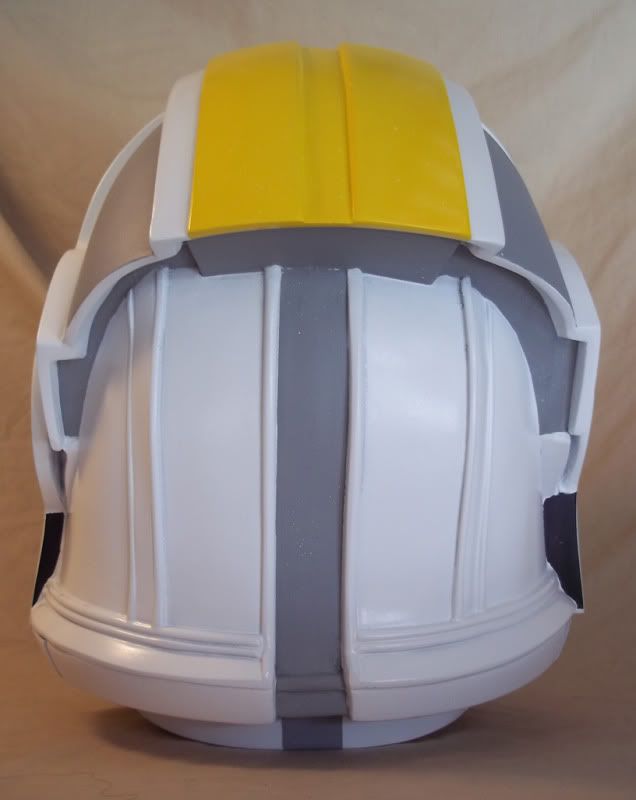
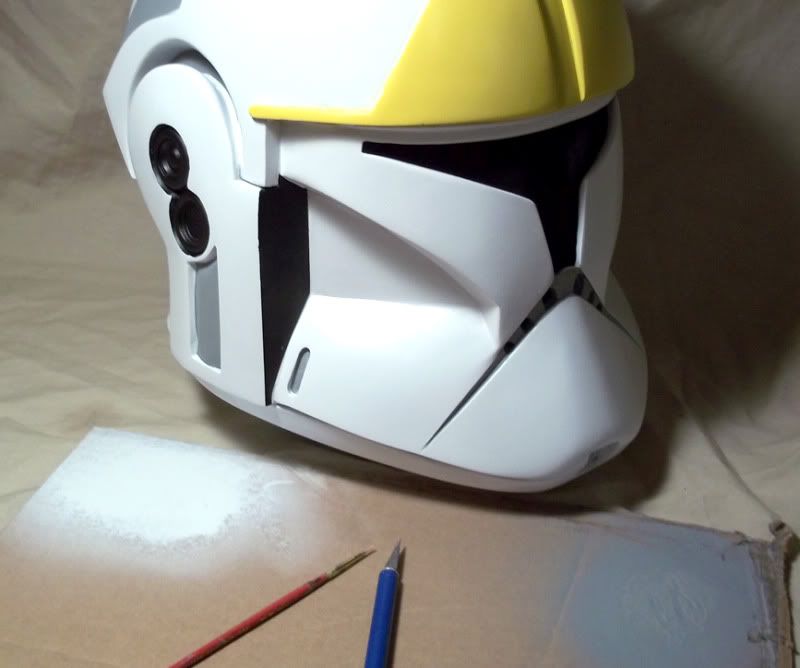
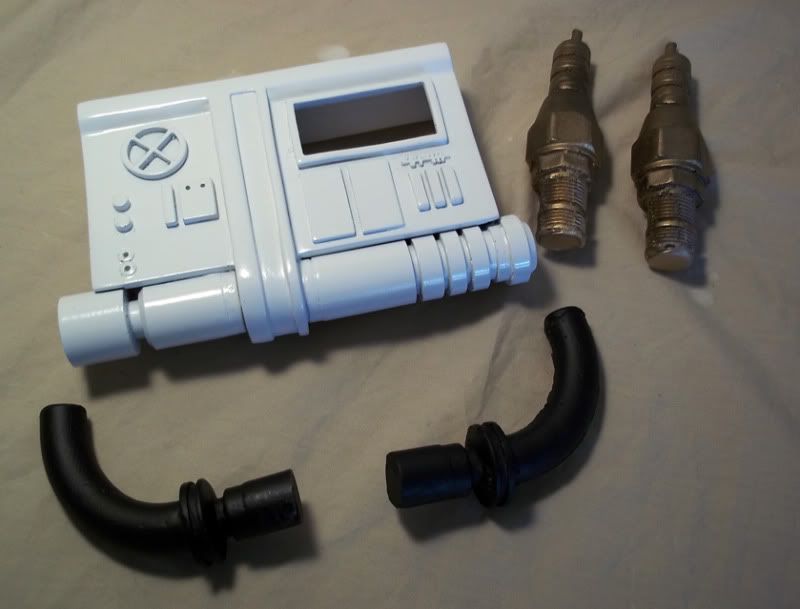
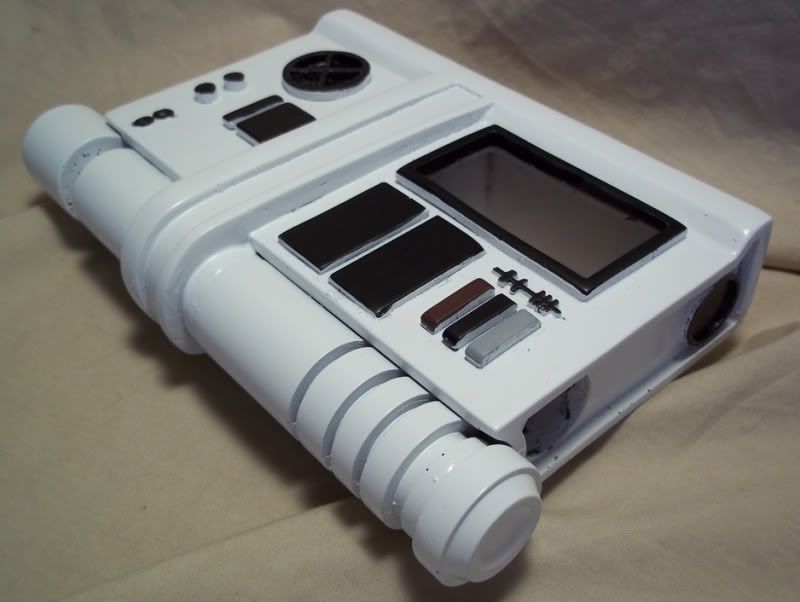
Day one complete! Visor and mouth areas cut and cleaned up. All resin pieces cleaned up and ready for day two!
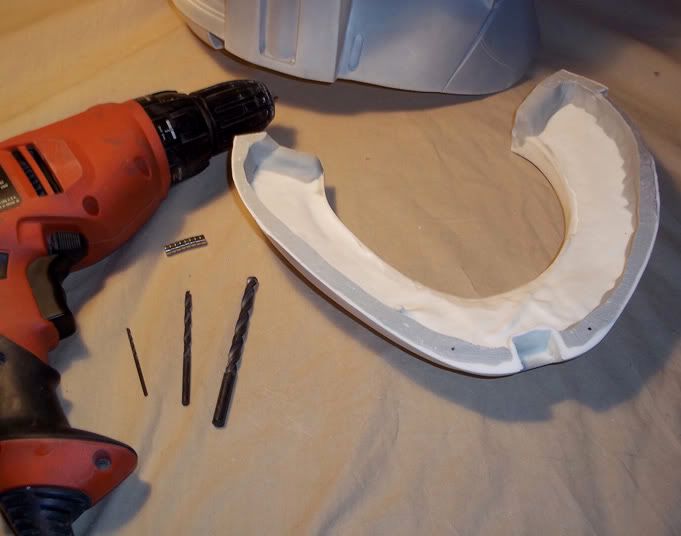
Here is a photo of all tools used for day one.
Mouse Sander, Dremil, Drill, Large and small Files, Exacto knife, Hacksaw Blades and Sand Paper.

I currently working on a E2 Clone Pilot tutorial. I am going to post this on several different forums.
Please feel free to post comments and suggestions I will try to answer all questions in a timely manner.
Attached is the info from day one!
Basic Clone Pilot Kit.

I like to start by removing the visor first. I use a hacksaw blade to cut most of it out. If you are planning
on doing this, don't forget to wear your gloves!

For the area near the bottom, I like to use a dremil.

The mouth are can be punched out with a dremil, then cleaned up with a small file.

After that area is done, move onto the flashing along the main body. You can clean this up with sandpaper or a mouse sander.

Now lets move onto the Chest Box and other accessories. Clean these up with the same tools as the helmet. Clean up all the flashing and rough areas.

Use a dremil to clean out the holes for the light’s. Try to get them so lamp with be centered when glued in place.

Now is a good time to check the placement of the film for the light up display. Clean with a dremil from the inside if needed.

Clean up any other areas that may need a touch up.

Drill four holes in the front for the placement of the wire. The wire will not be attached until the final stage of the build.

Day one complete! Visor and mouth areas cut and cleaned up. All resin pieces cleaned up and ready for day two!

Here is a photo of all tools used for day one.
Mouse Sander, Dremil, Drill, Large and small Files, Exacto knife, Hacksaw Blades and Sand Paper.

Last edited:

