welshwarrior123
Well-Known Member
Hey guys,
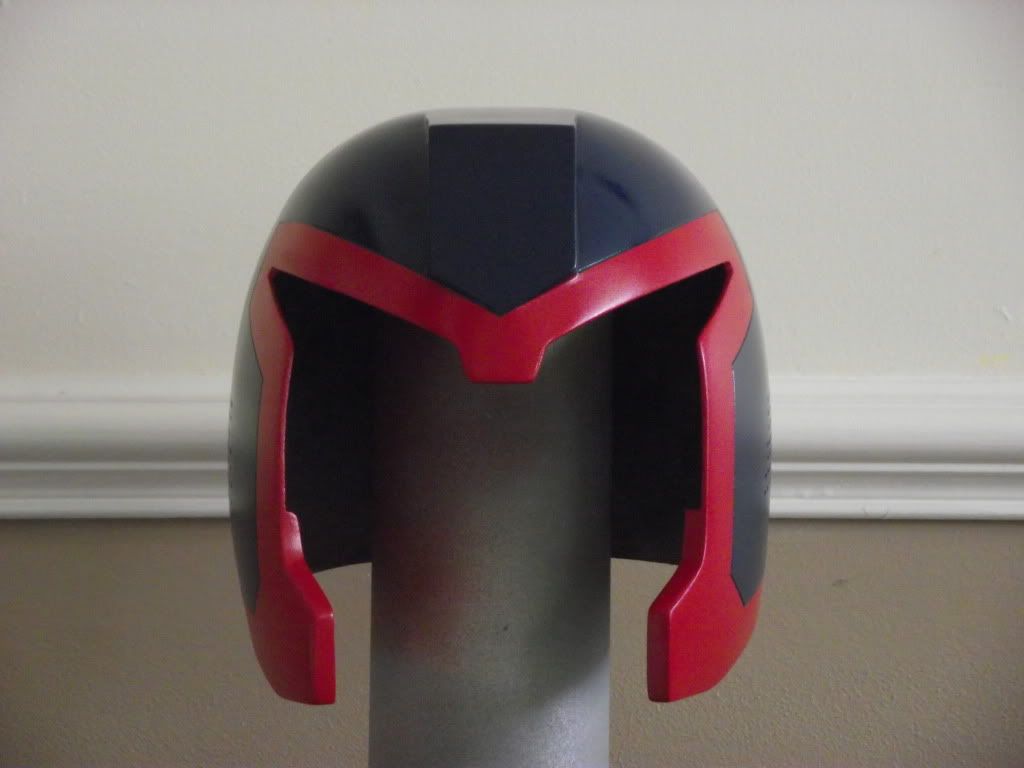
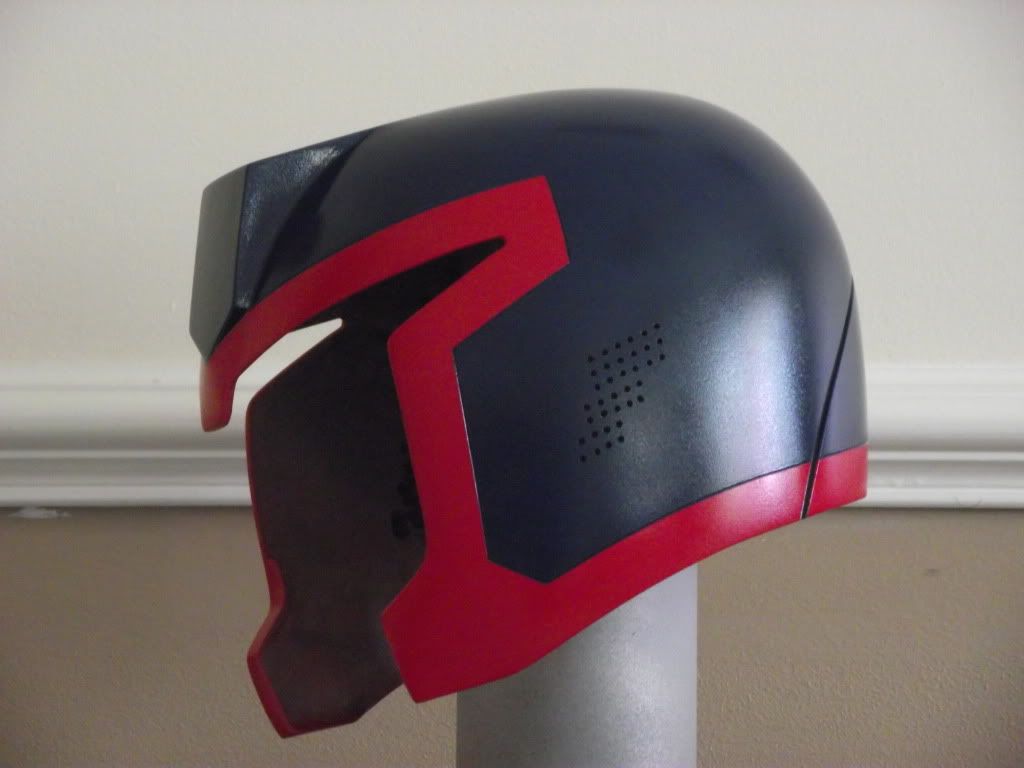
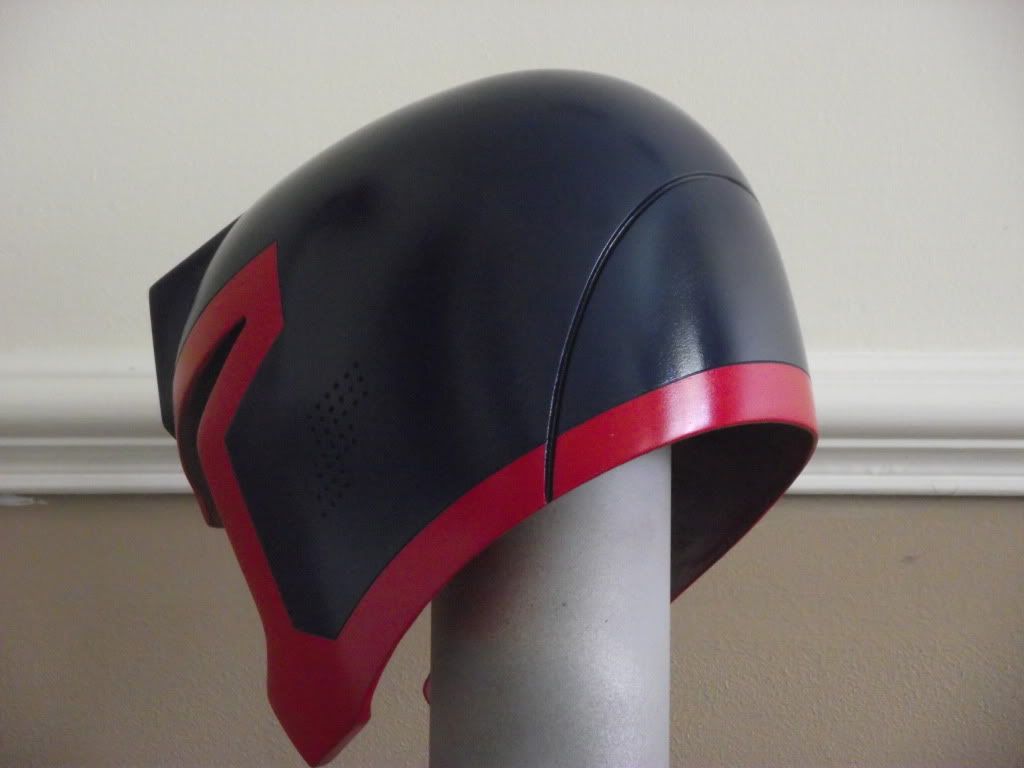
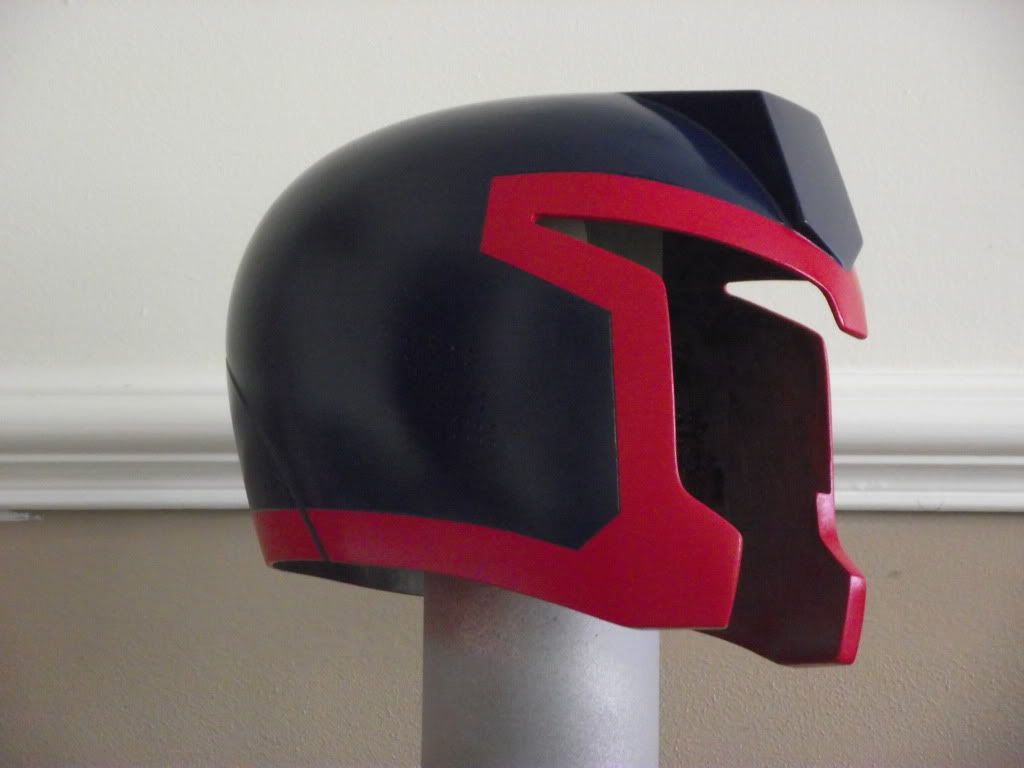
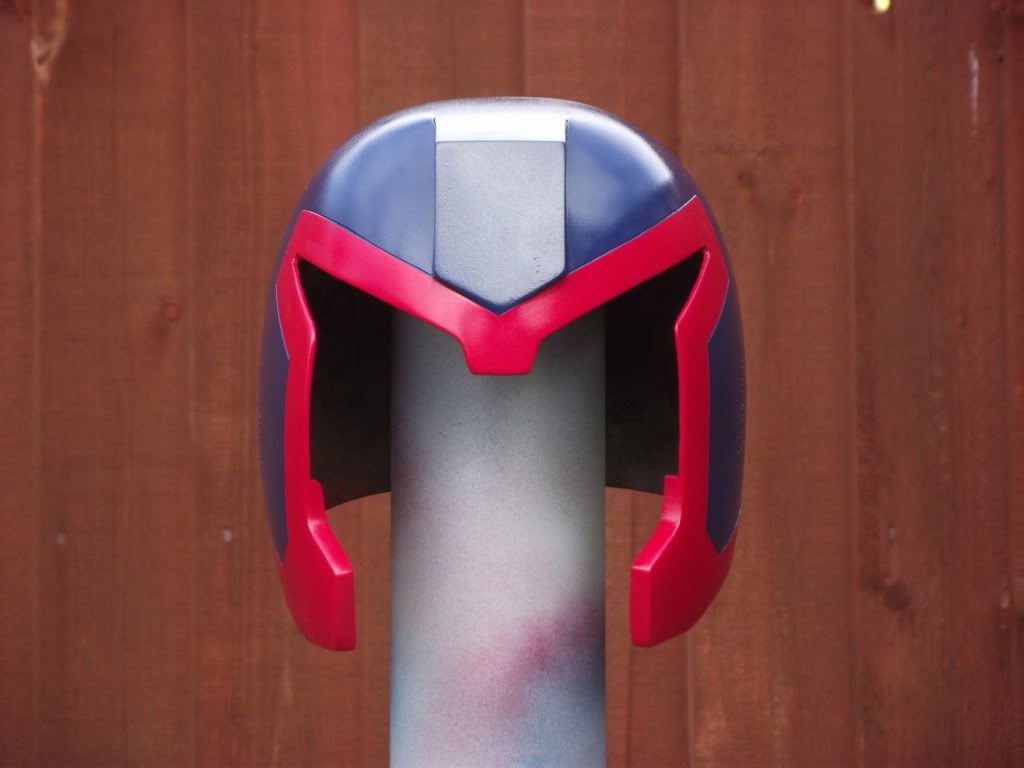
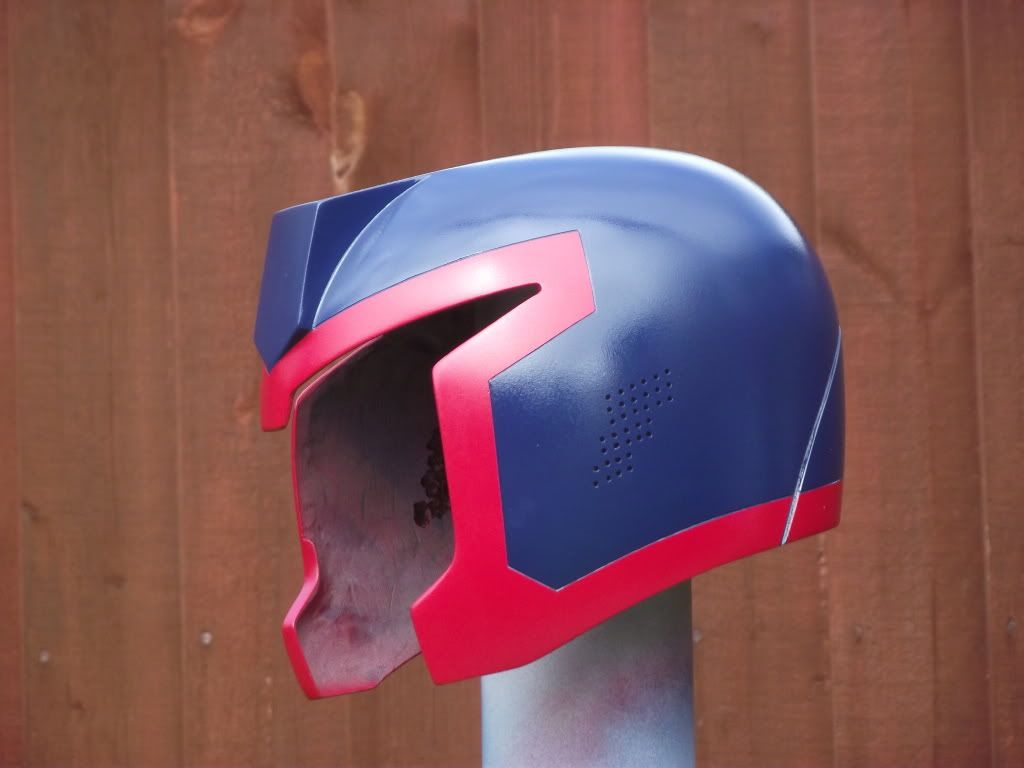
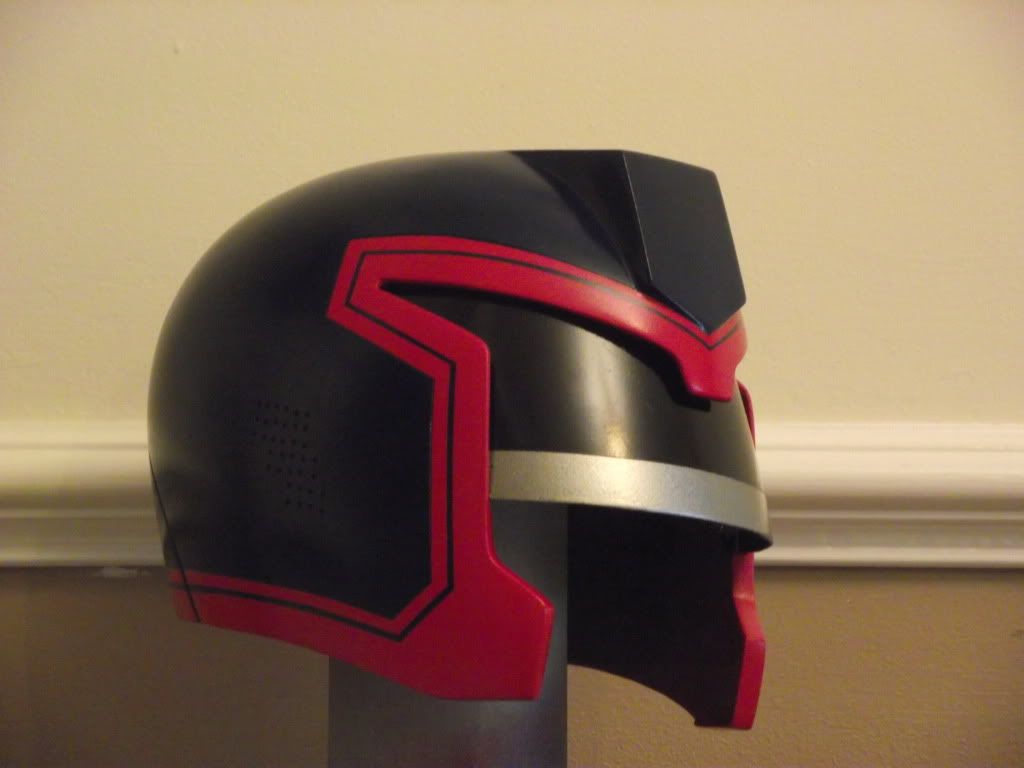
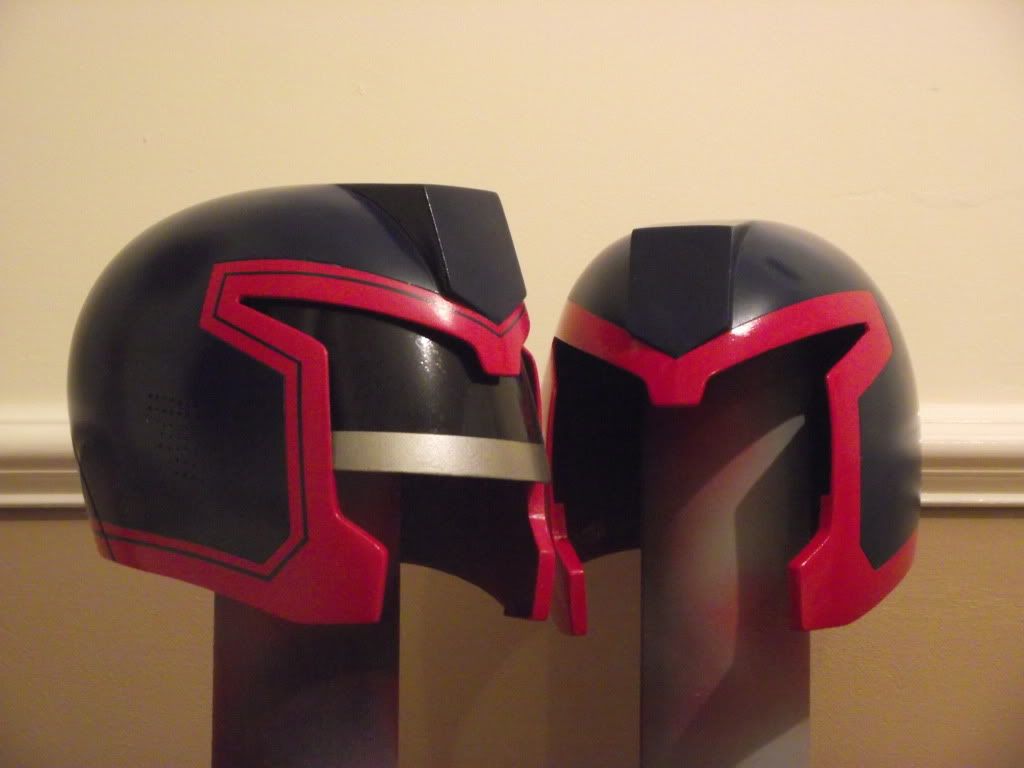
Well not so much taking a break from all things Fett, but a nice change of scene. Ive been commissioned by Simon aka super trooper to paint up both a hero Judge Dredd and Judge Hershey helmet from the Stallone film. Thanks for giving me the opportunity mate.
Now I do not have much experience out side of painting Fett items, but I feel confident that I can pull the paint job off. The plan is to do Dredd first, with the more complex prep work and the extra detailing I want to get the hard part done first. Both the jobs are going to be rattle can based, with the colours borrowed from the build that member Vos did a while back.
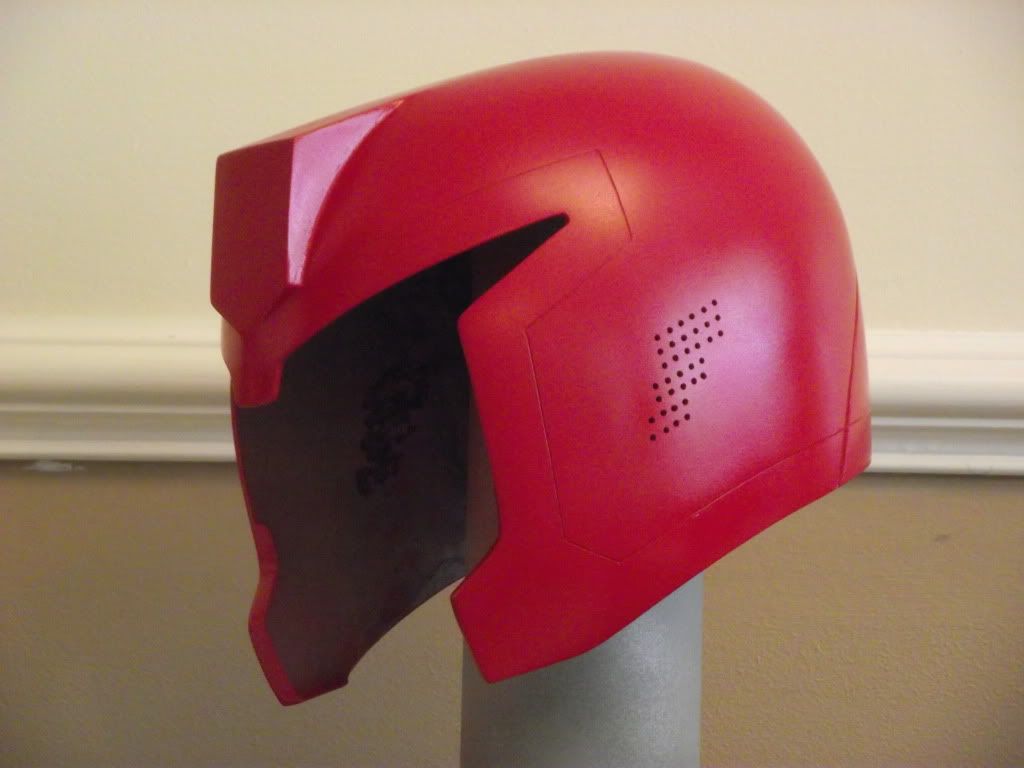
With that done, Im planning on having the badge Vac metalized at a local place near me, with then the finished helmet either being lacquered professionally or having T cut, wax and polish applied by myself. The visors will be the spray on tint and spray on frosted glass.
So on with the build,
Not much to show as I started today, but im not imaging this to be as labor intensive as a fett helmet.
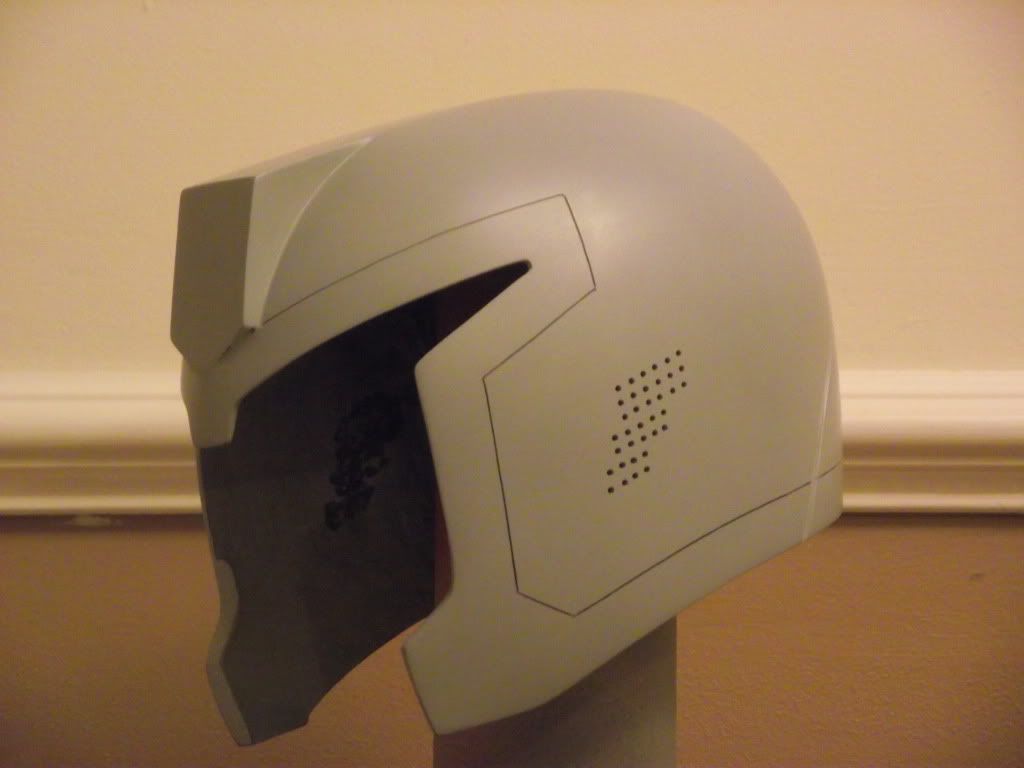
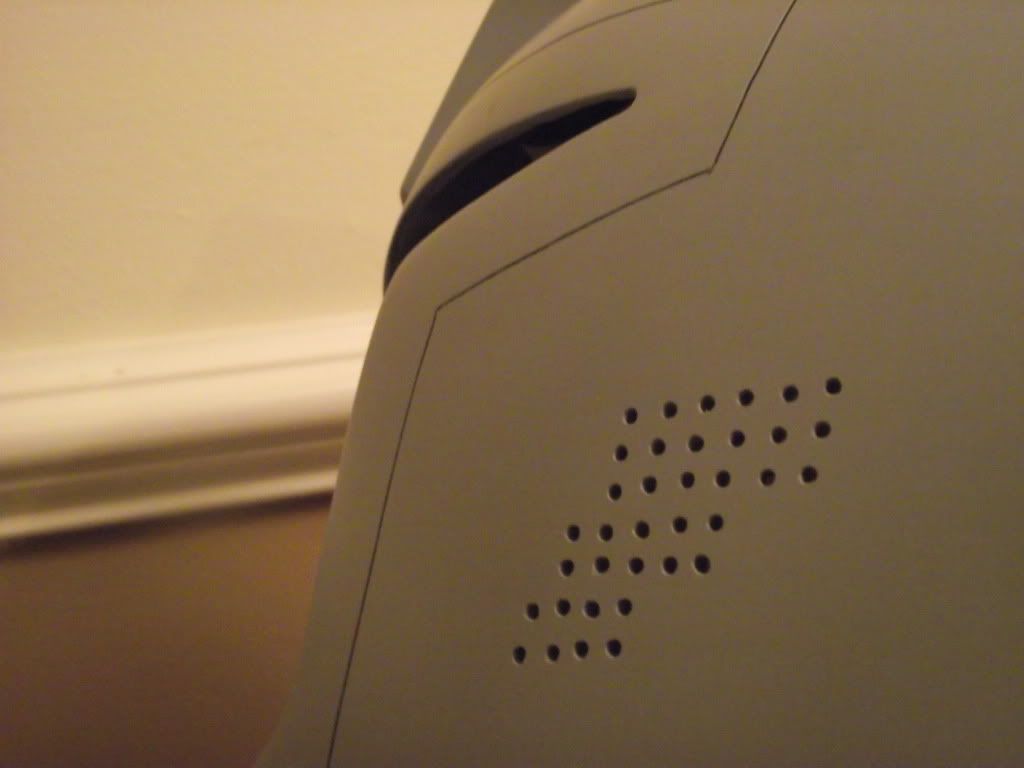
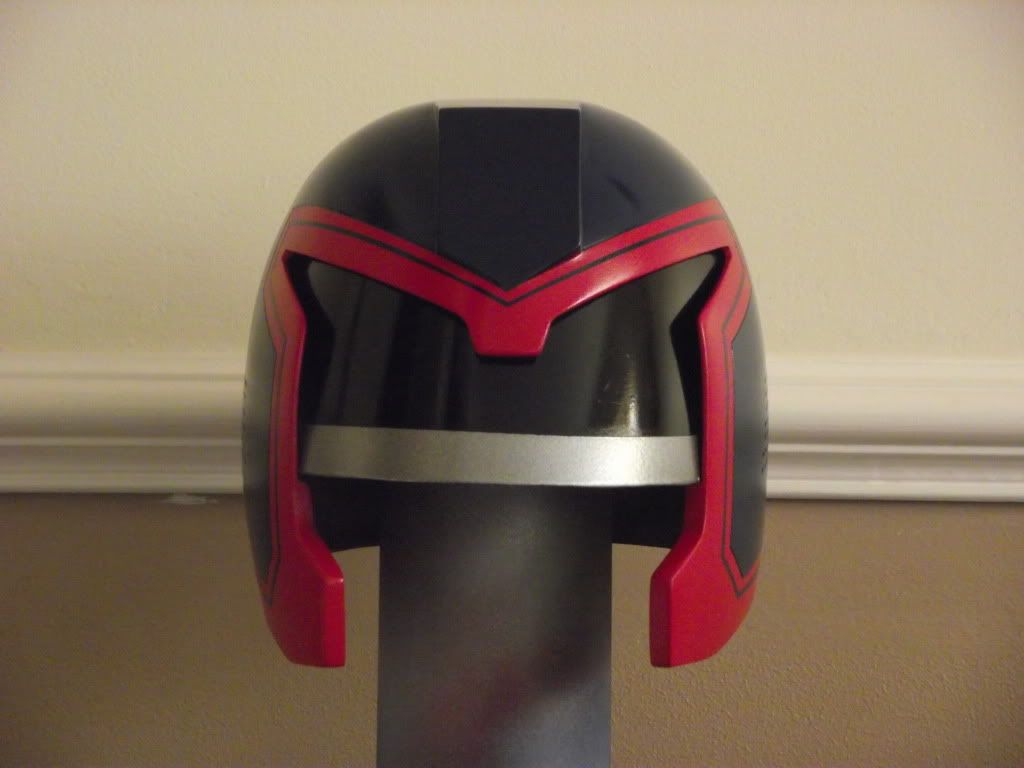
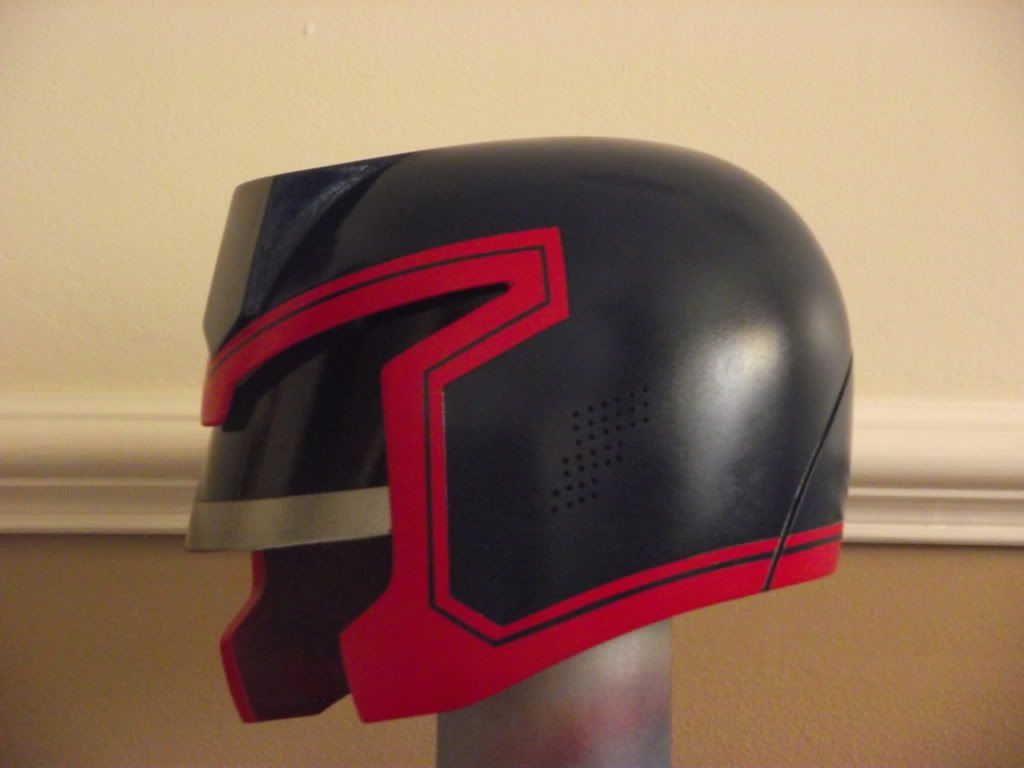
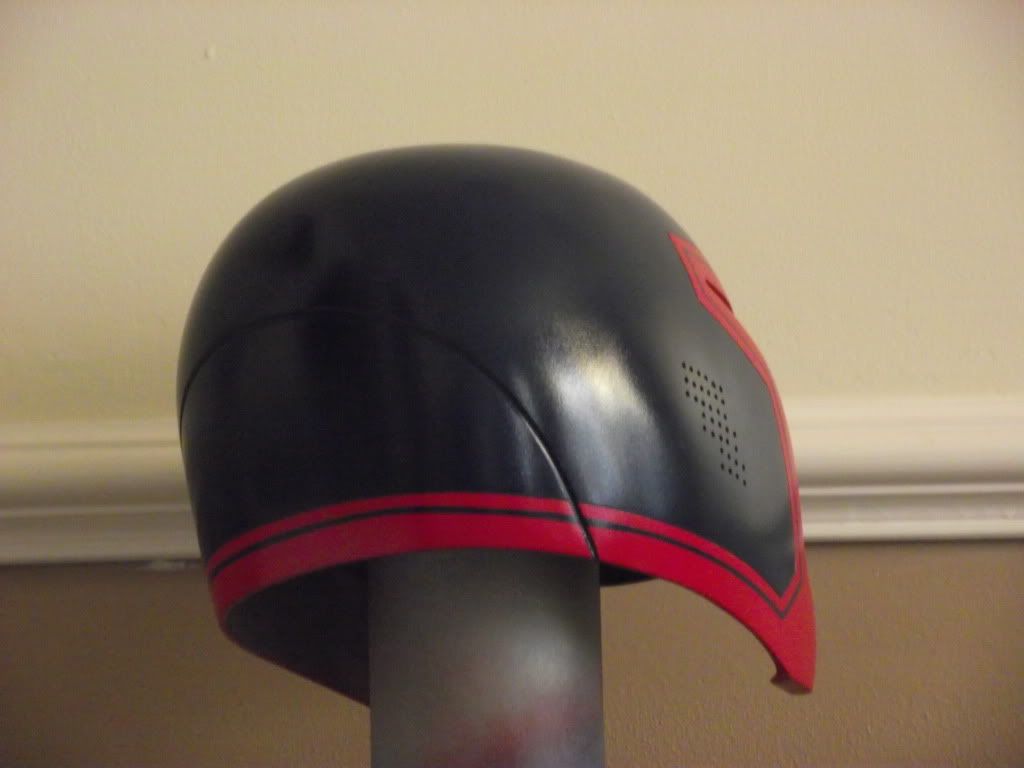
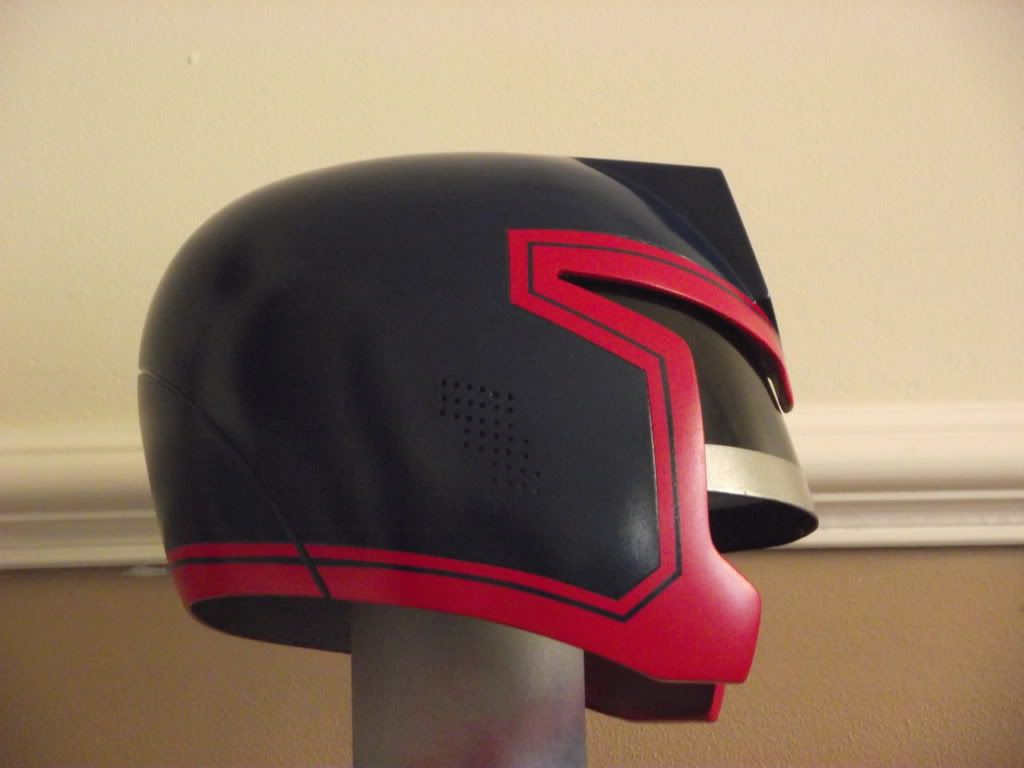
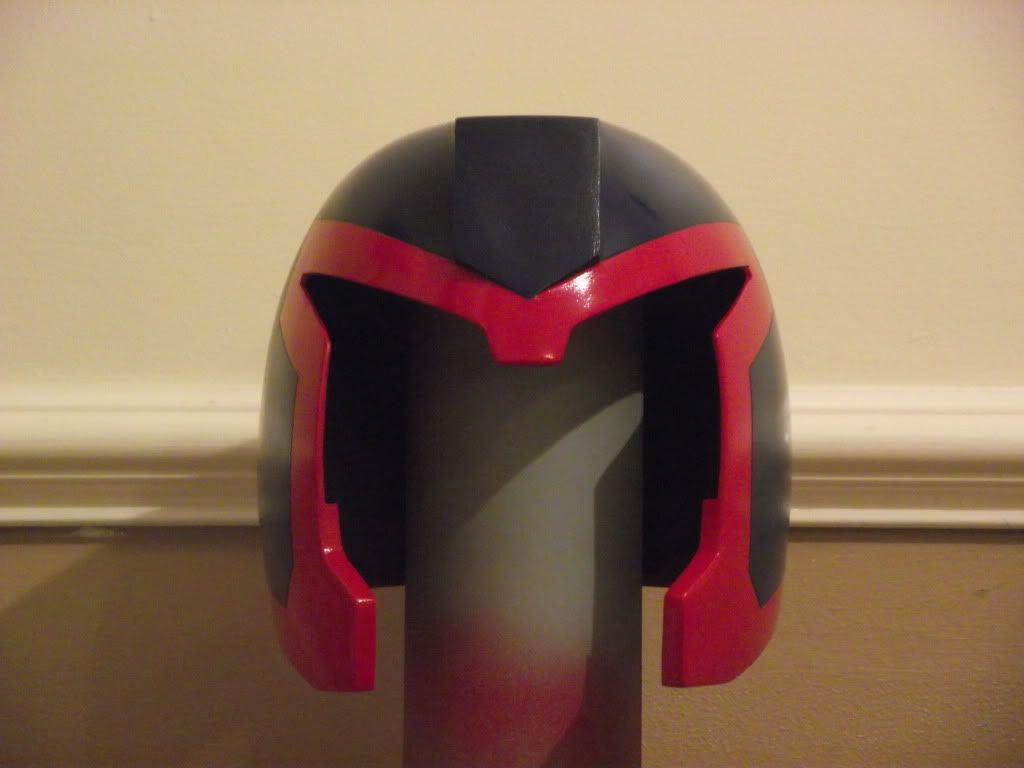
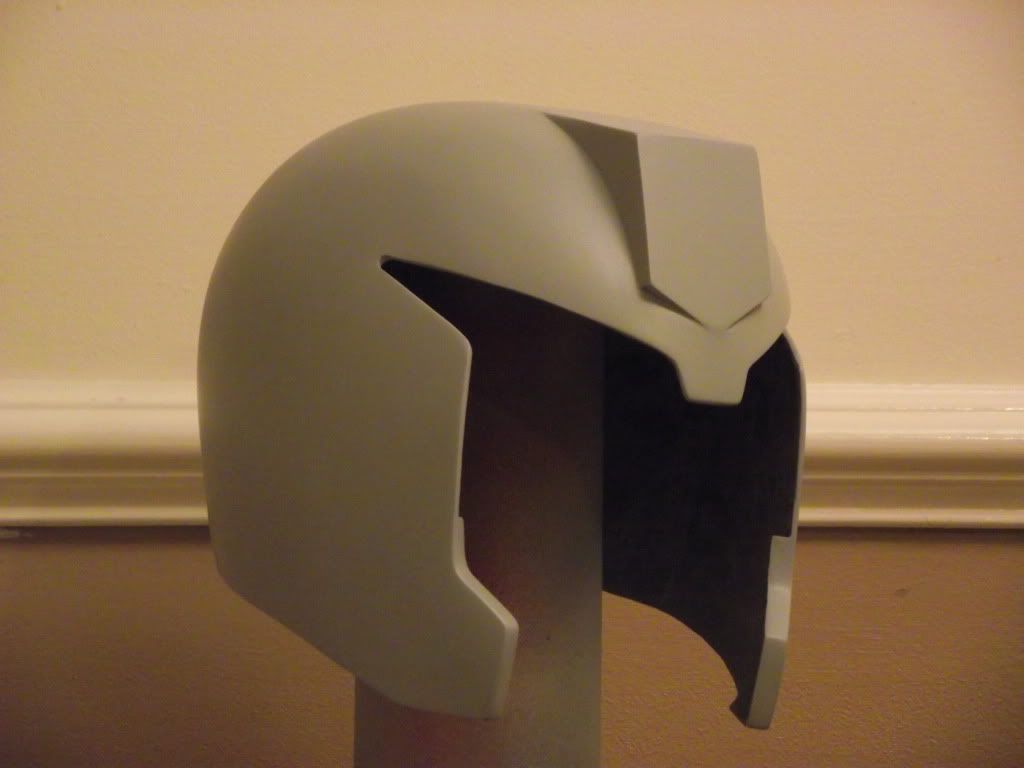
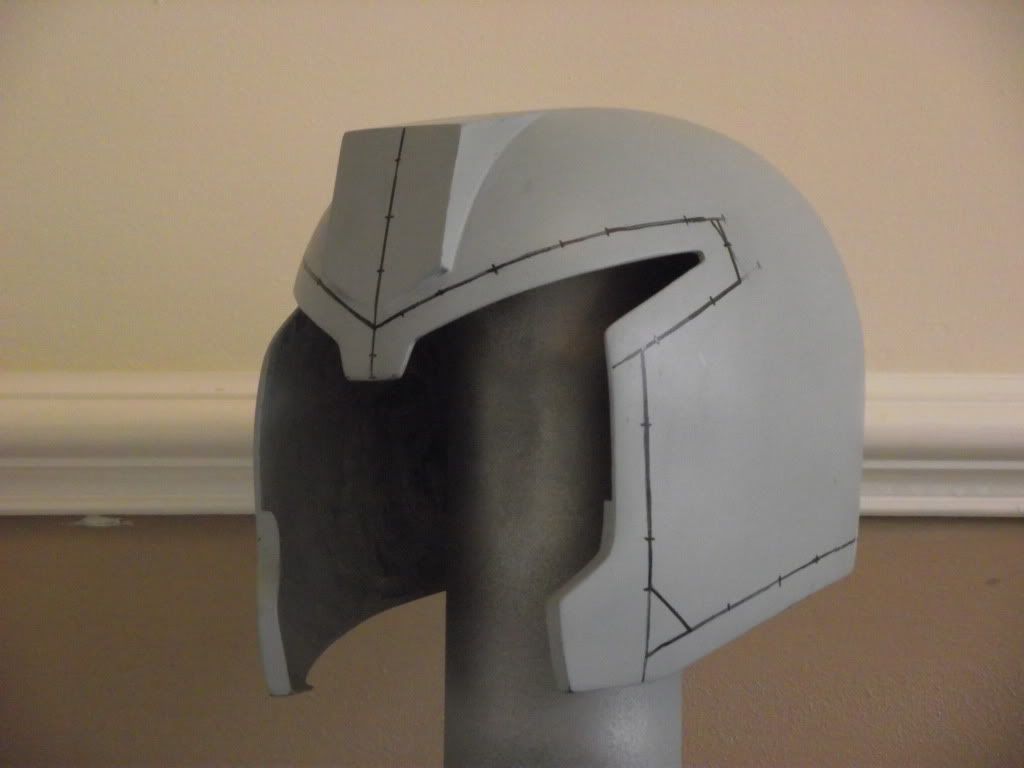
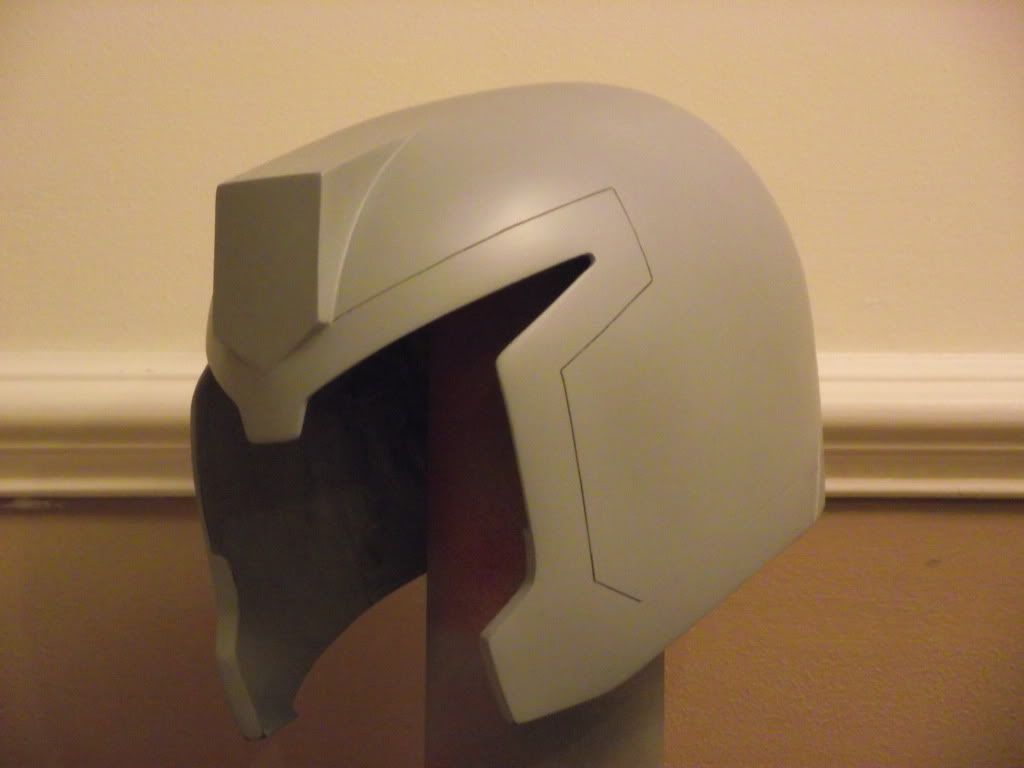
So the helmets arrived, and I immediately got to work on the Dredd. Giving it a good o'l wash and scrub down, followed by going through various wet and dry papers.

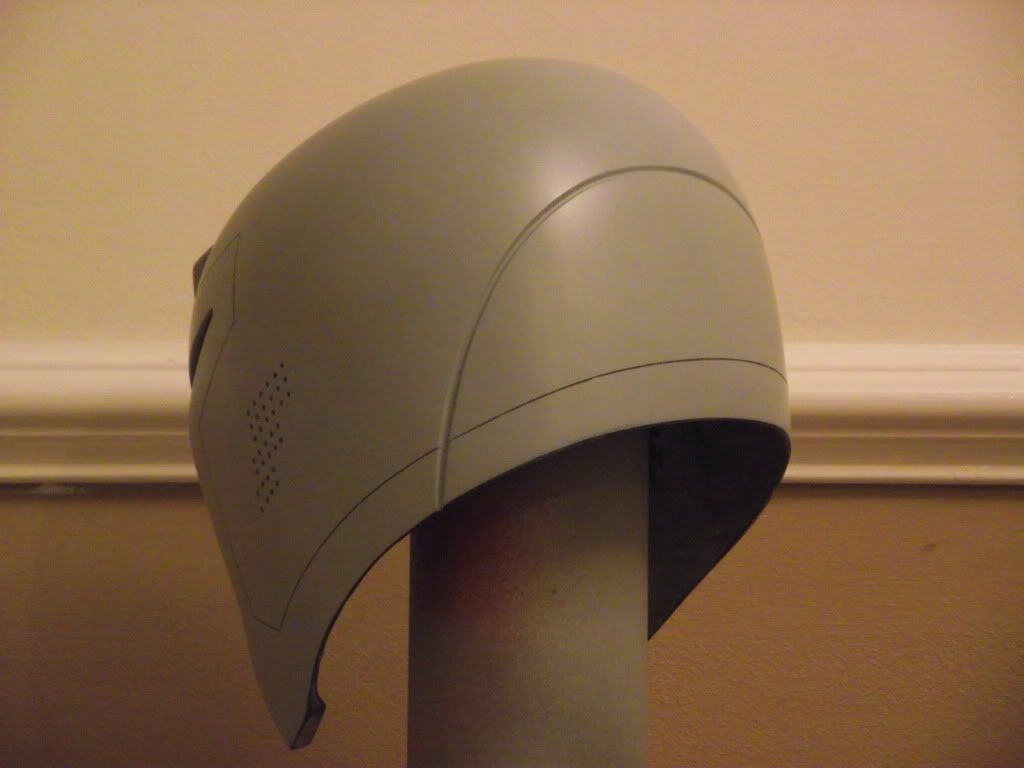
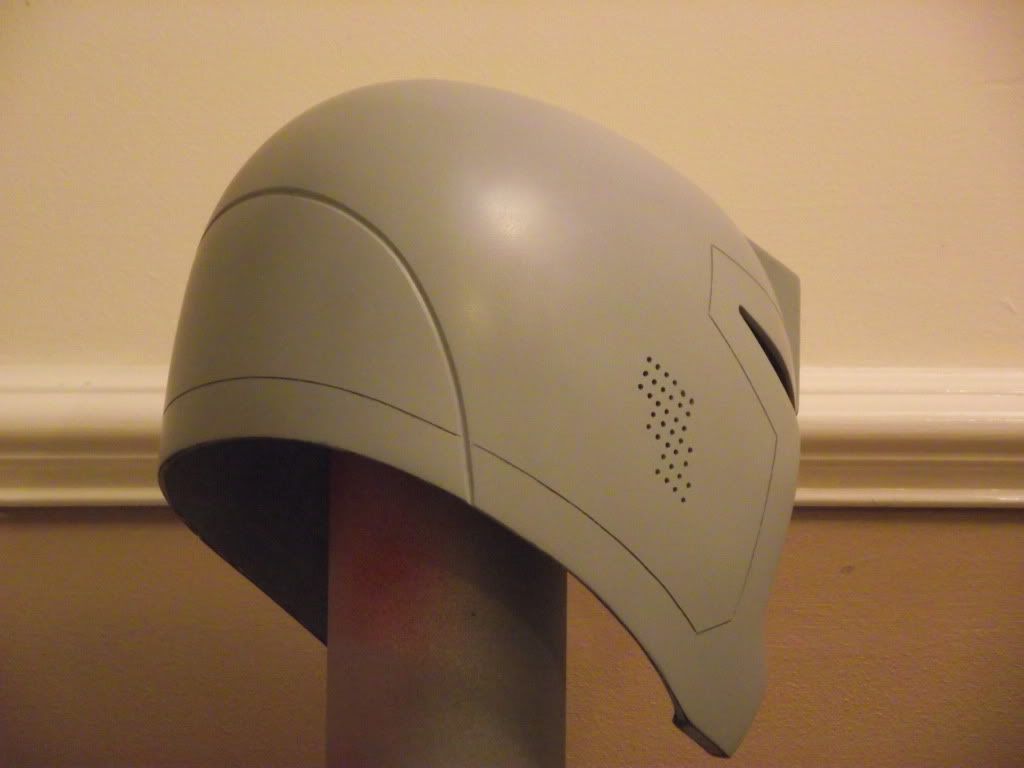
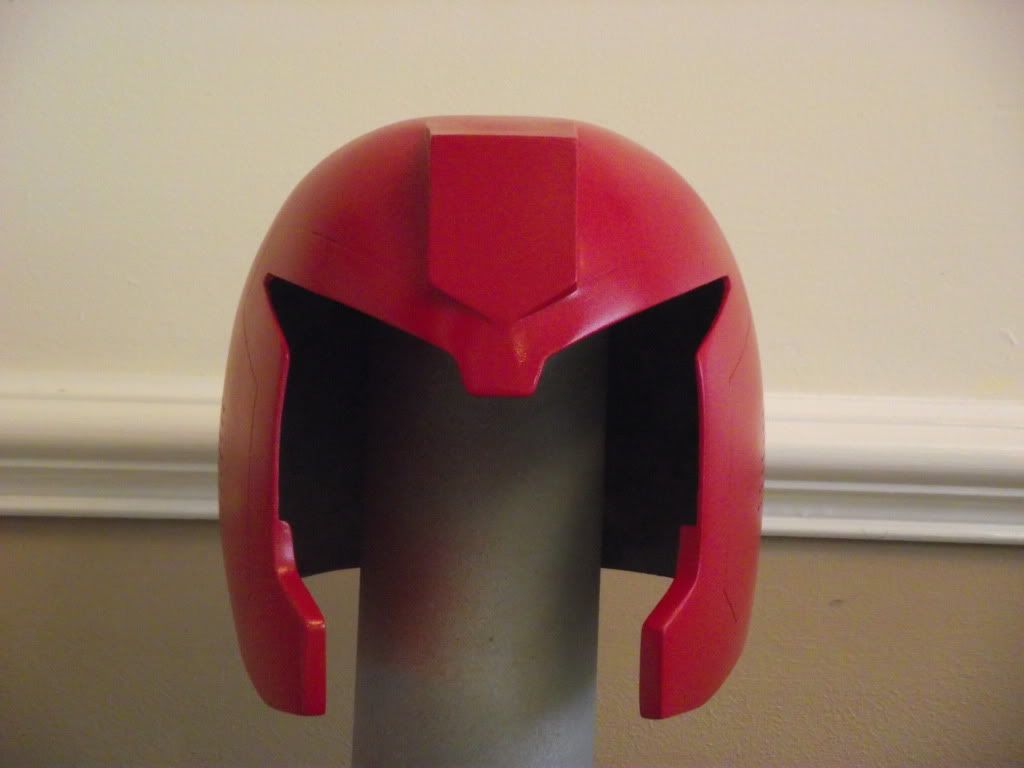
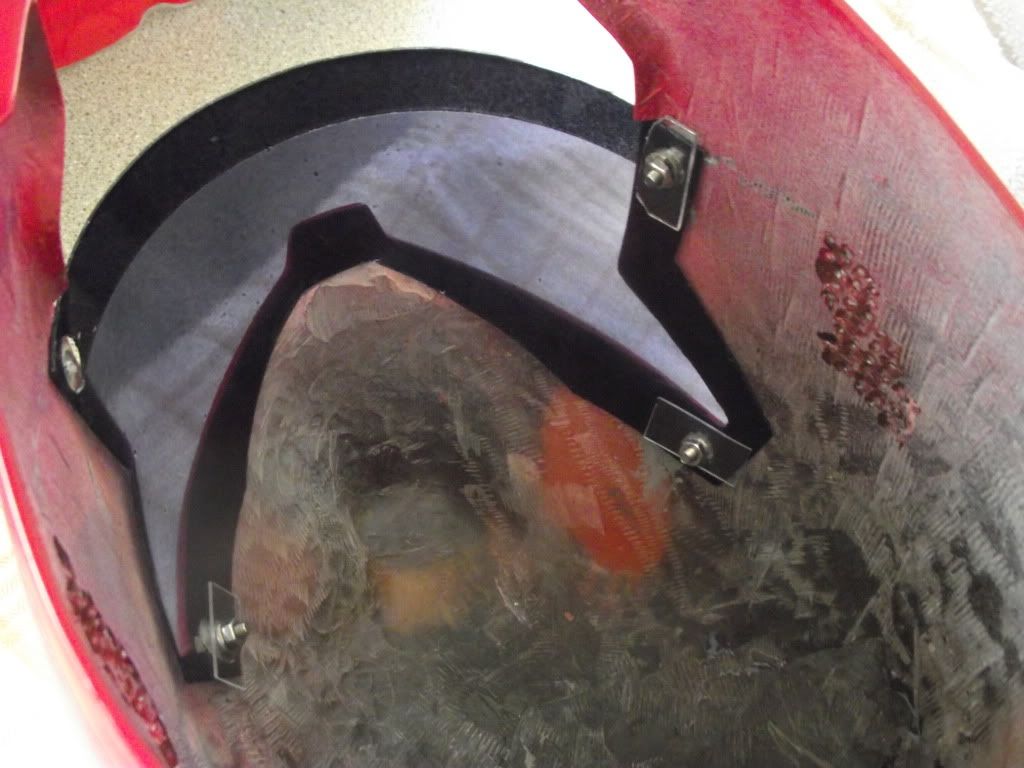
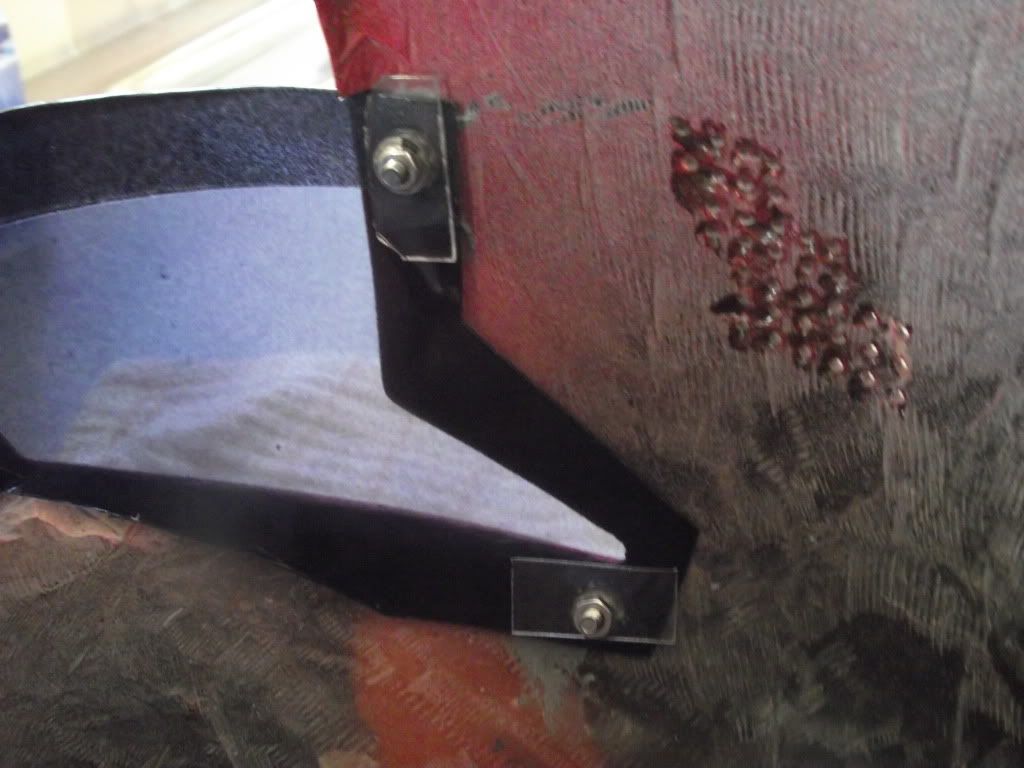
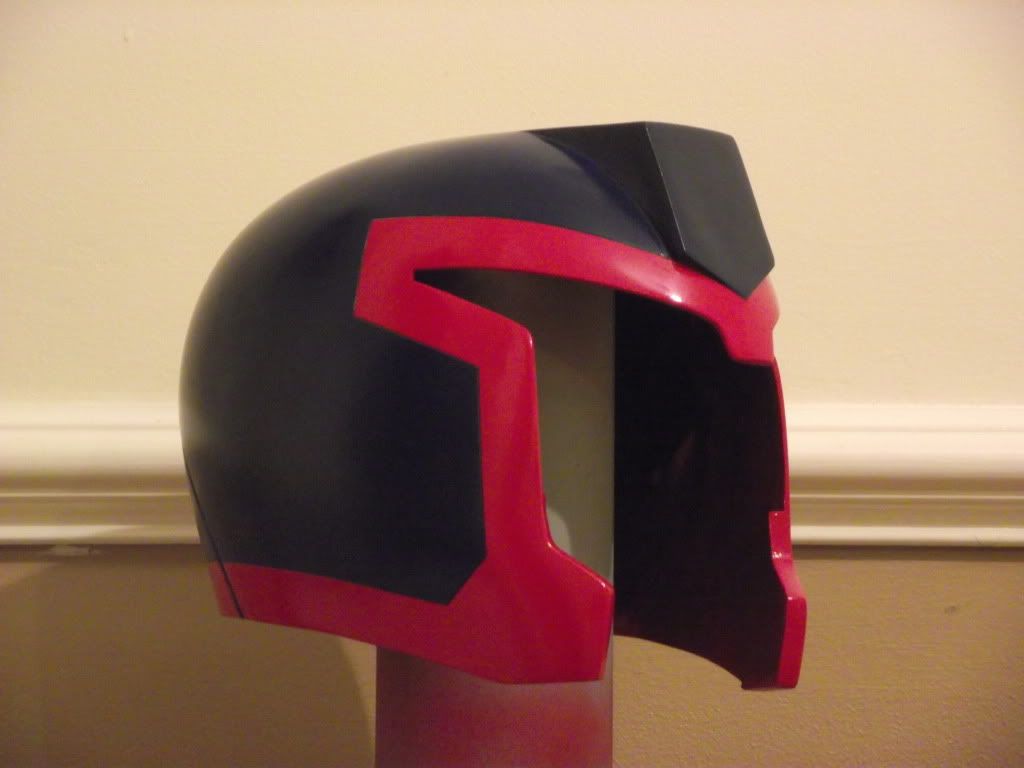
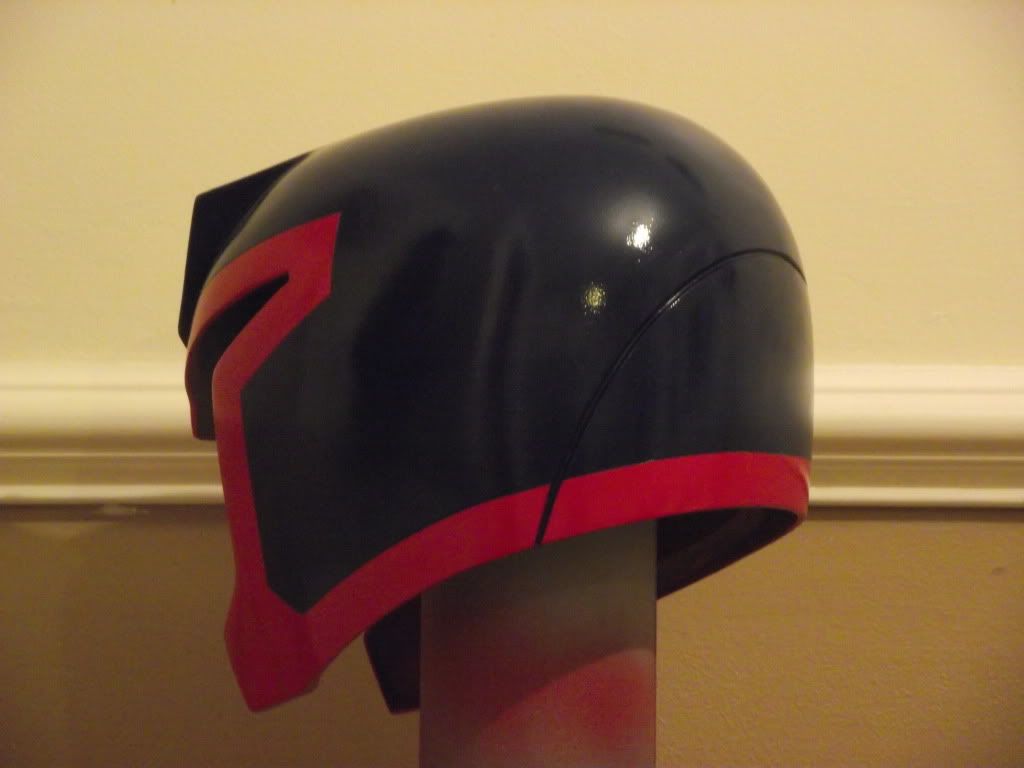
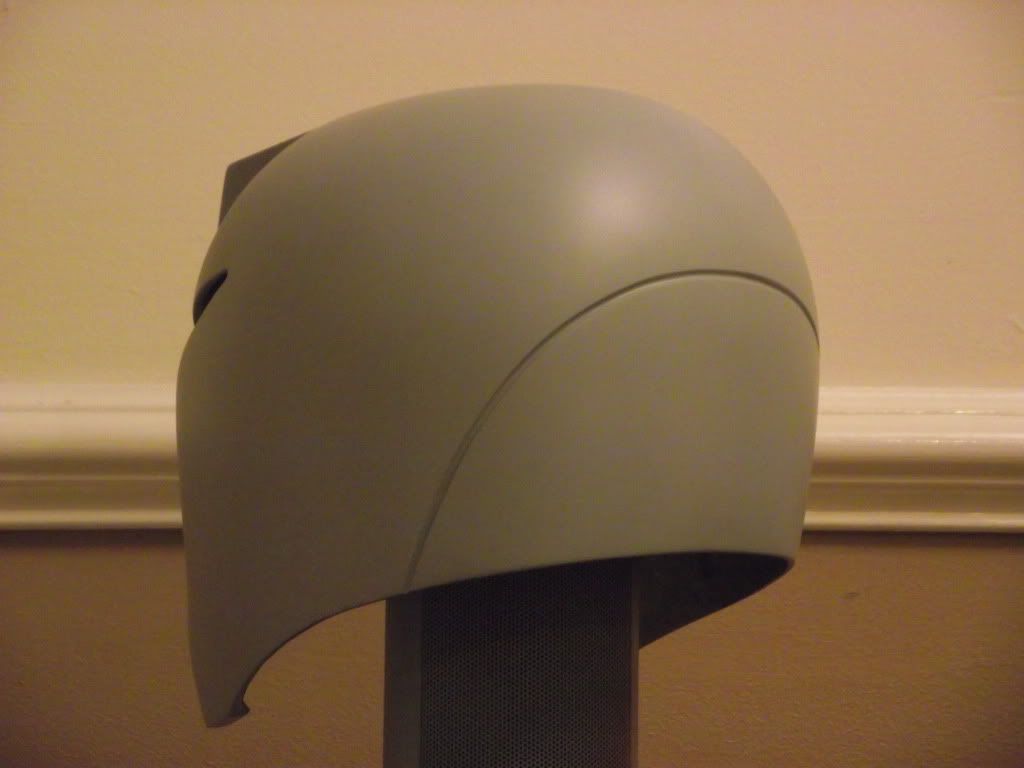
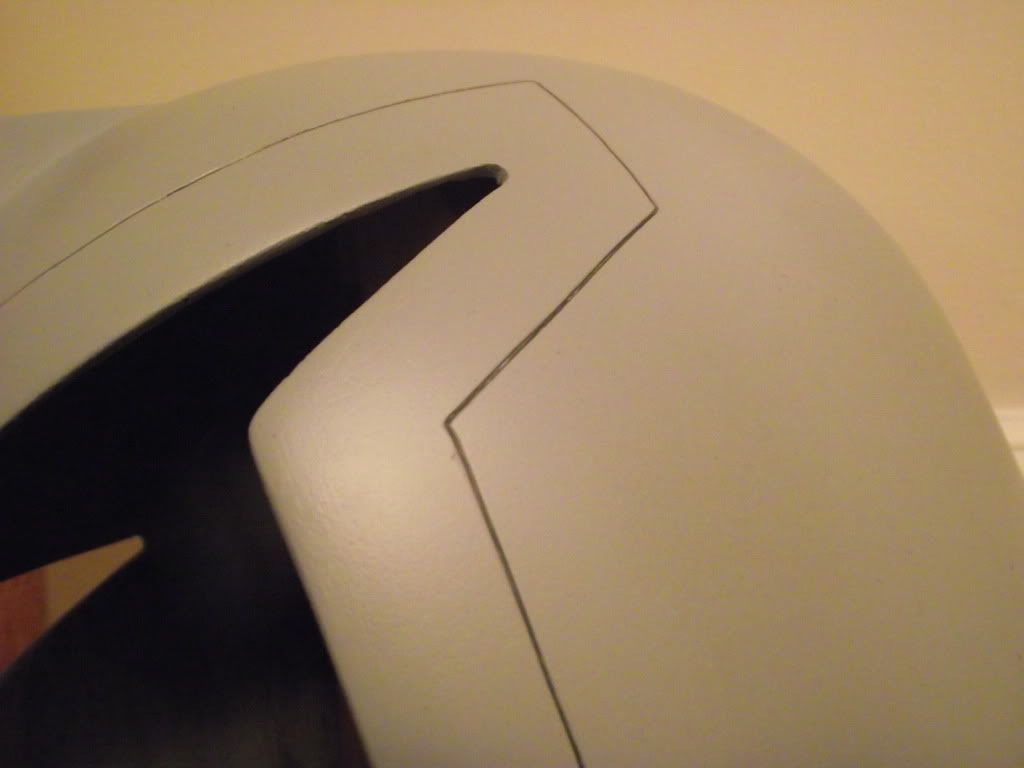
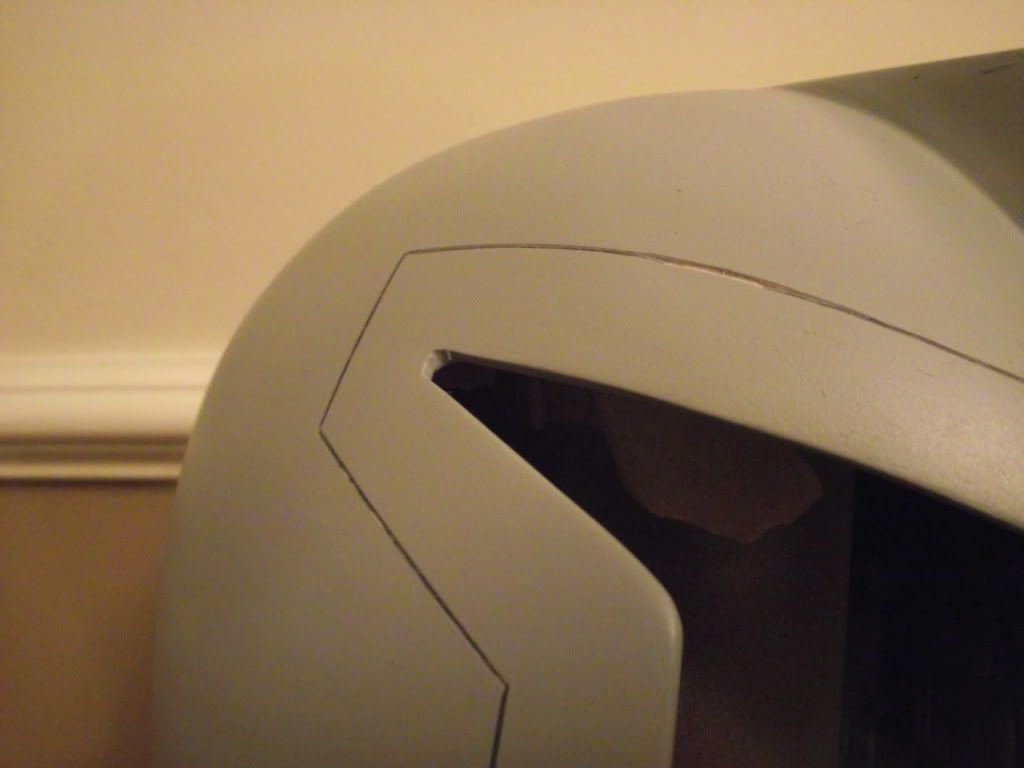
I then applied some primer so as to find any visible imperfections etc and applied some body filler to the needed areas. I also went about neatening up the visor area and cleaning the groove in the back of the helmet. This was then sanded back down.


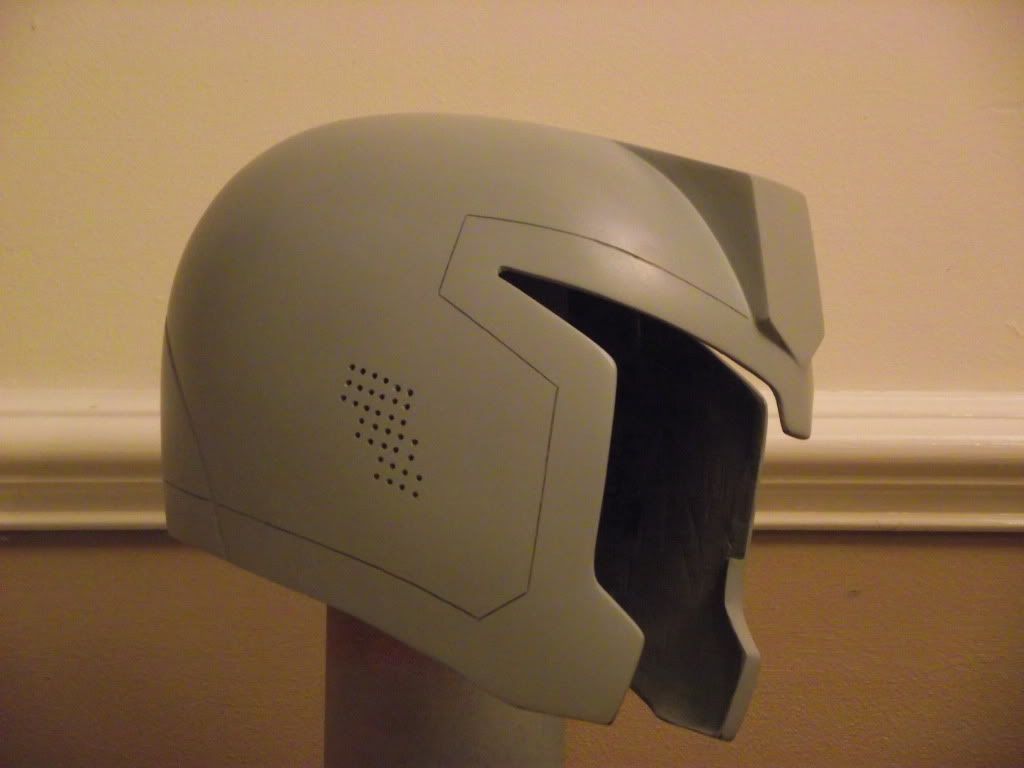
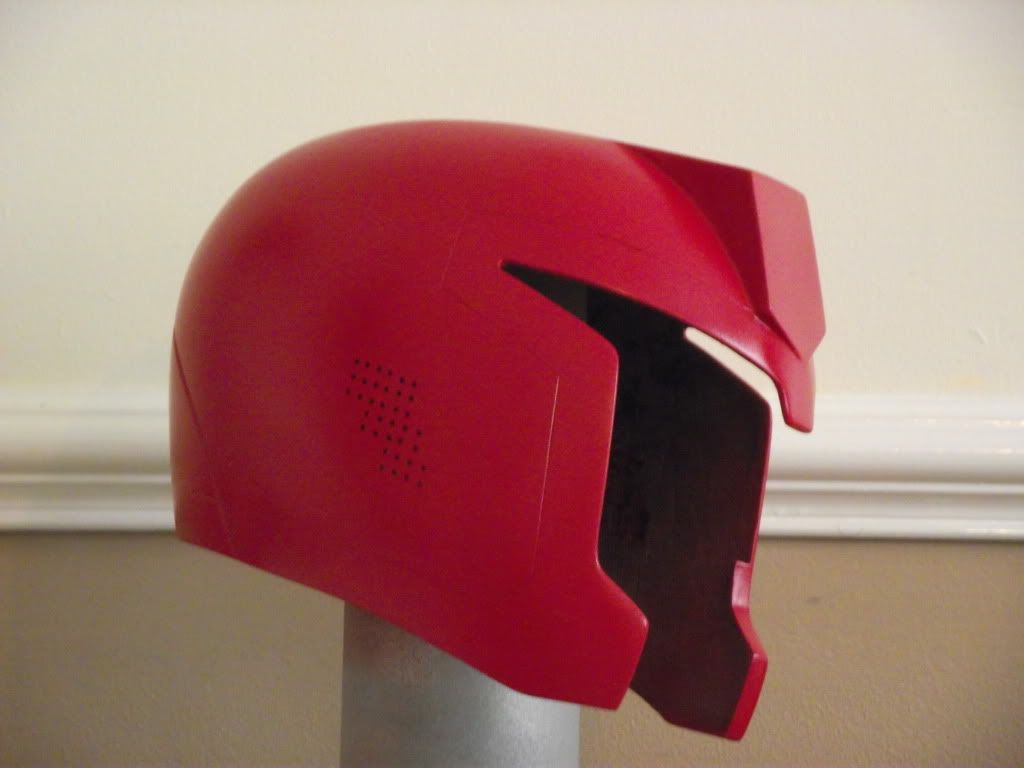
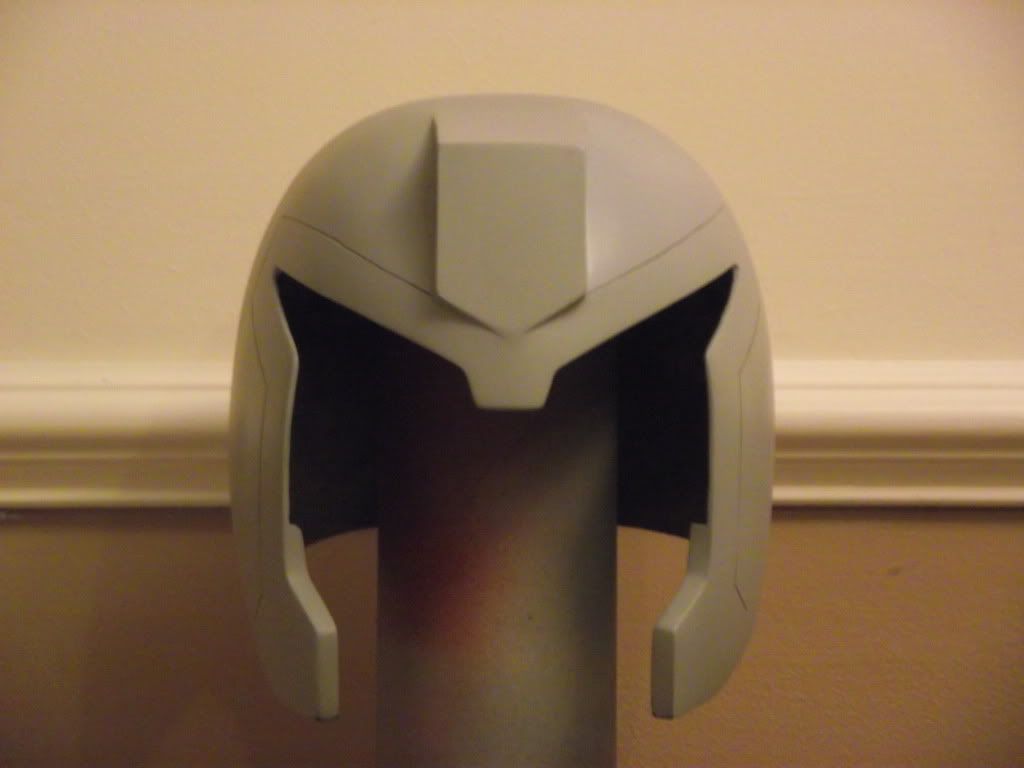
With the problem areas fixed, I then went back from the start and sanded up from 150 grit all the way to 1500, then applied some more primer. I now have one smooth as glass helmet.

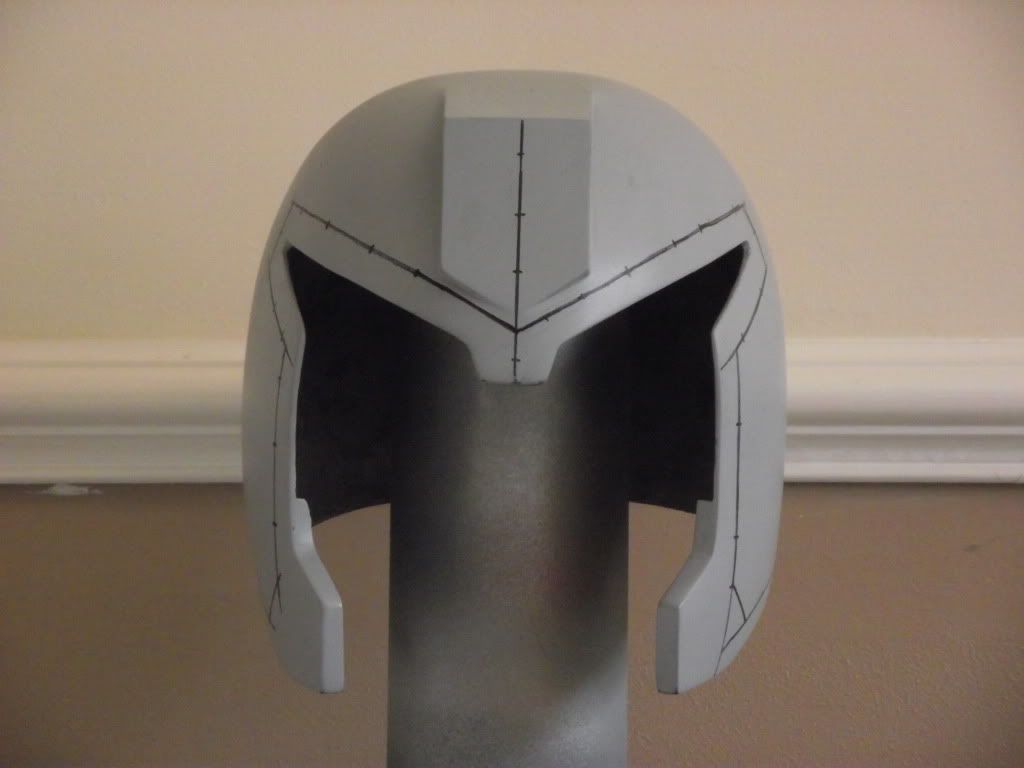
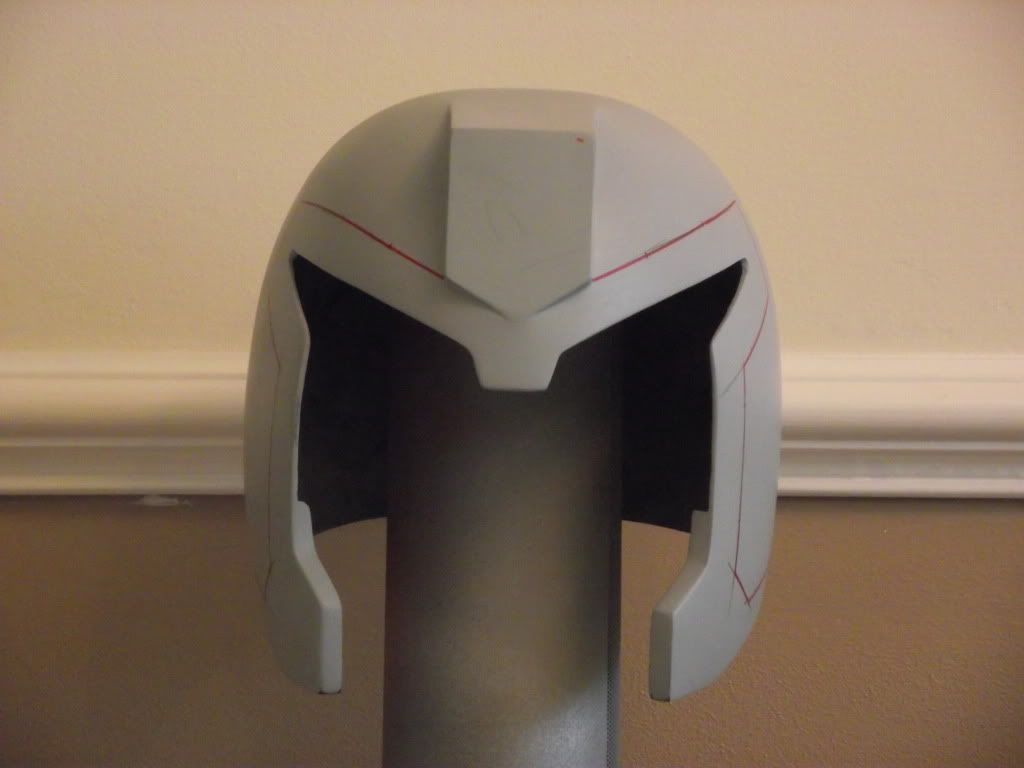
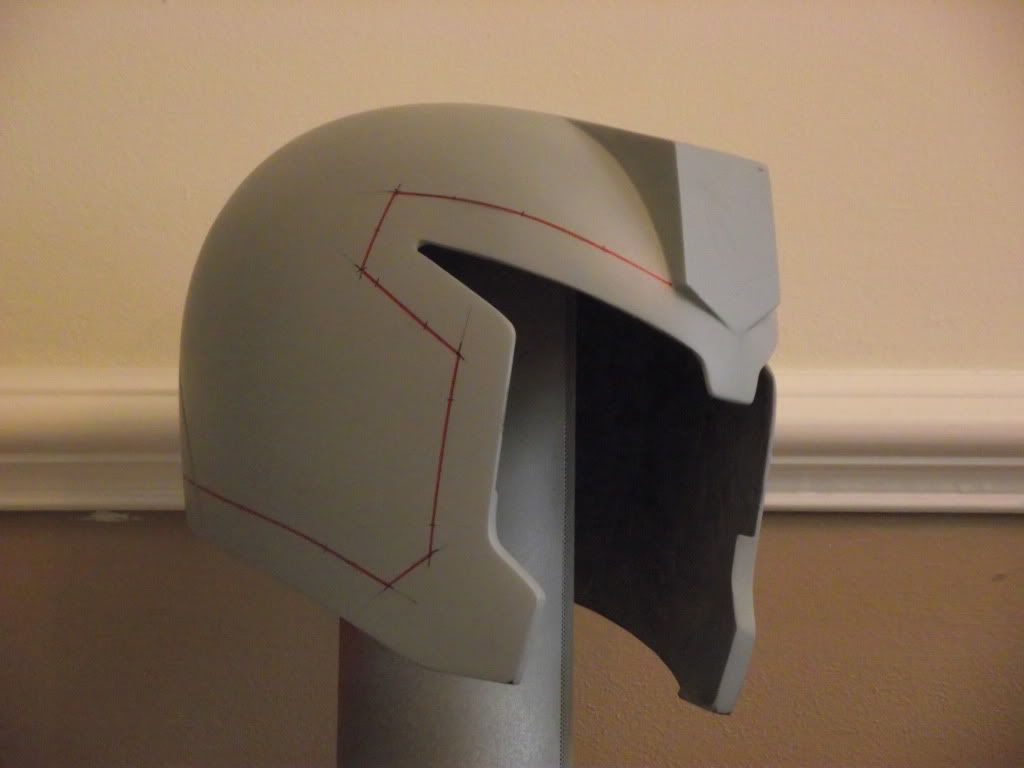
I'll be working on this again tomorrow, measuring up the red trim areas so I can cut a groove around the visor area.
Any help, criticism or input you guys have would be really grateful.
Thanks for looking,
Welsh
Well not so much taking a break from all things Fett, but a nice change of scene. Ive been commissioned by Simon aka super trooper to paint up both a hero Judge Dredd and Judge Hershey helmet from the Stallone film. Thanks for giving me the opportunity mate.
Now I do not have much experience out side of painting Fett items, but I feel confident that I can pull the paint job off. The plan is to do Dredd first, with the more complex prep work and the extra detailing I want to get the hard part done first. Both the jobs are going to be rattle can based, with the colours borrowed from the build that member Vos did a while back.
With that done, Im planning on having the badge Vac metalized at a local place near me, with then the finished helmet either being lacquered professionally or having T cut, wax and polish applied by myself. The visors will be the spray on tint and spray on frosted glass.
So on with the build,
Not much to show as I started today, but im not imaging this to be as labor intensive as a fett helmet.
So the helmets arrived, and I immediately got to work on the Dredd. Giving it a good o'l wash and scrub down, followed by going through various wet and dry papers.
I then applied some primer so as to find any visible imperfections etc and applied some body filler to the needed areas. I also went about neatening up the visor area and cleaning the groove in the back of the helmet. This was then sanded back down.
With the problem areas fixed, I then went back from the start and sanded up from 150 grit all the way to 1500, then applied some more primer. I now have one smooth as glass helmet.
I'll be working on this again tomorrow, measuring up the red trim areas so I can cut a groove around the visor area.
Any help, criticism or input you guys have would be really grateful.
Thanks for looking,
Welsh
")