Darth Lars
Master Member
Re: Denix / ROTJ Blaster Assembly Info
Good then, that I had spared it. Thanks for the video!
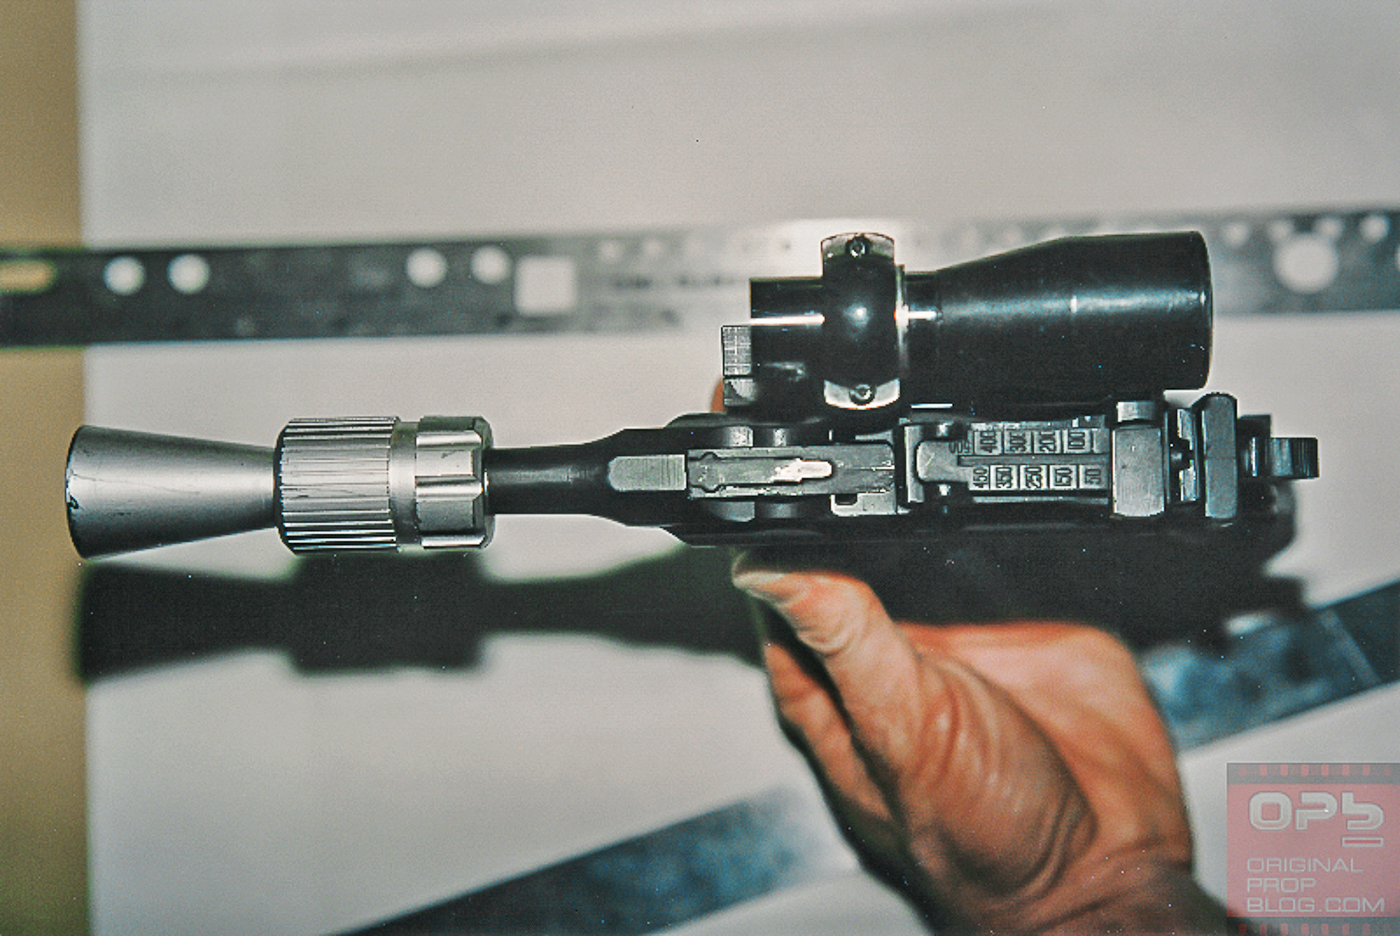
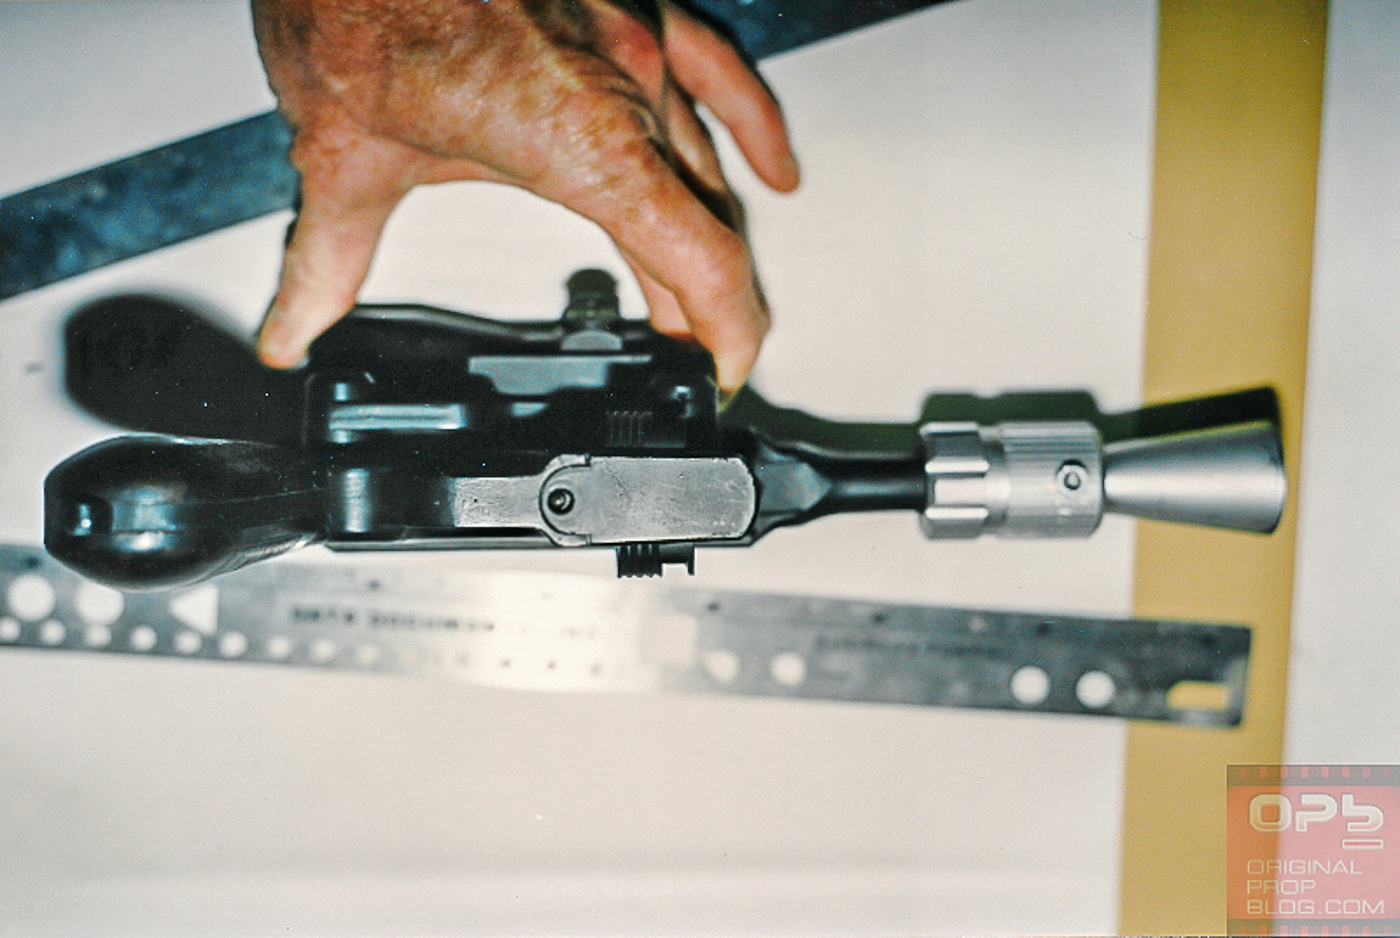
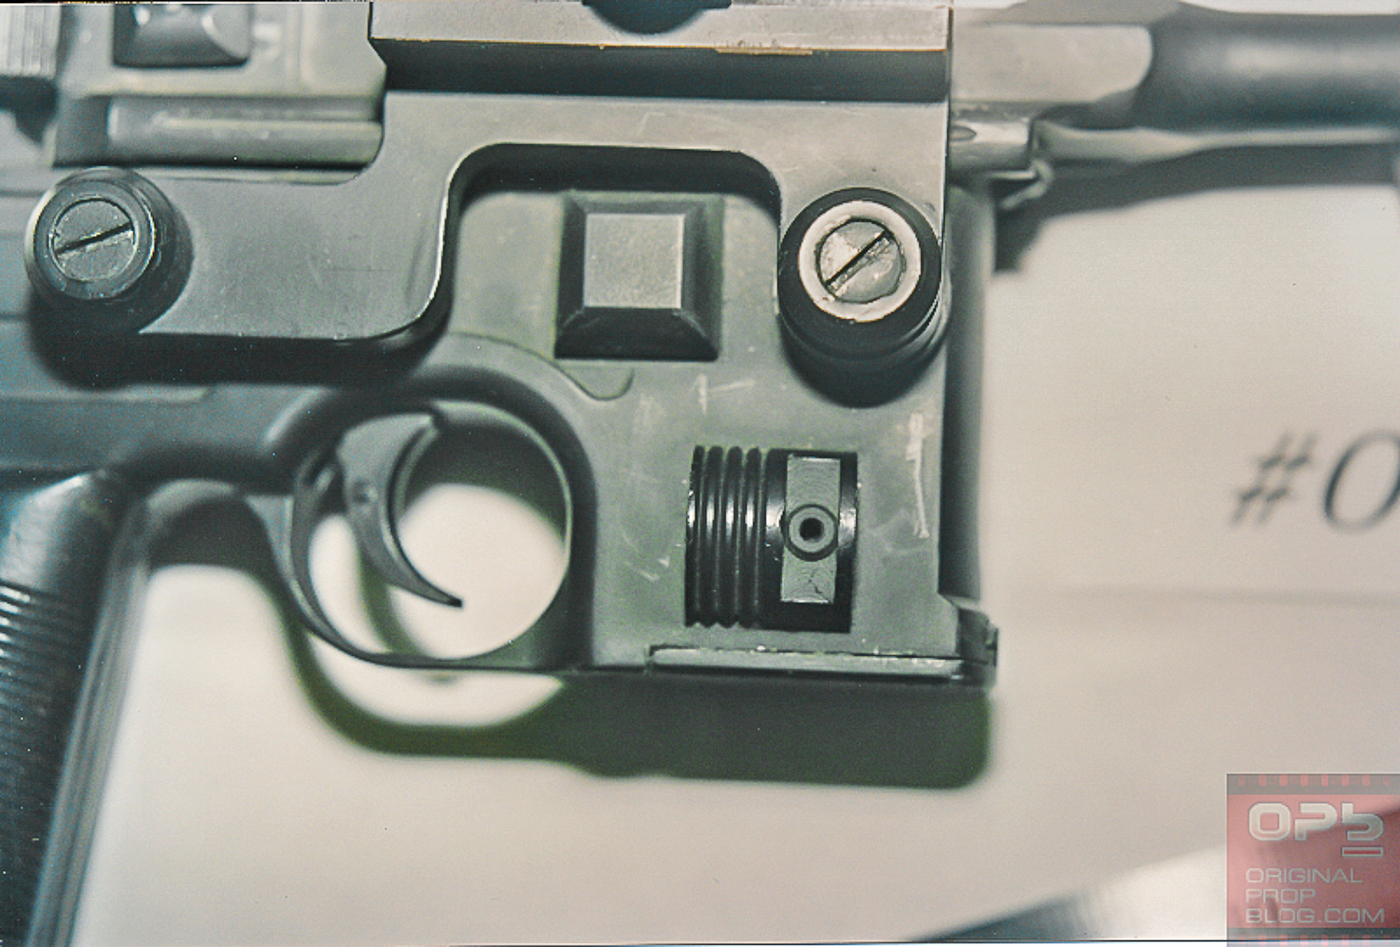
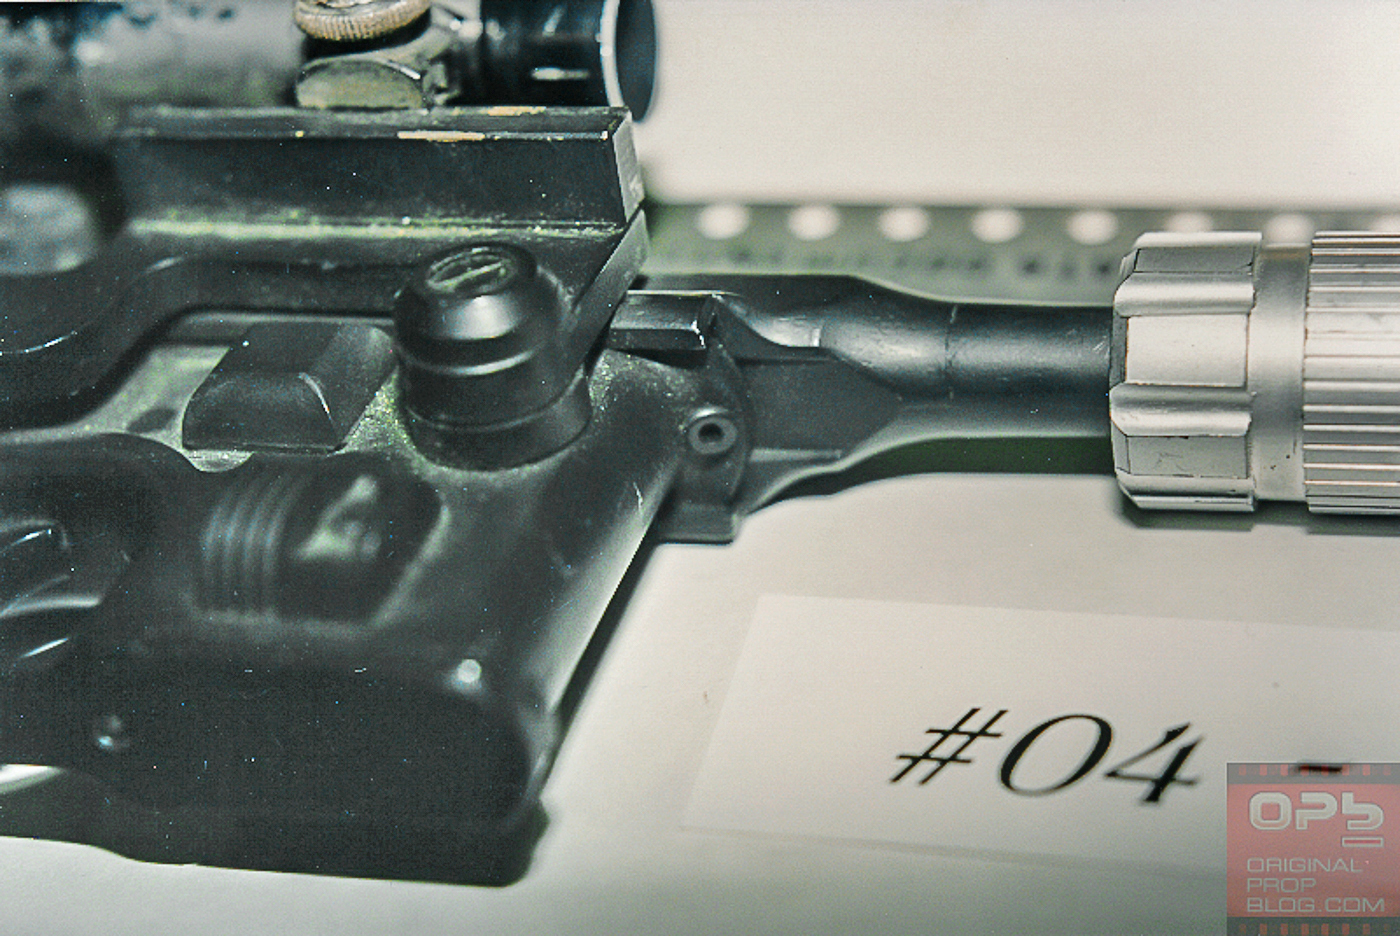
Ah... That nub that every Denix build guide I've ever read said that I should file down ... :facepalmTo remove the bolt you have to remove the firing pin. I do this by grabbing the bolt nub and wiggling it until it comes loose and slides out.
Good then, that I had spared it.
Thanks for the video!