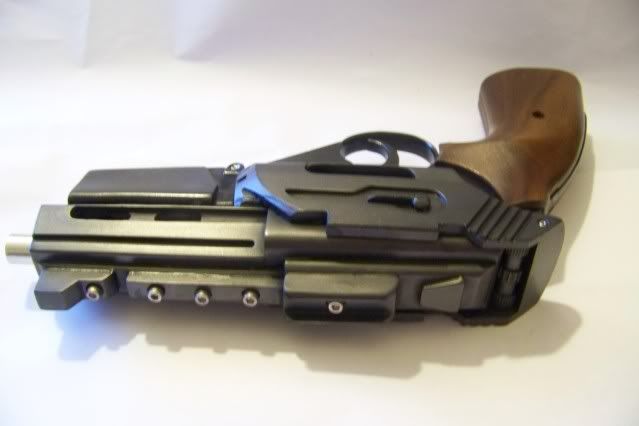
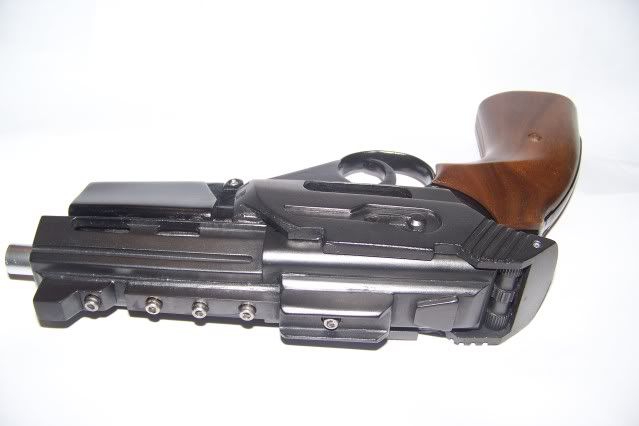
Custom BSG S1 Speed Build

TridCloudwalker

Sr Member
RPF PREMIUM MEMBER
Hello ladies and gents. I've been asked by my phaser client to temporarily put those projects on hold so that I can yank a custom BSG Blaster out of my butt in time for a function he'll be attending mid-April.

The gun and mods in question:
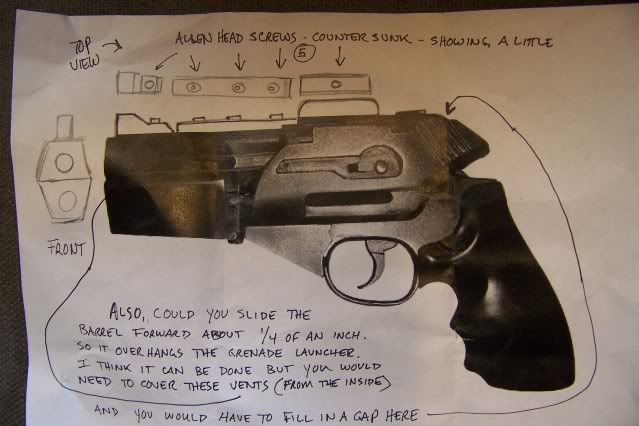
100_1823.jpg


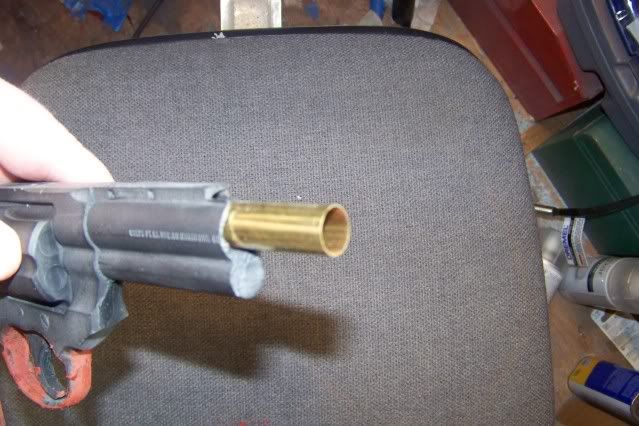
Drilled out the barrel so that I can add a brass tube to extend the barrel, AND have a realistic looking deep bore (something the original doesn't have):
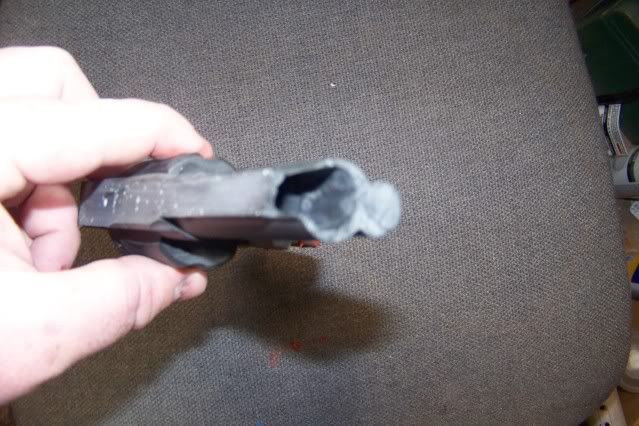
100_1821.jpg

100_1822.jpg


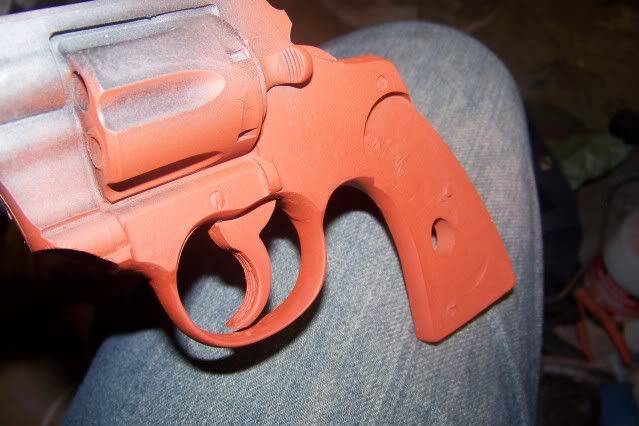
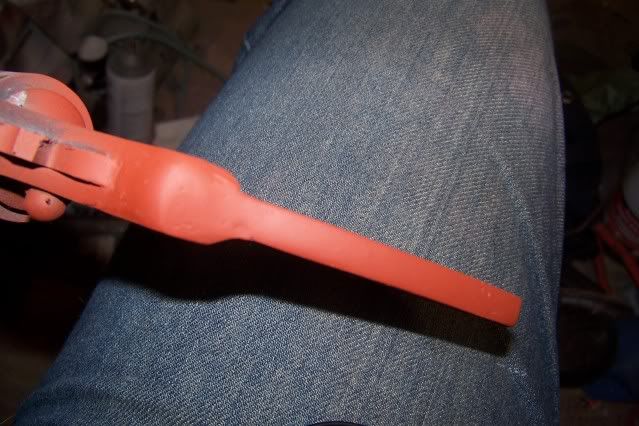
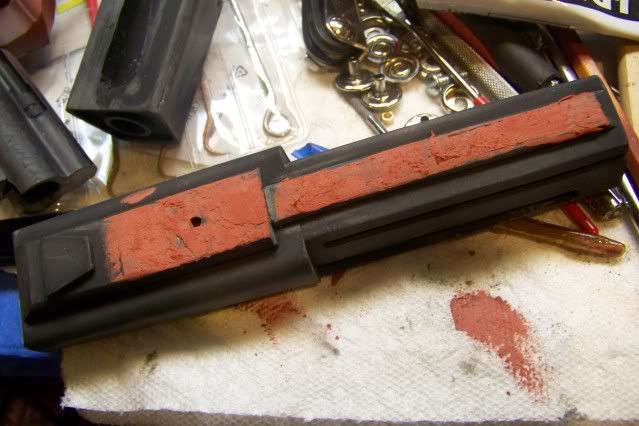
And puttied up some rough seam lines, and the rear frame of the python, because I'll be using real wood grips on this build, which exposes the frame, so I have to make it look all smooth and shiney.

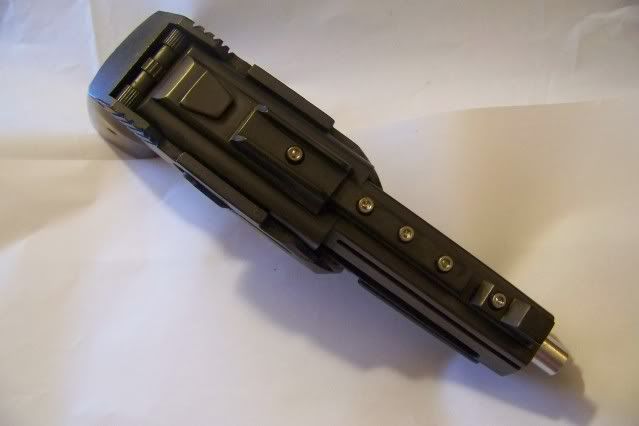
In addition to the barrel and sight mods, I'll be doing a slightly custom paint scheme. The launcher and python guts will all be satin black, but the clamshell will be steel. I'll be using the flat black/graphite powder technique used on a recent PKD that was featured in a thread here recently. Stay tuned. More pics to come tonight.
 
Last edited:
Re: Custom Matuso BSG S1 Speed Build

Very interesting, cant wait to see what its gonna look like finished!
 
Re: Custom Matuso BSG S1 Speed Build

Here's another small update.

Upon throwing some primer on this bad boy, I noticed a lot of boogers, airholes, and mold line distortions. It turns out that this is not an authentic Matuso blaster. This is actually a recast. Matuso has verified this for me after looking at some photos. I'm still going to continue with this build and tutorial. My client had no idea this was a recast when he bought it. He got it second hand from someone who assured him it was a Matuso. Matuso's castings are always top notch. I've seen them first hand, and they're works of art.

Anyway, on with the pics...

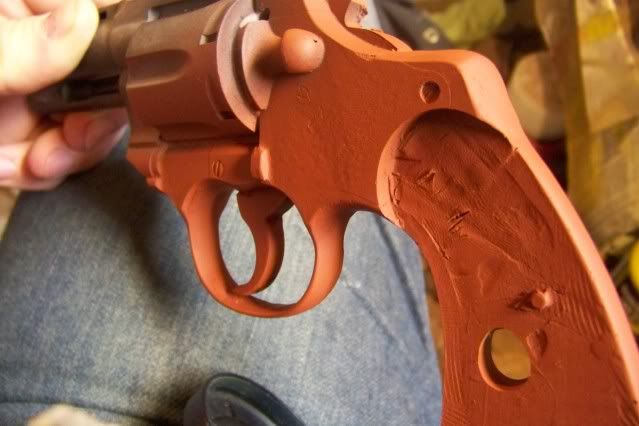
I started cleaning up the trigger area. As you can see, there is still much to be done that I didn't see until after the primer was on. There's no way I'll be able to restore the grooves in the trigger, so I'll just be filling those in:
100_1829.jpg

100_1833.jpg


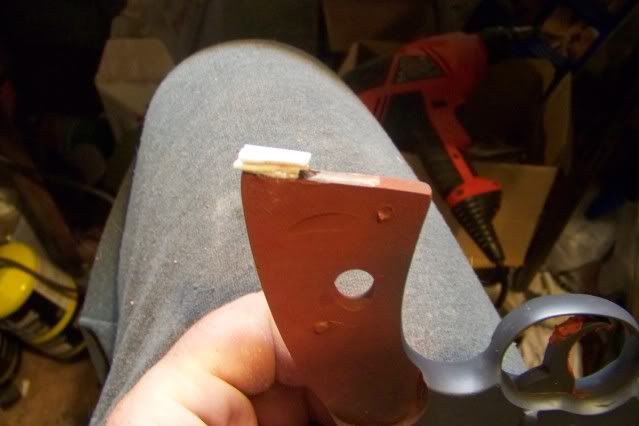
I filled in the grooves on the rear of the grip frame, as per my client's request. I still need to add a shim to the butt of the frame, as theres about a 1 cm gap between it and the wood grips:
100_1831.jpg


And I started smoothing out the top of the barrel because someone took a hacksaw to it (I'm not kidding) to remove some molded on detail. This sin't a very big deal, as I'll just be covering it up anyway with the custom sights, but I still want a smooth flat surface to work on:
100_1836.jpg


That's it for now. There's a lot of putty currently curing, and a bunch of other freshly primed pieces drying. More to come tomorrow.
 
Re: Custom Matuso BSG S1 Speed Build

Thanks for looking into it TCW... I'd really like to get to the bottom of who's trying to pass off recasts of my kit using My name!

Let's face it, I can't do a lot about recasting but if someone is using my name to sell unauthorized, sub-par reproductions that's a very serious issue that can bring very real consequences.

Unpleasantness aside, please continue documenting the build. Good or bad we're craftsmen and we must not let the villainy of those who would misguide us to deter us from our craft. :)

By the way, I suggest you put a big chunky base on the grip, nothing says 'menace' like a chunk of iron on the grip of your gun... actually it says... "Even if I run out of bullets I can still bash your skull in! "

M
 
Re: Custom Matuso BSG S1 Speed Build

Matuso's castings are always top notch. I've seen them first hand, and they're works of art.

True dat. I was working on my own Matsuo Clamshell yesterday. I think I counted about 10 tiny airbubbles that won't be seen once it's assembled (that I puttied anyway) and one scratch.
 
Re: Custom Matuso BSG S1 Speed Build

I love that gun! I can't wait to see how this turns out.
 
Not much to report tonight. It was mostly putty sanding and filler primering.

I put a shim on the butt, to get rid of the gap. I still need to shape it:
100_1850.jpg


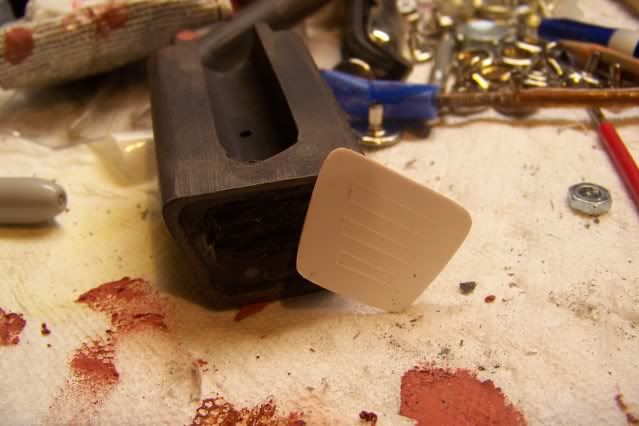
I've also been asked to cover the launcher tube and replace it with venting seen in some of the conceptual art. Here it is in progress. I stll need to cut out the slots and back them with either thin screen or ribbed styrene. I'll have to see what looks better:
100_1851.jpg
 
Between getting a concussion, and running out of time to get this done, I wasn't able to document the rest of the build. I apologize for stopping just before getting to the interesting part, but as it is, I'll need to send this via Express Mail so my client gets it in time for his prop related get together.

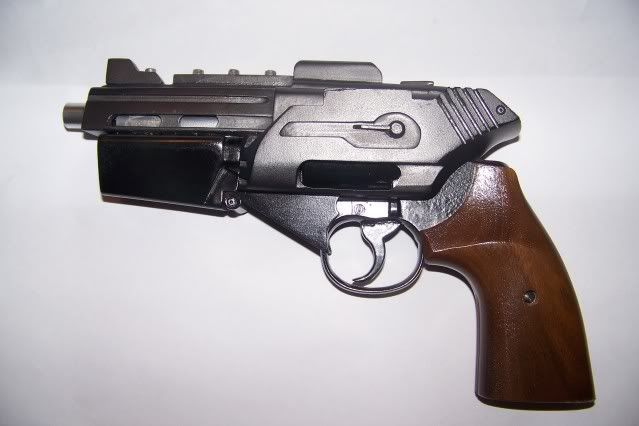
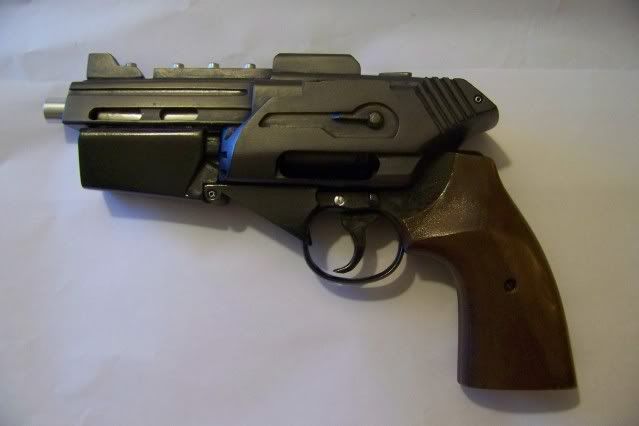
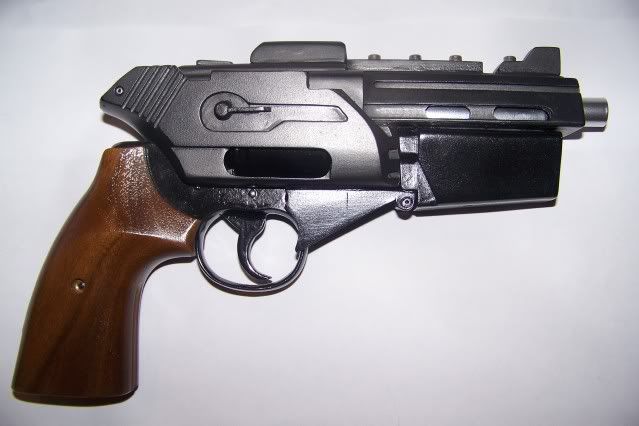
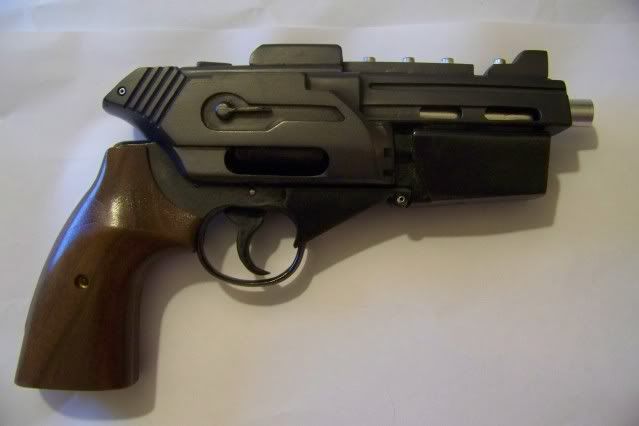
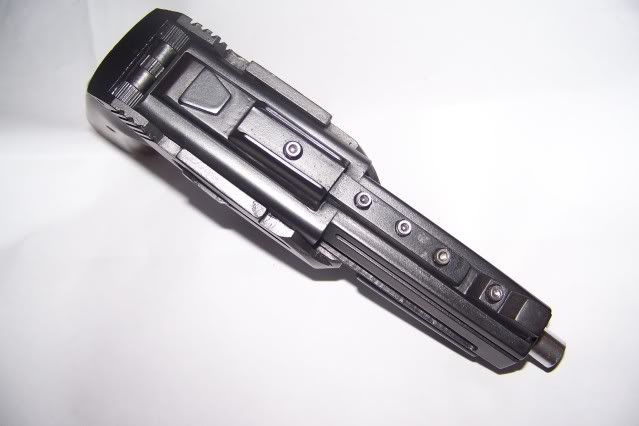
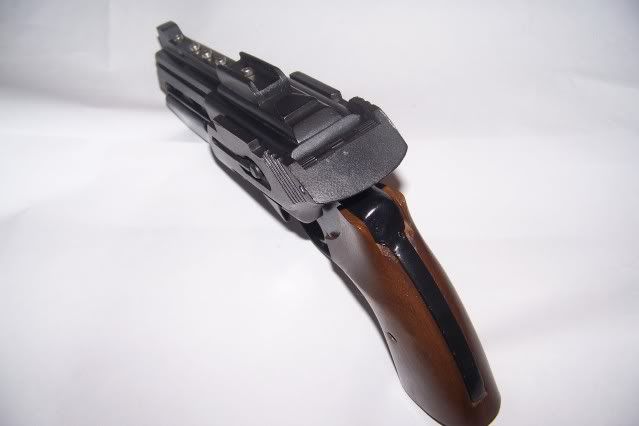
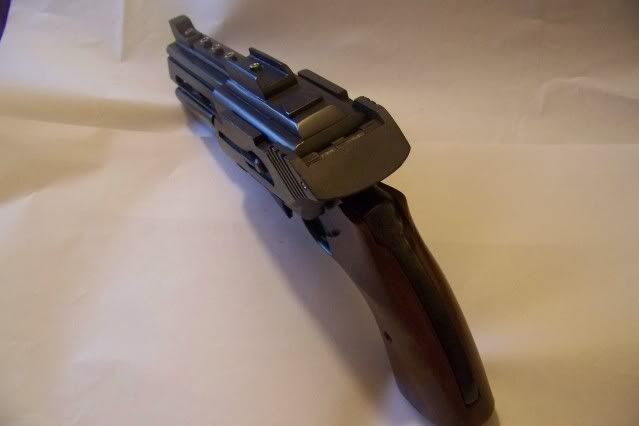
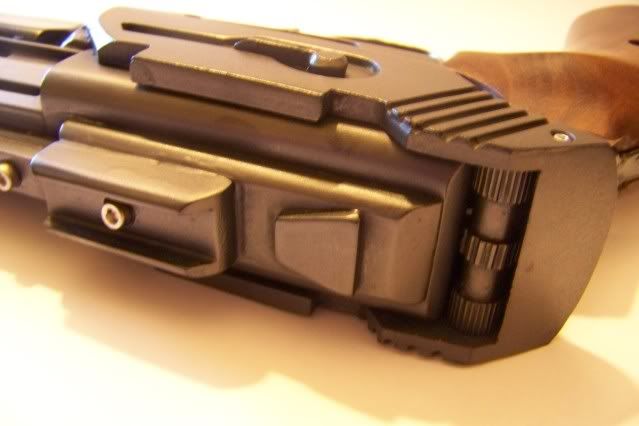
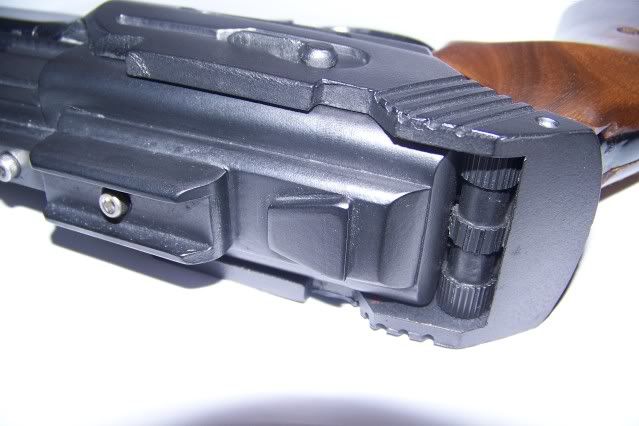
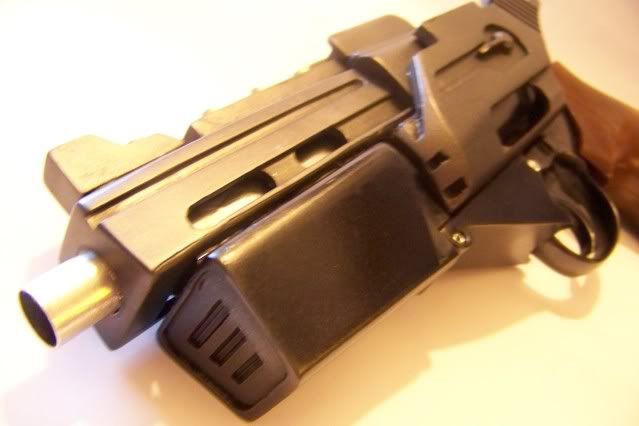
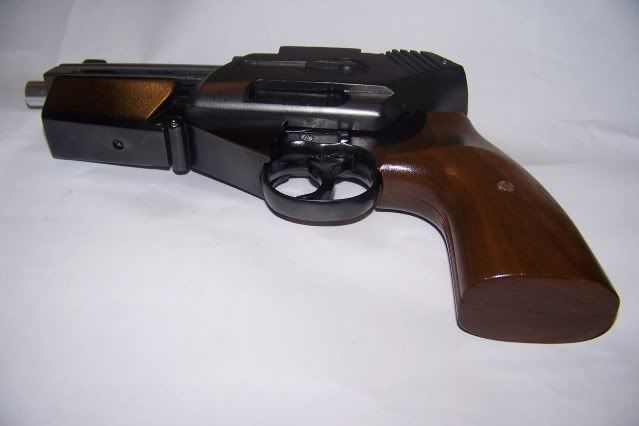
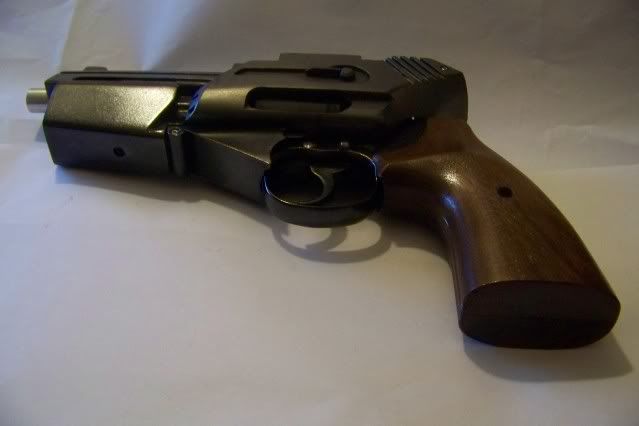
Assembly was all done with screws and JB Weld. After primer, the under gun (python) and launcher were painted in semi-gloss black. The rest was painted in flat black. I then ground up a 6B graphite stick (man those things are expensive! $8 for a pack of 2), and vigerously rubbed the powder into the flat black areas. The pictures really don't do it justice, but it looks NICE. I took some with and without a flash. It really does look different depending on lighting:
100_1971.jpg

100_1972.jpg

100_1973.jpg

100_1974.jpg

100_1975.jpg

100_1976.jpg

100_1977.jpg

100_1978.jpg

100_1979.jpg

100_1980.jpg

100_1981.jpg

100_1983.jpg

100_1984.jpg

100_1985.jpg

100_1986.jpg
 
I was wondering what happened to this one. Looks great! I'm sure whoever gets that baby will be pleased.
 
Heh. He was. I just got an ecstatic e-mail from him freaking out over it after opening the package today.

Perhaps he'll post some photos of it with his airsoft FN5-7 if he doesn't mind his identity to be revealed. If not, I'll try to get some up if he's cool with it. The 5-7 has a launcher on it that I modified to look more real-world functional.
 
Back
Top