"CONDORMAN" Wings?!

You have no idea how much I'm looking forward to seeing this competed. I think you've inspired me for my next project :)

Keep up the amazing work!
 
-UPDATE-
23 August 2012


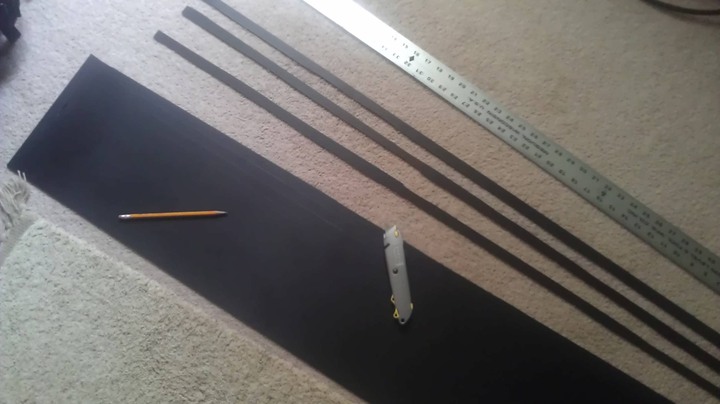
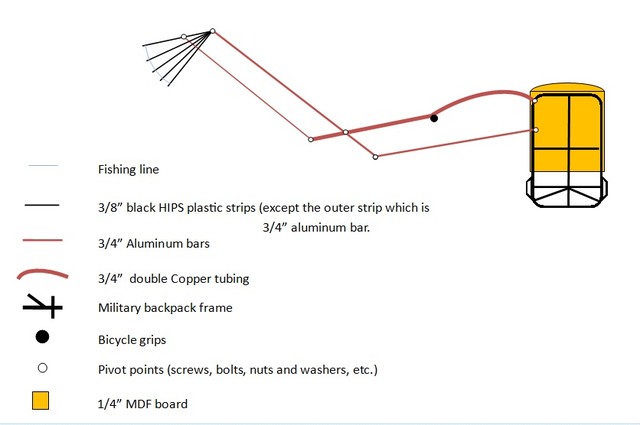
I’ve being having some issues here and there, specially with the glider frame… but now I have everything (finally) handy to finish it. First off, the beginning of the glider progress. I had to cut .060” Black HIPS plastic with a box cutter… one by one in ¾” strips (18 of them), these will go for the wings’ black line “ribbing” as I call it… as part of the frame,

IMAG0124.jpg


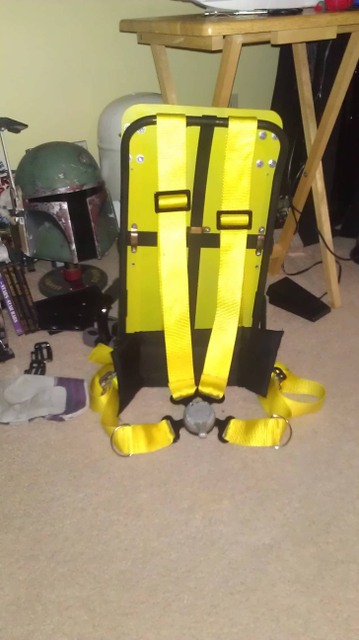
Pack main body done. Attached caster wheel frames to the board.

IMAG0125.jpg


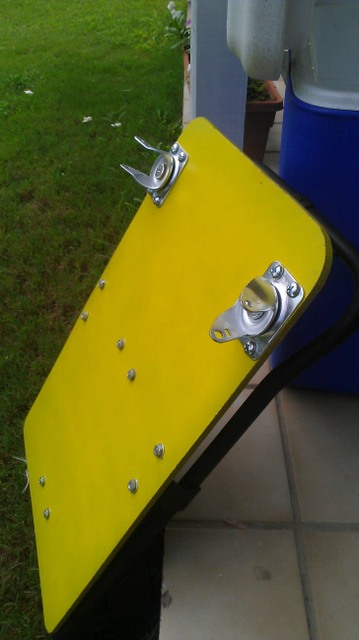
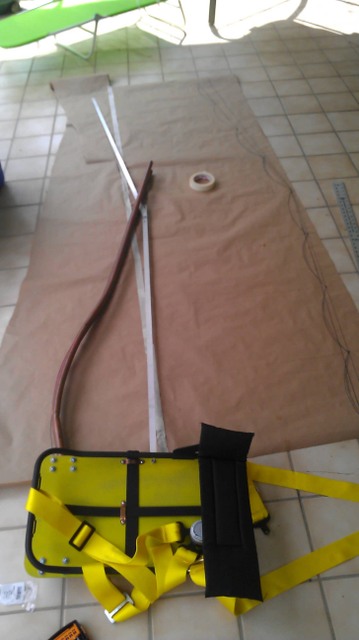
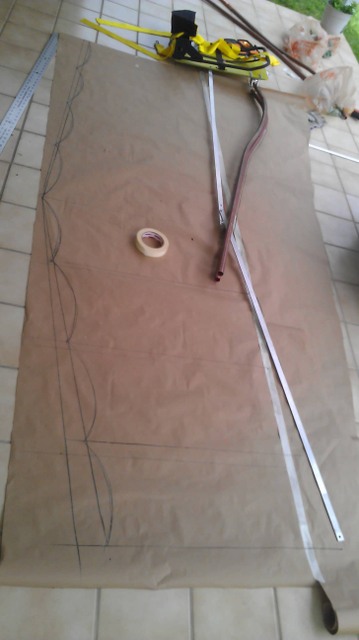
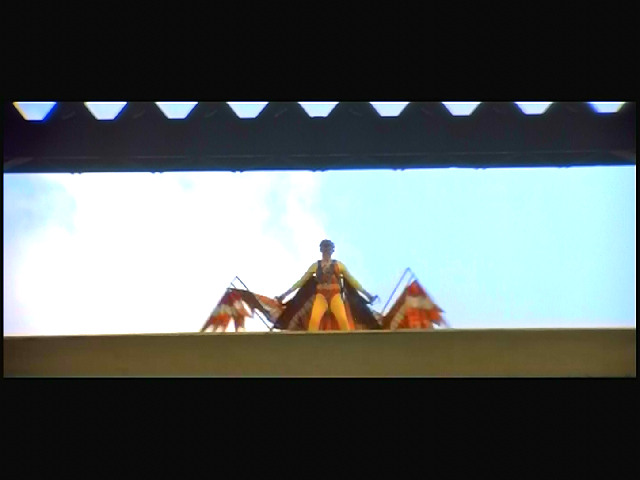
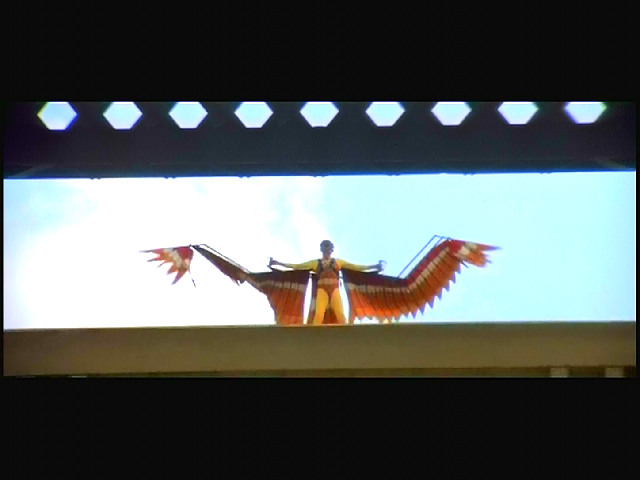
One wing’s main frame DONE, and as you could see; pack straps DONE and attached… but still needed to know actual angles to set the holes and screws, and at the same time, it will help me figure out the actual pattern for the wings’ fabric, using the same pattern to build the frame for the second wing. Besides, originally I wanted to make them smaller than the real one, but I ended up going forward to FULL SCALE, which will impress even more in public… not to mention to be more according to the movie.

IMAG0127.jpg

IMAG0128.jpg


Here’s a closeup of the frame and straps already painted and assembled,

IMAG0129.jpg


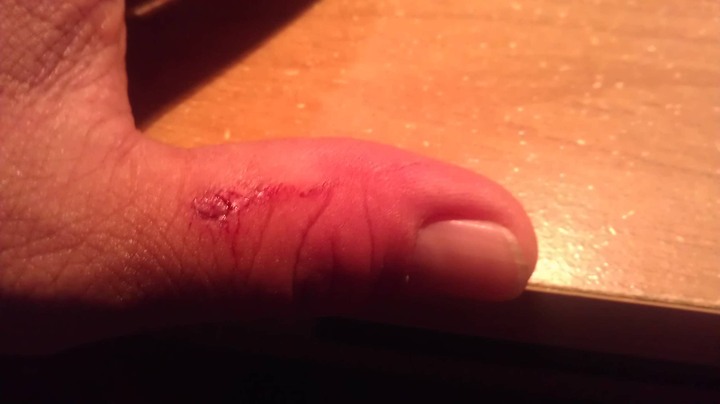
This is what happens when you're working with a drill, trying to make a hole on a piece of copper pipe; and the drill bit breaks off, sending the drill and the "left over" drill piece directly to my thumb.

IMAG0130.jpg


(Note to self: if you have and see a glove next to you…. USE IT!!!)

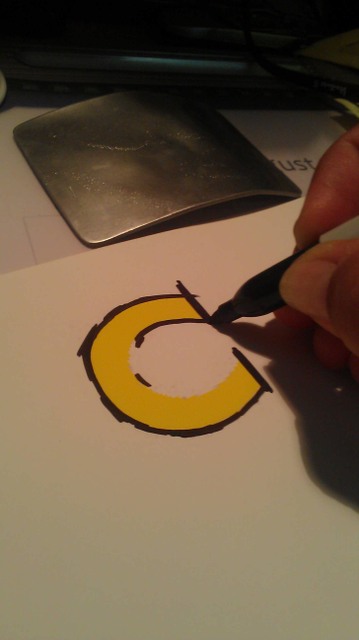
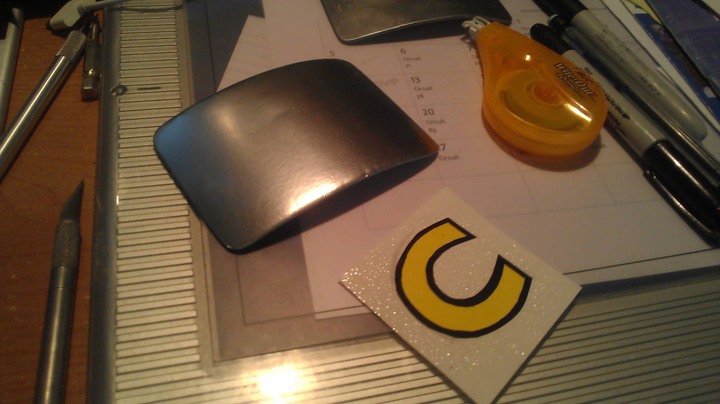
This is something that got me the whole week… the belt buckle came out not as good as I wanted, not to mention some imperfections and scratches that happened quickly after my first attempt, that I’ve decided to use something more “perfectly curvy”, and so the goggle frame, which I really messed it up trying to fix it the first time, and having the right side looking really “odd”.

How ironic; that I will be using the very same I used as a vacuum-forming tool for the belt buckle, to sand down the “3M” brand and the texture grain from the surface of the hand sander, that got molded on the casting… even though I’ve sanded down the brand on the hand sander… really odd.

IMAG0134.jpg


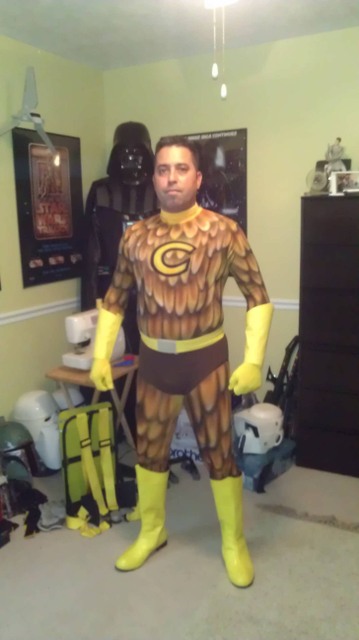
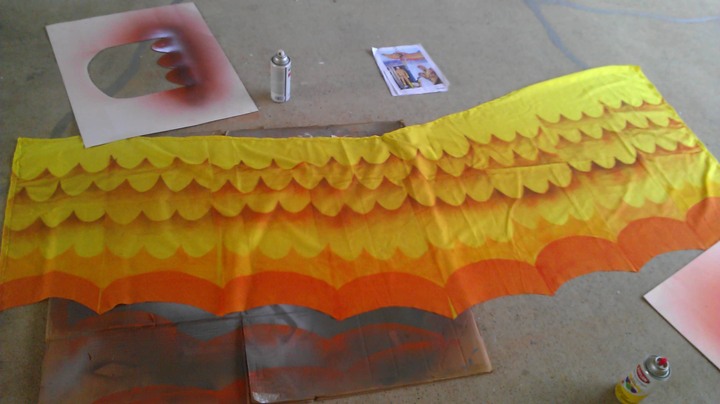
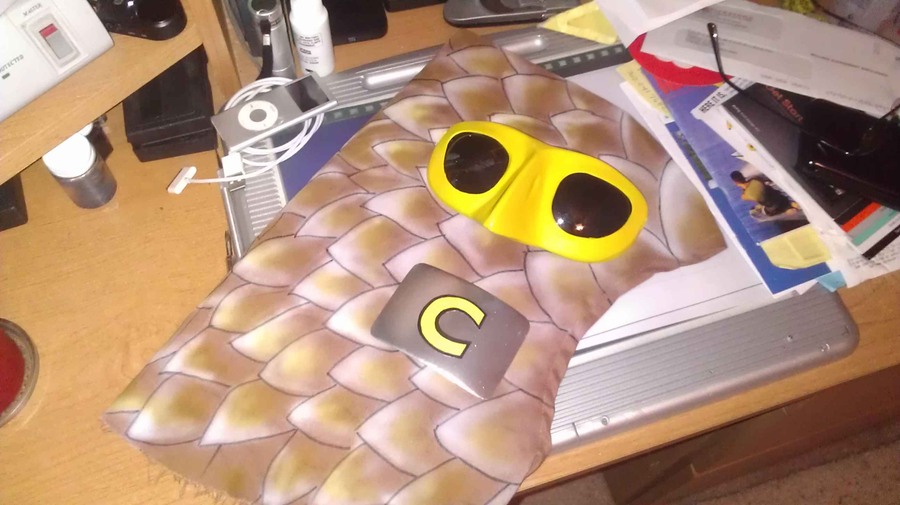
Moving on and meanwhile… here’s the main costume mostly done. I have to redo the belt buckle and (airbrush) the hoodie, trim the goggles and paint, and airbrush the wings fabric and complete the frame for them.

More info to come soon… and this time about the GLIDER itself. In the meantime... here's the shot of the completed costume undersuit, trunks, belt (sans buckle), gauntlets, gloves and boots:

IMAG0133.jpg
 
Actually, 3/4" copper piping (light gauge) and 3/4" X 1/8" aluminum bars. Wing tips will be done in black .060" HIPS plastic, except the outer fin, that controls the wing tips "spread".

Overall, this glider is weighting about 30 to 40 pounds already. :confused
 
The Whitman comic book adaptation is why I like the character. Barely remember the movie comparatively. Love Love love your costume progress. I am sure the final product will be fantastic.
 
As the originator of this thread, I have to say FAN-FREAKING-TASTIC, man!!! This is incredible!! I'd been waiting to see when someone would inevitably do this and I'm so glad to see you doing it such justice with detail!

If there is ANY way after this is completed, I could get detailed descriptions of your process for the glider, I'd be ever-grateful. We can talk about that if ya want!

One thing I have to ask. You mentioned in your previous post that you are working on the "wing-tip spread".... I know exactly what you are talking about, but for the life of me I could never figure out how that was done in the film. Can you explain that in detail when you get to it? Everything else makes sense. Keep it up, sir! This is amazing!

-Johnny C
 
Thanks guys.

JohnnyC; I will post more details on the glider build as soon as I get everything squared away, since today I've faced a little setback in regards of making the frame, cutting the wrong two aluminum bars and main frame didn't want to close (I did it last week, and it worked perfectly).

The concept is basic... just like the old-school, "criss-cross" wood fences for kids they used in the day as a barrier door; well, this is just the same, but you have to be more creative for this task. Here's a diagram showing the way I did it, and according to the screen grabs (BTW, NOT to scale):

Condorman_wings_diagram.jpg


Here are two screen grabs of the first glider version seen at the beginning of the movie, showing you the very same basic concept as the more complicated version:
WINGS_3.BMP.jpg

WINGS_4.BMP.jpg

In the meantime, here's just a teaser of the wings, still have to airbrush the black lines:

IMAG0137.jpg


@ Muscleflex... HELL NO! I (really, REALLY) wish I could... if I have the $$$$$$$, that is. :D
 
Last edited:
Hey DarthVader1! Amazing! Thank you for that. Answer me one quick question though. Are you using the double copper tubing for the top part (curved portion) of the wing? If so, I'm wondering why the 4th pivot point. Meaning, if you're looking at the diagram, it would be the point towards the top in the group of 4 points in the middle of the "arms". If you put one there does that inhibit the freedom of the arm to lie flat once in the open position? Seems the copper tubing would only have to attach to the bottom "arm" to allow for freedom of motion from the upper "arm"... No? I could be totally wrong on this. And I could totally be confusing you. Let me know if I'm not clear. :) Thanks again for the reply!

-Johnny C
 
Last edited:
You're right. The bottom pivot point does not exist, neither what connect to that. The 2 points are where the double copper tubing is, and only one on the right. Meaning that the lower portion of the "diamond" doesn't exist.

Good catch and thanks for the observation... I didn't use this diagram in the building process, since I had everything in my head, and the diagram I did it months ago... I just forgot to post it. Here's the fixed diagram now:

Pack%20diagram_FINAL.jpg


Another thing... the diagram is based on the UPDATED glider, and not from the screen grabs above.
 
Last edited:
-UPDATE-
26 August 2012


I’ve finally solved the glider’s folding issues, got another aluminum bar to substitute the one I cut by mistake, and now I’m ready to put this baby together. What I’m doing now is drawing the lines of the “wings” with a permanent marker… easier than airbrush, more precise and less messy.

Talking about marker… I did the same for the hoodie today, of course after airbrushing the tones of the “feathers”. Colors not as accurate, since the hoodie is BROWN and not yellow (as the original was), but the effect is awesome IMO. Overall, I completed 5 tasks today: figuring out the wing spread issue (or solving the closing issue, that is); finishing the hoodie; finishing the goggles…all it needs is the elastic strap, but that’s a piece of cake; finishing the belt buckle properly, and also the “tail” of the glider, which I almost forgot about it.

Here’s what I’ve completed today… also as yet another teaser for your pleasure,

IMAG0144.jpg


Anyway, this is what I did with the belt buckle:

First off; the “C” logo for the belt. I’ve contact a local graphics shop, told them what I needed in two-color vinyl, and they took ONE AND A HALF WEEKS (and charging me $25+ to do something so small… and they still didn’t call me or have my job done. I told them (professionally) to “screw you, I’ll have someone else to have it done for me, and in less time”, so I was thinking about someone else to do it, but that would’ve been another hassle. So, I’ve decided to do it myself, since I already had printable vinyl with me, all I needed to do is print, do the black outline, and cut with a hobby knife, I did everything by myself, and FREE!

IMAG0139.jpg

IMAG0140.jpg


More info to come soon…
 
FANTASTIC work! This is looking outrageously awesome and brings a smile to my face. You're inspiring me to make one of my own as well as this film and character are dear to my childhood heart. I can't wait to see it all come together in the finished costume!
 
This thread is more than 11 years old.

Your message may be considered spam for the following reasons:

  1. This thread hasn't been active in some time. A new post in this thread might not contribute constructively to this discussion after so long.
If you wish to reply despite these issues, check the box below before replying.
Be aware that malicious compliance may result in more severe penalties.
Back
Top