Re: Colonial marine helmet (rookie build)
Made more progress recently.
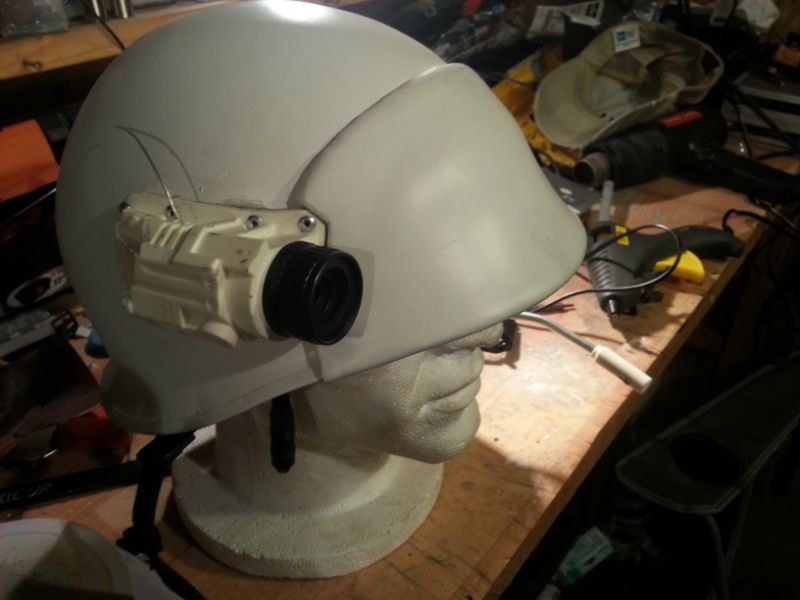
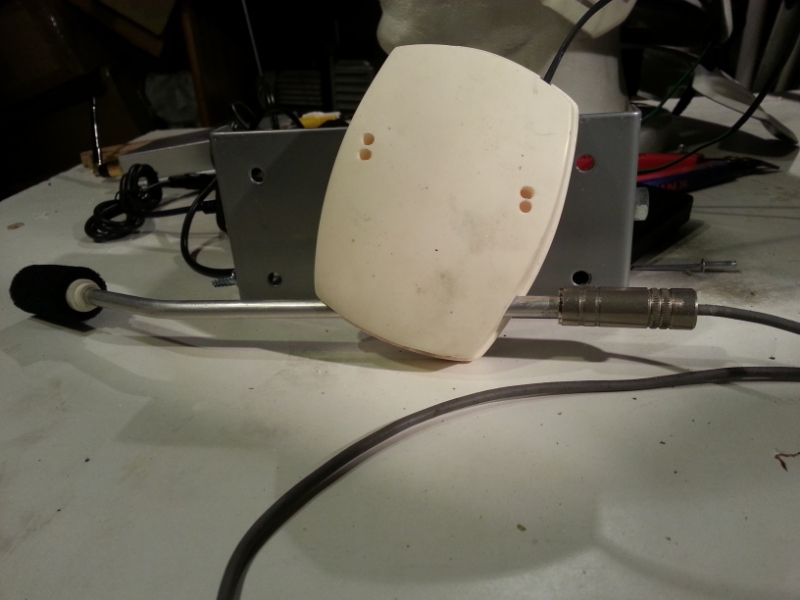
I still need to make a few final adjustments to line it up correctly, but here are a couple shots of the cam quality which is bang on for film accuracy")
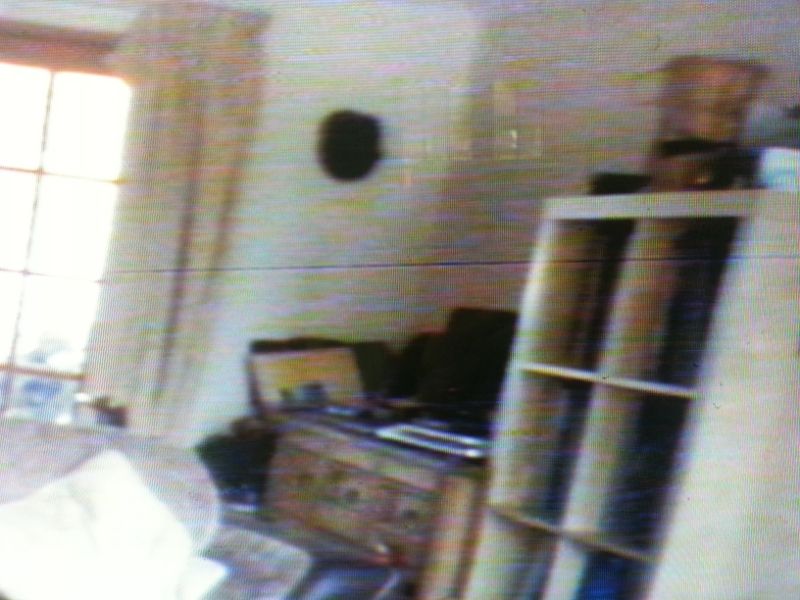
Mic works too I'm glad to say, though the signal is a little noisy which might be caused by interference from the wireless emitter. It's probably too close to the mic wires, so I'm going to see if moving the board and arial will produce a cleaner audio signal.
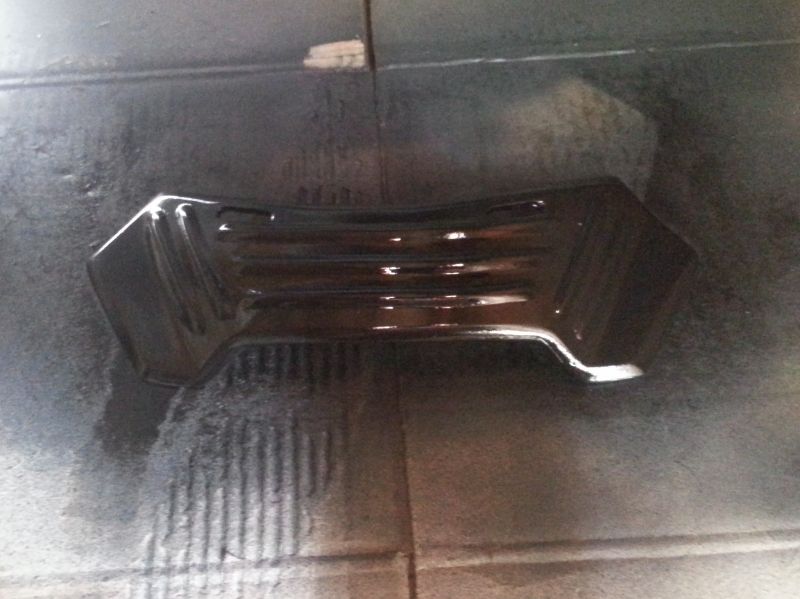
For my first one, I'm pretty pleased with how its coming together
Made more progress recently.
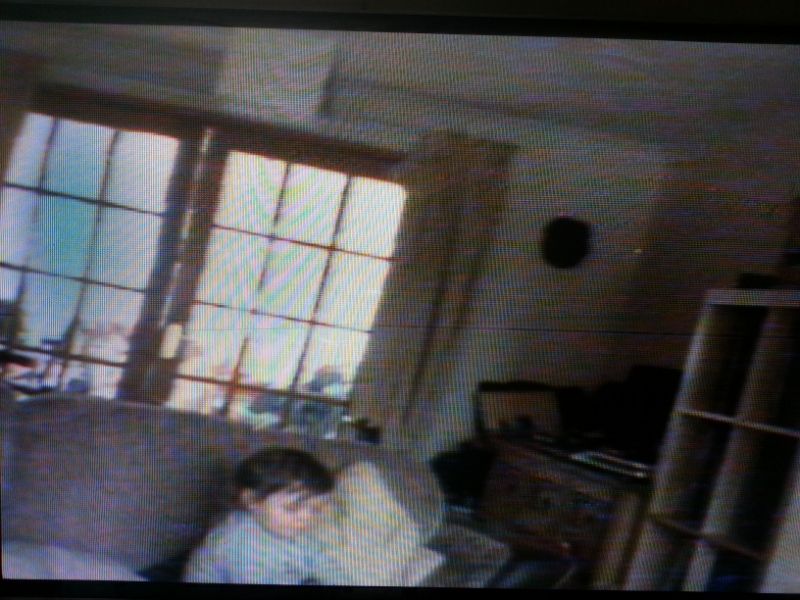
I still need to make a few final adjustments to line it up correctly, but here are a couple shots of the cam quality which is bang on for film accuracy
Mic works too I'm glad to say, though the signal is a little noisy which might be caused by interference from the wireless emitter. It's probably too close to the mic wires, so I'm going to see if moving the board and arial will produce a cleaner audio signal.
For my first one, I'm pretty pleased with how its coming together