darthslick
New Member
Hey everyone. On May 21st, on the 501st forum and here, I was dubbed a re-caster cause I had made an honest mistake. You can read what happened here:
http://www.therpf.com/f9/recast-86628/
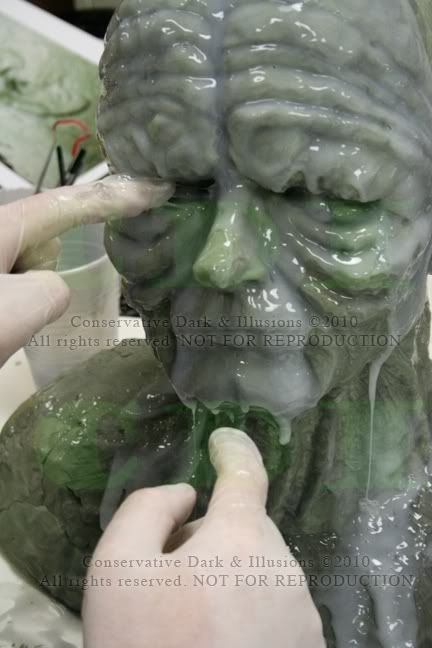
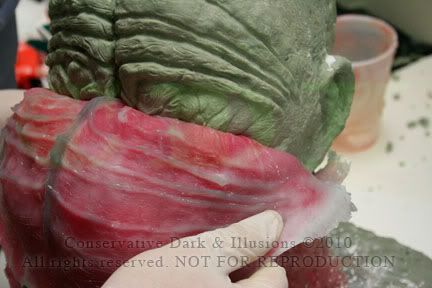
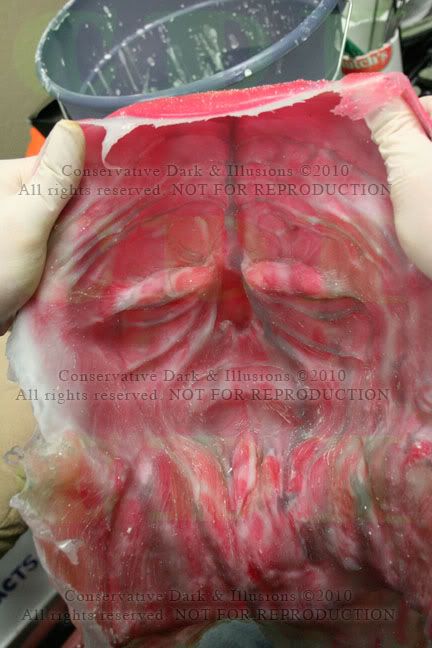
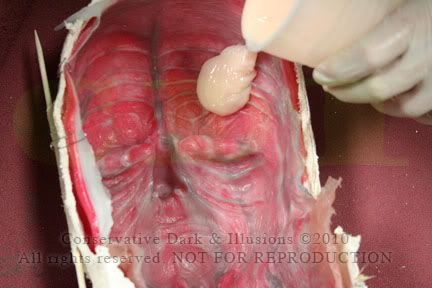
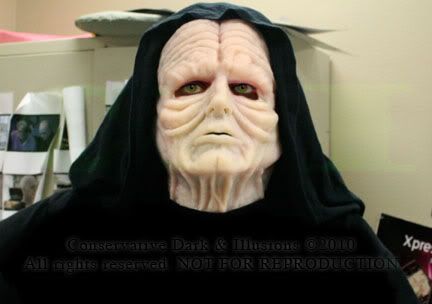
So in order to redeem myself from embarrassment and humiliation, I started from the ground up on my own Emperor Palpatine bust that I plan on using to make a silicone prosthetic as well as a full pull over silicone mask to wear.
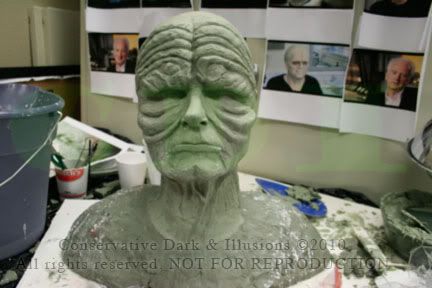
My reference material I used for this project were snap shots printed out of Emperor Palpatine from ROTS, ESB04, and snap shots of actor Ian Mcdiarmid for reference to his nose and ears.
I was hoping to get this project up on a website but I lost track of time this last month making this bust. Lot’s of time and MORE money (since my first project got dubbed re-casted junk and couldn't make the money back spent on it) was put into this not to mention my wife upset at me spending my 1 month vacation in my studio trying to redeem myself and have this darthslick “Re-caster” image lifted off my head!!
Here are pics and a documentation of what I’ve been dong this last month.


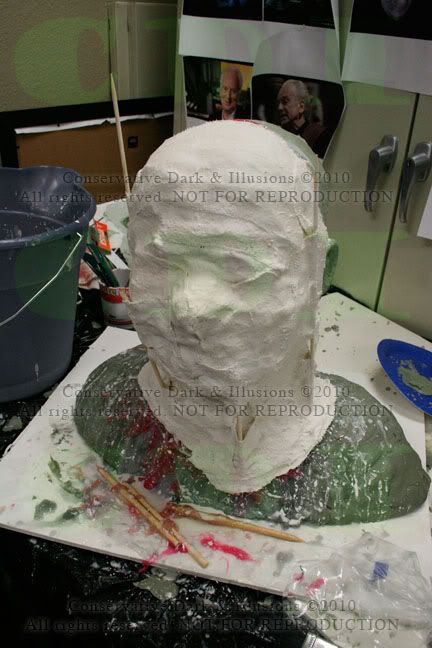
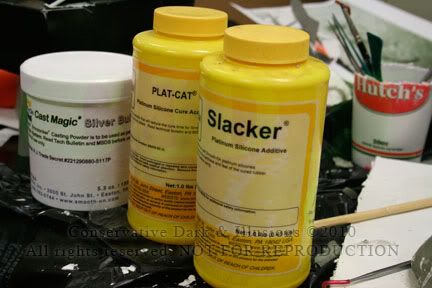
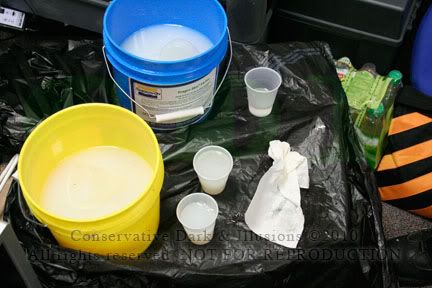
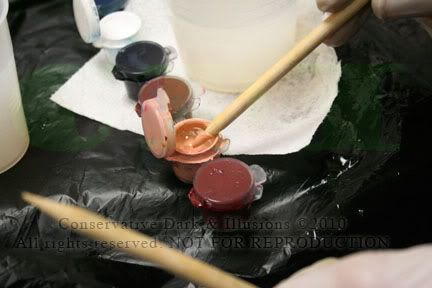
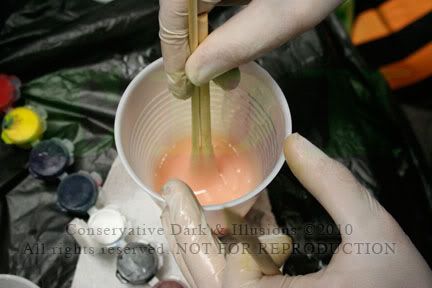
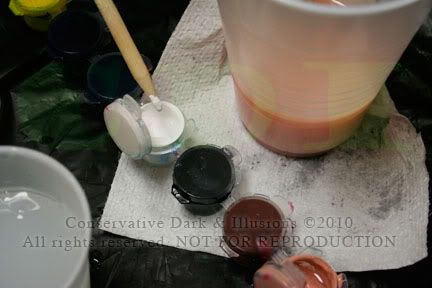
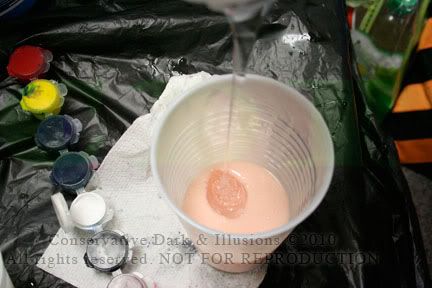
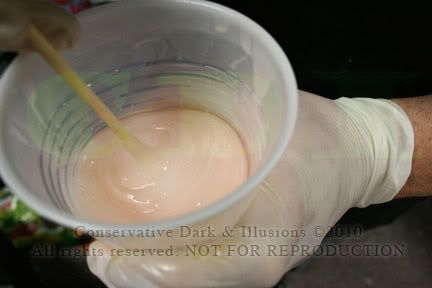
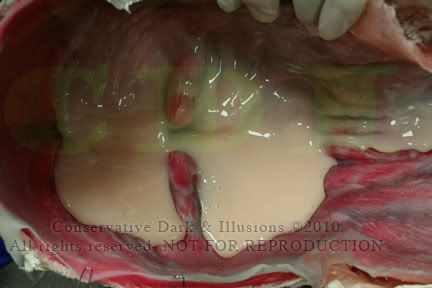
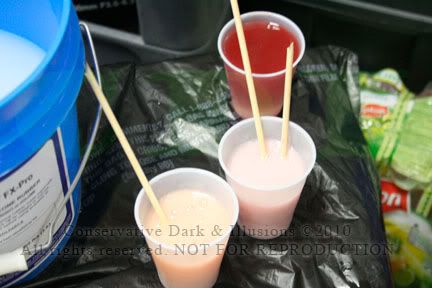
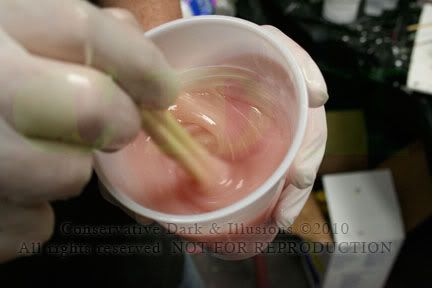
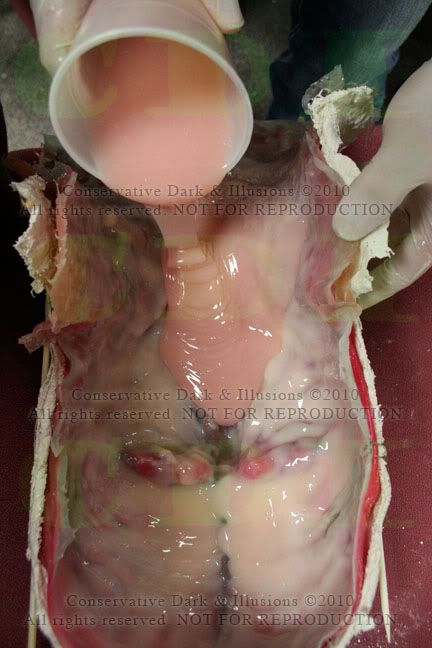
1. Bricks of clay are NSP (Non Sulphurated Plasteline) NSP is a line of professional, sulphur free sculpting clay that I picked out for this project because it was cheap after all the money blown in my “Re-casted” Silicone mask. I used the NSP for the base structure. The large blocks are Castiline Modeling Compound which are hard unless kept warm. You also need heated tools to work with it. As a side note, before I went any further on sculpting, I tested out the sealer mold release. In return the sealer mold release from the Smooth-On makes it very soft.....
2. Was not expecting the NSP to be so hard and ended up having to nuke it to make it moldable.

3. Ended up having to get a heat light to keep castiline useable and also to heat the model. Make sure to keep far enough away or it melts.


4. Started out by balling up the NSP into a basic head shape that would be the support structure for the castiline. I ended up spending way too much time building detail on it that later on I ended up having to re-do a lot as there was no way I could just put down a thin layer of castiline over it if that makes any sense?


5. I Ended up building a shoulder base out of the rest of the NSP rather than wasting castiline on shoulders incase I needed to use the rest of the castiline for something else. This also allowed the removal of the head from the shoulders which made detail work much easier.


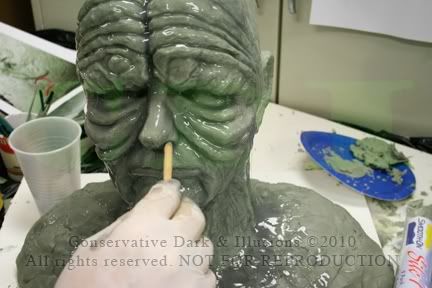
6. Detail work on the eye sockets and cheek's did not look right on the first attempt. It seemed to flat to me so I added higher ridges.
7. Found out that castiline changes colors when left under a heat lamp.. ooo fun... also found out that the core of a castiline block can boil yet the outside looks hard and 6 minutes in the microwave is way to much. Bock pictured is NSP but you get the idea.

Thank God I have my own microwave in my studio!! My wife and I are already fighting over this and to make that mess in her microwave??!! My microwave was one heck of a mess... an hour to clean.
All in all being my first time making something from the ground up.. I feel really good and confident. I just don’t want to be know as a “Re-caster” and that I do have a love and a talent for the arts.


After this, sometime soon, I plan on taking the next step and making a mold to test out the first prosthetic before I try a full pull over. Thank you to those here and the 501st that lifted my spirits and encouraged me to do this project after the embarrassment and humiliation of my silicone mask project before this.
http://www.therpf.com/f9/recast-86628/
So in order to redeem myself from embarrassment and humiliation, I started from the ground up on my own Emperor Palpatine bust that I plan on using to make a silicone prosthetic as well as a full pull over silicone mask to wear.
My reference material I used for this project were snap shots printed out of Emperor Palpatine from ROTS, ESB04, and snap shots of actor Ian Mcdiarmid for reference to his nose and ears.
I was hoping to get this project up on a website but I lost track of time this last month making this bust. Lot’s of time and MORE money (since my first project got dubbed re-casted junk and couldn't make the money back spent on it) was put into this not to mention my wife upset at me spending my 1 month vacation in my studio trying to redeem myself and have this darthslick “Re-caster” image lifted off my head!!
Here are pics and a documentation of what I’ve been dong this last month.
1. Bricks of clay are NSP (Non Sulphurated Plasteline) NSP is a line of professional, sulphur free sculpting clay that I picked out for this project because it was cheap after all the money blown in my “Re-casted” Silicone mask. I used the NSP for the base structure. The large blocks are Castiline Modeling Compound which are hard unless kept warm. You also need heated tools to work with it. As a side note, before I went any further on sculpting, I tested out the sealer mold release. In return the sealer mold release from the Smooth-On makes it very soft.....
2. Was not expecting the NSP to be so hard and ended up having to nuke it to make it moldable.
3. Ended up having to get a heat light to keep castiline useable and also to heat the model. Make sure to keep far enough away or it melts.
4. Started out by balling up the NSP into a basic head shape that would be the support structure for the castiline. I ended up spending way too much time building detail on it that later on I ended up having to re-do a lot as there was no way I could just put down a thin layer of castiline over it if that makes any sense?
5. I Ended up building a shoulder base out of the rest of the NSP rather than wasting castiline on shoulders incase I needed to use the rest of the castiline for something else. This also allowed the removal of the head from the shoulders which made detail work much easier.
6. Detail work on the eye sockets and cheek's did not look right on the first attempt. It seemed to flat to me so I added higher ridges.
7. Found out that castiline changes colors when left under a heat lamp.. ooo fun... also found out that the core of a castiline block can boil yet the outside looks hard and 6 minutes in the microwave is way to much. Bock pictured is NSP but you get the idea.
Thank God I have my own microwave in my studio!! My wife and I are already fighting over this and to make that mess in her microwave??!! My microwave was one heck of a mess... an hour to clean.
All in all being my first time making something from the ground up.. I feel really good and confident. I just don’t want to be know as a “Re-caster” and that I do have a love and a talent for the arts.
After this, sometime soon, I plan on taking the next step and making a mold to test out the first prosthetic before I try a full pull over. Thank you to those here and the 501st that lifted my spirits and encouraged me to do this project after the embarrassment and humiliation of my silicone mask project before this.
Last edited by a moderator: