Capn_Jack_Savvy
Sr Member
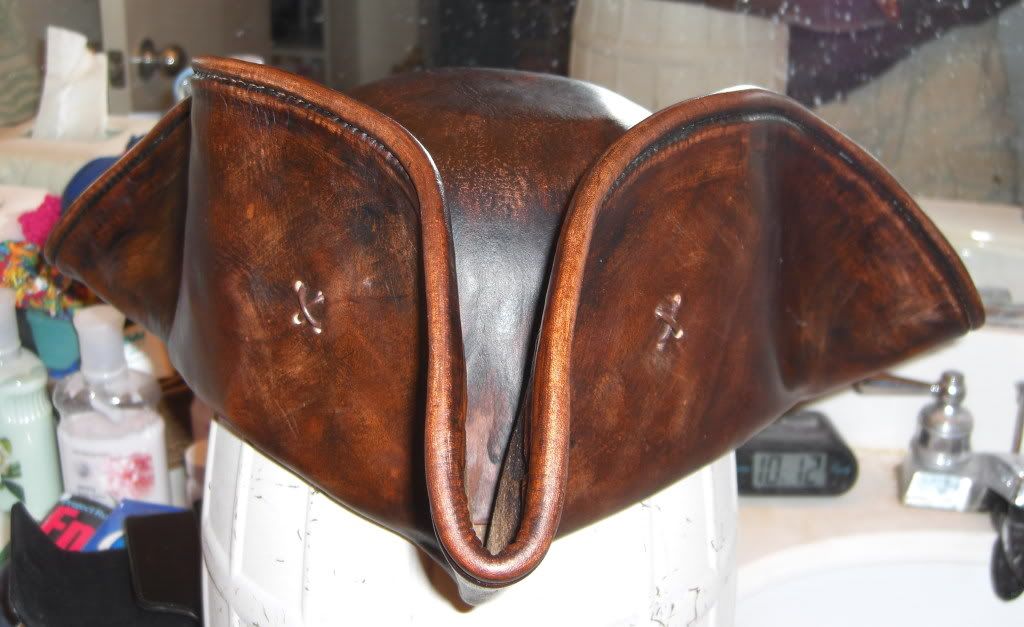
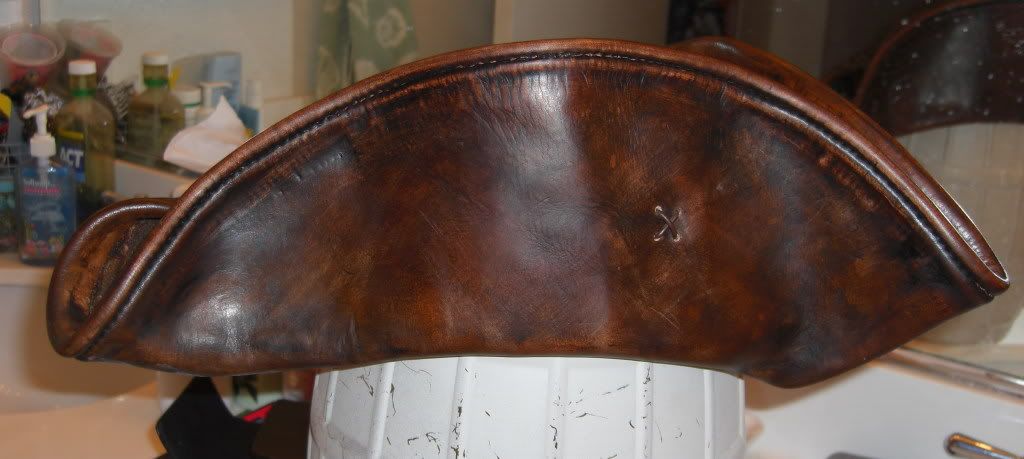
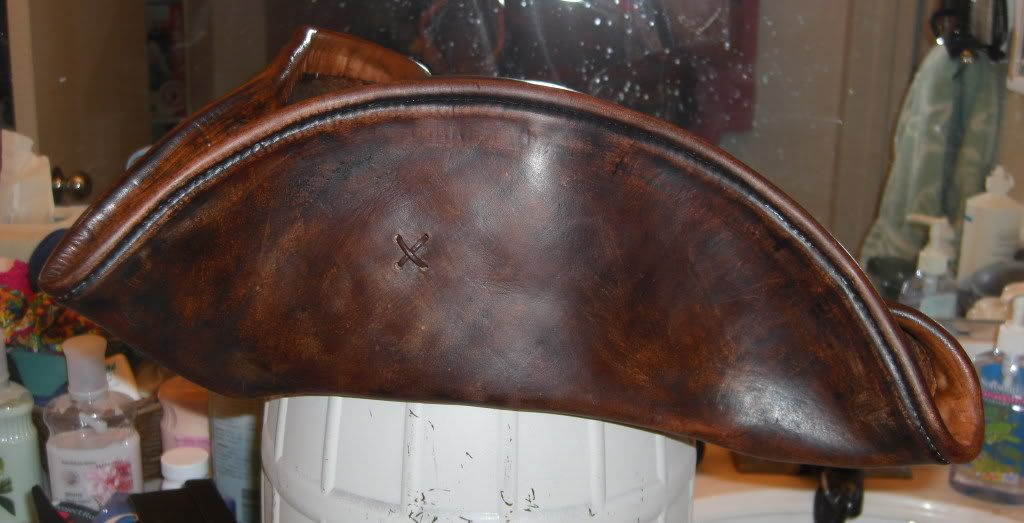
Now that the Indy craze has come and gone I went back into the Captain Jack Workshop for another round of props.
This second tricorn was made of 1 ounce leather and also includes French Edging a very difficult technique when you hand punch and hand stitch the leather pieces.
From my techniques learned on weathering my Indy jacket I used the same process to lighten areas on the tricorn after staining especially along the edges.
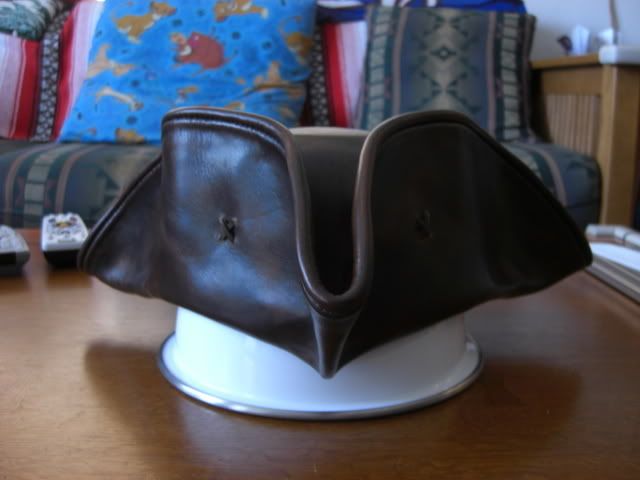
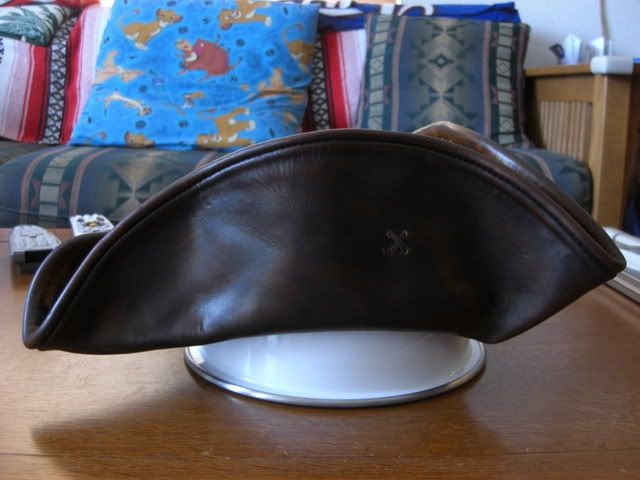
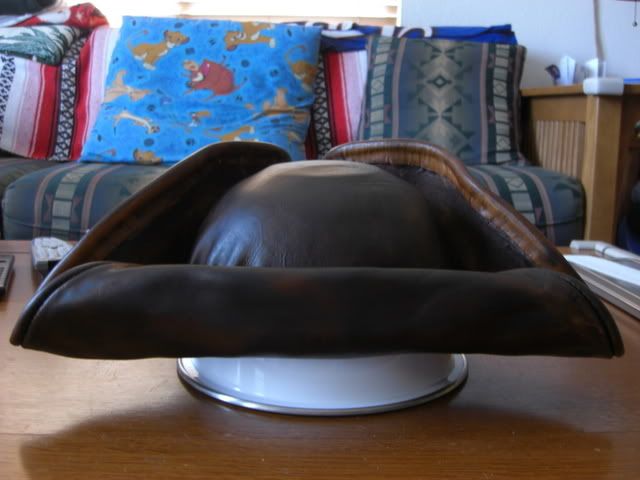
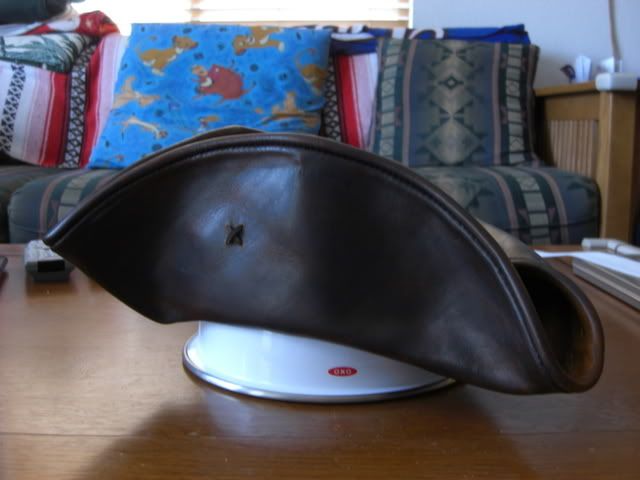
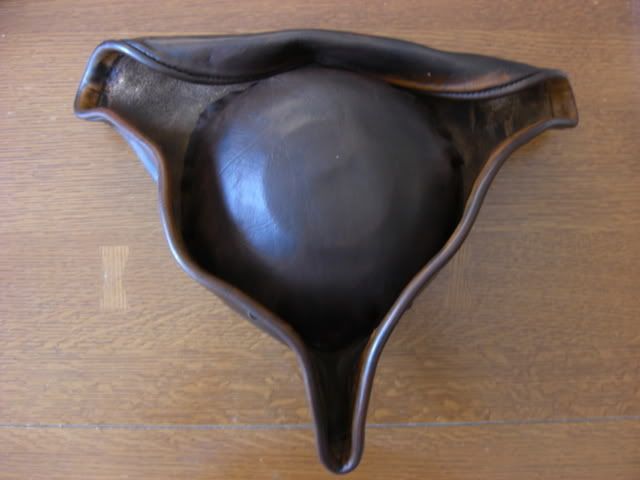
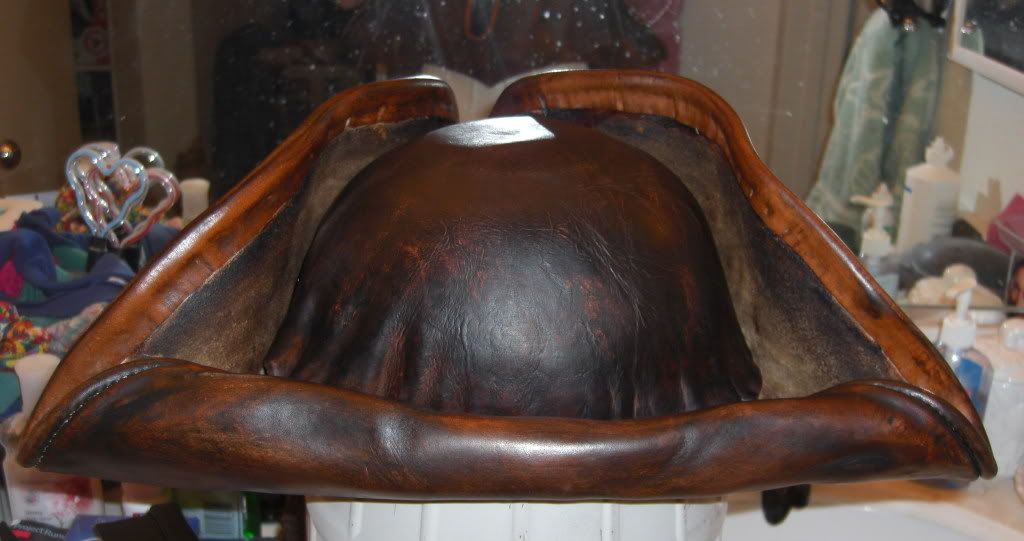
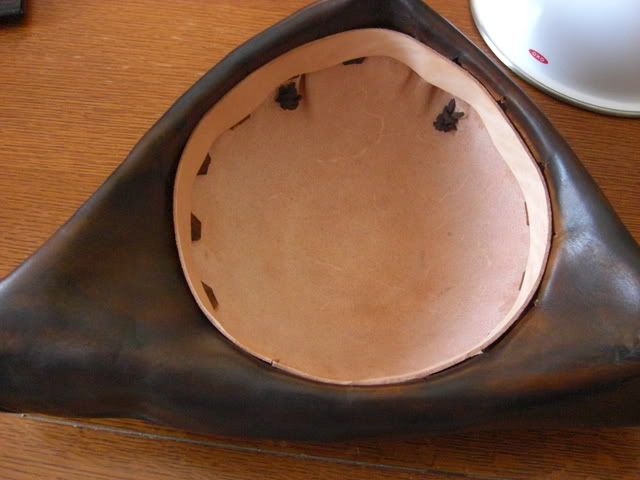
I also added a 1 inch strip of leather to create a brow band. It makes it easier to put on and off when wearing a Jack wig. Less hair getting snagged.
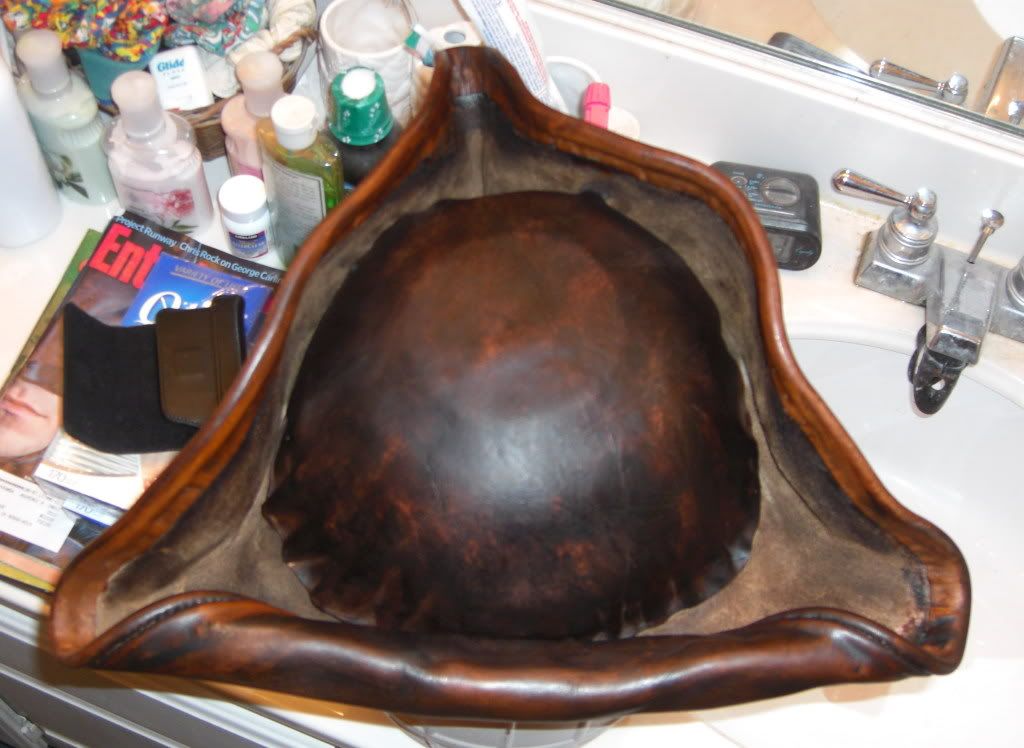
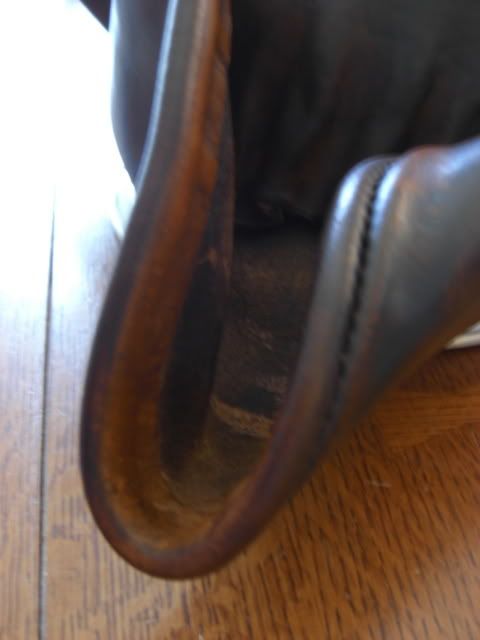
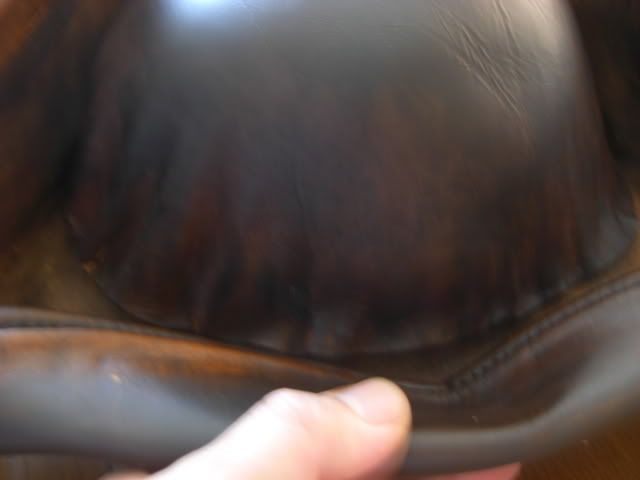
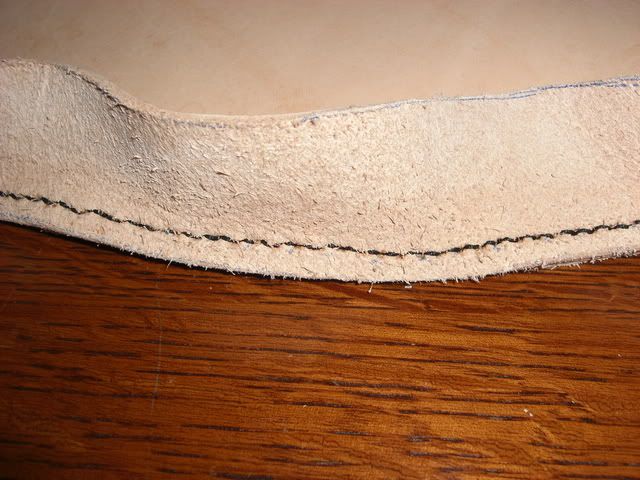
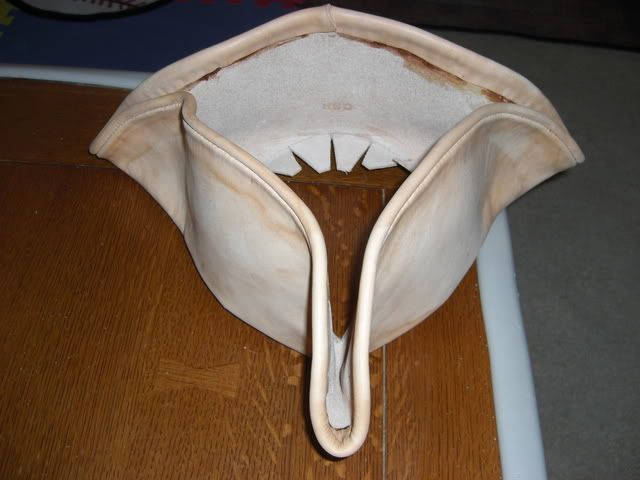
Close up of the French Edging. The key to getting the French Edging to look right is that you have to use a skivver and scrape down the leather as close as possible to the stitching on the inside area. Doing so gives you the nice rounded look when you wrap and glue the leather over. I had to get the leather wet and stretch it far over as possible without pulling apart the stiching.
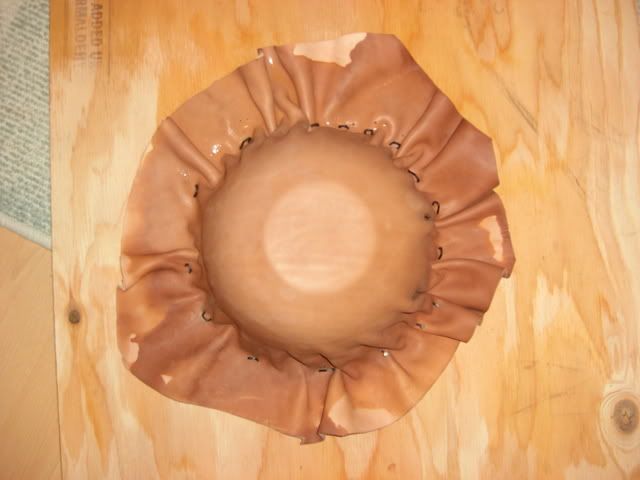
The bowl was stretched over a stainless steel bowl, wet with hot water (but not too hot), and nailed to a 2 x 2 foot plywood board. This allowed me to smooth out all the wrinkles. There were still some wrinkles but those are now facing the front and are covered by the front cockade (the loop thingie).
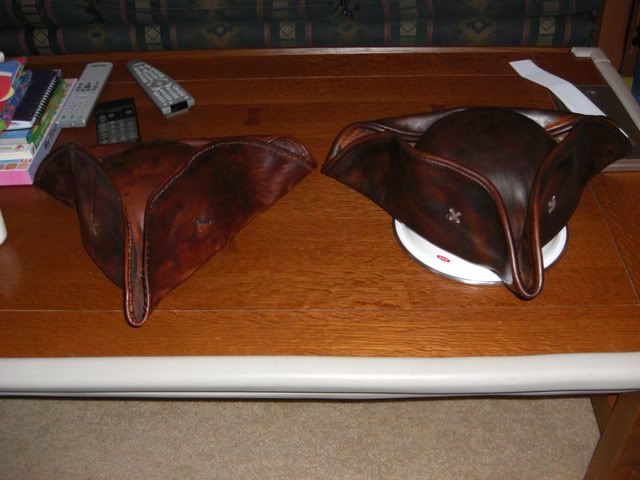
Tricorn 1.0 on the left and tricorn 2.0 on the right.
Some Work In Progress shots:
Brim and a 1 1/2 inch wide outer piece that will become the French Edging.
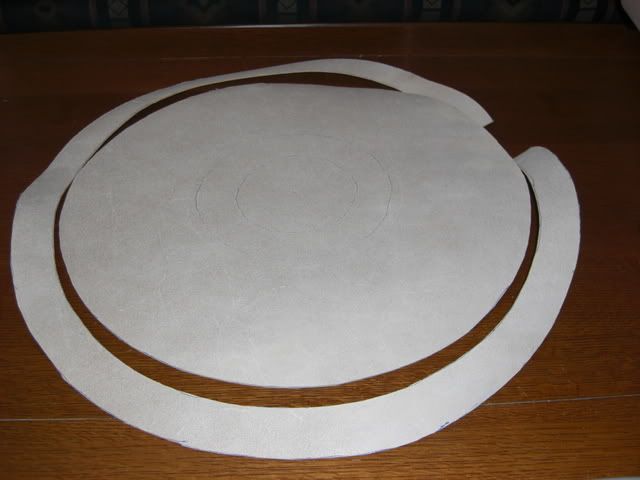
Completed cutting for brim.
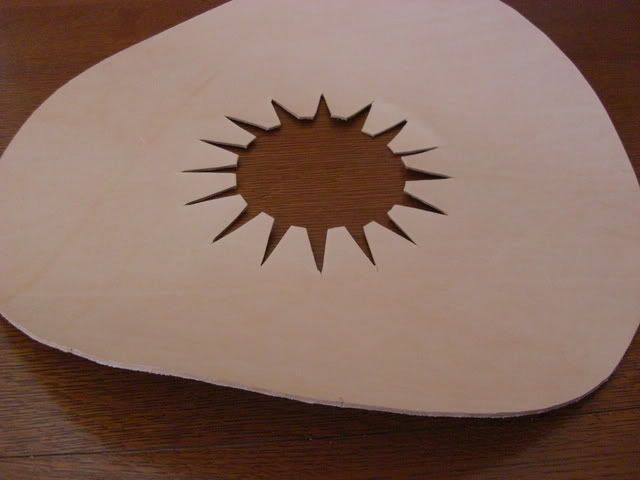
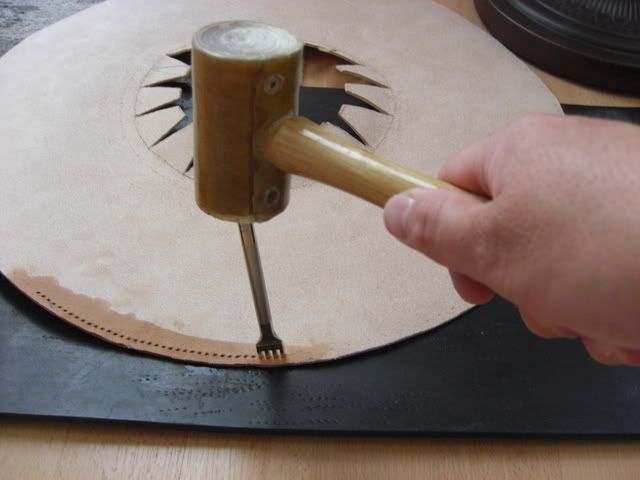
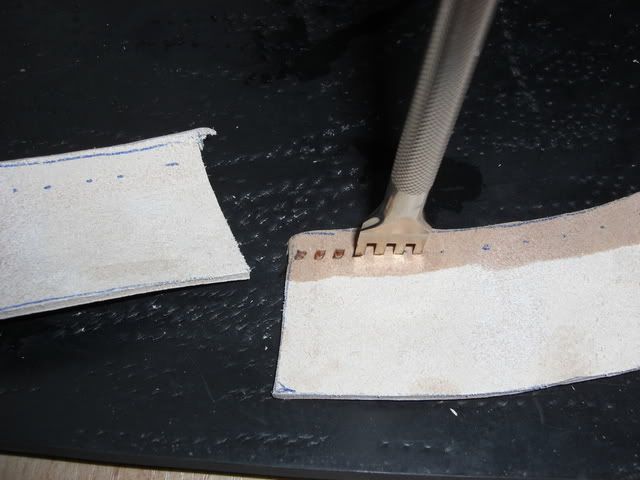
Hand punching the brim and edging. Patience required.
Stitched brim and edging.
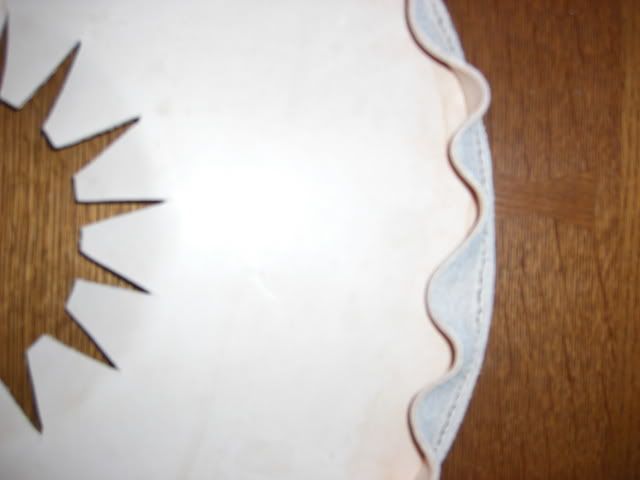
Wetting, stretching, gluing, and clamping.
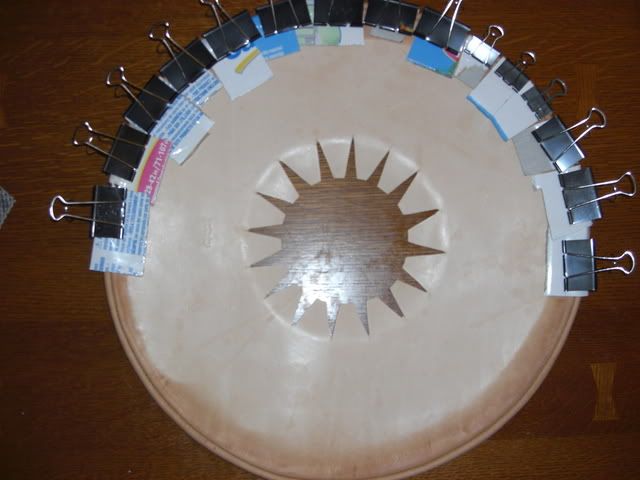
After shaping, clamping and allowing to dry overnight you have a finished brim looking more like a tricorn.
Stretching and wetting the bowl. Nailed down to a 2x2 plywood board.
This second tricorn was made of 1 ounce leather and also includes French Edging a very difficult technique when you hand punch and hand stitch the leather pieces.
From my techniques learned on weathering my Indy jacket I used the same process to lighten areas on the tricorn after staining especially along the edges.


I also added a 1 inch strip of leather to create a brow band. It makes it easier to put on and off when wearing a Jack wig. Less hair getting snagged.

Close up of the French Edging. The key to getting the French Edging to look right is that you have to use a skivver and scrape down the leather as close as possible to the stitching on the inside area. Doing so gives you the nice rounded look when you wrap and glue the leather over. I had to get the leather wet and stretch it far over as possible without pulling apart the stiching.

The bowl was stretched over a stainless steel bowl, wet with hot water (but not too hot), and nailed to a 2 x 2 foot plywood board. This allowed me to smooth out all the wrinkles. There were still some wrinkles but those are now facing the front and are covered by the front cockade (the loop thingie).

Tricorn 1.0 on the left and tricorn 2.0 on the right.

Some Work In Progress shots:
Brim and a 1 1/2 inch wide outer piece that will become the French Edging.

Completed cutting for brim.

Hand punching the brim and edging. Patience required.


Stitched brim and edging.


Wetting, stretching, gluing, and clamping.

After shaping, clamping and allowing to dry overnight you have a finished brim looking more like a tricorn.

Stretching and wetting the bowl. Nailed down to a 2x2 plywood board.


