Captain America (modern), on a budget

Vox

Sr Member
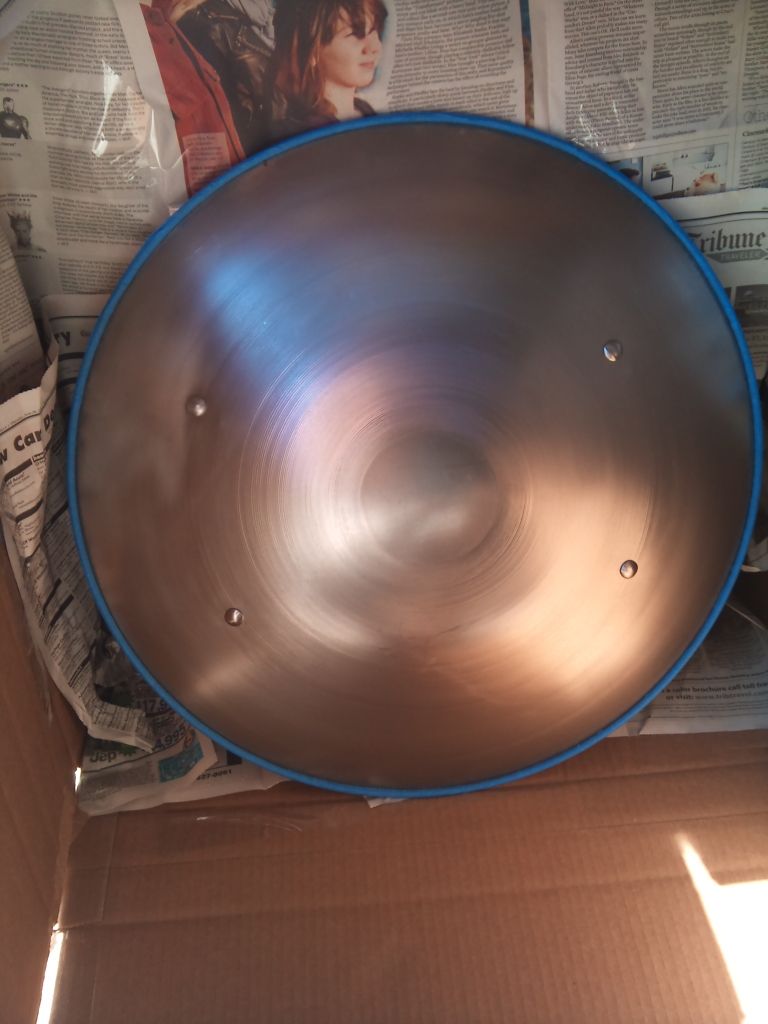
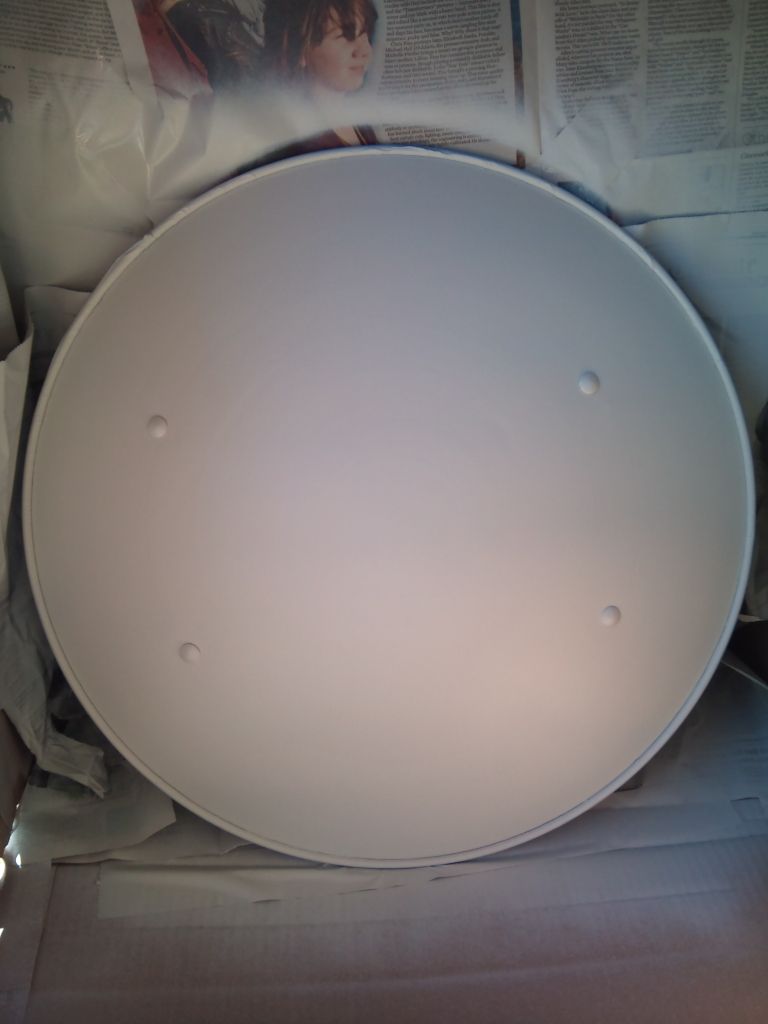
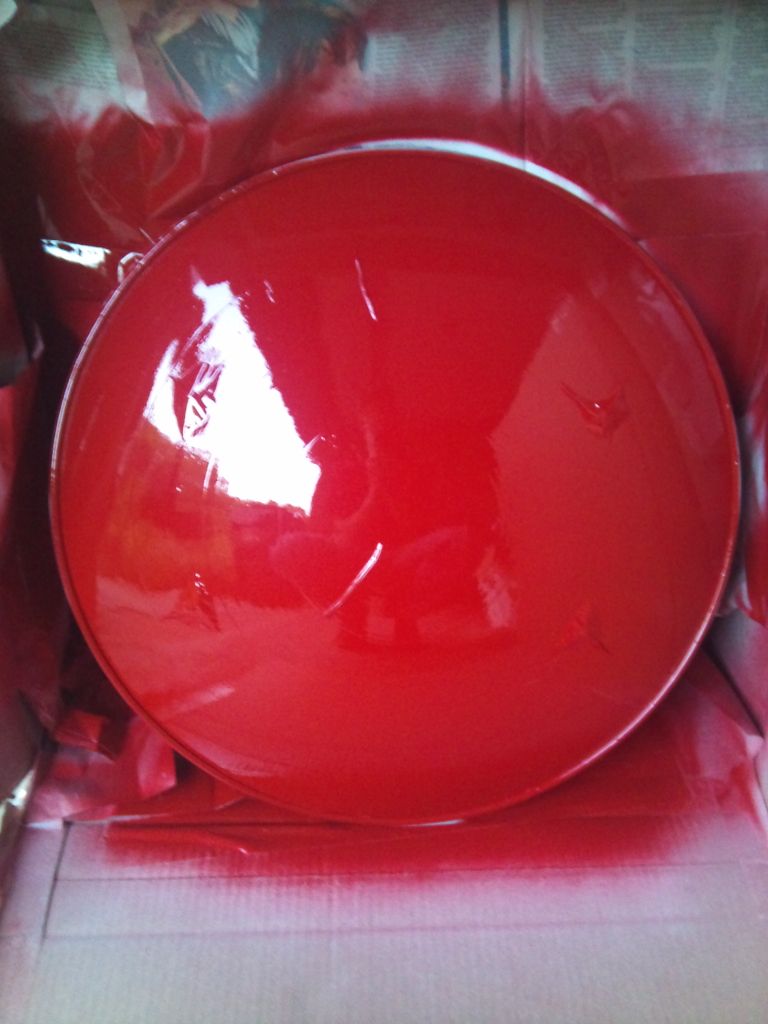
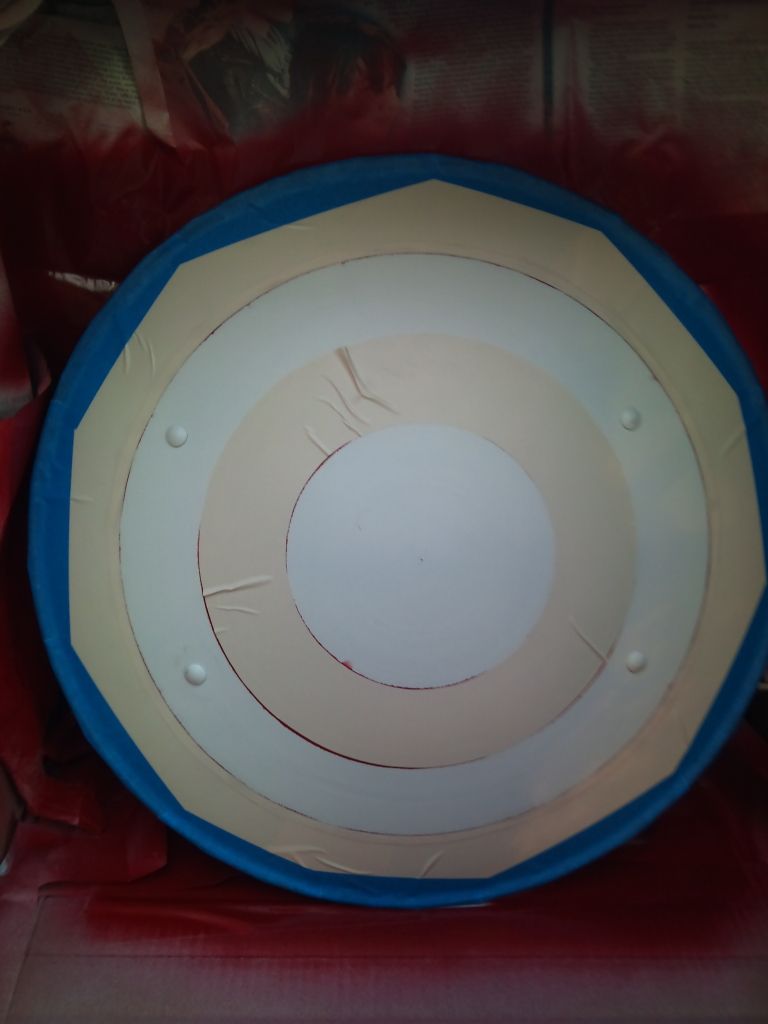
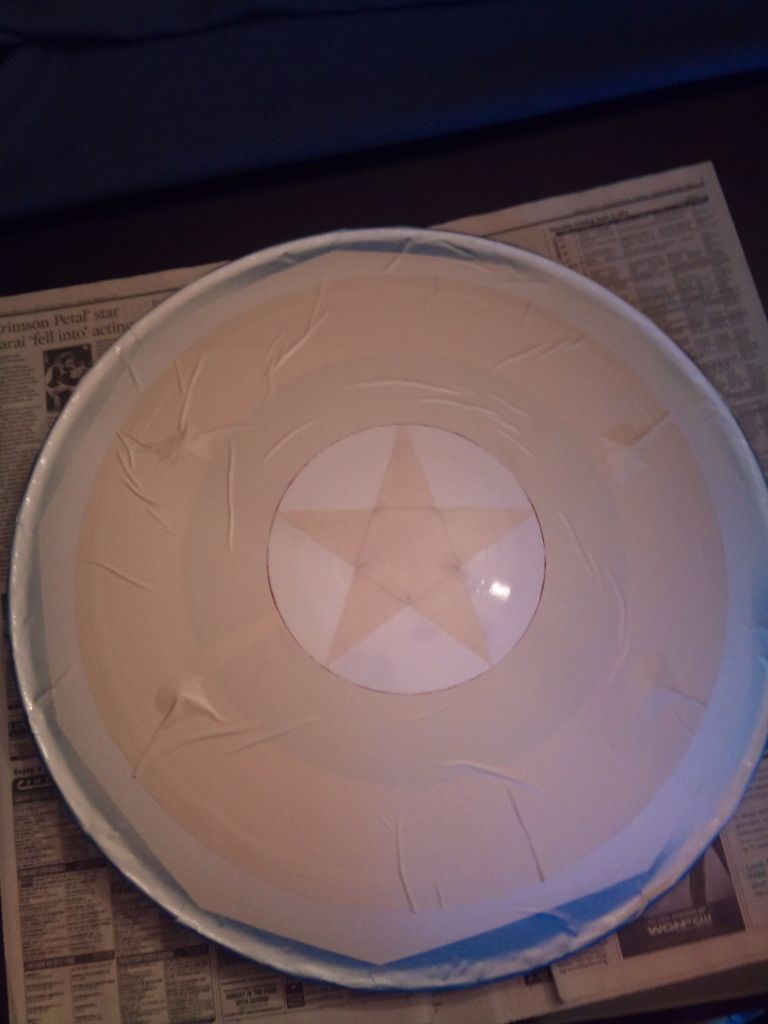
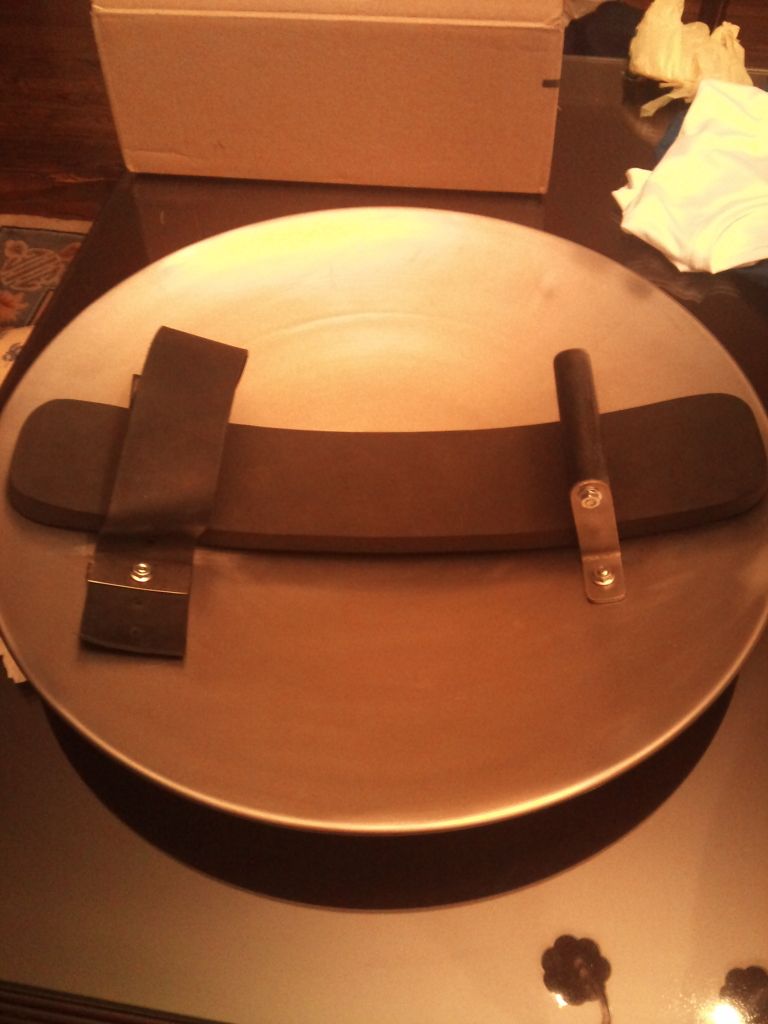
Yet another CA costume, I know... I am working on this for Halloween (specifically the weekend prior) and I am on a budget. I have the mask, the shield, and the pants (Express brand royal blue jeans) all set. I also found a cheap royal blue balaclava on Amazon, we'll see if it is as good as it looked once it shows up.

I am having trouble finding and deciding on options for the torso, gloves, and boots. With less than three weeks until I have to go out in this thing, I am getting anxious, so I am asking for help. Any ideas about this are appreciated, just bear in mind that the cheaper it is (price-wise), the better. If I can use it/wear it for more than just costume events, higher prices are easier to justify.

For reference, I am leaning toward the classic or Avengers style costumes. I'm looking for red(ish) gloves, red(ish) boots, and torso options that are obviously Captain America but don't need to be identical or consistent with any one costume.

Hope you can help a newb out!
 
Last edited:
Update: the entire costume has either been received, or is on its way here. Pictures will start to be posted some time this week, when I find time.


I just bought these boots off of Ebay. While not the exact copy of what he wears in the movie, I figured they would serve the purpose as a good base, especially once painted.

$%28KGrHqF,!hsE-RcrILg7BP2Rkq4HVg~~60_3.JPG


Does anyone have any suggestions for what to use in an attempt to build the top extension of the boot? (Cap's calf guard and the top of the boot)
 
The calf guard I'm going to do the same way I did the gauntlets. Using foam as a base and then wrapping it in pleather. Red elastic to hold it in place. As for the top of the boot I'm planning on using some of the same pleather to basically make a boot cover/spat and then add the 'elastic' accent pieces etc to that and slip it on over the boot. I'm also planning on using some leather spray paint, same as I used on my gloves, to colour the boot red in places so that when the spat is on it'll all look right.

Check my thread if it'll help.
 
Thanks for the advice, P4r4dox. I was beginning to think I was talking to myself out here! I am definitely going to try and find a way to do the foam gauntlets, since currently I just went with the cheap one-layer costume ones that are out right now. That will at least provide a base and a template.

I like your spat idea for the boots, but since I don't anticipate having them until this coming Monday, that will only leave me 4 days to prepare them. I will have to see what next week's schedule looks like. I may end up just having to paint the boots and call it a day (I am hoping that's not the case).
 
My shield is not screen accurate, save for the paint job. It is a 21", 16 gauge steel shield, built for stage combat along side broadswords. Given that this thing could break down a door, it is probably not con-legal, but I am using it mainly for parties, so that shouldn't be an issue. Not to mention, with the design and weight of this thing, you feel like a superhero when you hold it.

Each coat took 48 hours to dry. Between that and days where I did not have any time, it took me 3 weeks to complete (even if it was only an hour or two per day).

It has a rolled edge that I wanted to leave unpainted as an accented edge, so I started out covering that with blue painters tape, and using a razor to cut just under the rolled edge so as not to infringe on the outer stripe:
2012-09-08135250.jpg


Next, I sprayed a white matte primer coat:
2012-09-08140813.jpg


Then, using contact paper, I measured out and masked the center circle as well as the white stripe, and sprayed a glossy red:
2012-09-14184848.jpg


I stripped the contact paper, and cut new masking to cover the new red stripes, so that I could spray a gloss white:
2012-09-25180417.jpg


I then masked the stripes and the star to spray a gloss blue:
2012-09-28182633.jpg


I screwed up and sprayed too many coats with too little time between, and it caused the star masking to peel back and ruin the star. I then had to painstakingly cut out negatives of the star shape, and fit them in the correct places in the center circle, using painter's tape to cover the gaps between separate pieces of contact paper, so that I could spray a new coat of white for the star:
2012-09-30230159.jpg


And voila! Full painted shield:
603200_10101930139107570_627902089_n.jpg


The bolts you see in the white stripe are what holds the handle and arm support, which you can see here along with the arm padding:
2012-10-16223737.jpg


More pics of the rest of the costume items will come as they arrive this week.
 
I am planning on taking a pair of desert brown combat boots and dying them red. I cannot get boots made in time, so I will buy a cheap pair of combat boots, again in light tan/brown, not black. And dye them.

I was making the gauntlets from scratch, but think I found a better idea. I have found some gauntlets for another costume that look really great and are pretty well built. I will strip those down and spray them a nice anodized red (left over from my shield) and add any details I need. Remove the gloves and add my own. They should look really good. Heres hoping.

I am excited to see how your costume looks. Great work so far on the shield.
 
Thanks for the compliments! The shield was a lot of work, but I am really happy with the way it came out. Dozer, that's an interesting idea to dye the whole shoe. I may take mine over to the local shoe joint here and see if that's possible (though, with them scheduled to arrive on Monday, I will need a rush job, and there will be no changing my mind).

Tonight, I got the foam done for my gauntlets. The layout is definitely stolen from a couple people on here, so I can't take credit. But it was rather clever, and imitation is the highest form of flattery :cool I plan on sewing red vinyl over them once they dry in a day or so.

The reddish trapezoidal thing is my substitute for a longer boot. I will be sewing it together (by hand most likely). That will be an independent piece that will fit along the pant leg into the inside of the boot. I measured around my calf, and then closer to my ankle, to get the angle right. The tension of the vinyl against my pant leg will be enough to keep it in place. Combine that with the calf padding (yet to be constructed) and it will give the illusion that the boot is larger than it really is.

Also, I decided to attach the pics, rather than load them all as images since that takes a lot of space.
 
Update!

So, because I did not feel like buying an expensive pair of costume boots, nor taking apart things and building from scratch, a couple pics below illustrate how I am handling the boots (this is where the "budget" comes into play). The idea is to use a leg "sleeve" that will be put on first, then the boot after it. The bottom part of the sleeve will reside inside the boot (pictured toward the top of the thread), while the other part will eventually be covered by the calf padding, leaving the illusion of a continuous article of clothing.

I picked up red and dark red vinyl from Joann Fabrics on Wednesday.

The first pic illustrates my first attempt at the leg sleeve, which was a failure. I messed up on my math and decided I wanted the leg sleeve to be a good 3.5 inches higher on my leg than what was going to be allowed by the length I had cut. So I had to fix that tonight.

But first, I cut out some of the red vinyl and affixed it to the bottom of the gauntlets, so that when I sew on the top layer, the thread will not rip through the foam. (Idea Credit: P4r4dox86's Avengers CA build)

Luckily, I bought more vinyl than I thought I would need in case of mistakes, so I was able to re-cut the leg sleeves to an appropriate length, and included the original in the picture for a size comparison.

Finally, I have the cheap, cheap, cheap costume gloves for Captain America. (I'd love to buy a pair of kevlar'd gloves, but it wasn't in the budget and I probably would not have had time to paint them well.) Once the 3-D gauntlets go over the 2-D ones, I think they will do just fine.
 
For the amount of hours I spent on this costume over the weekend, it sure doesn't feel like I got that much done. 4 more days! (yikes)

The first pic is of the re-done leg sleeves, because the others were far too short. They are now sewn and in working order. The second is of the gauntlets. I am still figuring out the best way to sew the elastic, and I fear I am going to end up having to do it by hand, but so be it.

Boots are supposed to arrive tomorrow!

Also, I have to thank my friend with a sewing machine. Saved me A LOT of time today.
 
Thanks davidjack, but I'm making this on my own. :behave


It's been a very busy few days! The boots arrived on Monday and look great! However, I was told they would be impossible to dye since they were black. (That may have been common knowledge to many of you, but for me, that was a hard-learned lesson.) Never fear, I had a back up plan!

I cut out coverings for the boots, to which I attached the elastic. One end is actually stitched on, the other will attach to the other side via that plastic Velcro-but-stronger stuff. In that same picture, you'll see one of my completed calf guards, which will attach the same way.

And yes, I quite realize what that first picture looks like, just trust me when I say it will look totally different when attached to the actual costume

The calf guard was a challenge, I first sewed to two end pieces to the elastic, then correctly sewed one end to the vinyl. I then pinned the two pieces of vinyl together inside out for sewing, leaving the bottom 2.5 inches (or so) open so that I could stuff the 1/4in. foam. Turning those things inside out through that little opening was a pain, but I eventually got it and stuffed the foam successfully, and now the elastic is stitched on without me having to painstakingly go at it with a needle and thread from the outside.

I used black thread to stitch the pieces together, to provide some dimension with the contrast, and also to match the black boots, some part of which will be visible.


And yes, I quite realize what the first picture looks like. Some no-pun-intended juxtaposing there. :lol
 
Excellent job, man!

Here's a thought if you ever get the inkling to redo the shield.

Make it a two-layer shield. The underlayer is where you would bolt the shield straps and such, while the overlayer would be solid and unmarred and would hide the bolt heads, giving you a perfectly smooth surface to paint and making the shield more canon-accurate.

Just my $0.02...
 
Putting the finishing touches on, down to the wire! Since this is a budget build, I wanted to be able to reuse most of the things costing over $20.

The first pic are the star and shoulder decals, cut out of white craft foam. The backs are lined with poster board for a little more stability without sacrificing flexibility. I hope to attach them with some double sided tape.

The second pic is most of the costume laid out. You can see the completed arm guard, both top and underbelly. It is a simple blue balaclava with one of the rubber CA masks found on Ebay. The pants are a bright blue denim, purchased on clearance from Express. The shirts are both compression-wear, a white short-sleeved under a blue long-sleeved. The blue will be folded up under itself to give the correct shape but (again) not ruin the shirt. The stripes (incomplete as shown) are red duct tape. (I will have to see how these do tonight. With the elasticity of the compression shirt, they weren't holding form as well as I first hoped.)

The last pic is the front part of the boots. Simple double-sided tape would not stick to the woven side of the vinyl, and tape loops were too unreliable. I had to figure out a way to attach the vinyl without damaging the boots, so I laid down some masking tape on the boots and put hot glue on top of that, laying down the vinyl after that. Once the season is over, the masking tape will peel right off the boot, leaving it unscathed.

Pics of me wearing the costume will be posted over the weekend!
 
Back
Top