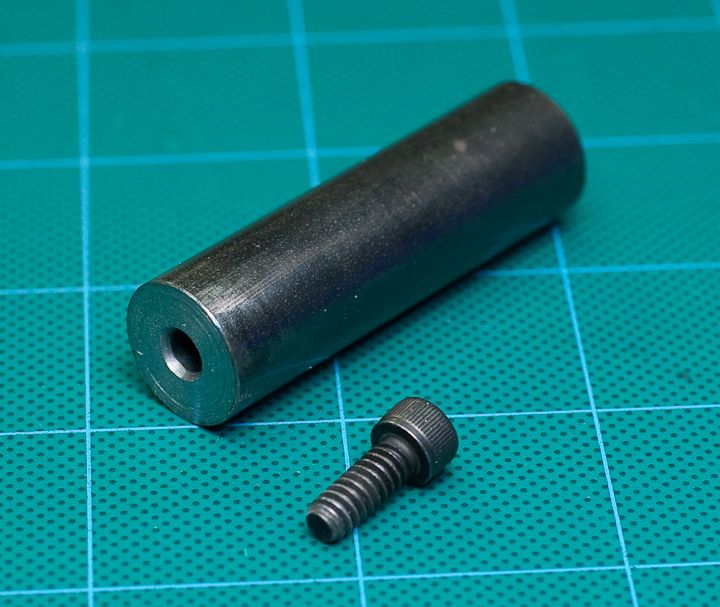
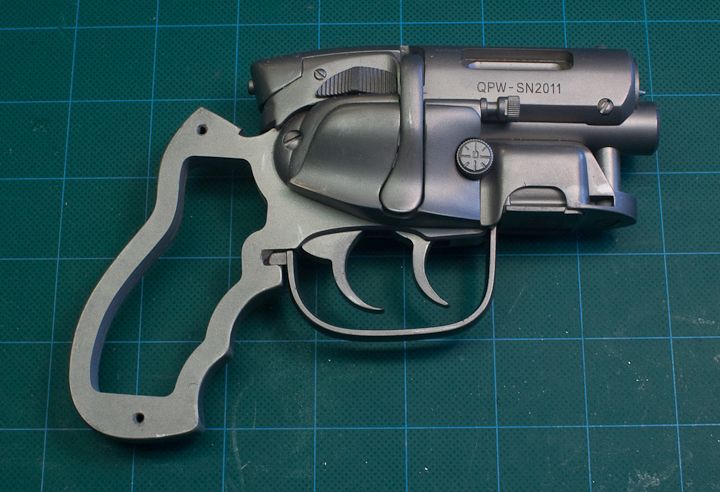
More work on the metal Snubbies! I've cleaned up and painted the resin frame and clip casting with Krylon Semi-Flat black. The cast metal parts were sanded smooth with 320 grit sandpaper, then tumbled with fine abrasive media. The barrel are turned steel.
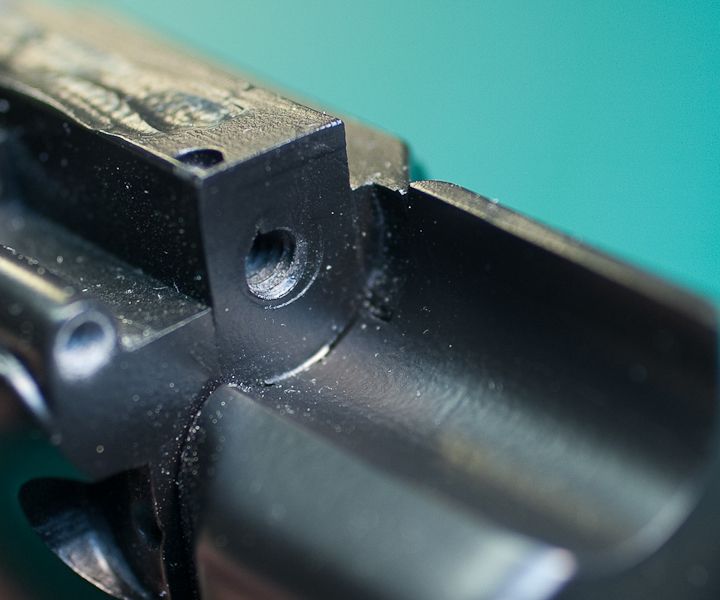
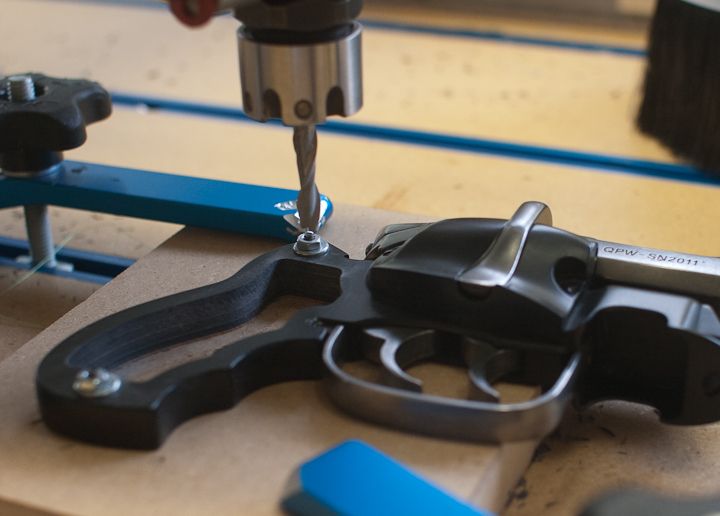
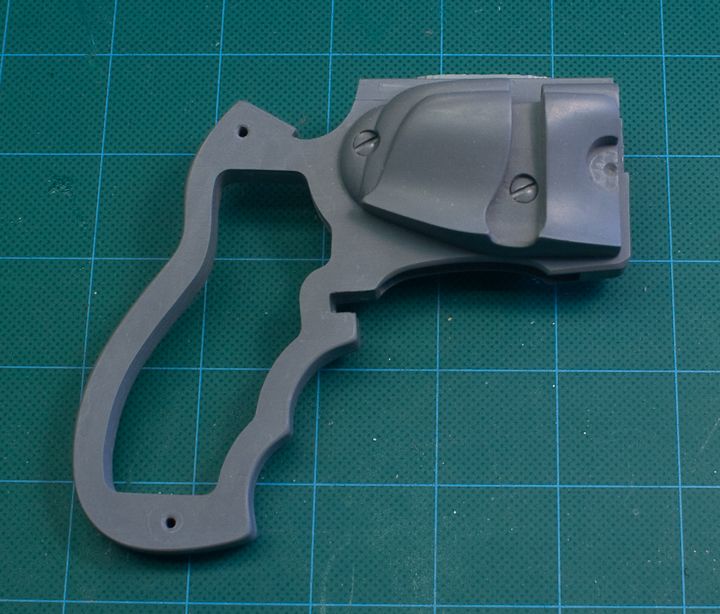
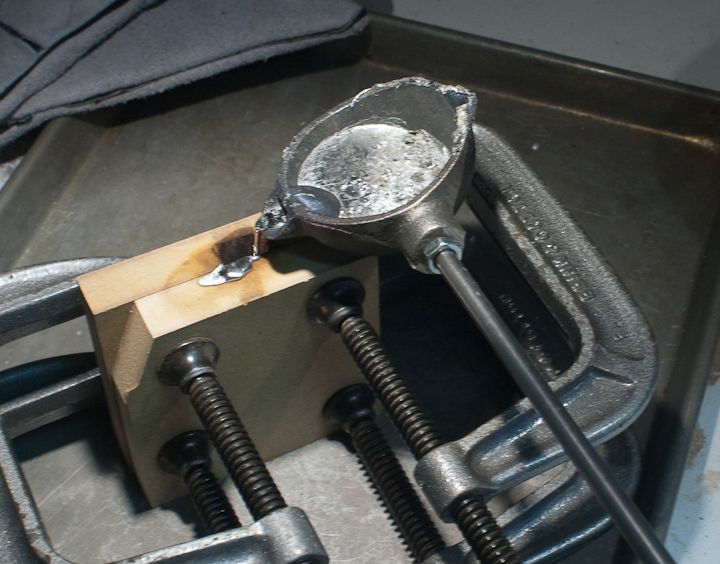
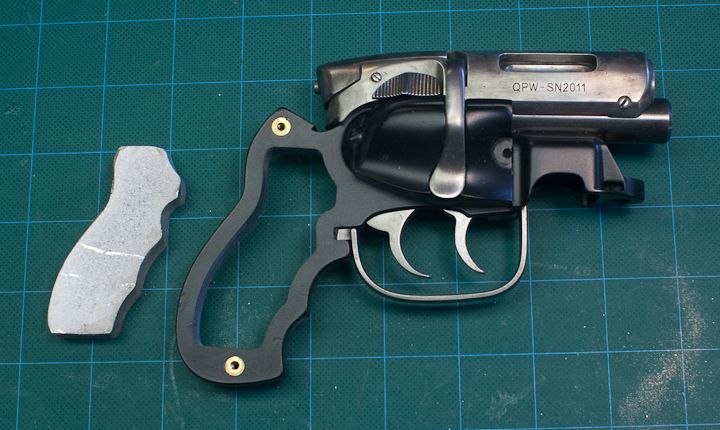
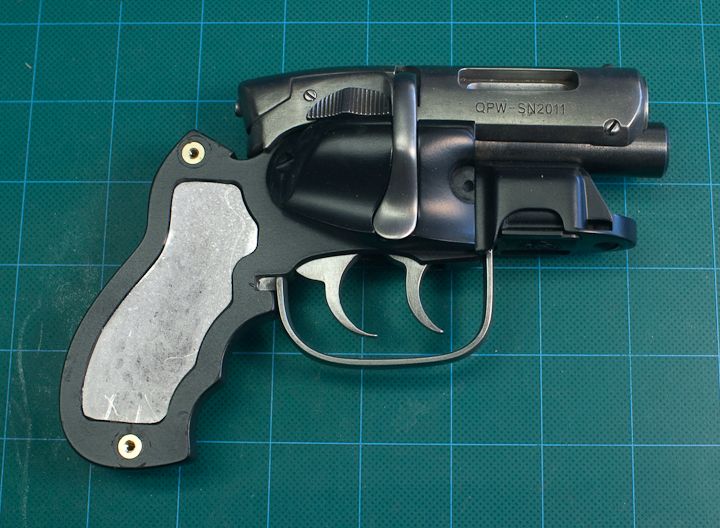
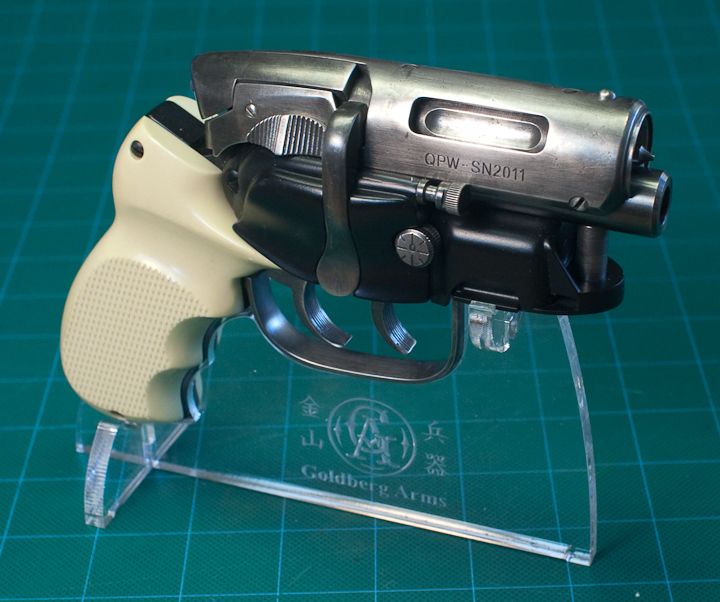
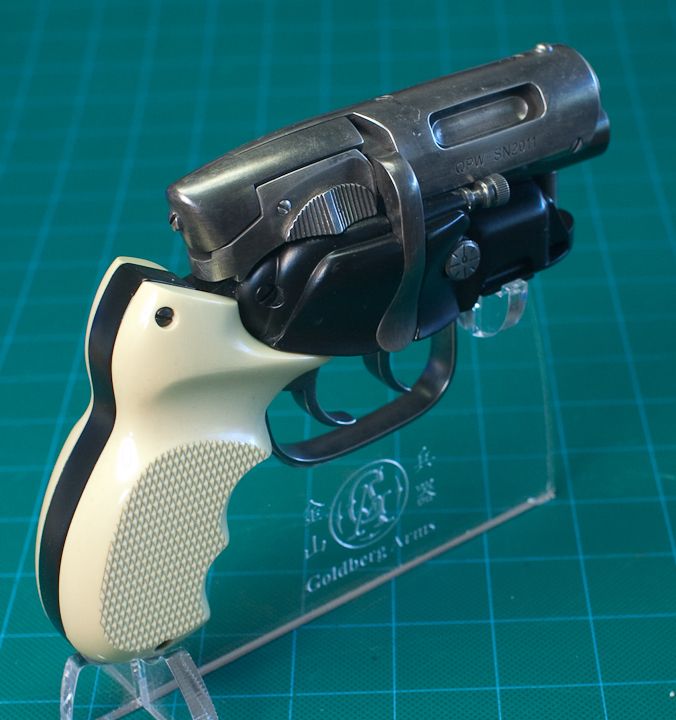
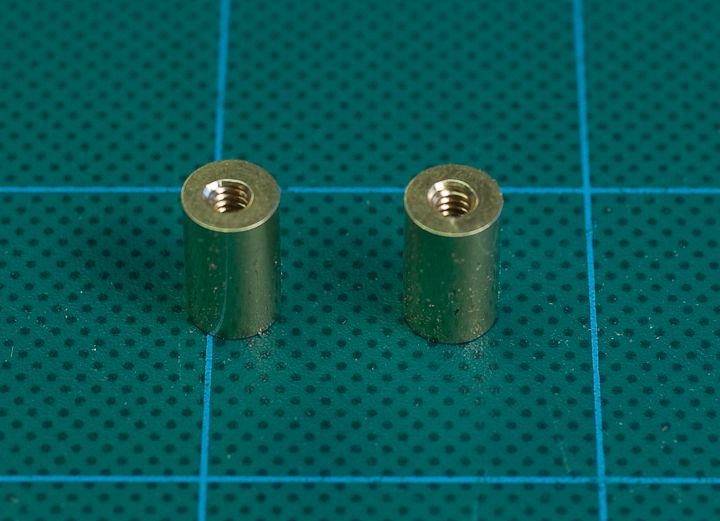
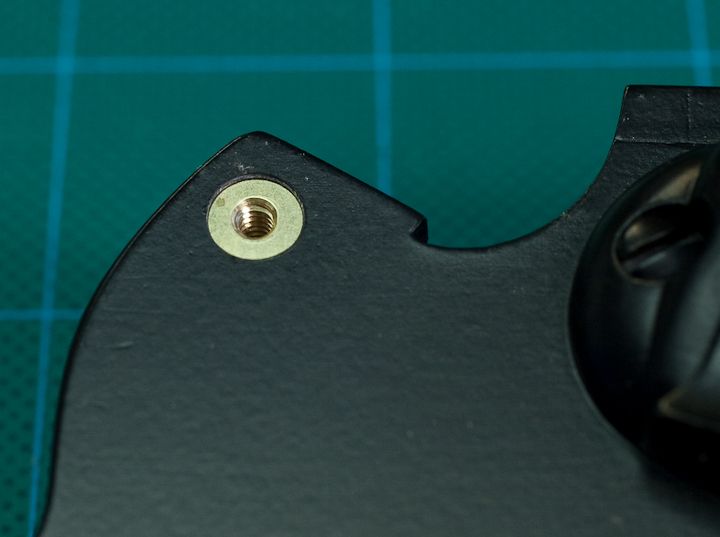
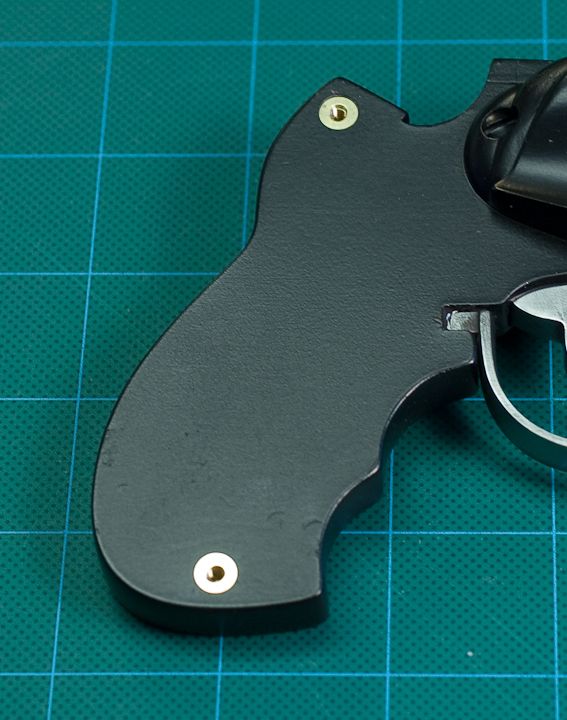
One of the thing I'm doing differently on these build ups is to insert threaded brass bushings in the the frame for the grip attachment screws. As I started to trade grips back and forth (what with the new cool hardwood grips and all!) the threads started to strip out of the resin castings. Unfortunately, since the frames are slightly less than 1/2 inch thick. I couldn't use off the shelf electronics stand offs. So custom ones had to be machined in brass. The holes in the frame were drilled out to 1/4 inch and the inserts epoxied in place.
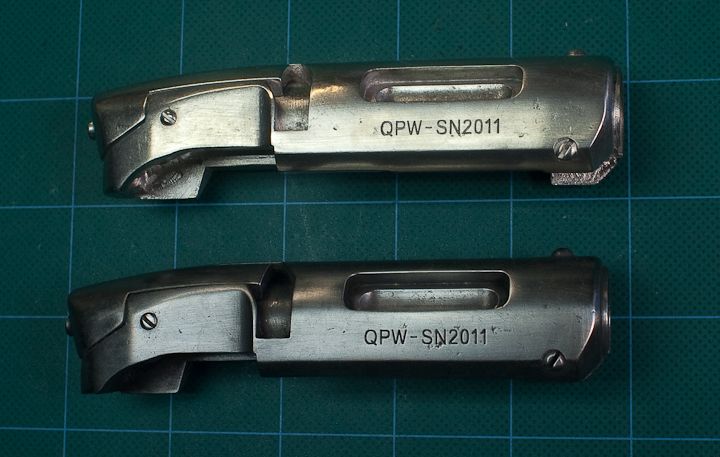
Here is a comparison of the plain polished receiver (top) and one chemically blackened with Jax Pewter Black (bottom).
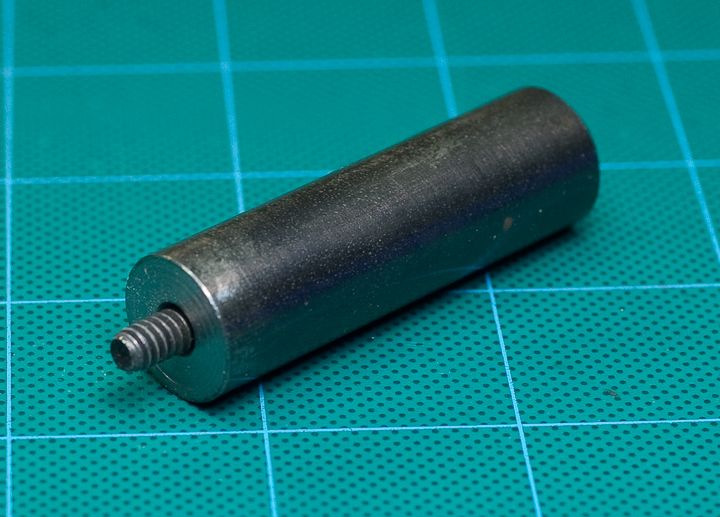
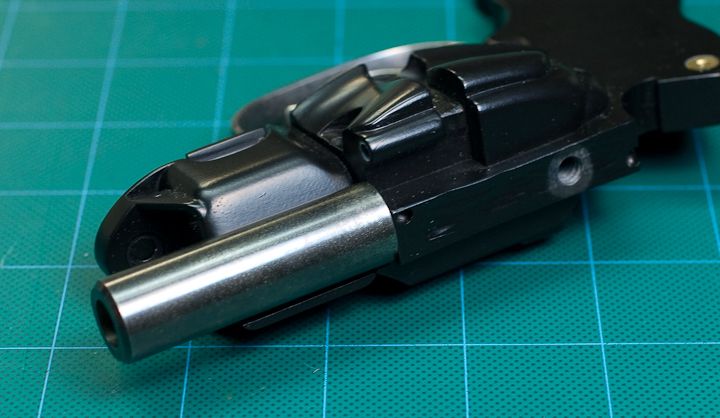
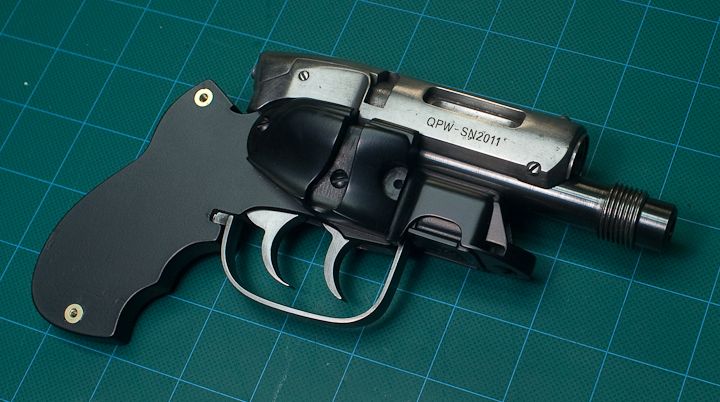
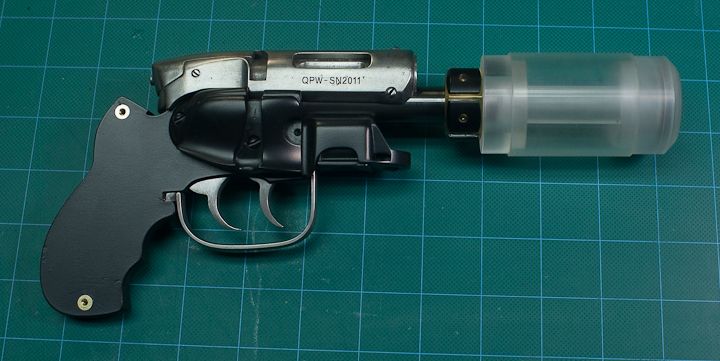
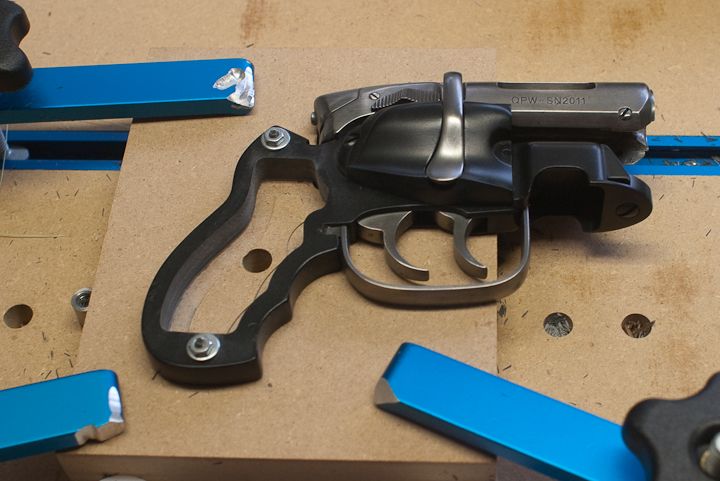
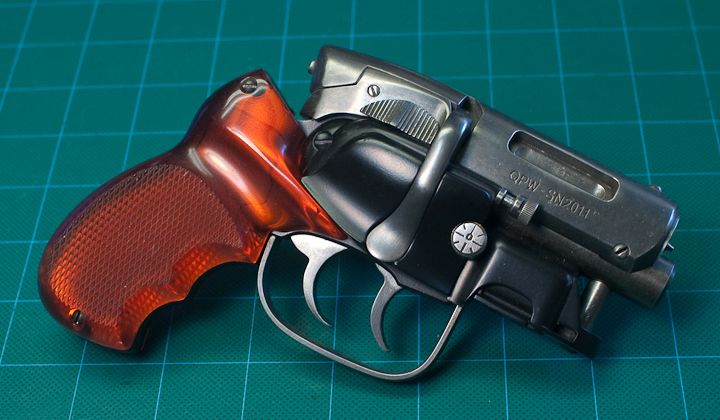
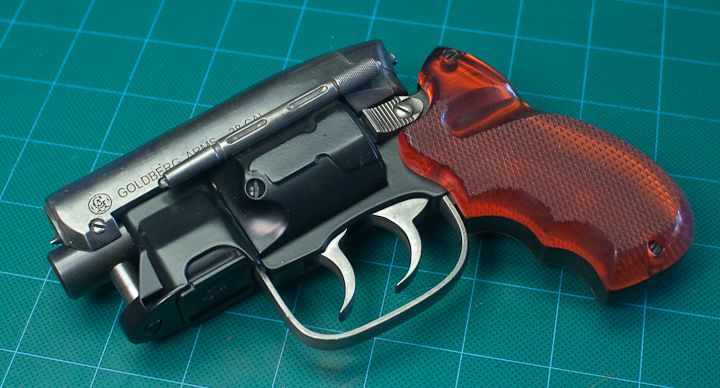
And a test assembly of the parts. The steel barrel has been treated with gun bluing.
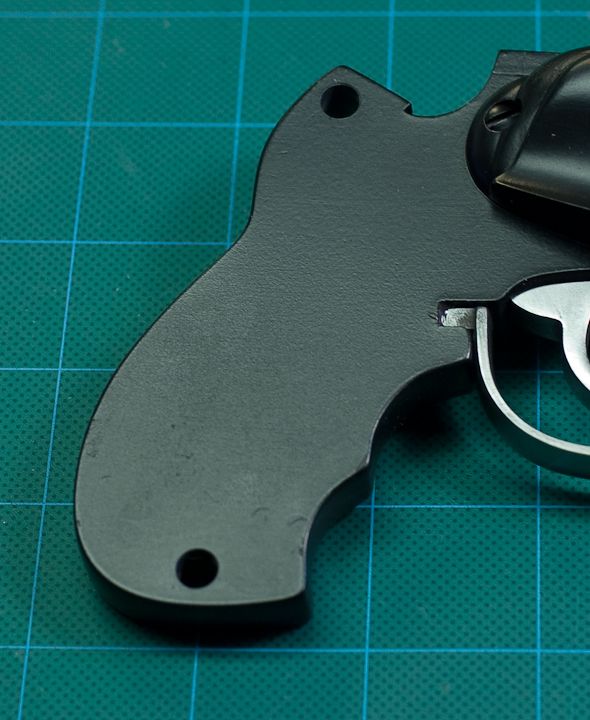
One of the thing I'm doing differently on these build ups is to insert threaded brass bushings in the the frame for the grip attachment screws. As I started to trade grips back and forth (what with the new cool hardwood grips and all!) the threads started to strip out of the resin castings. Unfortunately, since the frames are slightly less than 1/2 inch thick. I couldn't use off the shelf electronics stand offs. So custom ones had to be machined in brass. The holes in the frame were drilled out to 1/4 inch and the inserts epoxied in place.
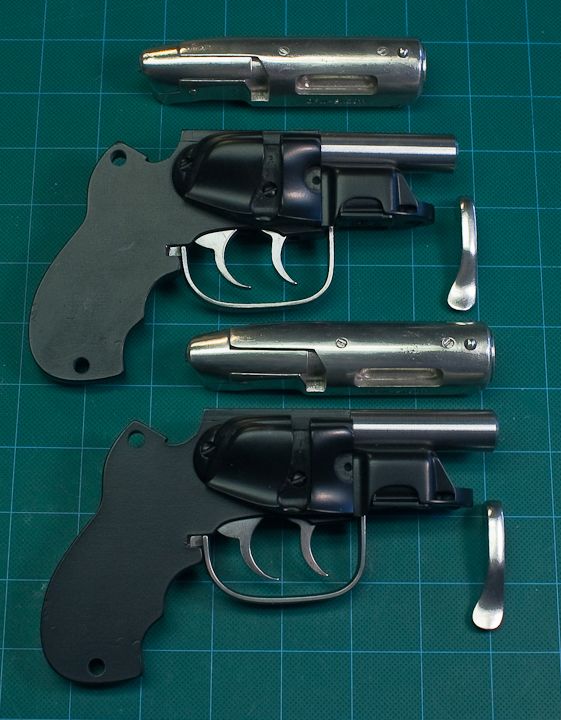
Here is a comparison of the plain polished receiver (top) and one chemically blackened with Jax Pewter Black (bottom).
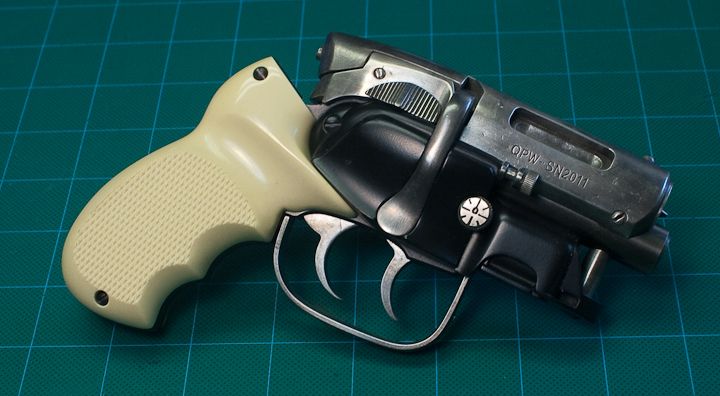
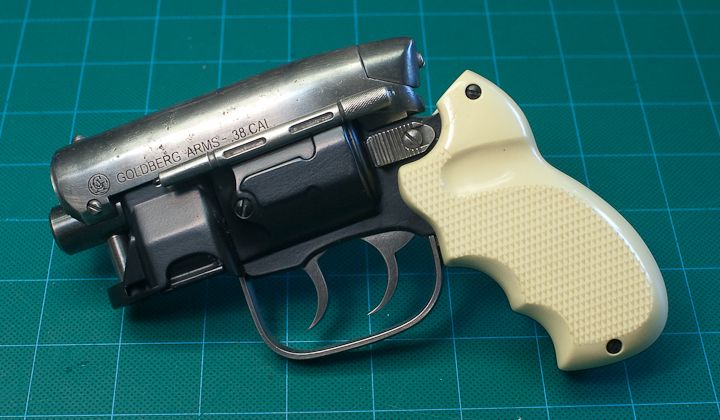
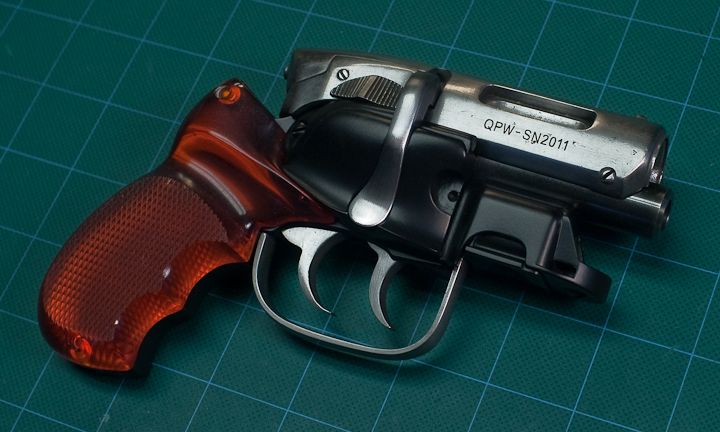
And a test assembly of the parts. The steel barrel has been treated with gun bluing.
 . These newer mods/ grips make my resin build look like poodoo. amazing work, as usual!