gt350pony66
Master Member
Thanks brother!it may take a while, but it sure looks like it will be worth it!
Thanks brother!it may take a while, but it sure looks like it will be worth it!
")
Thanks brother! D@mn lot of work thoughLooking good!
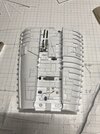
Ok, so the starboard flight pod, build as empty closed off museum deck as in the show or open combat ready?
Most excellent suggestion! TransformableI guess it depends on whether you want the Galactica pre or post war
Visually, from a modeling standpoint, it might be more interesting to have the museum deck in place. It offers some additional display options and areas of visual interest over having both pods being the same. Kind of breaks up the monotony
In a way it is like when you are stuck having to choose to build an aircraft with gears up or gears down. Except in the case you can choose both since one will be operational and one will not
You could also make the museum pod opening cover removeable so it looks functional when you want to display it that way
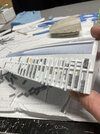

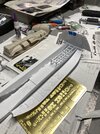
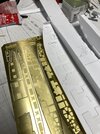
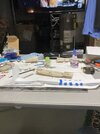
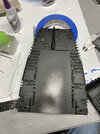
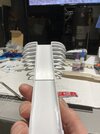
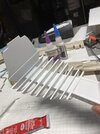
Thanks brother! After I primed them in black they really came aliveThose look perfect!

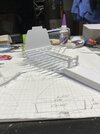
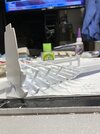
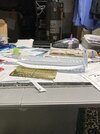
Thanks buddy! It looks like I’m gonna have to dry fit the kit together a little so I can figure out what to do with the flight pods because duplicating kit parts is not going to work going forwardIt looks amazing under the primer. Really ties things together!
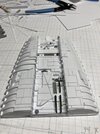
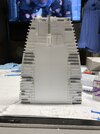
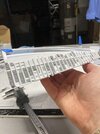
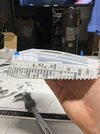
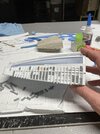
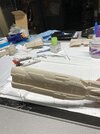
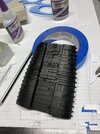
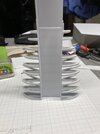
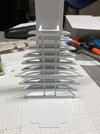
Well thanks buddy! That part may look good and I’ve been using a digital caliper on everything, I just hope when I skin it the proportions are correct as far as the inner structure ribs on the body section are concerned that isDamn that's impressive! The symmetry of your ribbing is perfect!
Thanks,Ambitious and awesome! Loved 40% of the NuBSG and the ships are 10% of that! Enjoying watching your progress.