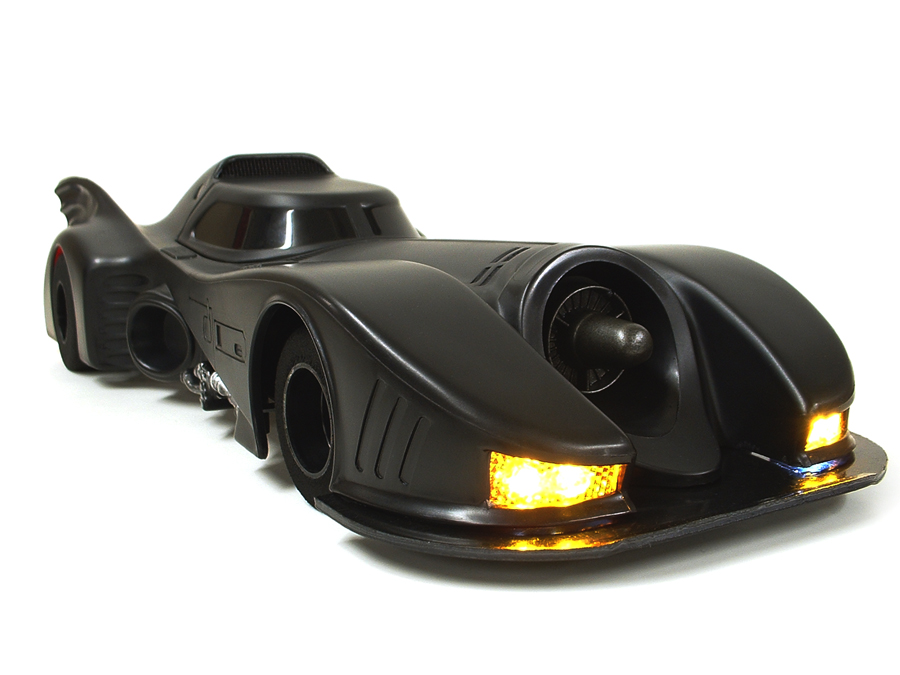
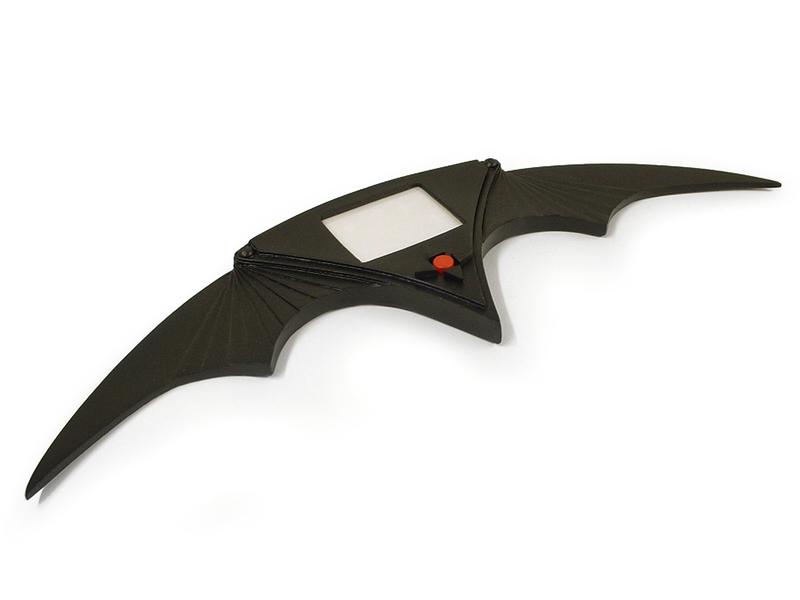
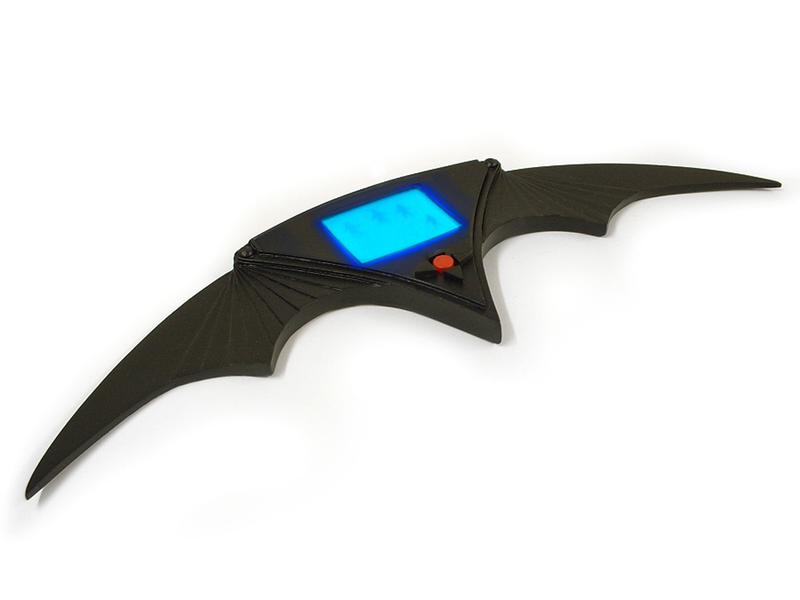
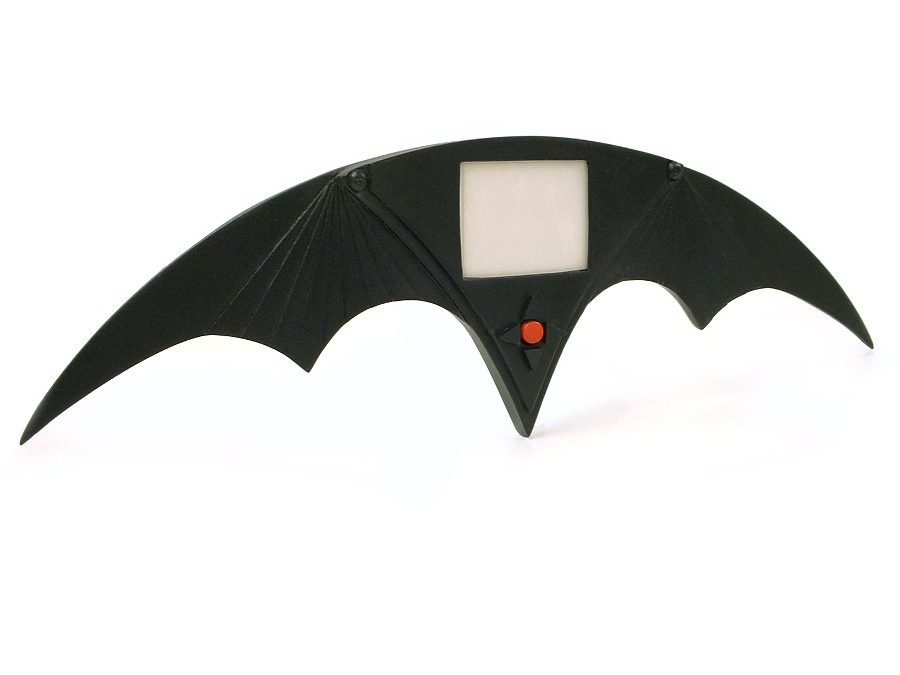
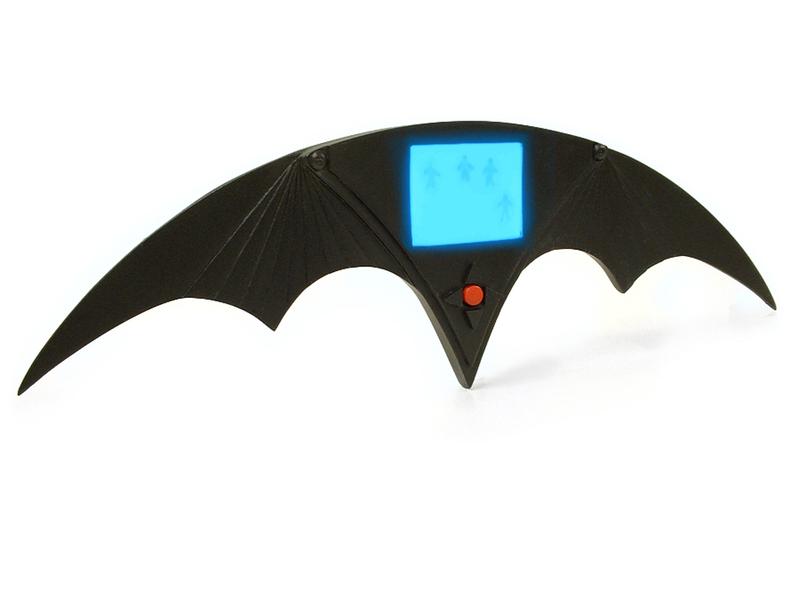
I picked up a static version of the Batman Returns movie in the junkyard several weeks back. I really wanted this to be cool. So I decided to make the screen light up. I stole the idea from Stapleton who used these blue screens in a prop he produced a while back. They are Turnigy RC Controller screens you can find on eBay. So I milled out the center piece, then on the backside, I made a lip for the screen to rest against. Then I began to work on the buttons, switch, and battery (which needed to be 6v for the screen). I ended up using a button cell battery holder and stacking 2 3v to power it. I had to do some creative sanding and soldering to make it not be too thick.
I milled out quite a bit on the back to make it all work, but in the end I was happy with it. Then I wanted the little figures to show up. So I drew some up in Illustrator and had a sign company print some out in white vinyl. Once done, I applied them to a clear transparency and placed it behind the screen's white diffuse paper. Once behind, the figures faded and you couldn't see them when it was off. Once you press the button, BOOM, there they are. They aren't as WHITE as I'd like and the pics don't quite match it in real life, but is close.
Anyway, thought I'd share.")

Jhusel
I milled out quite a bit on the back to make it all work, but in the end I was happy with it. Then I wanted the little figures to show up. So I drew some up in Illustrator and had a sign company print some out in white vinyl. Once done, I applied them to a clear transparency and placed it behind the screen's white diffuse paper. Once behind, the figures faded and you couldn't see them when it was off. Once you press the button, BOOM, there they are. They aren't as WHITE as I'd like and the pics don't quite match it in real life, but is close.
Anyway, thought I'd share.
Jhusel