Back to the Future II 2015 Jacket Build NEW VIDEO JACKET pg 27!!!

Taste the future! :p

taste_the_future_by_emma_in_candyland-d68ntay.jpg
 
Awesome! How much would you like for this? (if I understood well that you were willing to sell it to me once it's done xD)
 
Nice prop replicas, I made a jacket in 2008 but it fell apart, so got the Chinese one a few years ago, never converted it I kinda like it the way it is.
 
I made my pockets about 5 1/8 inches wide and 5 1/2 inches tall. That's for a medium sized jacket.

- - - Updated - - -

Has anyone ever modded the ebay jacket to be the accurate length? It's too long. If my memory is correct, the belt of the real jacket lines up where the belt area of Marty's pants are. It shouldn't exceed that. I wish I could get my hands on one of those jackets from ebay, but they seem to be sold out because I can't find it.
 
Last edited:


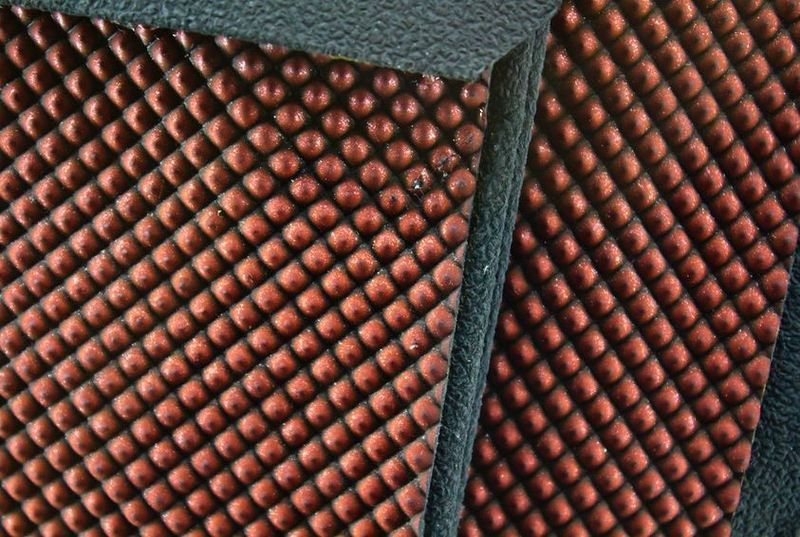
So getting back to this picture... I've had some pretty good success making these jackets so far, but so far I just haven't bothered with the black/grey in all the "valleys" of all the red bumps. It looks like Gary's had some HUGE success with his samples... and they looked better than the original (IMO). So I emailed him about it once already but I don't want to bother him again :/ But something I didn't realize was that he used a "black wash" in order to colour in all the valleys. Meaning when he removes the red latex sheet from the mold he THEN fills in the lines (it's not a strategic layered effect done in the mold). And with my light panel the little dimples in all the diamond shapes are indents (which I'm assuming the above pic is as well.) Now the ONLY way to get that effect is if the black is applied when it's removed from the mold... so it HAS to be a wash. So... what's the best way and the best runny black paint that allows you to fill these in? It can't be water soluble cause if the jacket gets wet then it will wash away. Plus it has to be flexible too so it doesn't crack when you move. People have been asking me about making more jackets, and I'd like to continue doing so, but making them more accurate and easier to make would REALLY help!!
 
which I'm assuming the above pic is as well.) Now the ONLY way to get that effect is if the black is applied when it's removed from the mold... so it HAS to be a wash.
When i start making my jacket with the light panel that i have, I am going to first make the red latex layer inside the lightpanel then take a black fabric and add a little latex to it and then sandwich them together. That way the latex will hold its shape and it will be easier to connect all the pieces.

Back to your question , I'm thinking that by doing it my way, the black would be visible between the bumps because the latex is thinest there.

That makes perfect sense, but I'm worried for you that it's not going to be that easy. Most light panels aren't quite deep/thin enough between the bomps. I kind of tested that last night and when I removed it from the mold the bumps were all distorted :s I think it's either because the fabric was being pushed into it and messing up the surface, OR maybe the latex tried to shrink and the fabric was trying to prevent it from shrinking... resulting in the two disagreeing with each other. (Or maybe I rushed and didn't use enough layers). But... make sure you test everything first before going full scale.
 
I think it's either because the fabric was being pushed into it and messing up the surface, OR maybe the latex tried to shrink and the fabric was trying to prevent it from shrinking... resulting in the two disagreeing with each other. (Or maybe I rushed and didn't use enough layers)
In my test i gave the lightpanel a few coats of latex (5 thin ones,drying it in between) and at the same time i gave the fabric a few layers as well. Then when they both have had dried i used one more layer on both of them and pressed them together.

The fabric i used is from a thin cotton shirt.
Latex.jpg
As you can see the white fabric is visible behind the latex and I'm just guessing that when the latex is tinted red it will show the black fabric on the other side.
 
What size are people making the BTTF jacket pockets? Does anyone know the screen used dimensions?

I found a nice front on image of the jacket and imported that into Sketch Up, then traced the main shape and the pockets so the they stay in proportion as I scale it.

10003202_10152275124063841_275236185_n.jpg
 
Hi all,
I am not new to the forum but i just wanted to show my 2015 jacket build, Wanted to thank Jedifyfe for the build post on this it help with my build.
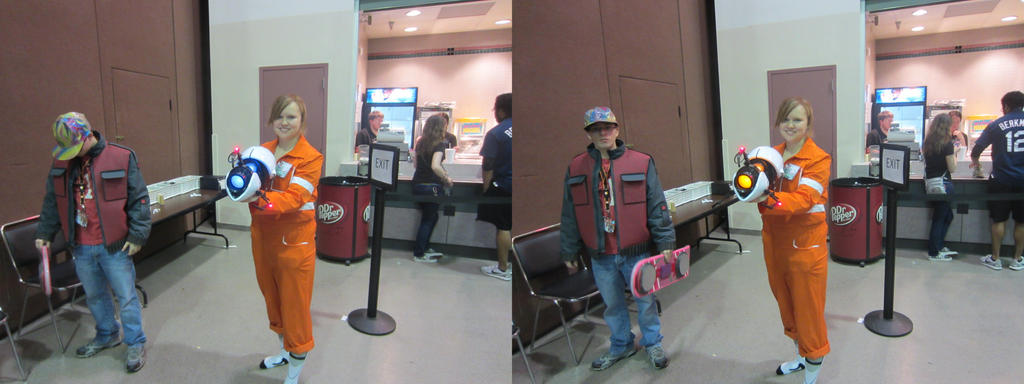
I was actually the one who inspired him to make his ;) I got the idea from another member named TKRalph that posted his jacket about 4 years ago and made one based off if his so I can't take all the credit. I then made an updated jacket that I sold on ebay. This is the one that was sold.
chell_and_her_gun_by_theblackangel07-d61r5ll.jpg

It was a medium so it made me look a little chubby lol.
 
Last edited:
Back
Top