AT-ST Halloween Costume

sundevilfanaz

Jr Member
This year, I decided to build an AT-ST as my Halloween costume. When I first got the idea after last Halloween I found relatively few tutorials and pics online. There have been two though that have served as my template and unofficial instructions. The major one was from someone I found on a Nissan 350Z forum. The other is from someone else on the web whose name I can remember.

I am not a pro by any means so I am making this out of cardboard. Why? It is cheap and easy to find. Plus it is easy to work with. This won't be all in on details but rather a good attempt at conveying what it is supposed to be like. With only needing it for one night, Halloween, I don't have to make it last forever.

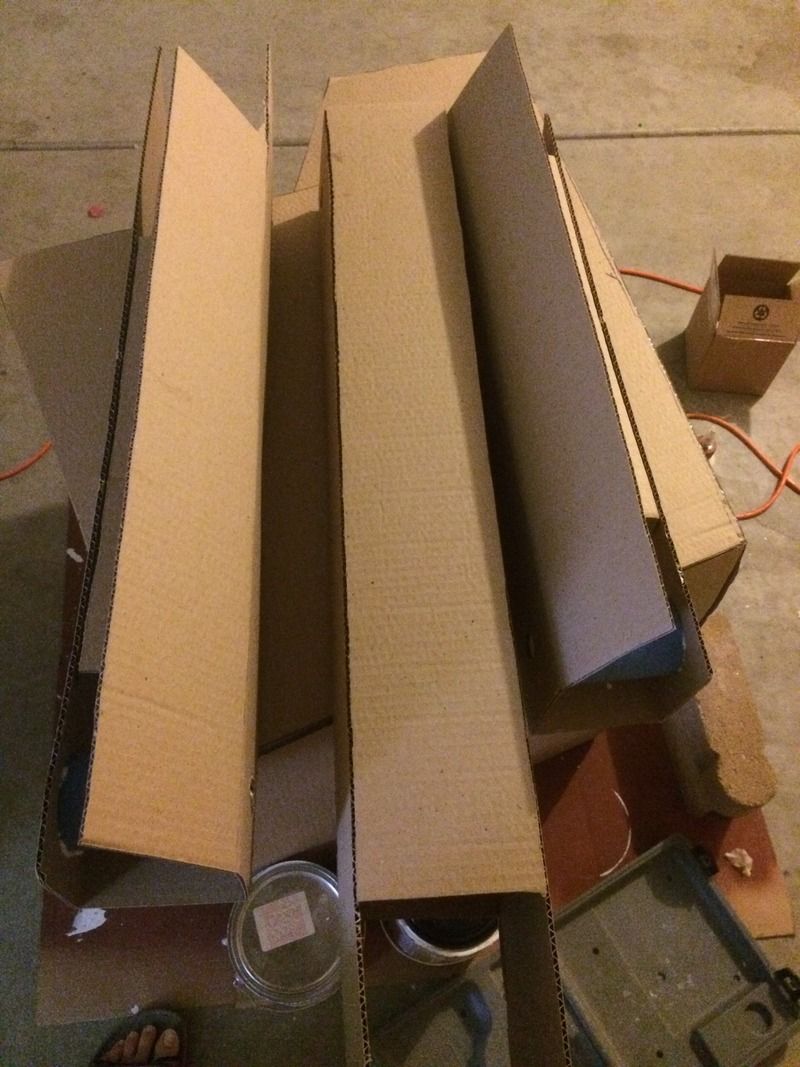
I made the cuts for the cardboard this week and have just started first stage assembly, the head.

I am going to attempt to make working legs using the 350z pics as my best guide.

To also add a few bells and whistles I bought some LEDs to wire the front cannons up and also bought a sound device where I will put several sounds onto it and play via pressing buttons assigned to each sound. To better hear the sounds, I will work in some small computer speakers into the front of the costume.

As it progresses I will post pics. As of right now it is just cardboard cutouts.

Let me know if you have any questions about the build and I will do my best to answer them.


Sent from my iPhone using Tapatalk
 
I have been tasked with building an AT-ST for my son this year. Can you message me or post about where to find the lights and the sound maker?
My son's school has rules about the face being covered and he needs use of his arms for trick or treating - therefore I am going to attempt the scaled down version of the costume and model it after this image. (IF the image link below doesn't work - its the one that you see with a Google image search where the guy has a hoodie and shades on.) If painted gray it should look good.

https://www.pinterest.com/pin/366058275935806609/

Please post pics of your progress - I need some inspiration!
Thanks, Michael
 
Sorry been way to long since I posted this to provide a follow up. I have been working on it and am almost done.

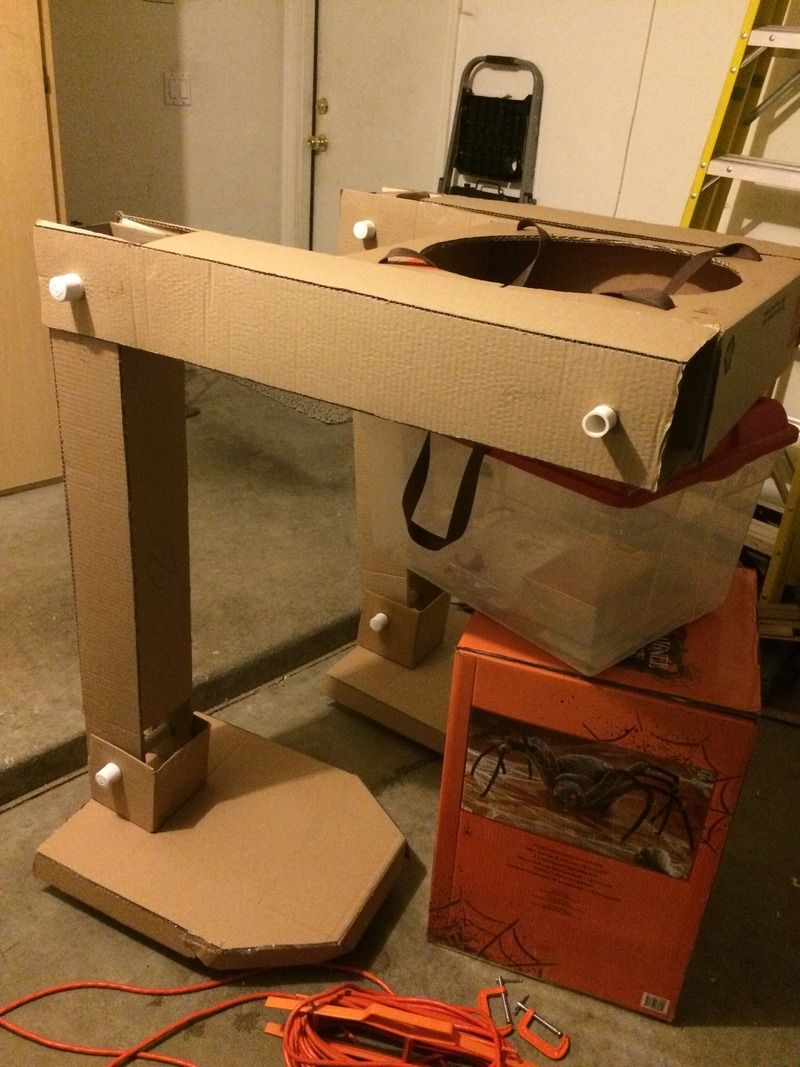
Here are a few early pics of the legs.
 
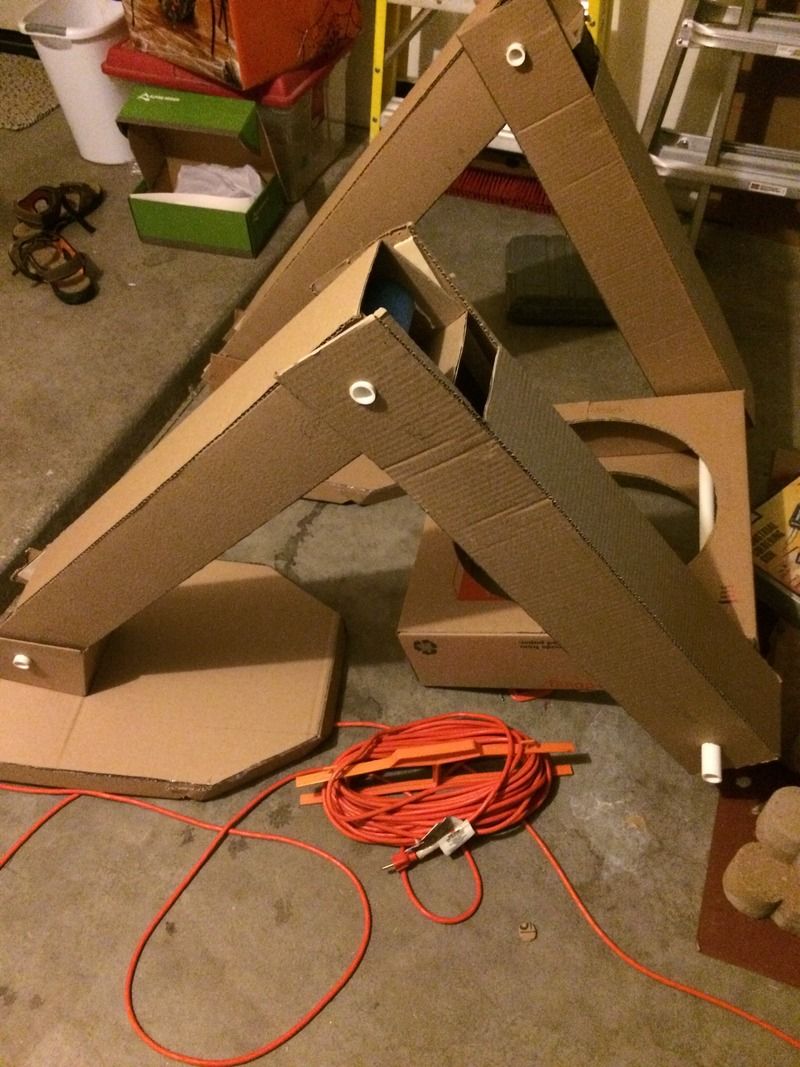
The legs themselves. They were cut and scored to get 90 degree bends. From there they were hot glued on the outside and reinforced with cardboard and glue on the inside.


At this point I marked off where the rods to make the legs articulate would go. Holes were punched for the PVC. On the inside of each leg I used 1" PVC. The rod that would feed through it is 3/4".


Each piece of 1" PVC was wrapped with part of a pool noodle to give more surface area for the glue to hold onto.


I then sealed up the legs. More hot glue and other glue to reinforce it.

To get the legs to articulate I made a pseudo make and female system where one joint would go inside the other eight the 3/4" PVC going between the two to link them. There are three parts to each leg and here they are test fitted.


- - - Updated - - -

I will post more pics of the feet and head later. Those are mostly done.

As for the sound I found a recording module with 5 buttons and 300 seconds of recording time on 123electronics.com.

The lasers will be simple Red LEDs wired with a button switch.
 
Here are some more updates from tonight.

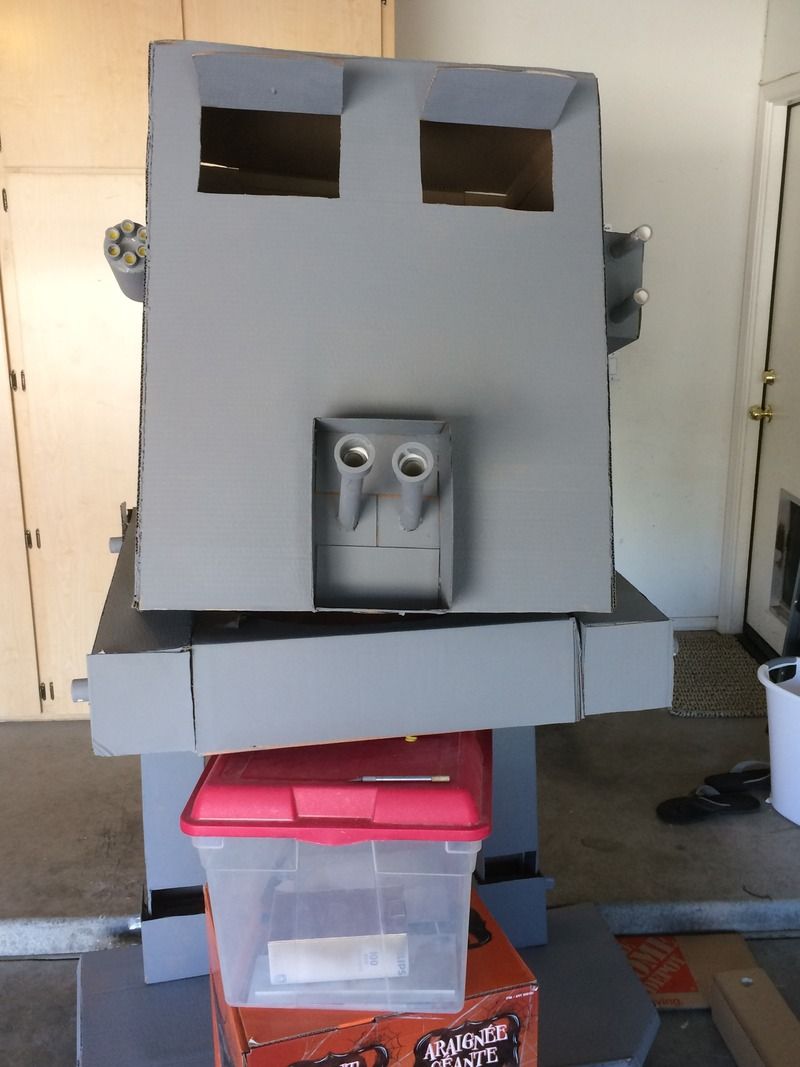
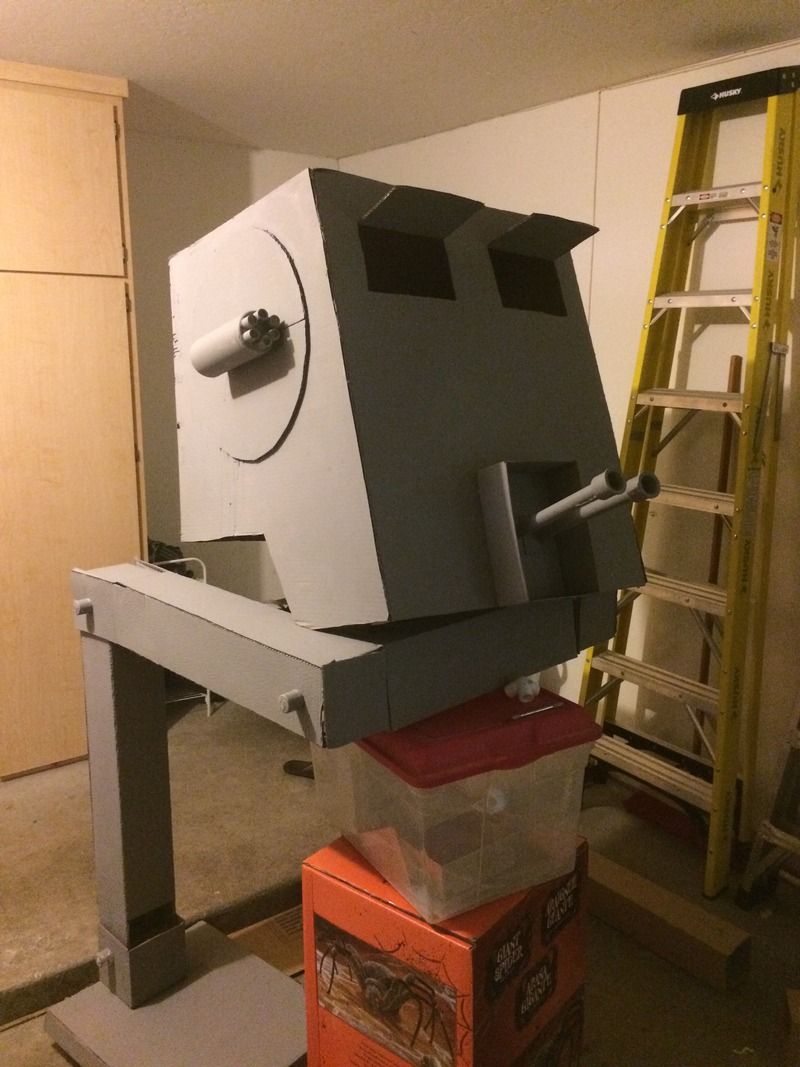
Pictures of the head. I will be adding the front laser cannons in the box at the bottom of the face. Side cannons will be added later.


Onto the feet. I will need to reinforce them on the bottom as they seem pretty week.


Okay now I have test fit the legs to the body. The first pic is with the three segment leg. However this looked and felt way too big.


I took the bottom piece out that attaches to the foot in order to make it smaller.


Sent from my iPhone using Tapatalk
 
Tonight's updates.

Attached the shoulder straps to carry the base of it as I walk. Kind of tough to show in the pics but I made 4 slits in the top of the body. From there I ran some nylon belt material from Joanns Into it. I measured and secured it underneath and inside the body.

Ok, tonight's other work included affixing the legs and gluing the PVC joints together.


Sent from my iPhone using Tapatalk
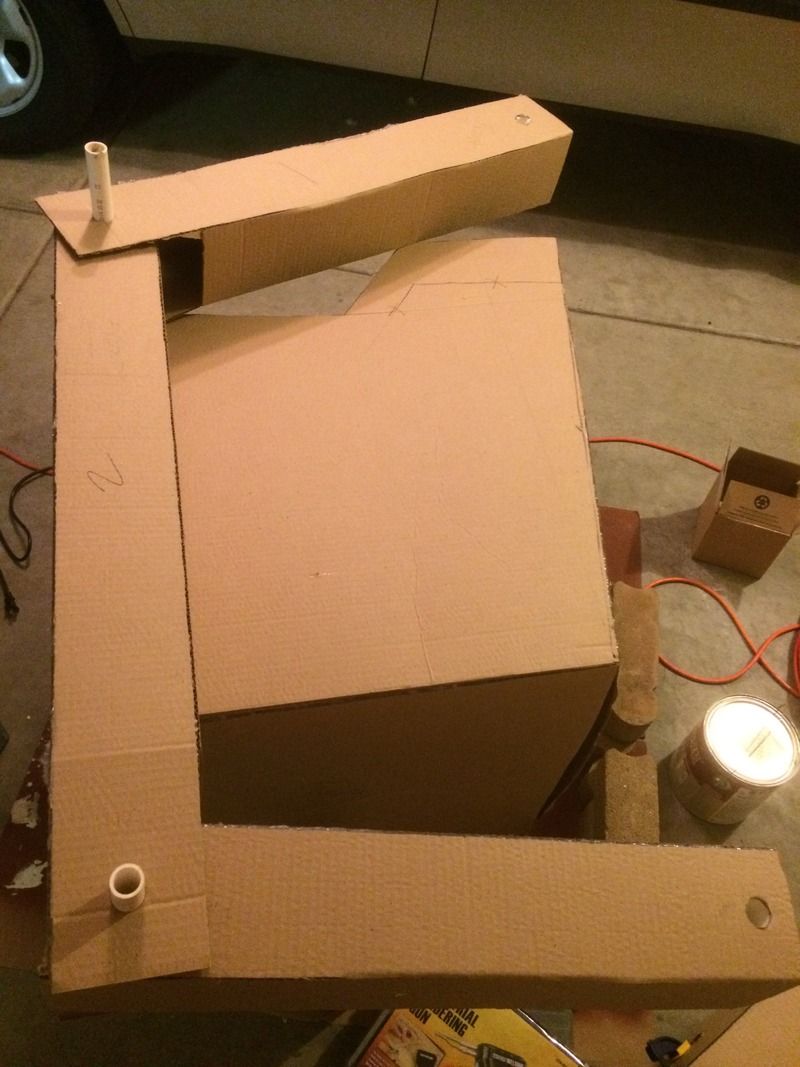
 
Tonight's updates:

Not a lot of time tonight to get to work on it.

Worked on the support rigging to hold the head up as a separate piece from the body.

I made a PVC frame and stuck it in a backpack. Tentatively I have used a few bungee cords to strap it to the backpack. The frame rests a few inches above my head so I don't wind up using the whole thing as a hat.


Here are the laser cannons on the front glued in. I just have to add the side cannons, a few cardboard patches and then I can start painting it.


Sent from my iPhone using Tapatalk
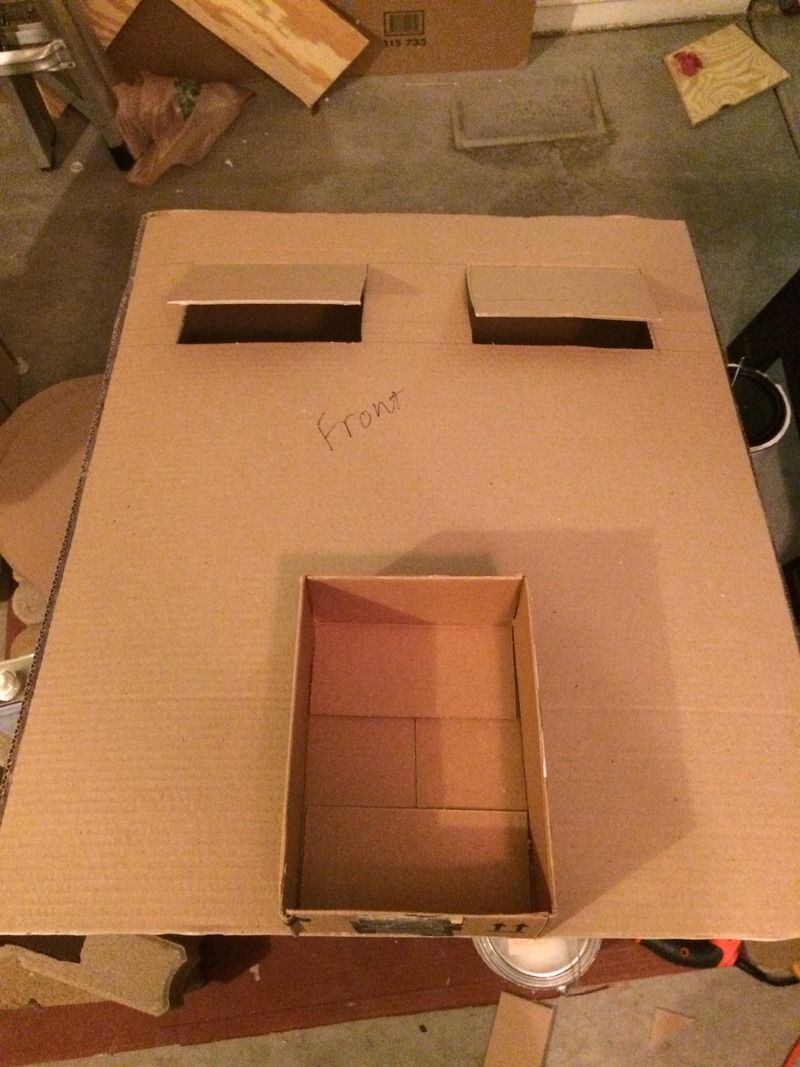
 
Small update tonight.

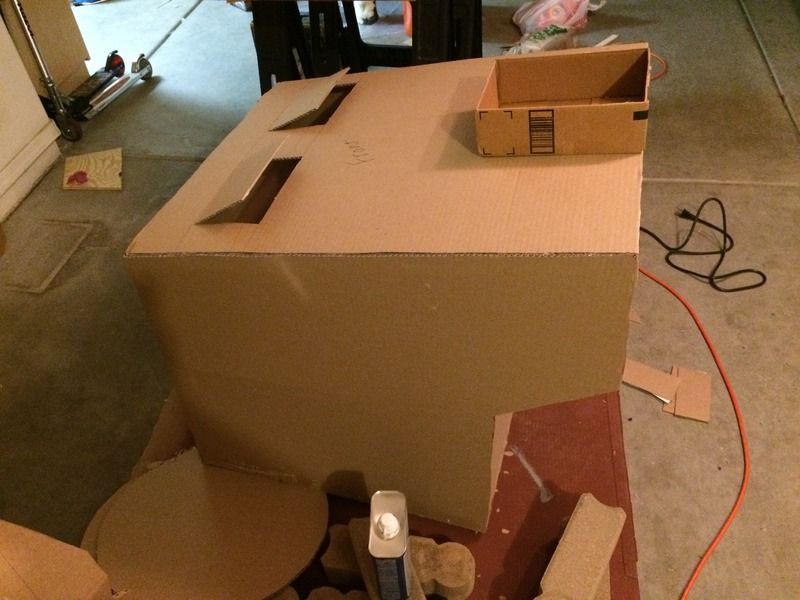
Just added the port side cannons. Tomorrow will add the starboard side cannons.


After that it is done and on to painting.

Again this isn't a full on replica just something I wanted to do for Halloween. Lots of details are left off on purpose but I just wanted to be able to make something like it for Halloween.


Sent from my iPhone using Tapatalk
 
Very cool, just watch out for logs in trees.
imagegif
 
Last piece attached tonight the starboard cannon.

Next a little patching and then painting. Electronics should only take a few mins then done.


Sent from my iPhone using Tapatalk
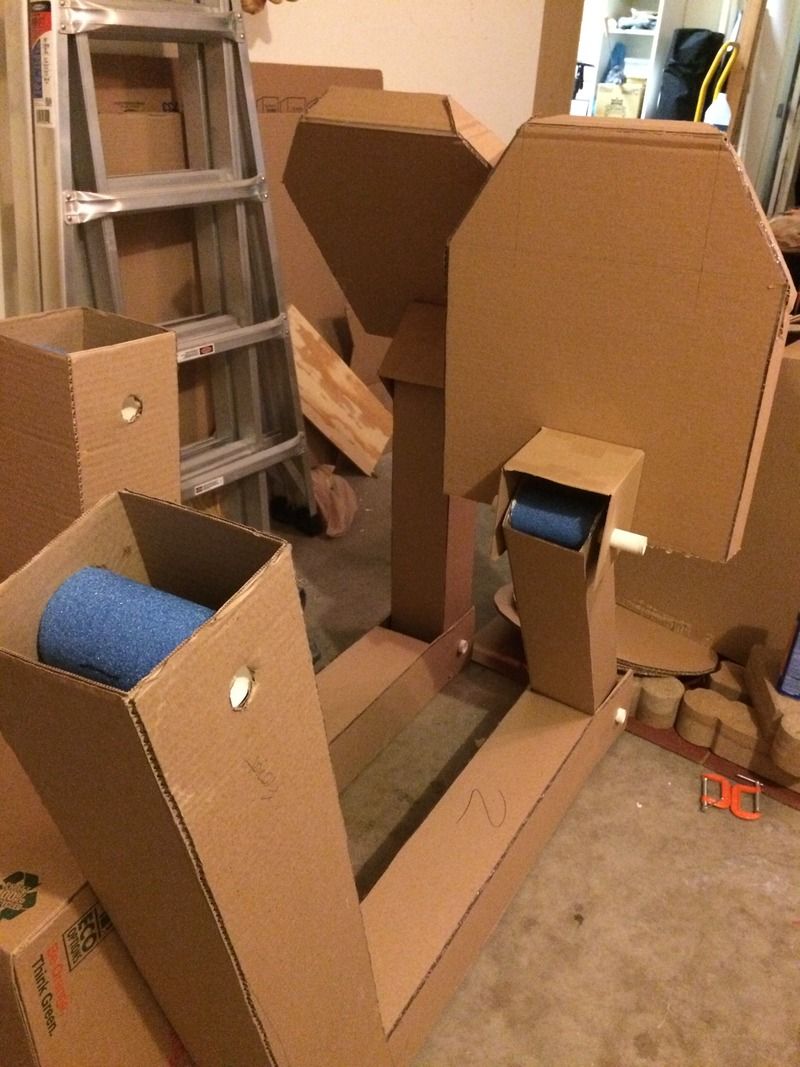
 
The first coat of paint went on tonight. Never thought I would be using a roller and house paint on a costume but hey, it works.


Sent from my iPhone using Tapatalk
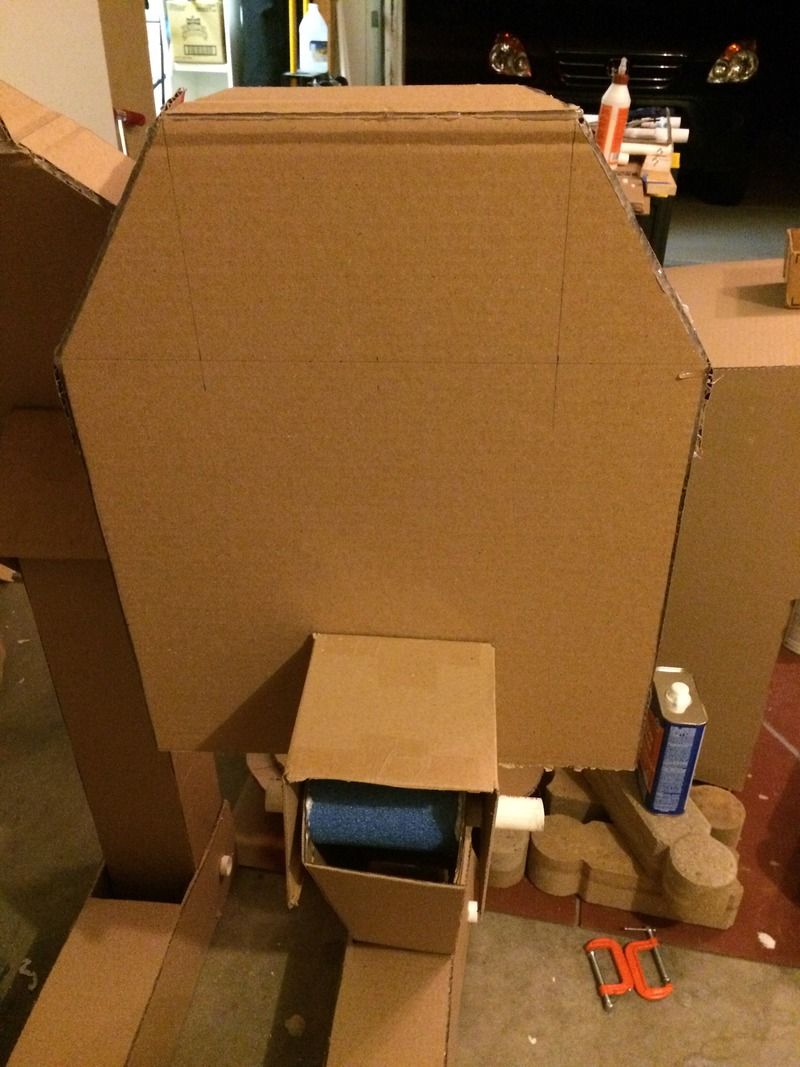
 
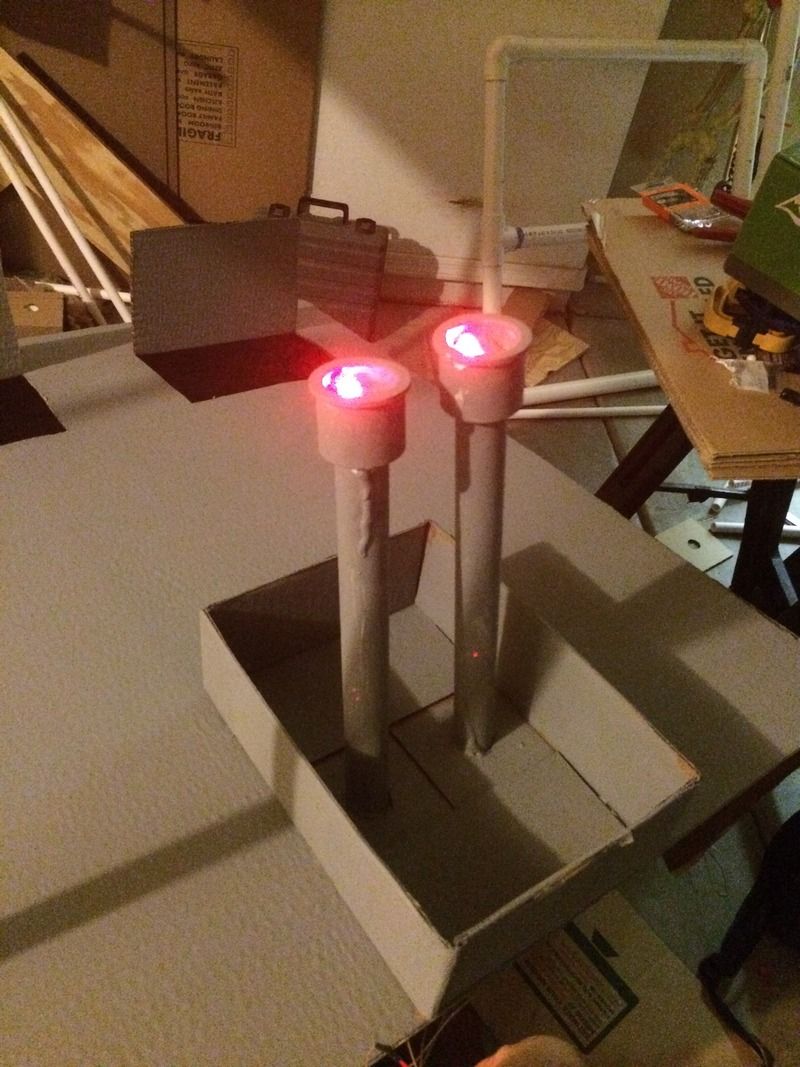
I give you blaster cannons!!

I added red LEDs hooked up to a 9v and a button switch. Now all I have to do to fire the cannons is press the button.


Sent from my iPhone using Tapatalk
 
Last edited:
Here is the sound module added to the costume. This is my backup unit as when I went to go put my other one on tonight, the wires snapped off. No time to solder it back on. The sound isn't that great on it but it will have to do.

Each button plays a different sound effect.


Sent from my iPhone using Tapatalk
 
Back
Top