KMosher - Ordered the kit in Feb and was finished and cleared by the last week of Nov
But it was very stop and start as i had to wait on parts.
Thanks for the complements guys.
Now the build thread:
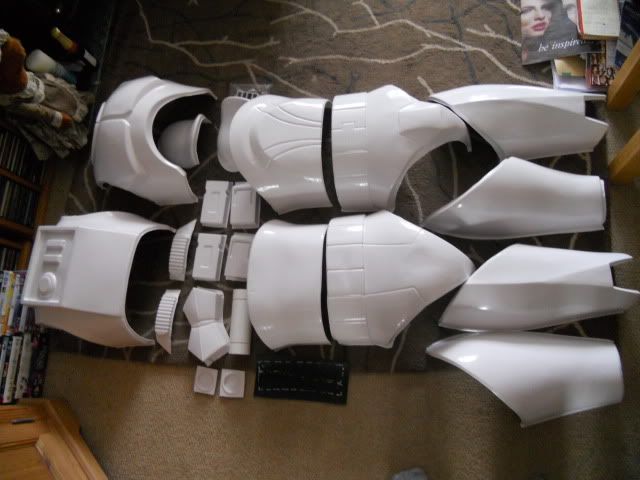
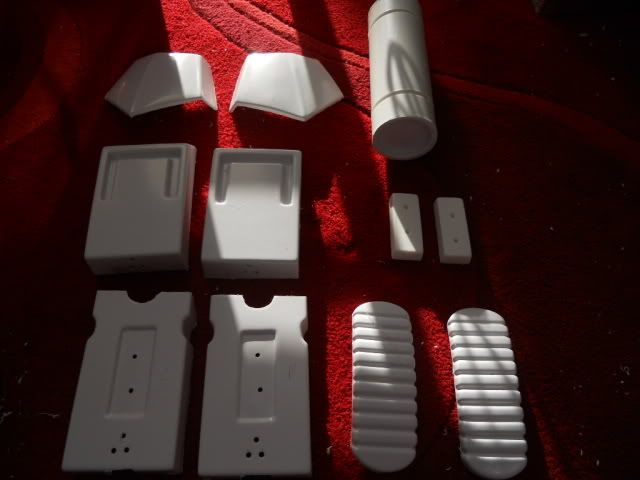
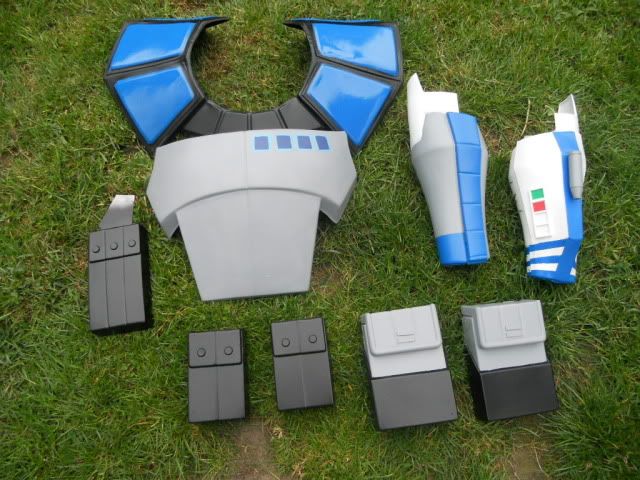
The first lot of parts to arrive was just the standard bits that go with any phase 1 animated build. I would of got the ARC trooper parts but as this was the first run they weren't quite ready yet.
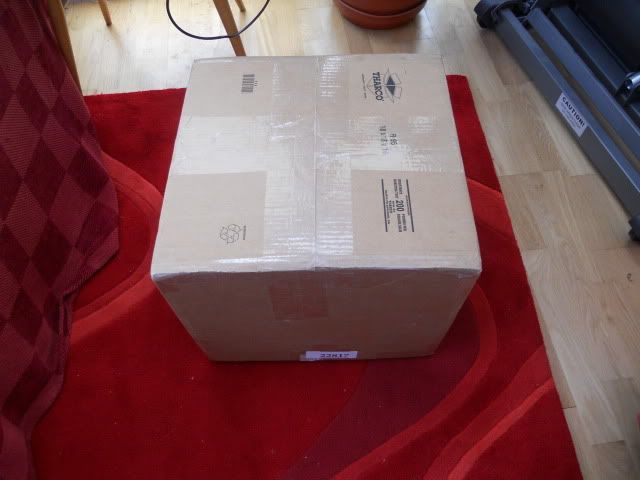
Big brown box:
All the bits and bobs that the first box had inside it
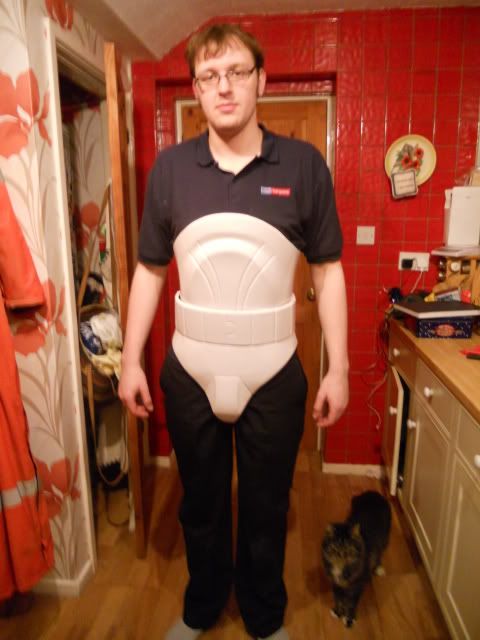
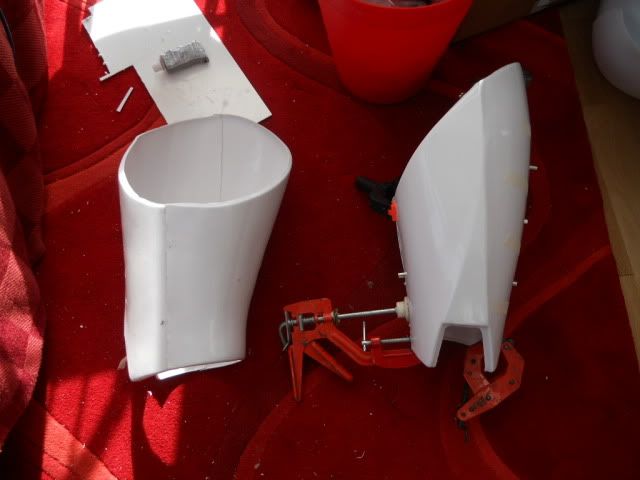
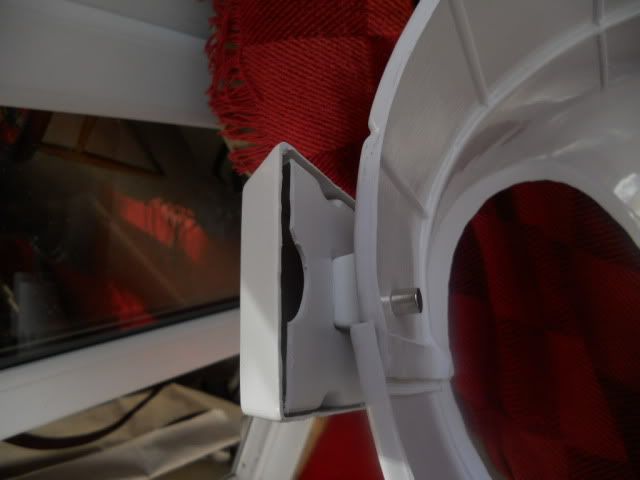
Securing the abb in place
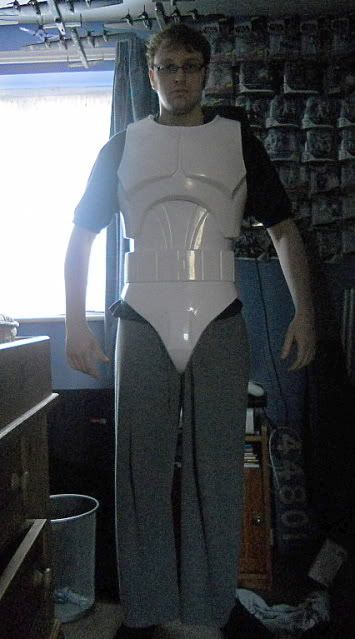
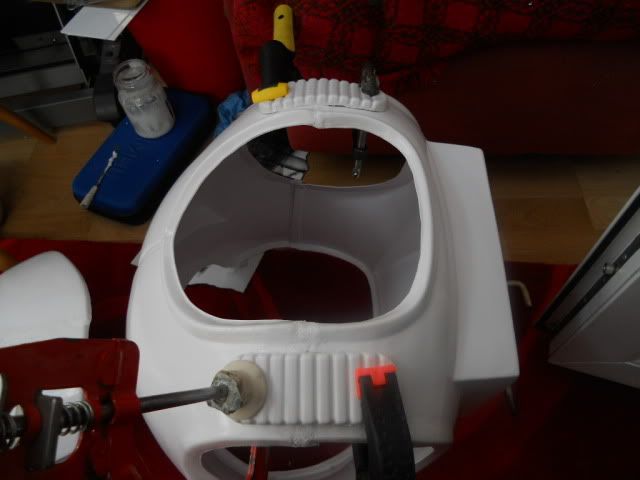
Test fit No.1
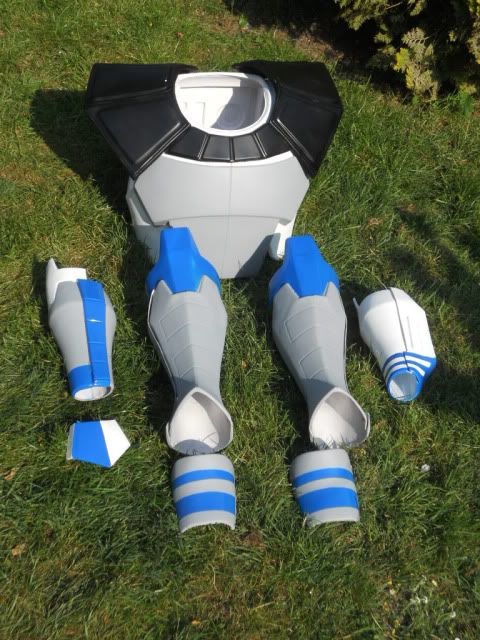
The funny thing about this build is that i actually fit the armour quite well and i had no need to add shims or anything.
Chest and back glued together
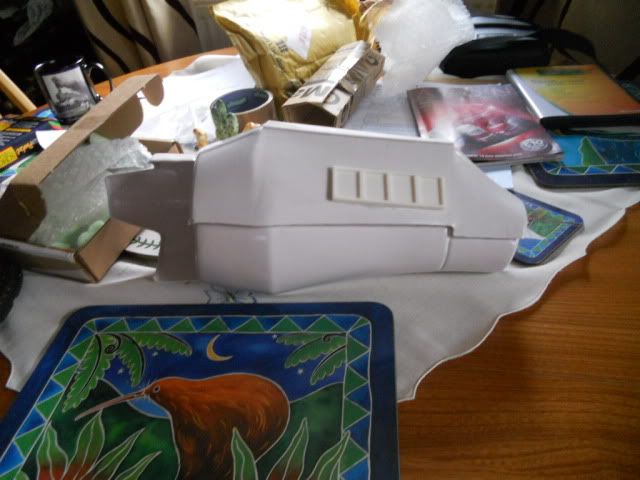
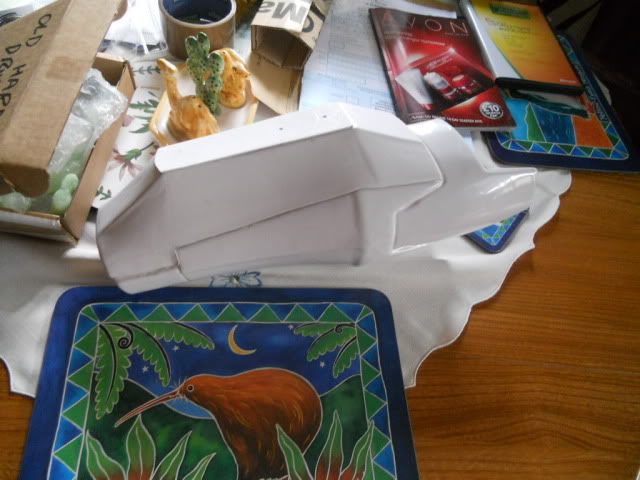
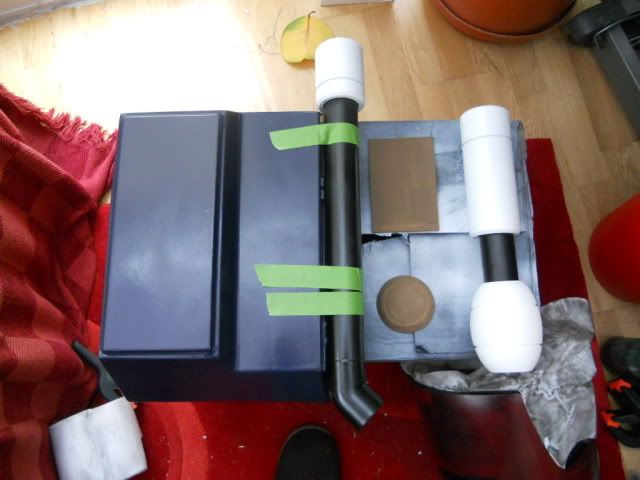
Drop boxes and assorted bits
Test fit No.2
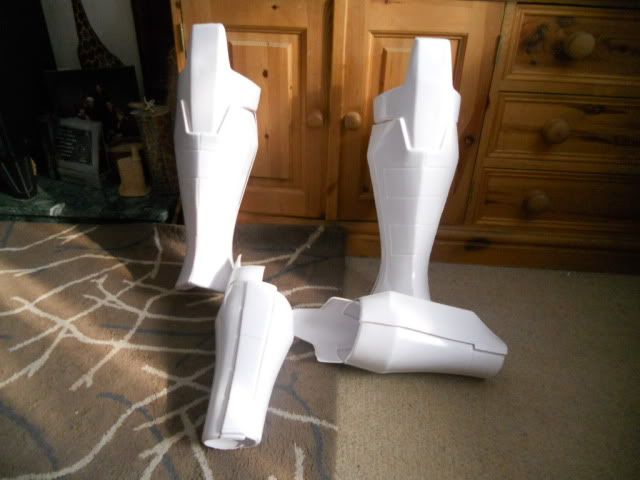
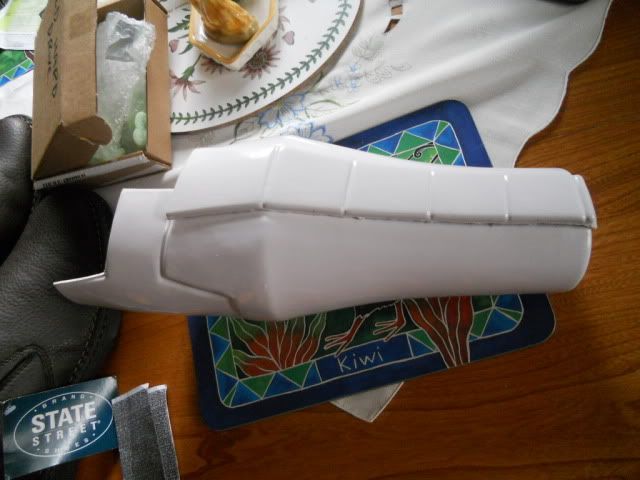
Calf's
My original idea was to have interchangeable armour so that i could do a ARC trooper and a standard grunt so i experimented with magnets. This lasted for only a short amount of time as to put it simply they would be too easy to knock off.
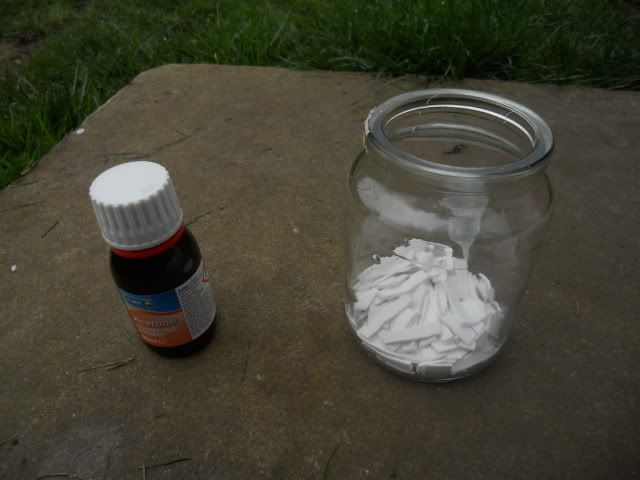
Experiments with Acetone. If your doing a animated clone from Kev then acetone is your friend as it makes such a great filler.
Now for break while i explain about the acetone filler i used:
A friend of mine told me about the acetone filler and since i am not the biggest fan of P38 i thought i would give it a try and see if it worked.
The Acetone i got from boots and it cost me the grand sum of £1.53. The abs i used was just off cuts and the little bits of dremmeled of abs from the armour, basically the scrap bits that were too small to be useful.
The mixture took two hours to turn the abs into a sludge that was usable and once the sludge was formed it proved to be a very handy filler and now i swear by it.
On a side note when i had finished with the filler i resealed the jam jar and left it for two months. I was getting ready to prepare another mixture and was about to clean out the jar when i noticed that it was still useable
Here it is next to the jam jar that i used to mix it in.
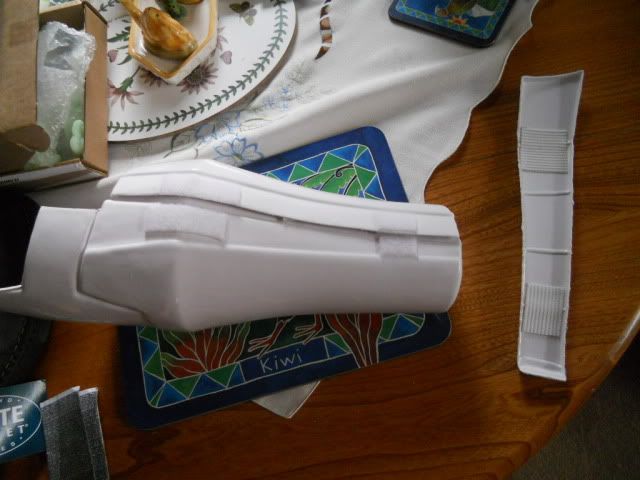
Most of the join on the top is actually hidden by the straps
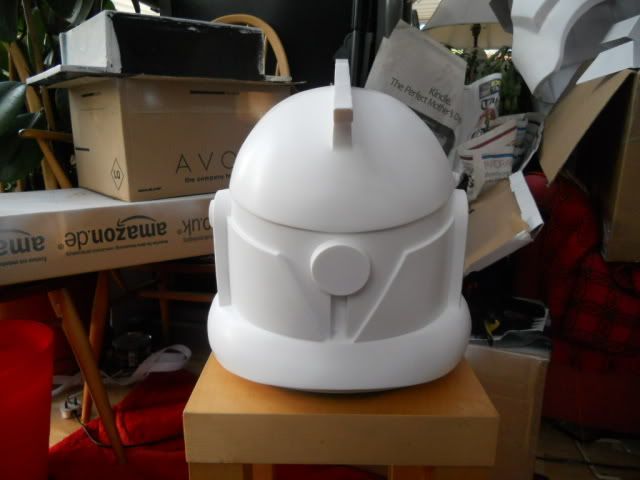
And this is where it turns from a normal Animated clone into a ARC trooper
The right gauntlet which is clam shelled together the join is hidden my the strip that is held in place by valcro
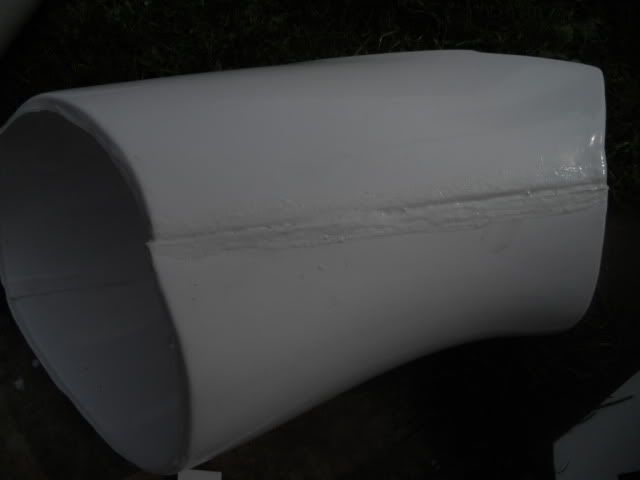
The shins are also clam shells with the outer side all acetoned up so that it is nice and smooth
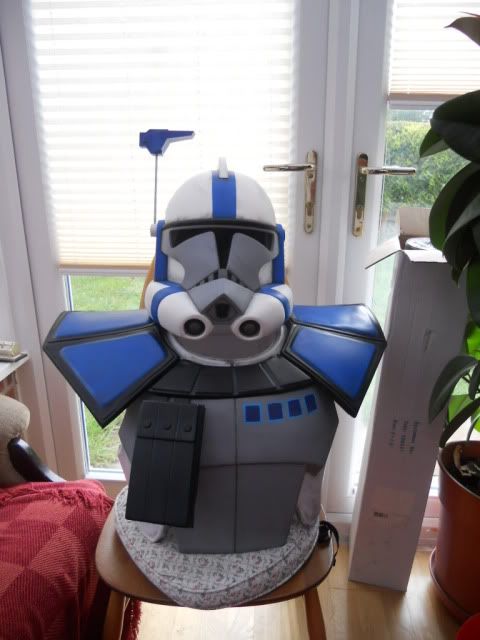
Pauldron sitting on the top of chest armour
Left gauntlet this side has the valcro closing
This side is simply glued shut while underneath it is held in place with valcro
Right gauntlet with the strip on showing how it is meant to look closed.
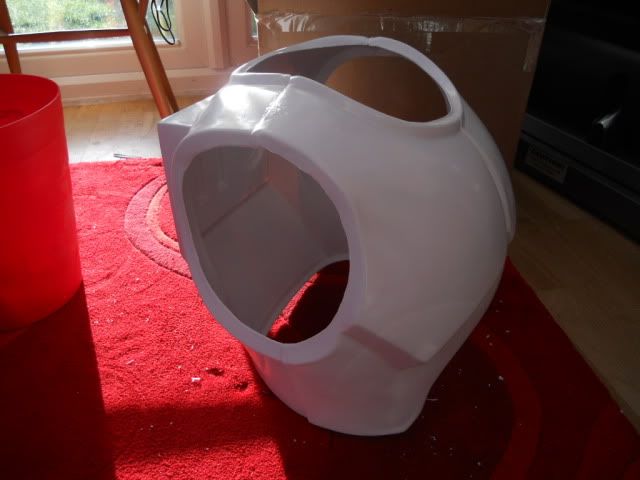
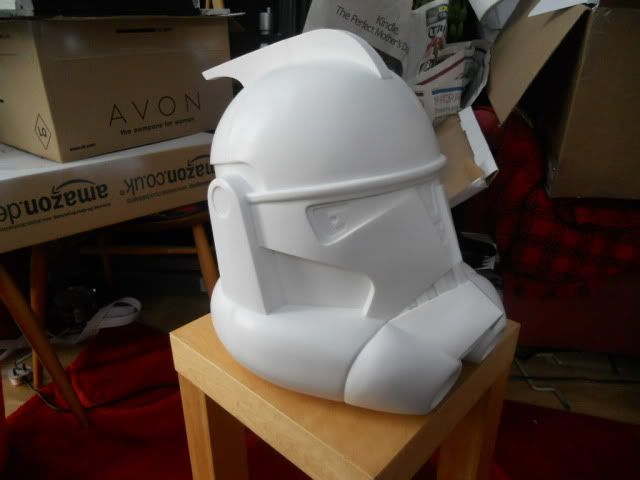
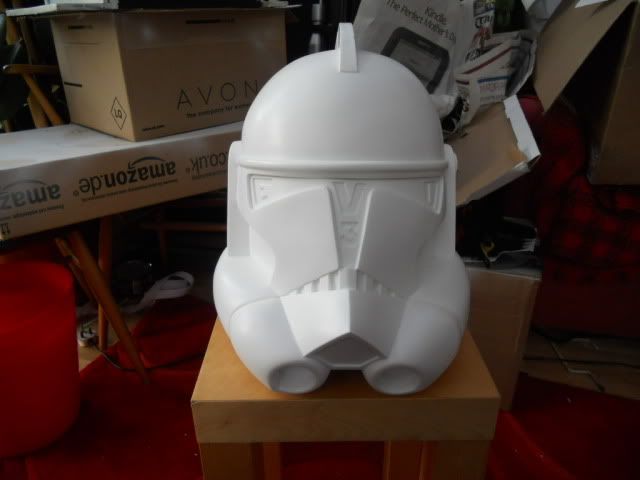
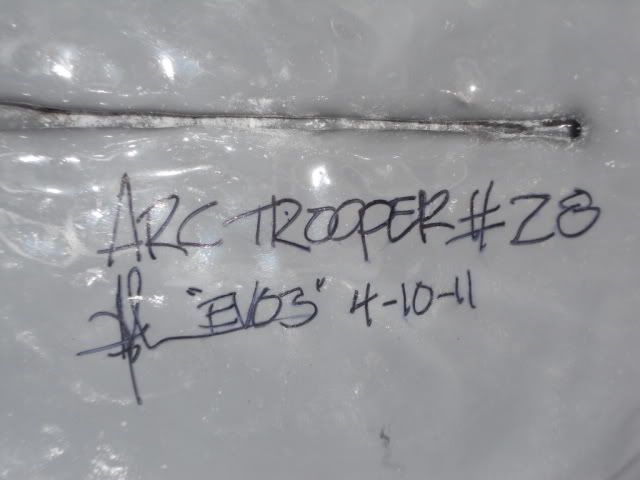
The helmet
The helmet is from Andy aka Evo3 and is wonderful. It also comes with sweets which makes those sweets the most expensive ones i have ever bought. Mine is #28.
The helmet i didn't trust myself to paint because to be honest my painting skills are somewhat lacking and for this project i wanted it to be the best of the best. That is why i asked Darren if he could paint my helmet as he is a master and would do my helmet justice.
Painting:
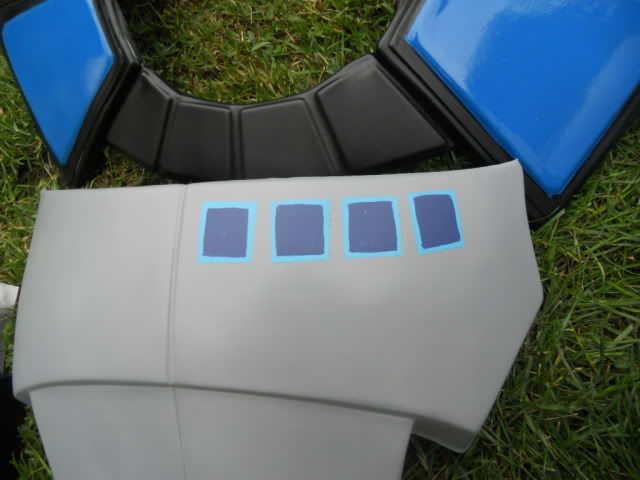
Here is the different blues that i went through trying to find the right one. In the end i simply went for the standard 501st Rustoeluem Brillaint Blue
the little squares were a right pain in the bum as i tried about eight different ways of doing them. In the end i sprayed the bottom light blue ones then marked of the inner ones and painted them by hand with a small brush.
This picture was before i modded the pauldron since out of the box the pauldron will not fit properly as in you can't get you helmet on and it looks wrong. Seeking advice from kev i then heated it up slightly and then bent it. unfortunately i didn't do that before i painted it so i ad to sand down and repaint my pauldron and it has left two week points on my pauldron. So i would suggest that to all future ARC builders mod the pauldron before they paint it and to take great care while modding it.
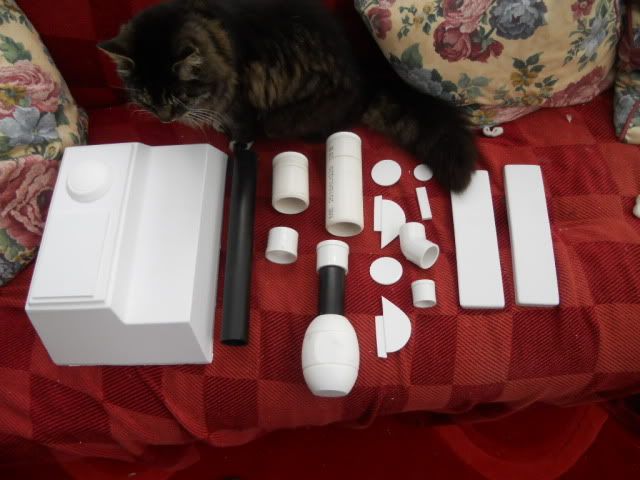
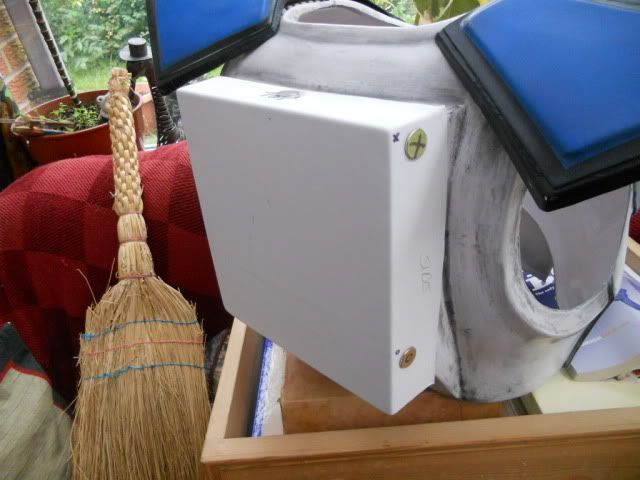
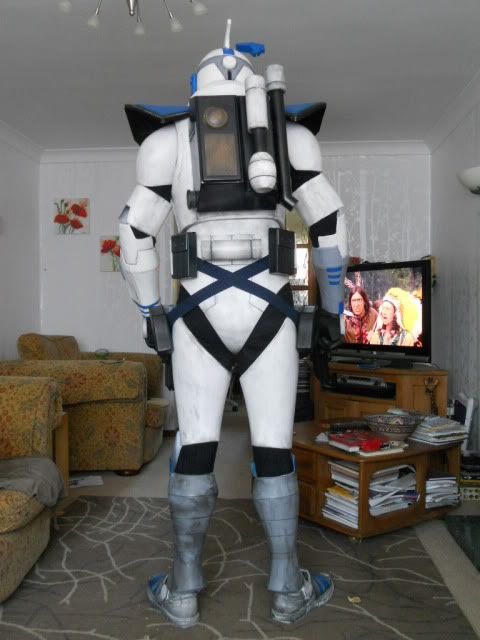
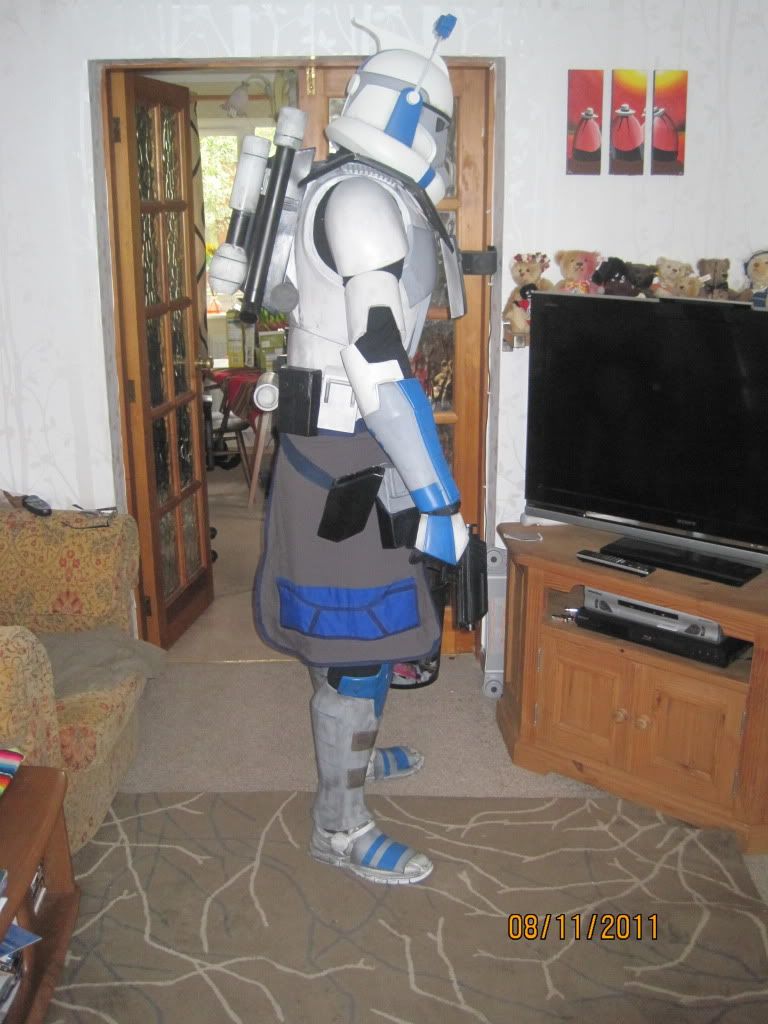
The back pack:
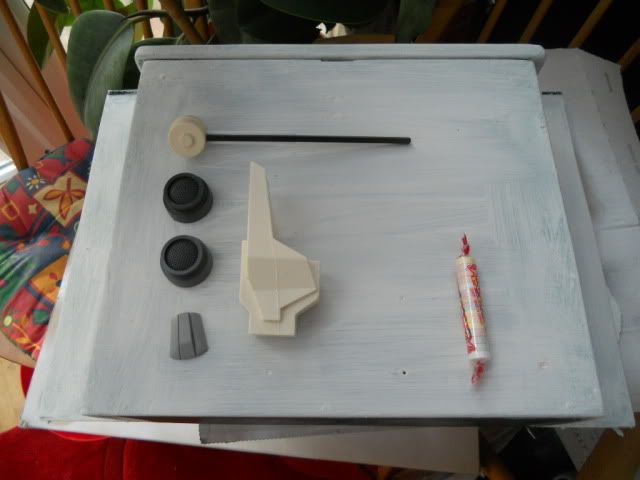
The backpack comes from steelblitz and arrives in kit form like this: Please note that backpack kit does not include cat.
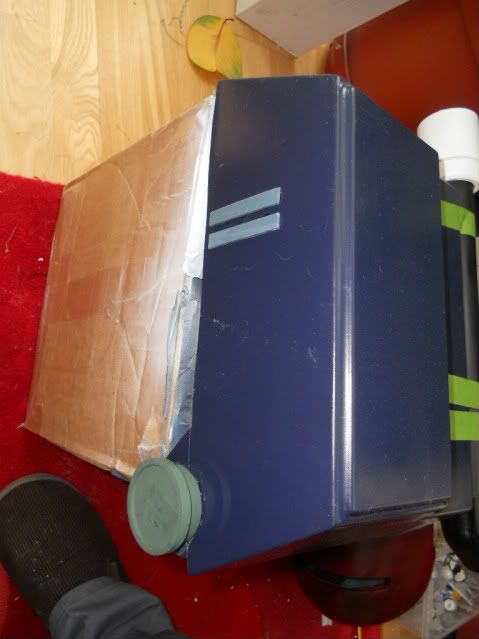
I had a grand idea to attach it to the back with magnets so that i wouldn't have to cut the backplate but this proved impossible as the backpack is just too heavy and the magnets i bought couldn't handle it. So i simply put two nuts and bolts through the back box and that has served ever since.
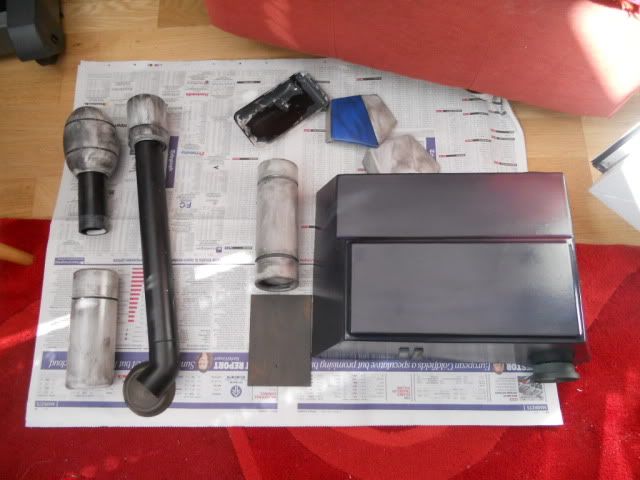
I weathered everything with black and white mixed slightly to give a greyish affect. Animated clones just look so much better with a slight weathering as it brings out the lines and detail. I use acrylic paint for my weathering because it is easy to use and more importantly washes out of the carpet.
Blasters and holsters:
They are again another Steelblitz item and i wanted his simply because i could not break them. I have a habit of breaking things and so wanted some blasters that didn't break.
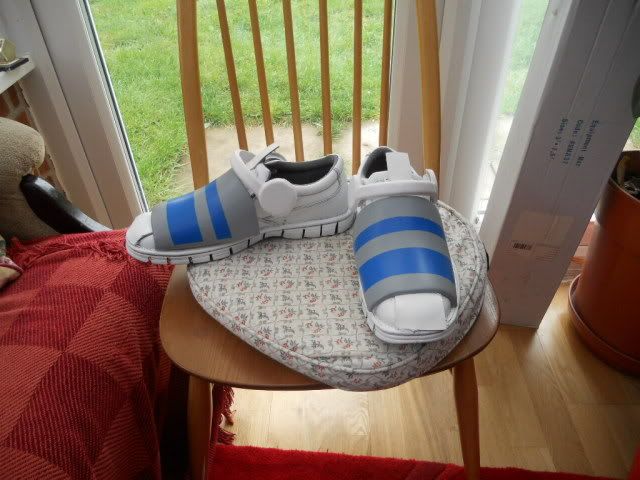
Almost done in those pictures just the kama and a few things a walk round my local homebargin highlighted. I like to do a practice troop round the store where i work as it highlights area that need improving. I have a very understanding boss.
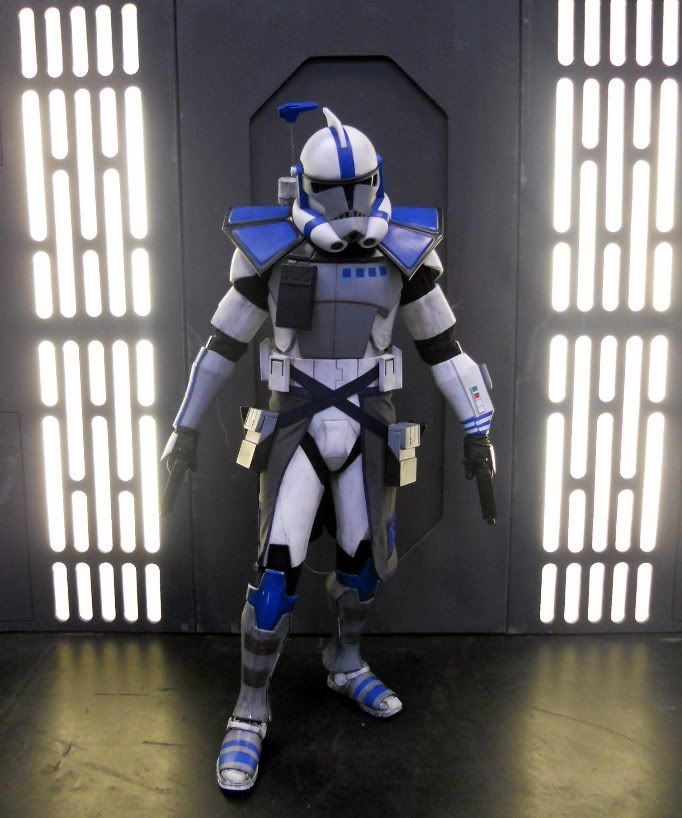
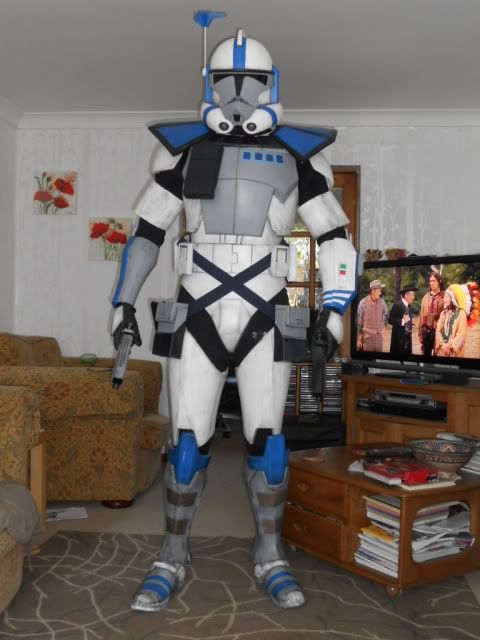
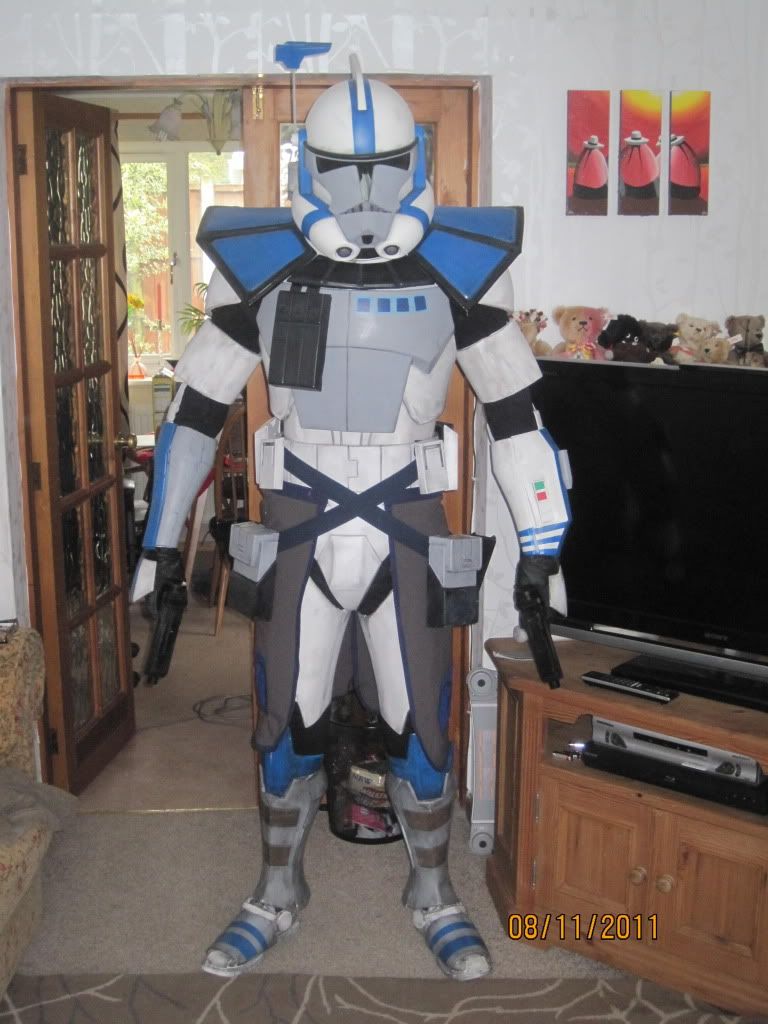
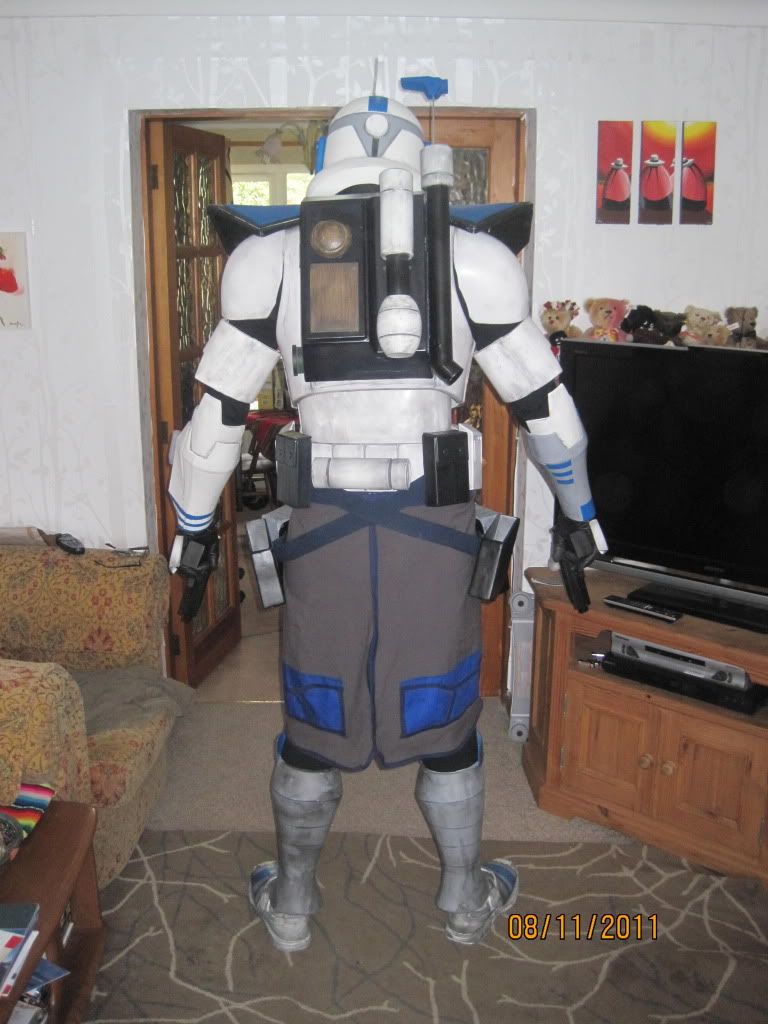
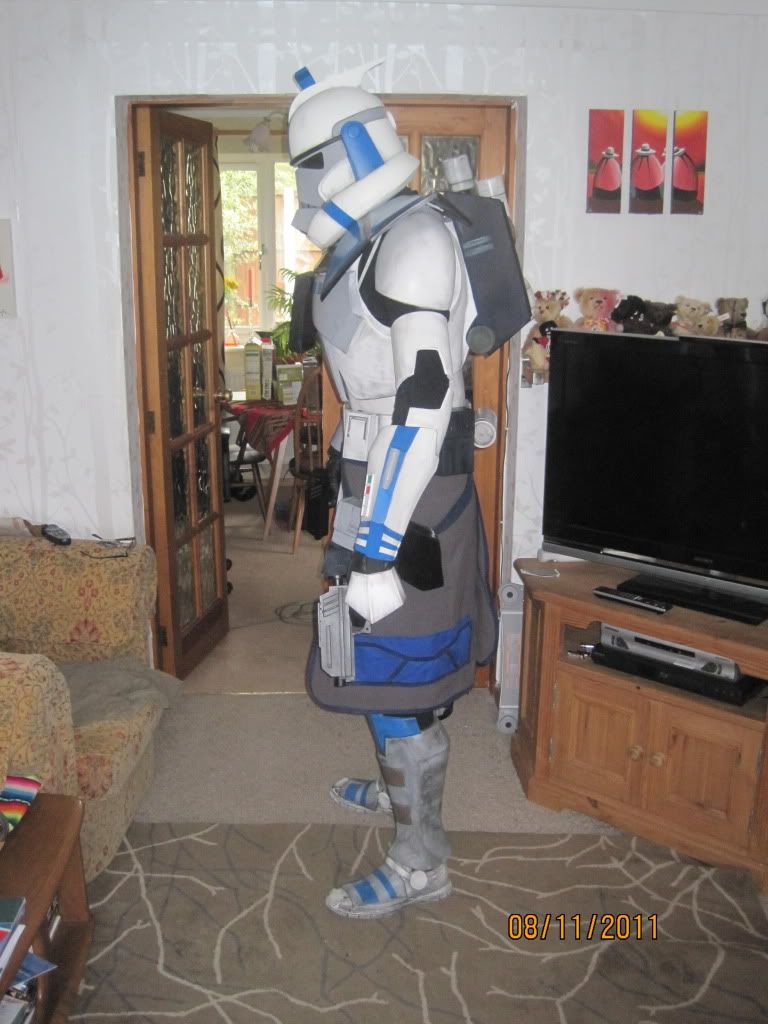
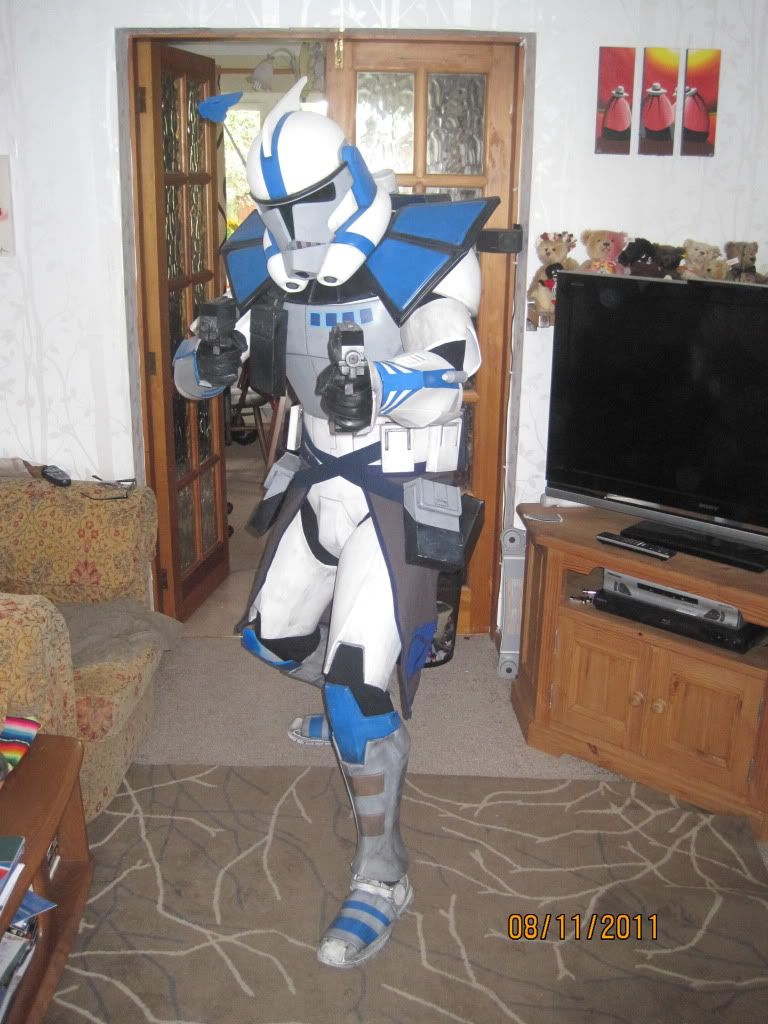
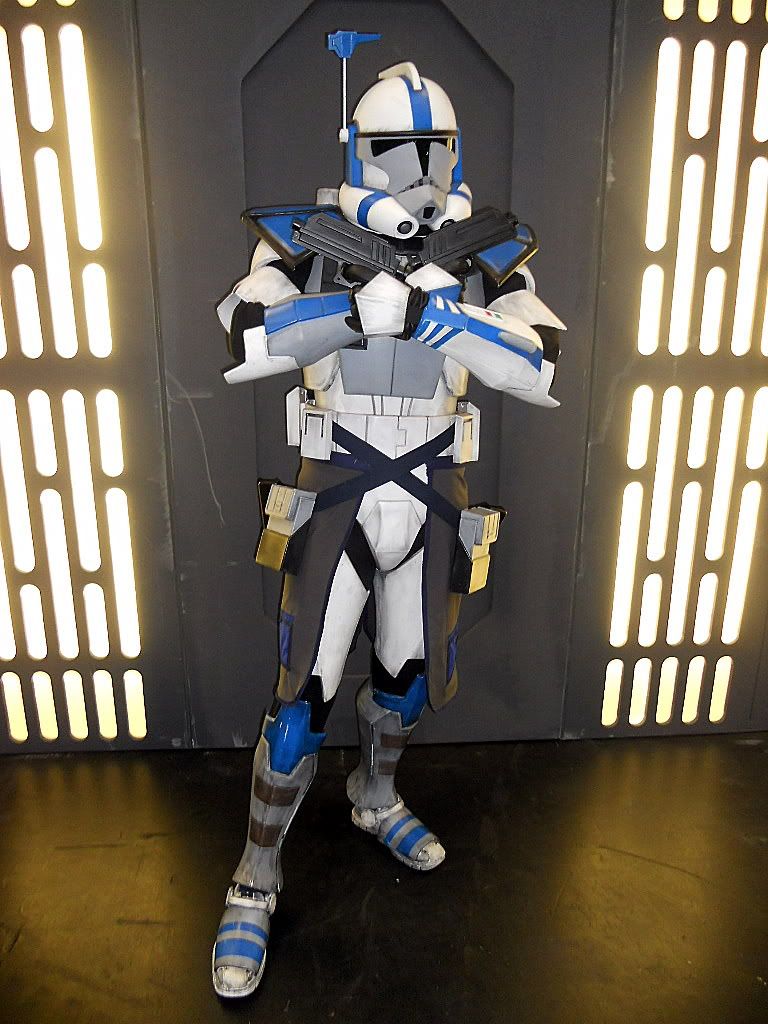
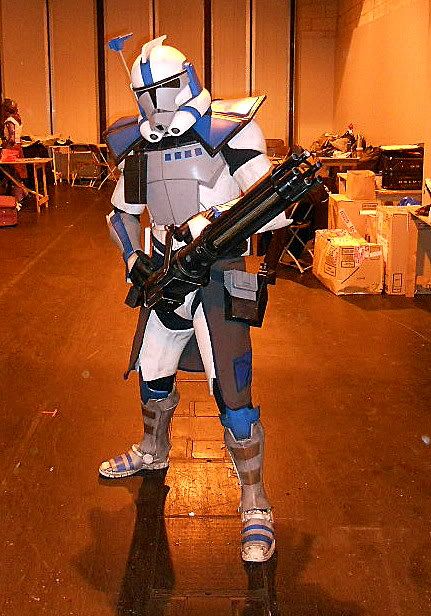
Finished article:
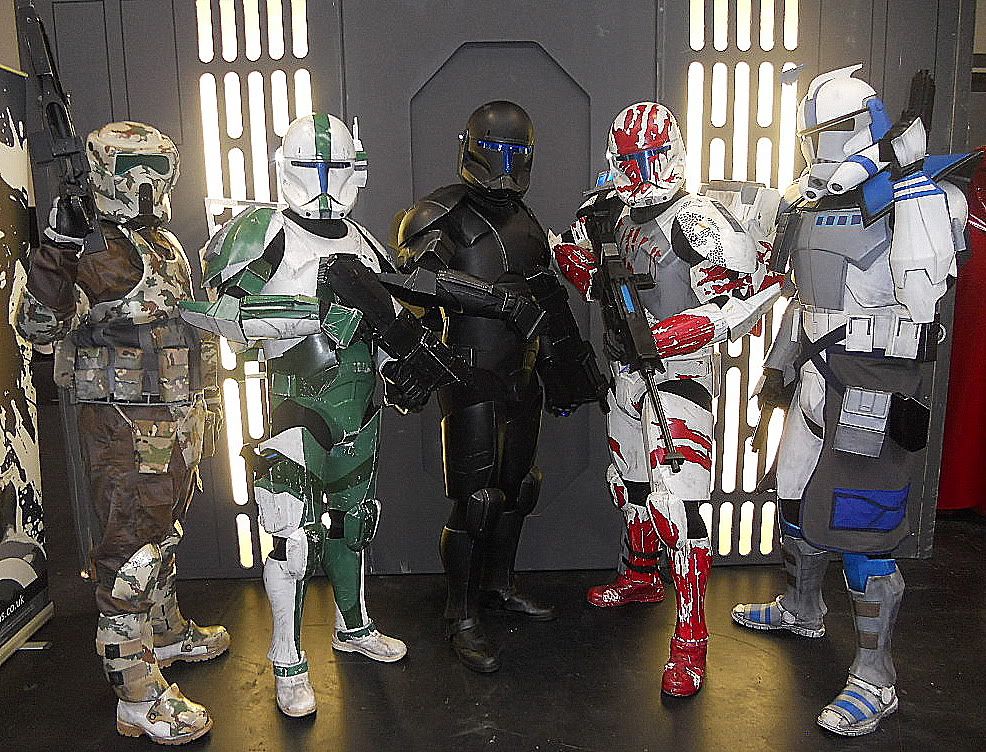
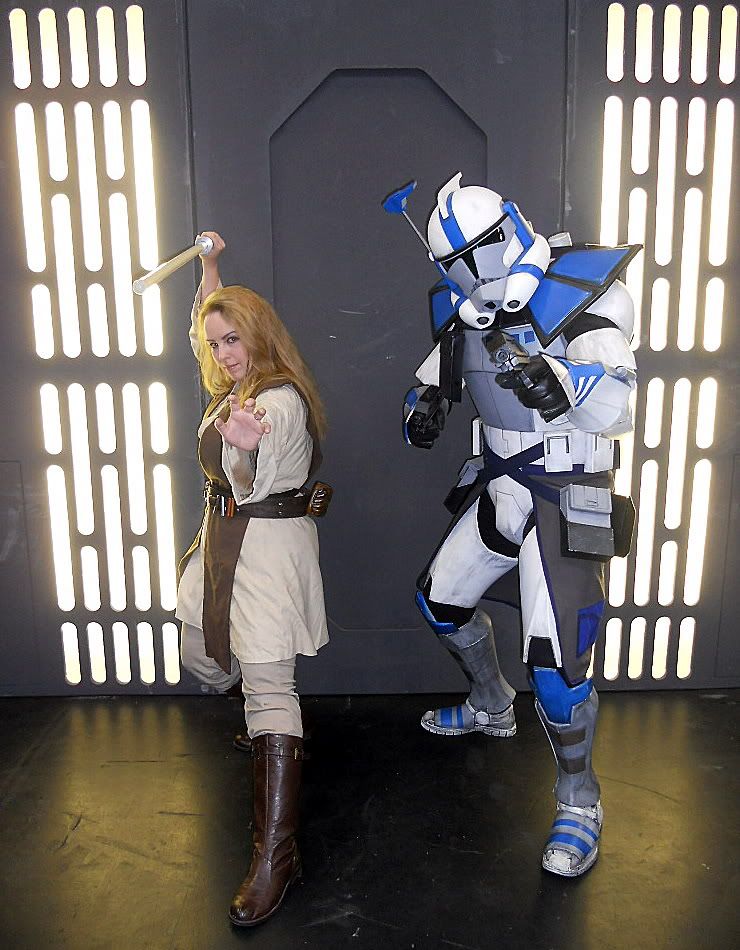
Troop pictures:


")