CapKirk34
Member
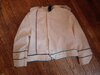
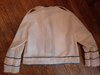
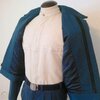
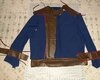
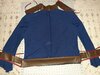
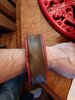
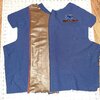
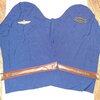
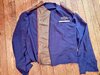
I totally see it. Thanks for pointing this out, I'll put these details on my note sheet that I'm keeping through there muslin test.One thing I can see that may be an issue is the 'tab' on the waist that crosses over the center of the jacket. You need to extend it so it ends just below the right hand edge of where the leather chest patch will be. Another is the width of the wrist/arm cuff, you need to make it narrower. I hope these images are of some help.
View attachment 1295504
I also feel like my armscye is too deep, limiting my range of motion. Not sure how to properly adjust that.