Bizarro Lois
Sr Member
I hope no one minds me starting a thread to share the parts and processes used to make custom lightsabers for the contest. Mine was the rancor-tooth hilt, #19. It was inspired by Tenel Ka's lightsaber, from the EU.
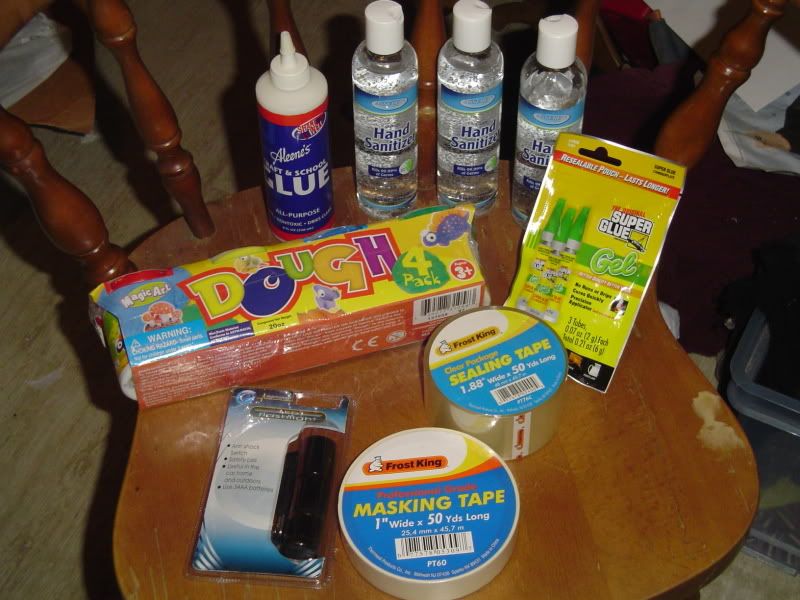
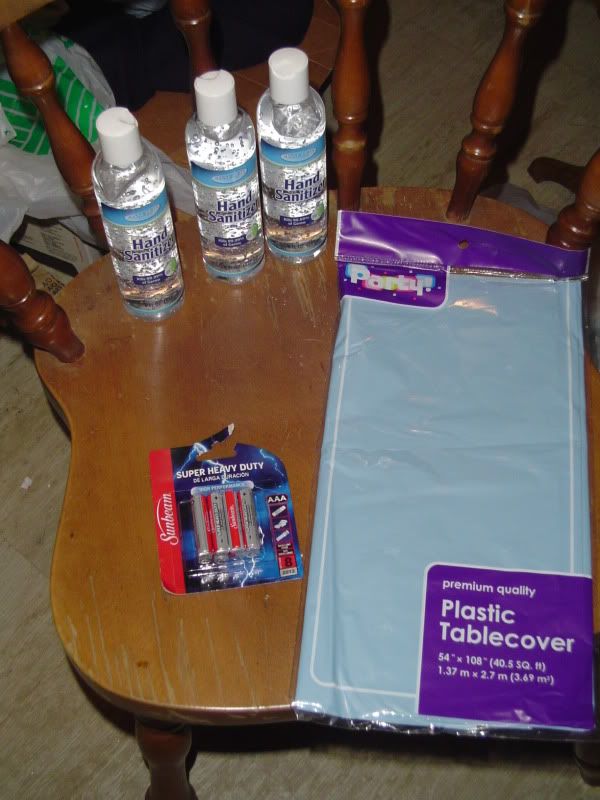
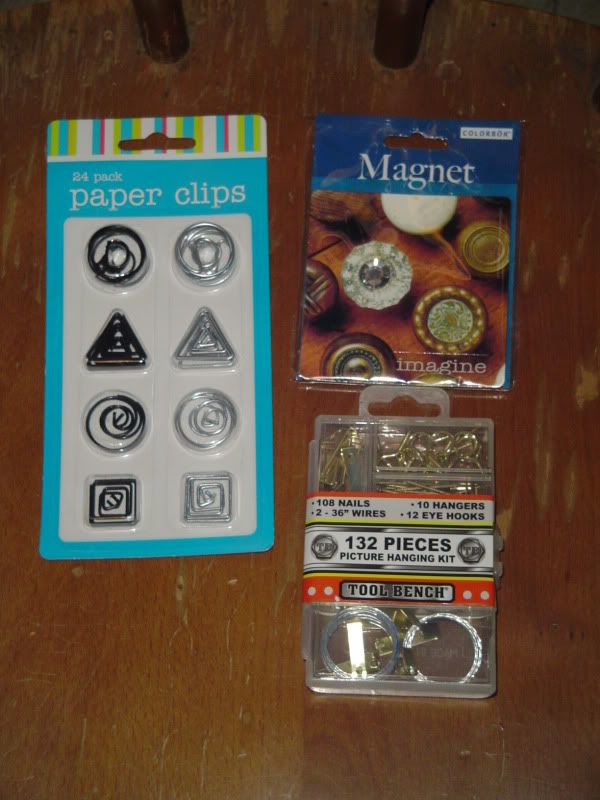
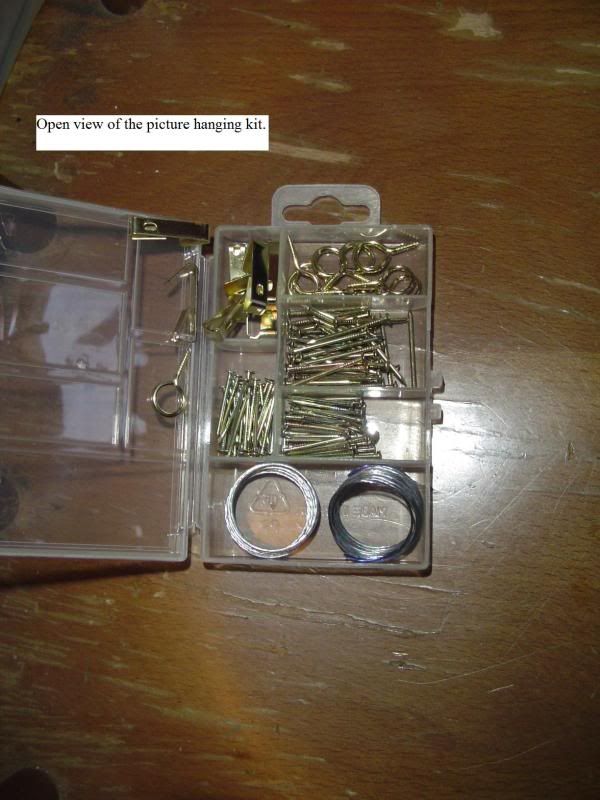
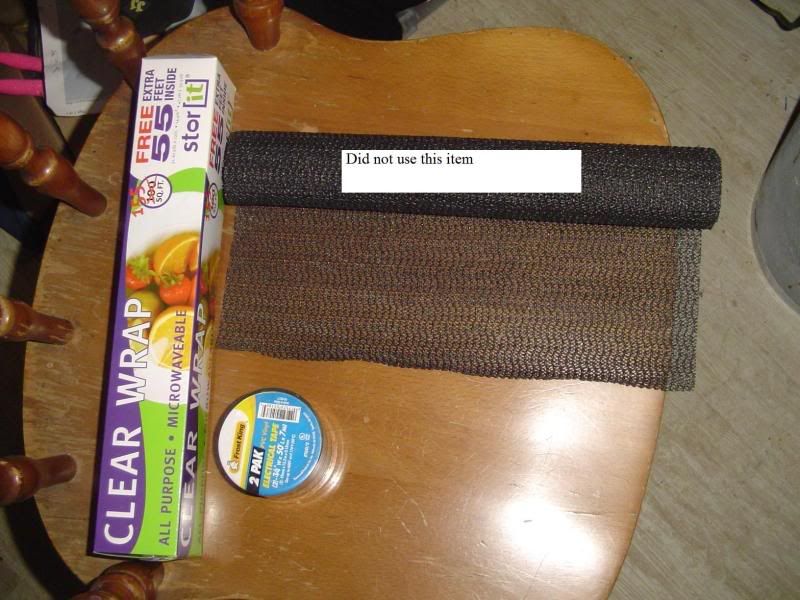
Here are the pictures of the parts I bought.
Here are some pics I took while working on mine.
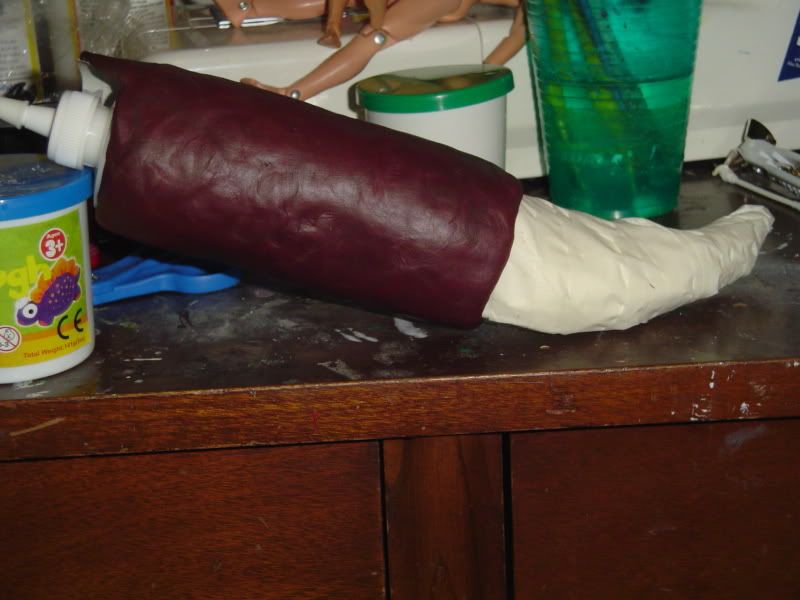
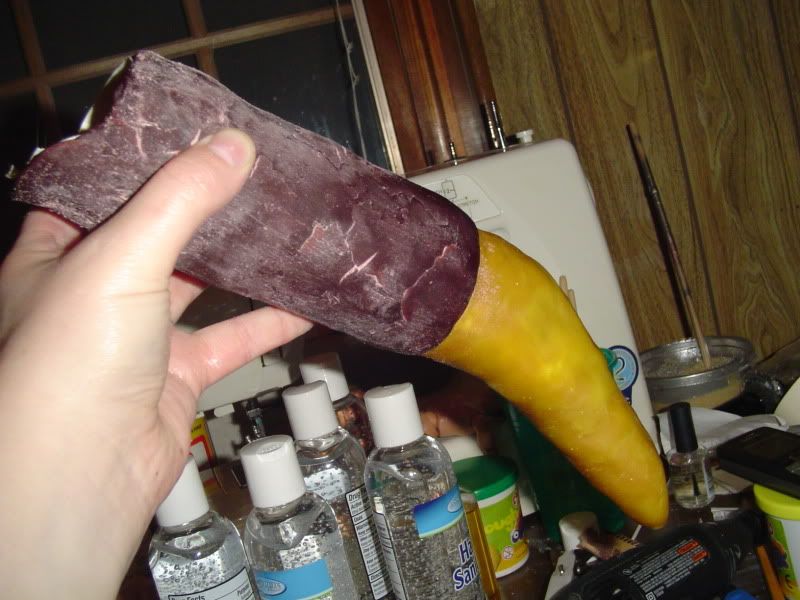
To make the hilt, I emptied the glue bottle into another container and cut off the top nozzle. Eventually I cut a hole in the bottom as well to make it easier to remove the glue bottle for painting. I wrapped the bottle with masking tape, sticky side away from the bottle, until I felt I had a pretty good holder for it. Then I started to wad up the masking tape at the bottom, wrapping it around the wad until I had the basic shape I wanted for the core of the tooth. I built up with play-doh, adding bits here and there until I had what I thought was sturdy thickness and a decent sculpt. Once the play-doh was dry, I GENTLY sanded it(not a fun task, I might add). I brushed a few coats of white glue from the bottle over the surface to help seal it and prevent the play-doh from cracking too badly. I painted the glue bottle with chrome color and put it back inside the masking tape base. I painted the play-doh, which was probably the most difficult part, due to all the cracks and the lack of reference material for coloring. I sprayed the switch and hook(both from the hanging kit) with chrome color, and painted the jewel from the magnet red. Then I added them, along with the wire(also from the hanging kit) and part of a paperclip as the belt-hook.
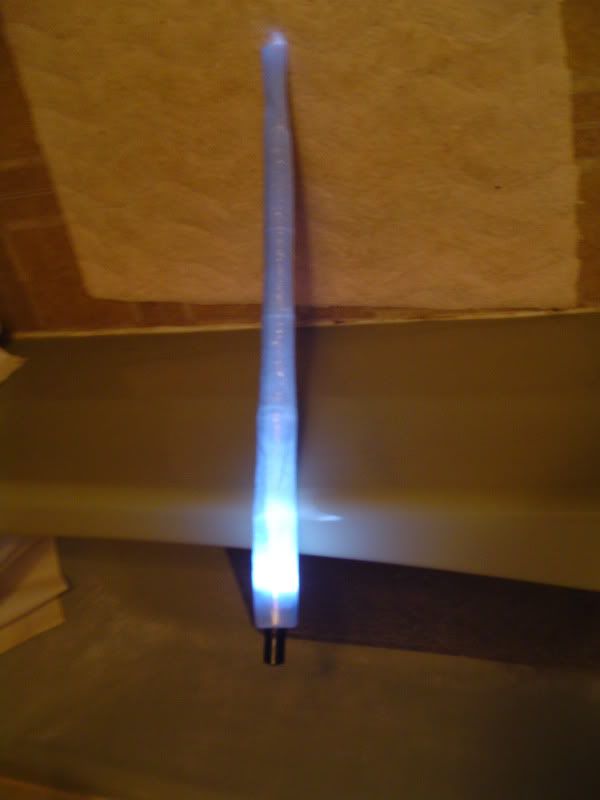
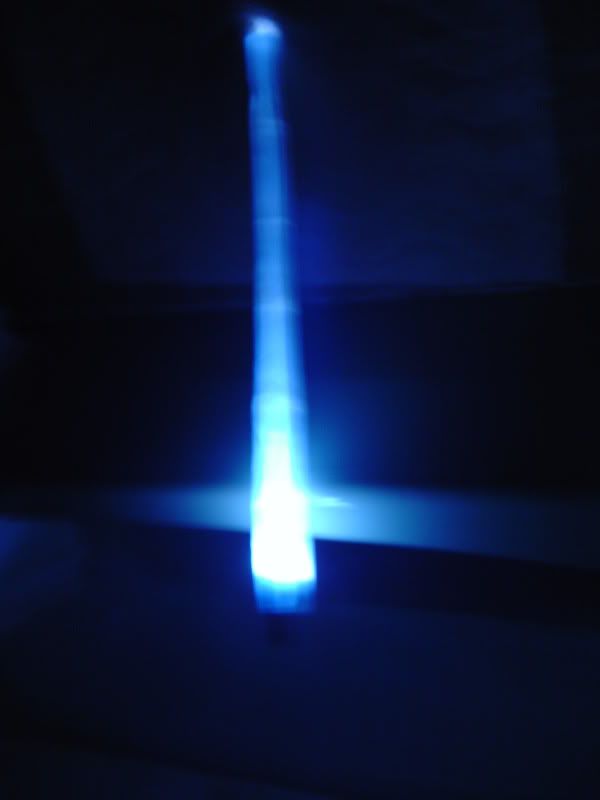
Most of the body of the blade was made of empty sanitizer bottles, with the tops and bottoms cut off. I had originally planned to cut them more and more narrow, so the top of the blade tapered off, with the blue tablecovering on the inside to provide color. I still wish I could have done it that way, because it would have looked more like a traditional blade. When I experimented with just one segment, it looked awesome with the flashlight shining inside. However, until I got all the sanitizer bottles to fit, there were a lot of seams visible, as well as the glue and/or tape I used to secure it. It caused a lot of interruption in the glow of the blade. So while I kept the bottles as-is, I ended up wrapping a cut piece of the tablecovering around the outside of the blade, with a layer of plastic wrap over that. Then I used a hair dryer to shrink wrap everything together. Sadly, while I was taking pictures, I noticed that the shrink wrap wasn't staying tight and the blade was drooping a bit:unsure However, I really liked the way the blue tablecovering glowed with the light behind it, so I would consider using something similar next time I make a "real" custom saber.
The light was achieved with a simple LED mini-flashlight. I just stuck the top into the wide end of the blade and secured it with electrical tape. Then the base went into the top of the glue bottle, custom fit with more electical tape. I found that I like the way LEDs shine for projects like this and I really need to learn how to set them up properly for the future.:cool
So that's pretty much it. This project forced me to put other things aside and focus on getting one thing done, with a deadline. Which is nice, because if you know me, I always have a millions things I'm working on at any given time and sometimes it's good to just push through and get something done.
Here are the pictures of the parts I bought.


Here are some pics I took while working on mine.


To make the hilt, I emptied the glue bottle into another container and cut off the top nozzle. Eventually I cut a hole in the bottom as well to make it easier to remove the glue bottle for painting. I wrapped the bottle with masking tape, sticky side away from the bottle, until I felt I had a pretty good holder for it. Then I started to wad up the masking tape at the bottom, wrapping it around the wad until I had the basic shape I wanted for the core of the tooth. I built up with play-doh, adding bits here and there until I had what I thought was sturdy thickness and a decent sculpt. Once the play-doh was dry, I GENTLY sanded it(not a fun task, I might add). I brushed a few coats of white glue from the bottle over the surface to help seal it and prevent the play-doh from cracking too badly. I painted the glue bottle with chrome color and put it back inside the masking tape base. I painted the play-doh, which was probably the most difficult part, due to all the cracks and the lack of reference material for coloring. I sprayed the switch and hook(both from the hanging kit) with chrome color, and painted the jewel from the magnet red. Then I added them, along with the wire(also from the hanging kit) and part of a paperclip as the belt-hook.
Most of the body of the blade was made of empty sanitizer bottles, with the tops and bottoms cut off. I had originally planned to cut them more and more narrow, so the top of the blade tapered off, with the blue tablecovering on the inside to provide color. I still wish I could have done it that way, because it would have looked more like a traditional blade. When I experimented with just one segment, it looked awesome with the flashlight shining inside. However, until I got all the sanitizer bottles to fit, there were a lot of seams visible, as well as the glue and/or tape I used to secure it. It caused a lot of interruption in the glow of the blade. So while I kept the bottles as-is, I ended up wrapping a cut piece of the tablecovering around the outside of the blade, with a layer of plastic wrap over that. Then I used a hair dryer to shrink wrap everything together. Sadly, while I was taking pictures, I noticed that the shrink wrap wasn't staying tight and the blade was drooping a bit:unsure However, I really liked the way the blue tablecovering glowed with the light behind it, so I would consider using something similar next time I make a "real" custom saber.
The light was achieved with a simple LED mini-flashlight. I just stuck the top into the wide end of the blade and secured it with electrical tape. Then the base went into the top of the glue bottle, custom fit with more electical tape. I found that I like the way LEDs shine for projects like this and I really need to learn how to set them up properly for the future.:cool
So that's pretty much it. This project forced me to put other things aside and focus on getting one thing done, with a deadline. Which is nice, because if you know me, I always have a millions things I'm working on at any given time and sometimes it's good to just push through and get something done.


