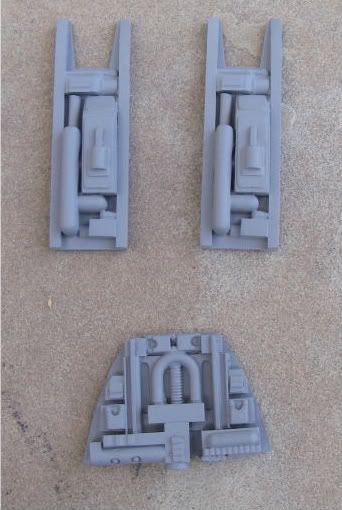
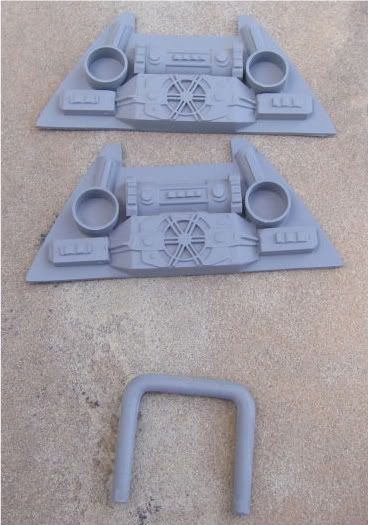
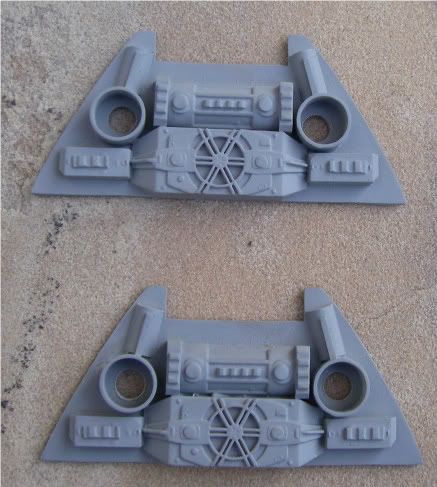
Well, I've had some downtime on pulling the B-wing kits due to either needing molds or resin, so I started getting parts ready for my own builds during that downtime. I plan on slowly getting more parts ready for my build and building this slowly while I am waiting for resin to set.
No worries to the guys that are waiting for kits. The parts that I am working on for myself are either from parts that are finished being pulled for this kit, or seconds that I would rather throw in the trash than send to you guys.
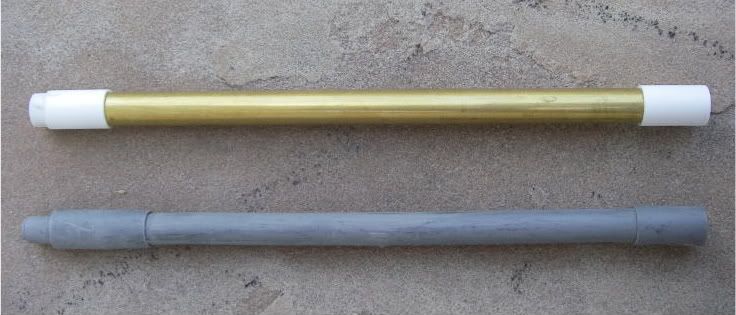
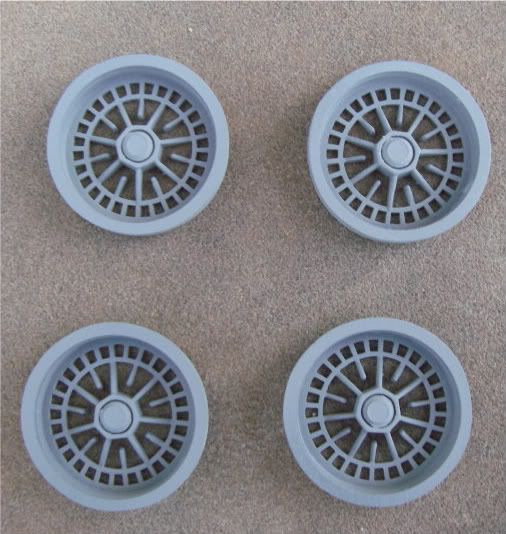
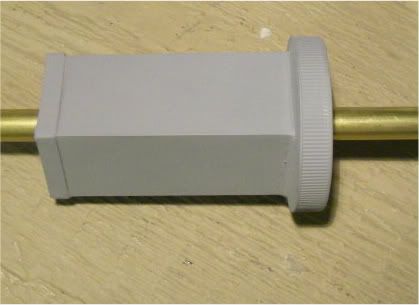
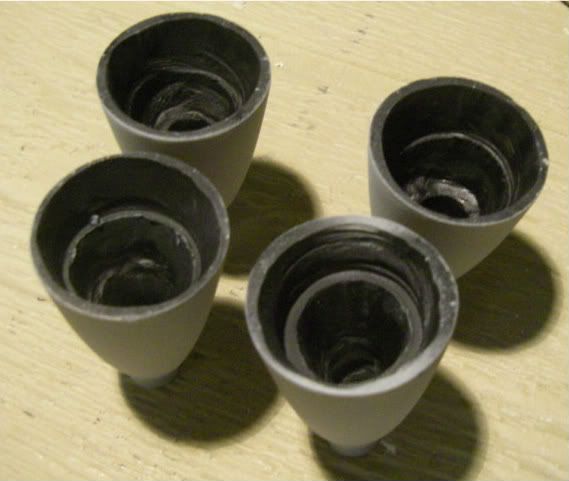
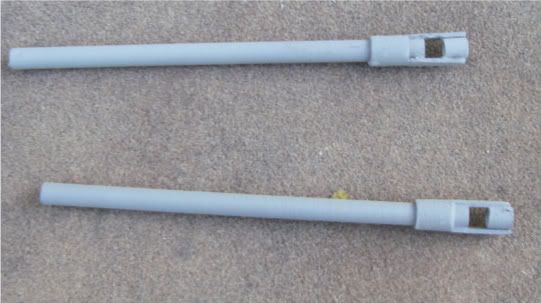
First up was the little guns (I think that they are guns) that go on the wings. The resin parts are fine, but with this kit being so big I figured that I would try my hand at scratch building them out of metal and styrene (I have never scratched before). Here's what I came up with:
They are pretty much the proper size. I will cut them to the proper length sometime this week.
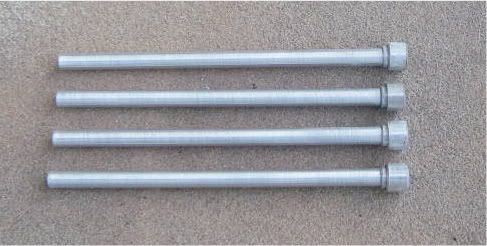
I like that they have the holes in the front. To me, it makes it look more "real". I could have just drilled holes in the resin parts, but I like this better.
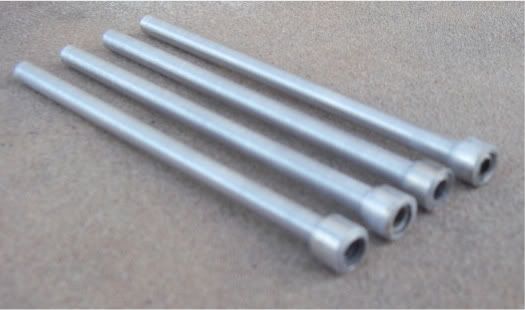
The styrene that I picked up was just about the same size (I eyeballed it), but I like how the lower part turned out. Instead of getting a smaller size for the middle strip, I'm going to keep it this way.
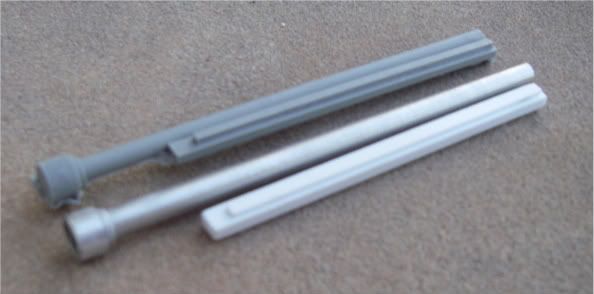
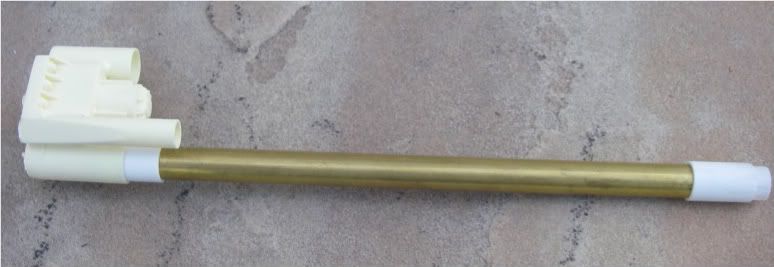
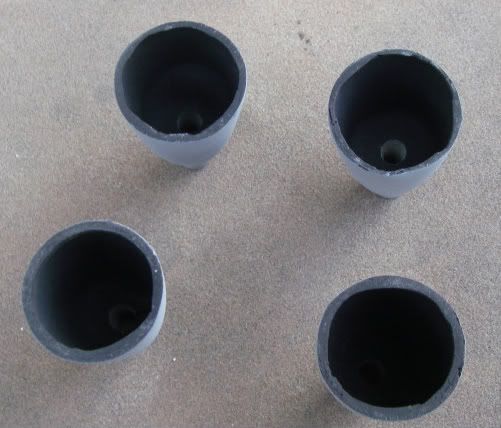
Second up is the guns for the front of the cockpit. I do not have that mold, so I only had pictures from the build instructions and two "seconds parts" to go off off. Since I liked how the small guns came out, I figured that I would try my hand at these as well.
The pictures of this part in the build instructions and the "second parts" that I have were a bit different on a few of the tips, so I went with the instructions pic to make the tips that you see in brass. I have to attach it to the styrene strip still, so these parts are just laid out in front of the strip that I am going to attatch them to.
btw - I've sanded these metal parts so the paint and glue (when I attatch the styrene parts to it) have something to grab on to. That is why they look so dirty.
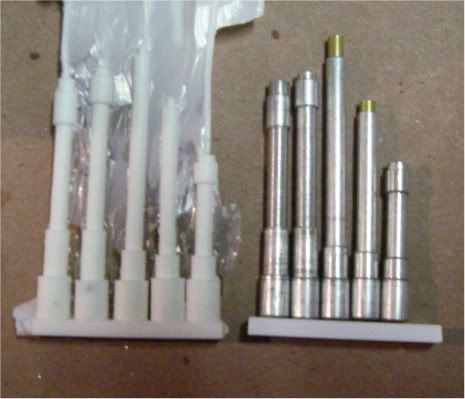
I plan on hitting the metal parts with some self etching primer before I attatch them to the styrene, then prime the parts again after everything is attatched.
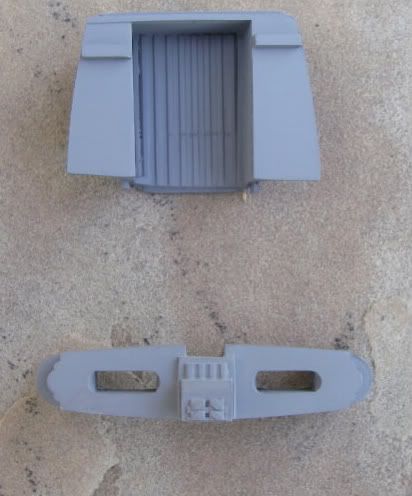
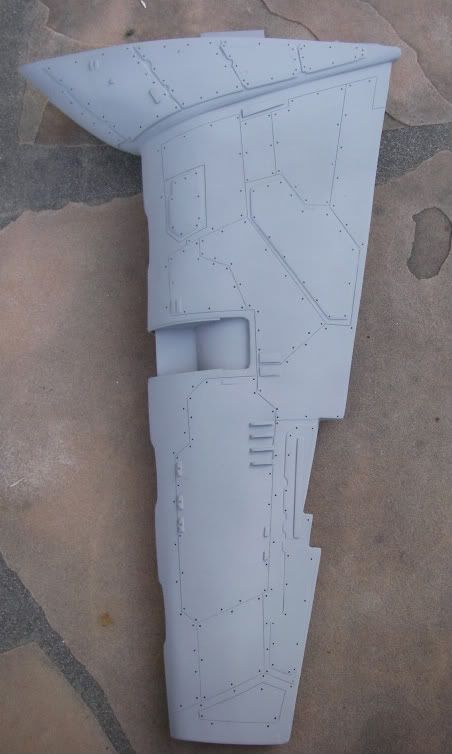
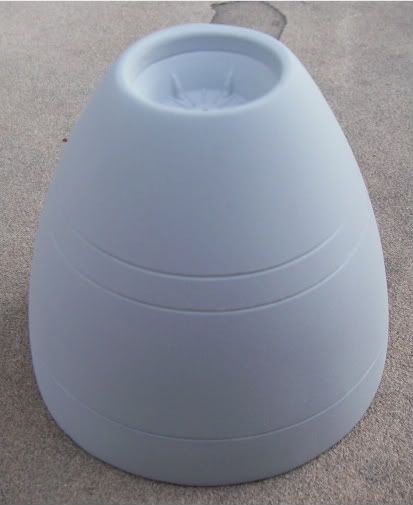
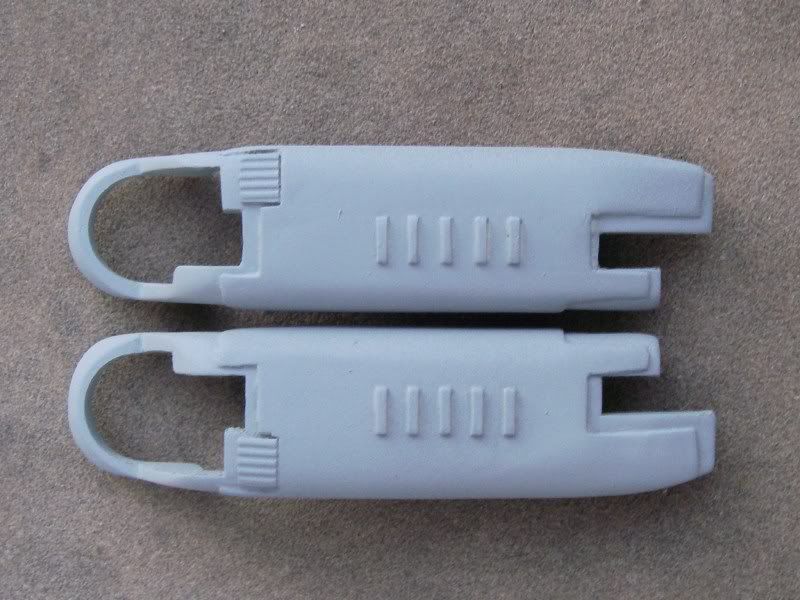
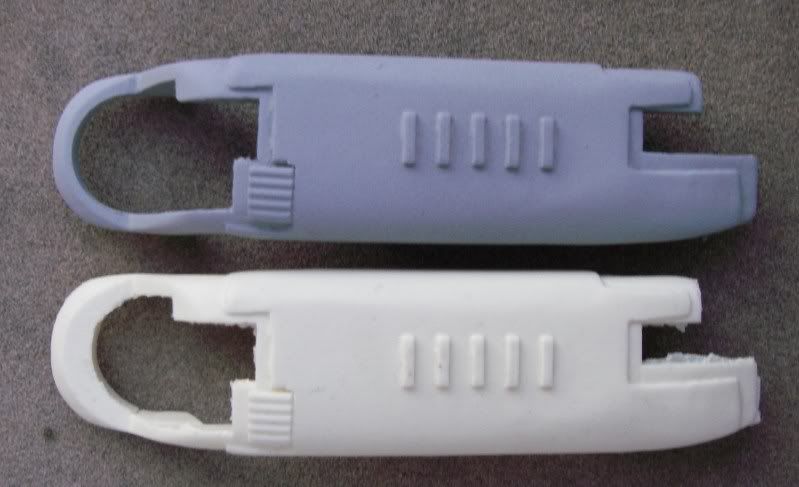
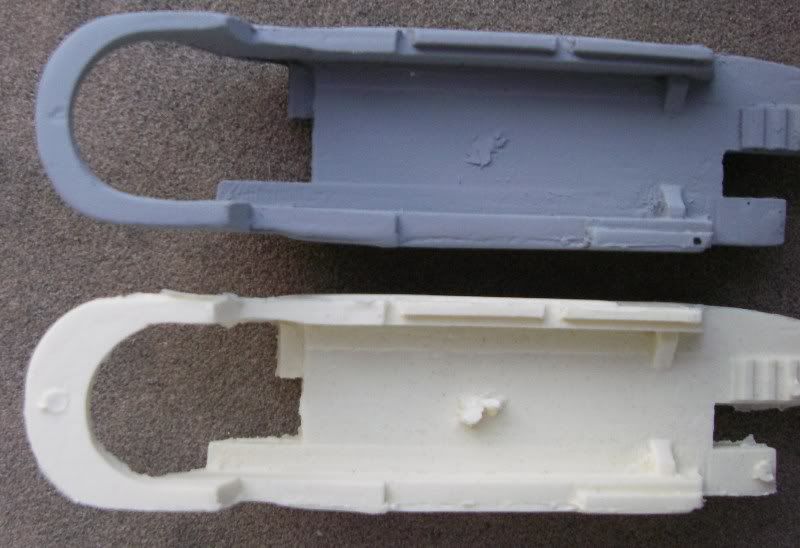
Next is this part: As you can sort of see on the top of the pic, this part is a "second". The top of the part had some really big air holes (voids) that I am fixing, and the mold didn't line up properly along the top when the part was being pulled, but the sides were good, so I figures, what the hay.
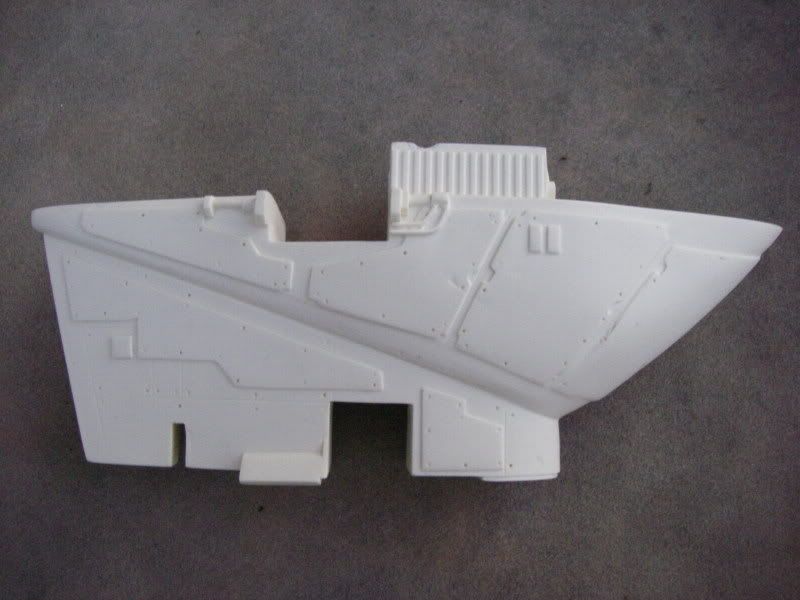
The more I looked at this part, the more I wanted to make the details crisper so I grabbed my pin vise/pin push (whatever it's called) and went to town.
Before:
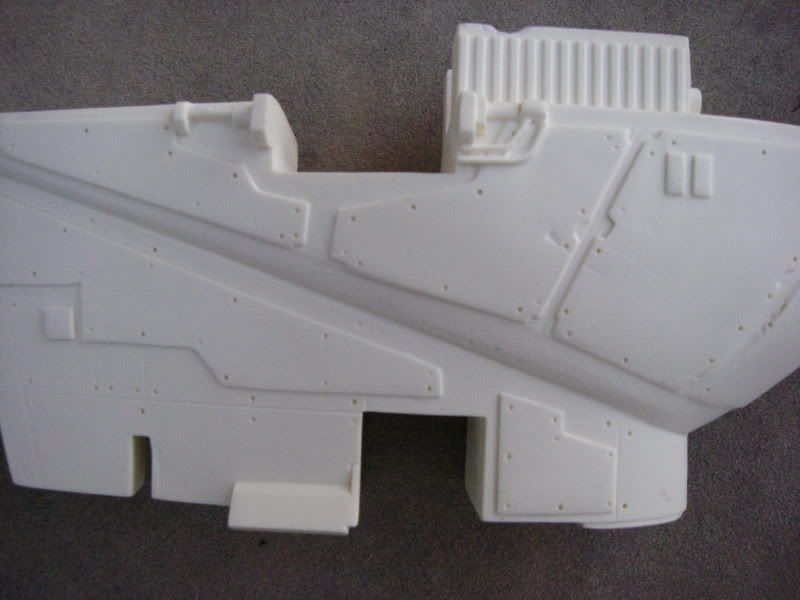
After:
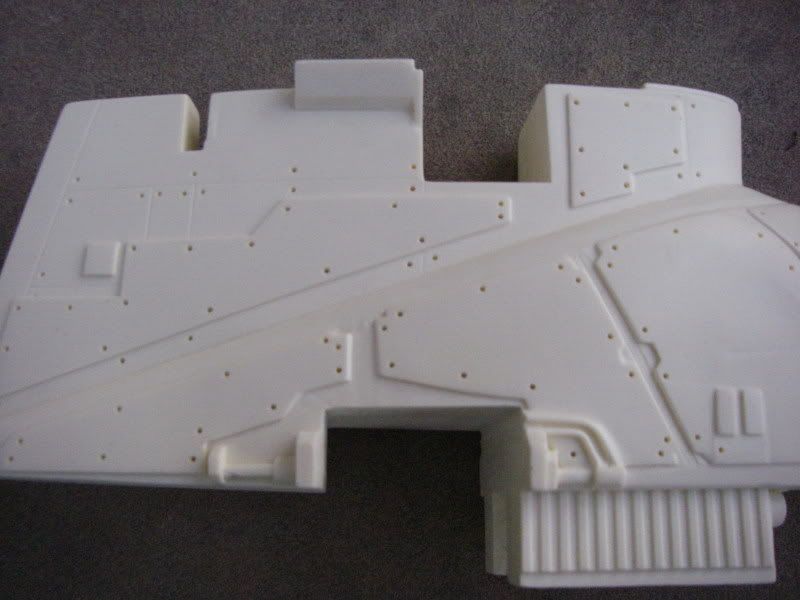
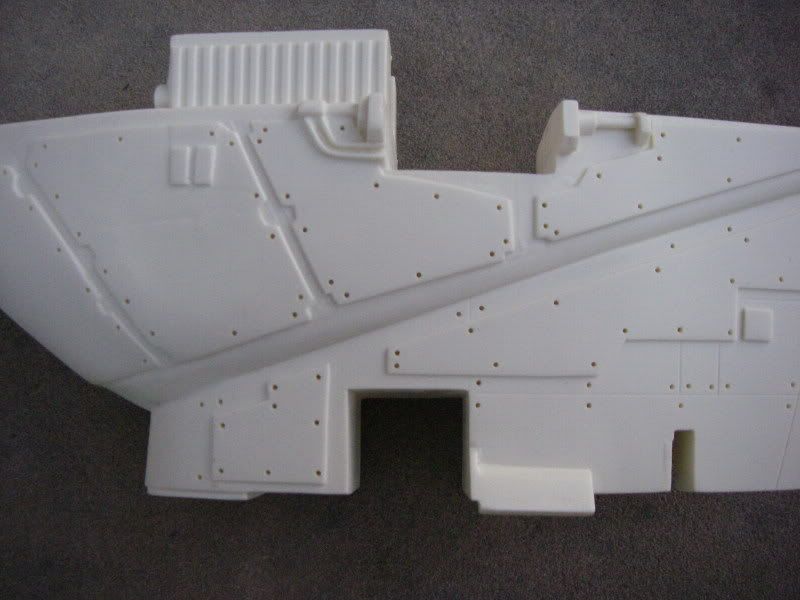

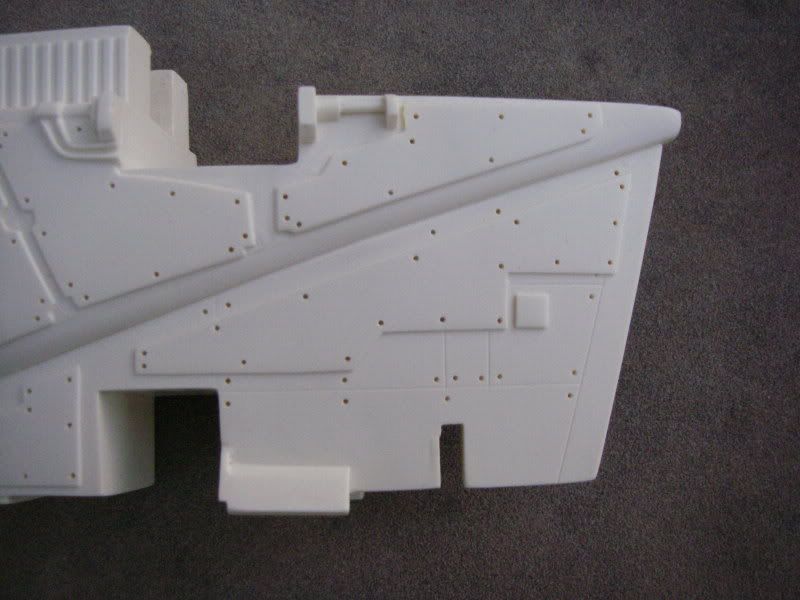
The reworked holes that I put in may be a bit too deep, but I figure when you add paint, they will look just fine.
So now I'm thinking about rescribing it too since I want it to look crisper, but I'm horrible at that so I'm going back and forth in my head about it. I will most likely end up doing it but I'm just putting it off. I think that I should fix the voids before I get too far into this part. I would hate to put in a bunch of work to find out that the part is unsavable.
Well, that all the pics that I have so that's all for now.
Like I said, a SLOW build.
No worries to the guys that are waiting for kits. The parts that I am working on for myself are either from parts that are finished being pulled for this kit, or seconds that I would rather throw in the trash than send to you guys.
First up was the little guns (I think that they are guns) that go on the wings. The resin parts are fine, but with this kit being so big I figured that I would try my hand at scratch building them out of metal and styrene (I have never scratched before). Here's what I came up with:
They are pretty much the proper size. I will cut them to the proper length sometime this week.

I like that they have the holes in the front. To me, it makes it look more "real". I could have just drilled holes in the resin parts, but I like this better.

The styrene that I picked up was just about the same size (I eyeballed it), but I like how the lower part turned out. Instead of getting a smaller size for the middle strip, I'm going to keep it this way.

Second up is the guns for the front of the cockpit. I do not have that mold, so I only had pictures from the build instructions and two "seconds parts" to go off off. Since I liked how the small guns came out, I figured that I would try my hand at these as well.
The pictures of this part in the build instructions and the "second parts" that I have were a bit different on a few of the tips, so I went with the instructions pic to make the tips that you see in brass. I have to attach it to the styrene strip still, so these parts are just laid out in front of the strip that I am going to attatch them to.
btw - I've sanded these metal parts so the paint and glue (when I attatch the styrene parts to it) have something to grab on to. That is why they look so dirty.

I plan on hitting the metal parts with some self etching primer before I attatch them to the styrene, then prime the parts again after everything is attatched.
Next is this part: As you can sort of see on the top of the pic, this part is a "second". The top of the part had some really big air holes (voids) that I am fixing, and the mold didn't line up properly along the top when the part was being pulled, but the sides were good, so I figures, what the hay.

The more I looked at this part, the more I wanted to make the details crisper so I grabbed my pin vise/pin push (whatever it's called) and went to town.
Before:

After:


The reworked holes that I put in may be a bit too deep, but I figure when you add paint, they will look just fine.
So now I'm thinking about rescribing it too since I want it to look crisper, but I'm horrible at that so I'm going back and forth in my head about it. I will most likely end up doing it but I'm just putting it off. I think that I should fix the voids before I get too far into this part. I would hate to put in a bunch of work to find out that the part is unsavable.
Well, that all the pics that I have so that's all for now.
Like I said, a SLOW build.
Last edited:

