Hi Gang,
UPDATE! Unfortunately it rained ALL day before I was able to make some significant movement on the door. But I switched gears and moved forward...
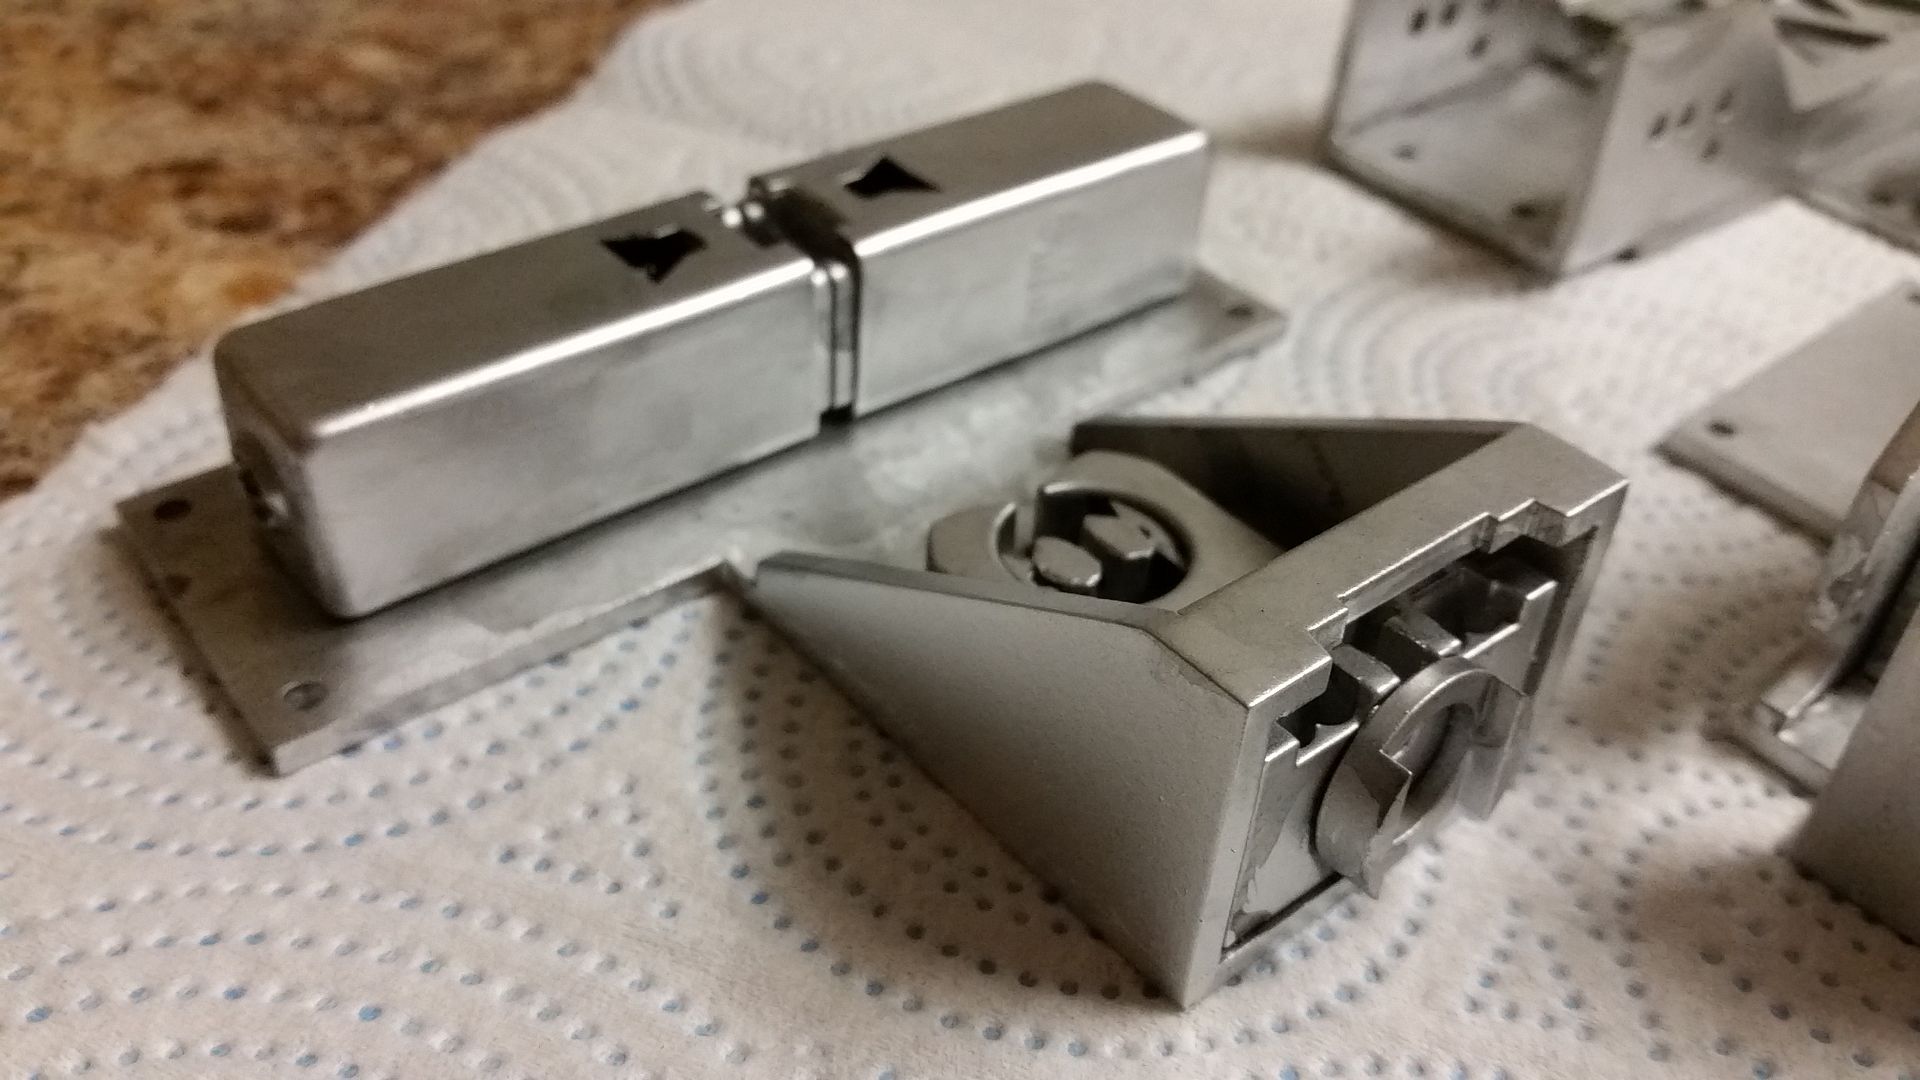
Since there are no clear images of this greeblie I decided to wing it... And...


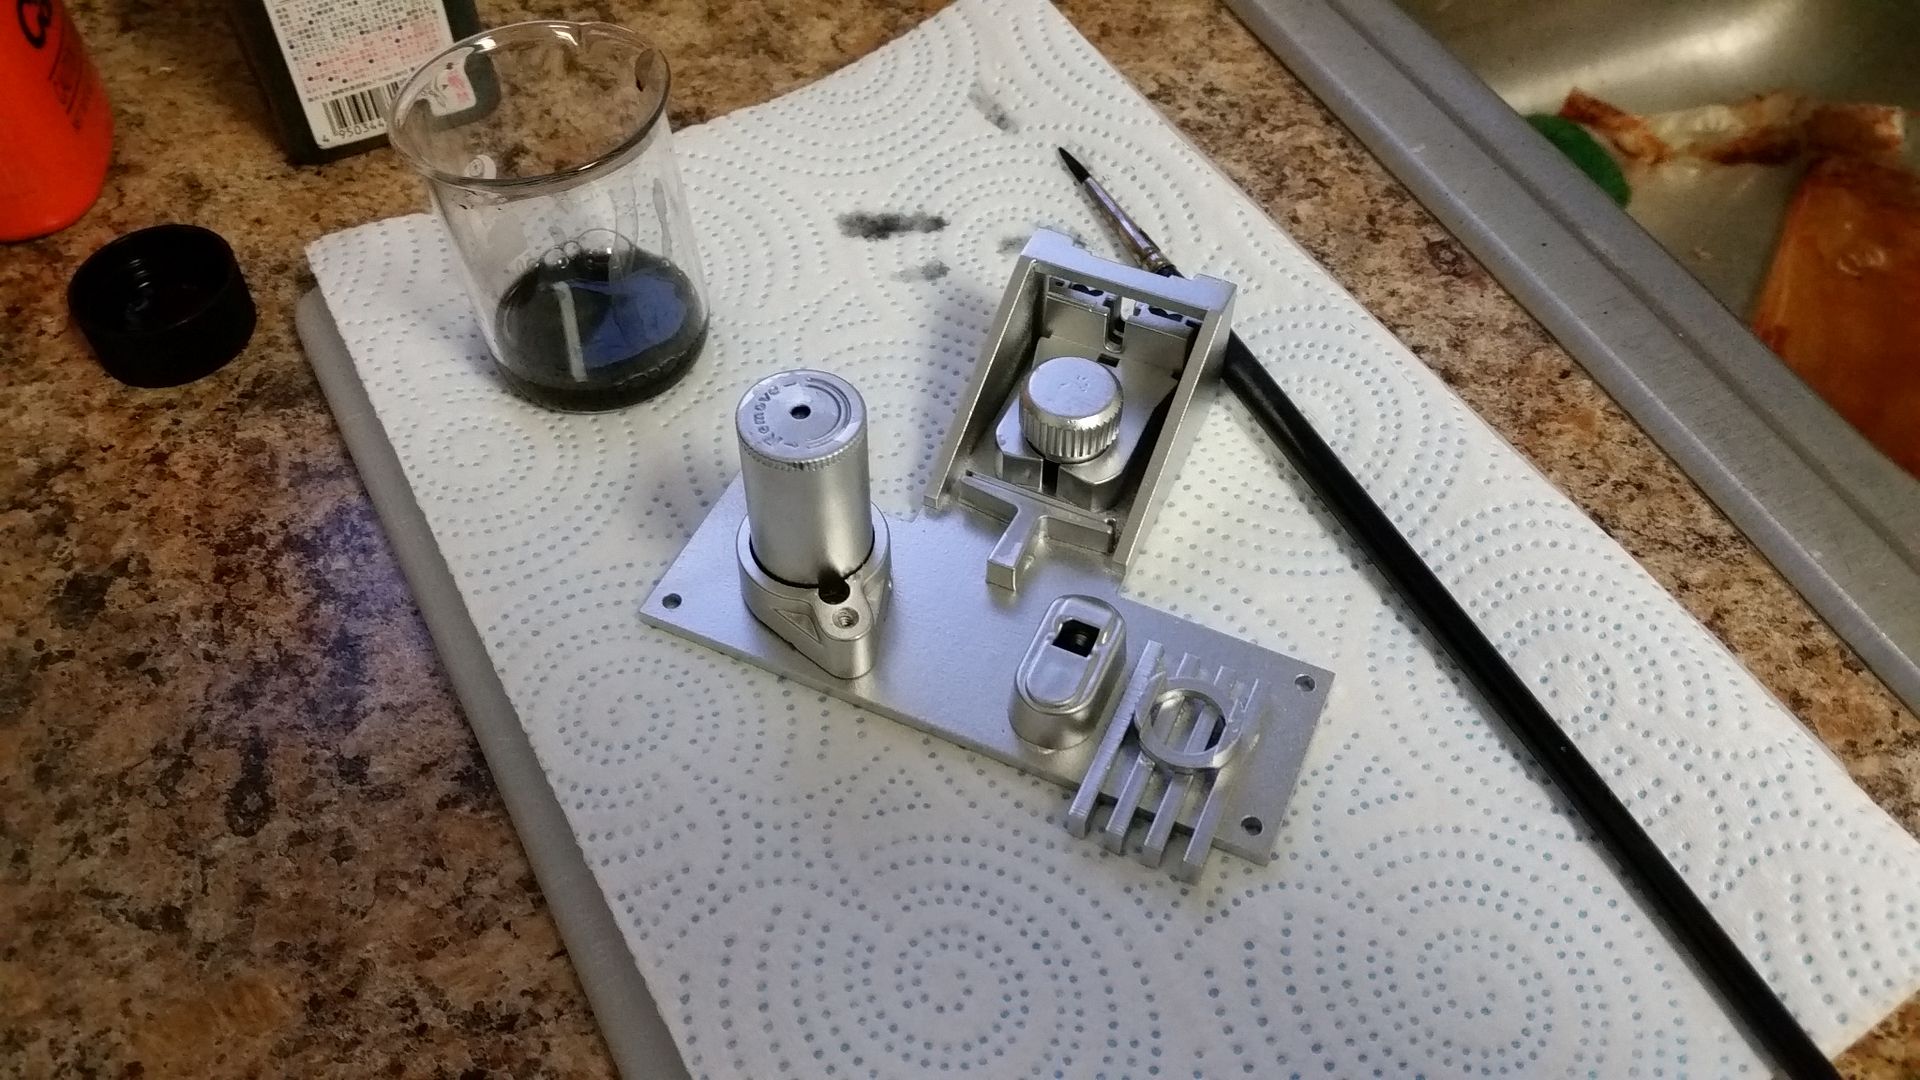
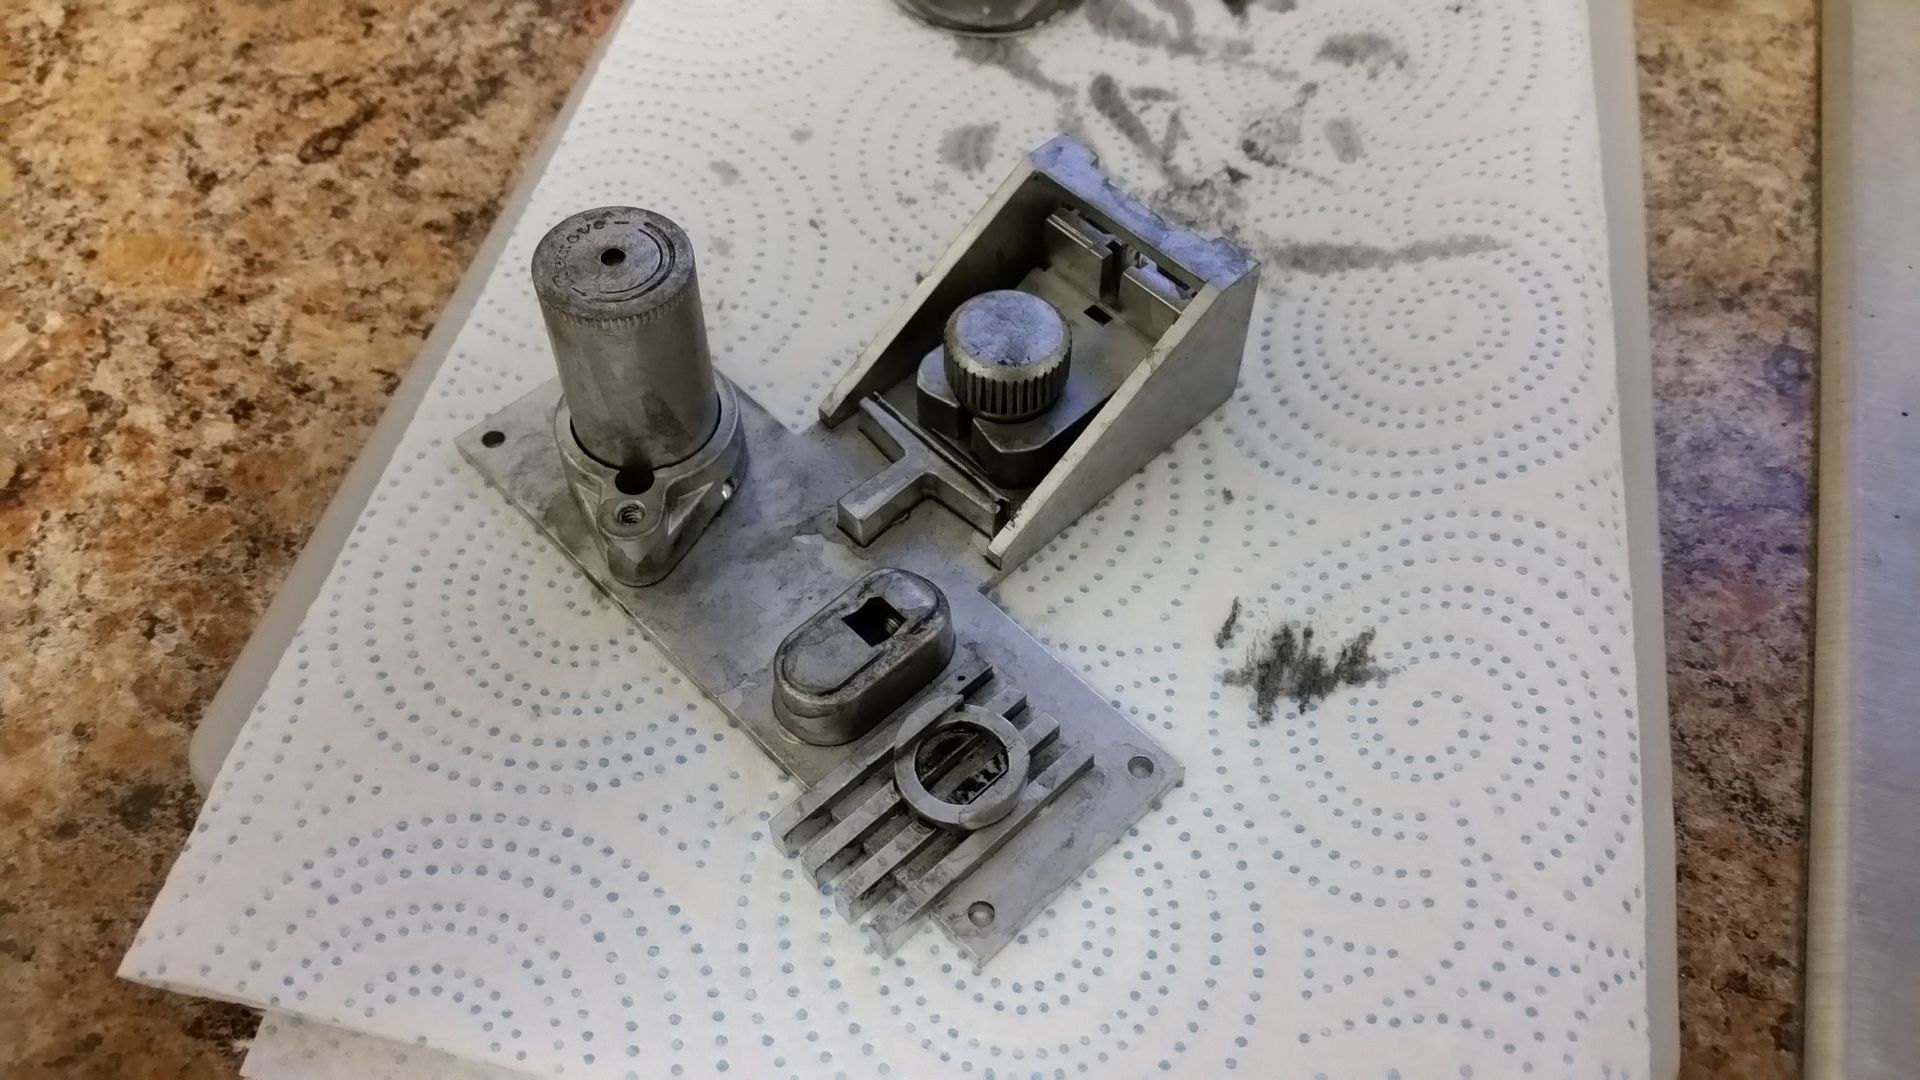
UGH!!!!!!! I HATE IT!!!!!!!!!!!!!!! Time to start over!!!!!!!!
That was a total fail on my part!
But let's move on to some cooler stuff!")
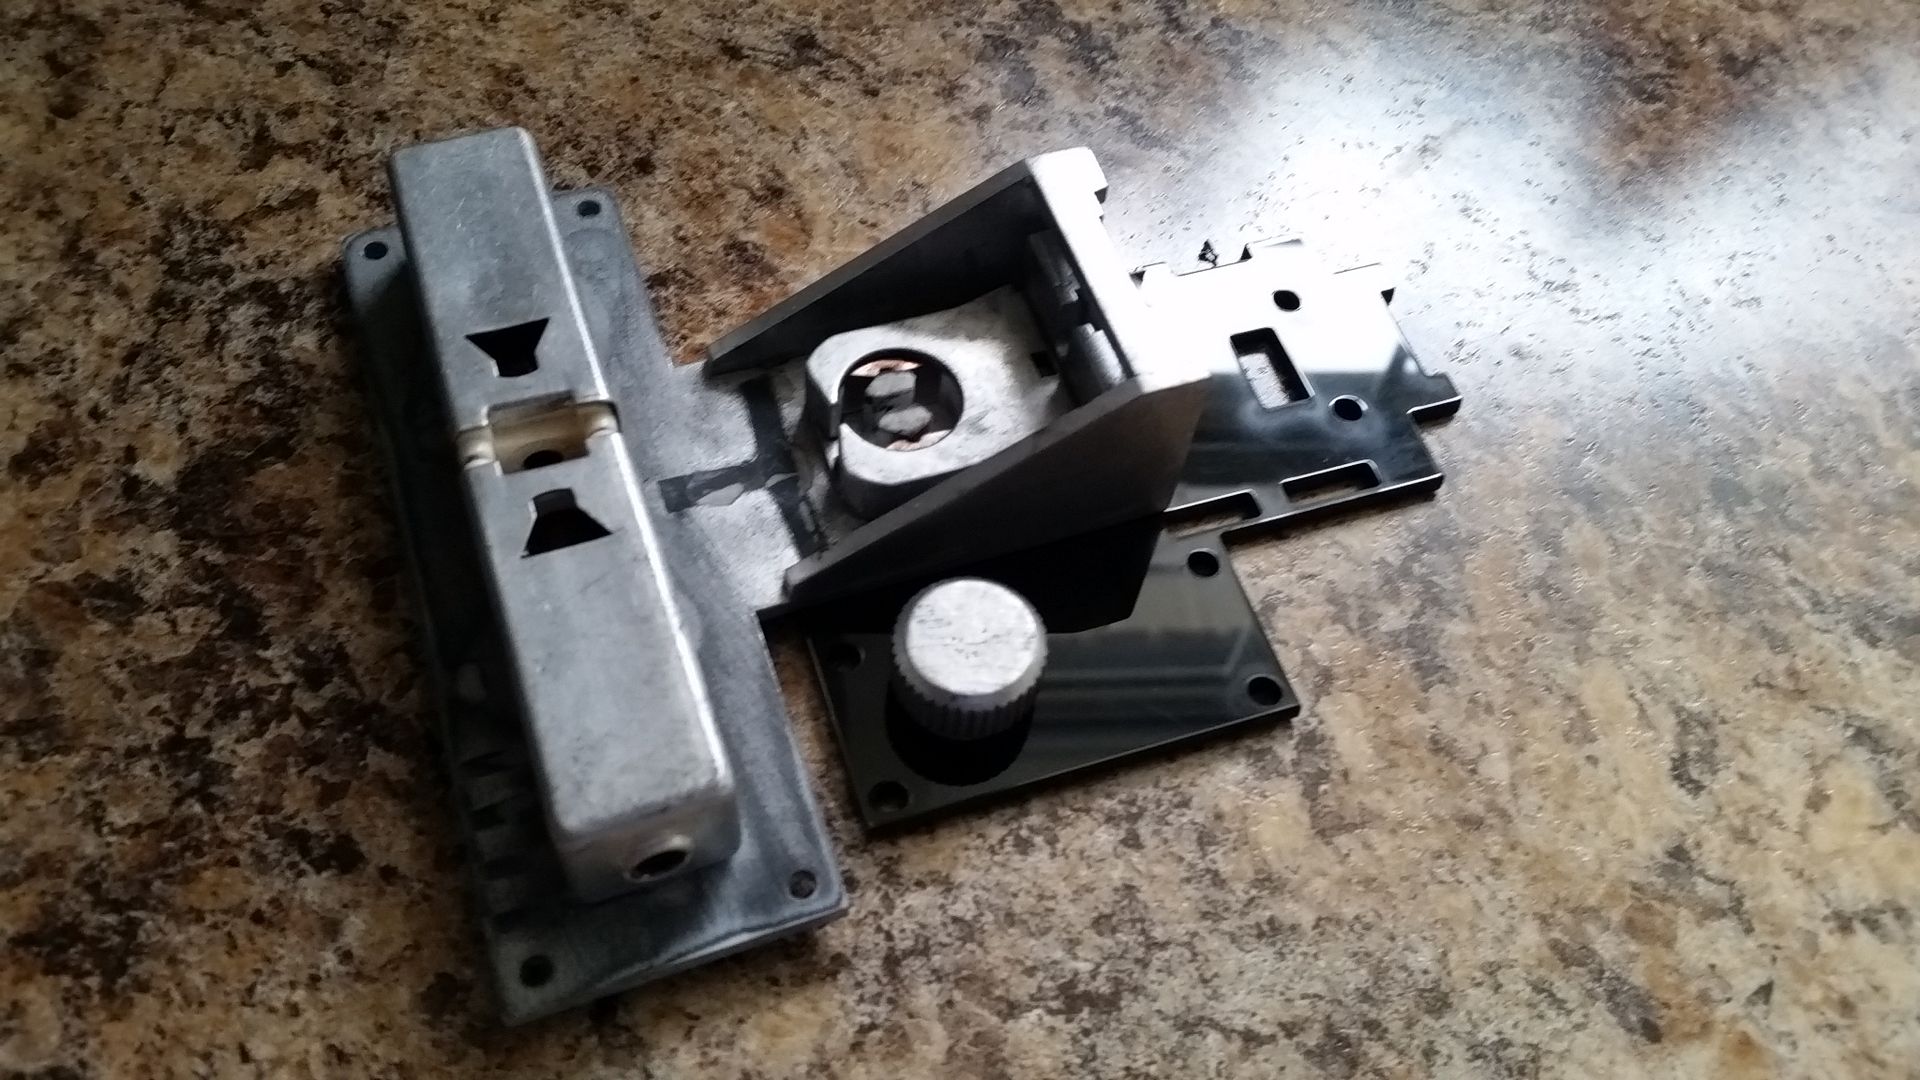
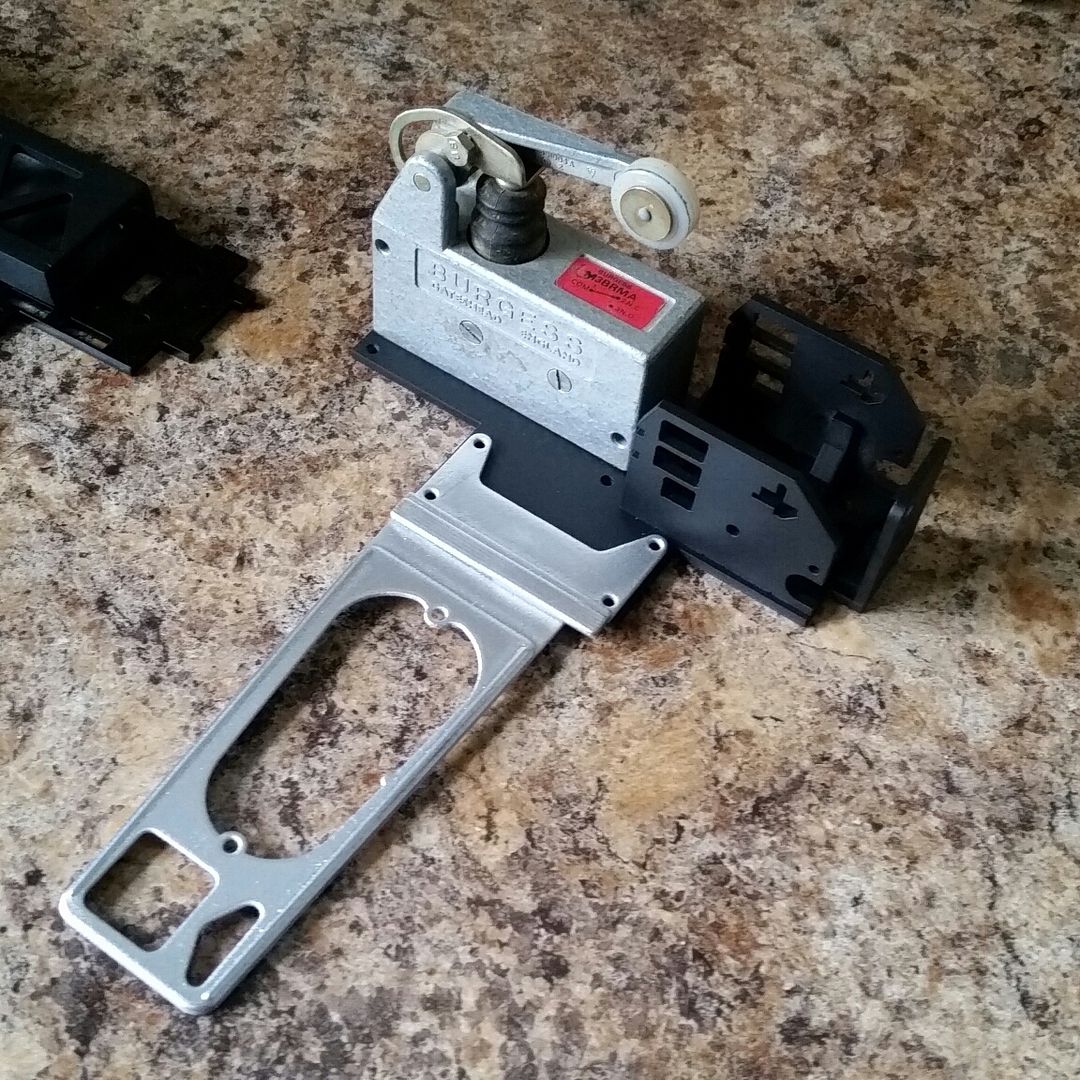
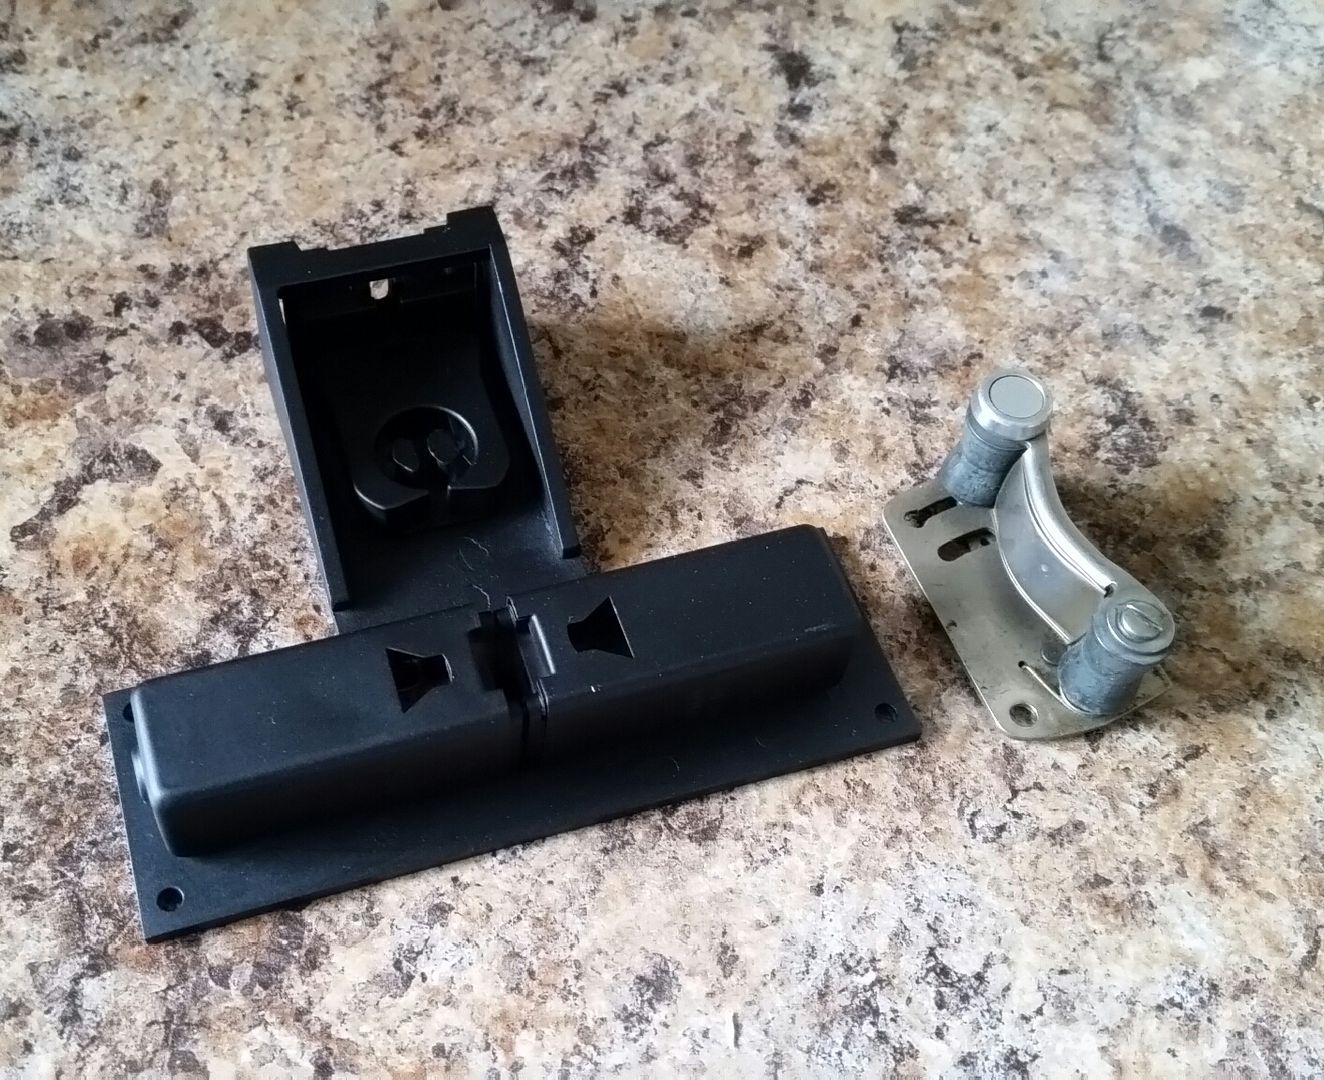
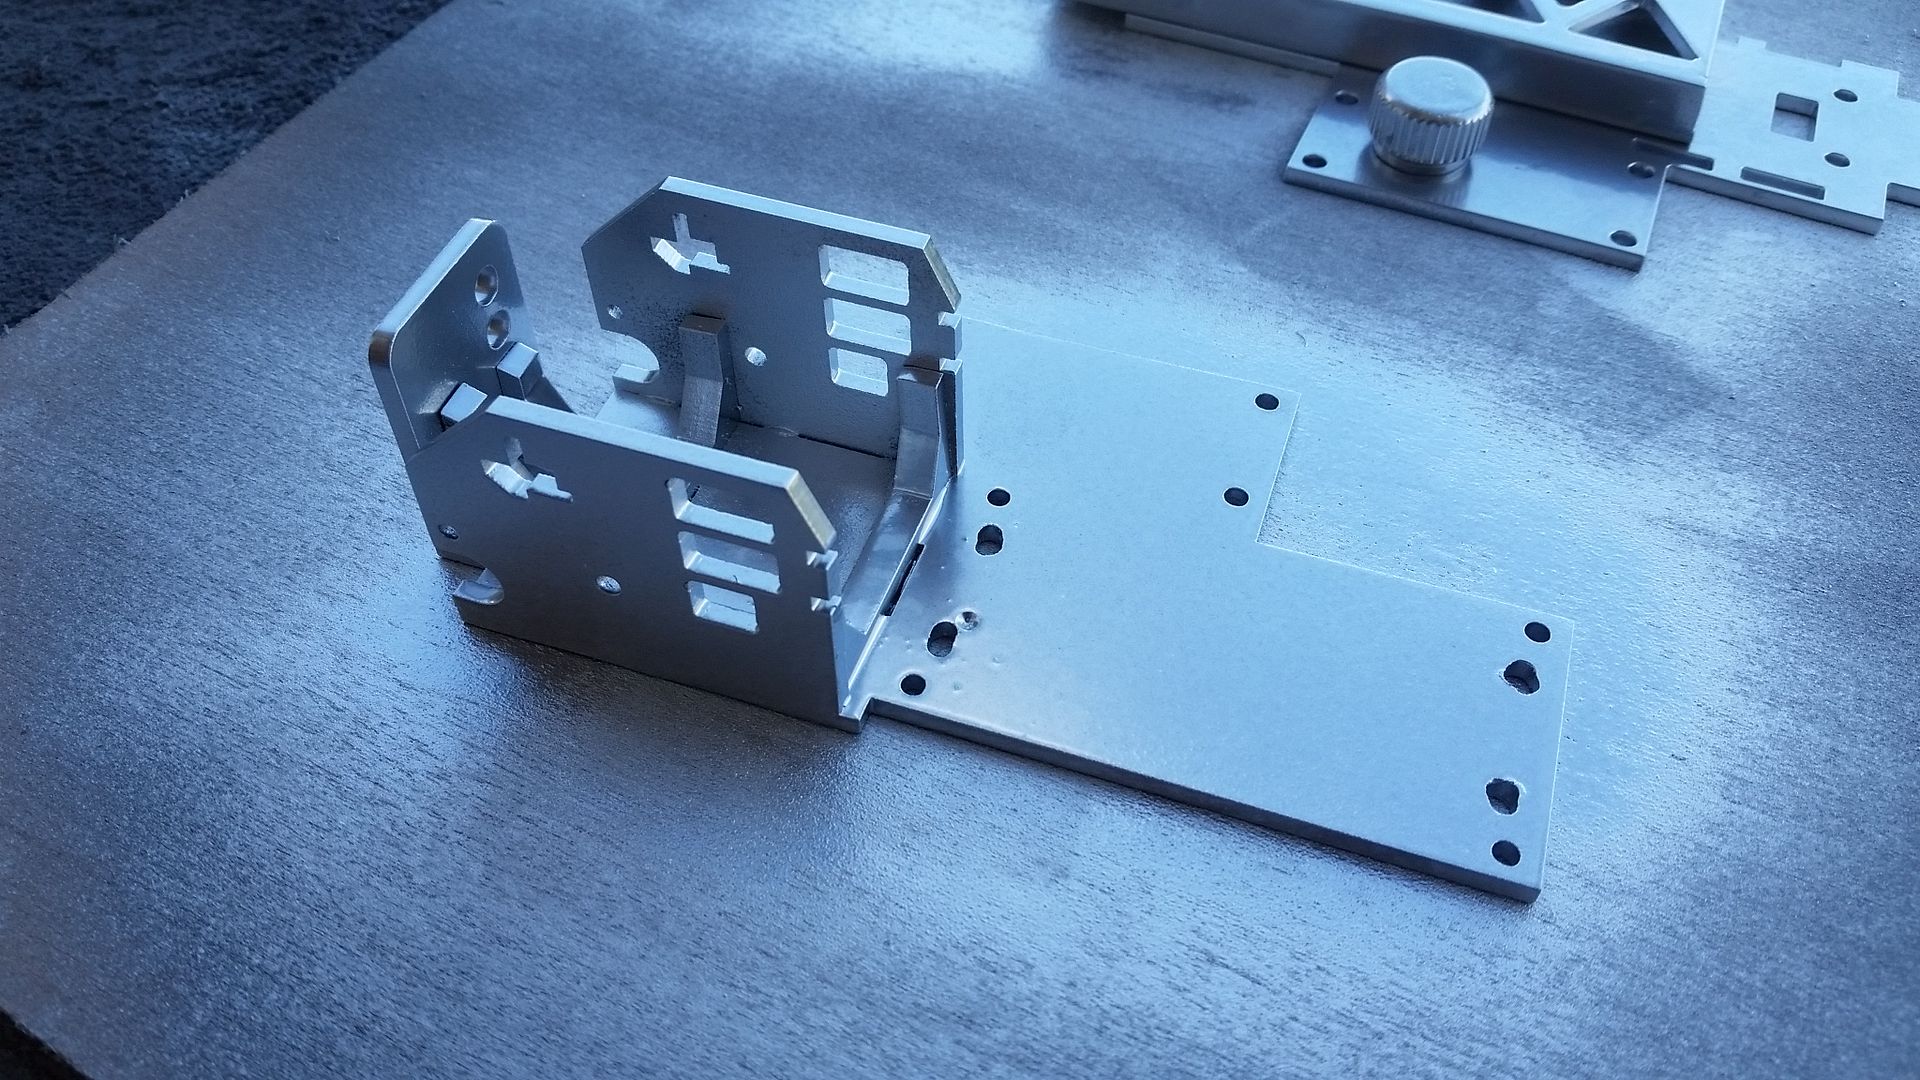
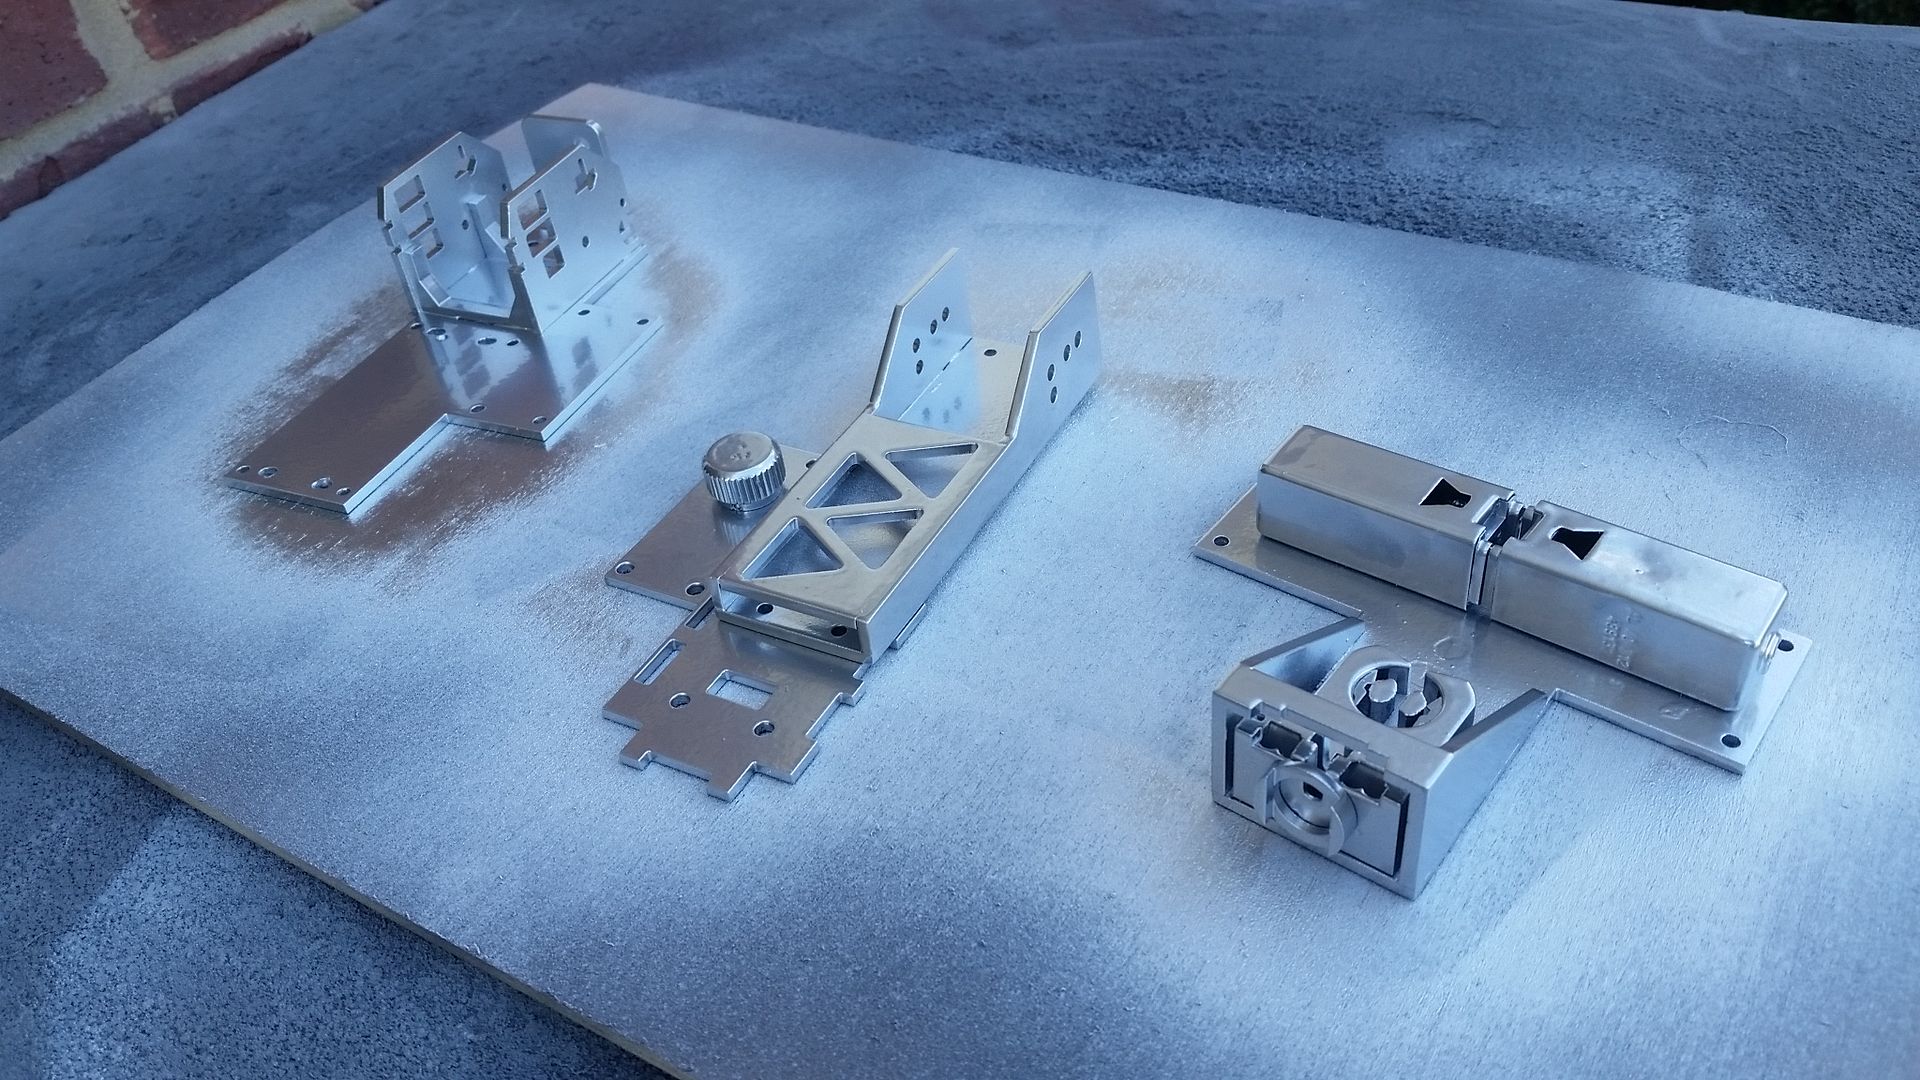
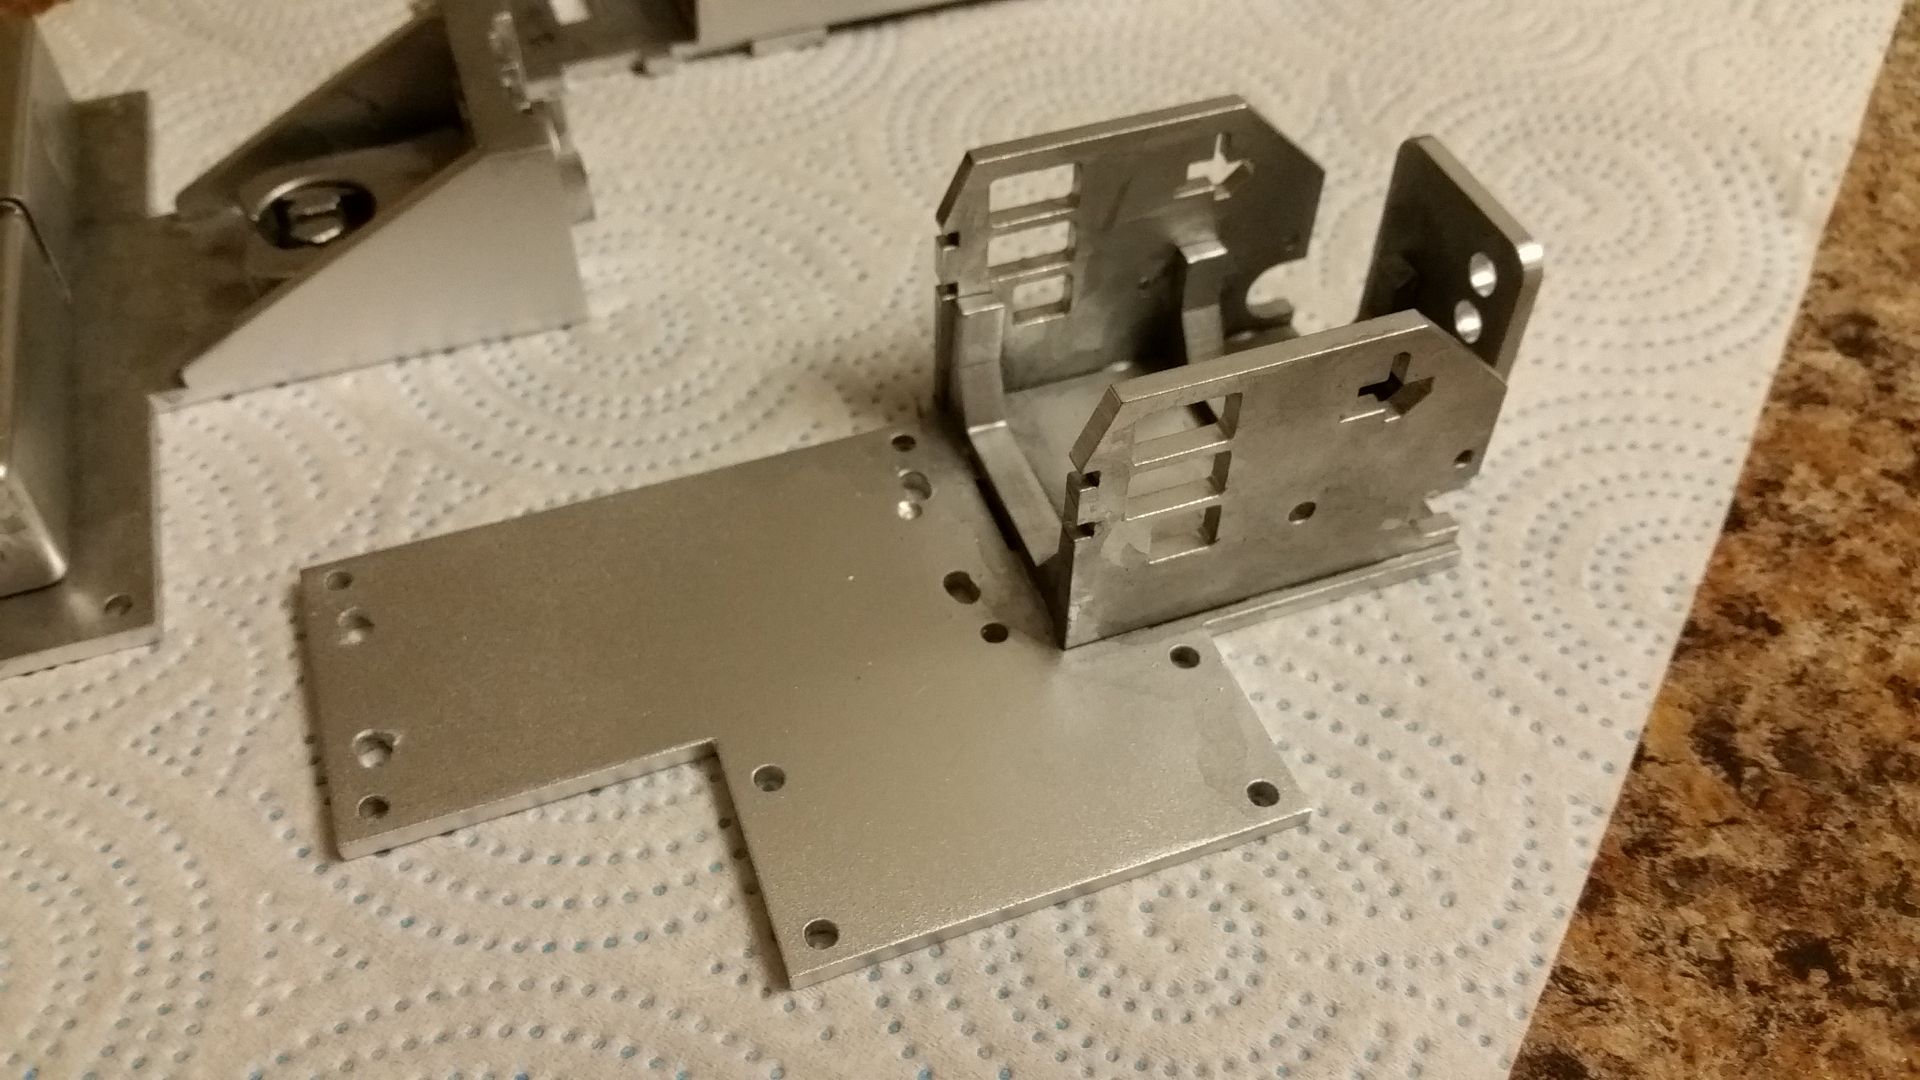
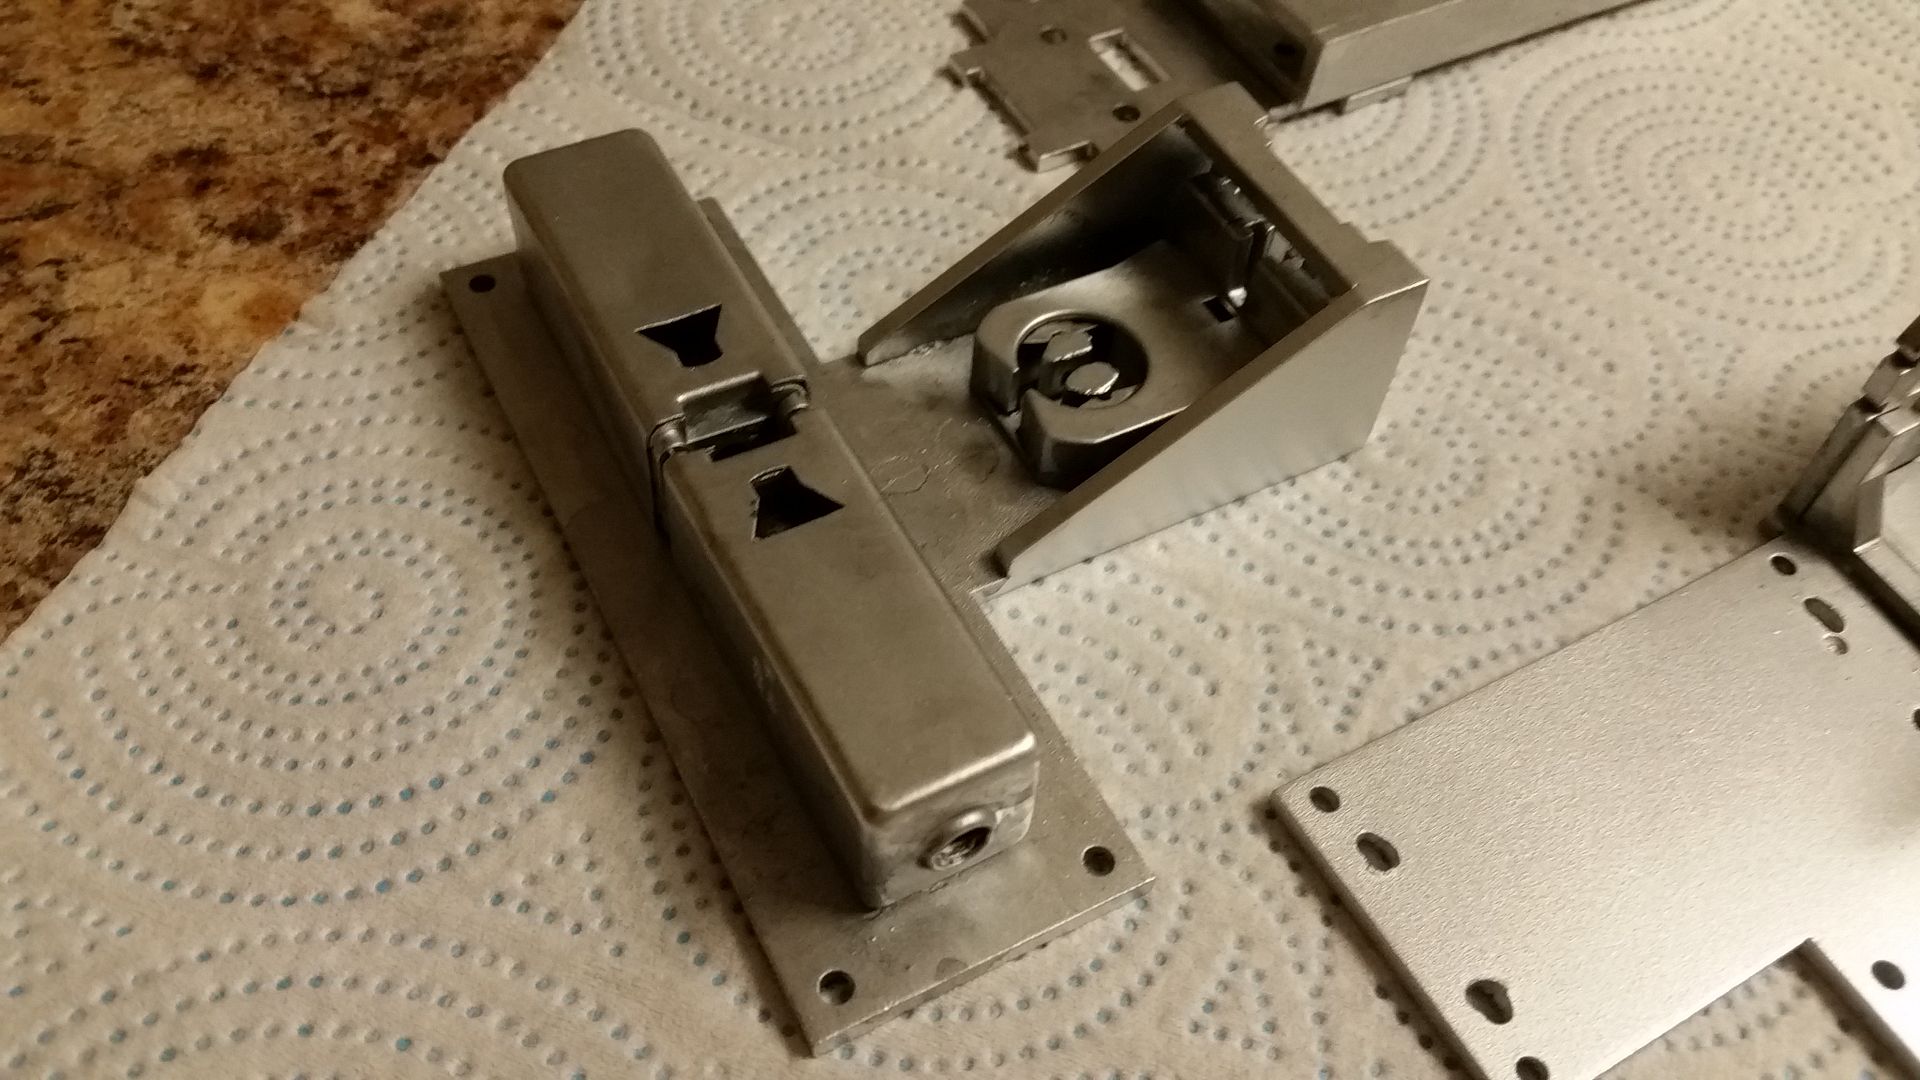
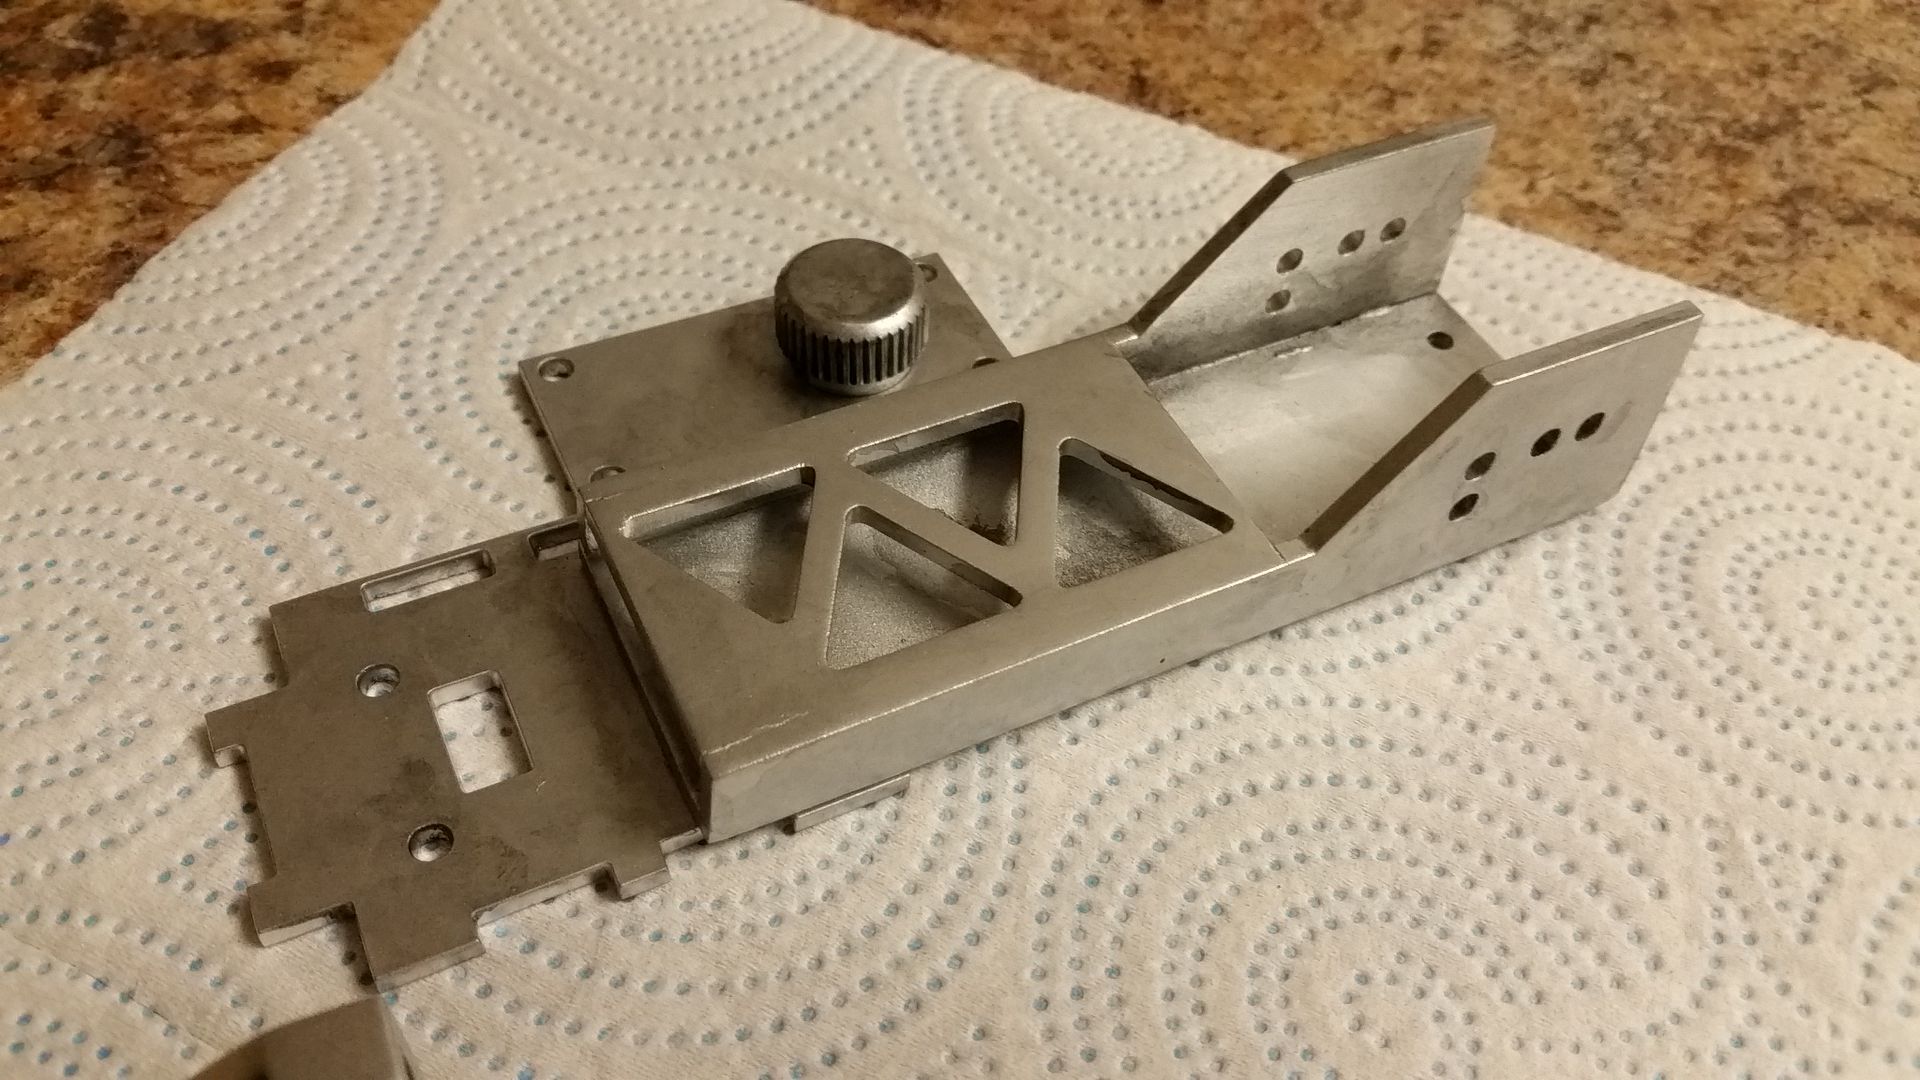
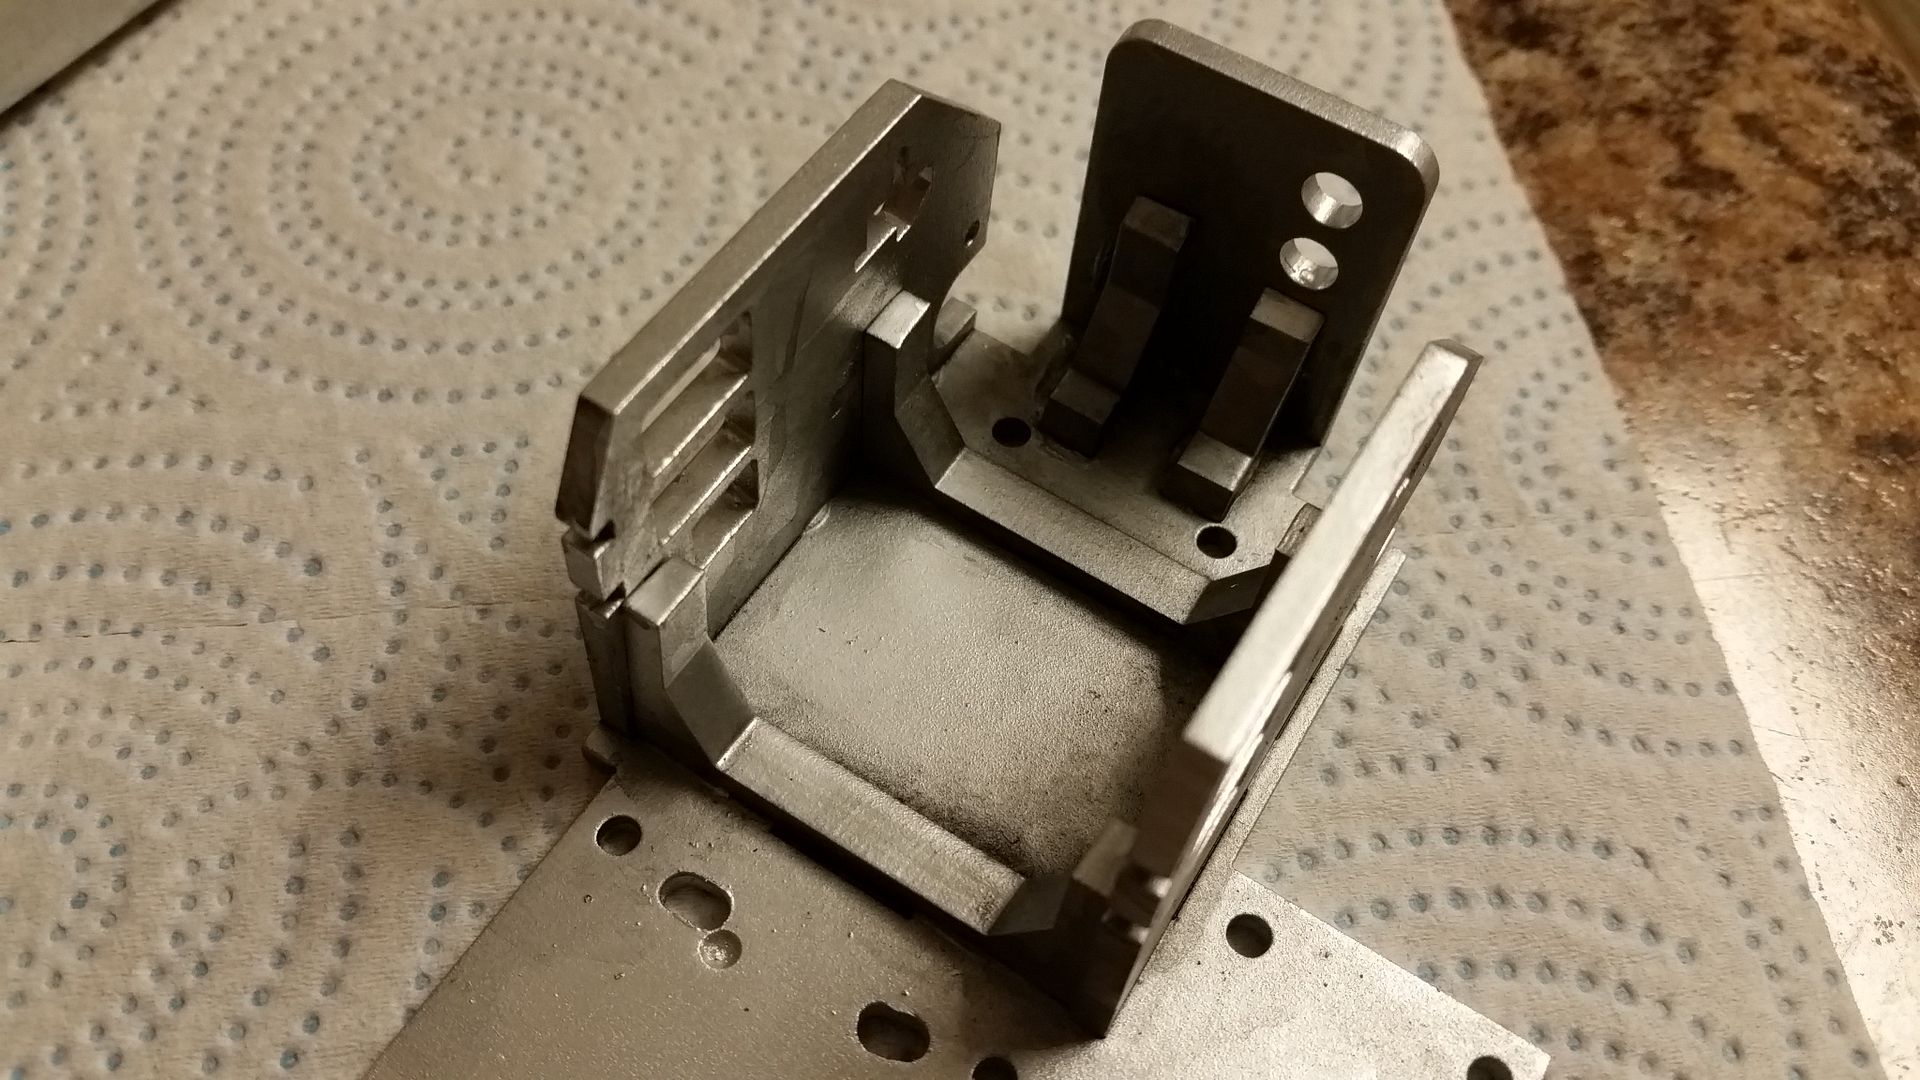
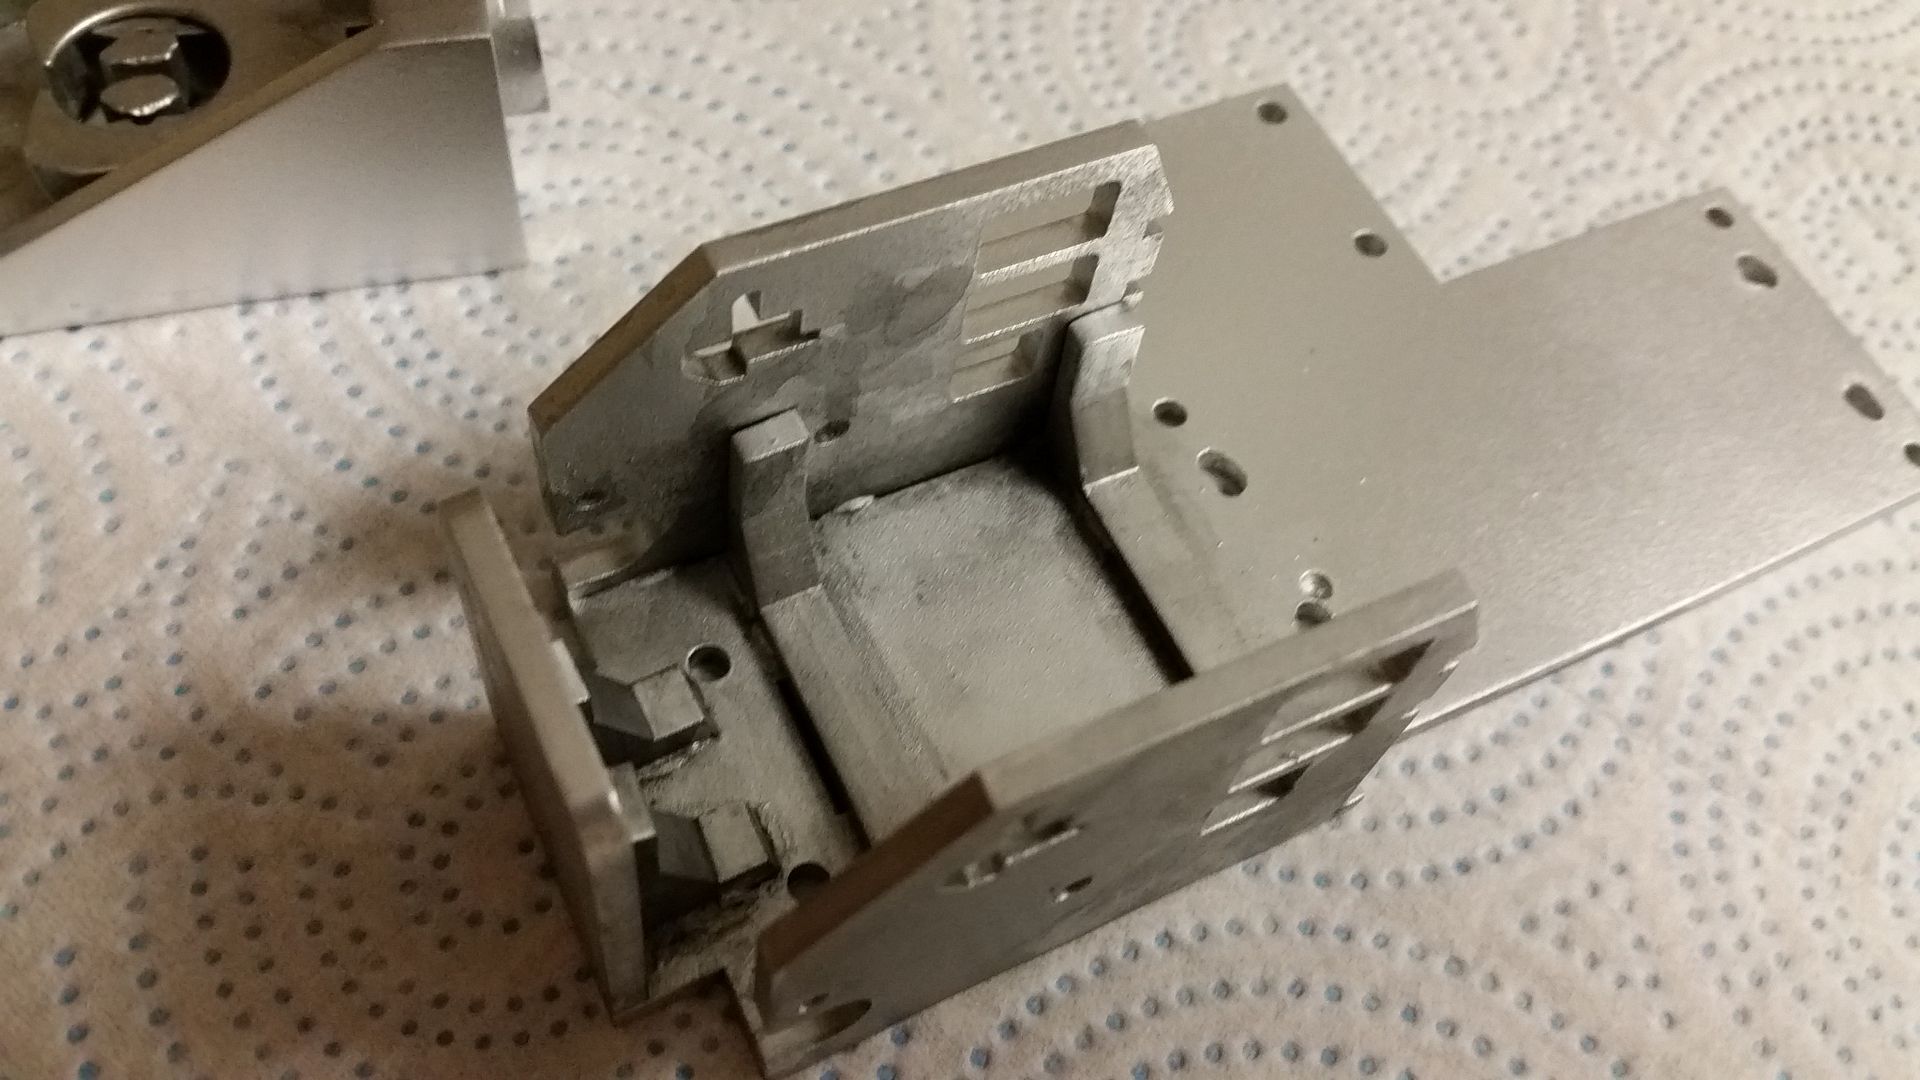
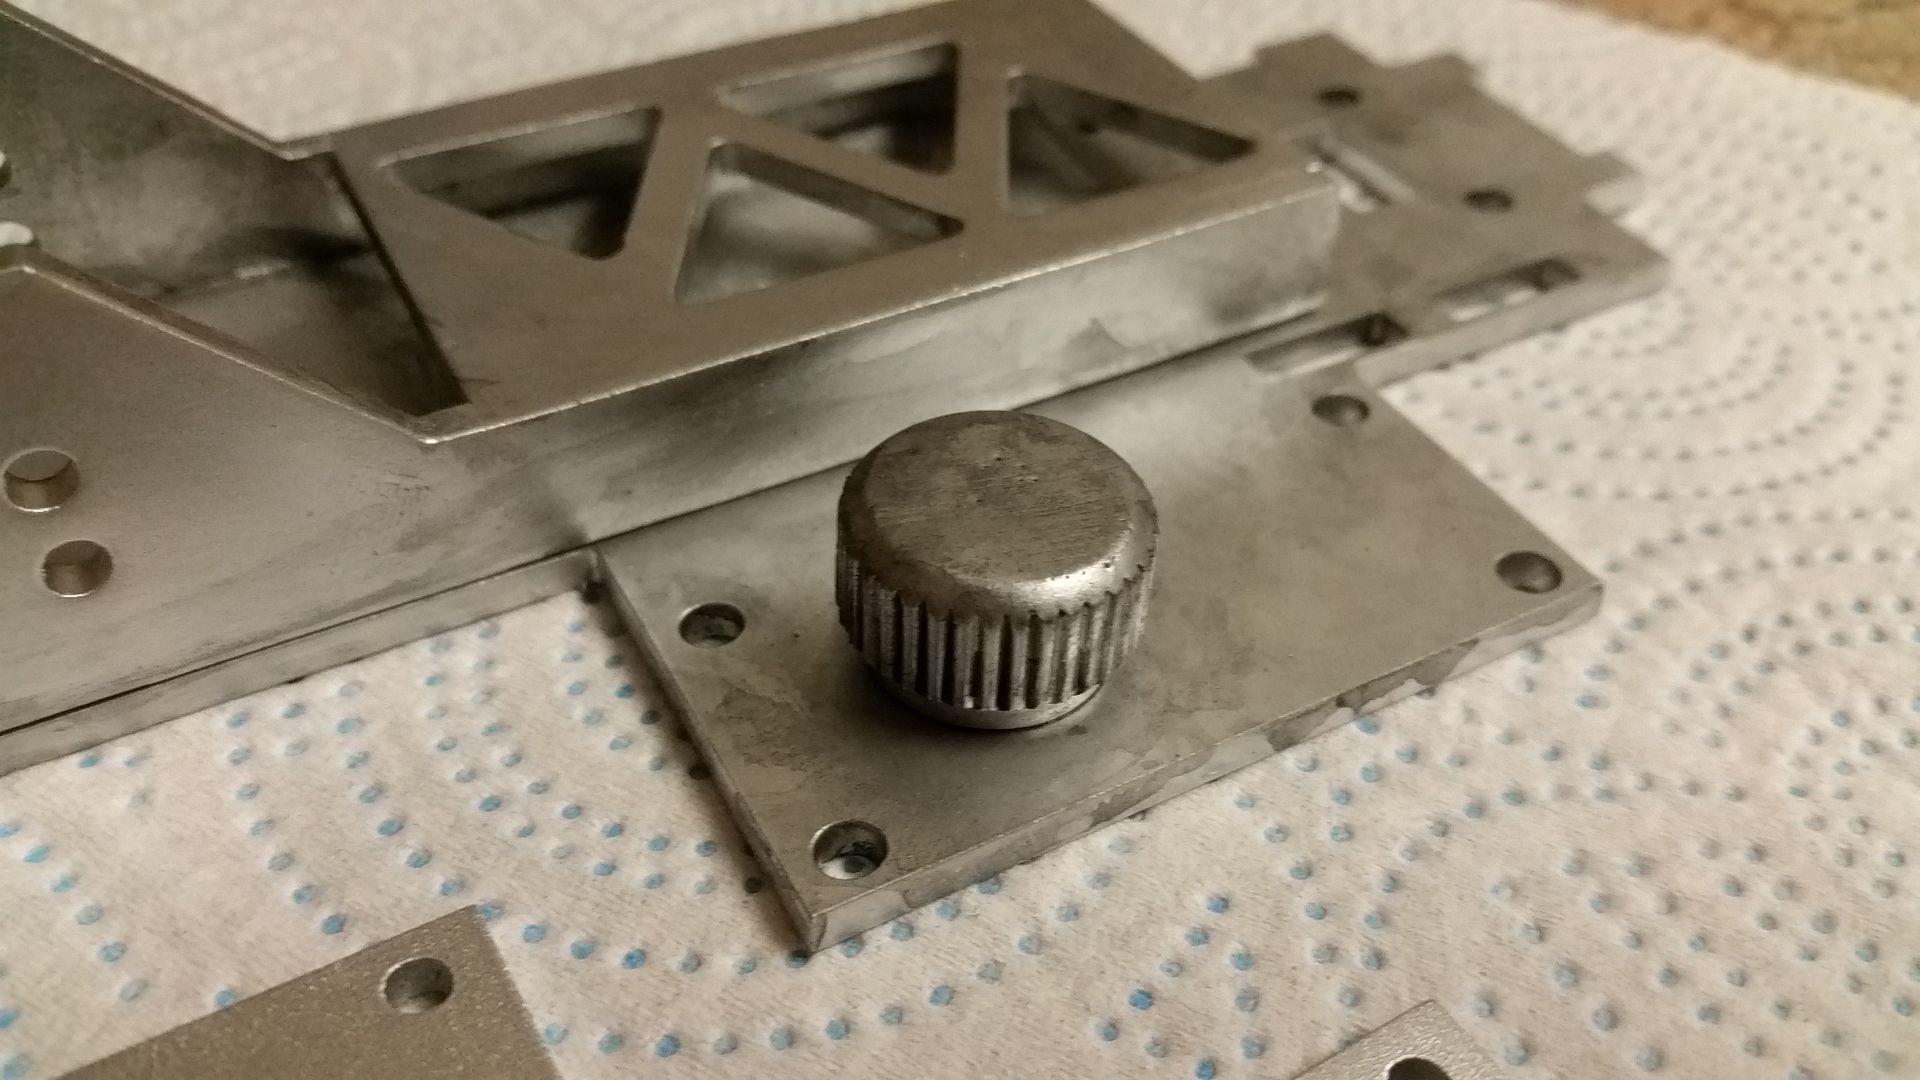
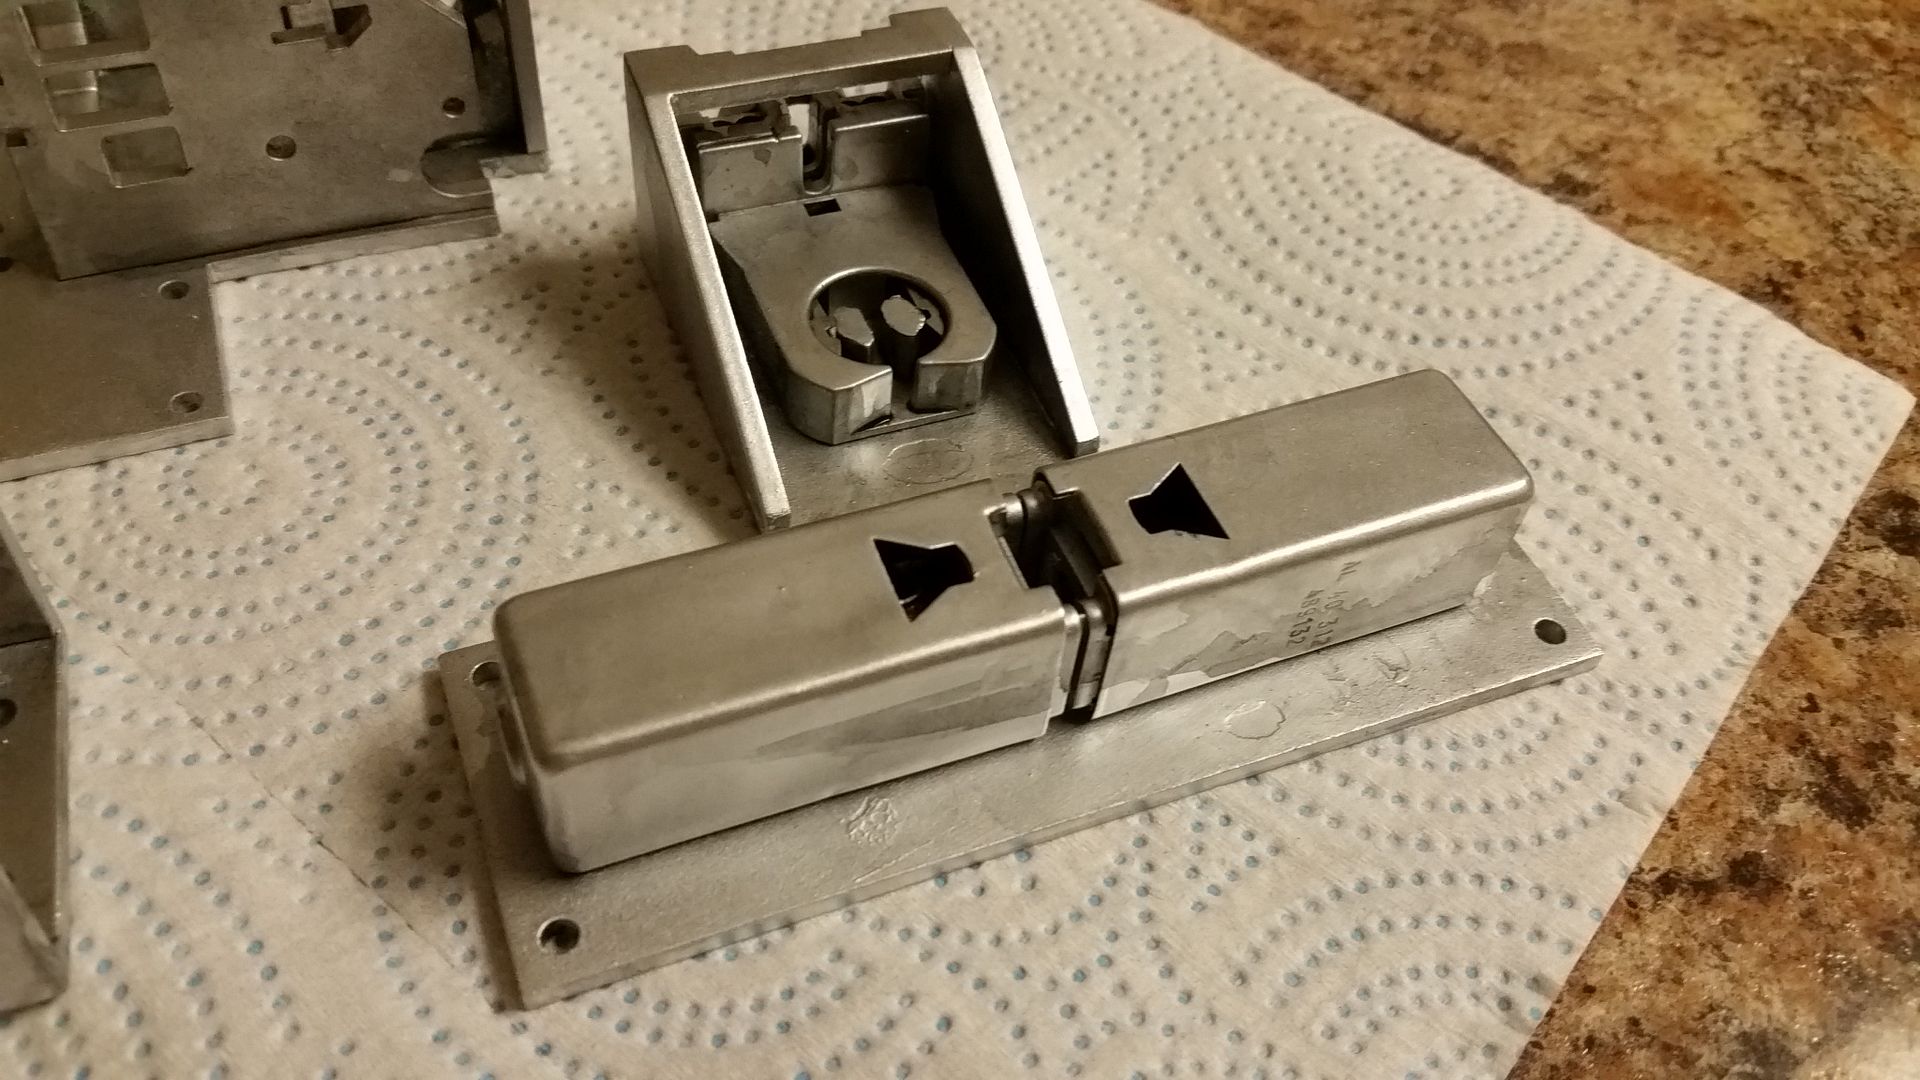
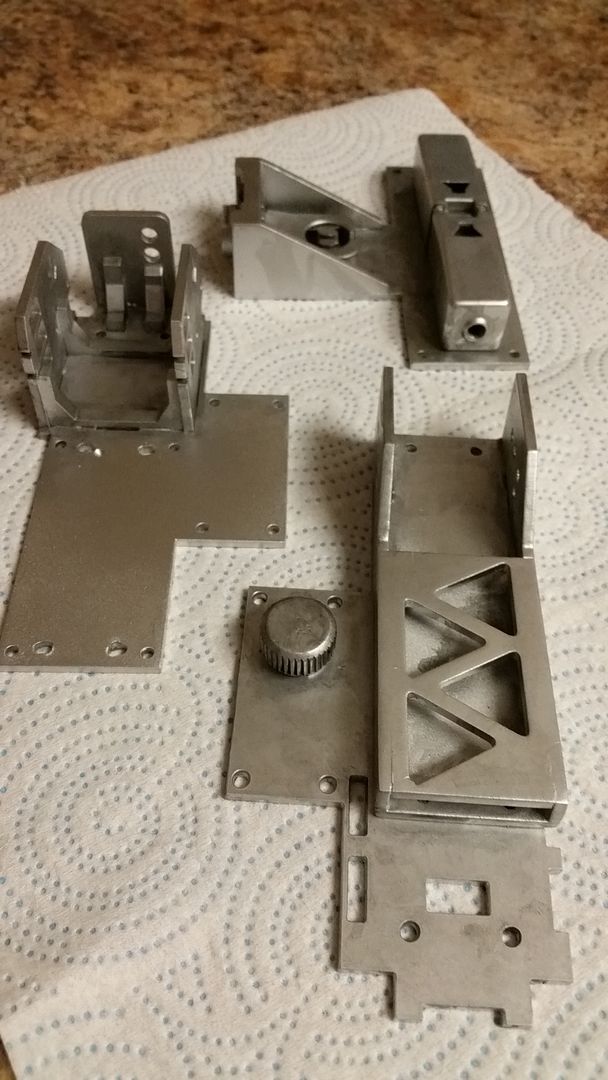
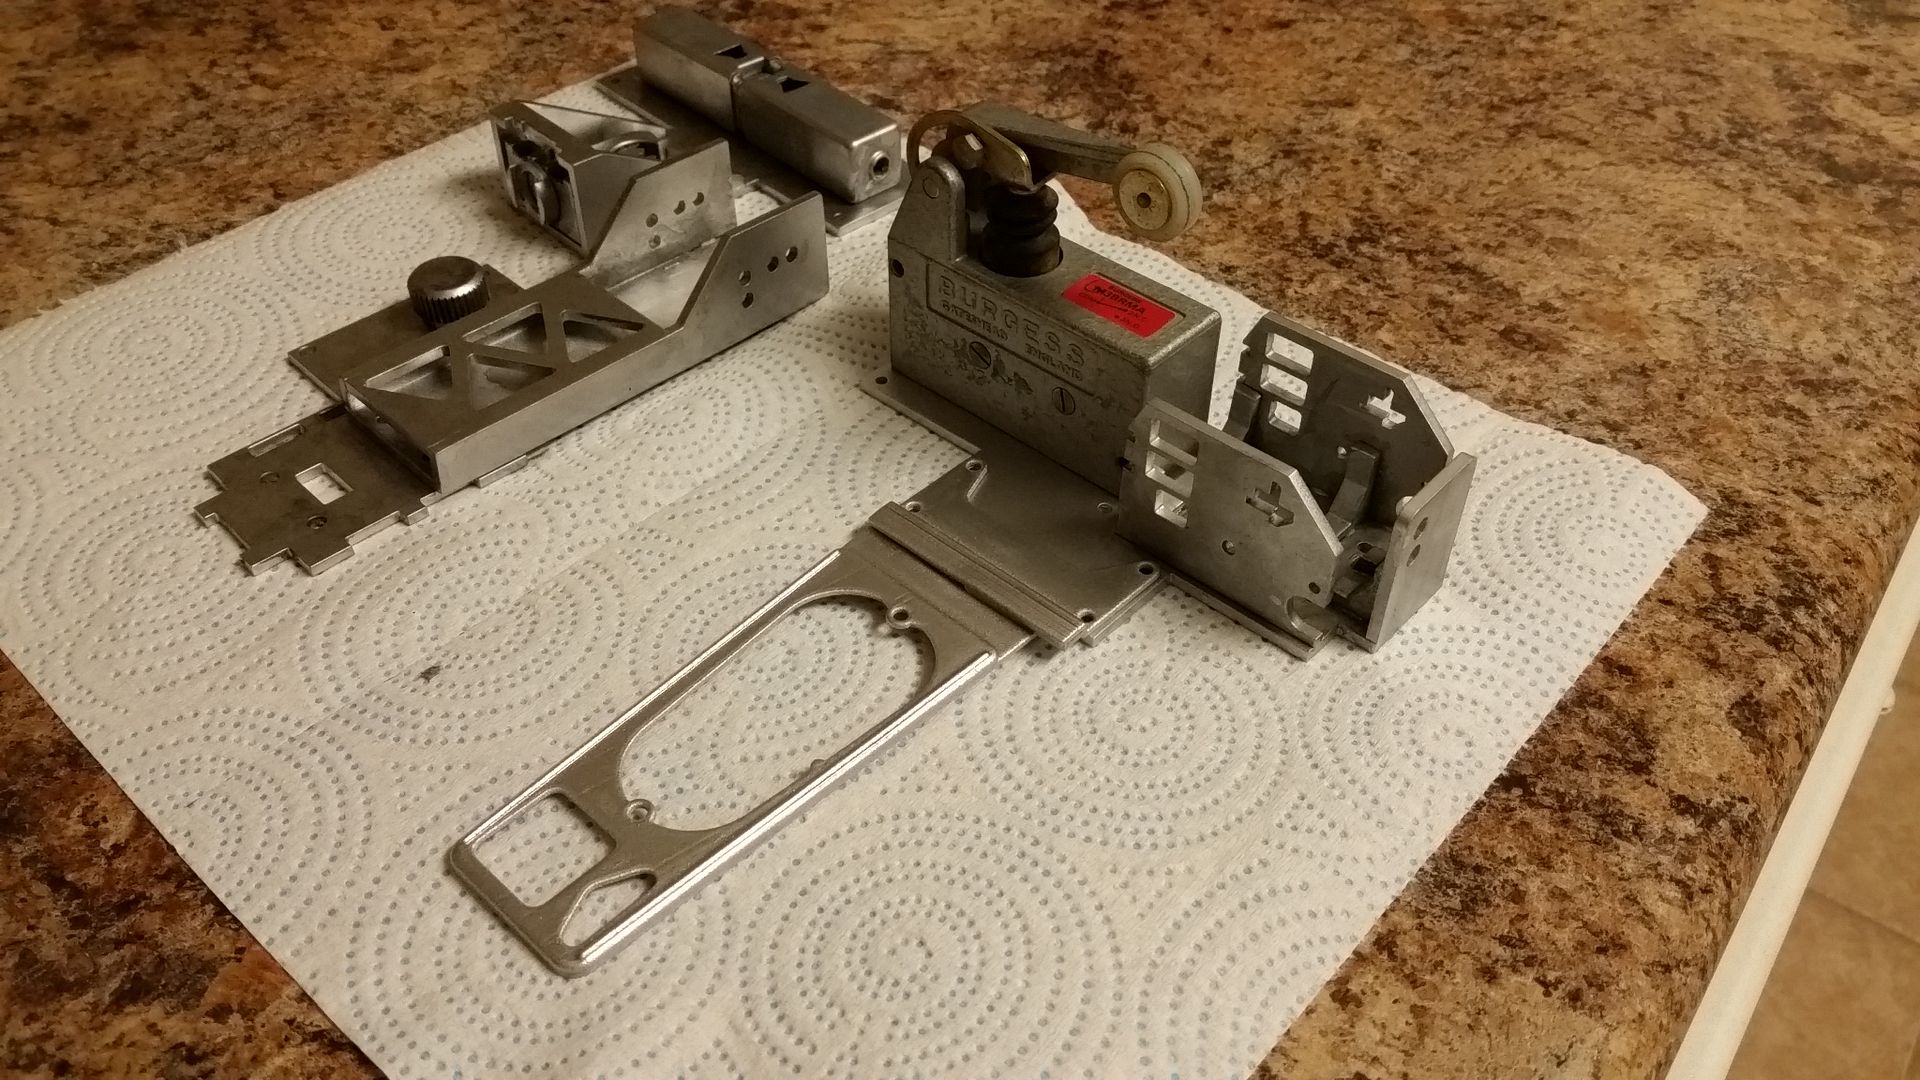
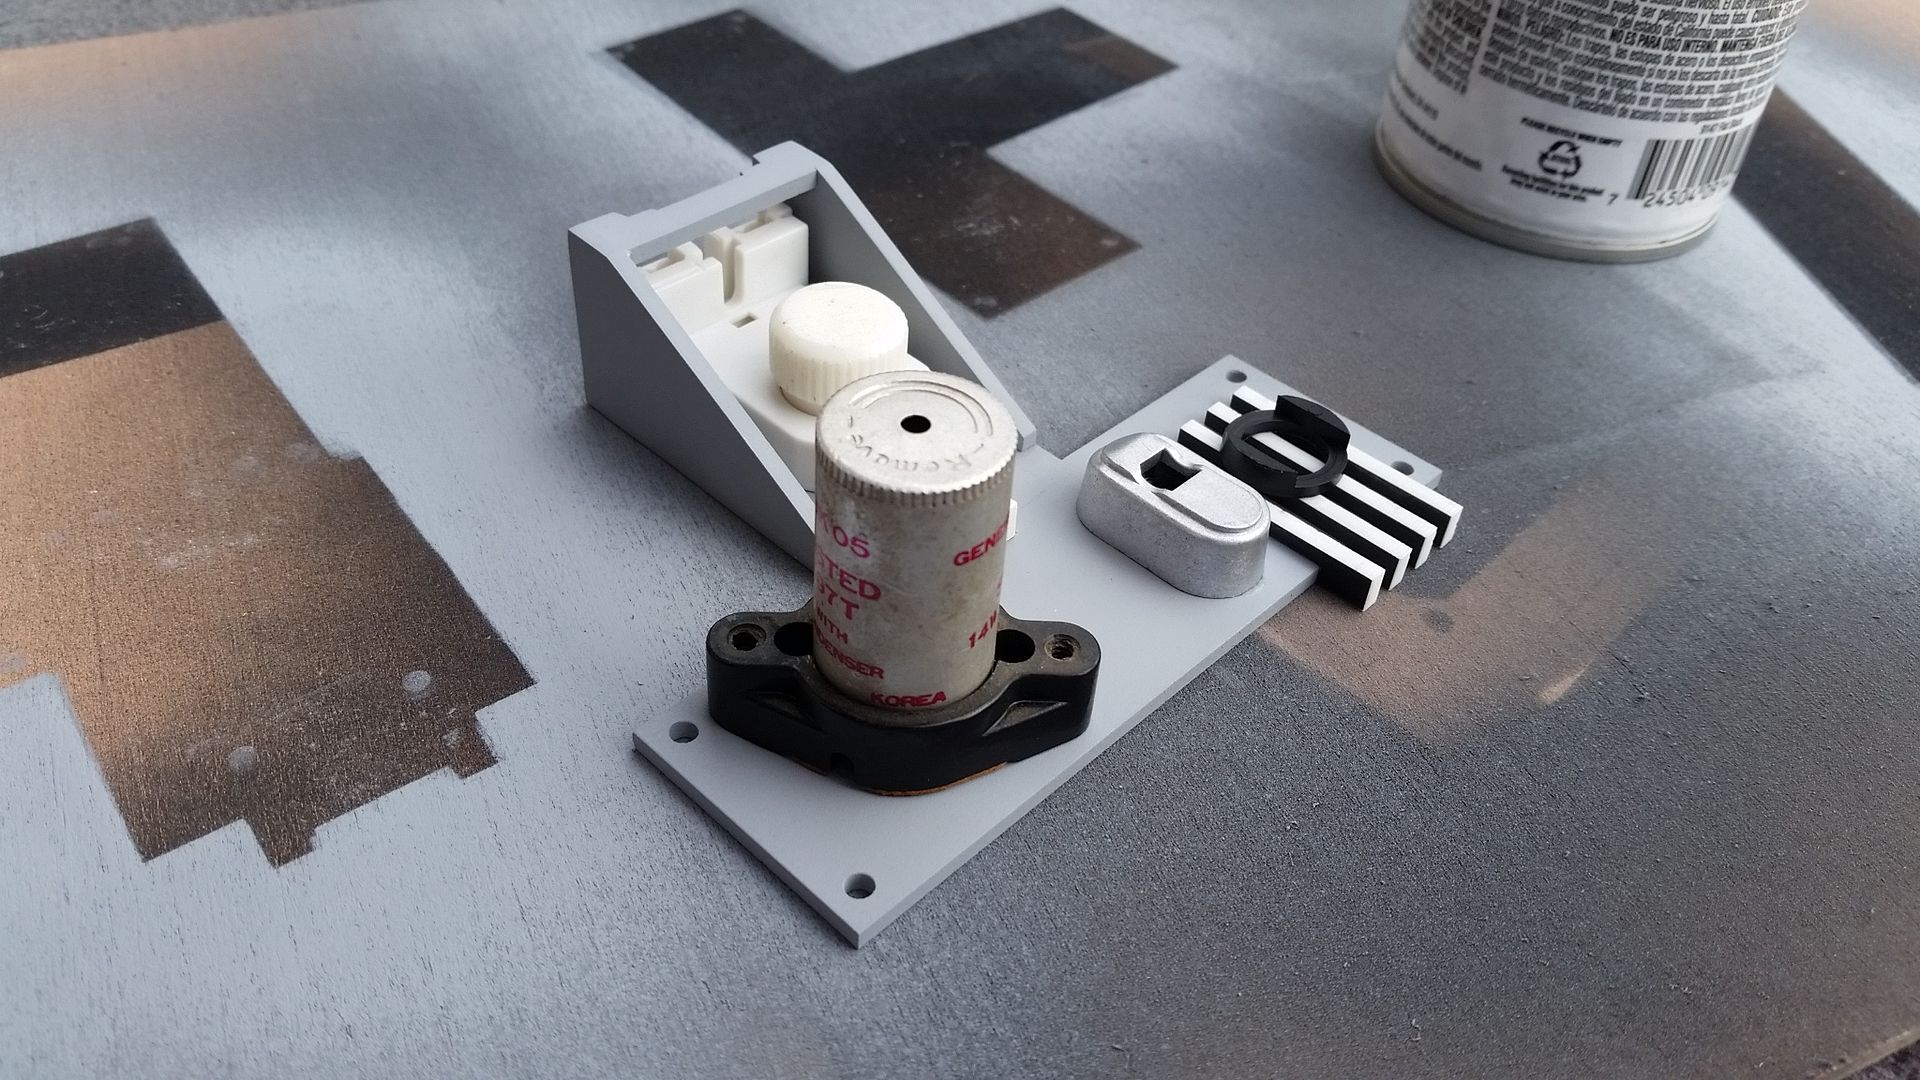
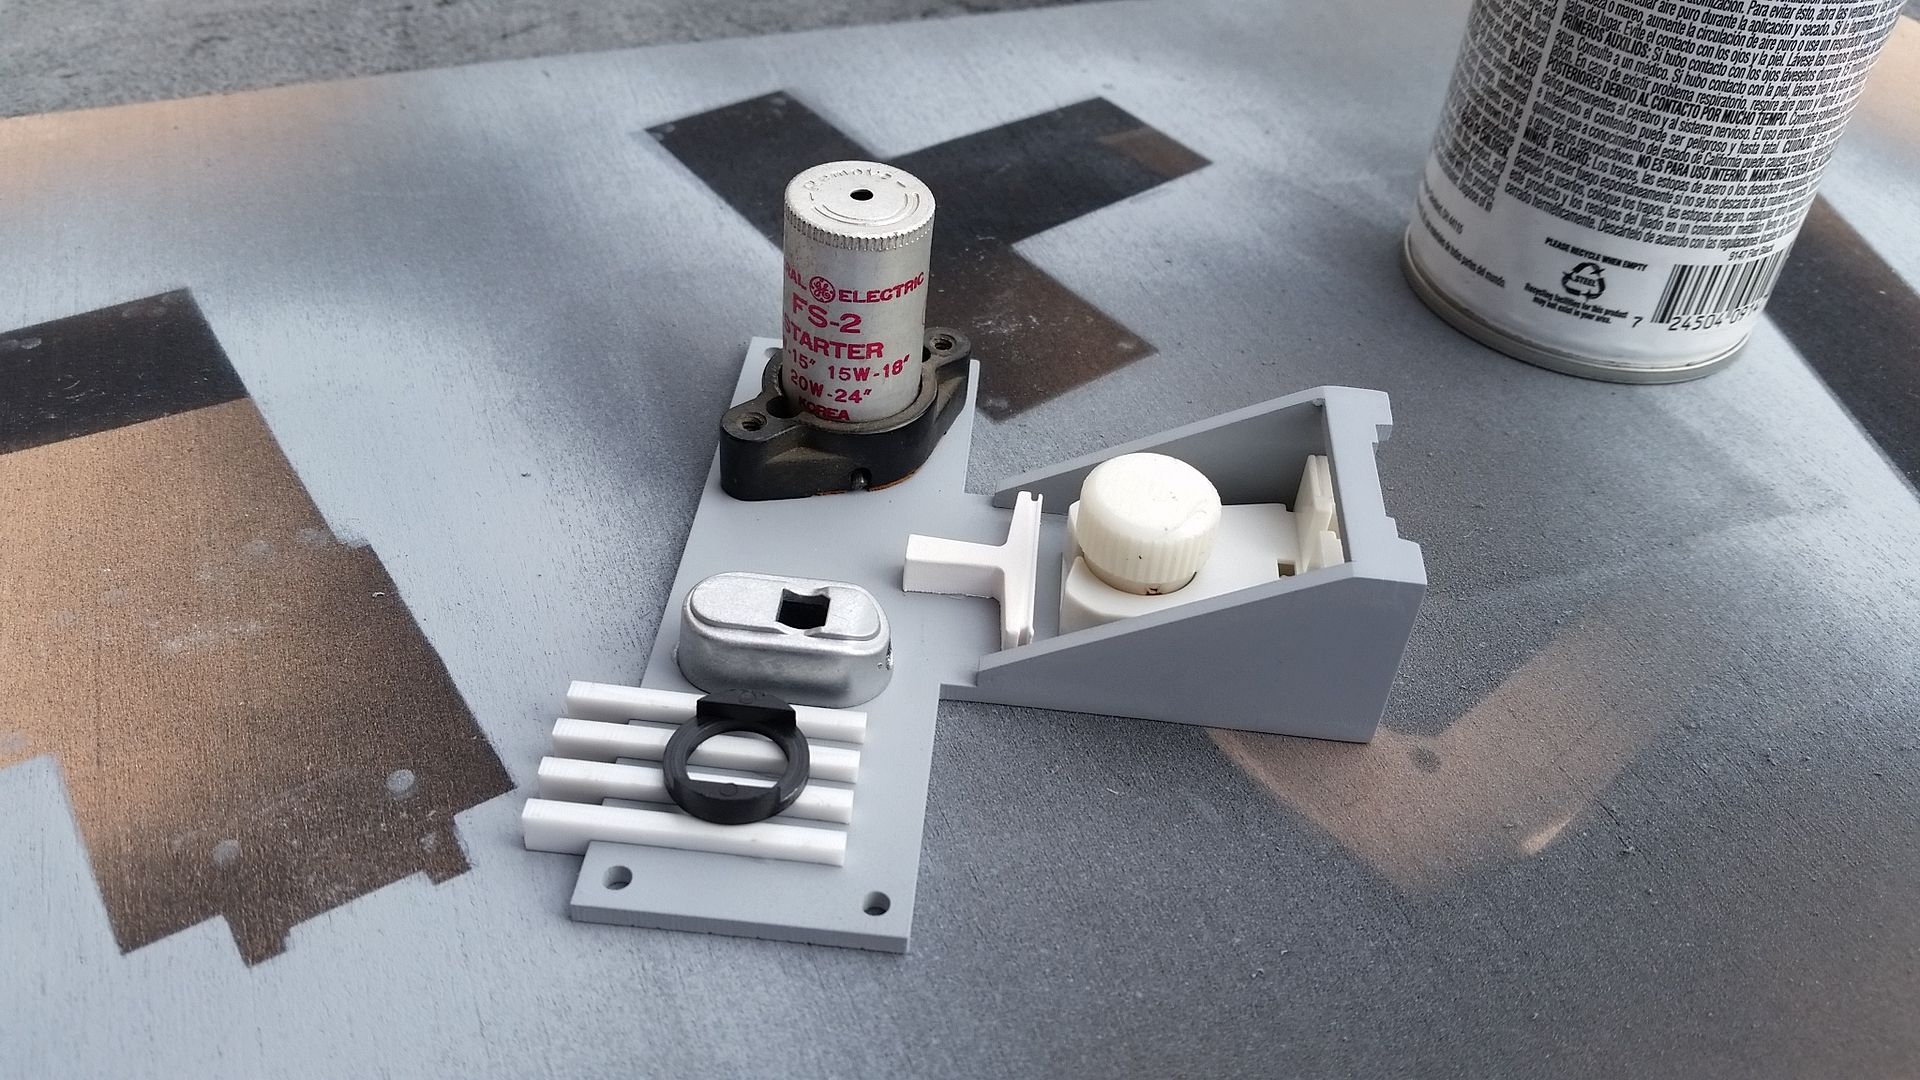
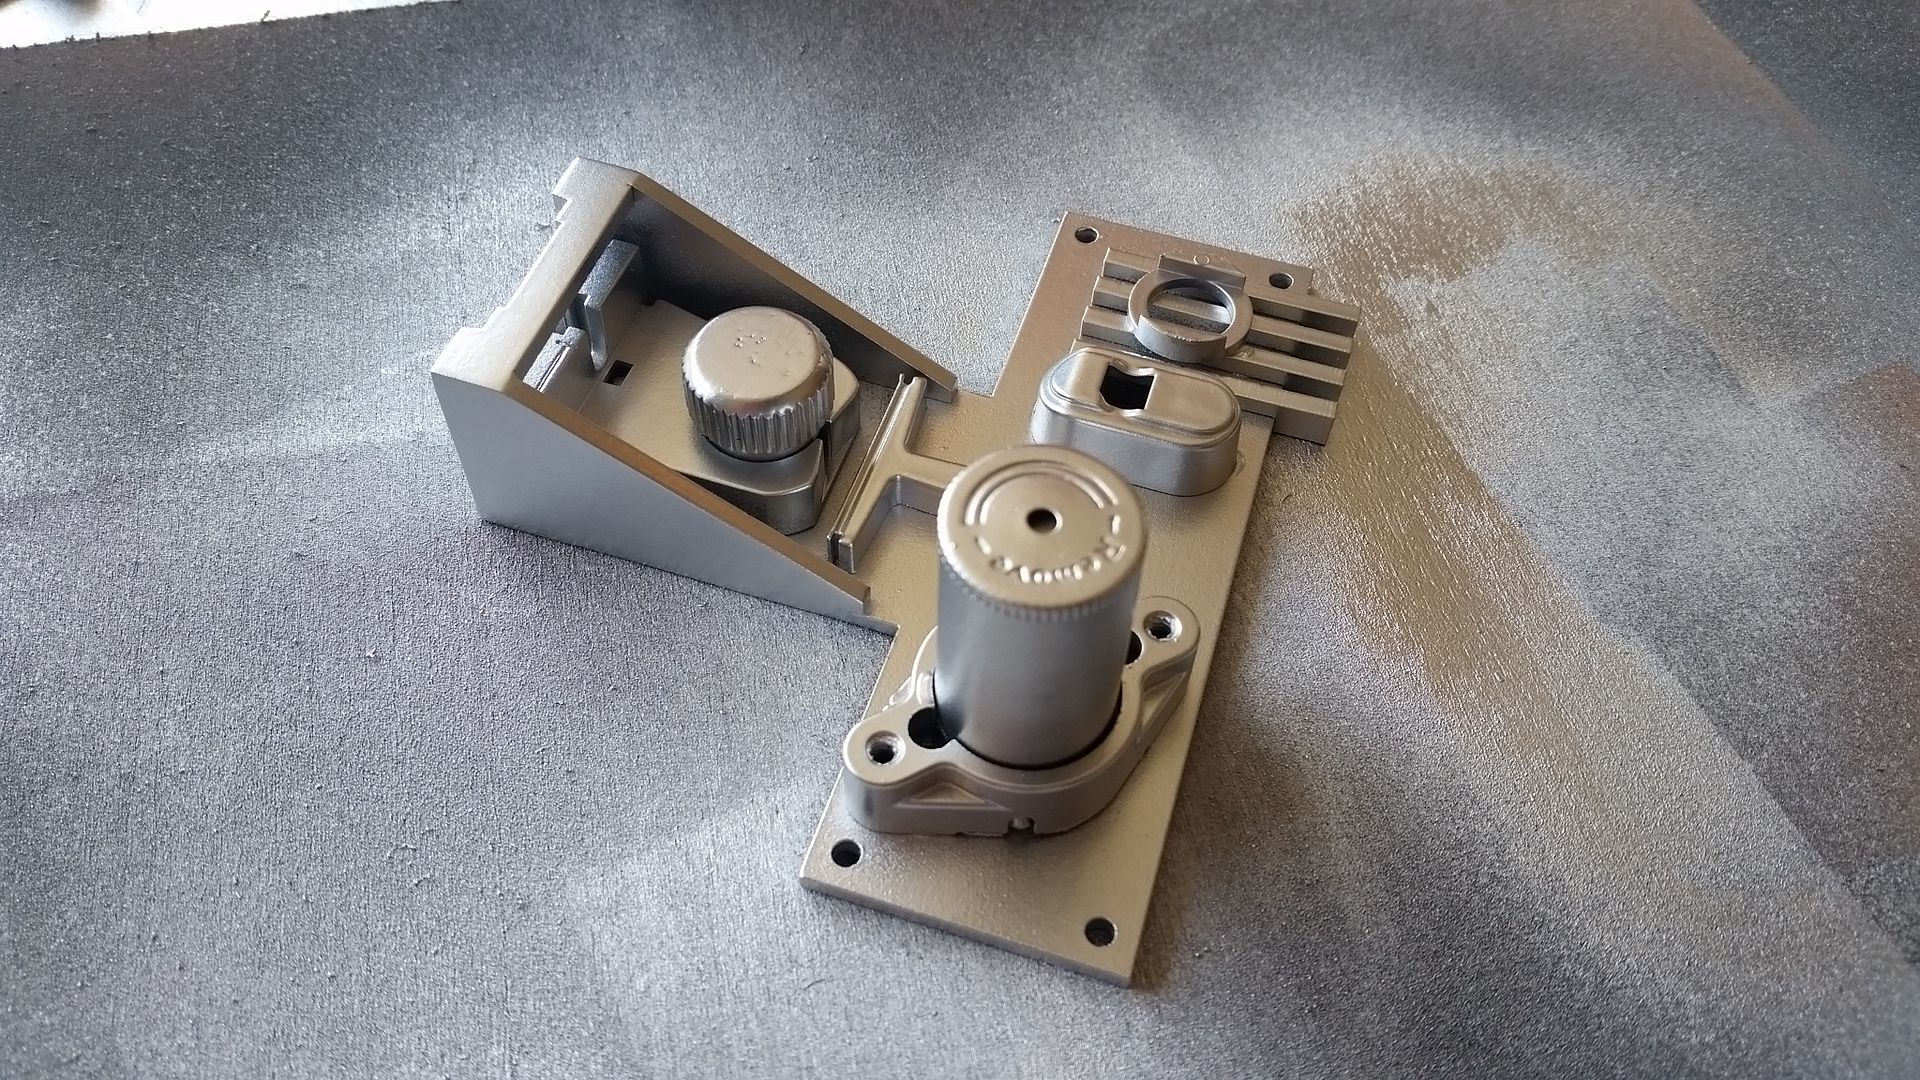
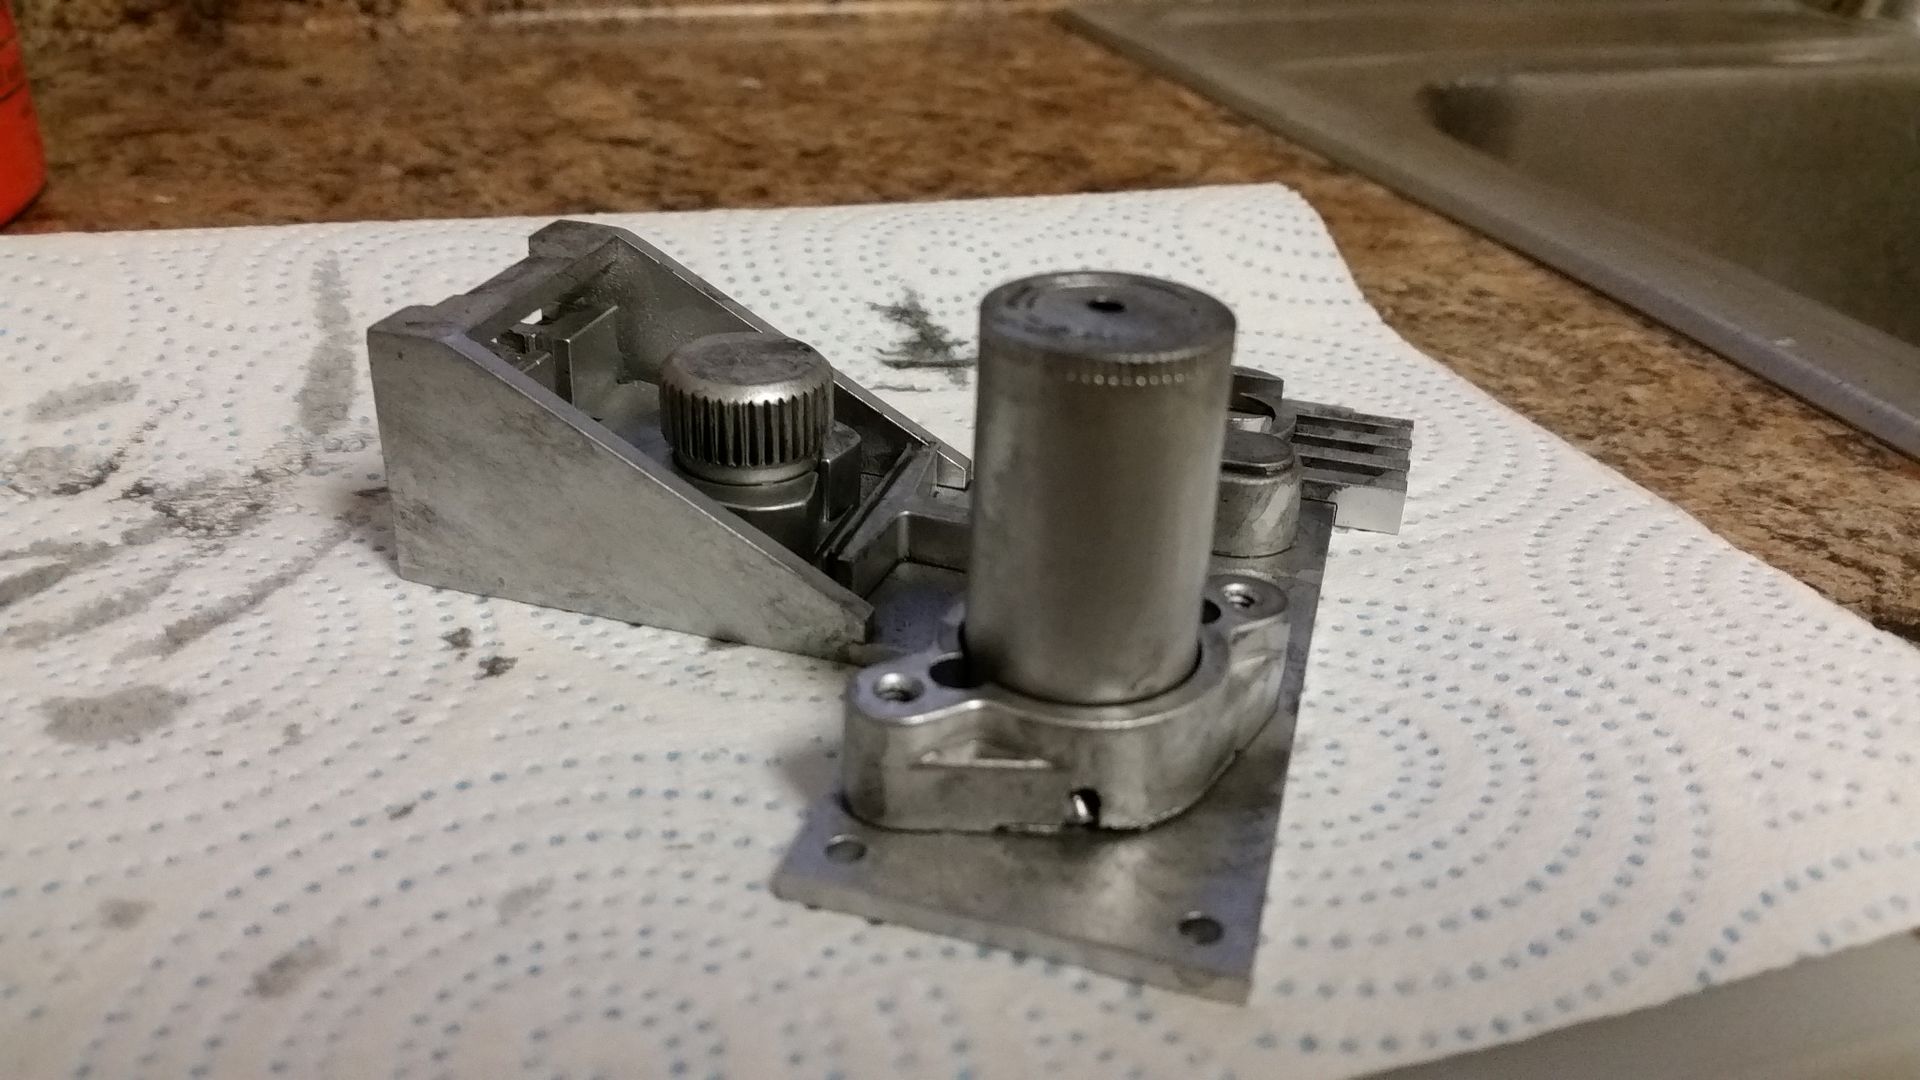
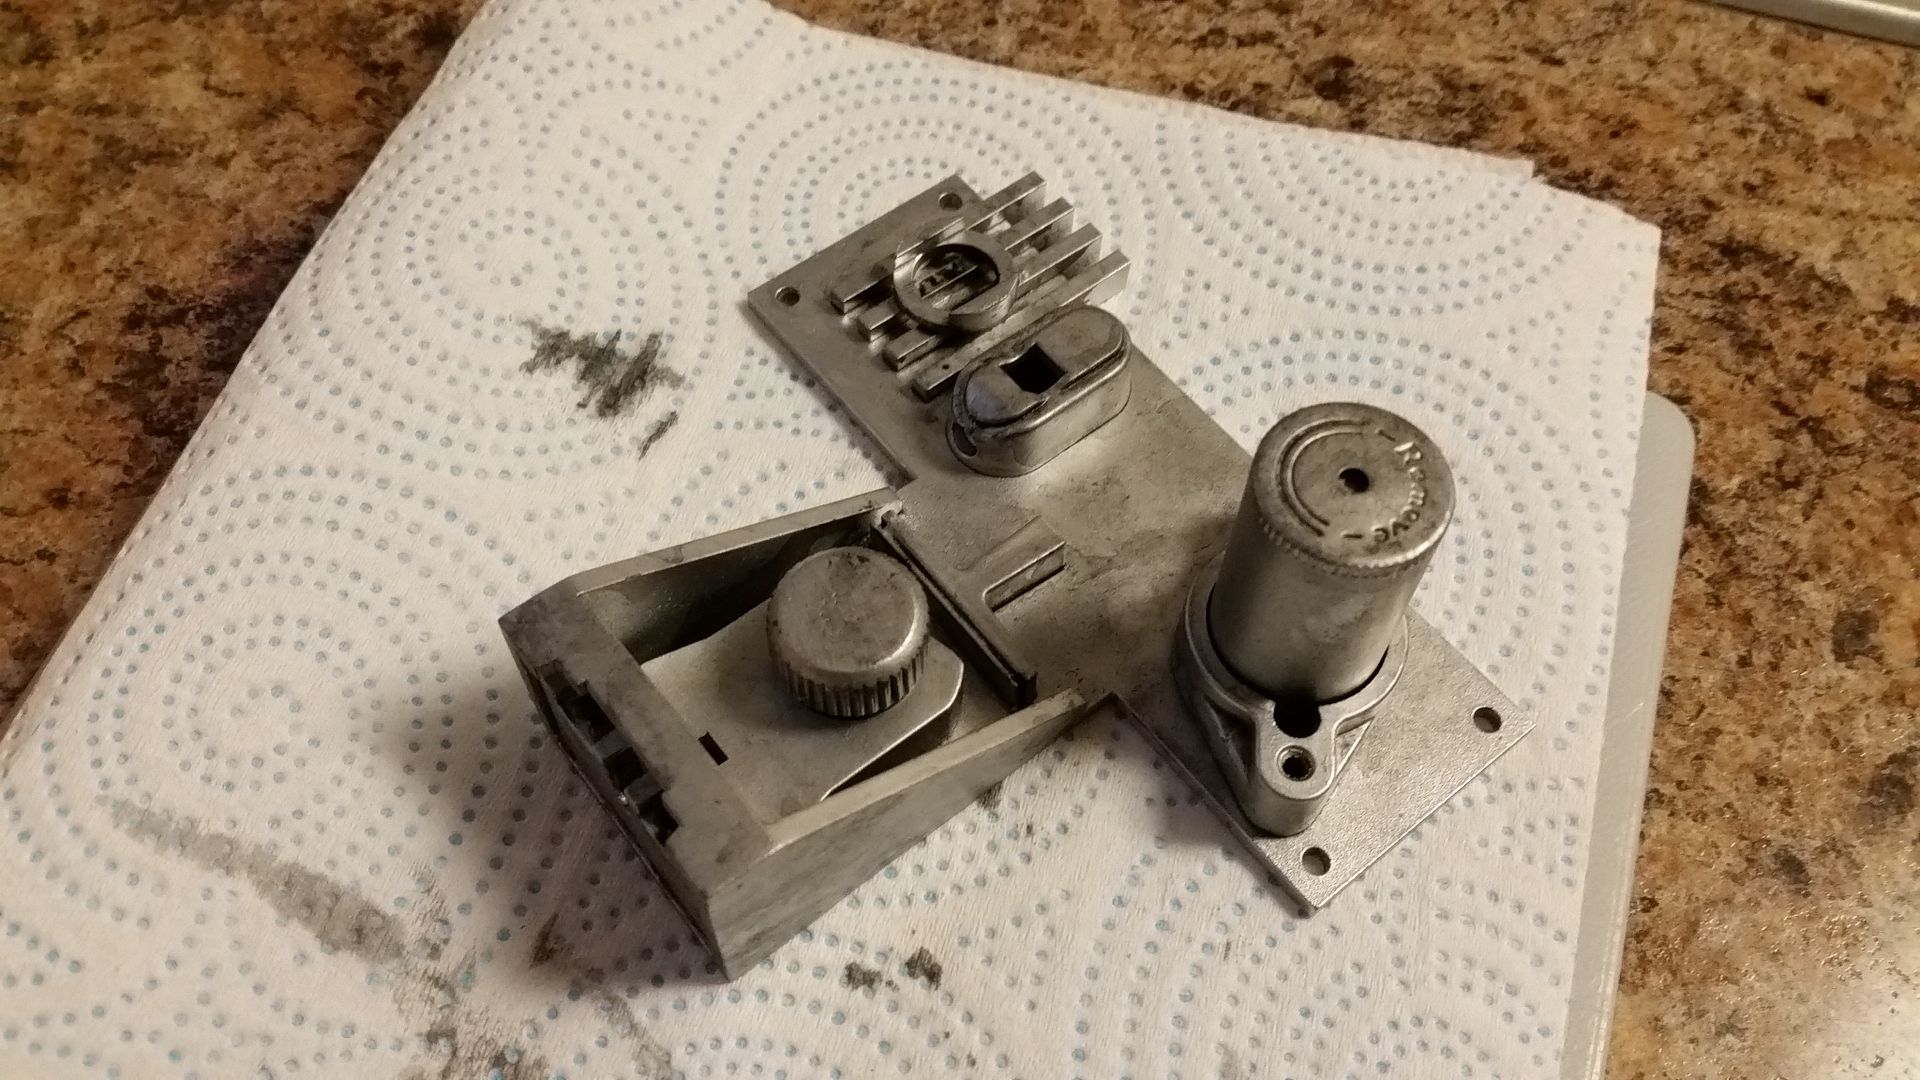
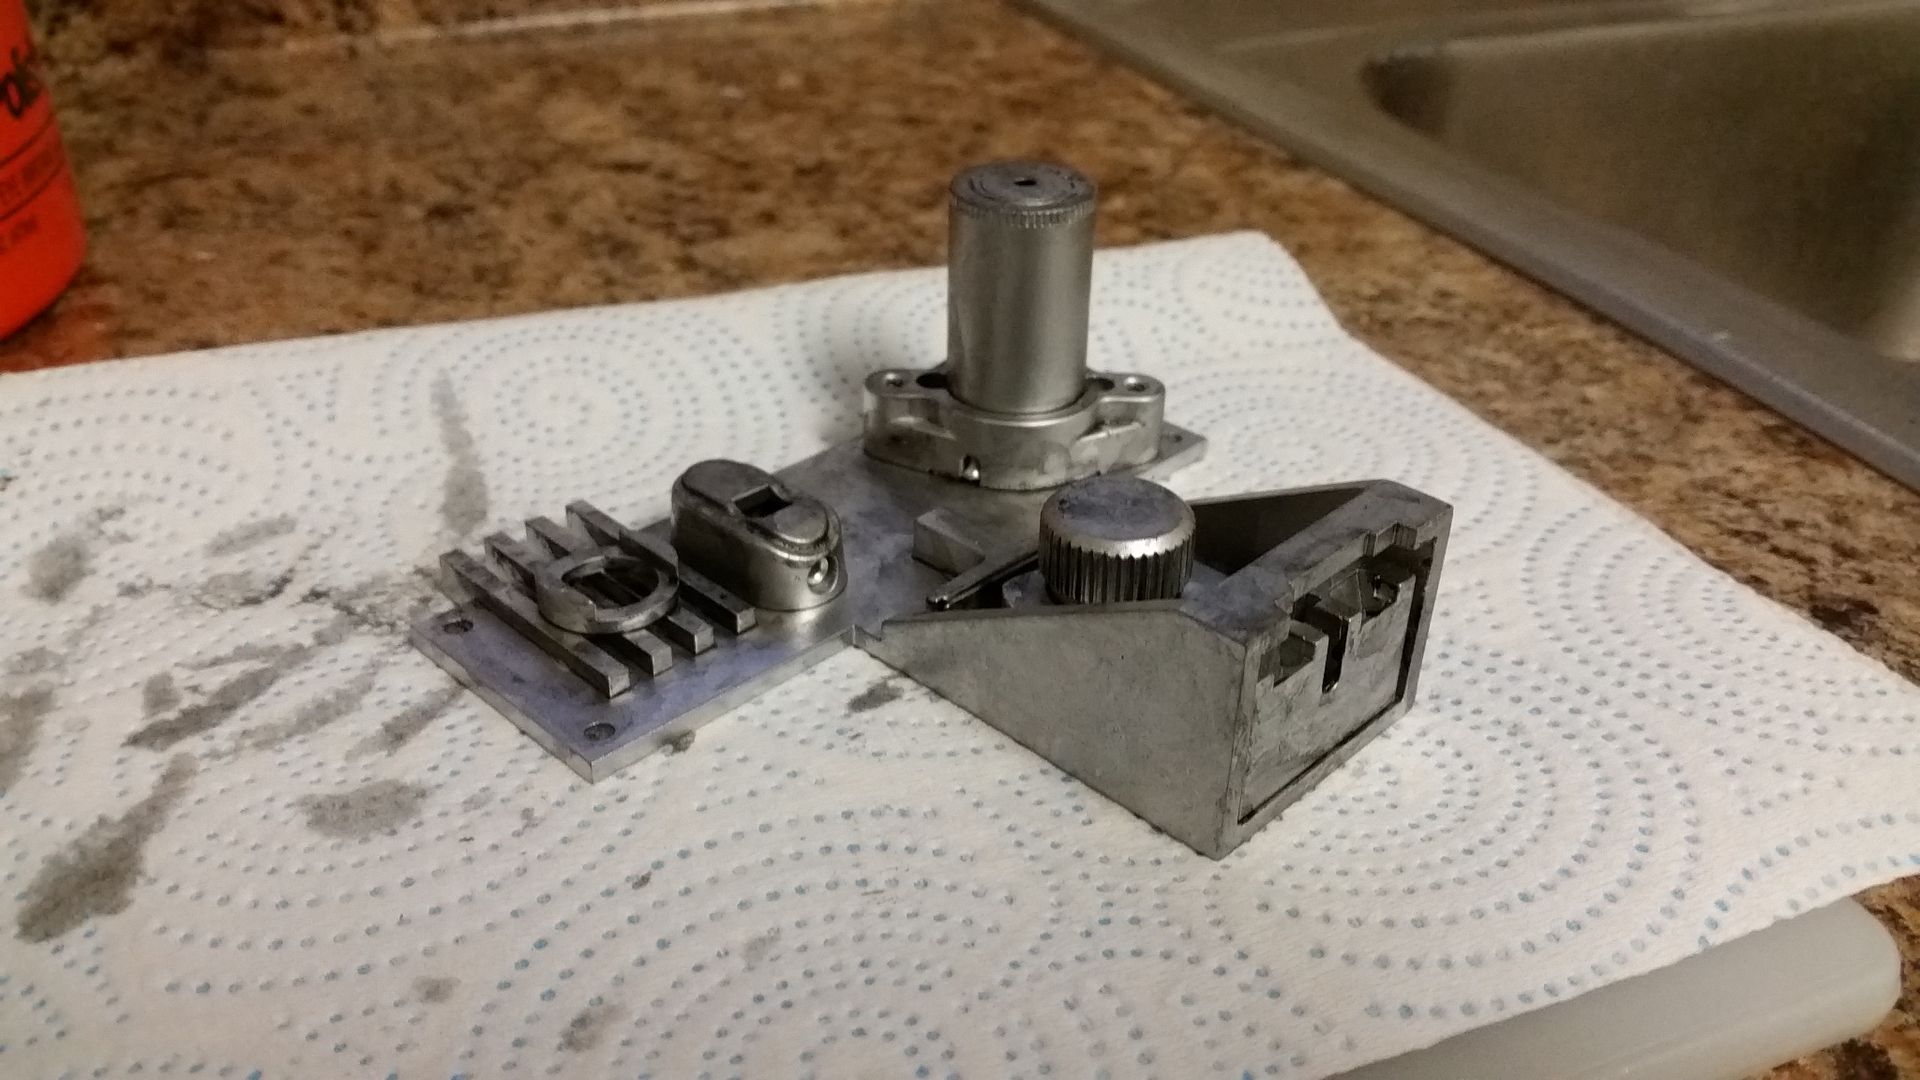
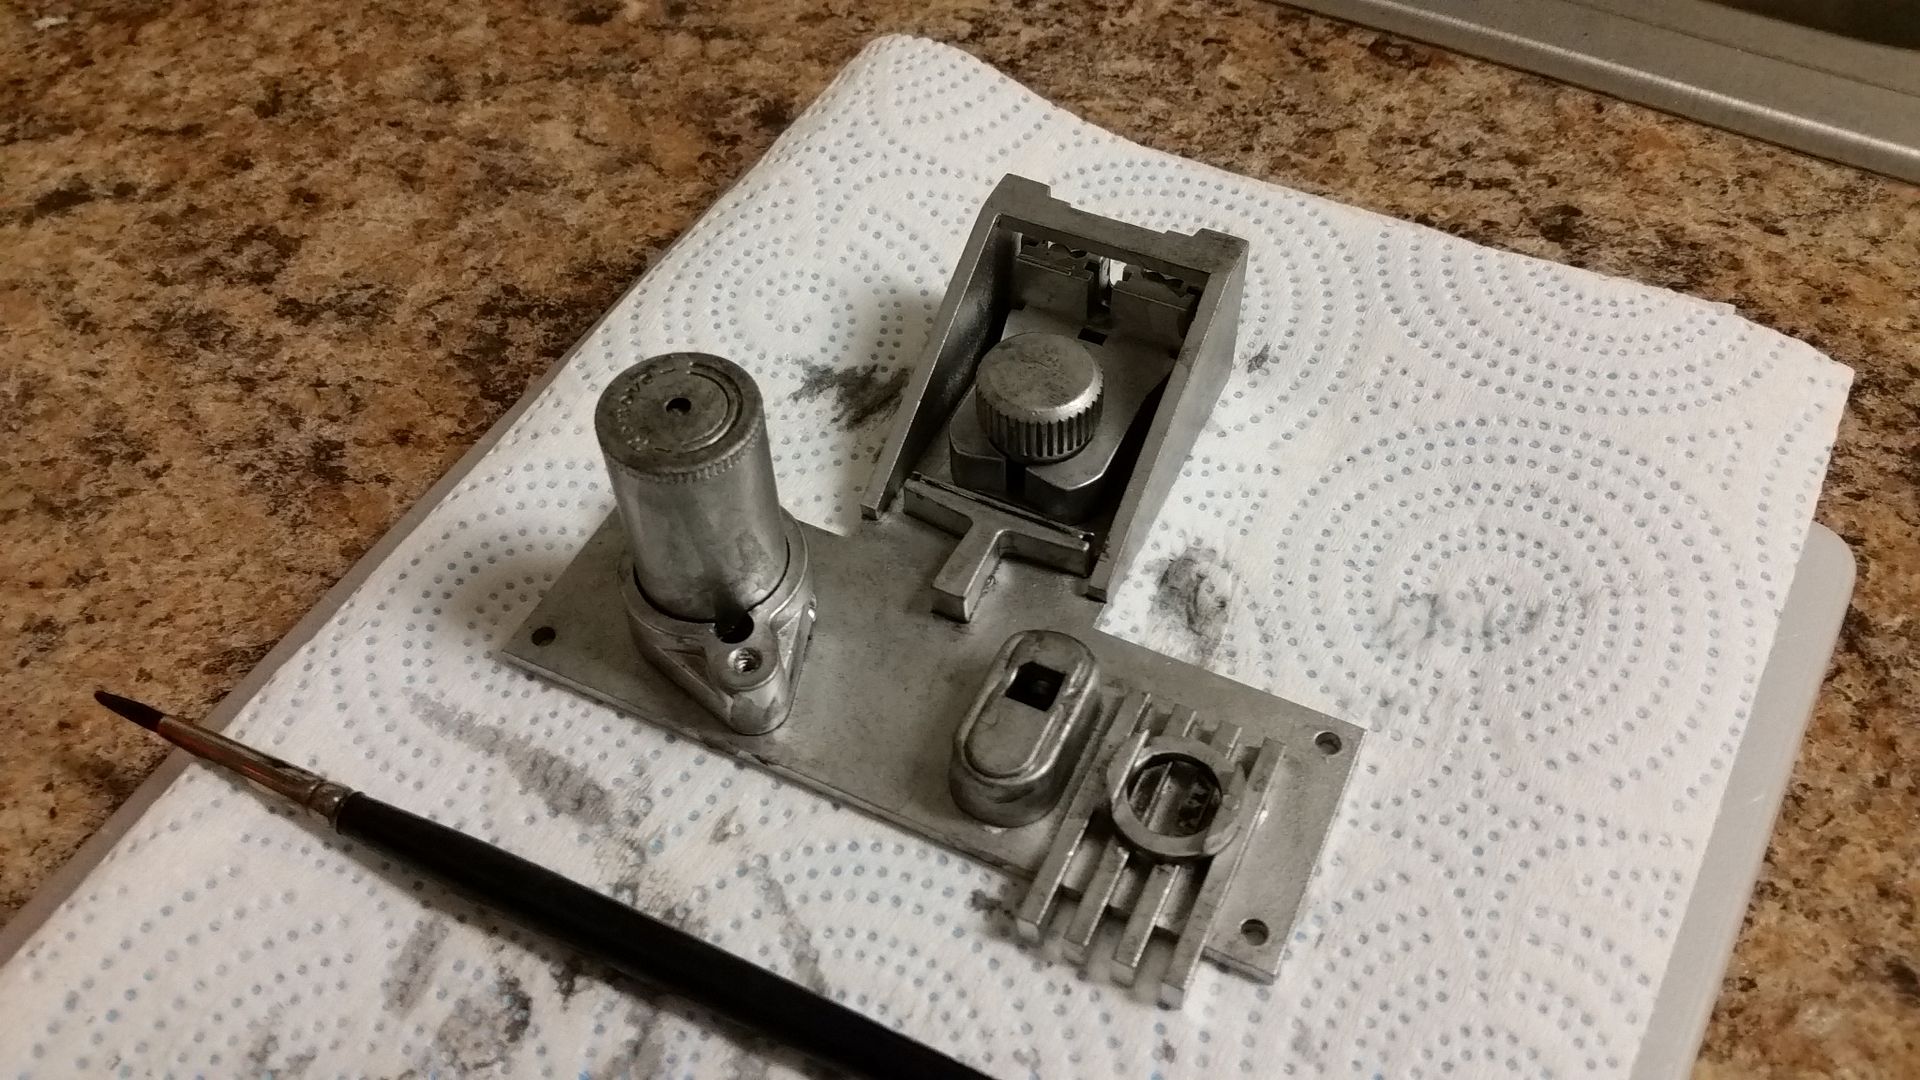
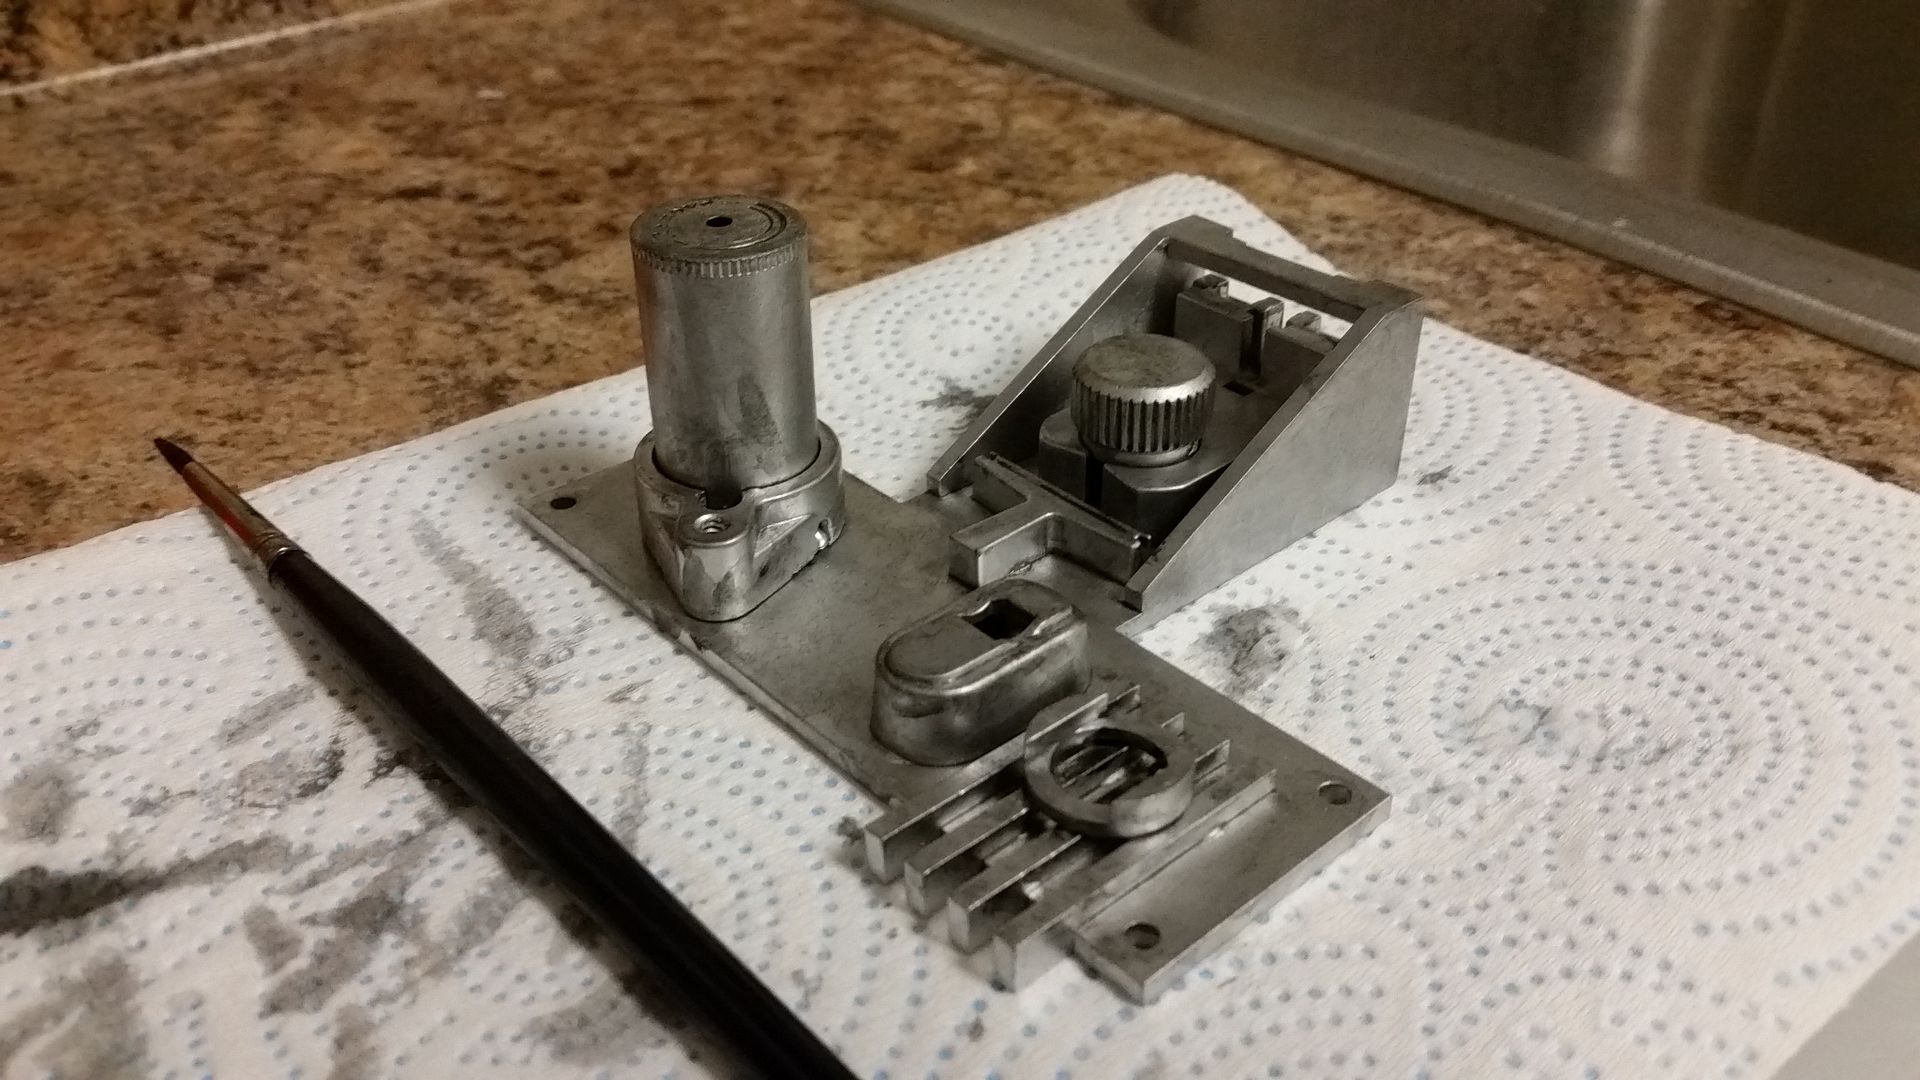
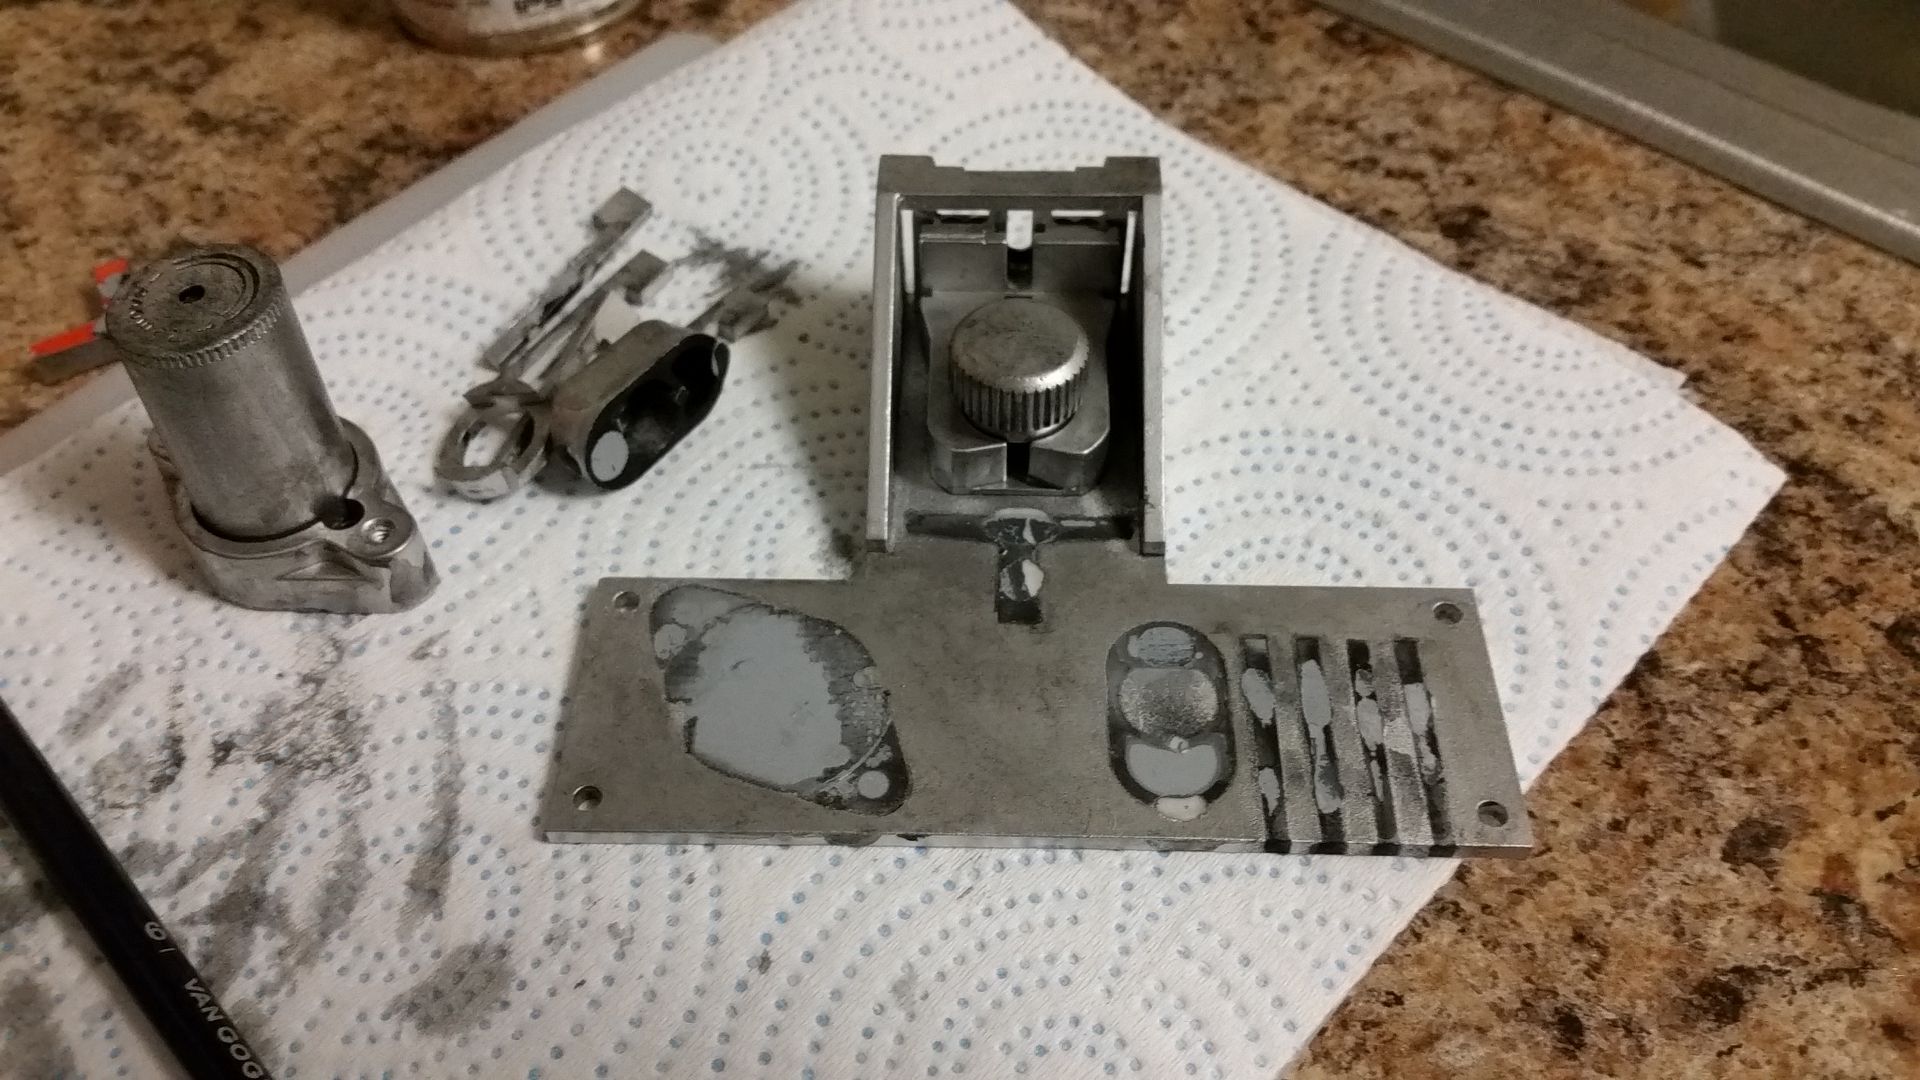
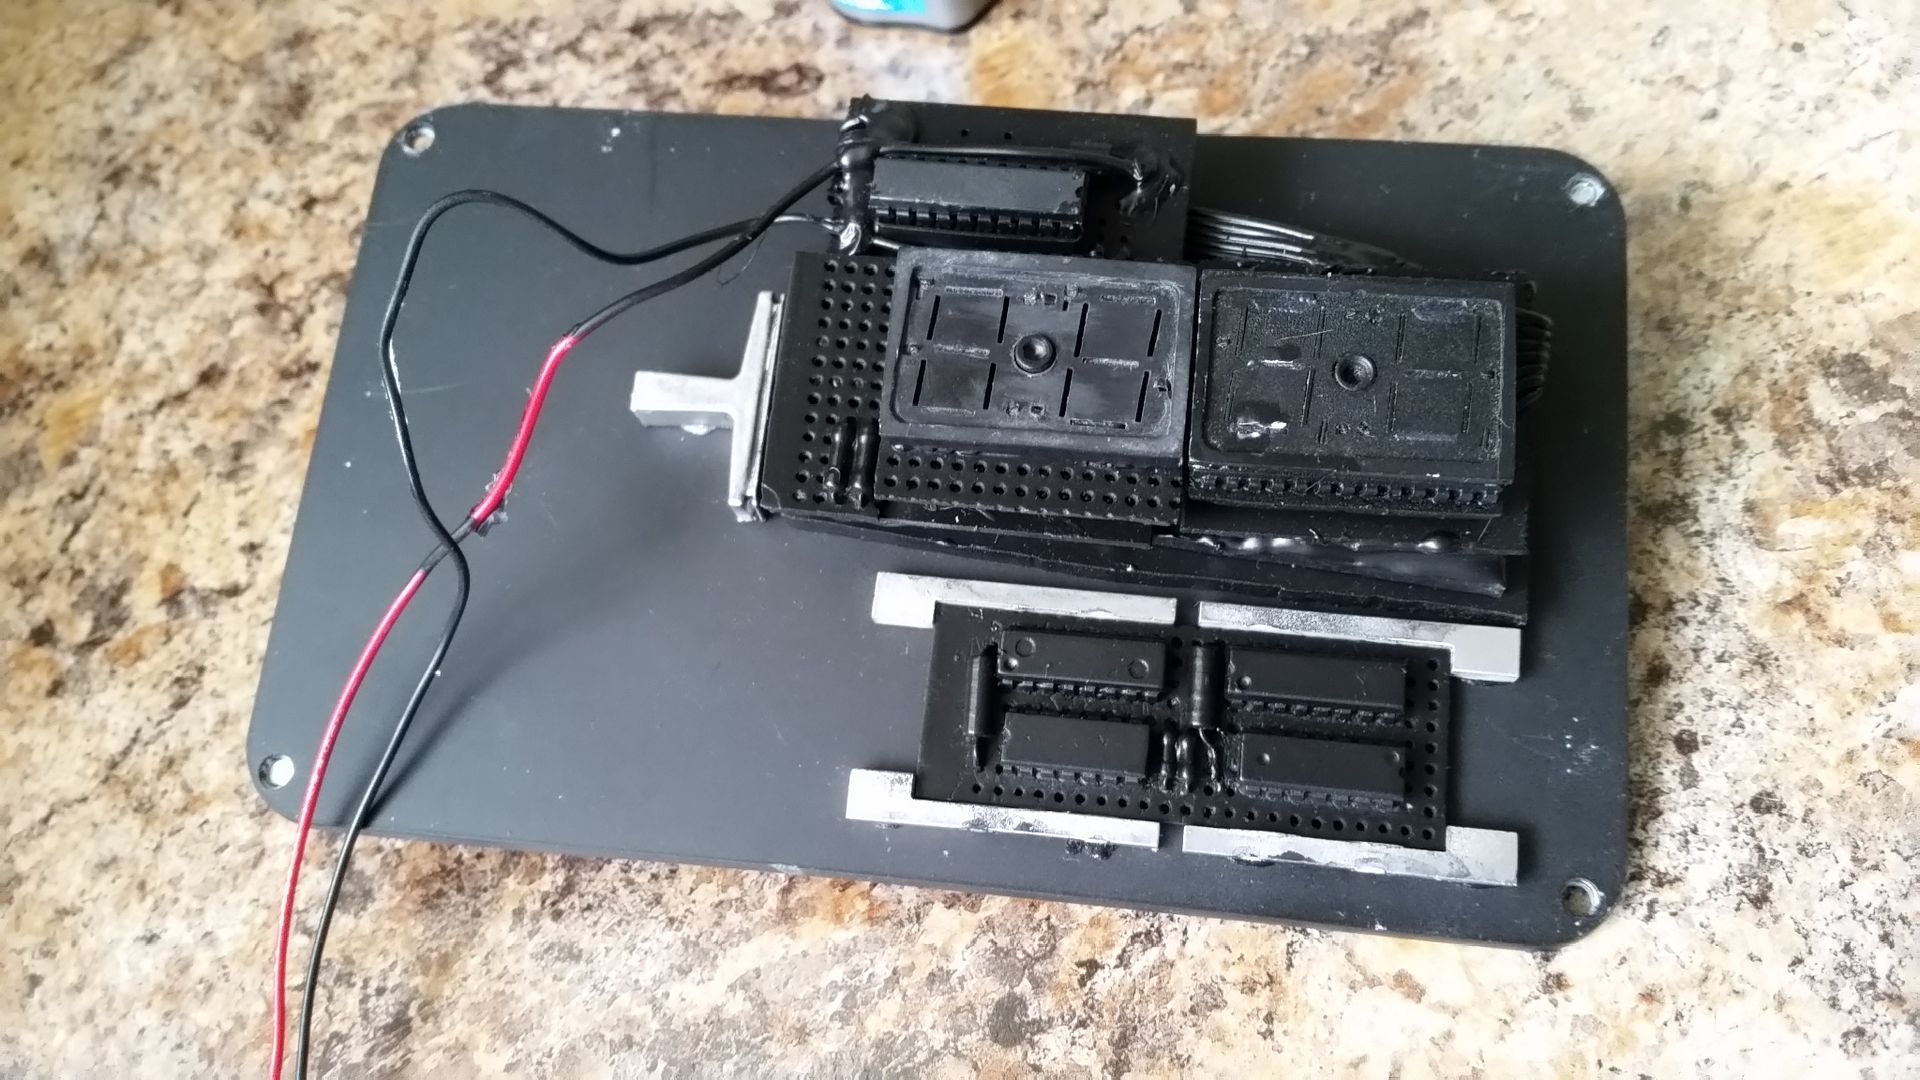
I finished getting the greeblie back together
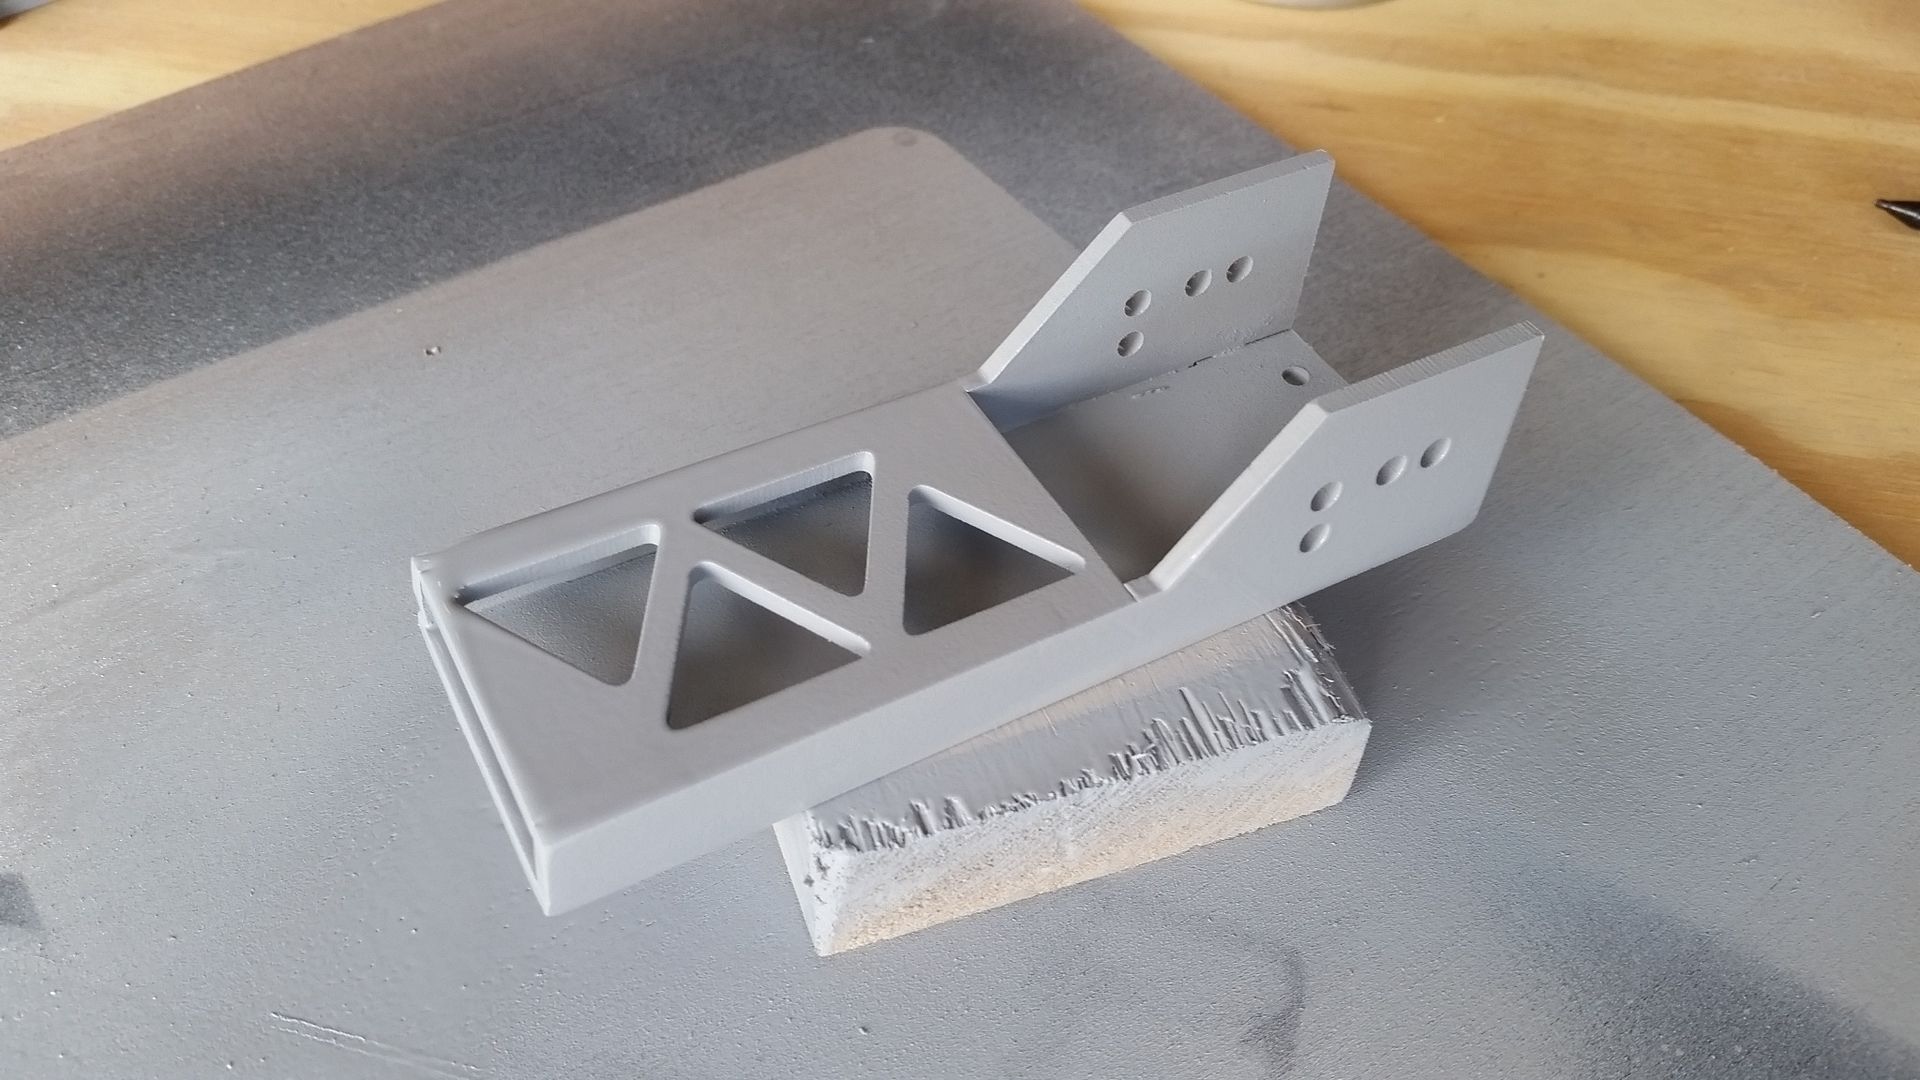
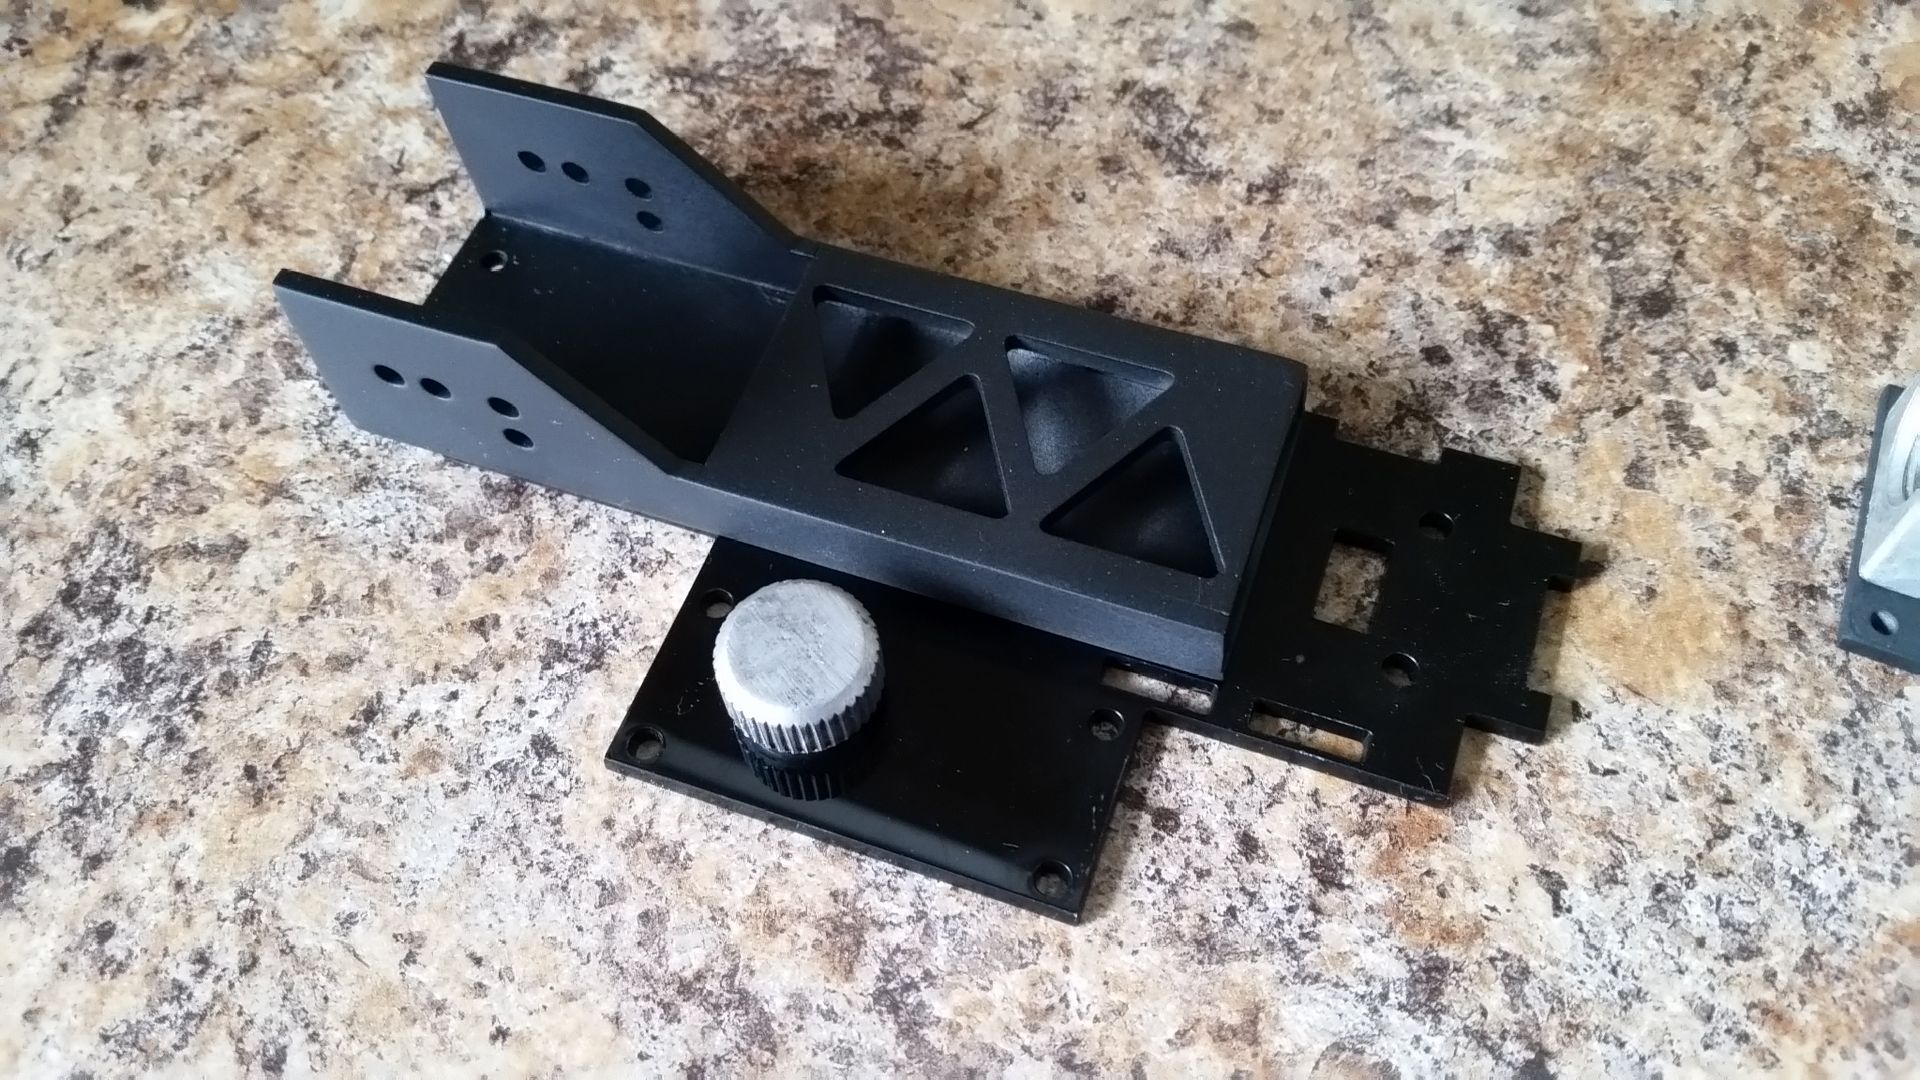
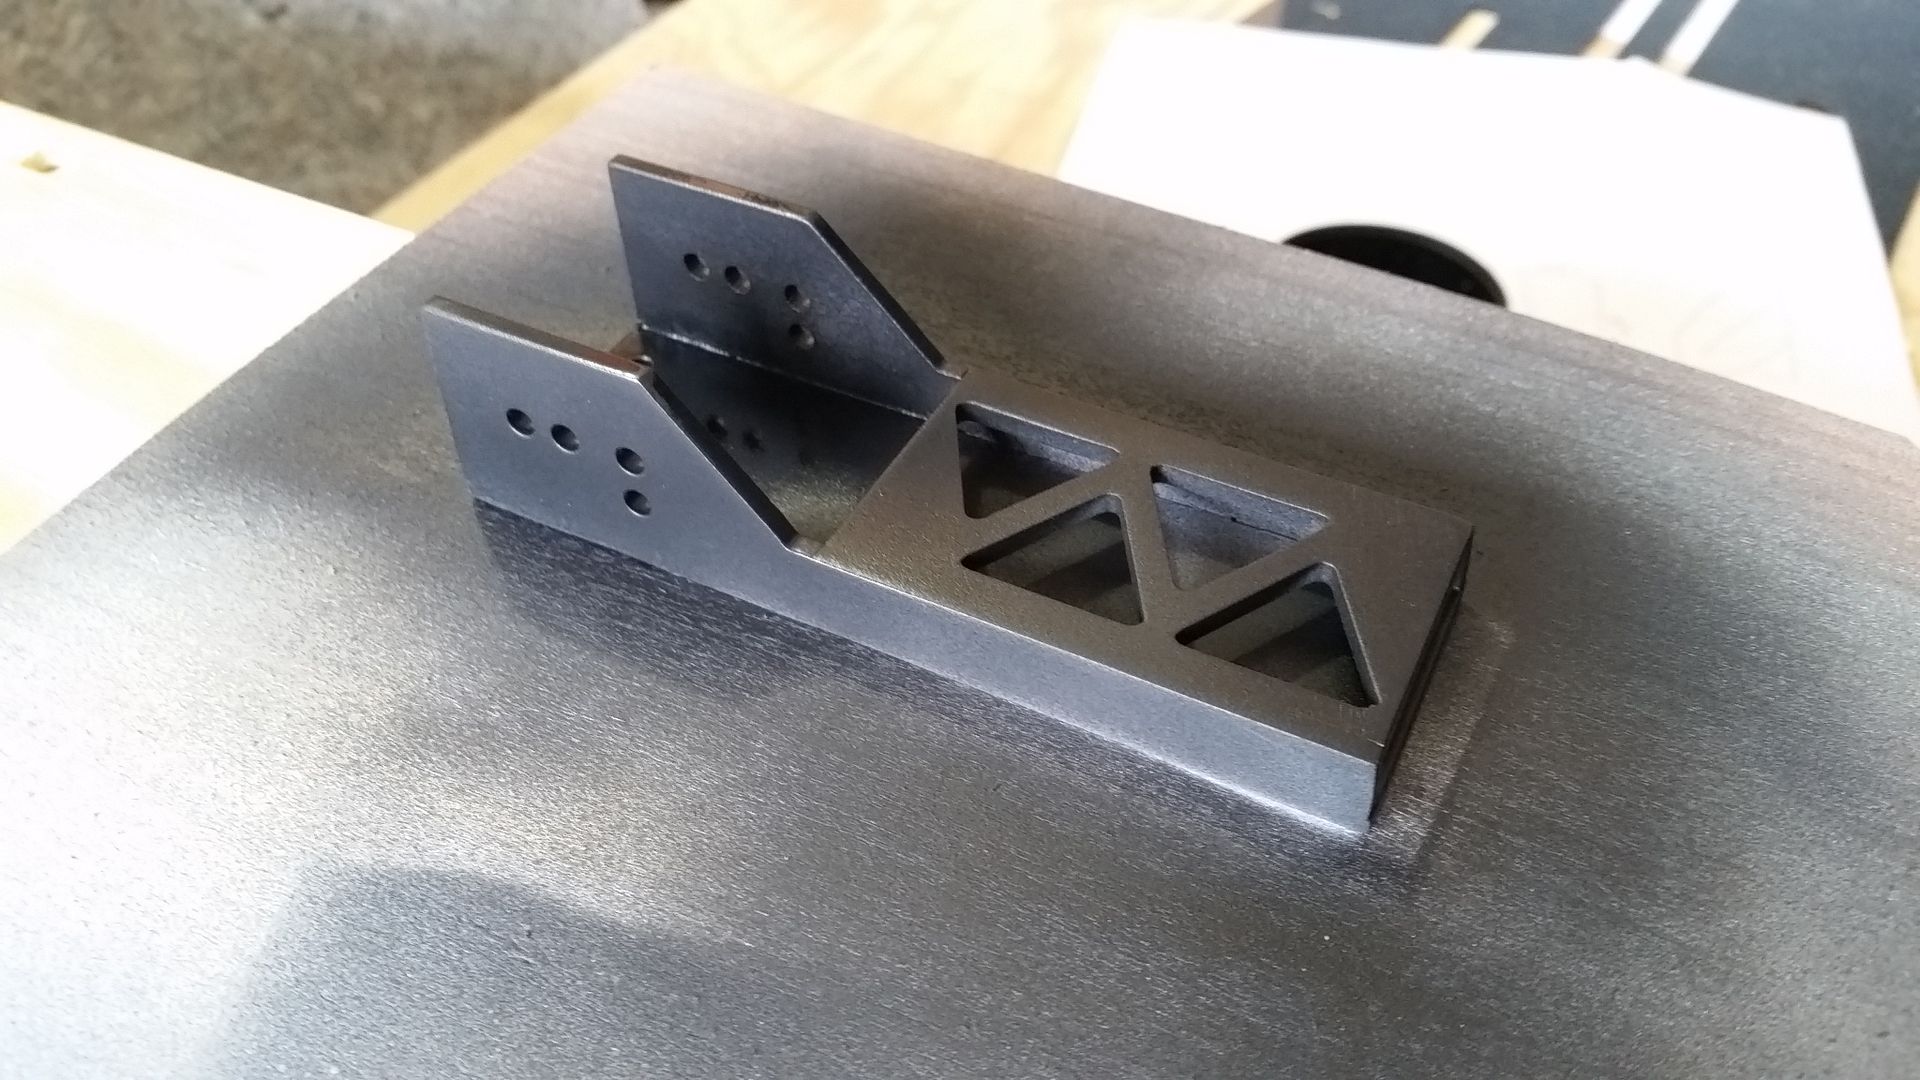
I also these two support brackets to the other greeblie
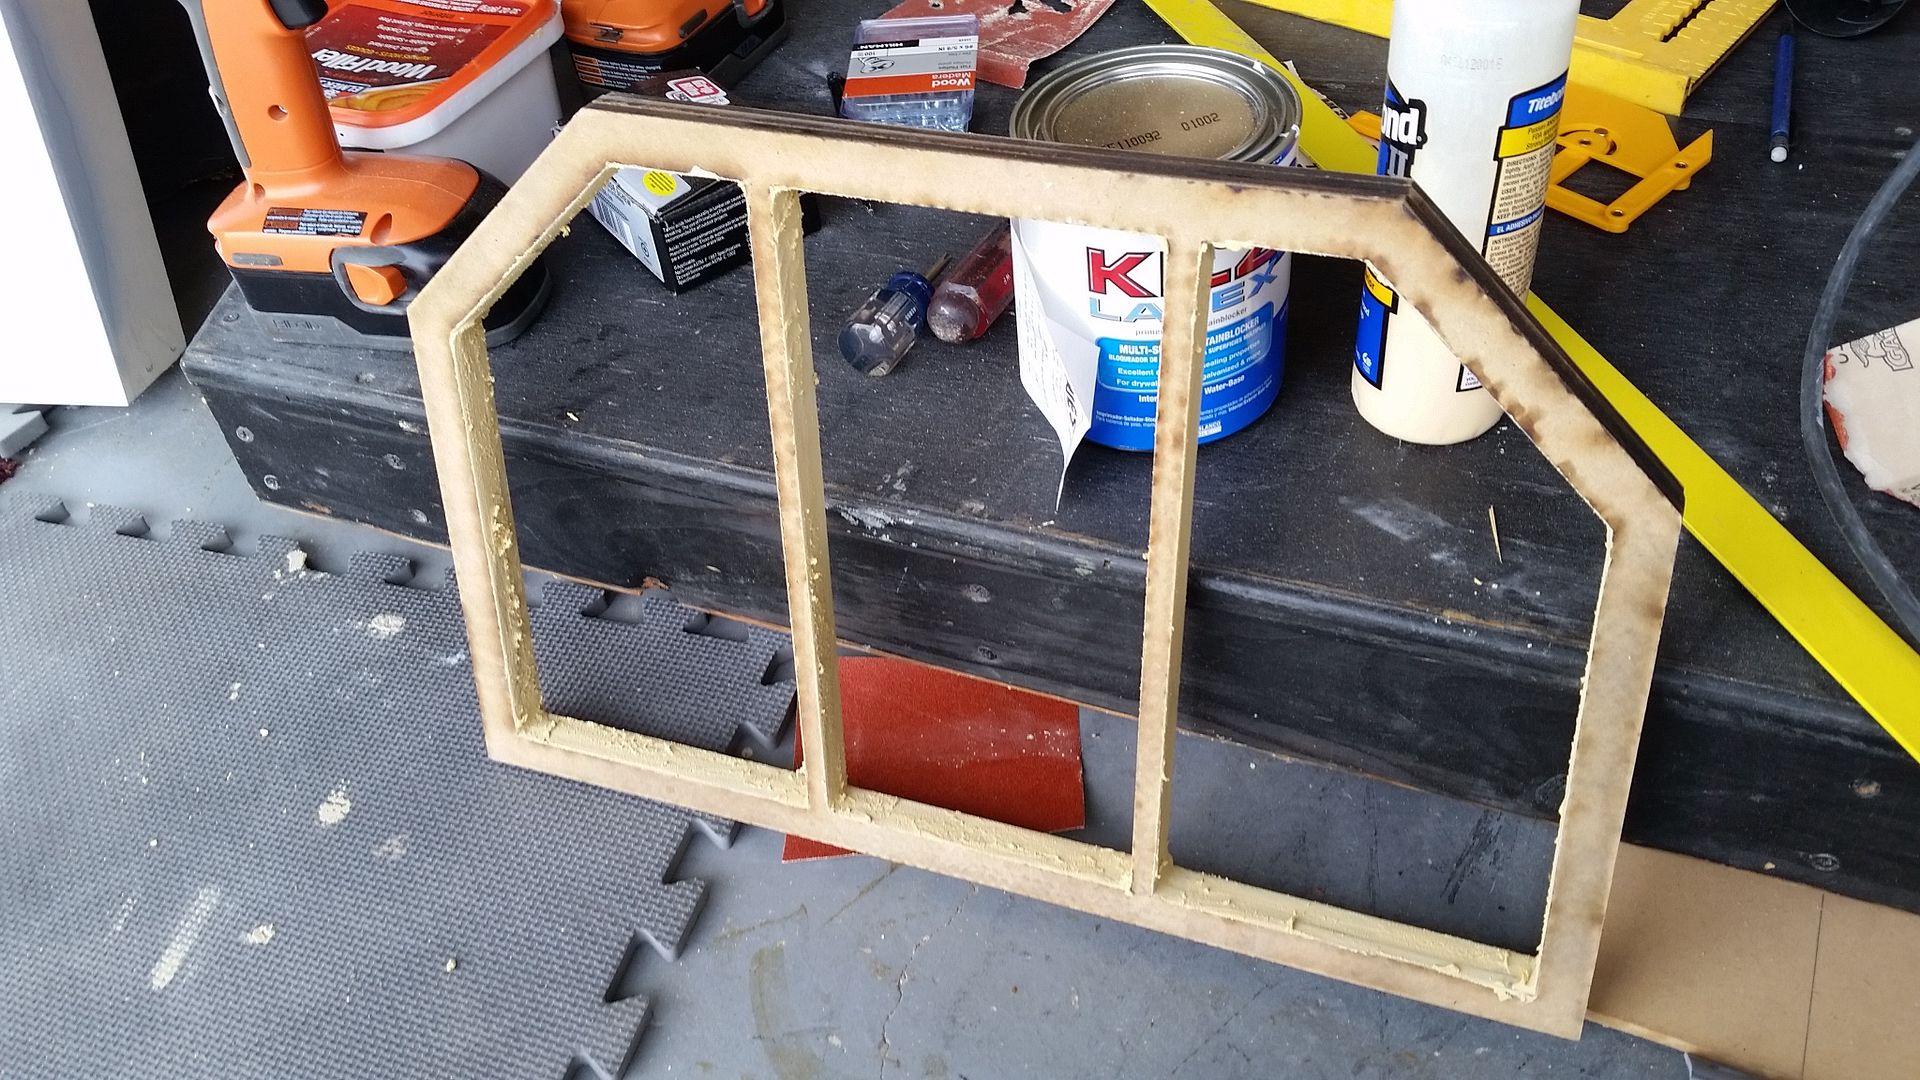
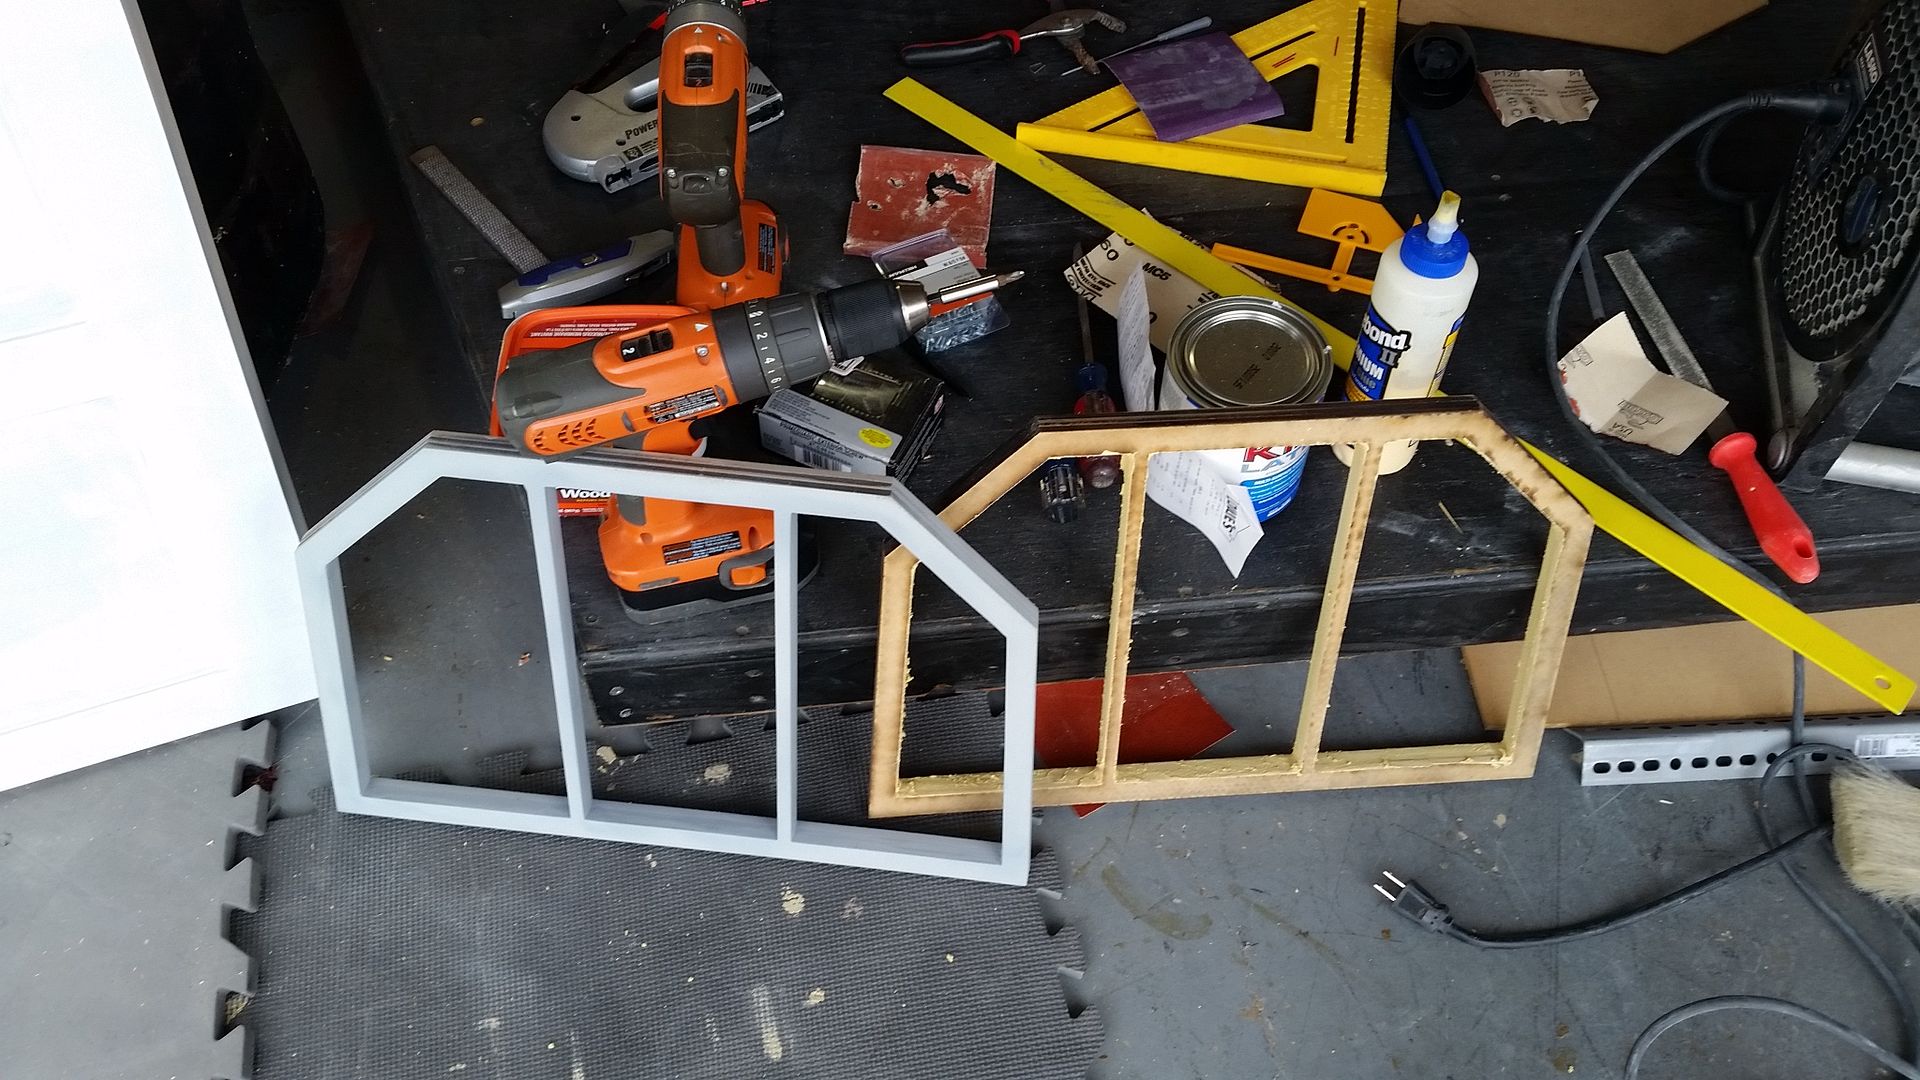
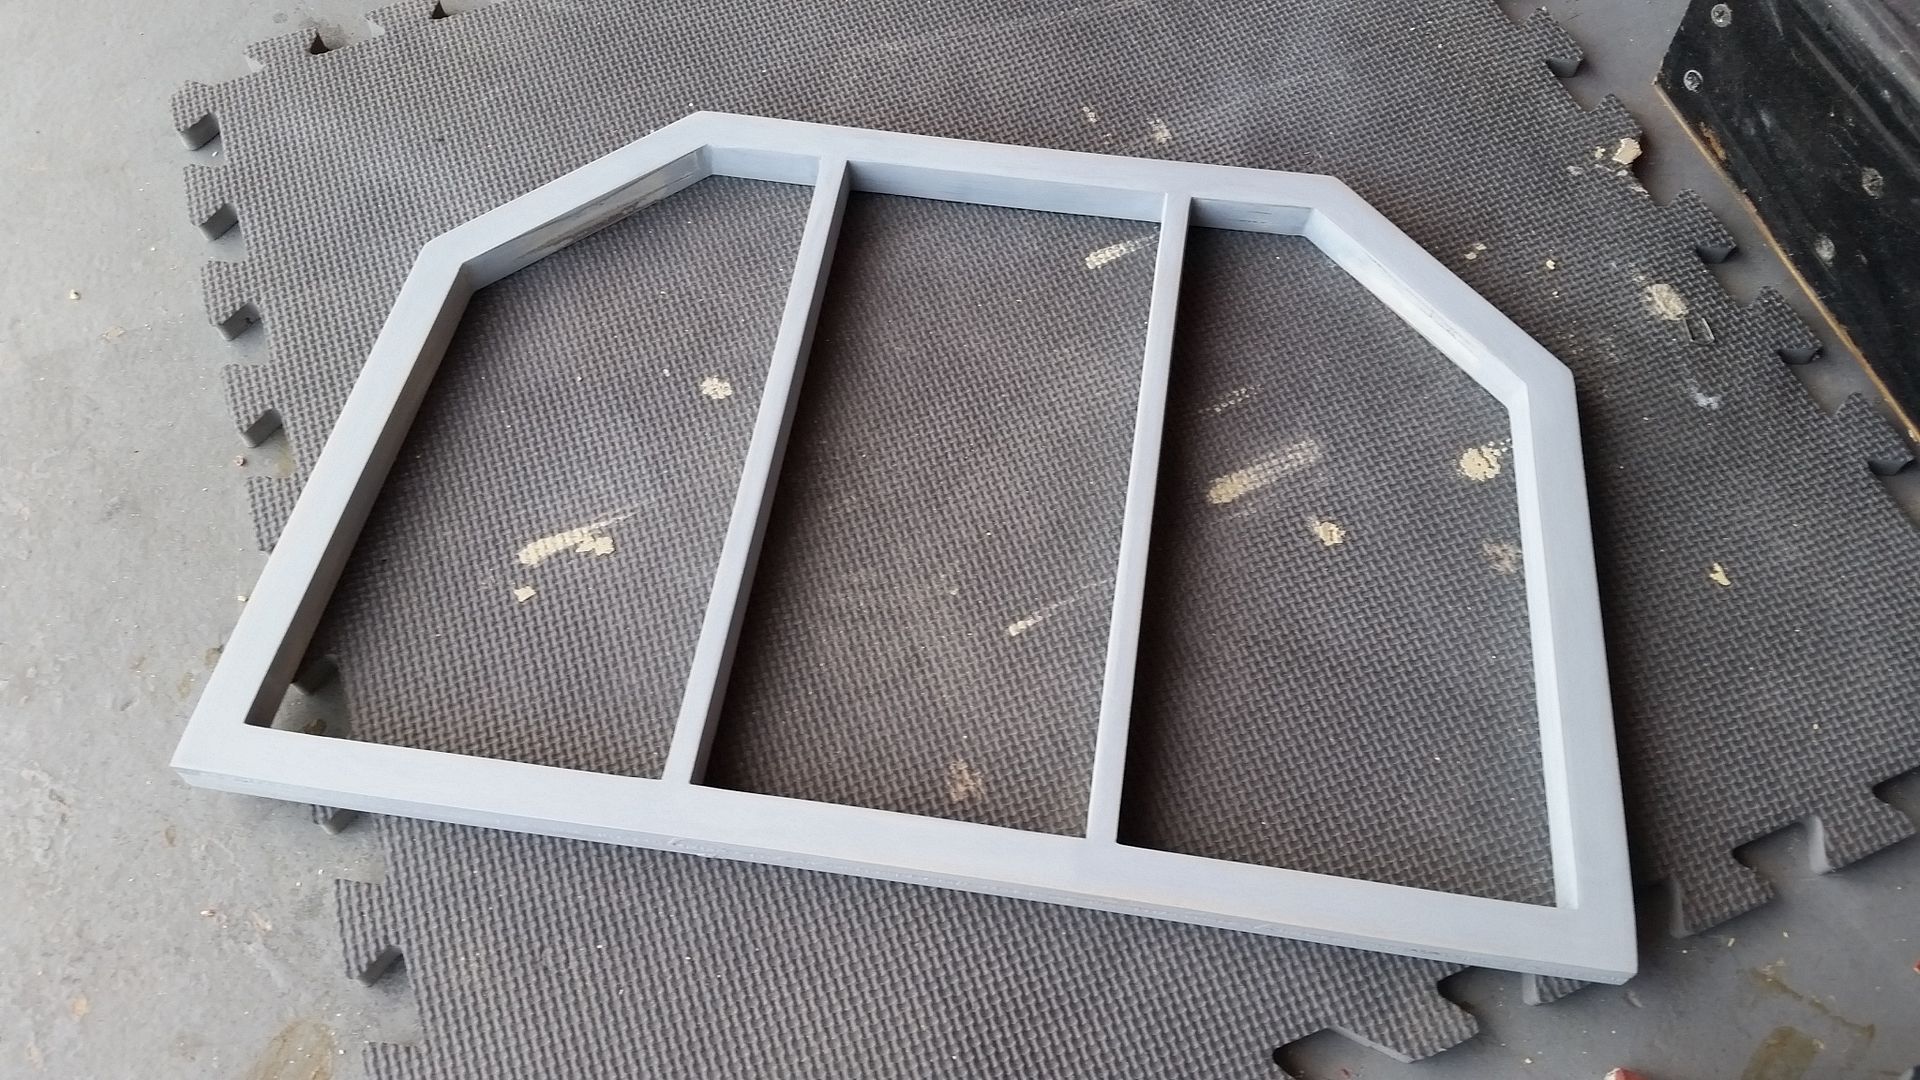
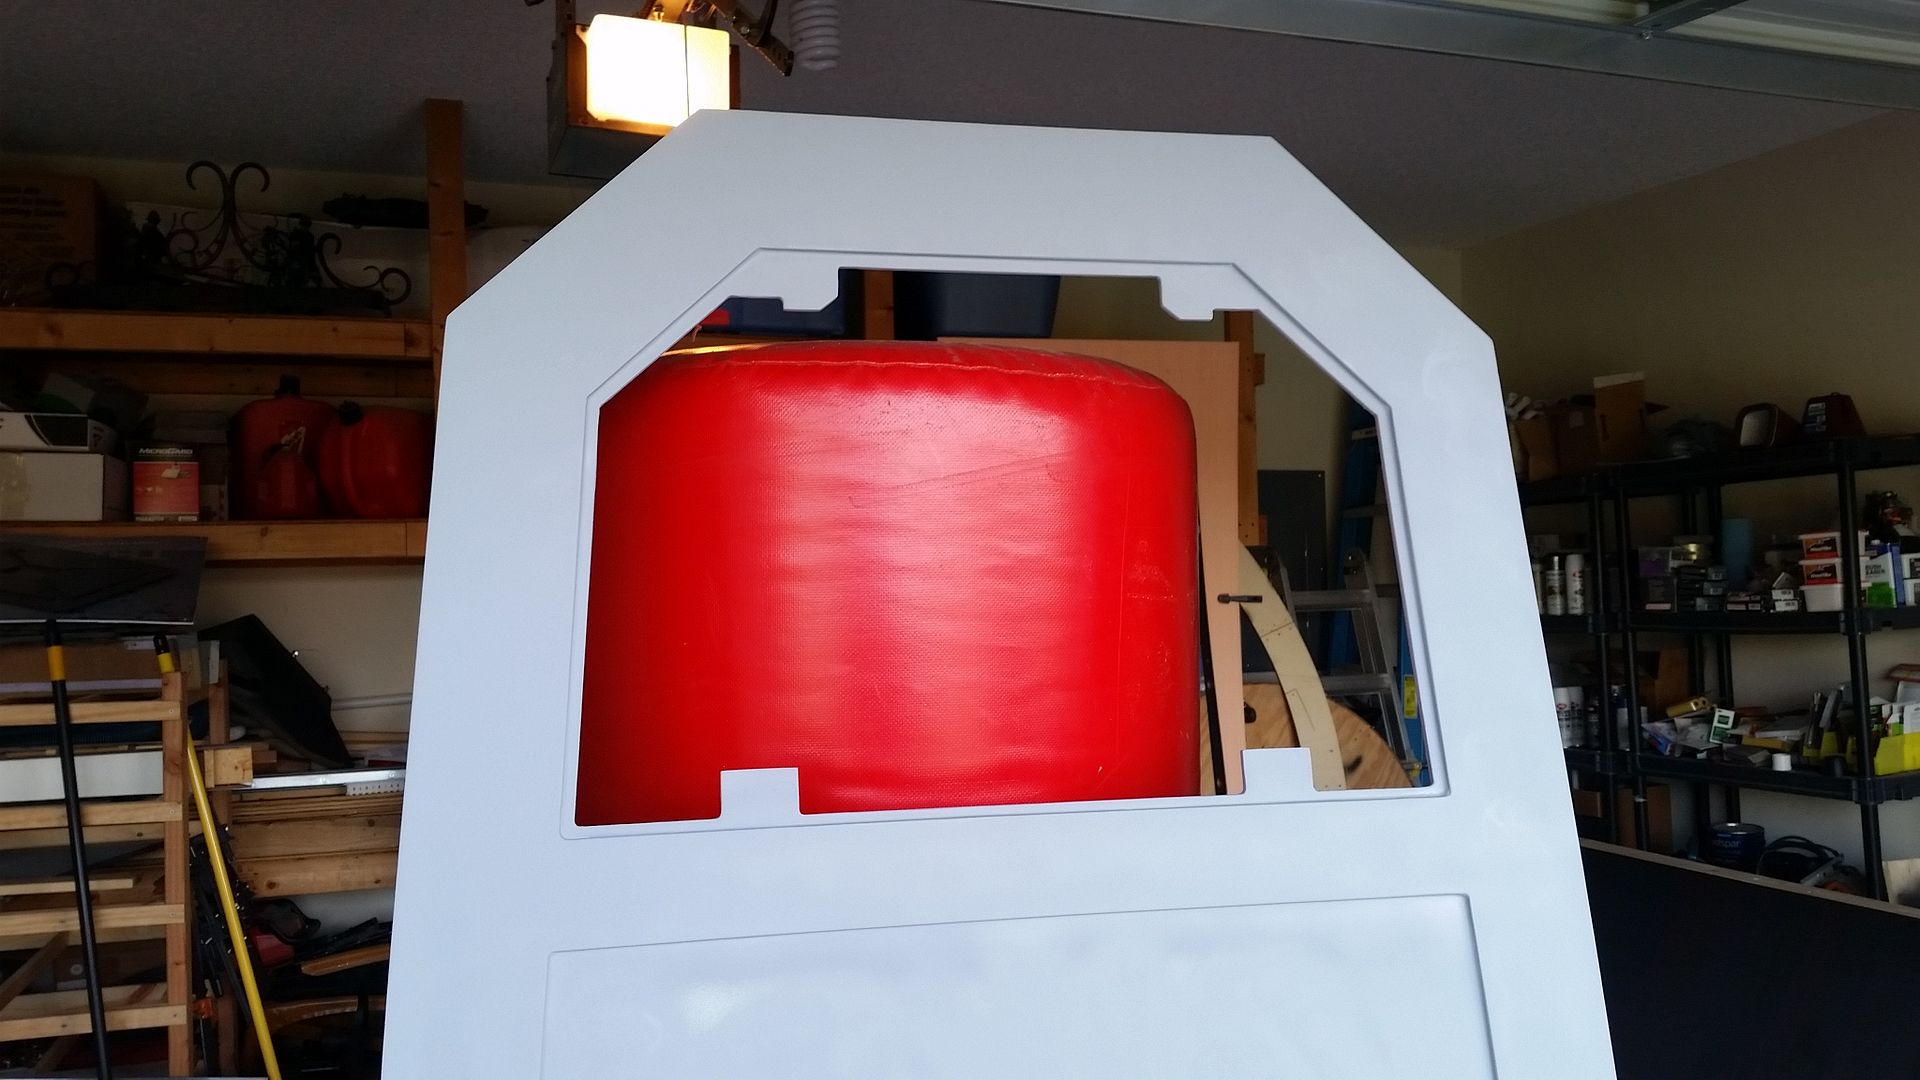
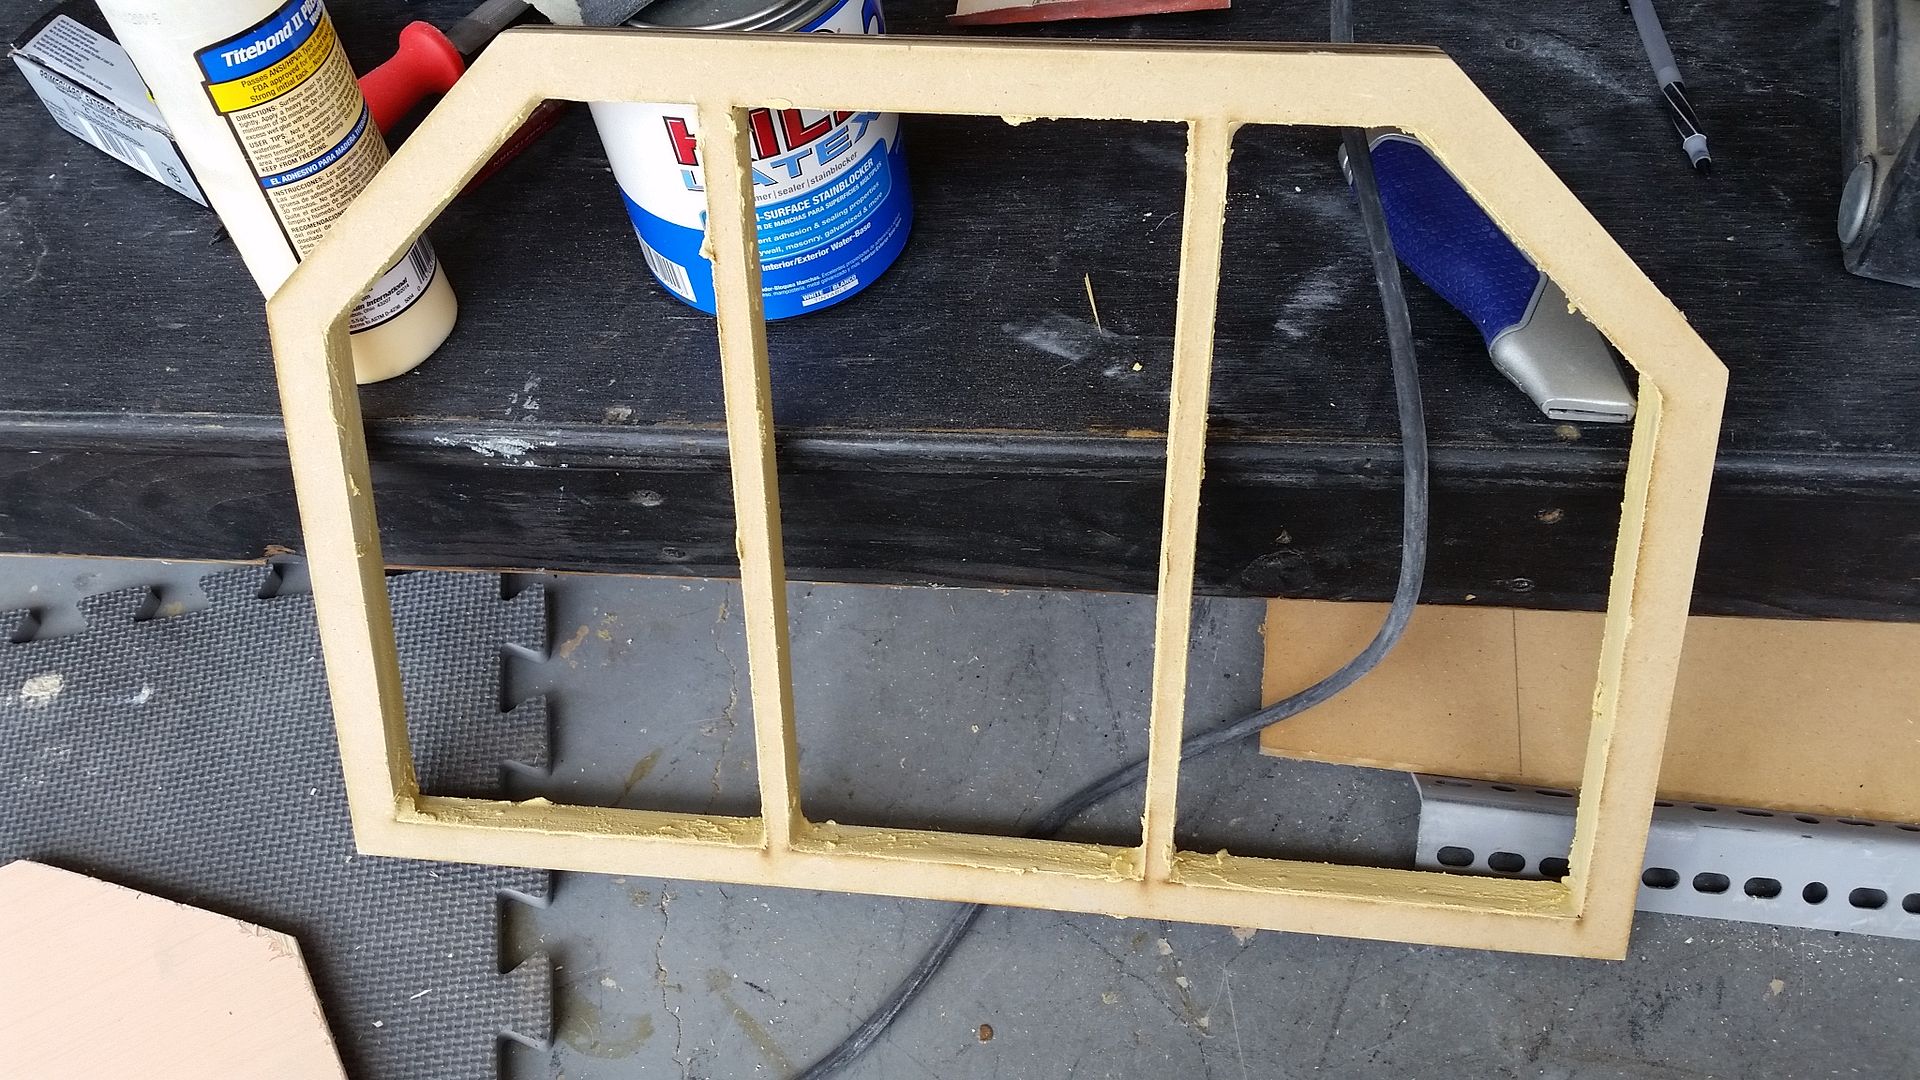
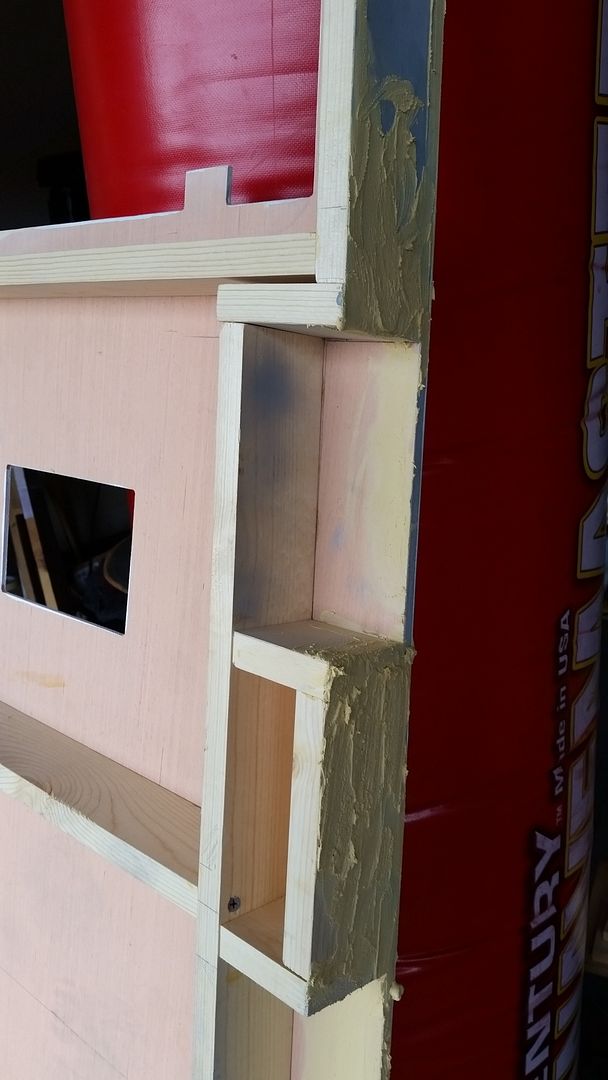
This is 3 layers of MDF that were laser cut and make up the edges of the recessed panel to fit inside the door - adding filler to smooth out the edges (I have both sides that need to be done)
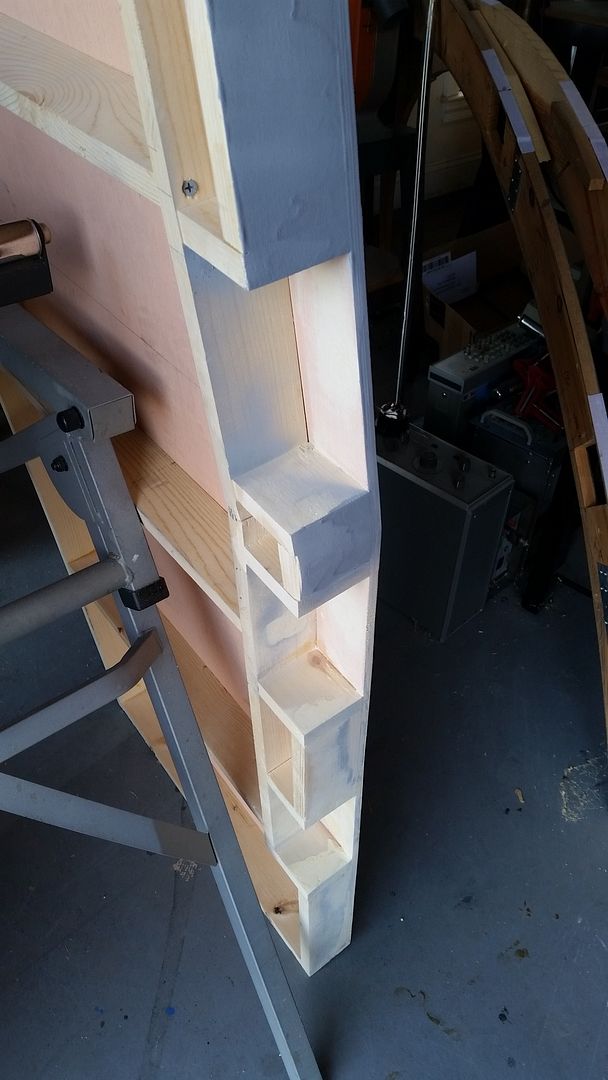
The edges of the door have these little pockets - not sure why but it's a cool added detail. The edge of the door will be painted a flat black
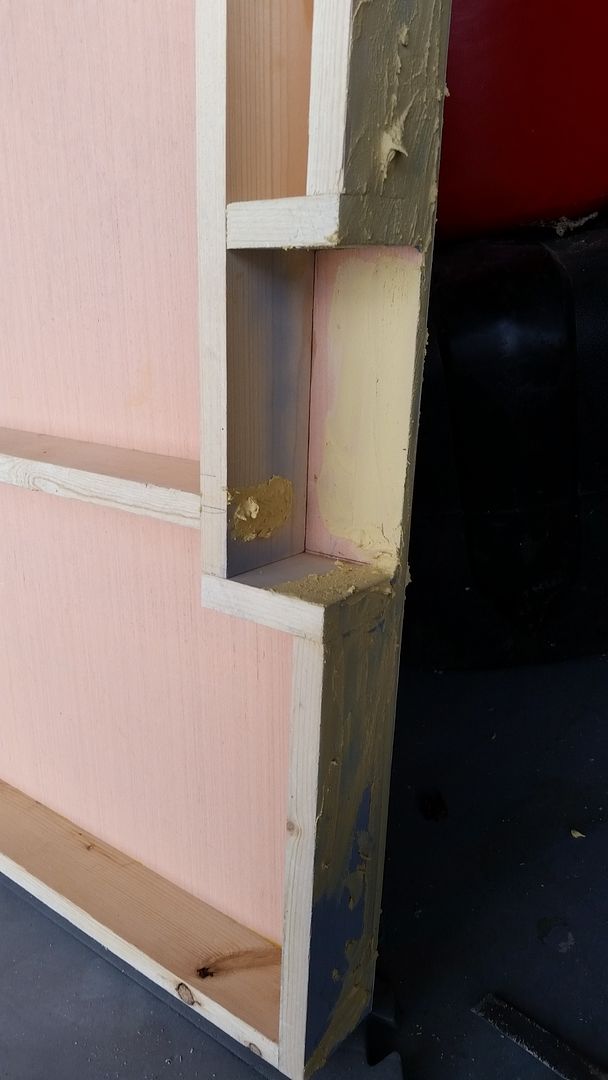
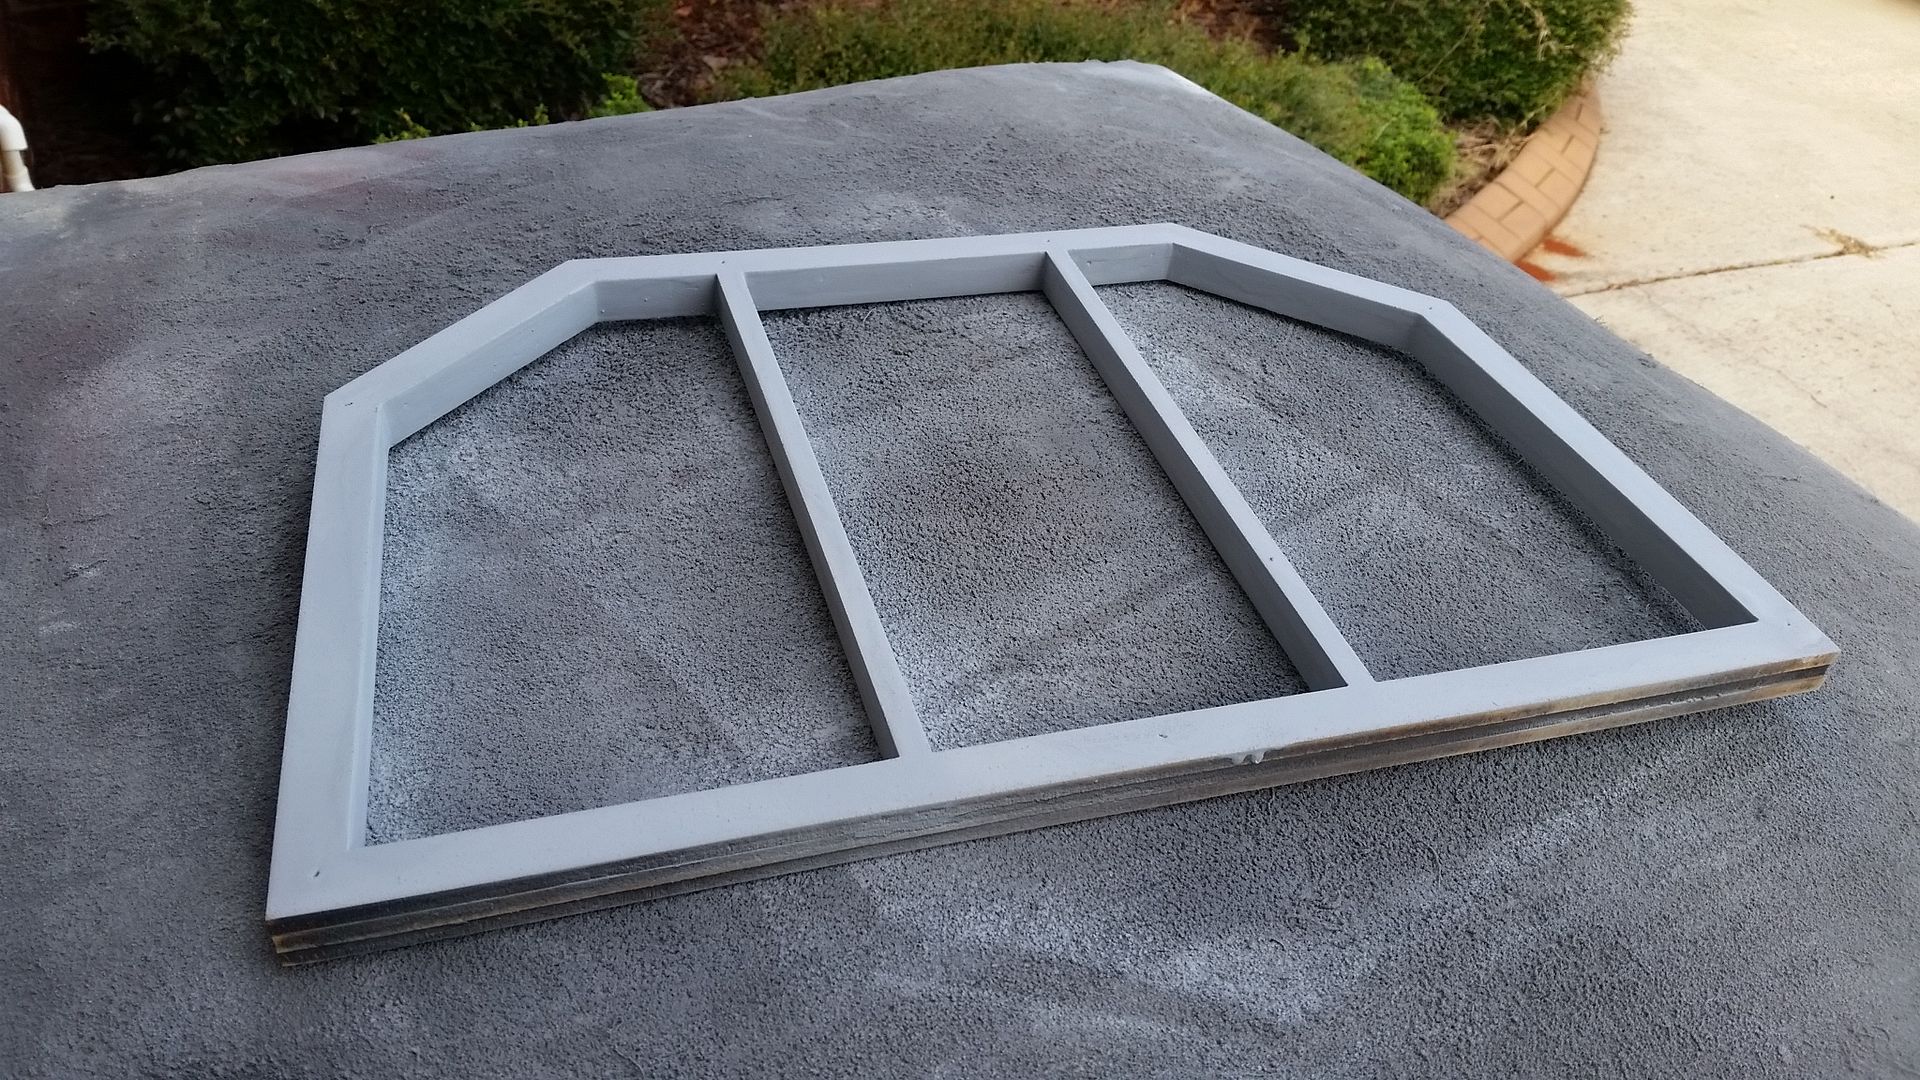
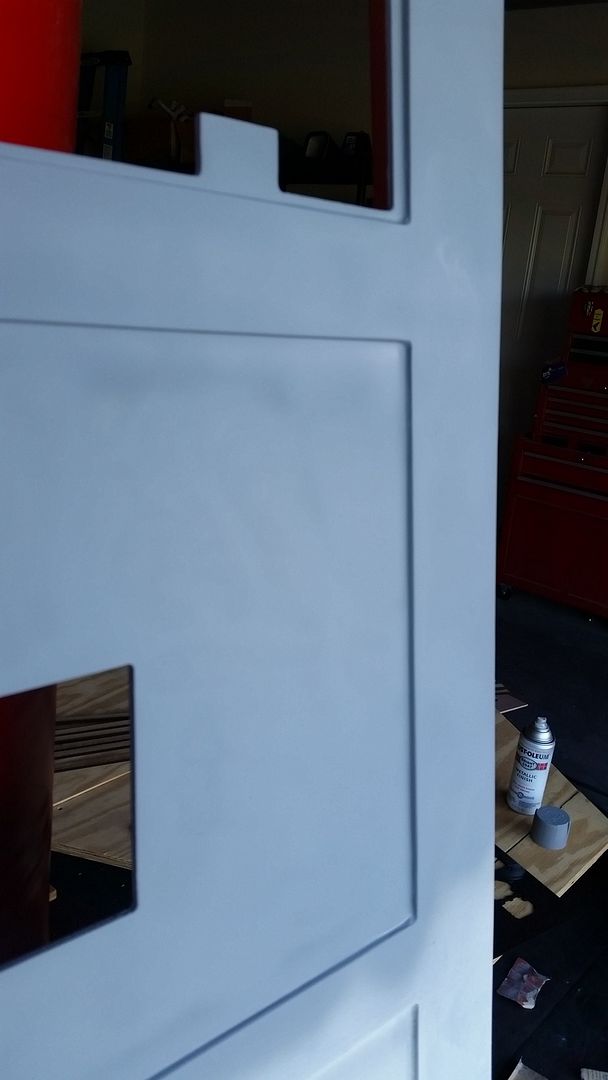
Adding filler to hide the screws and imperfections

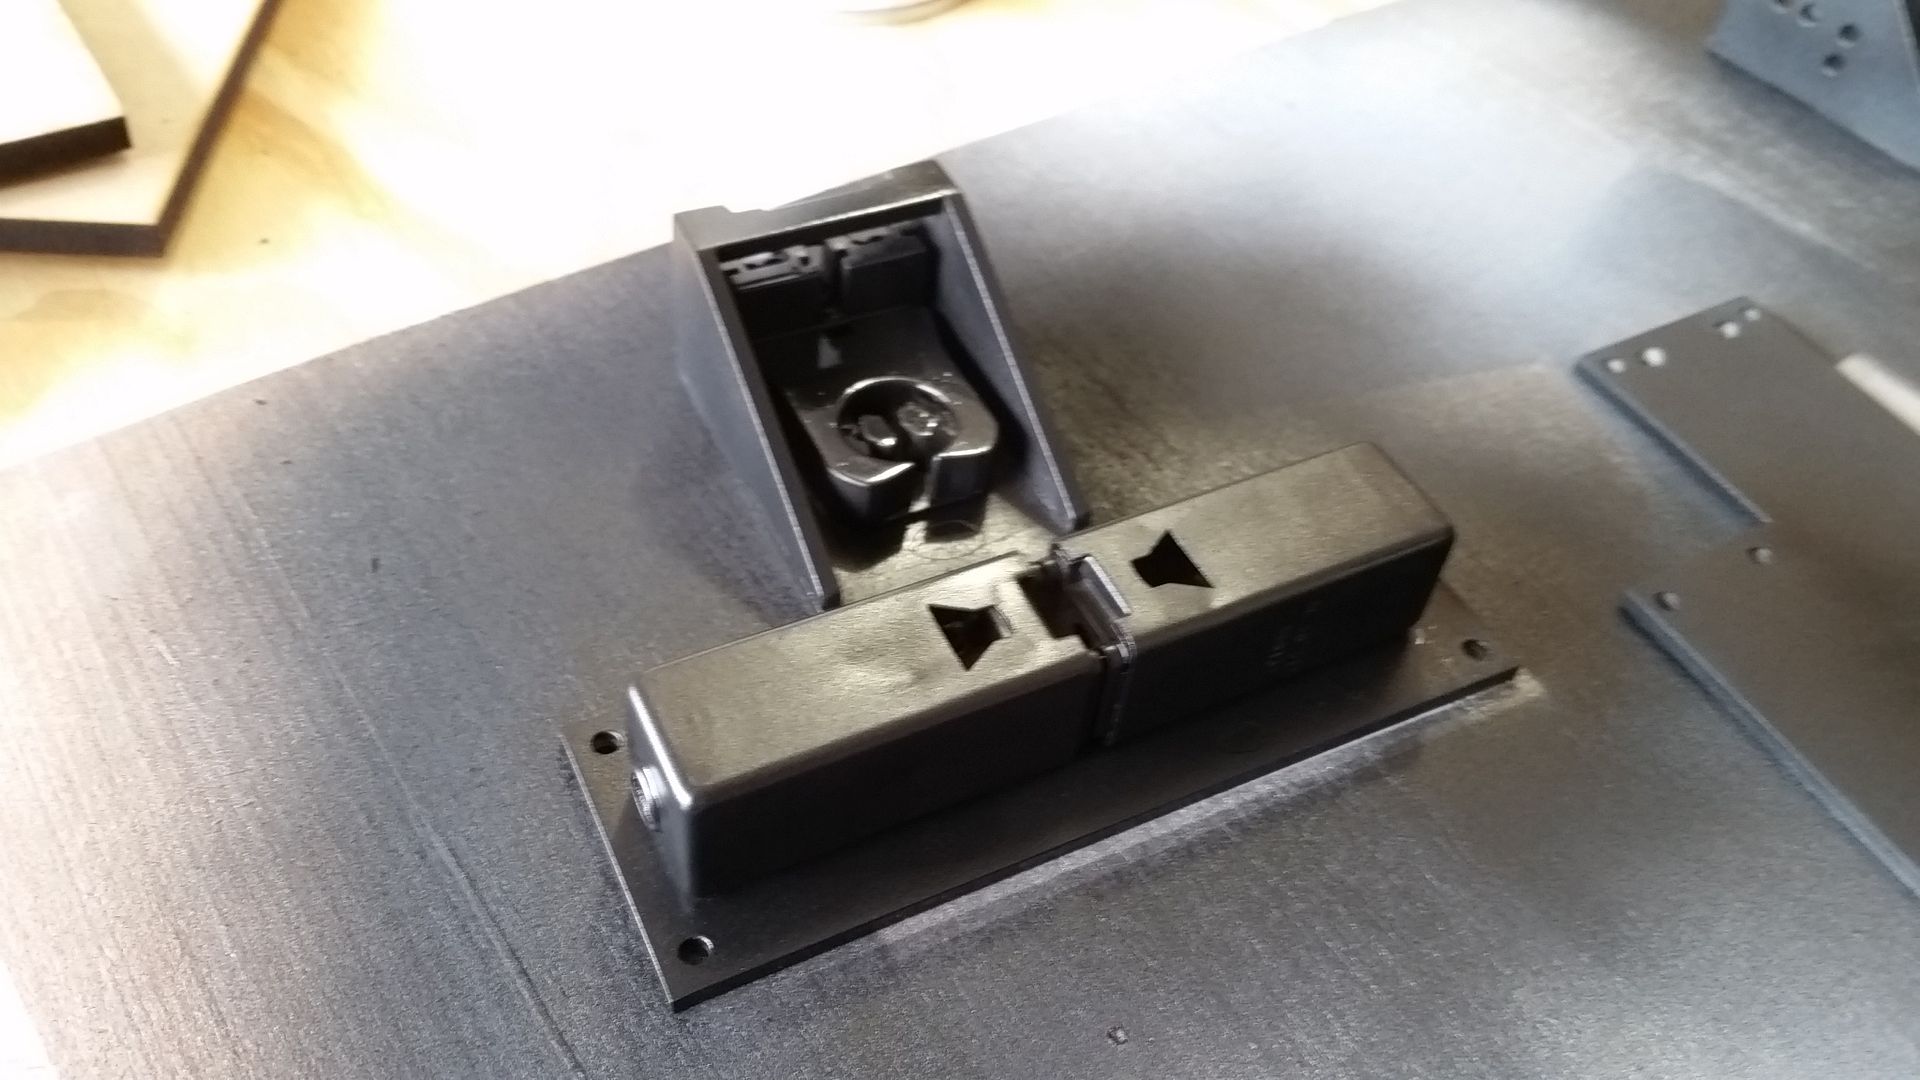
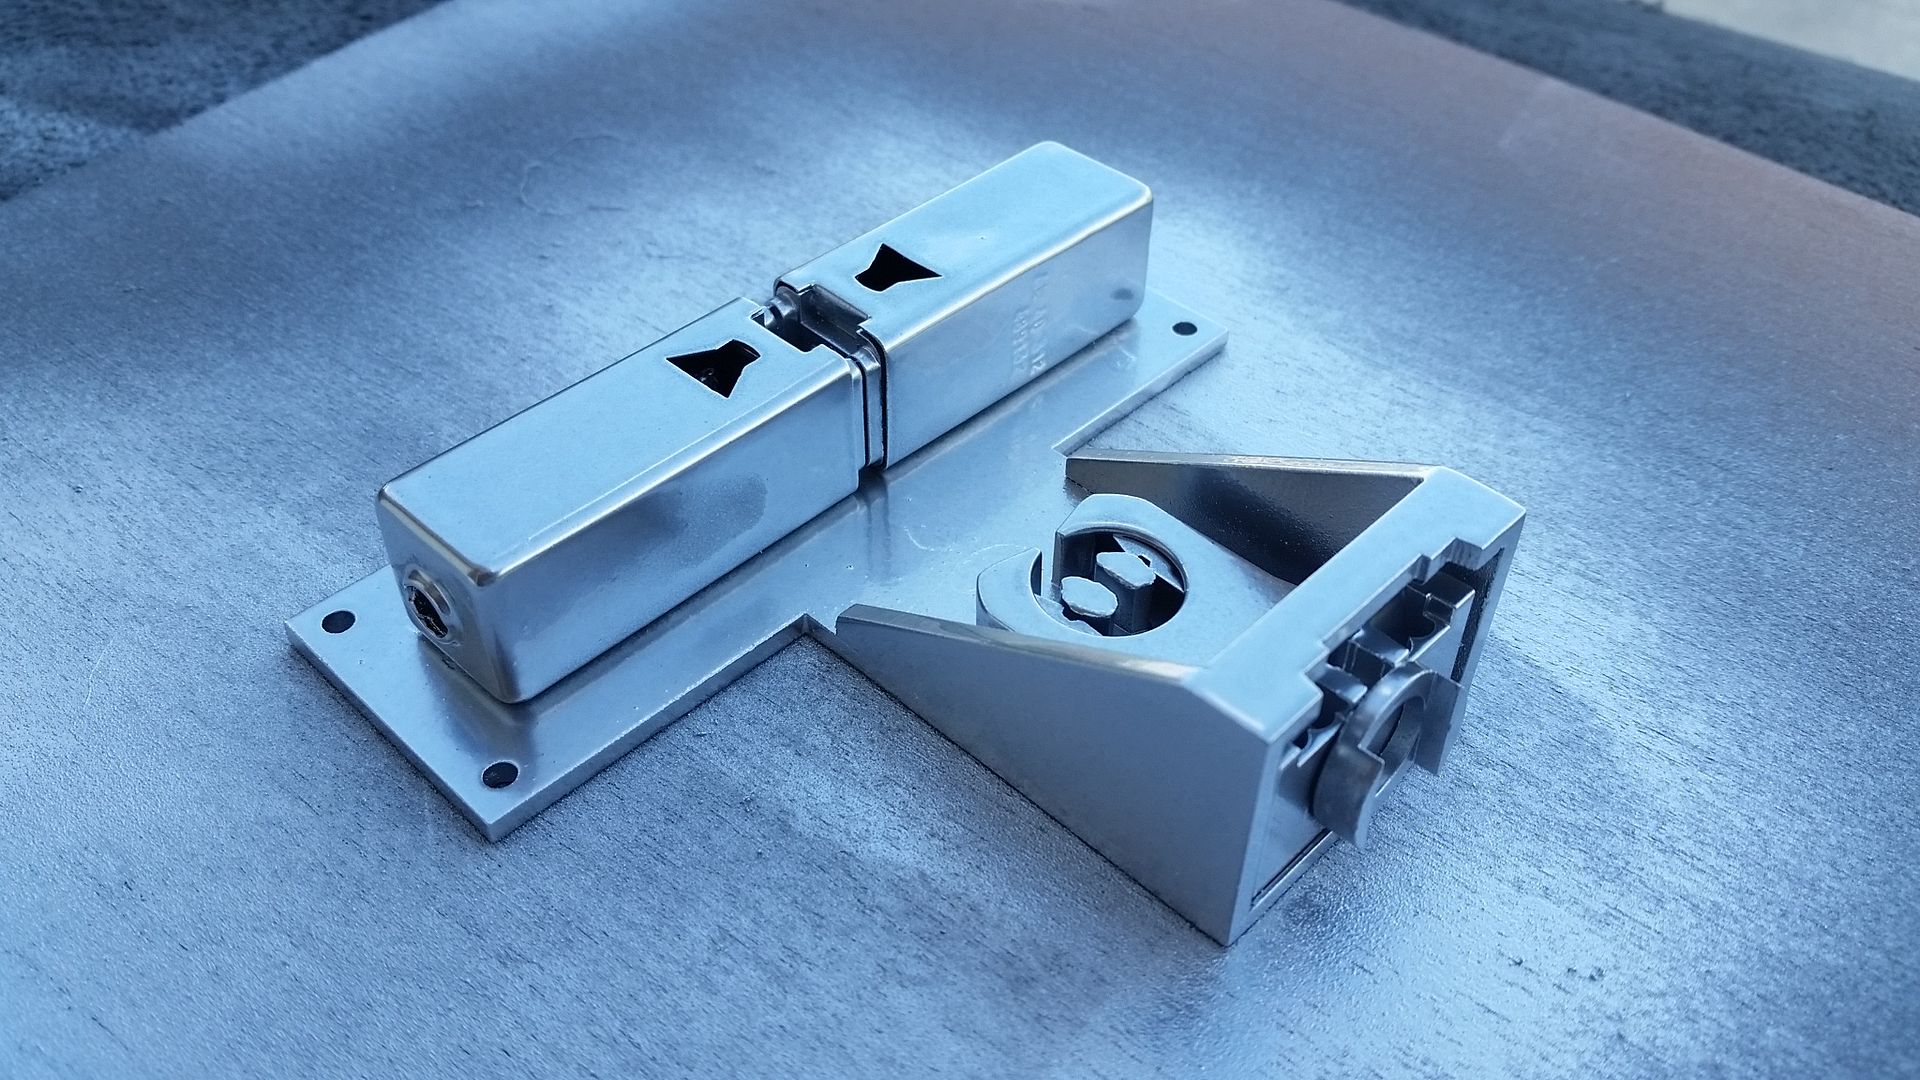
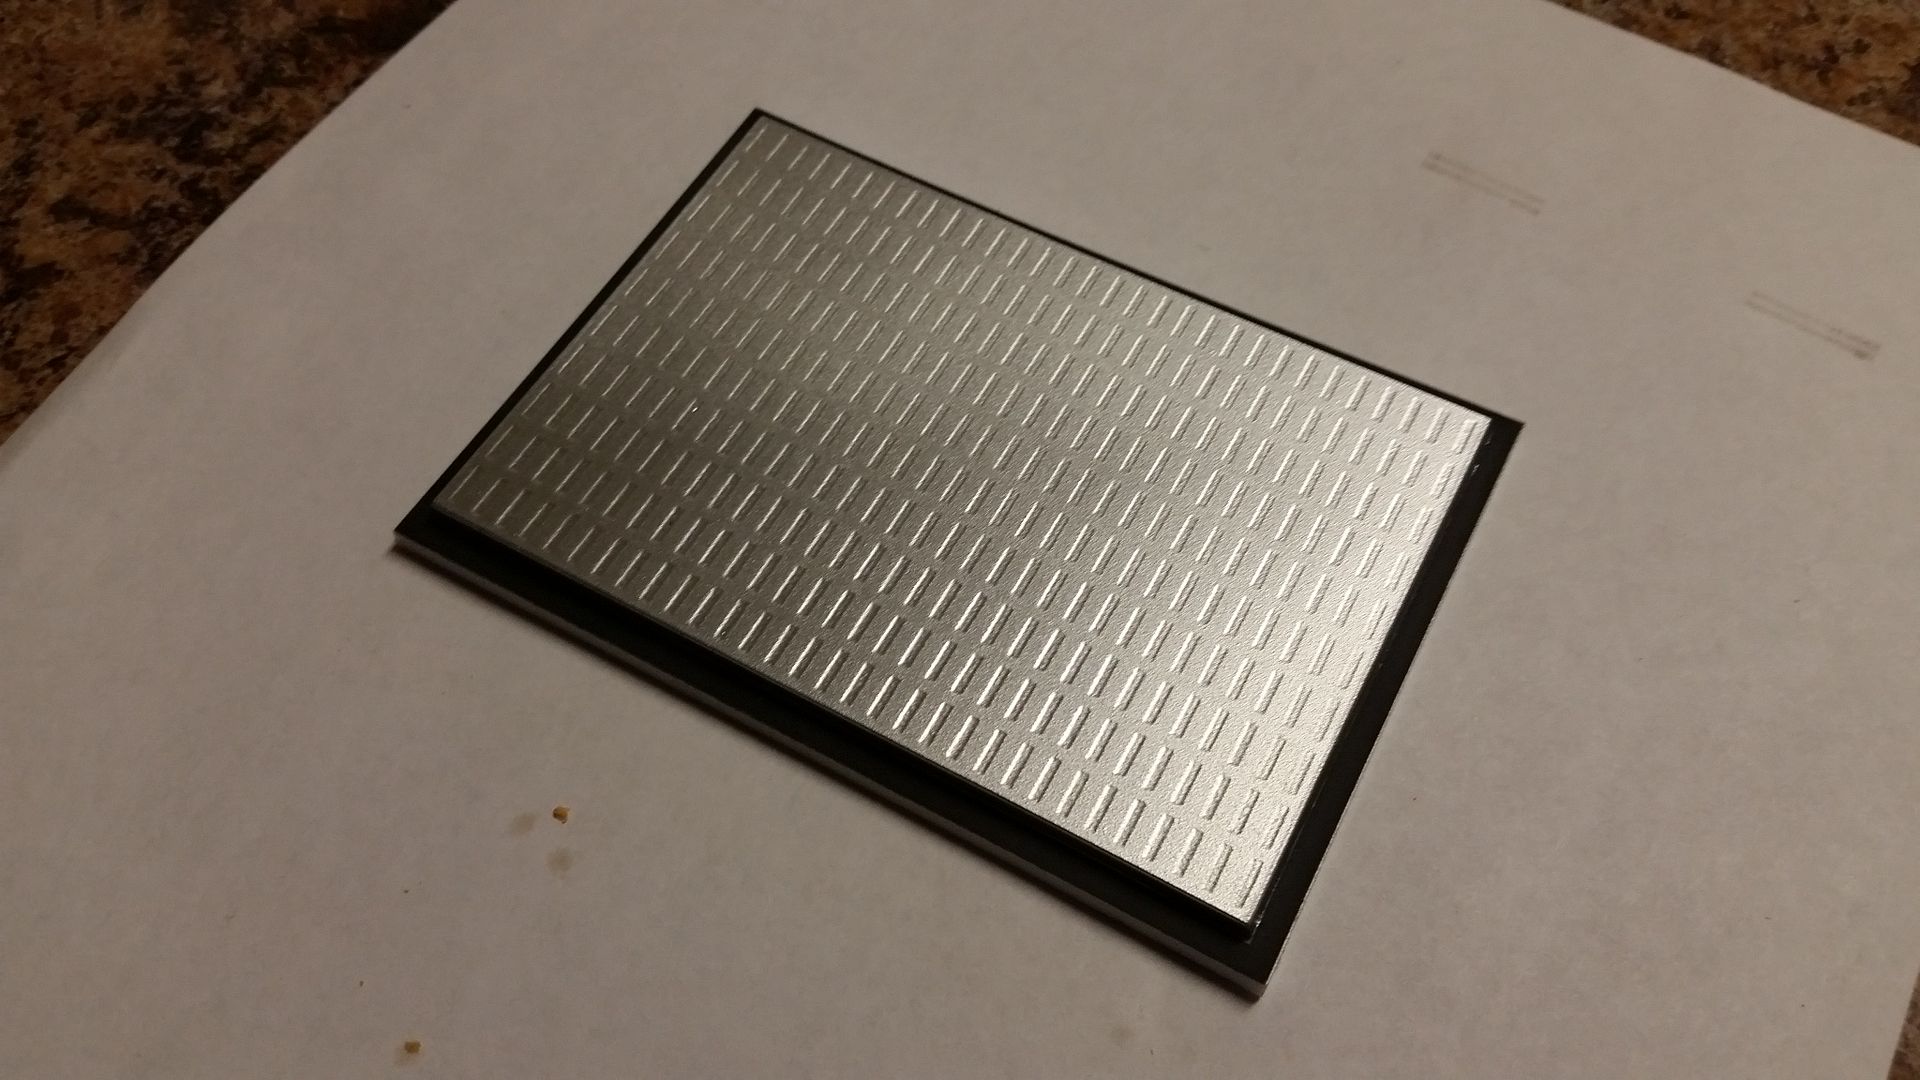
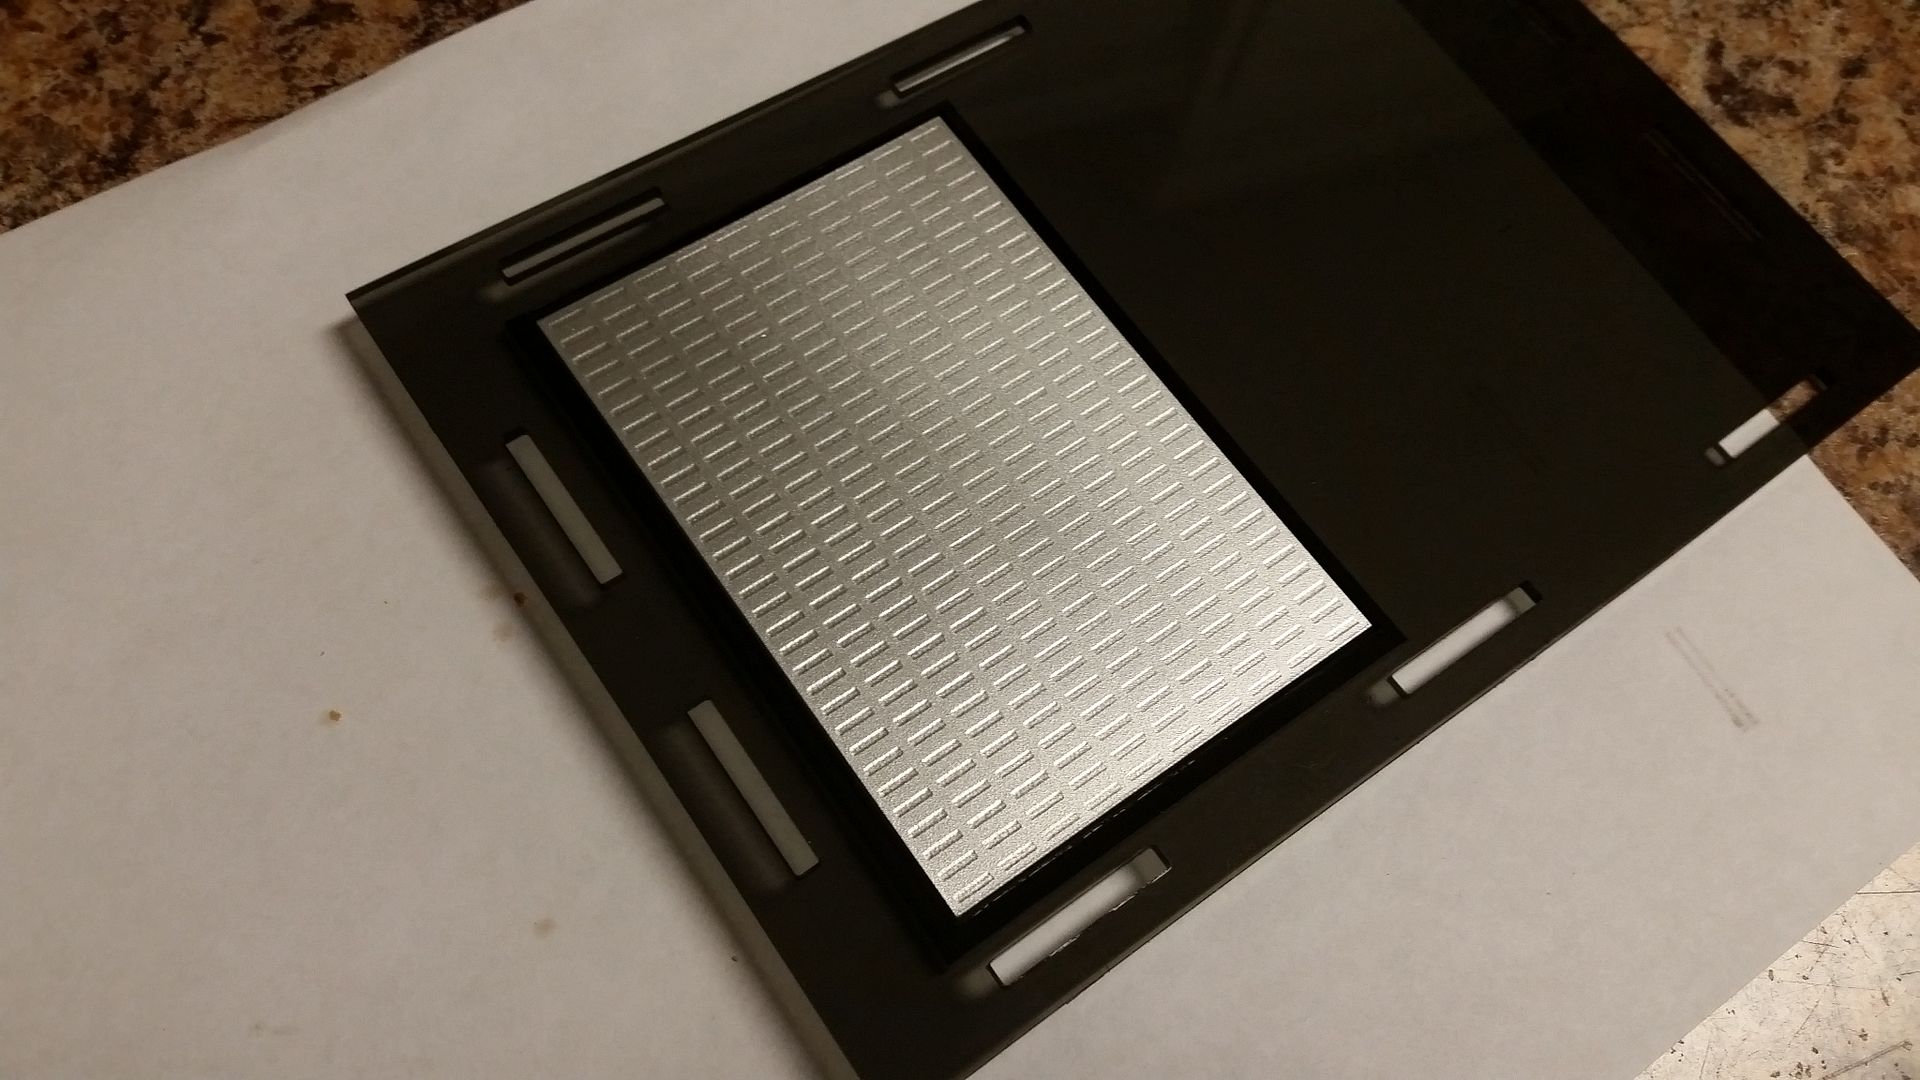
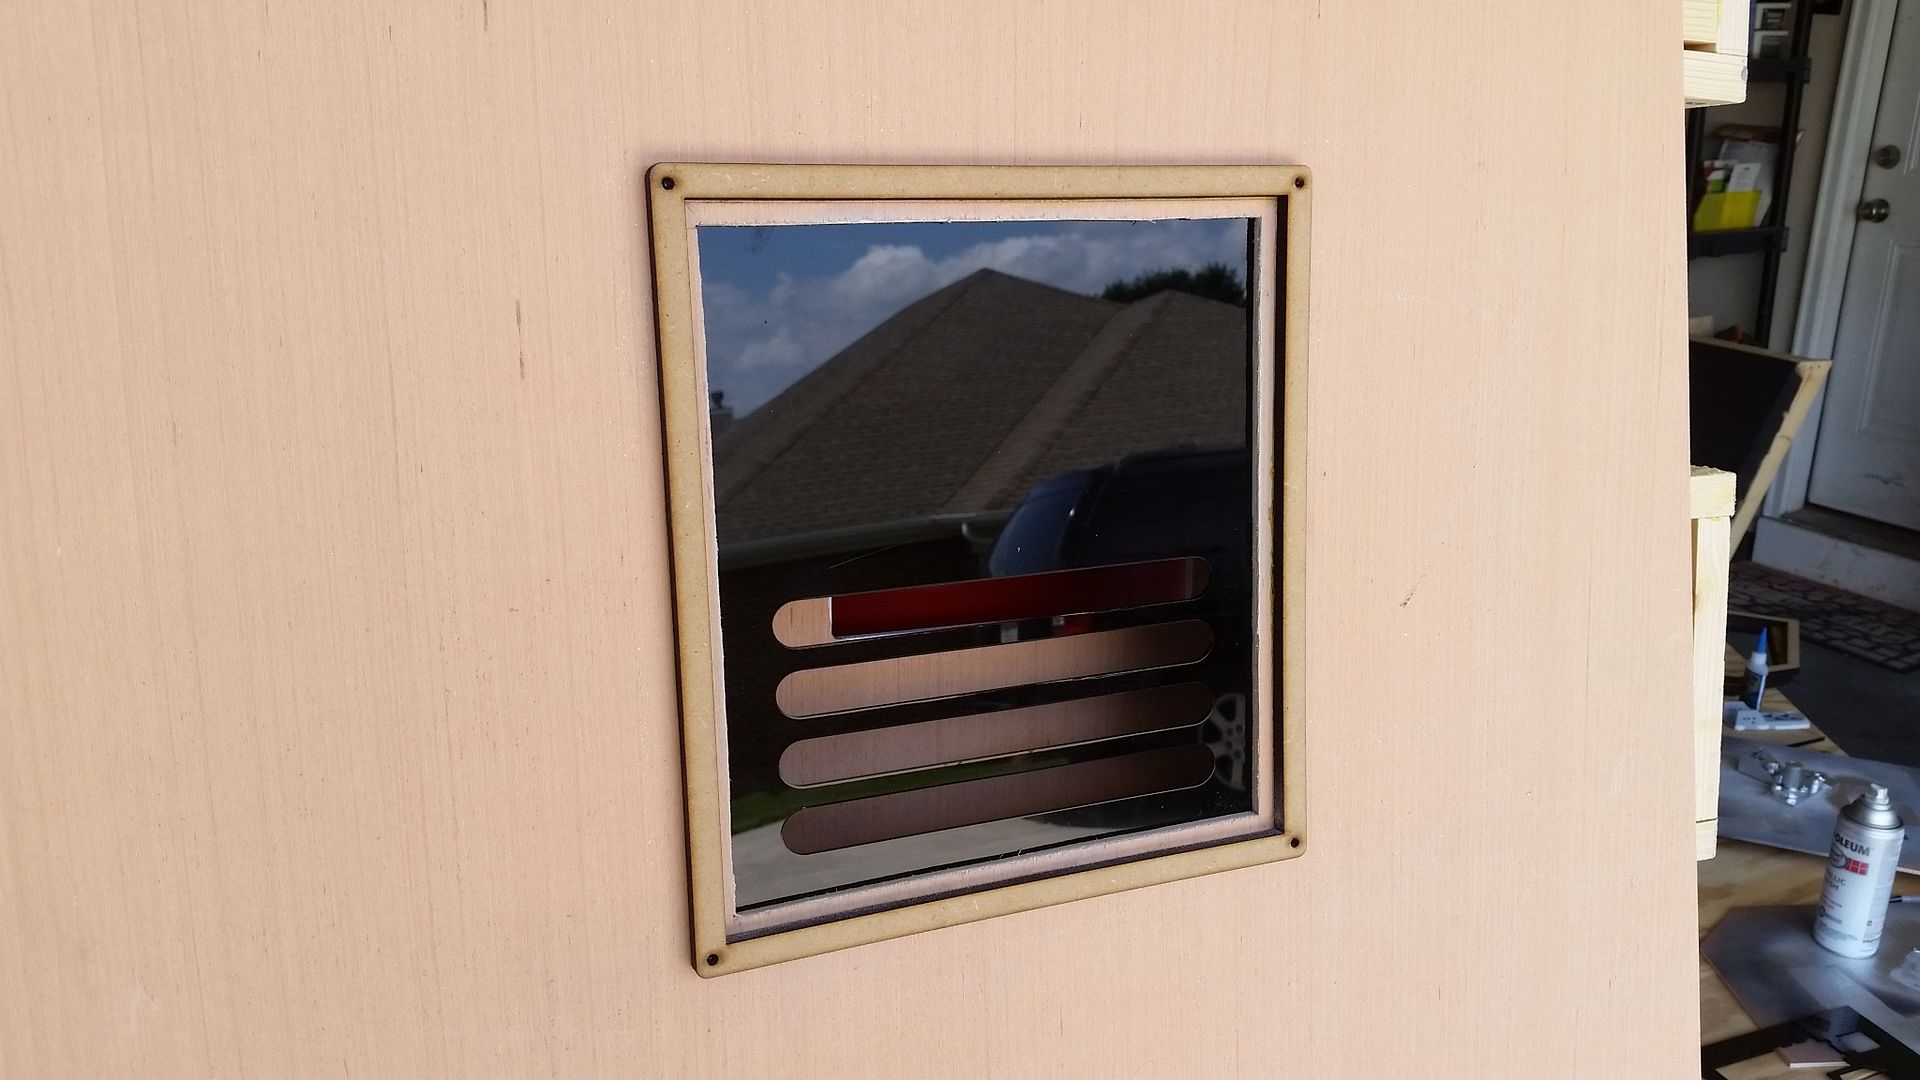
Stopped by the Makers to use the laser cutter - I cut and etched this piece
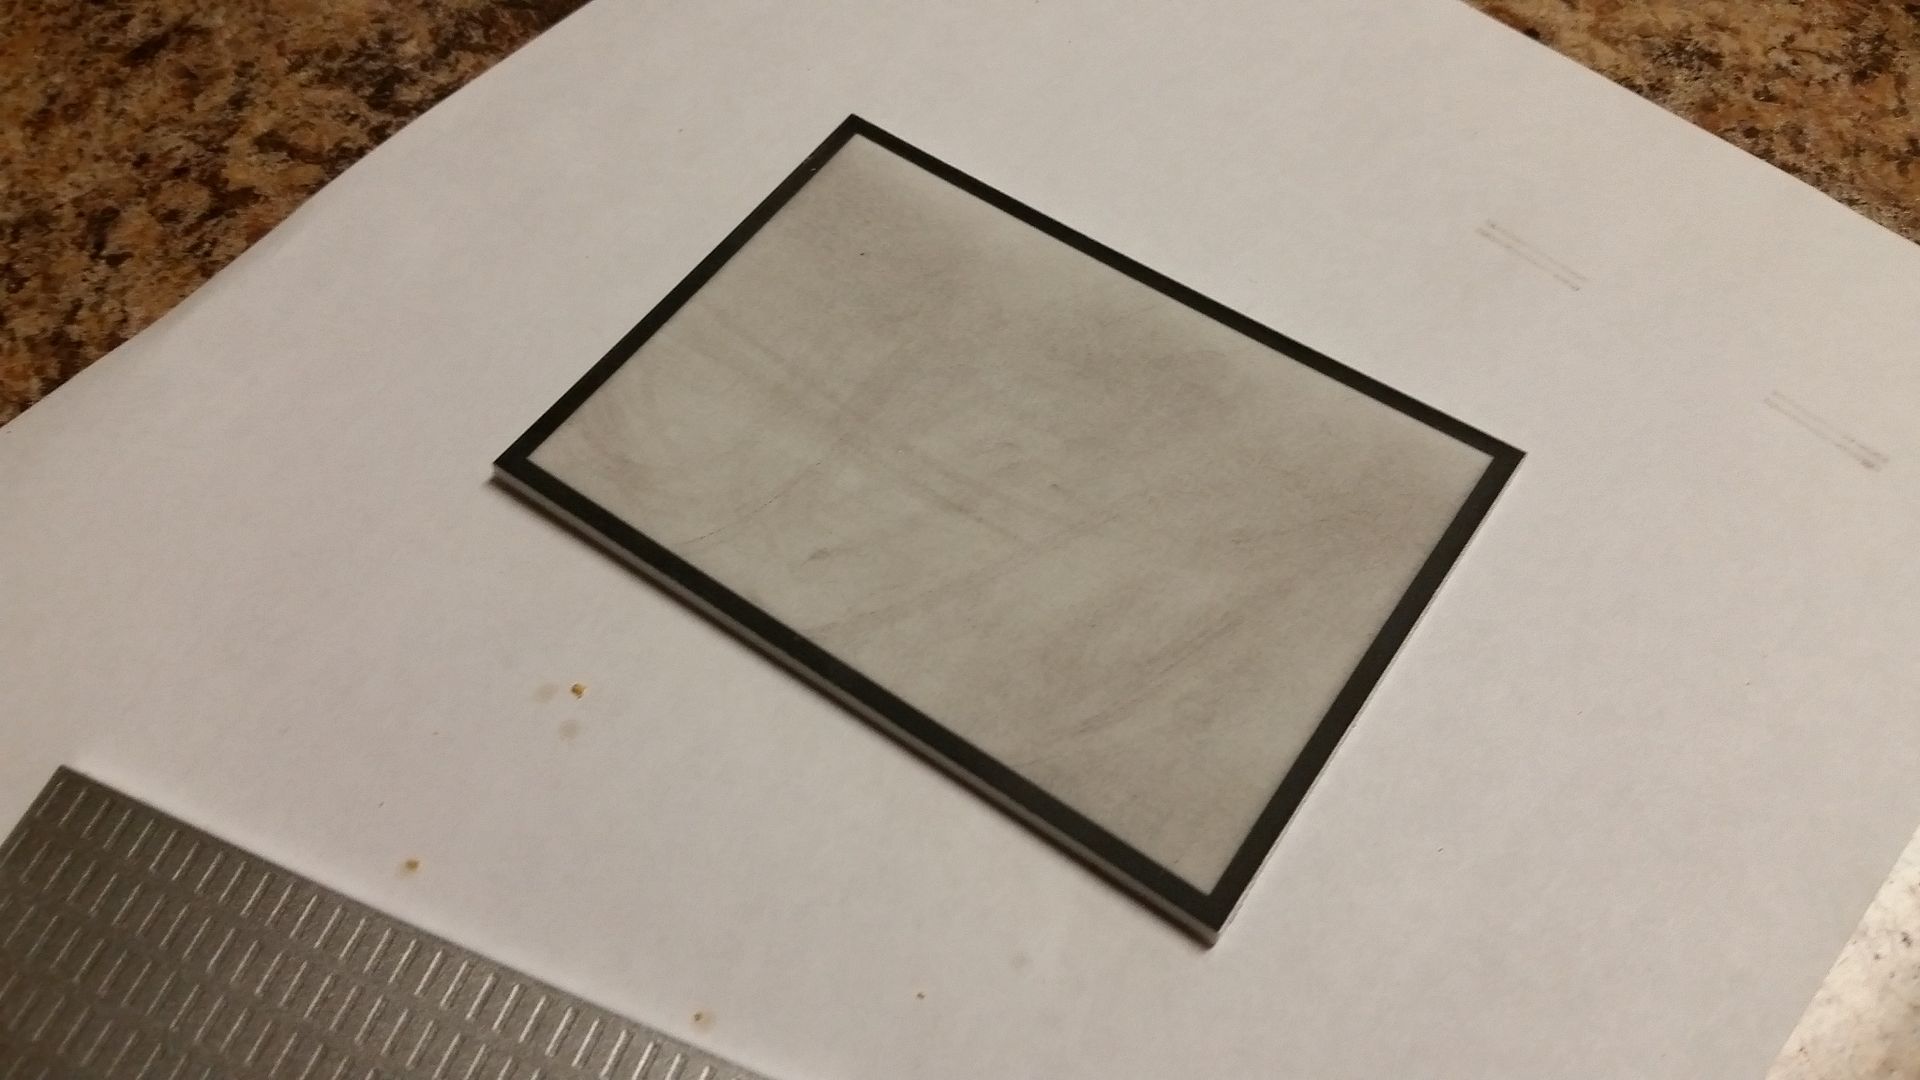
The cut is slightly larger than the silver decorative greeblie and the etching helps me place the piece perfectly
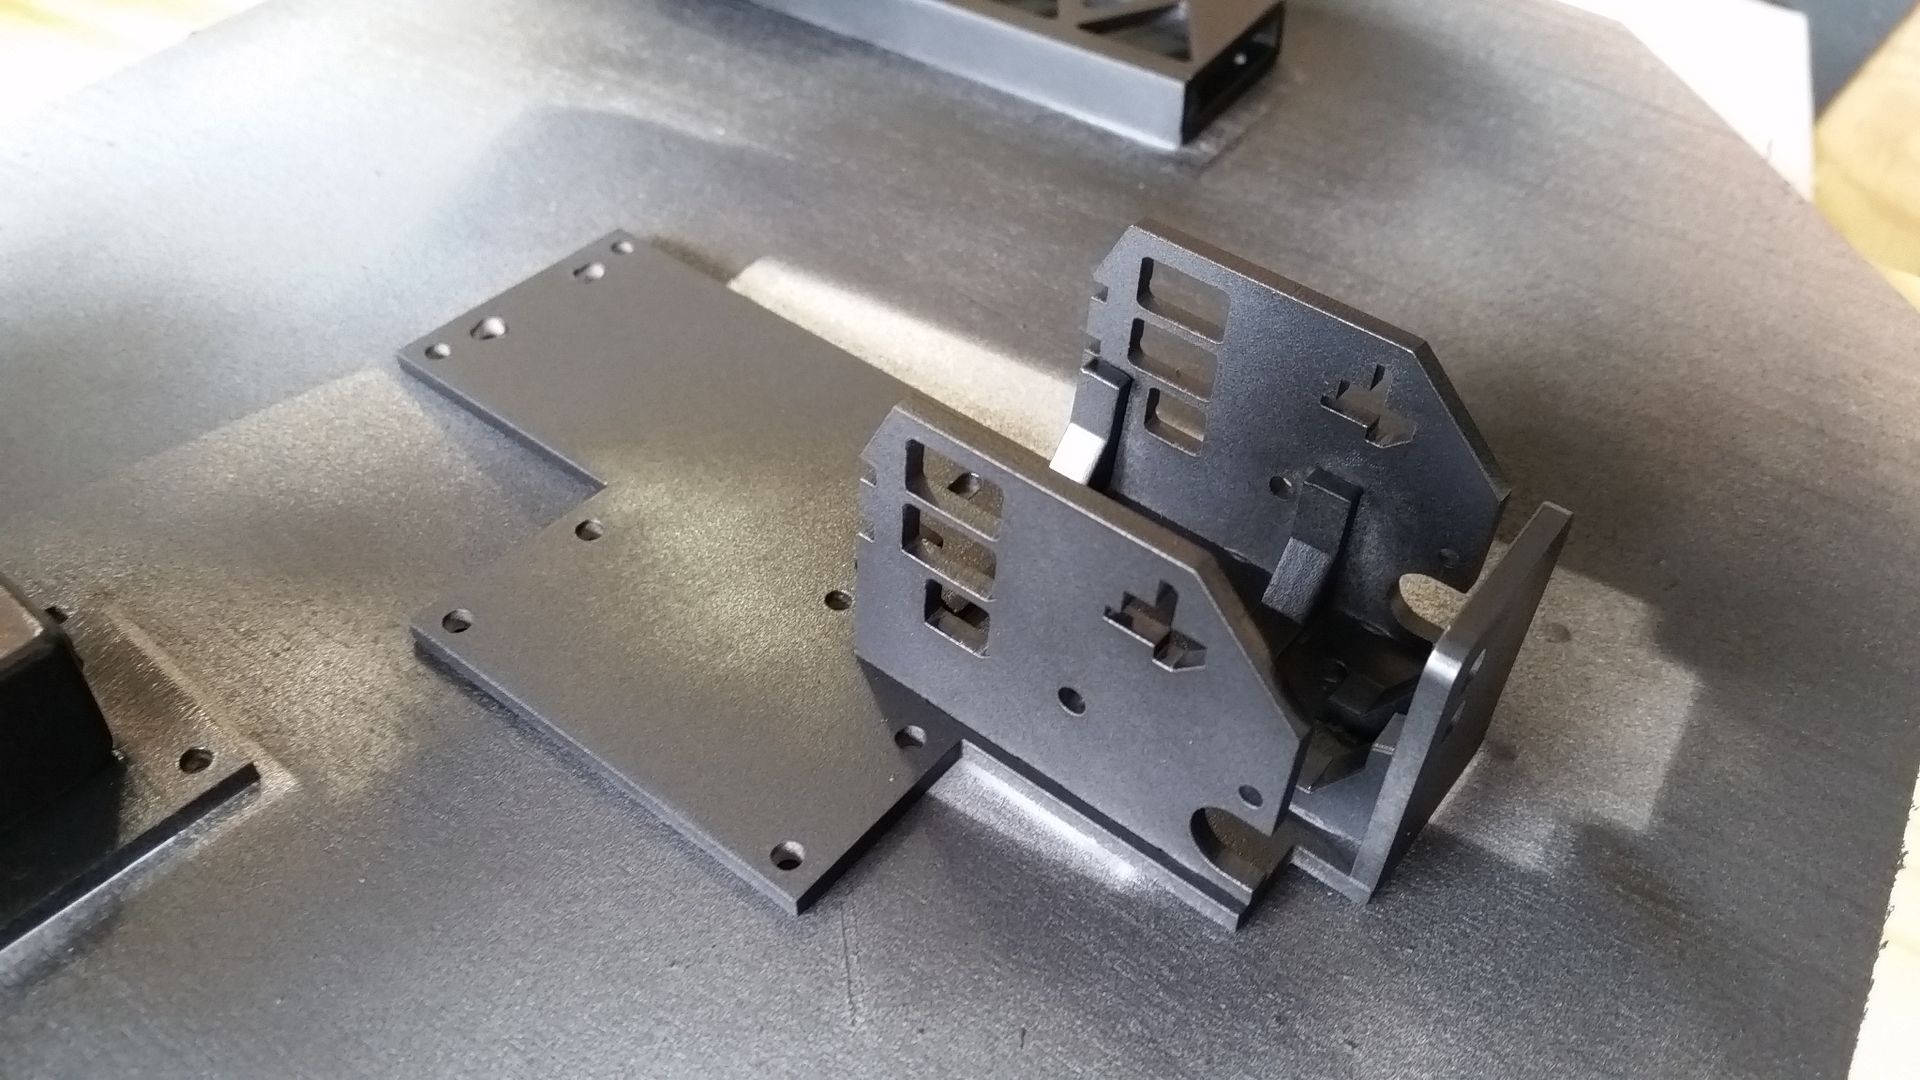
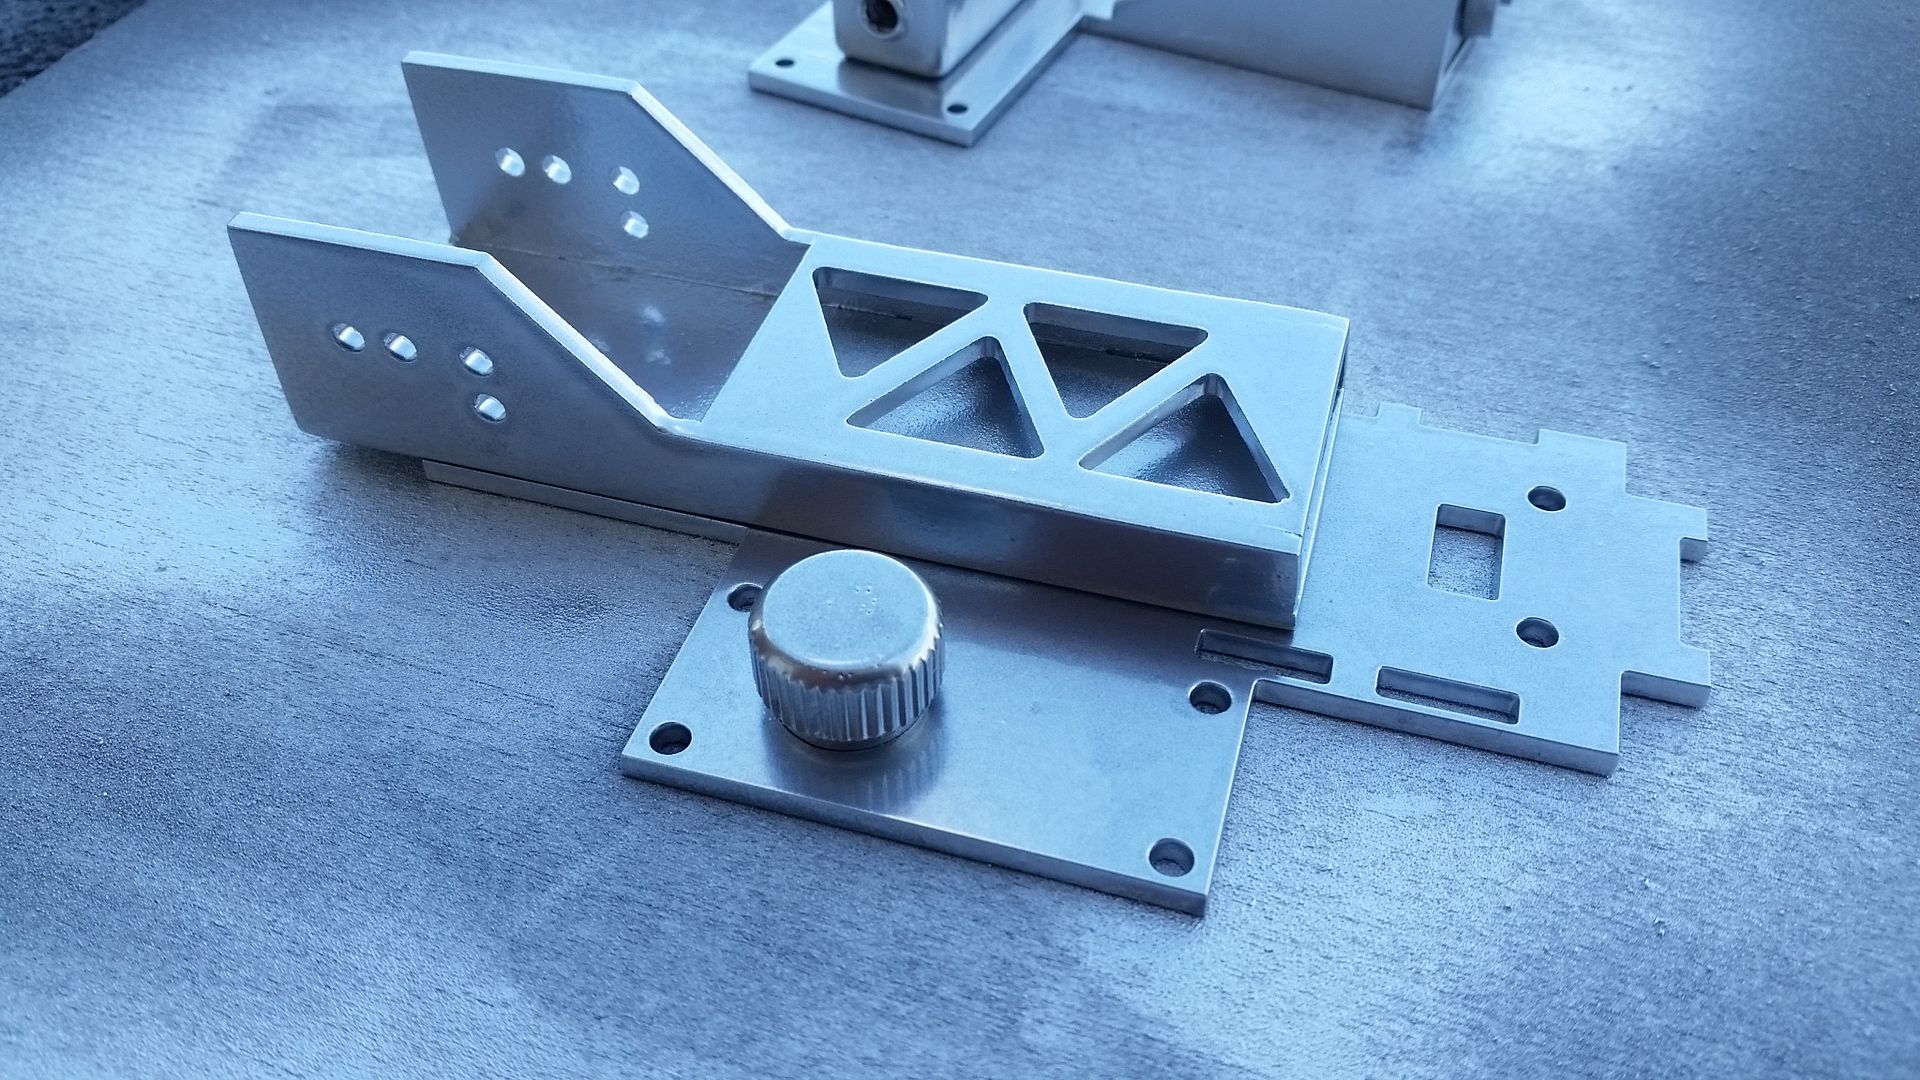
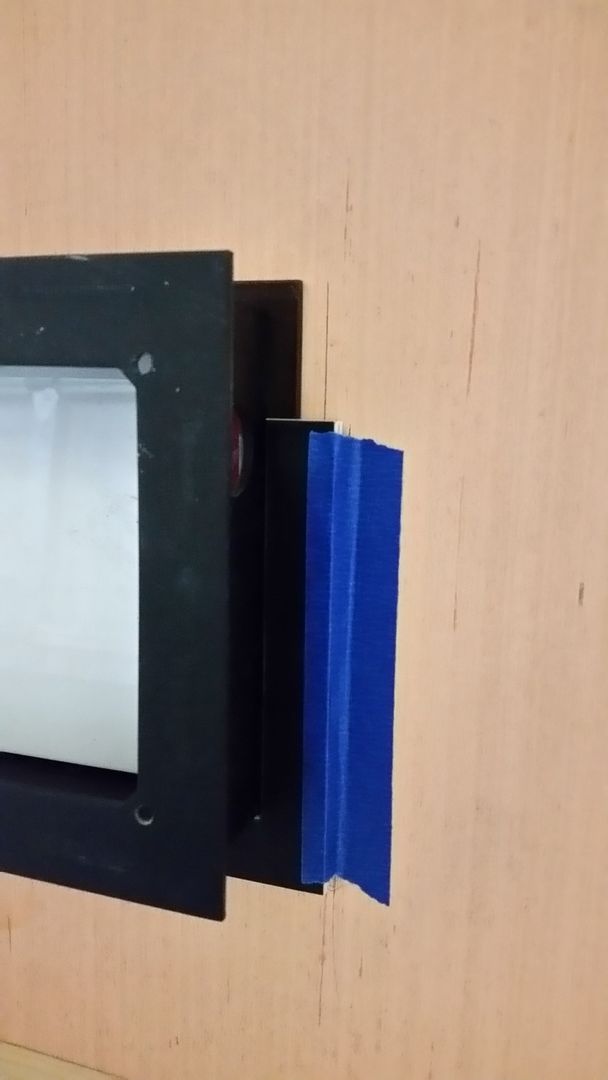
I then cut a new smoked panel for the electronics box. The part above adheres behind the smoked panel leaving the silver greeblie flush with the smoke panel
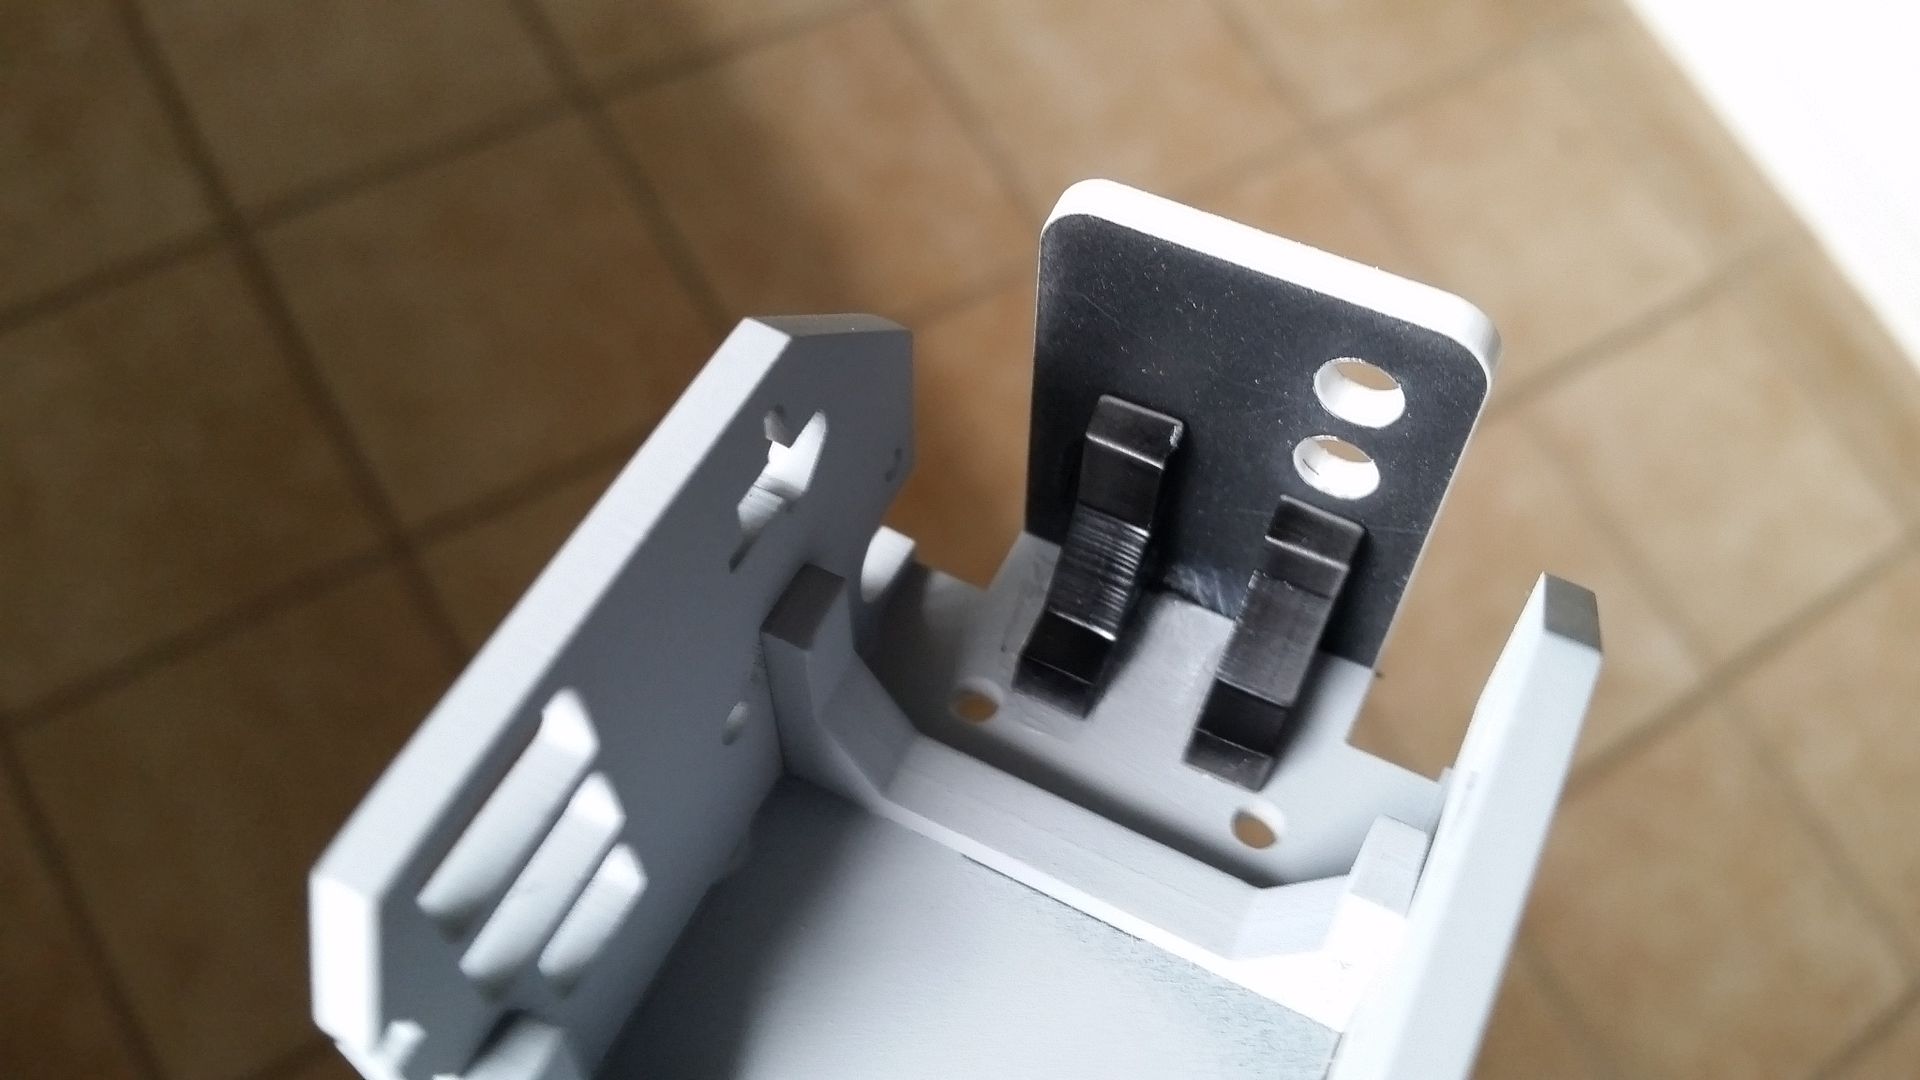
These two "U" shaped acrylic pieces will be adhered to together and mounted inside the door panel keeping the electronics box in place and allow the guys to remove it if necessary
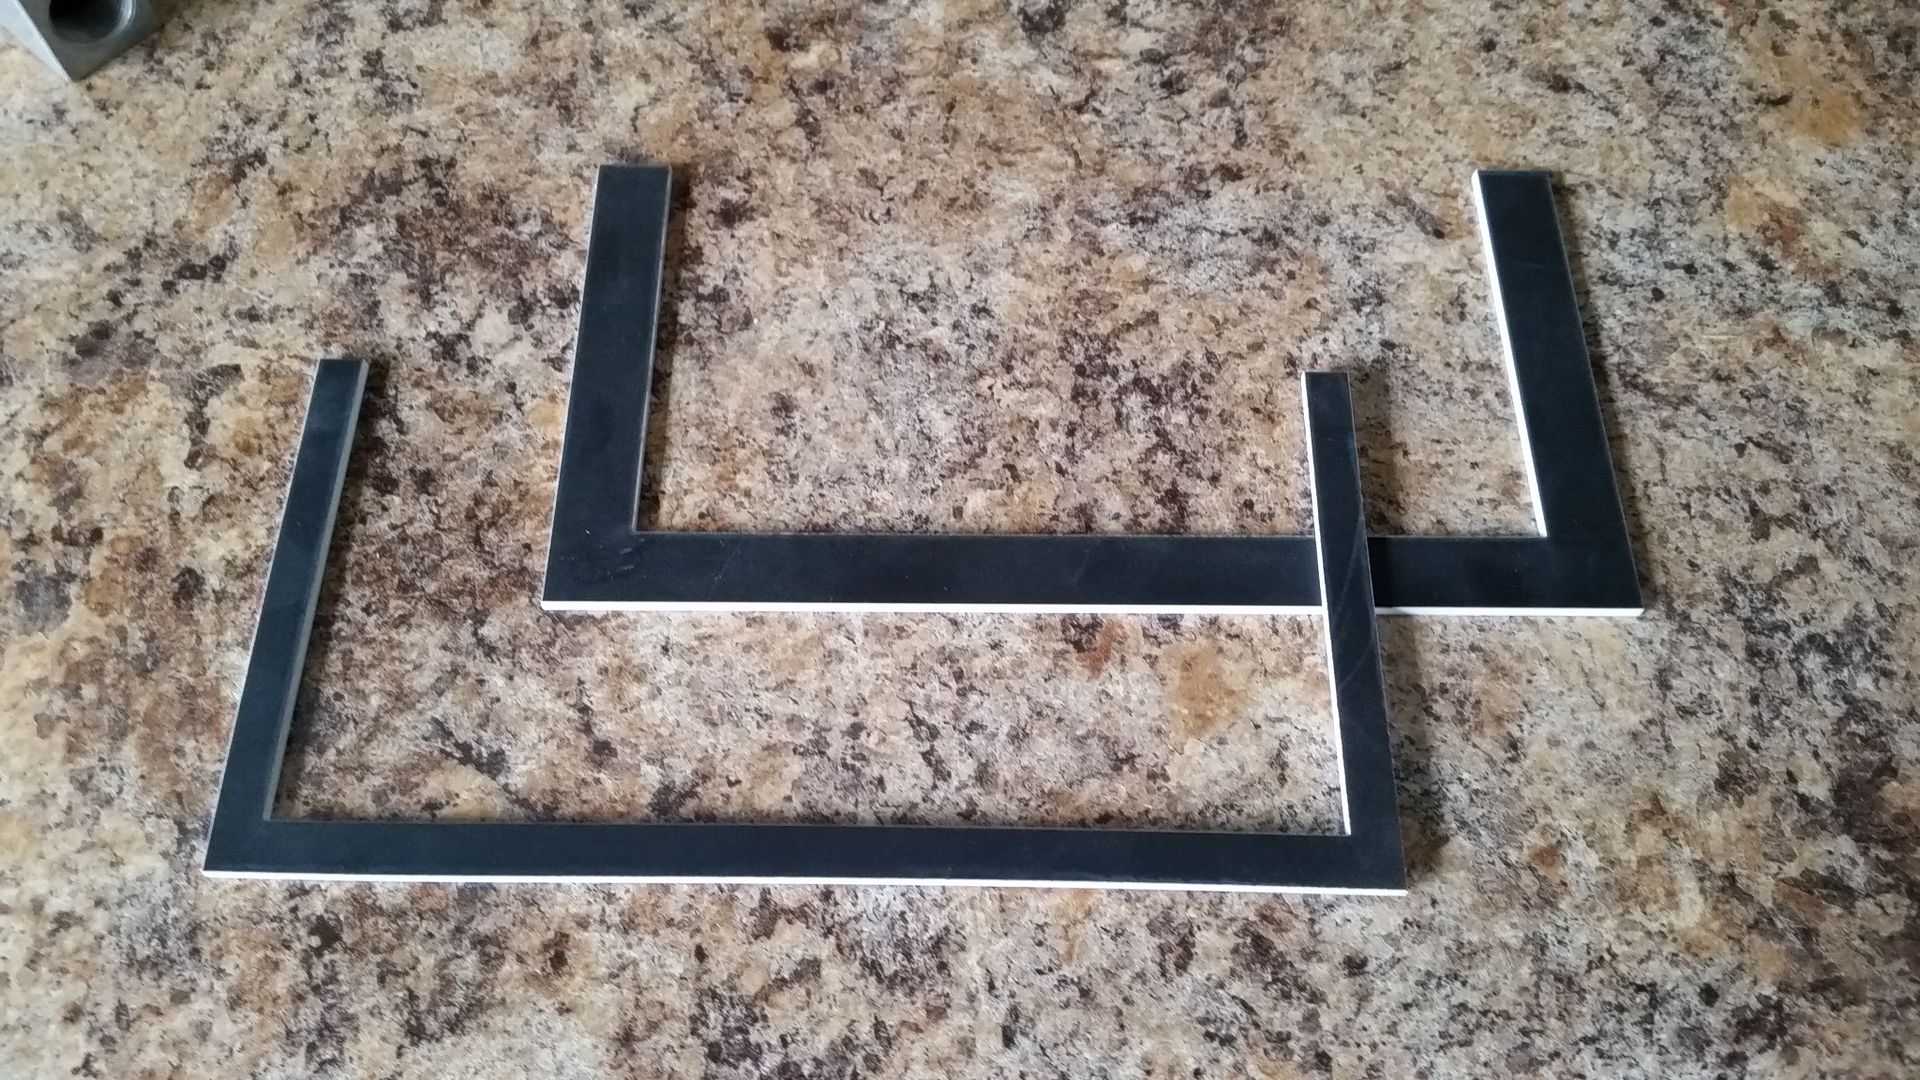

The piece that attached to the door is the same width as the smoked panel
The second piece, now adhered in place, acts as a guide for the box to slide in and out
Finding the correct position

Perfect!
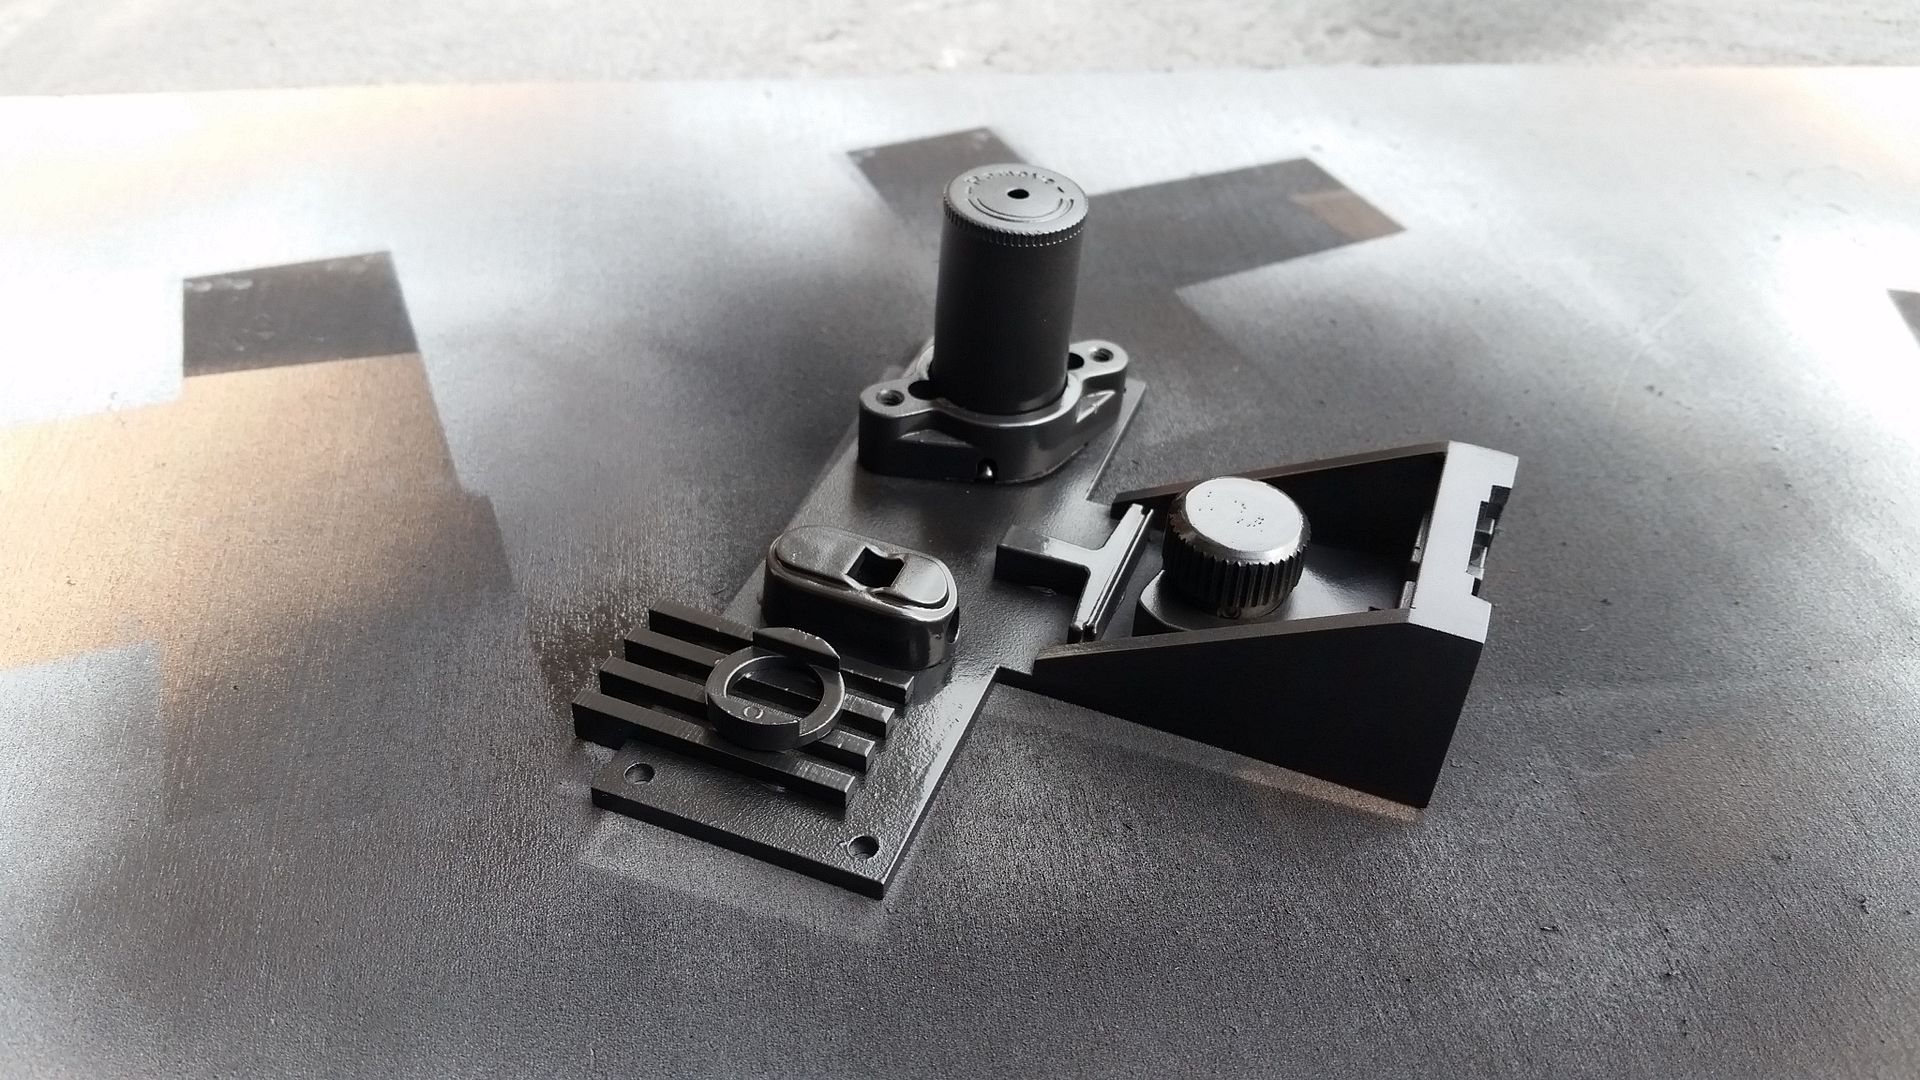
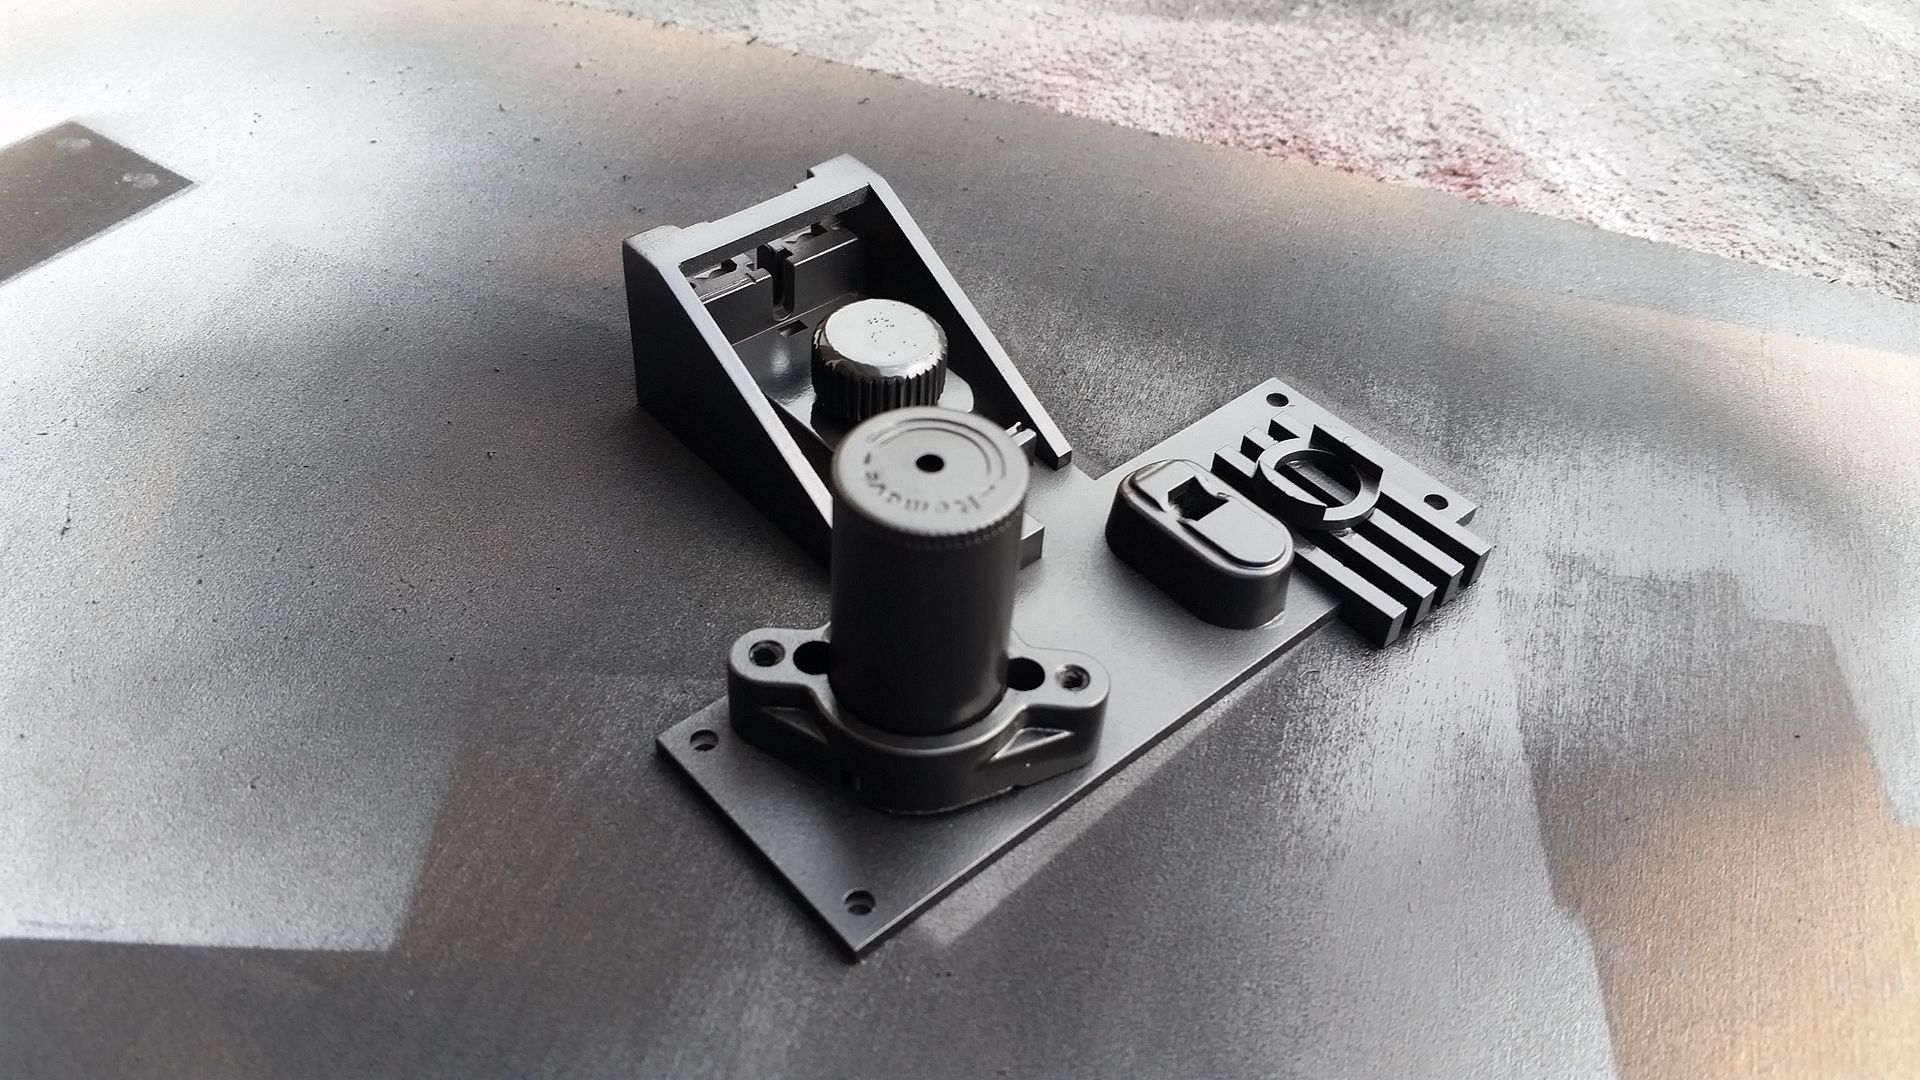
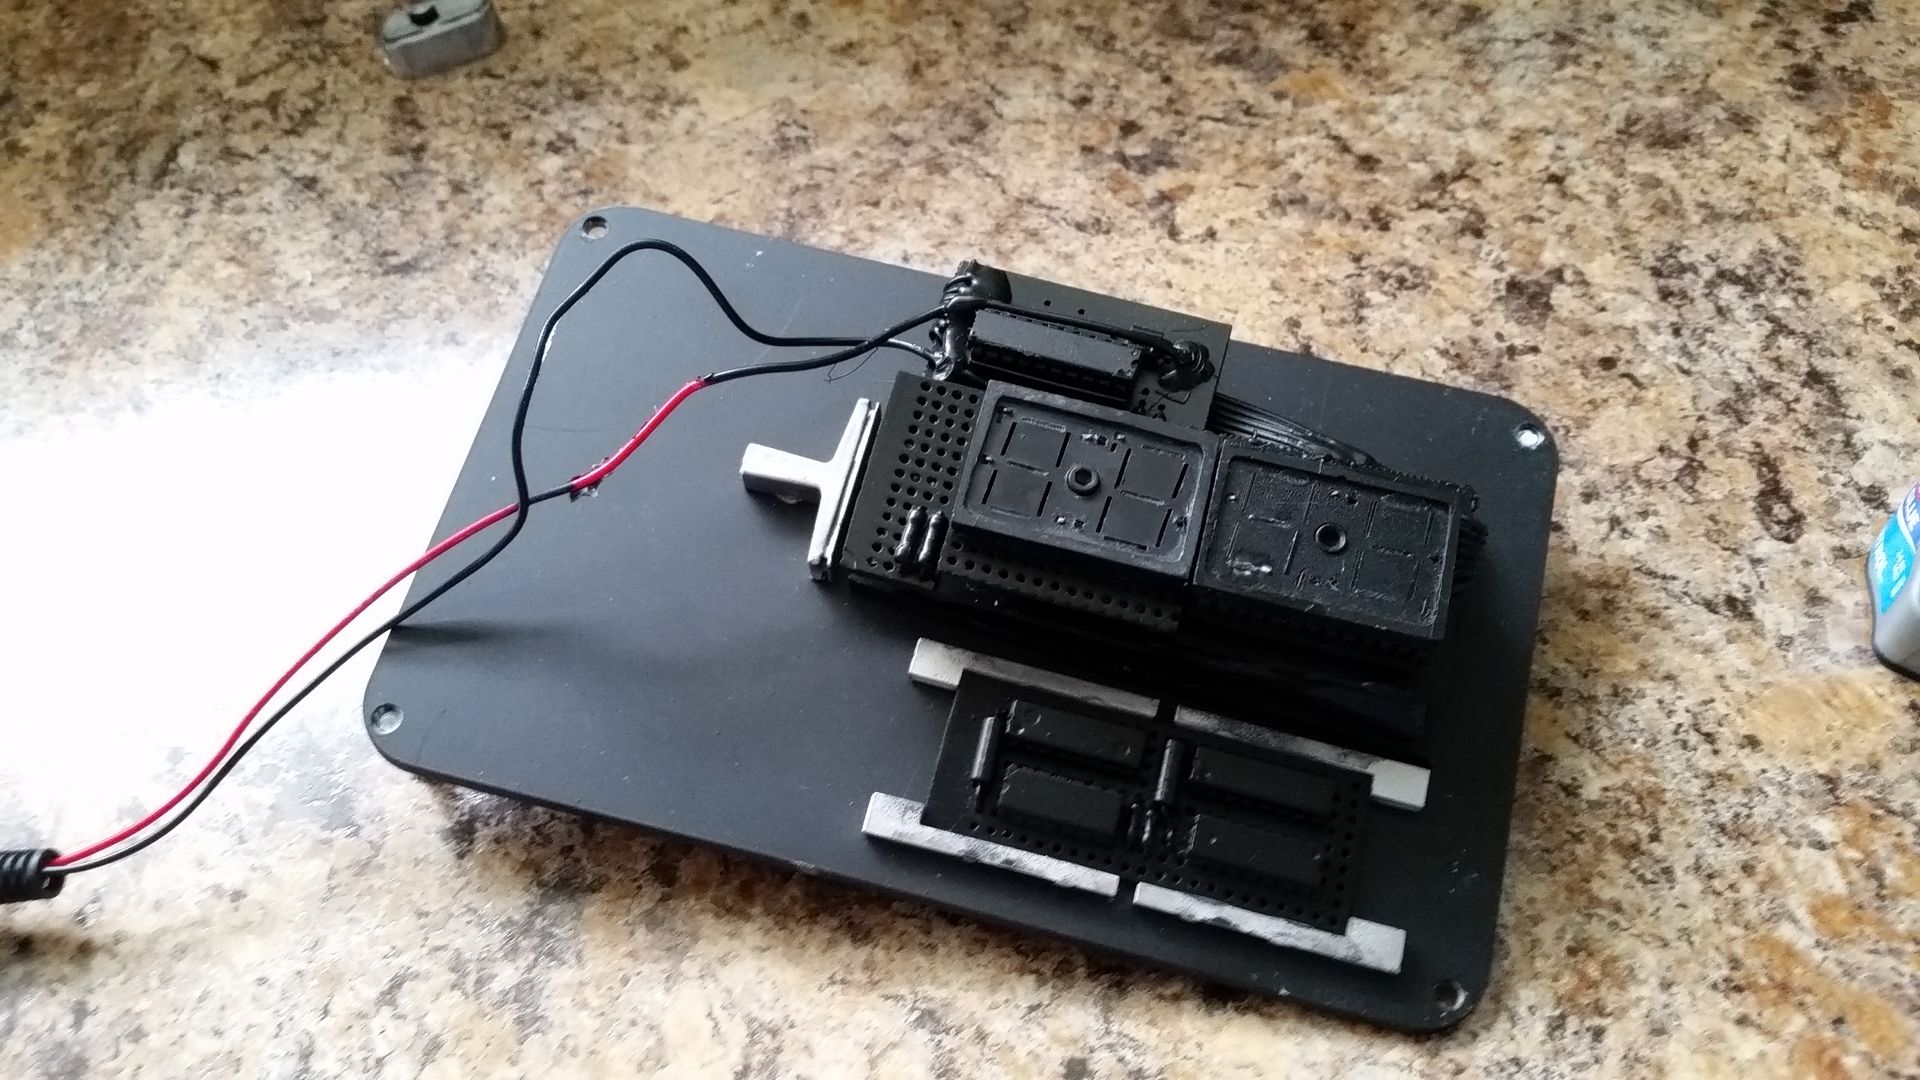
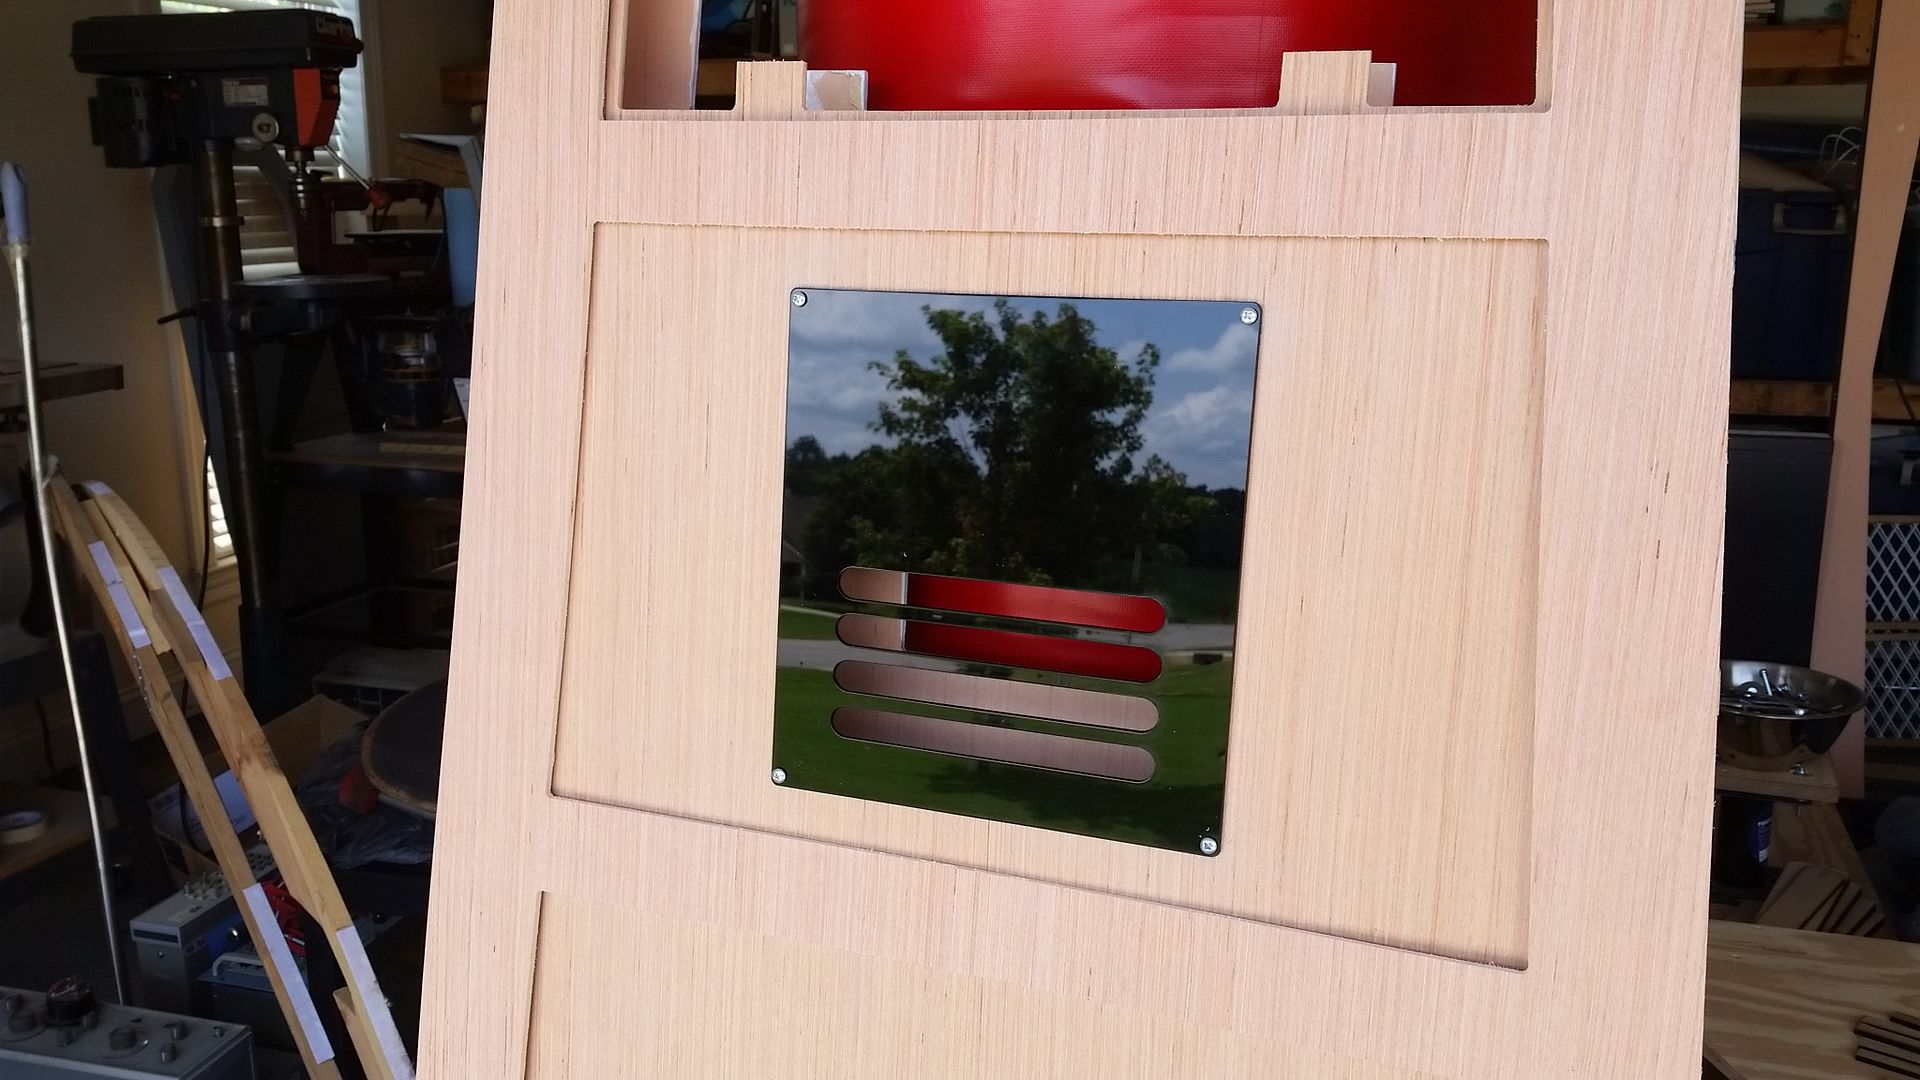
I mounted the electronics and other greeblies into place
Done!
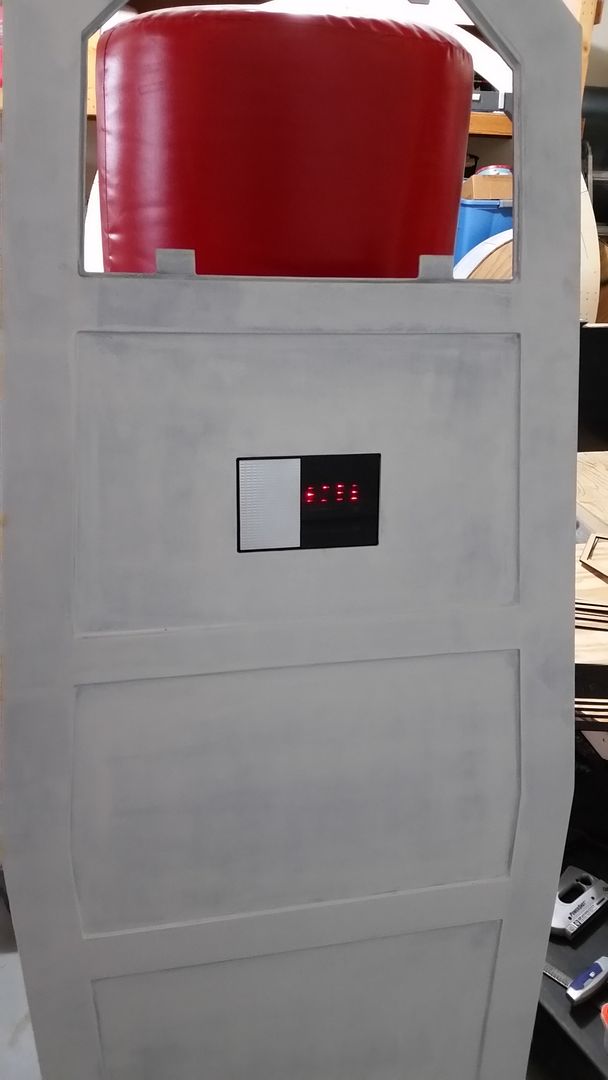
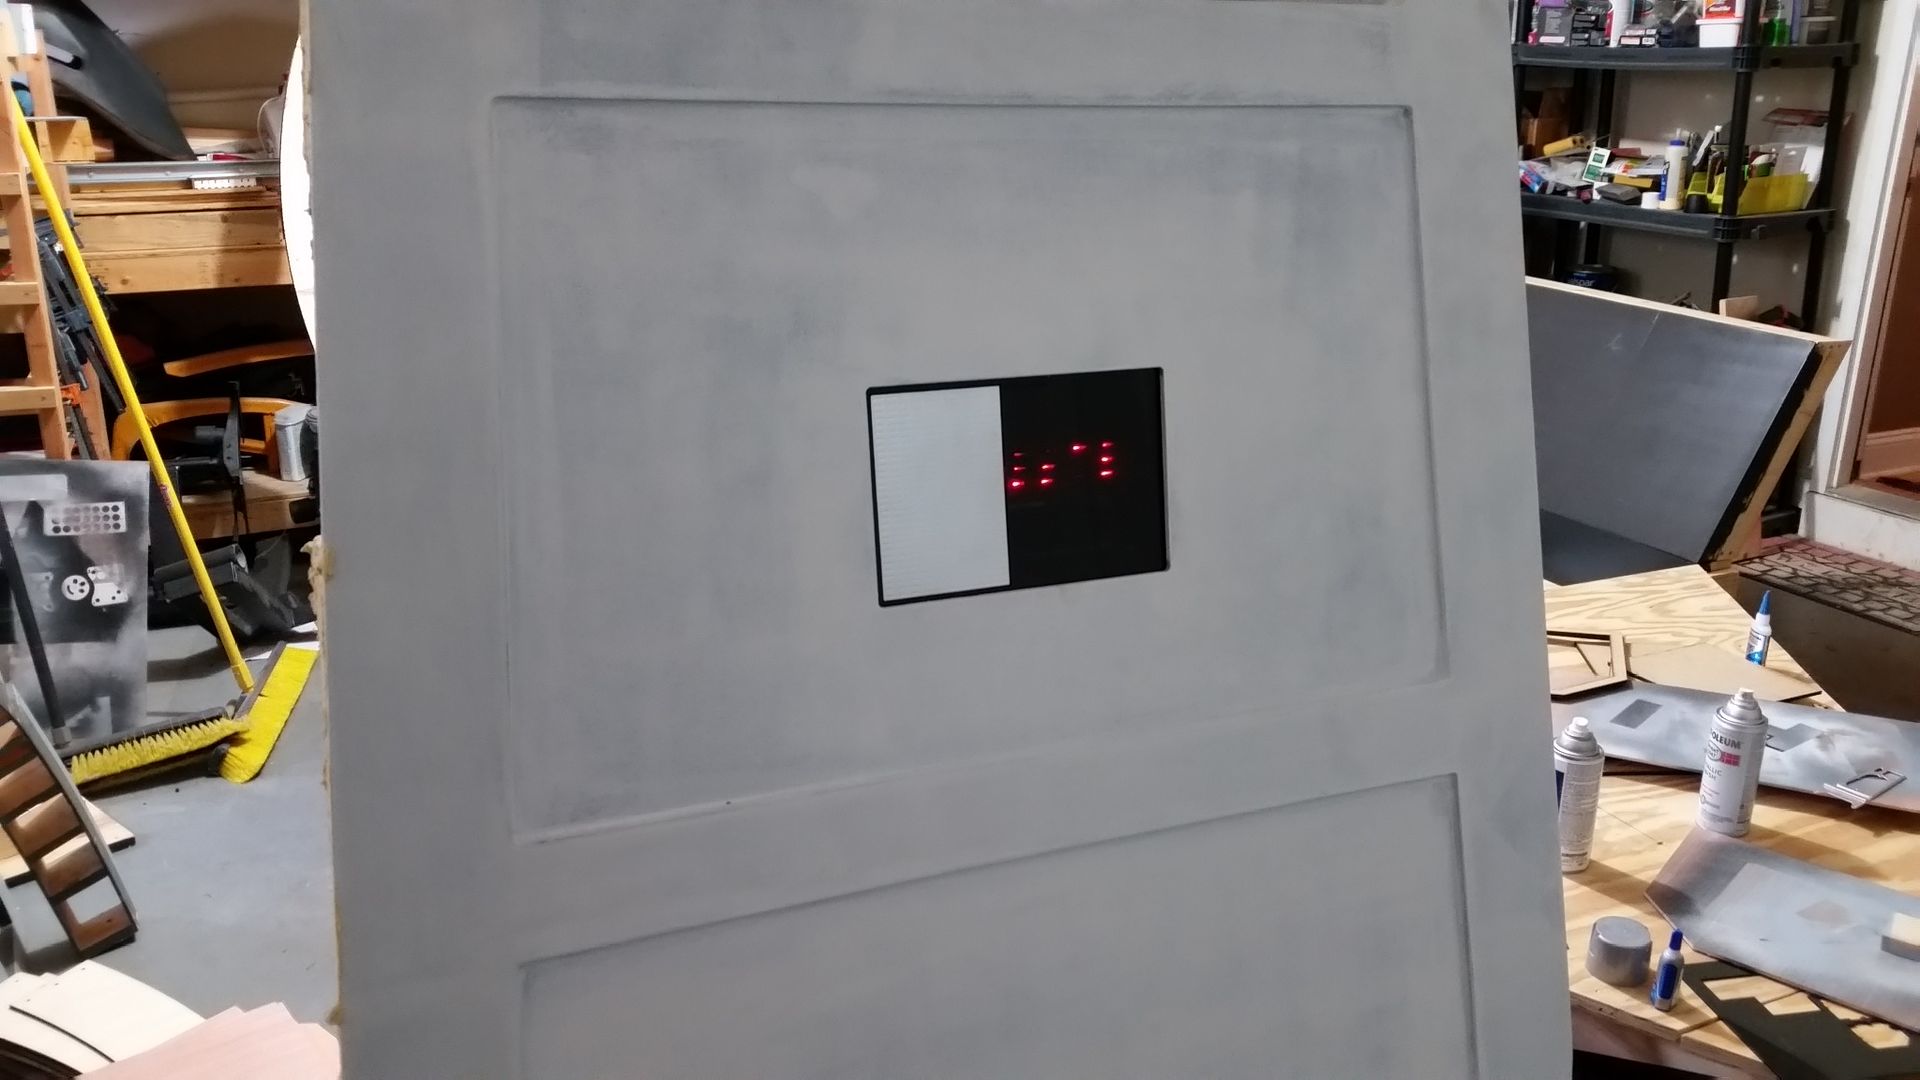
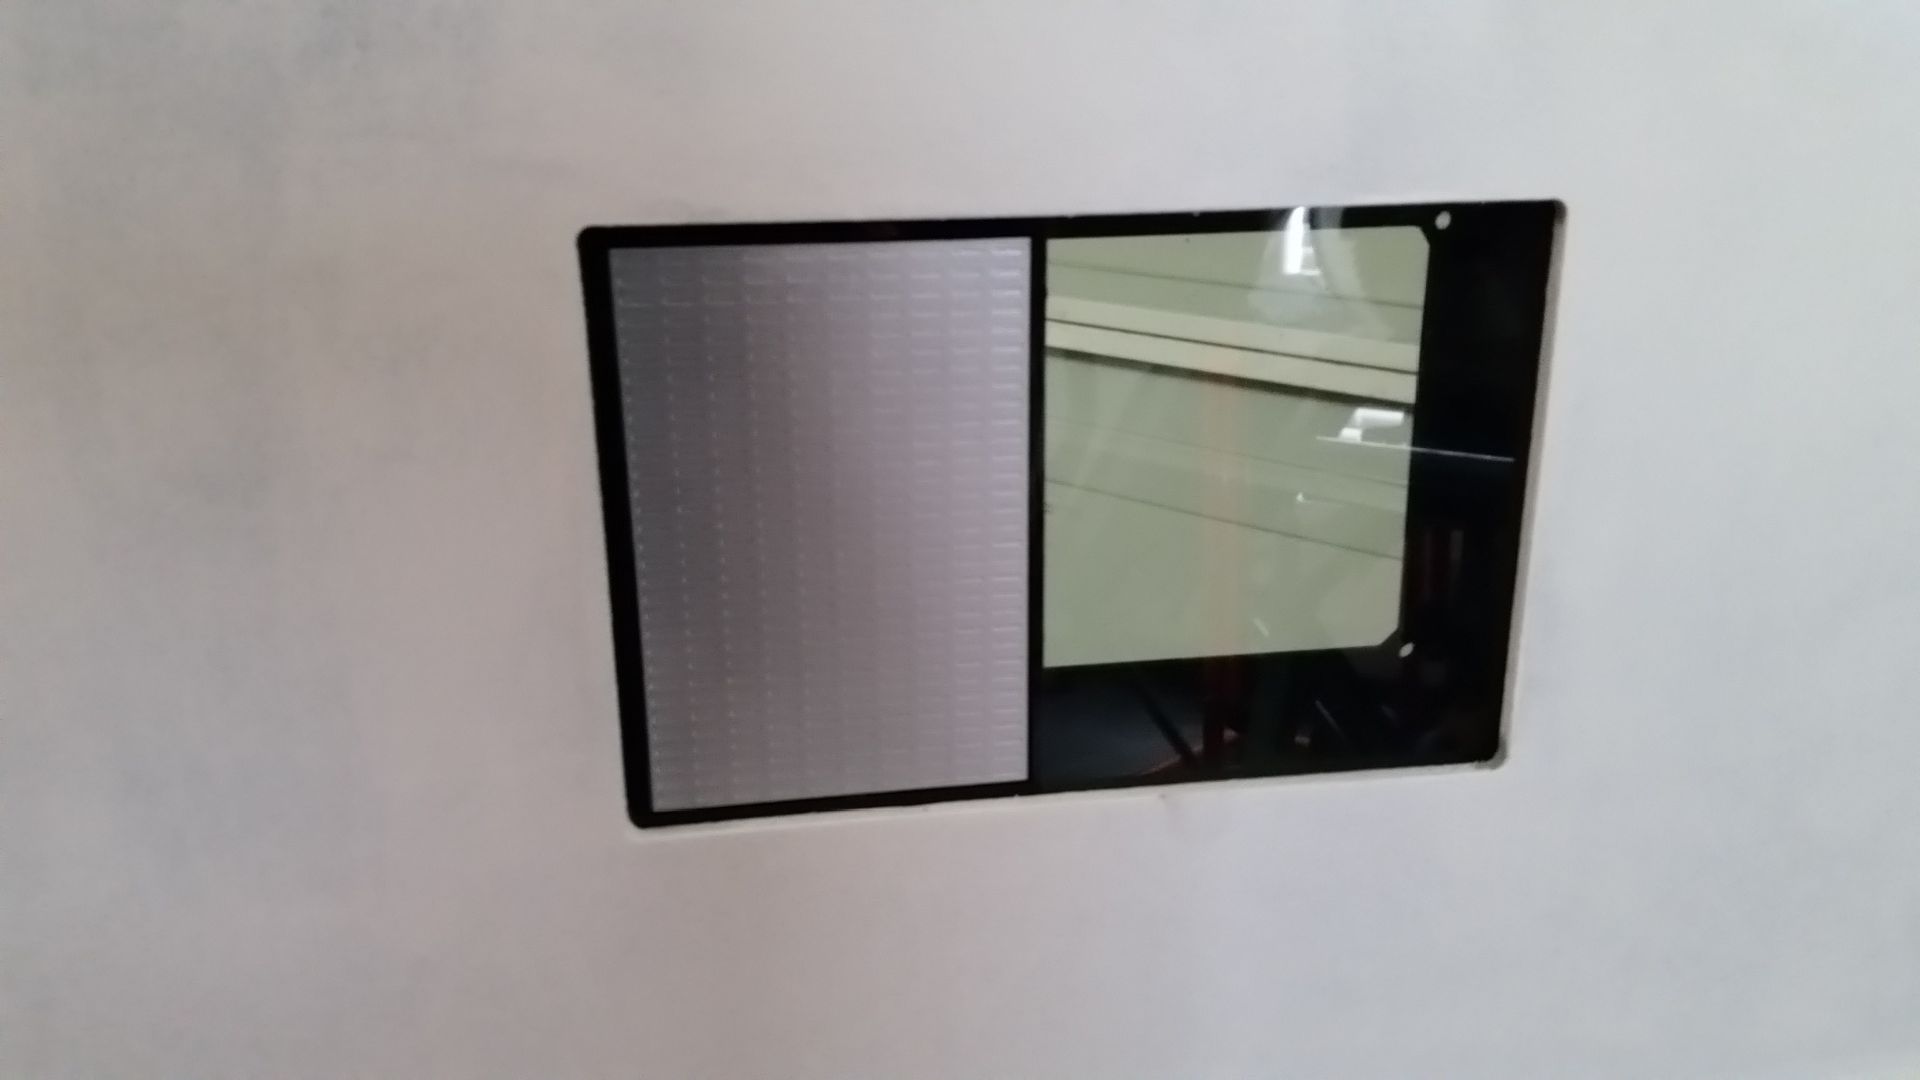
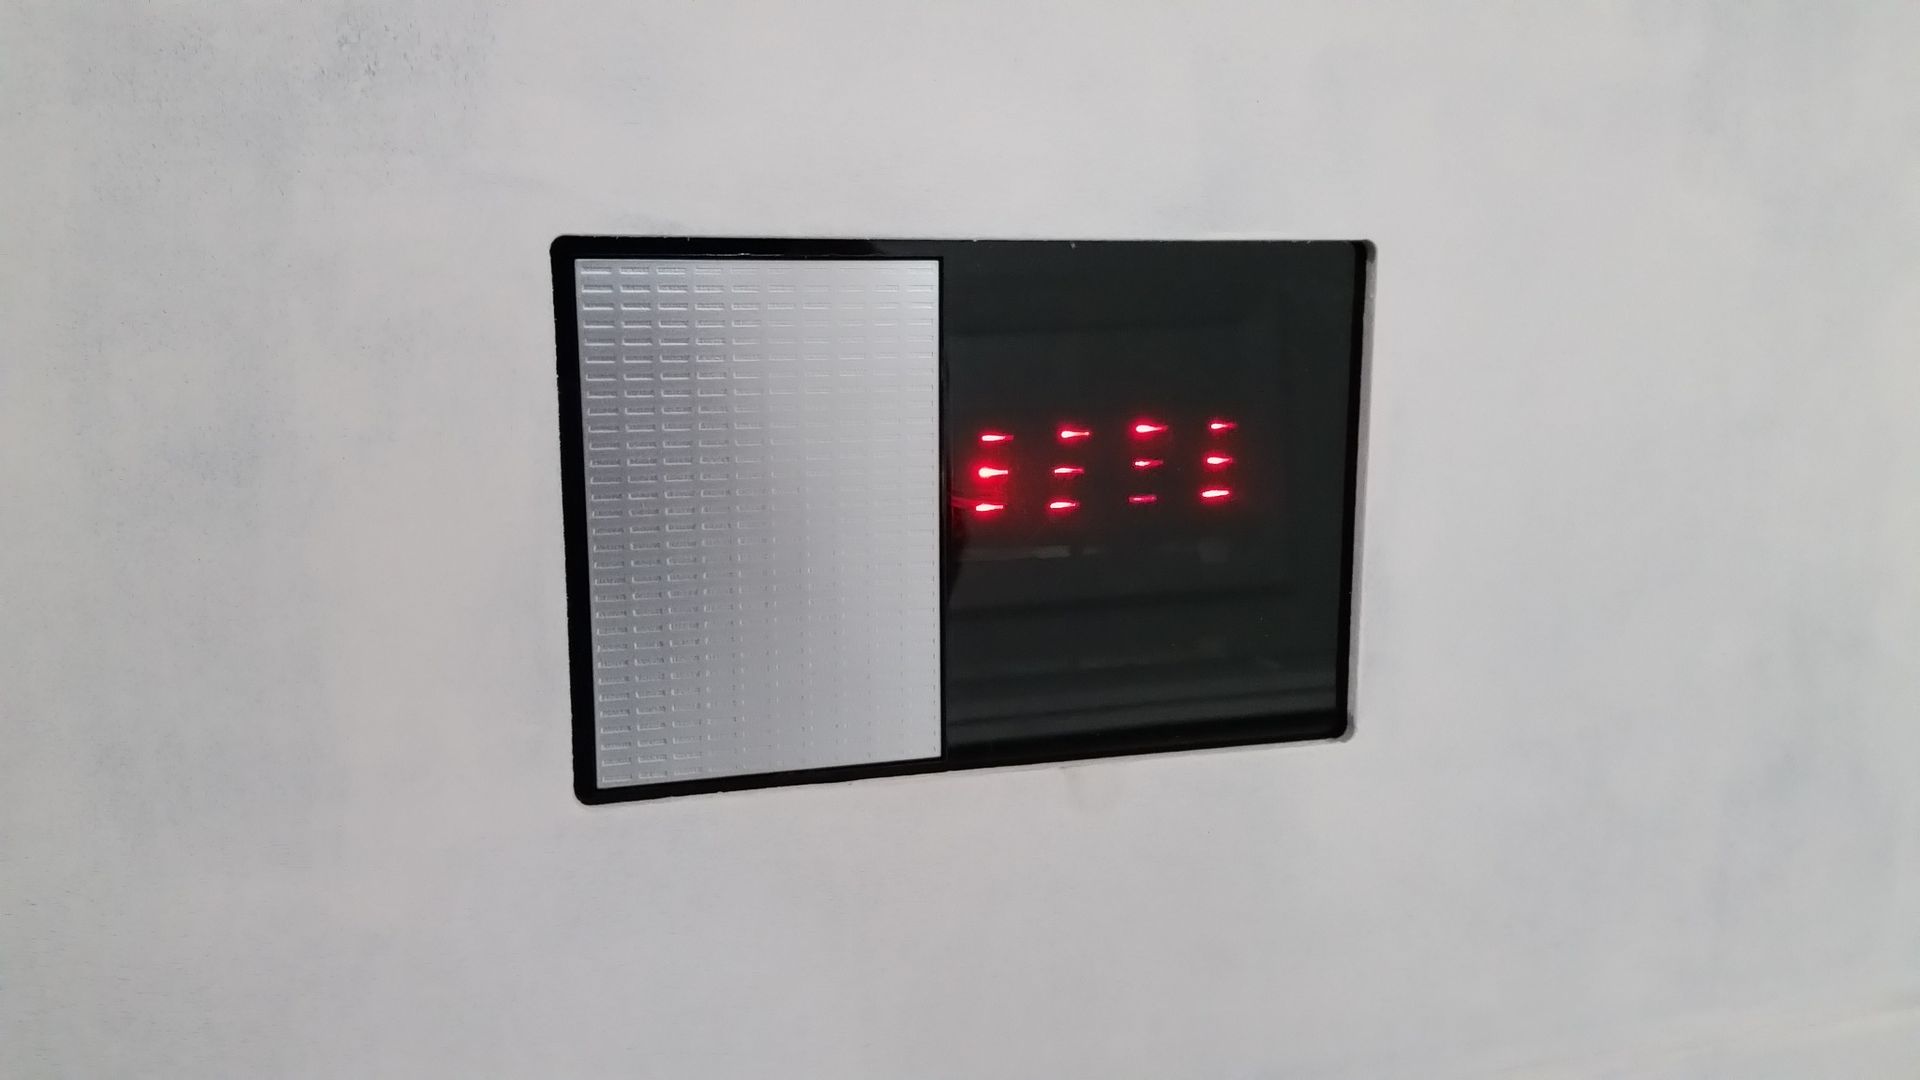
The smoked acrylic allows just a hint of the silver greeblies to show through - perfect!
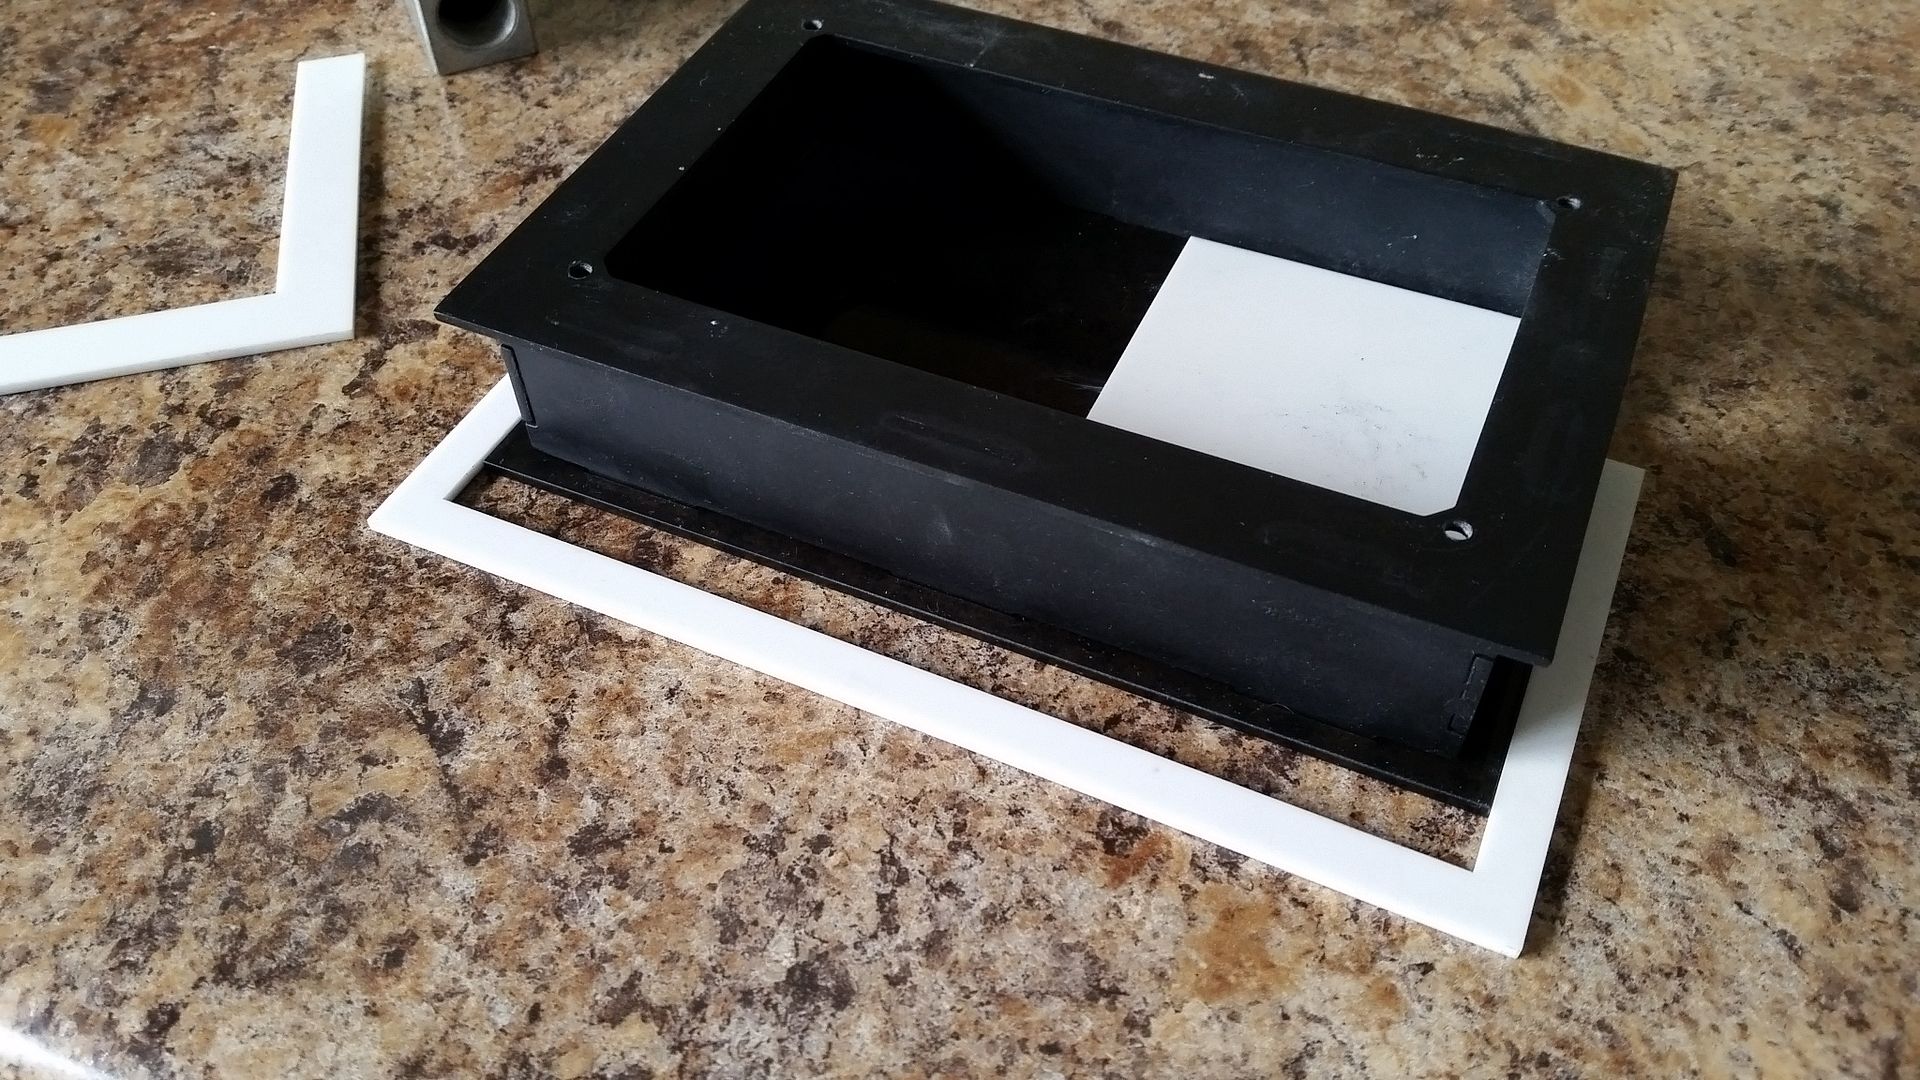
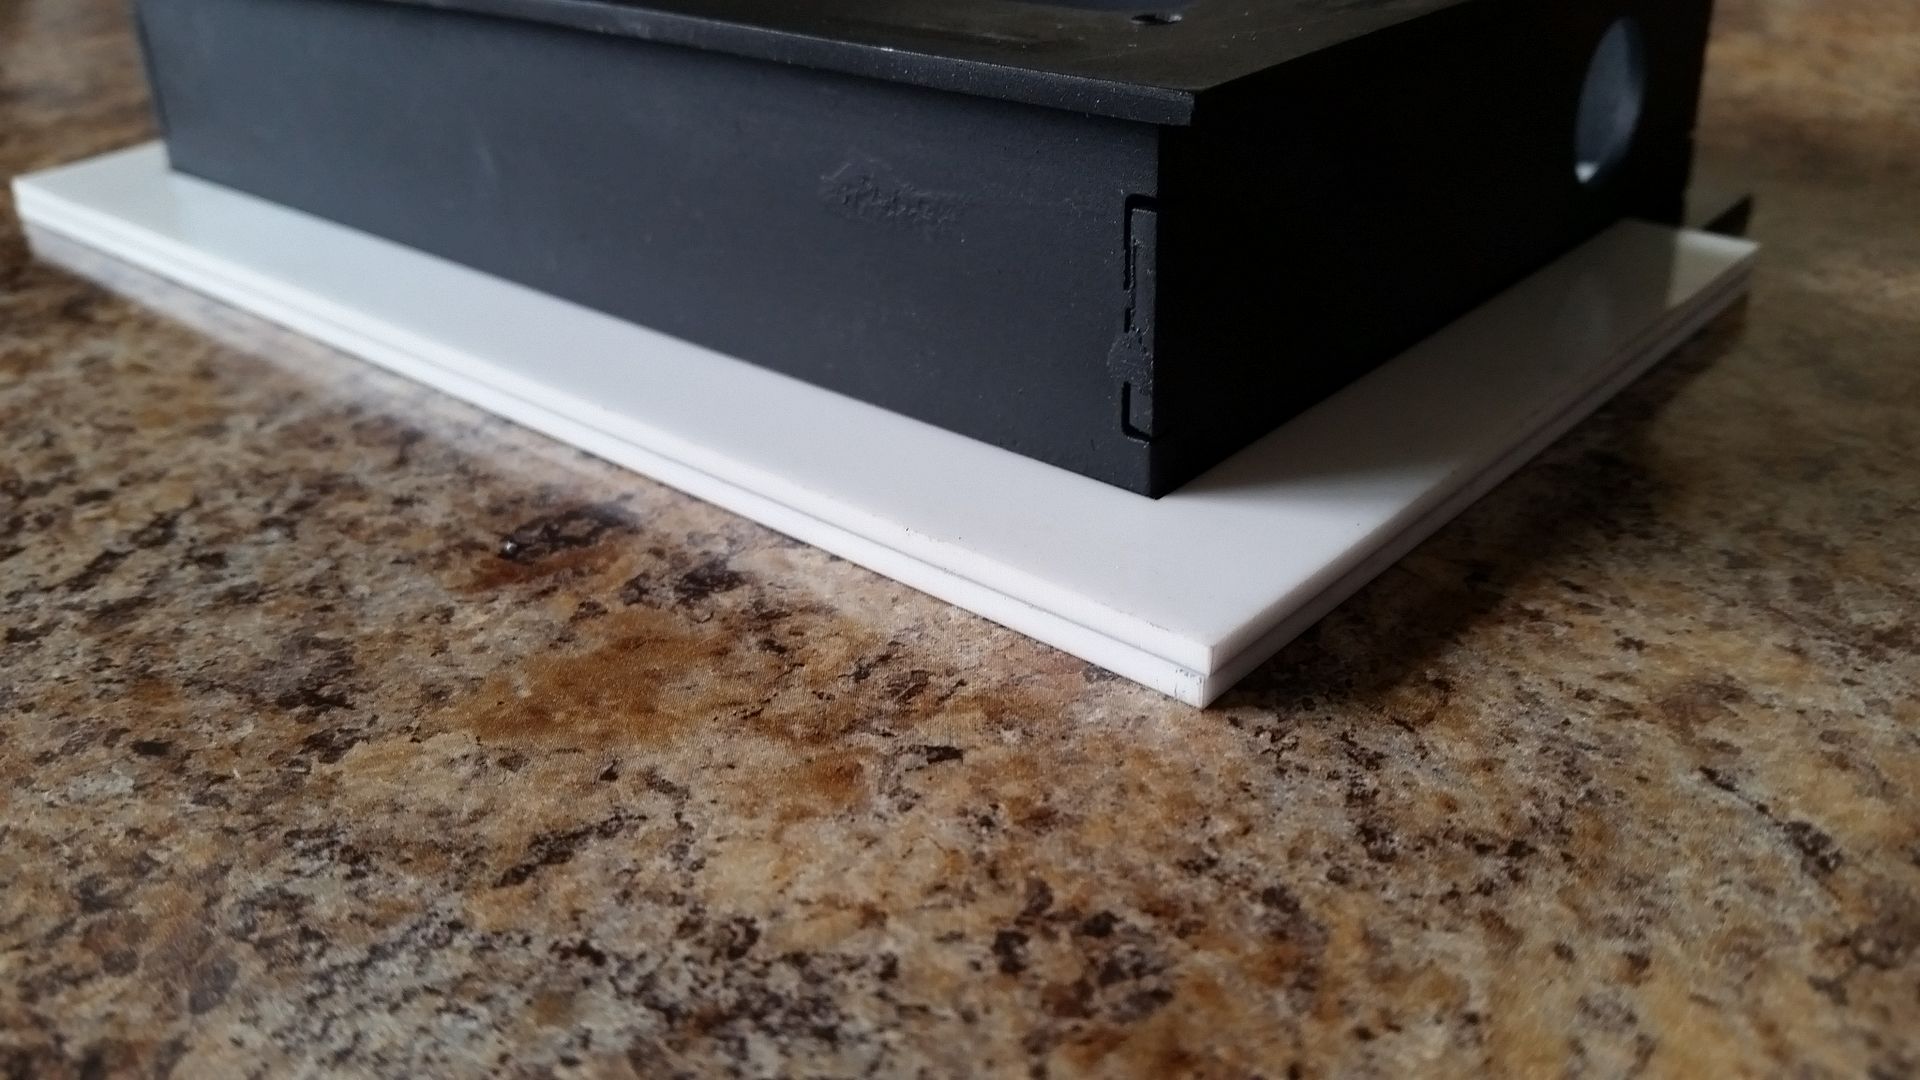
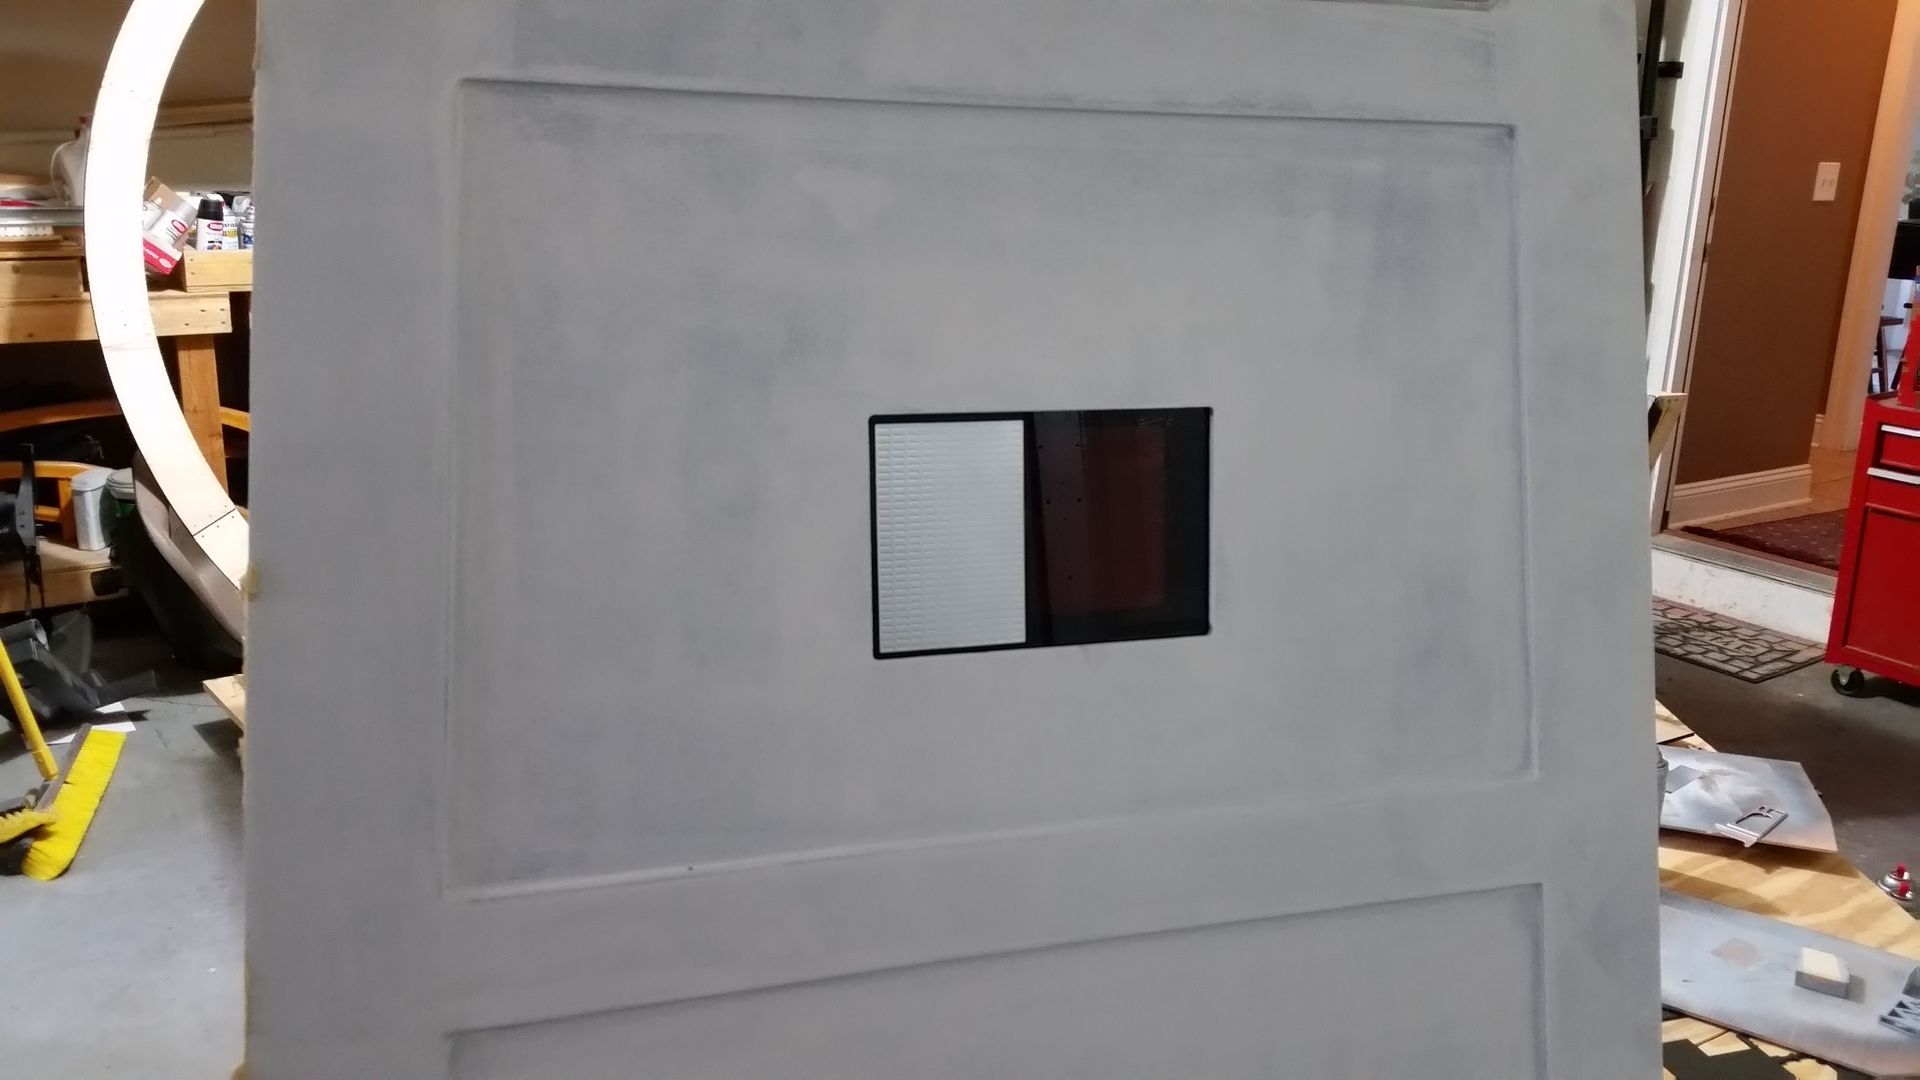
I adhered the access panel mounting frame to the inside of the door panel
The guys now have access to the electronics box
Gotta think that little panel greeblie through a little better. Think, Man, Think!
More to Follow!
UPDATE! Unfortunately it rained ALL day before I was able to make some significant movement on the door. But I switched gears and moved forward...
Since there are no clear images of this greeblie I decided to wing it... And...
UGH!!!!!!! I HATE IT!!!!!!!!!!!!!!! Time to start over!!!!!!!!
That was a total fail on my part!
But let's move on to some cooler stuff!
I finished getting the greeblie back together
I also these two support brackets to the other greeblie
This is 3 layers of MDF that were laser cut and make up the edges of the recessed panel to fit inside the door - adding filler to smooth out the edges (I have both sides that need to be done)
The edges of the door have these little pockets - not sure why but it's a cool added detail. The edge of the door will be painted a flat black
Adding filler to hide the screws and imperfections
Stopped by the Makers to use the laser cutter - I cut and etched this piece
The cut is slightly larger than the silver decorative greeblie and the etching helps me place the piece perfectly
I then cut a new smoked panel for the electronics box. The part above adheres behind the smoked panel leaving the silver greeblie flush with the smoke panel
These two "U" shaped acrylic pieces will be adhered to together and mounted inside the door panel keeping the electronics box in place and allow the guys to remove it if necessary
The piece that attached to the door is the same width as the smoked panel
The second piece, now adhered in place, acts as a guide for the box to slide in and out
Finding the correct position
Perfect!
I mounted the electronics and other greeblies into place
Done!
The smoked acrylic allows just a hint of the silver greeblies to show through - perfect!
I adhered the access panel mounting frame to the inside of the door panel
The guys now have access to the electronics box
Gotta think that little panel greeblie through a little better. Think, Man, Think!
More to Follow!
Last edited: