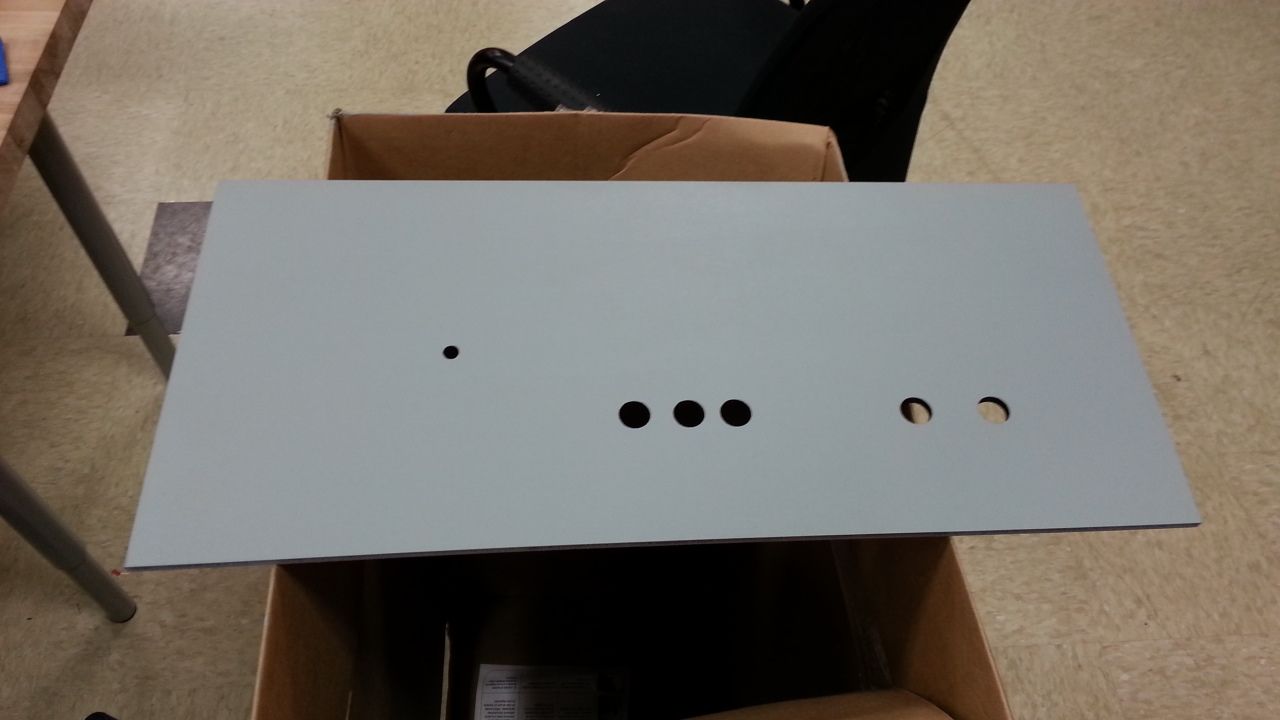
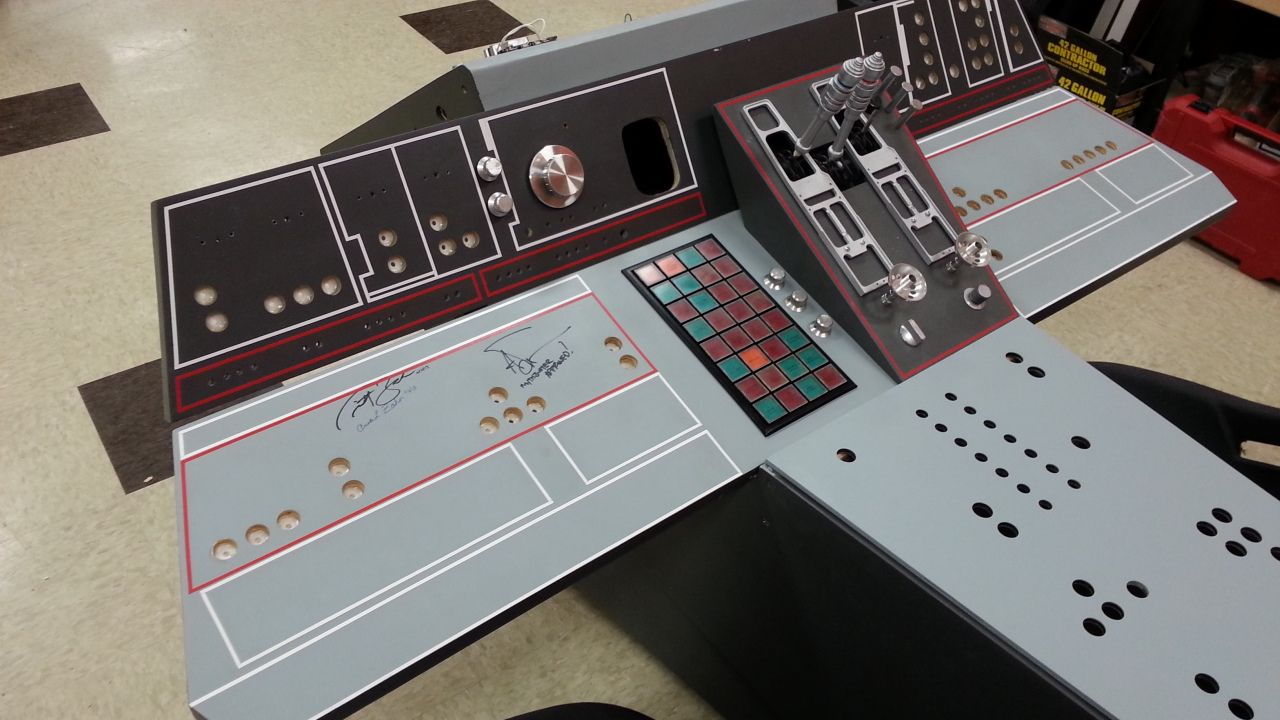
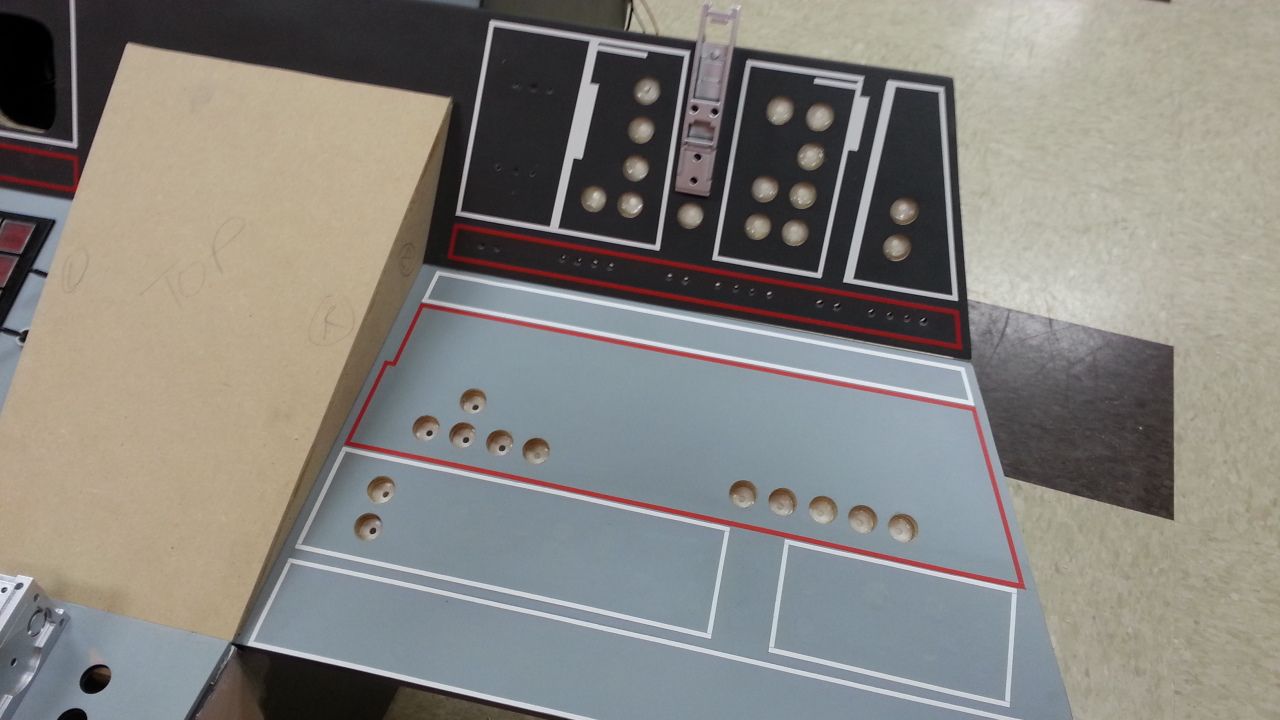
The labels, in case anyone is interested, read:
Main Inverter, Under Carriage Lockout, Shields, UV lights,
Landing Lights, Standby Inverter, Main Battery,
this last one I'm not too sure about... Pitch?
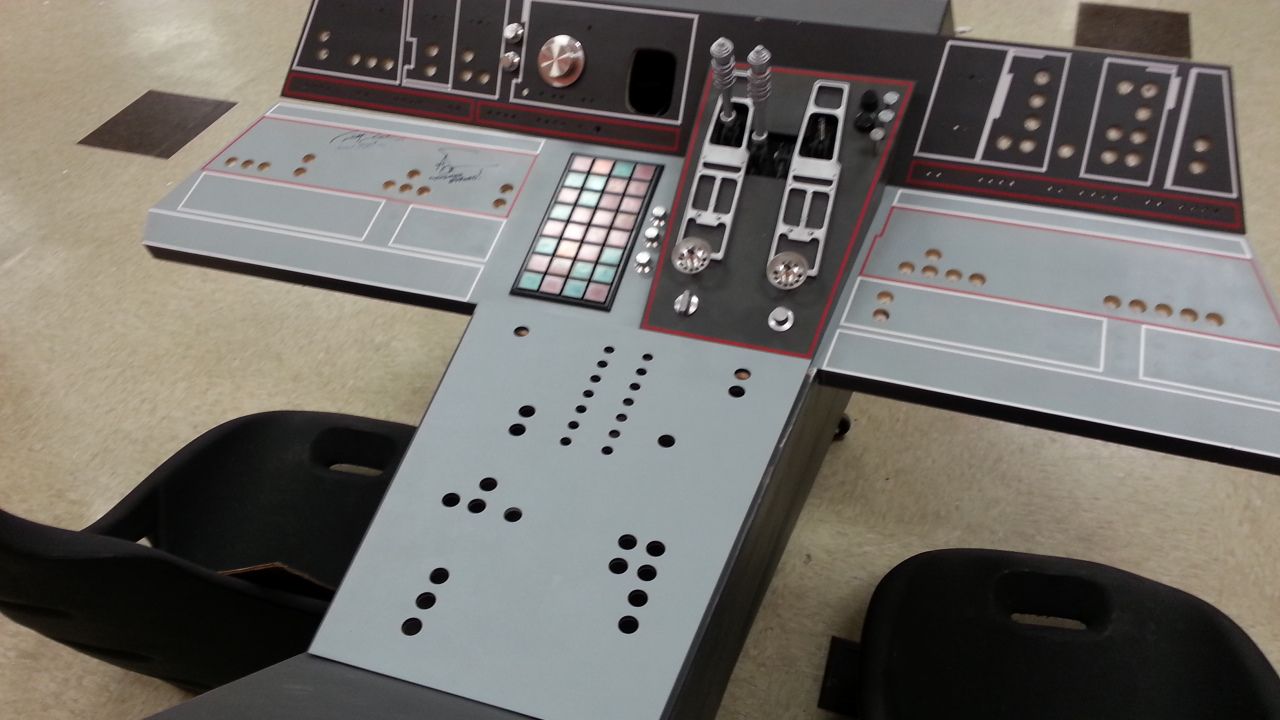
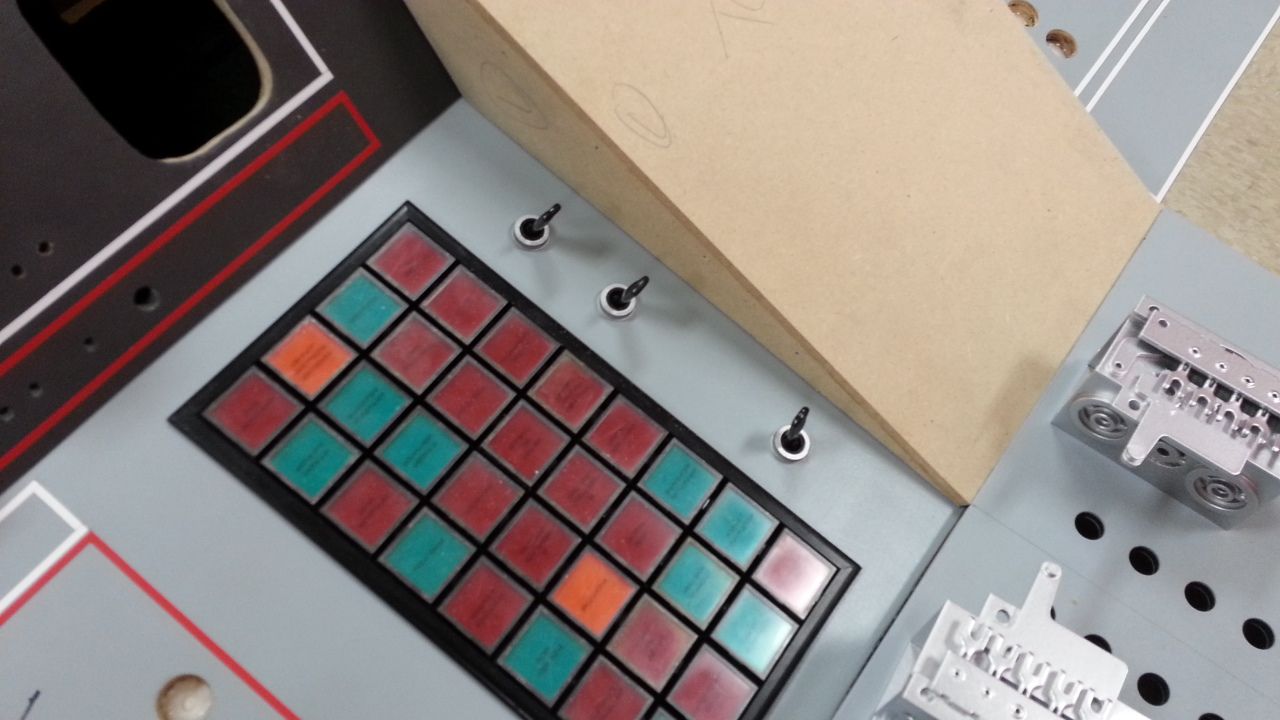
These are the ones that appear in this
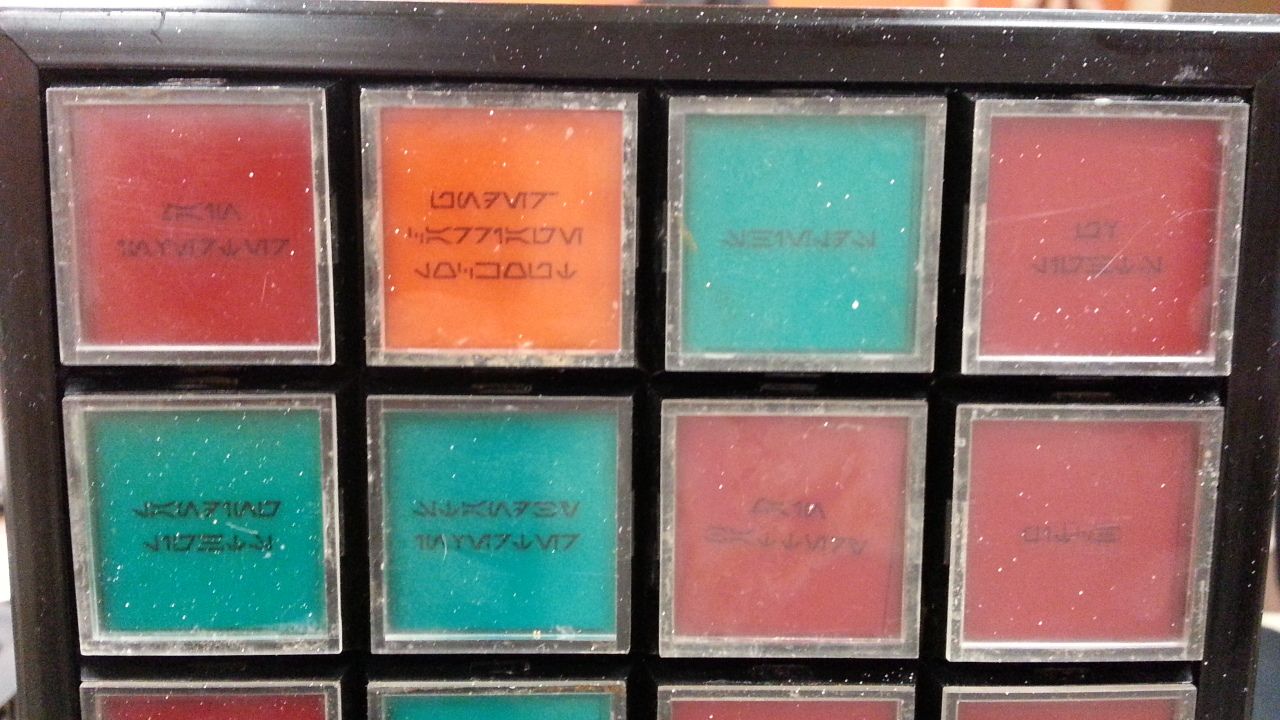
image. In the other picture,the buttons were too small to read.
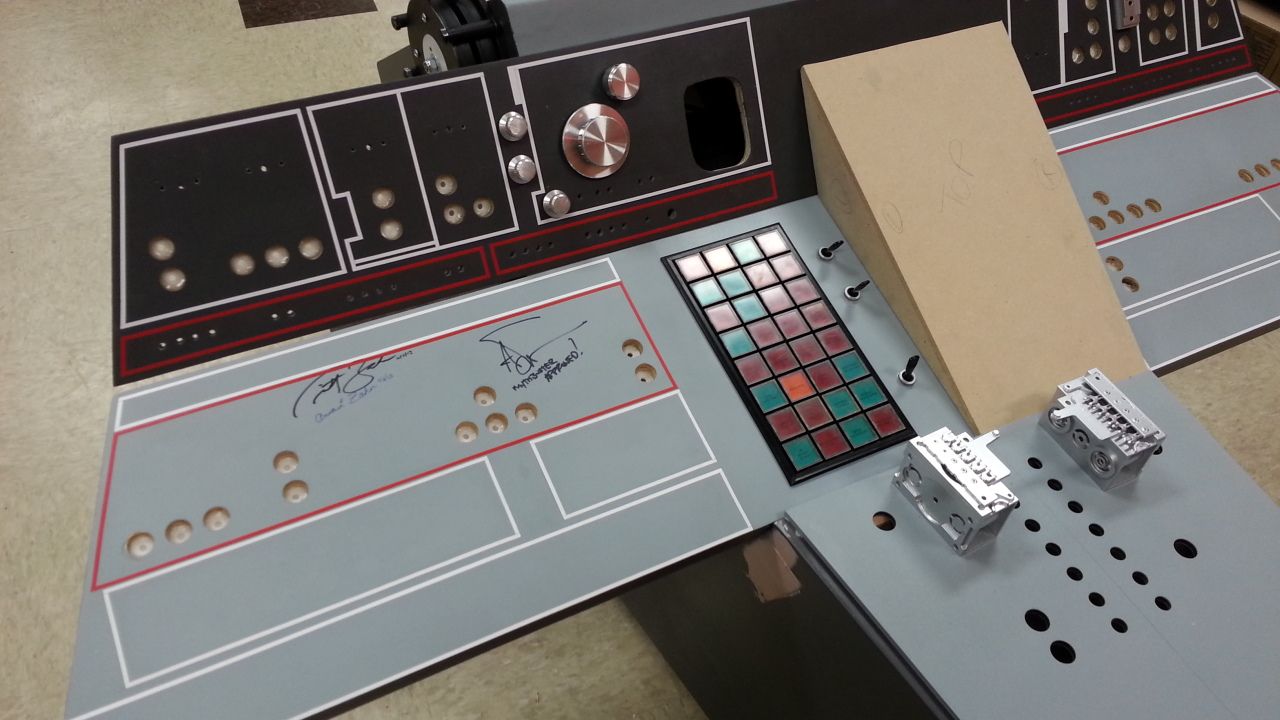
Main Inverter, Under Carriage Lockout, Shields, UV lights,
Landing Lights, Standby Inverter, Main Battery,
this last one I'm not too sure about... Pitch?
These are the ones that appear in this
image. In the other picture,the buttons were too small to read.
")