You are using an out of date browser. It may not display this or other websites correctly.
You should upgrade or use an alternative browser.
You should upgrade or use an alternative browser.
1:1 Millennium Falcon Cockpit Replica - Group Build
- Thread starter SteveStarkiller
- Start date
IzzyMel
Sr Member
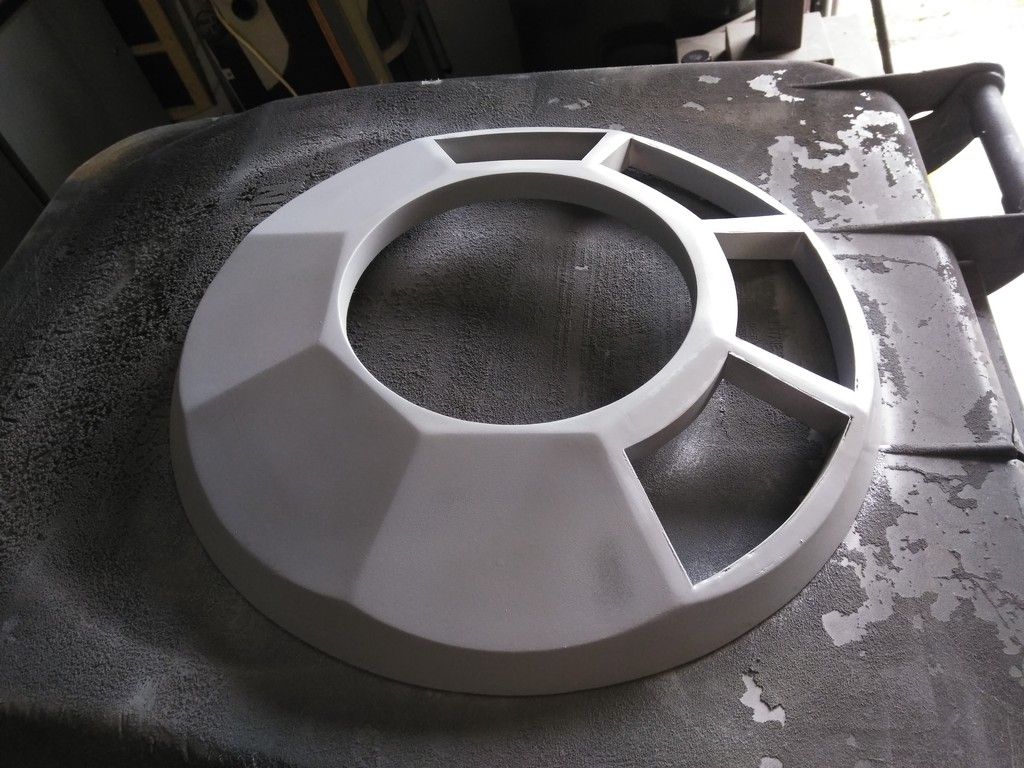
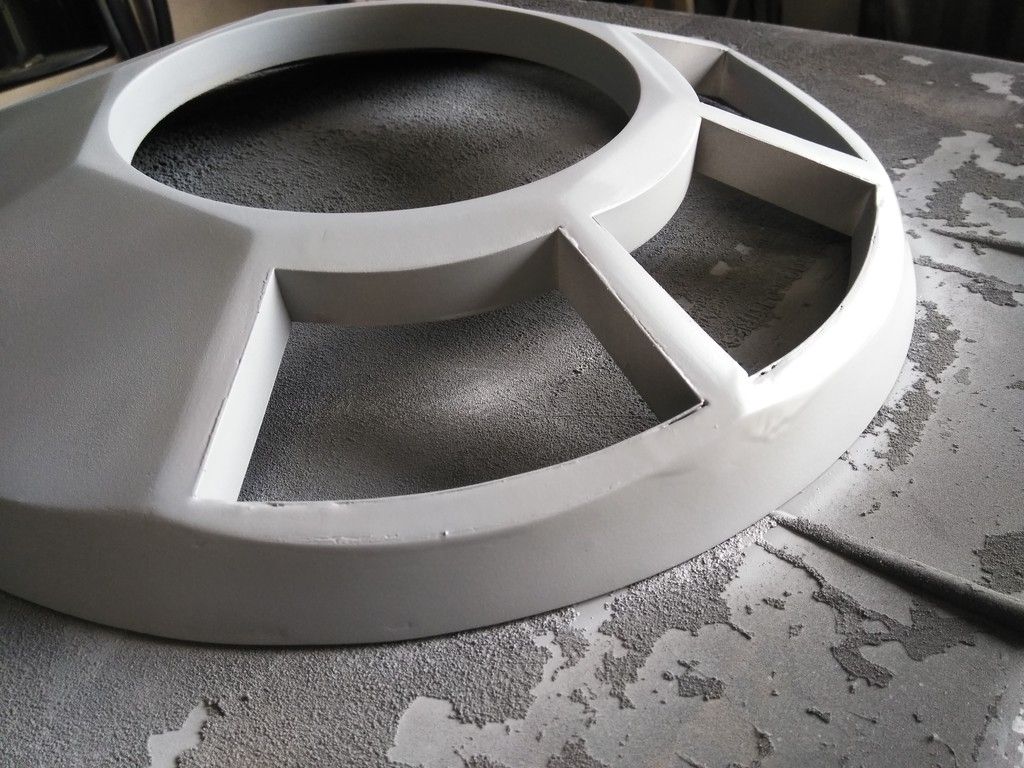
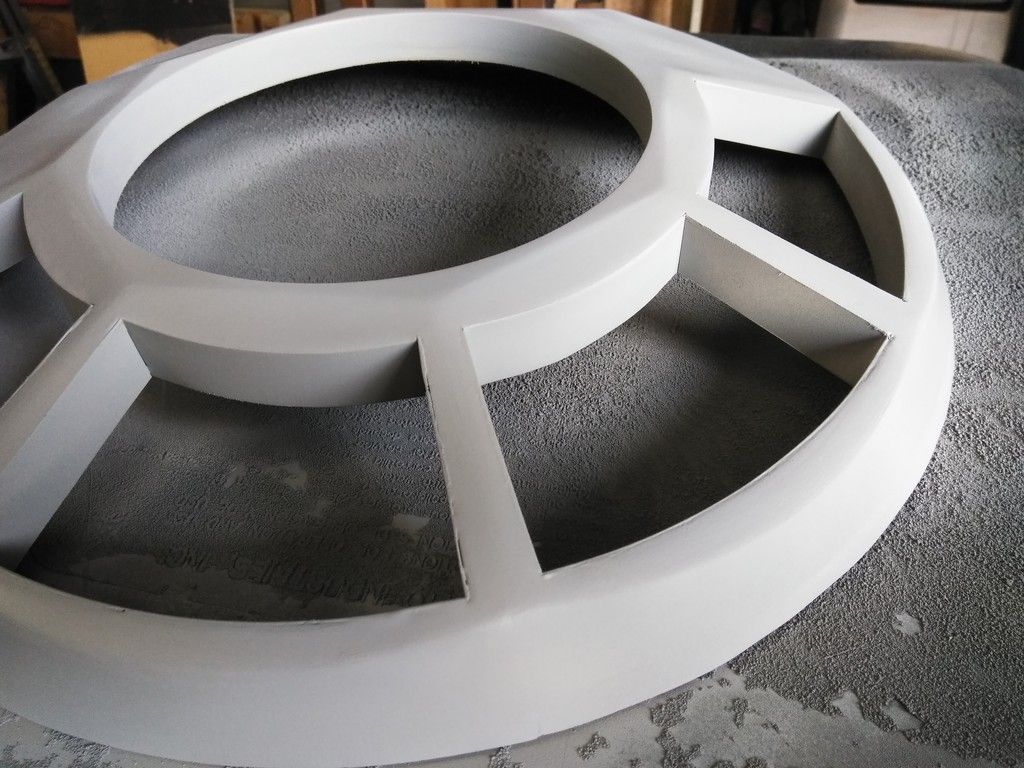
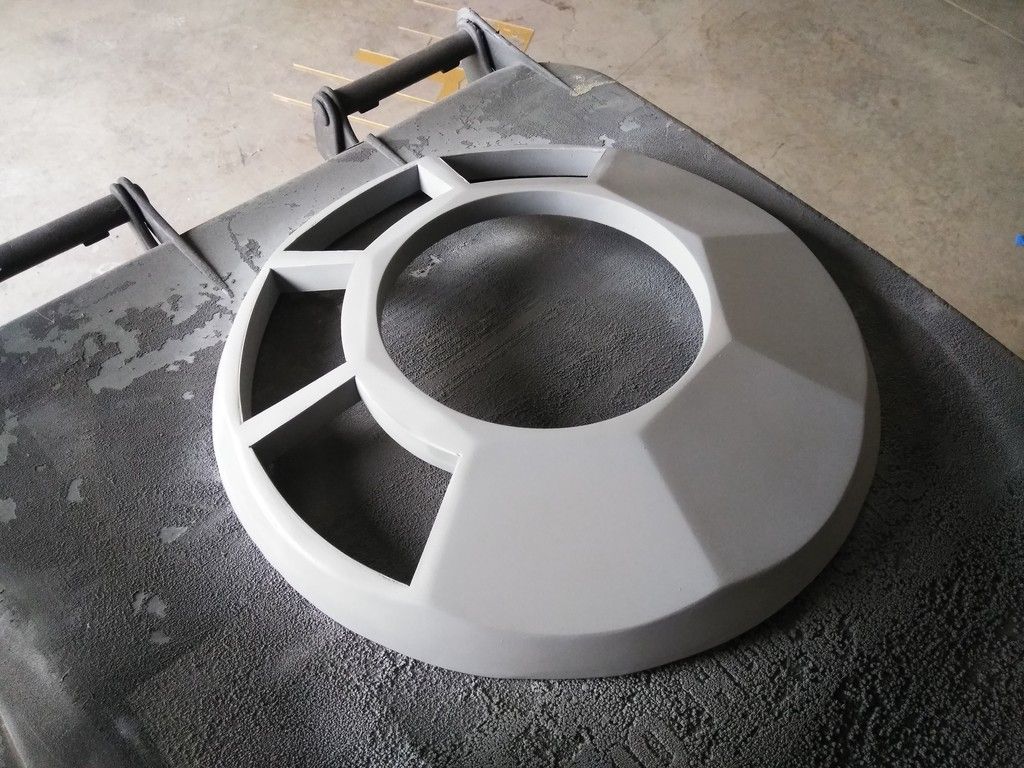
Thanks to SofaKing01 for lending me the Autopilot clutch. Needed it to make the 3D model so we can have it for our 1/4 and 1/6 scale model. I will be sending it off to shapeways to get printed. cant wait to see it in miniature. Here are some pics of the 3d Model.
 Auto Pilot clutch by Izzy Mel, on Flickr
 Auto Pilot clutch by Izzy Mel, on Flickr
 Auto Pilot clutch by Izzy Mel, on Flickr
 Auto Pilot clutch by Izzy Mel, on Flickr
 Auto Pilot clutch by Izzy Mel, on Flickr
 Auto Pilot clutch by Izzy Mel, on Flickr
 Auto Pilot clutch by Izzy Mel, on Flickr
 Auto Pilot clutch by Izzy Mel, on Flickr
Hi Gang,
FINALLY! I'm updating last weeks progress. WHEW... what a hectic week. Enjoy!
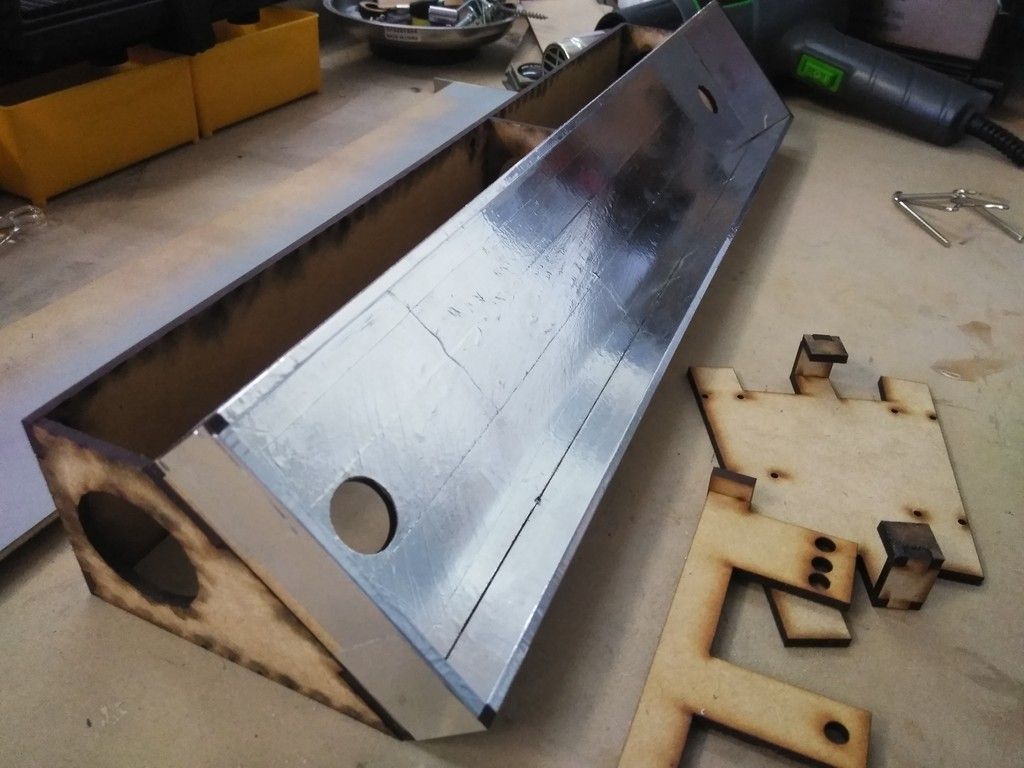
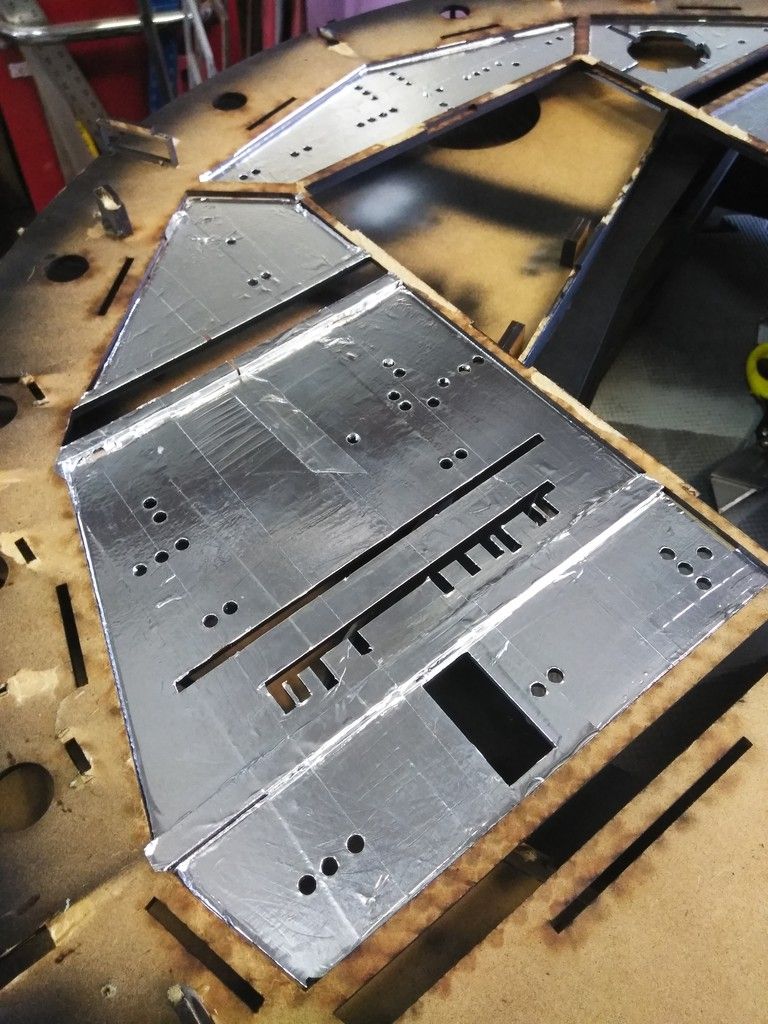
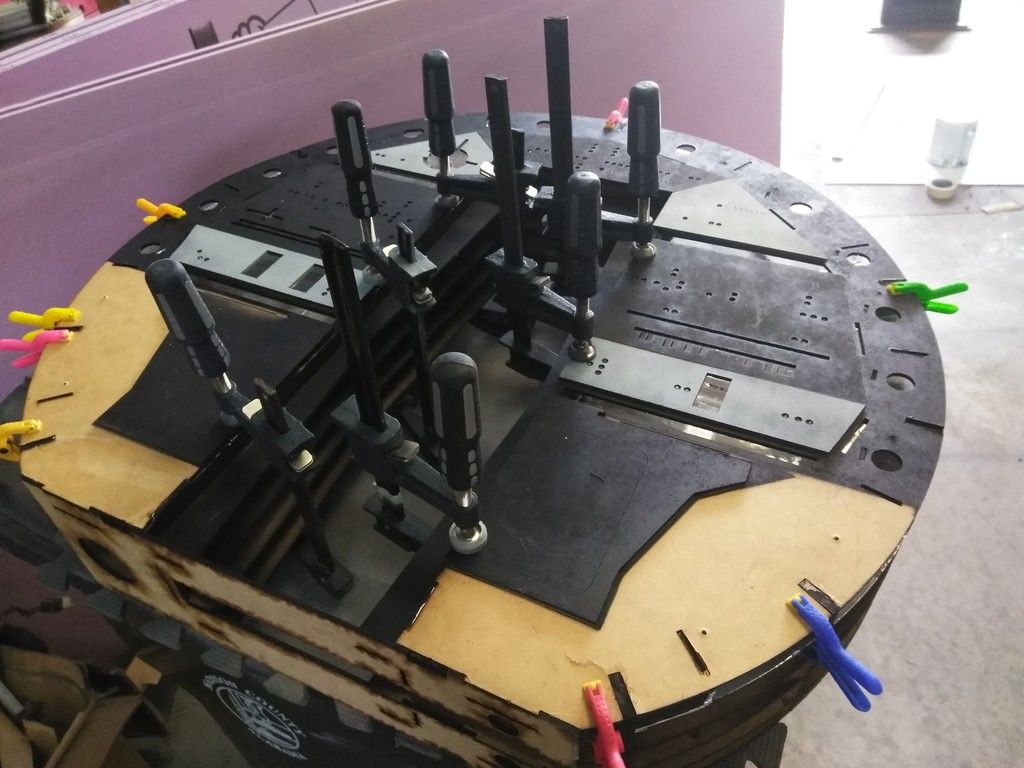
I laser cut these console LED strip mounting plates
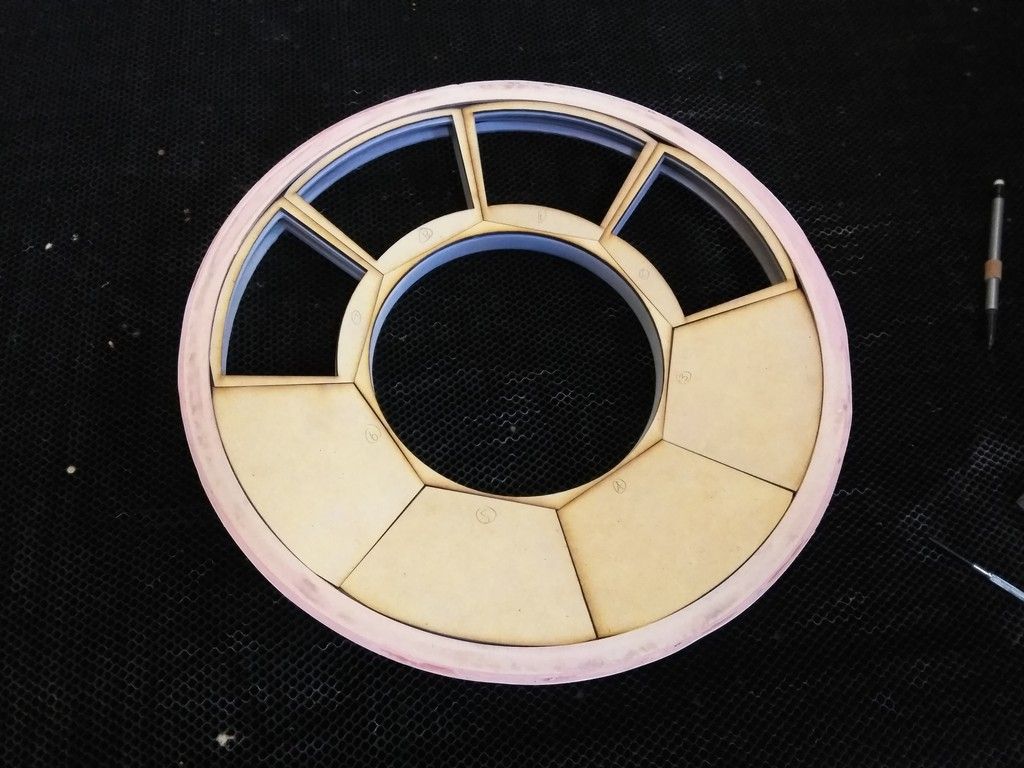
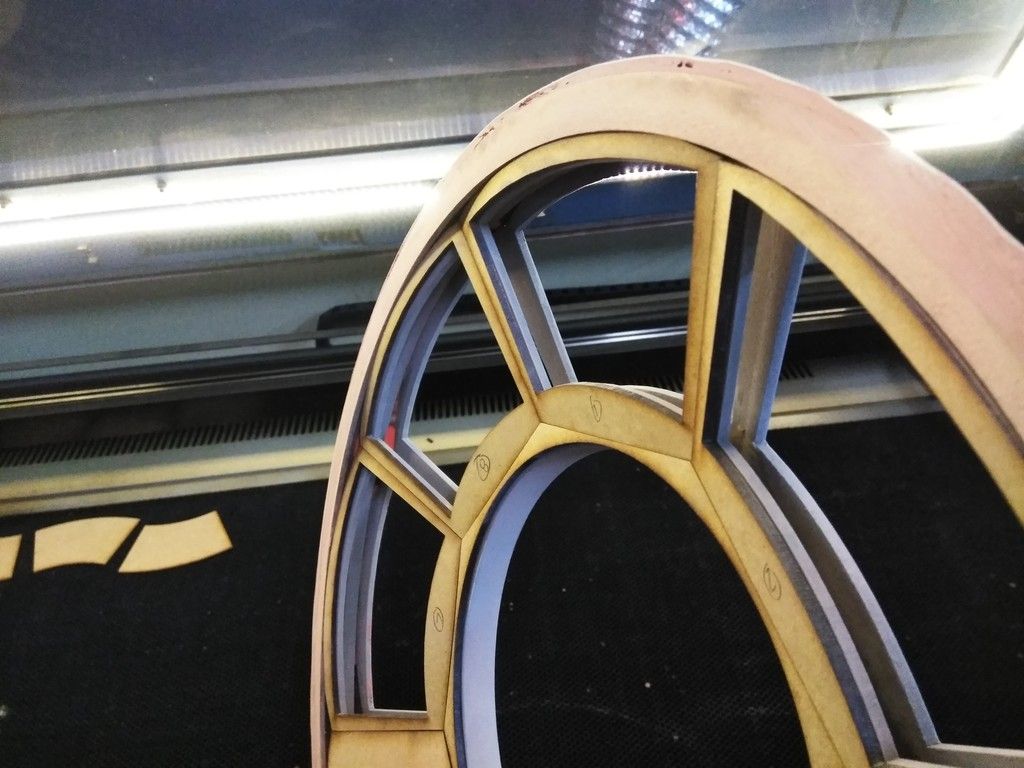
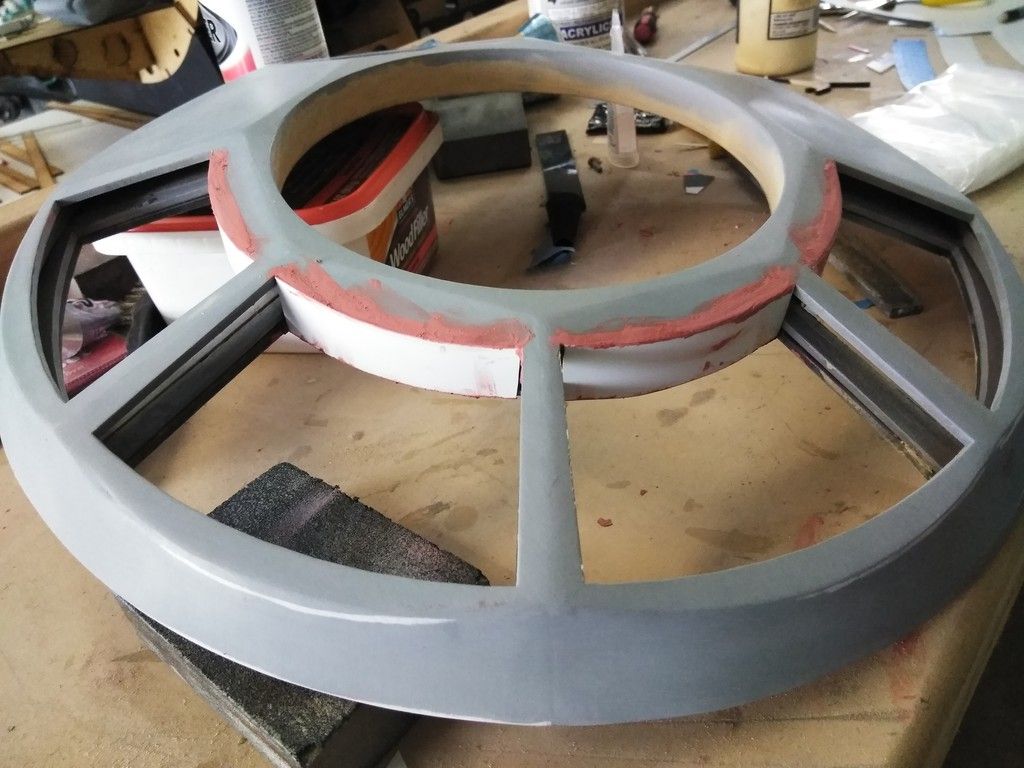
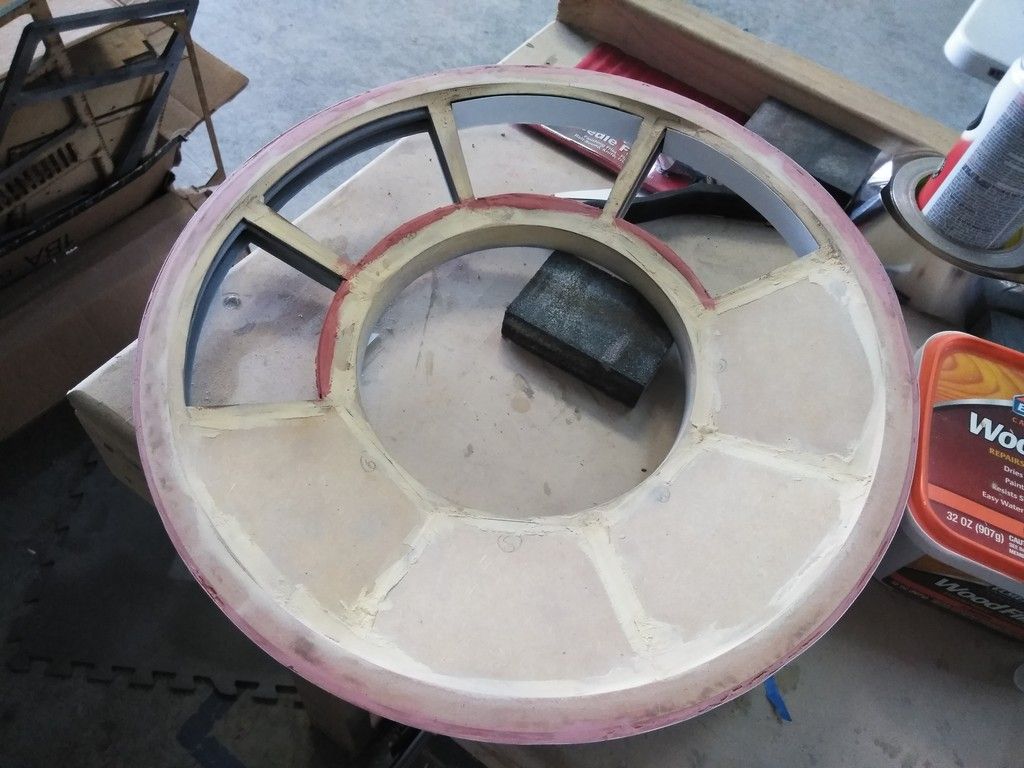
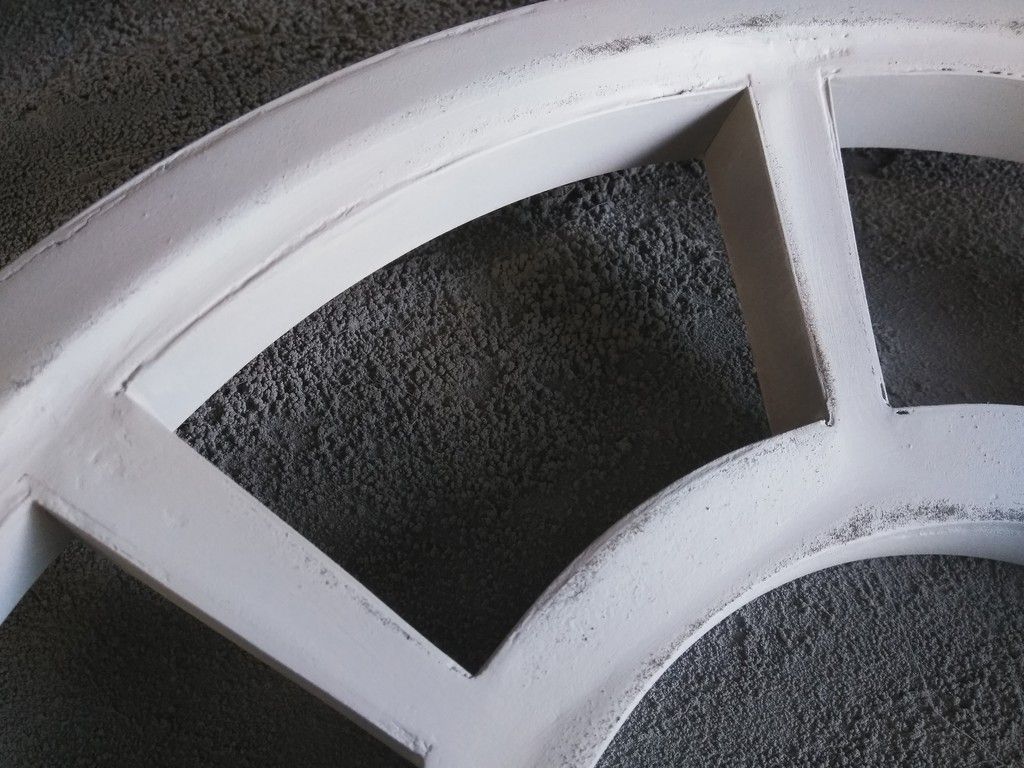
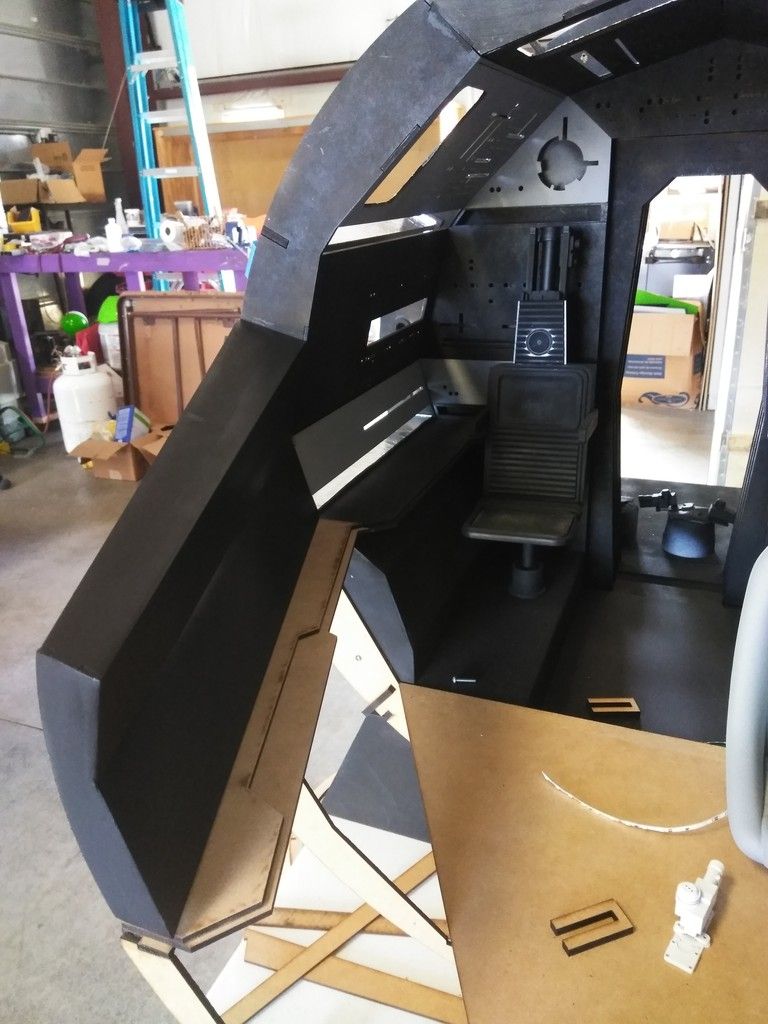
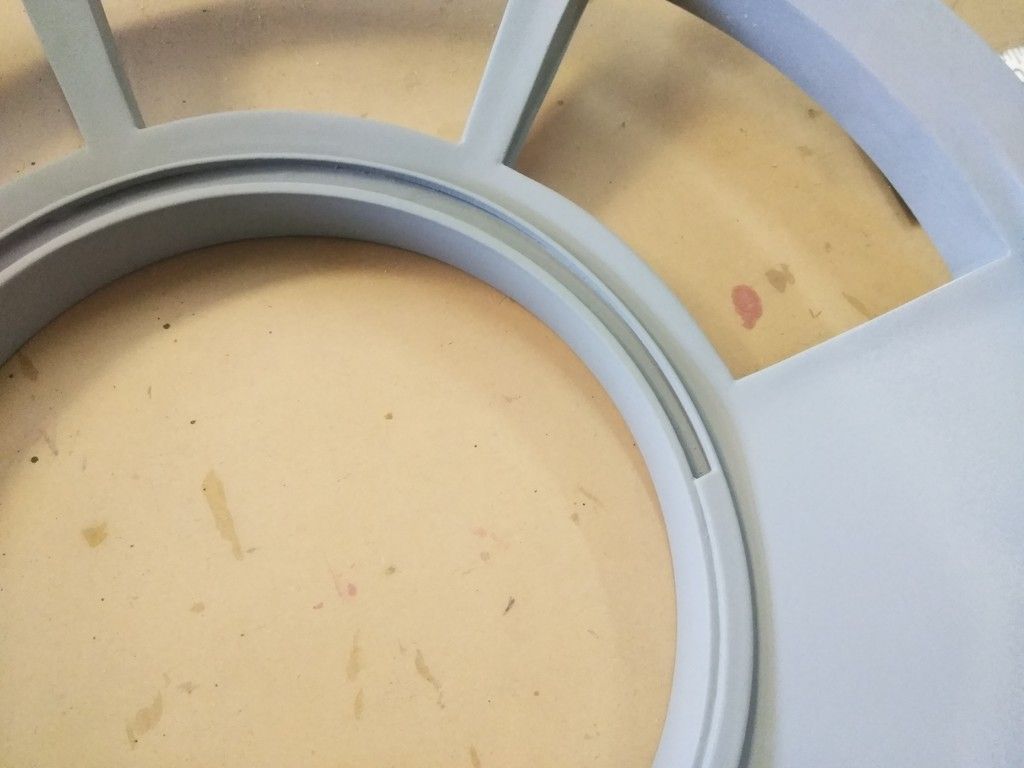
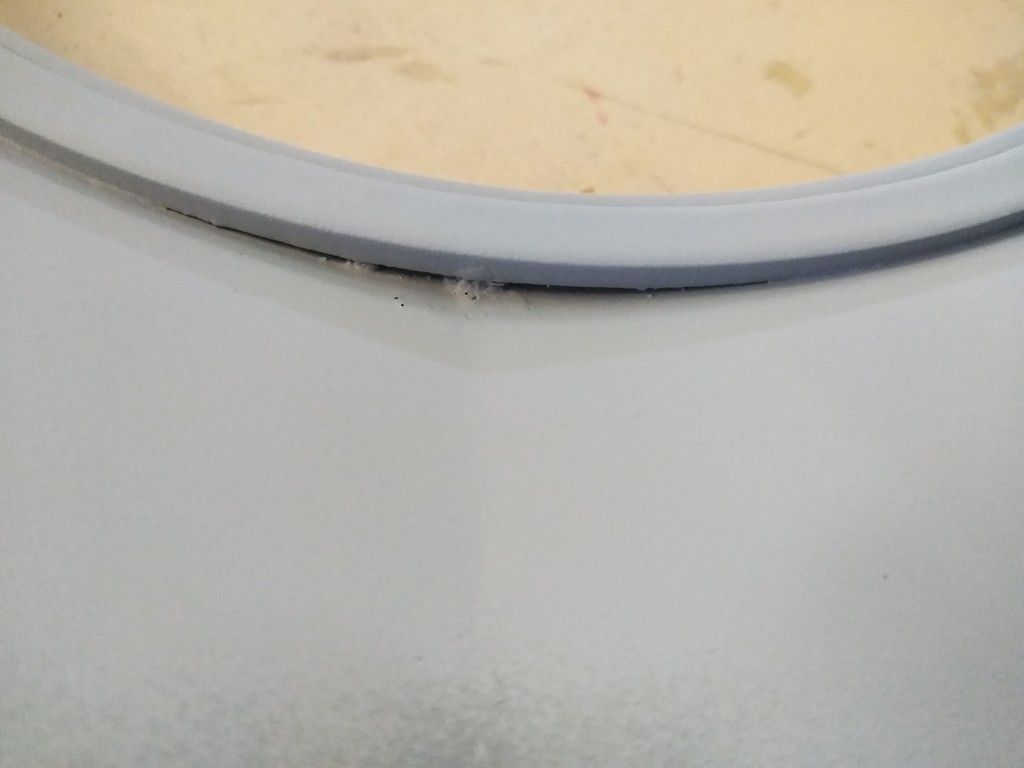
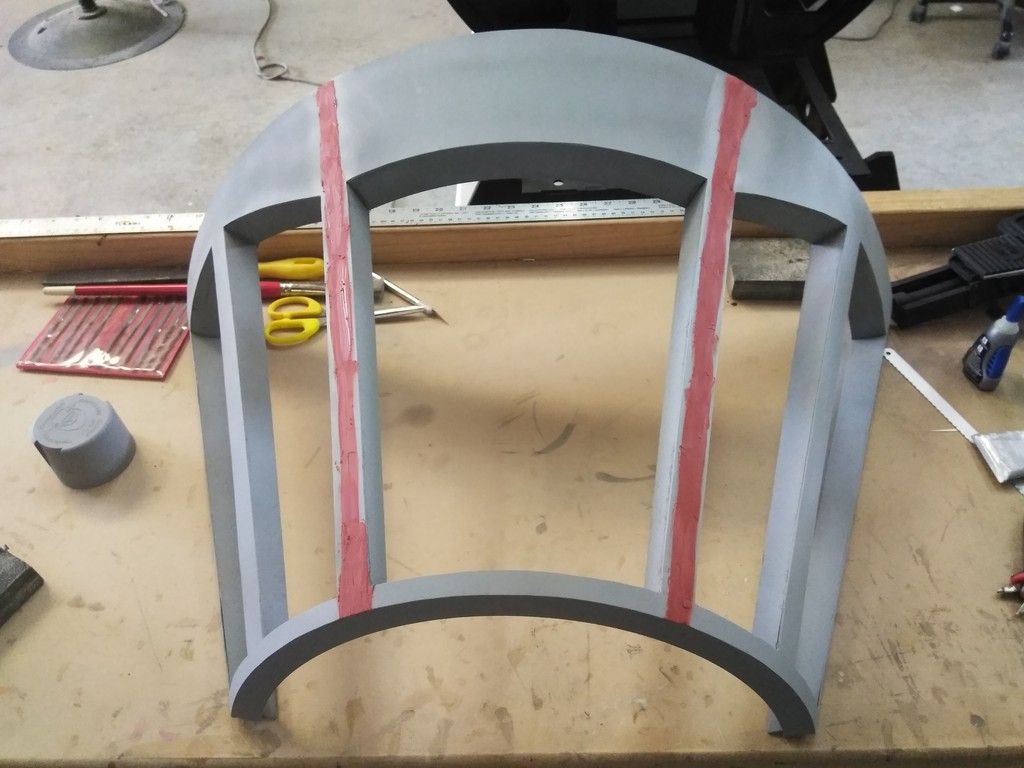
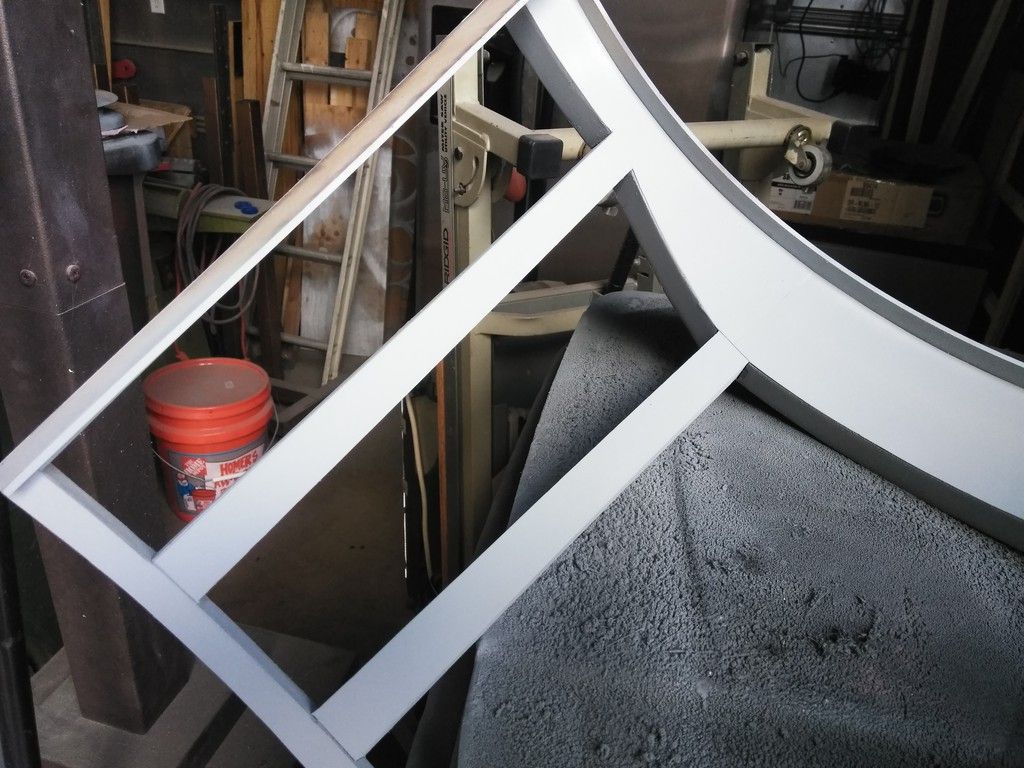
The window saw a LOT of work...
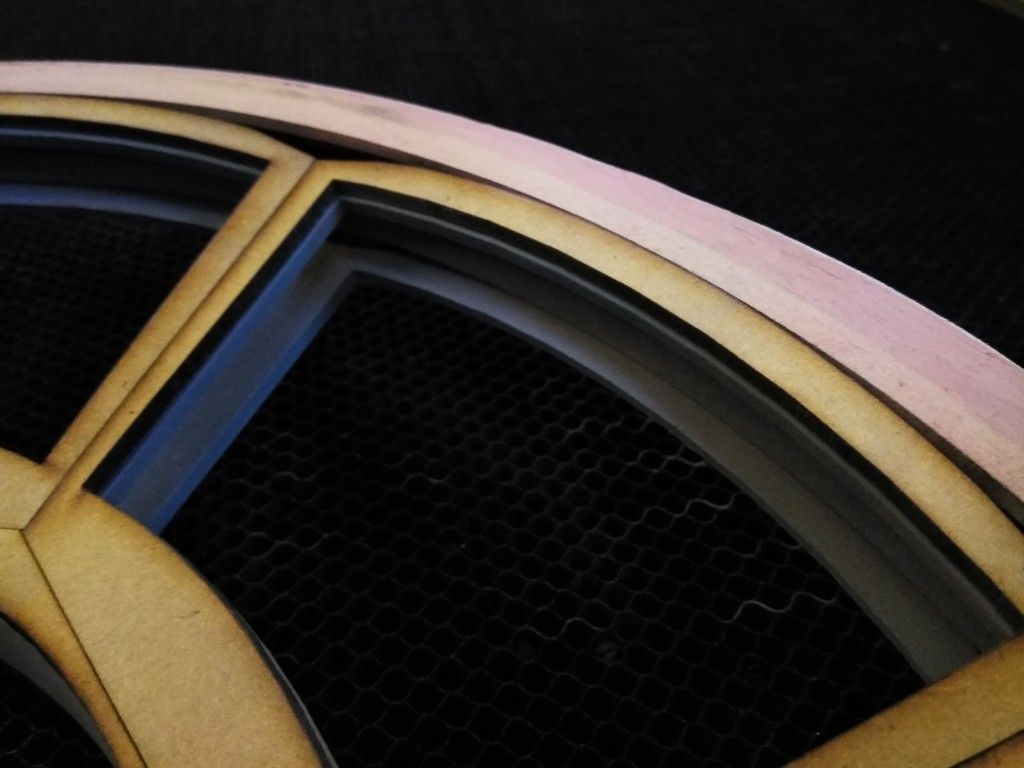
But still lots of little imperfections to fix
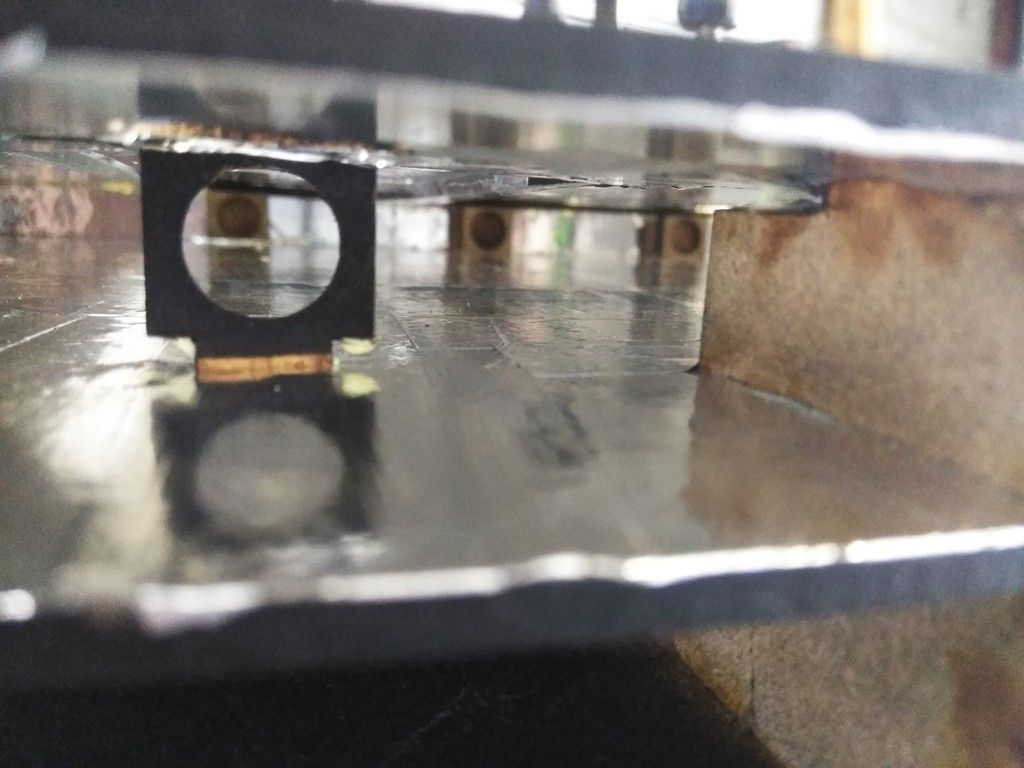
I then laser cut a slightly mod'd interior side of the window
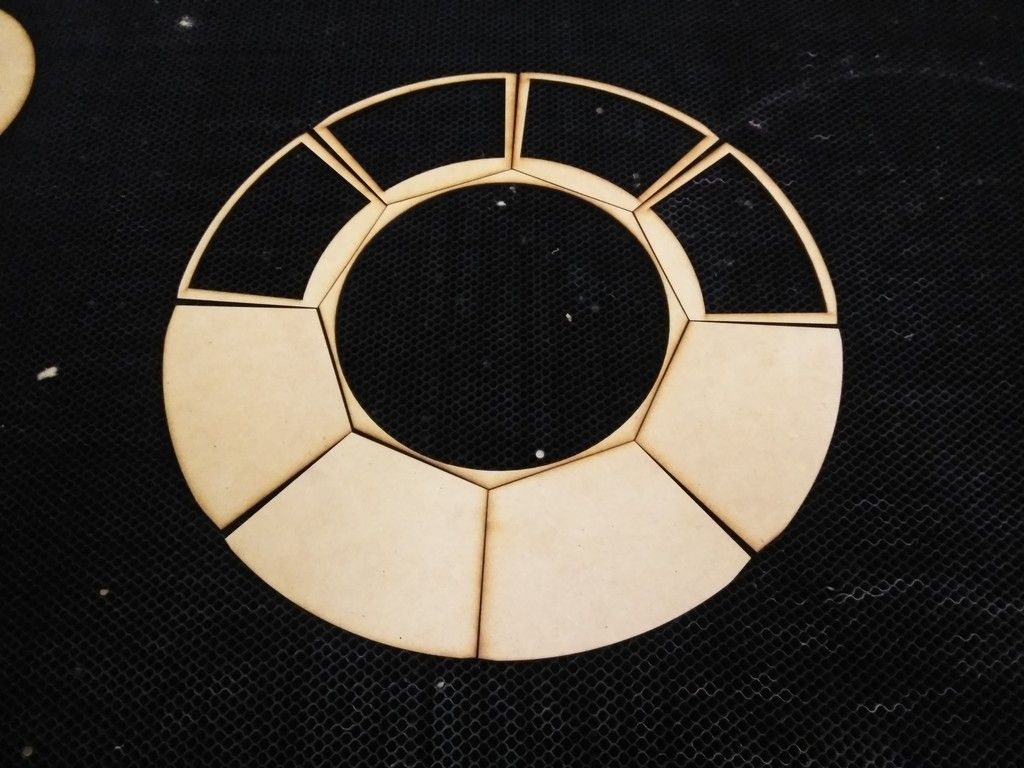
These fill in the gaps and level out the edges - the two lower panels needed to be shaved to fit
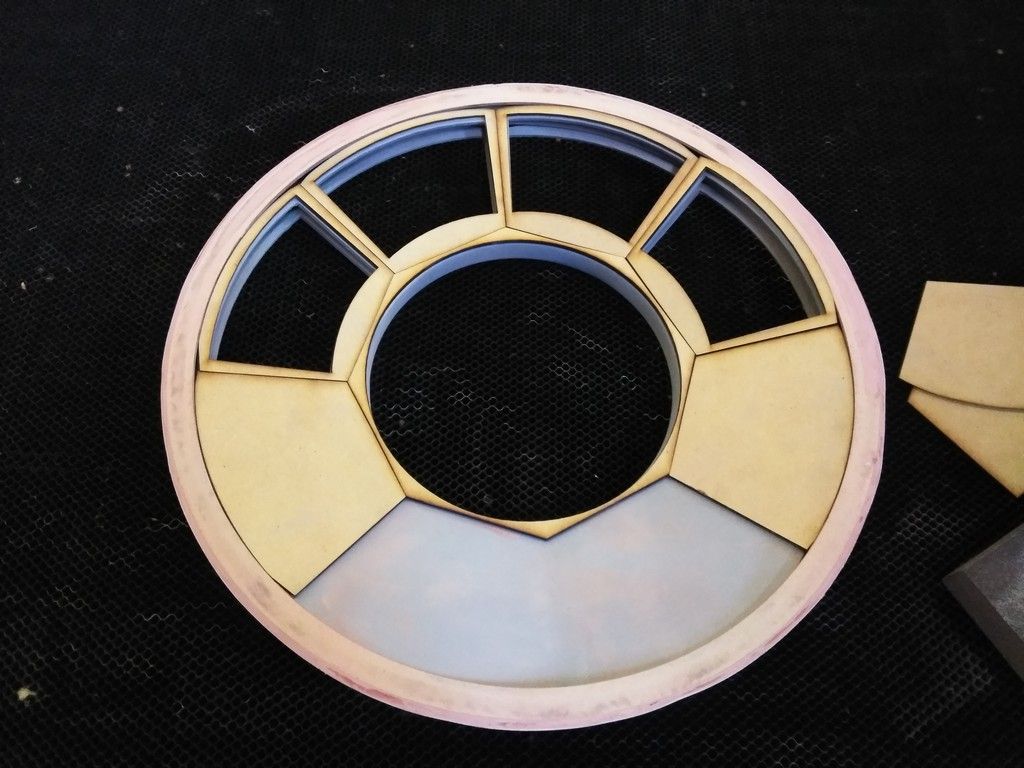
Note the edges
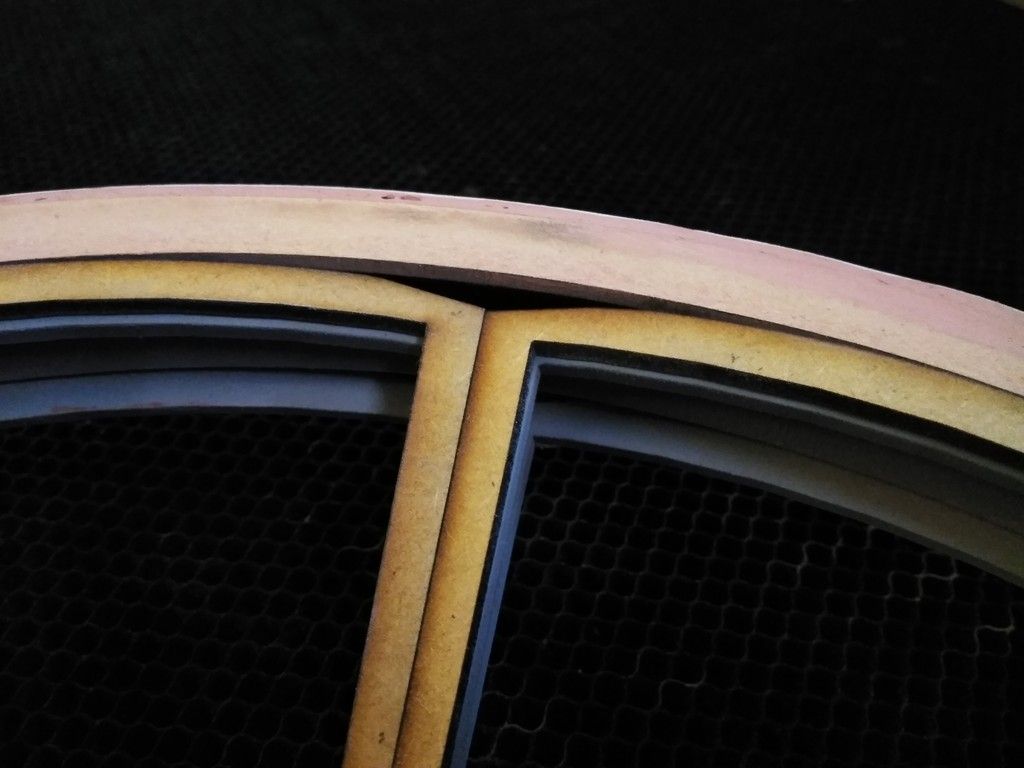
The panels added only 1/8" of depth to the overall window
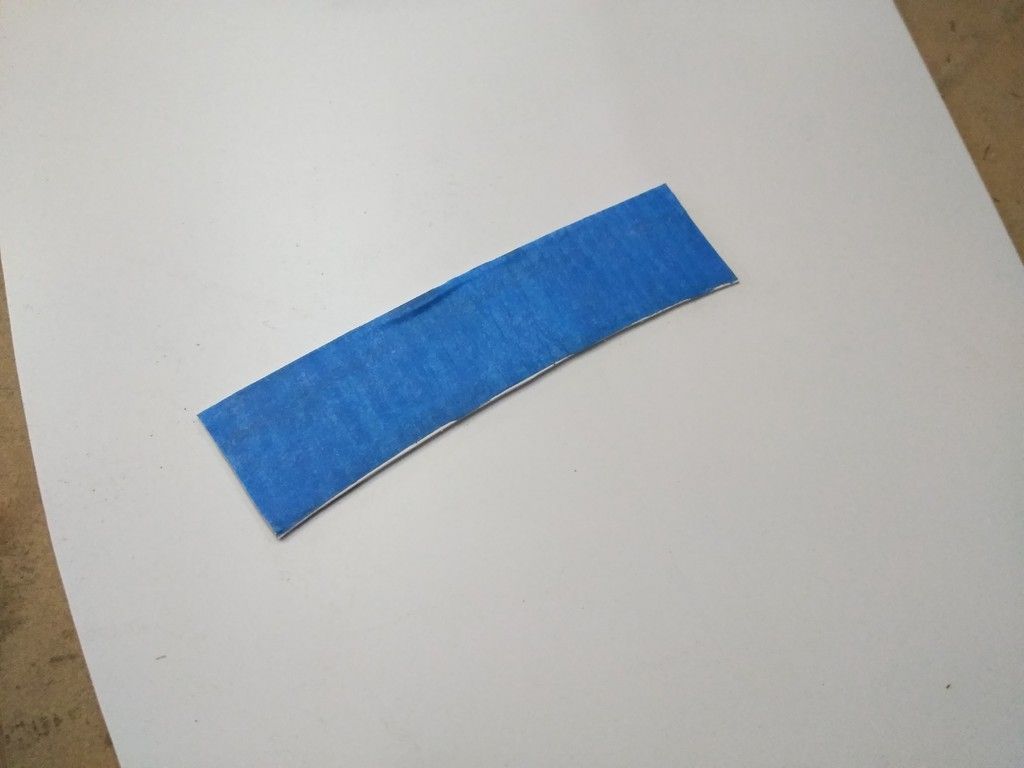
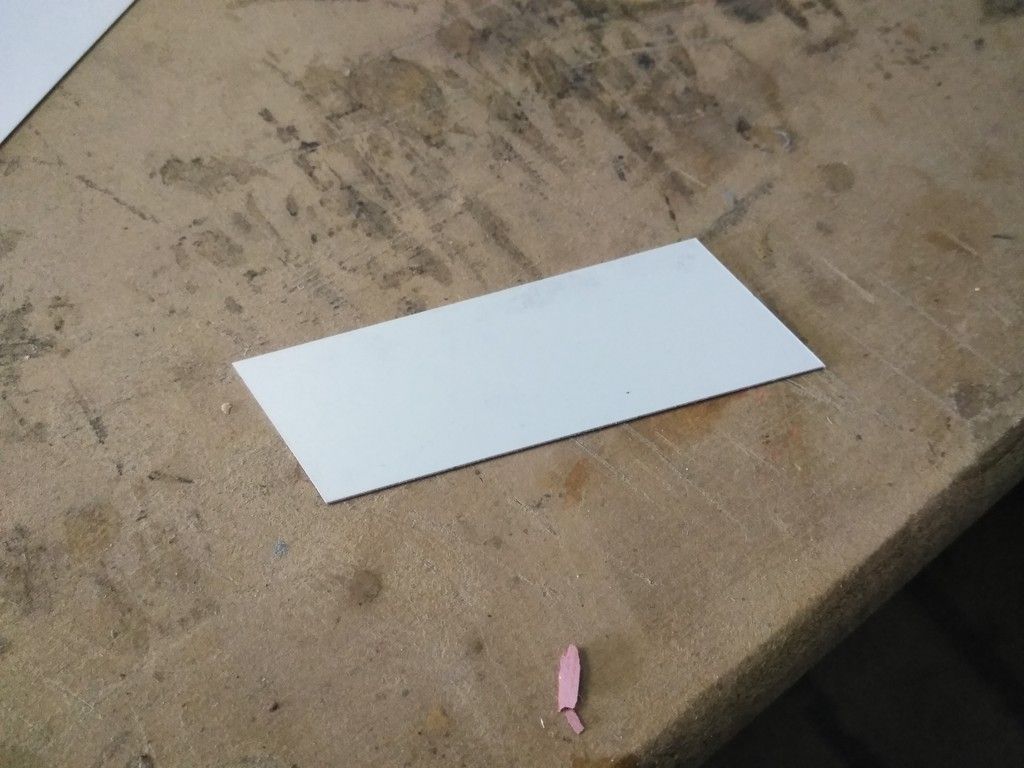
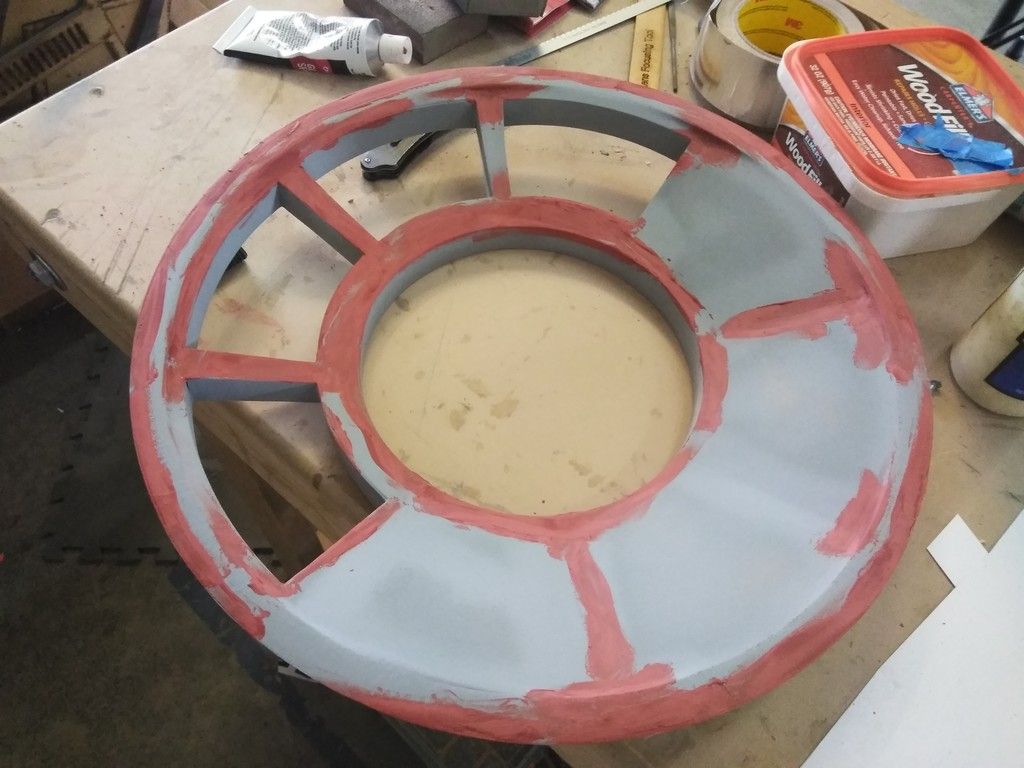
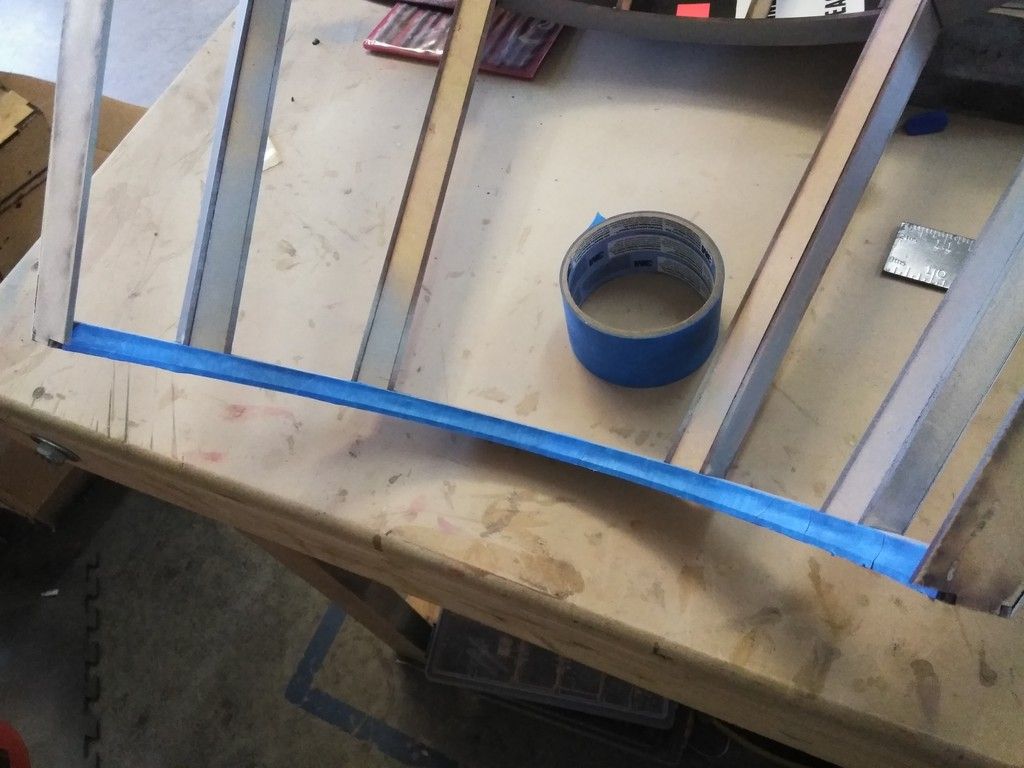
I then used painters tape to find the edges of the interior window sills
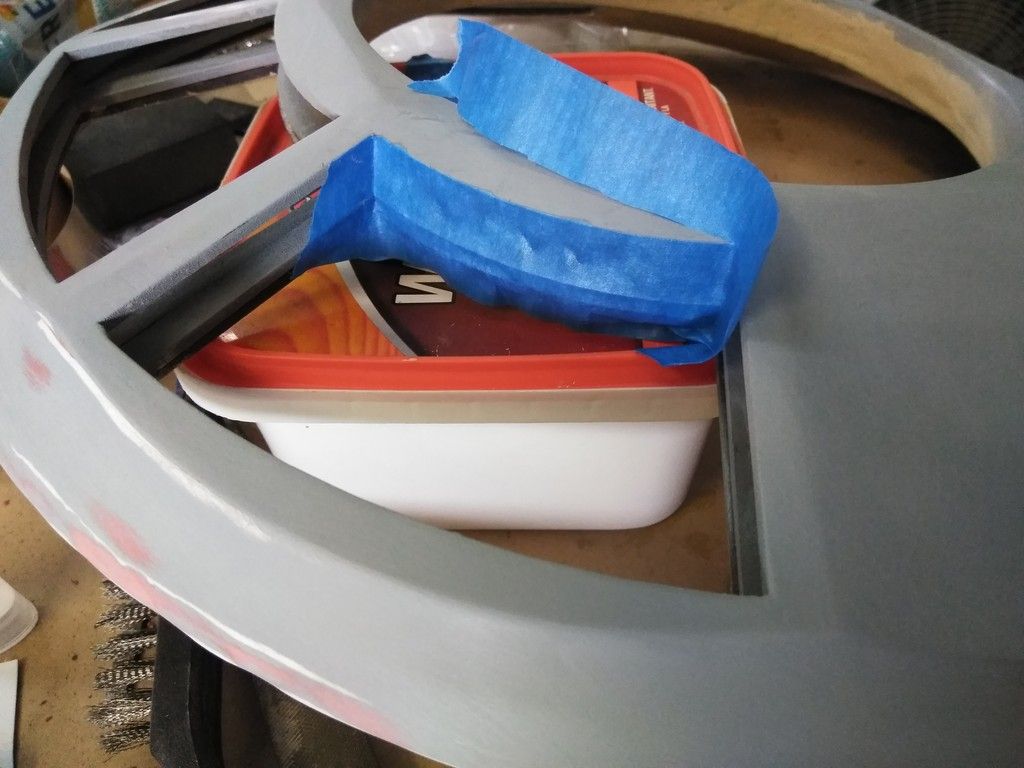
Remove the tape, adhere to thin sheet of styrene
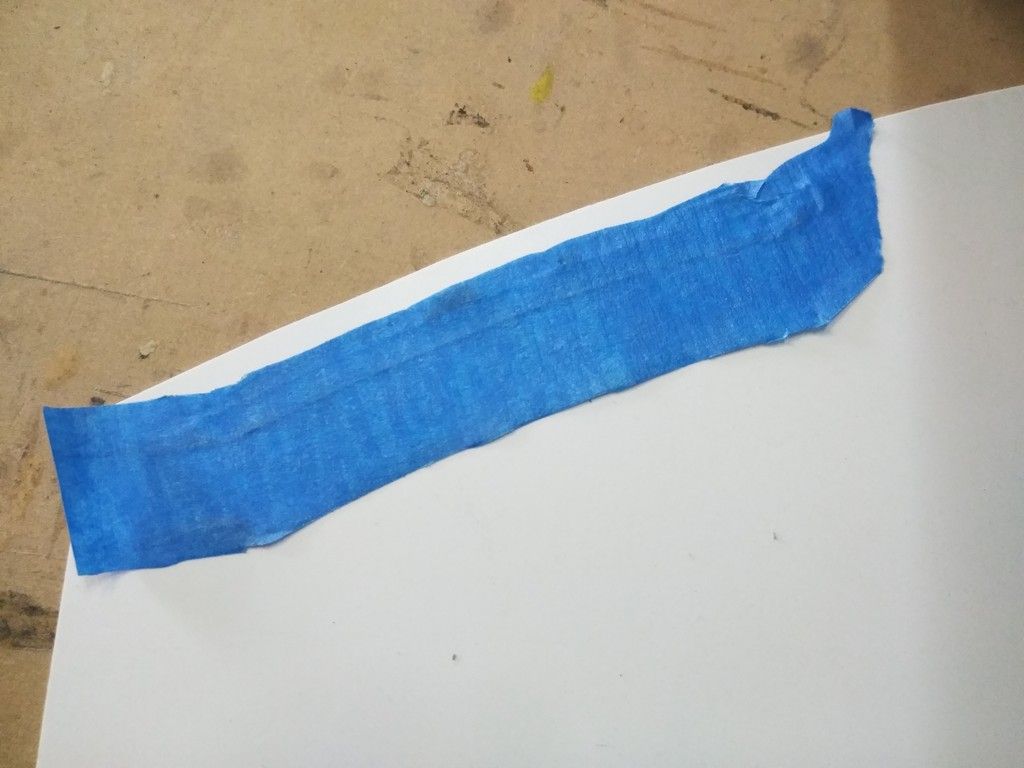
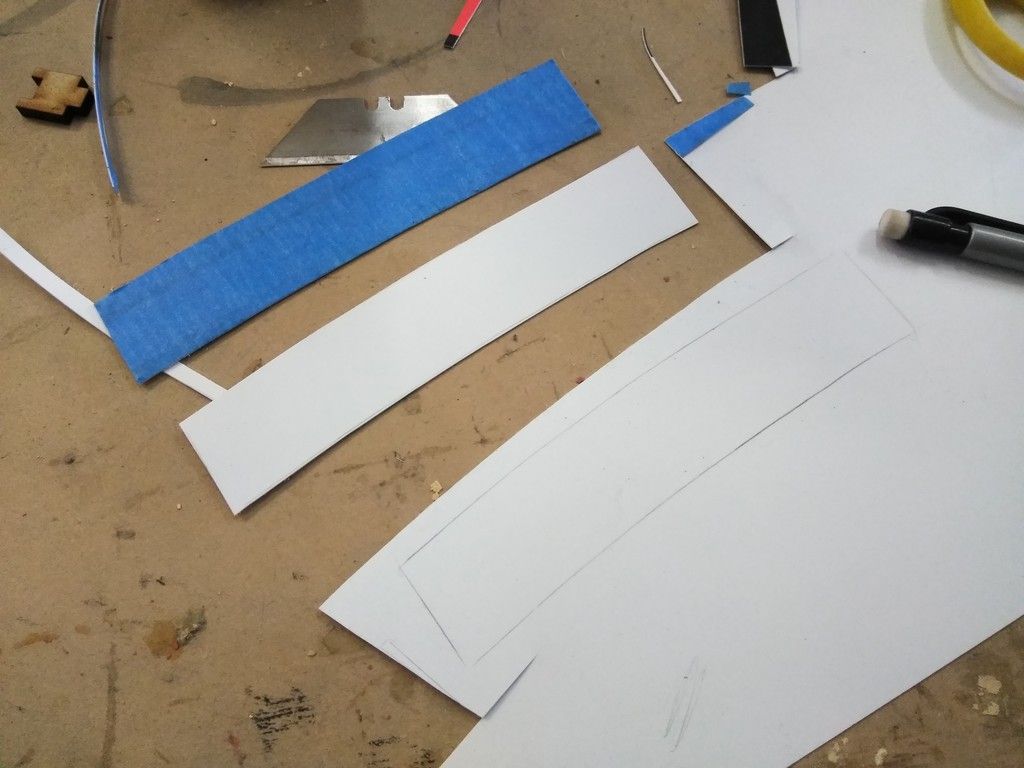
Cut the edges of both the tape and styrene
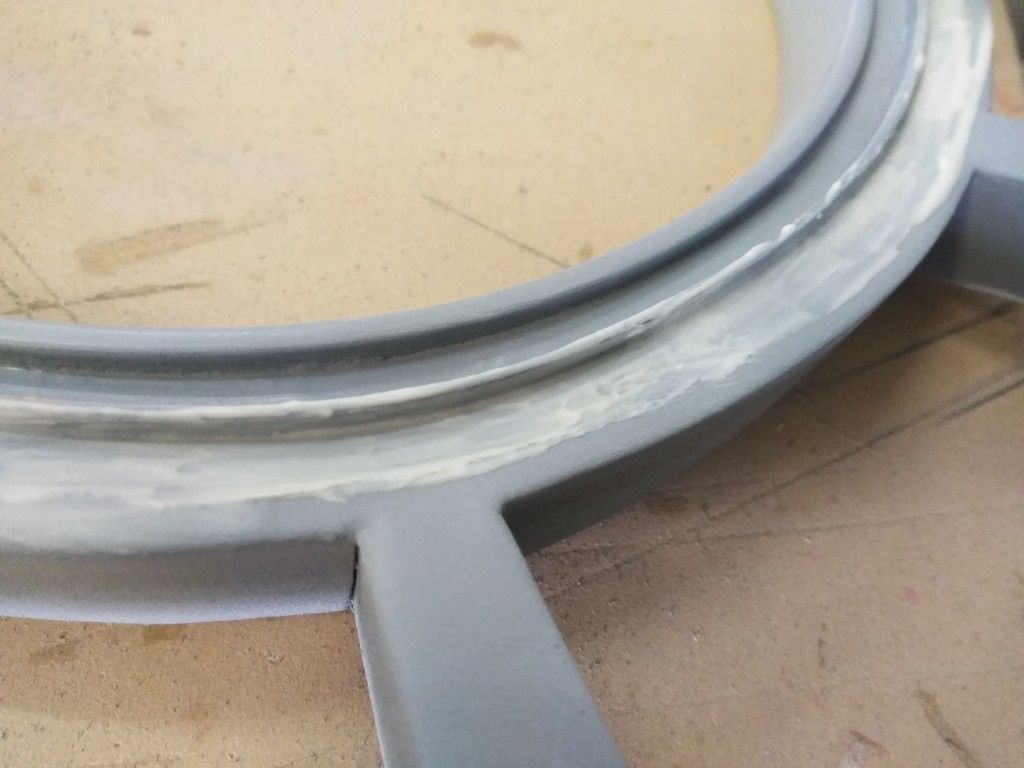
Adhere in place and clean up the edges

Rinse, Lather & Repeat
And maybe add some filler
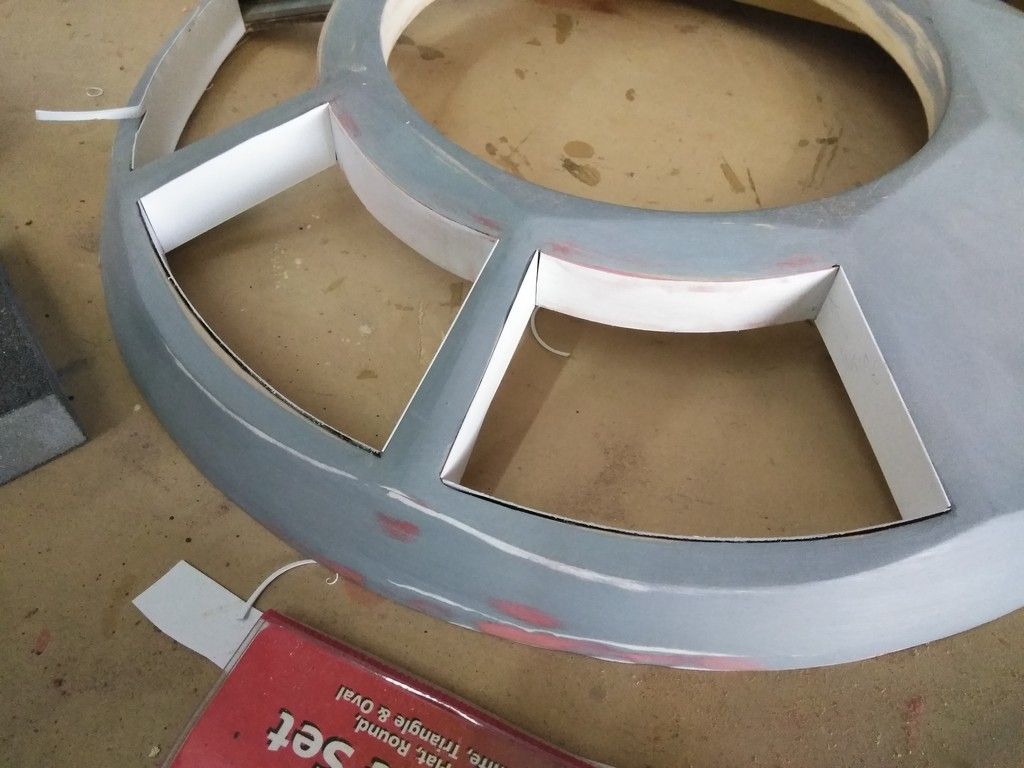
16 total pieces of styrene cut and placed
Primer!
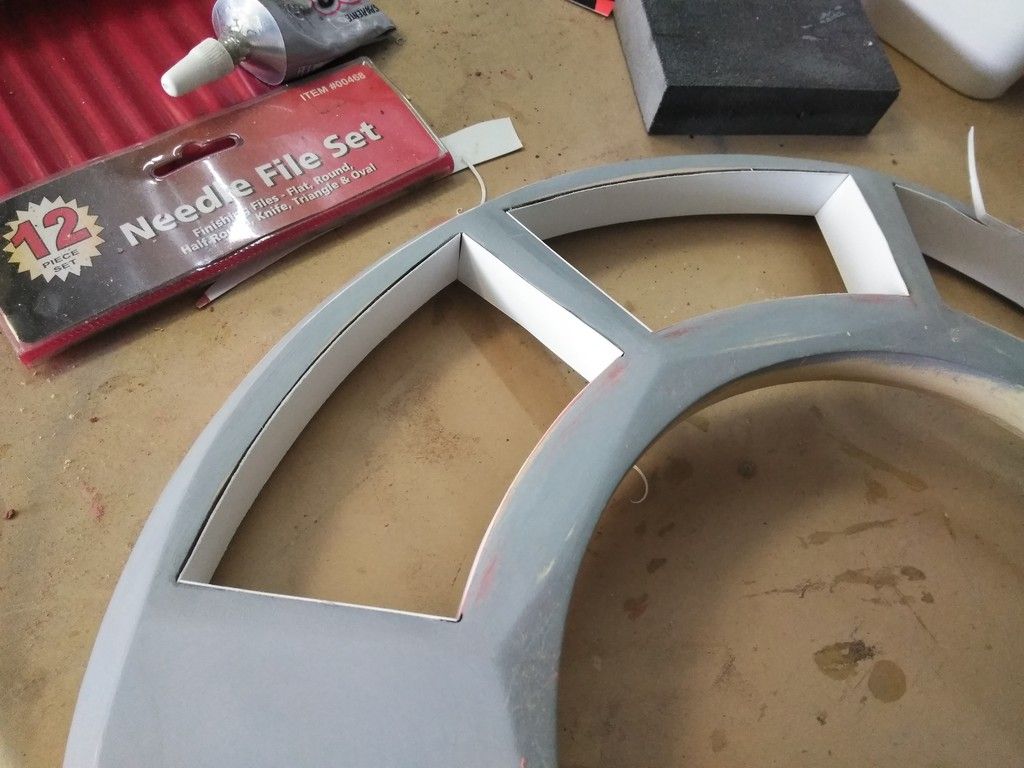
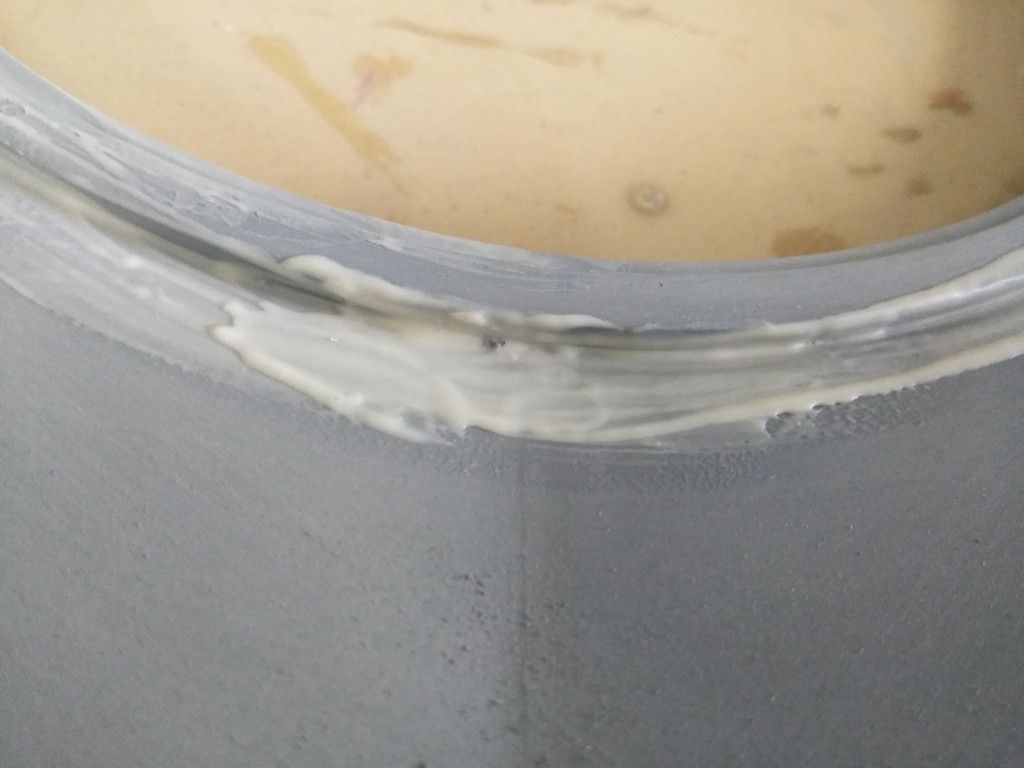
Gotta clean those edges

More filler
Interior side needed a LOT of work
A LOT of work
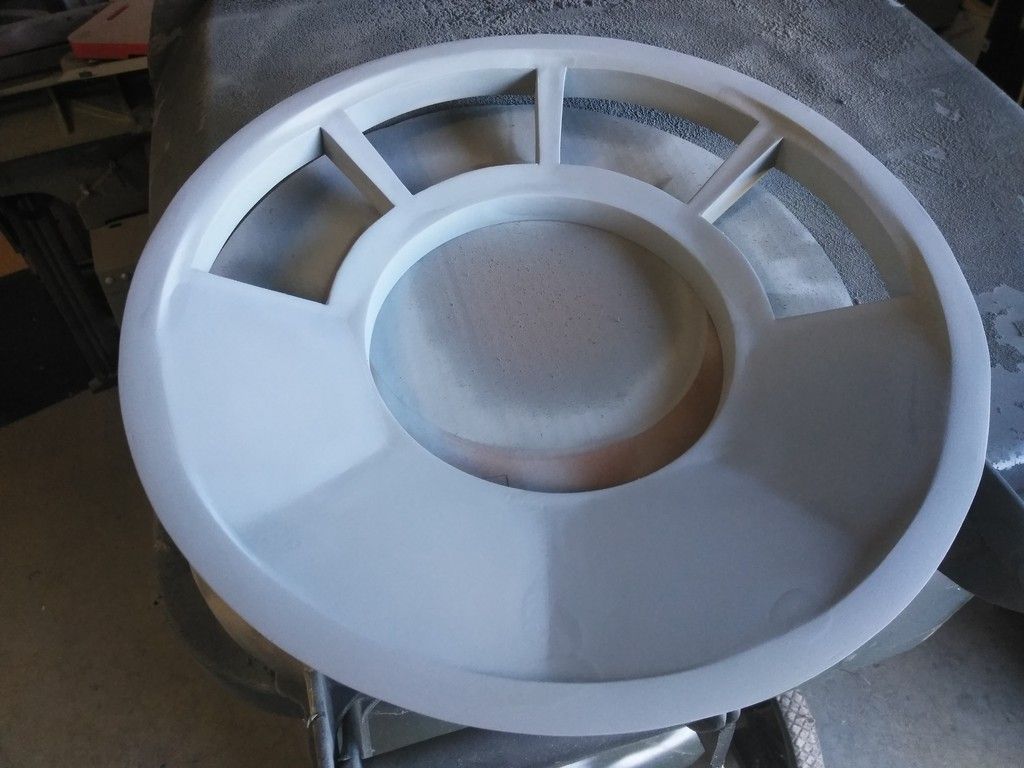
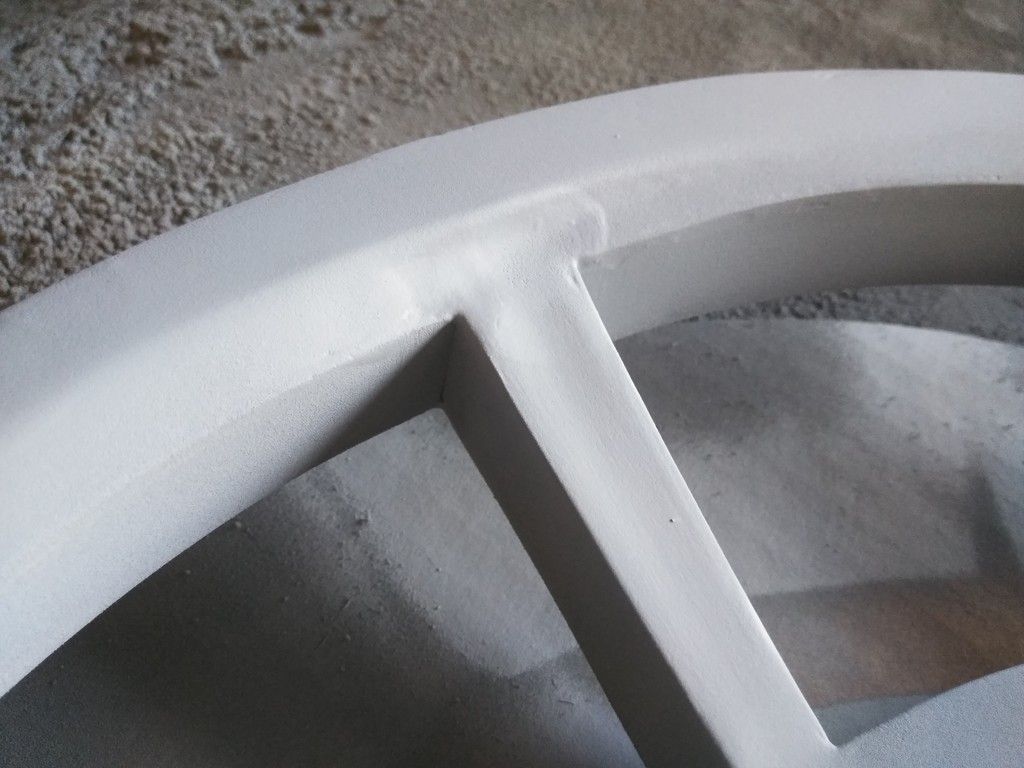
Still lots of work to do
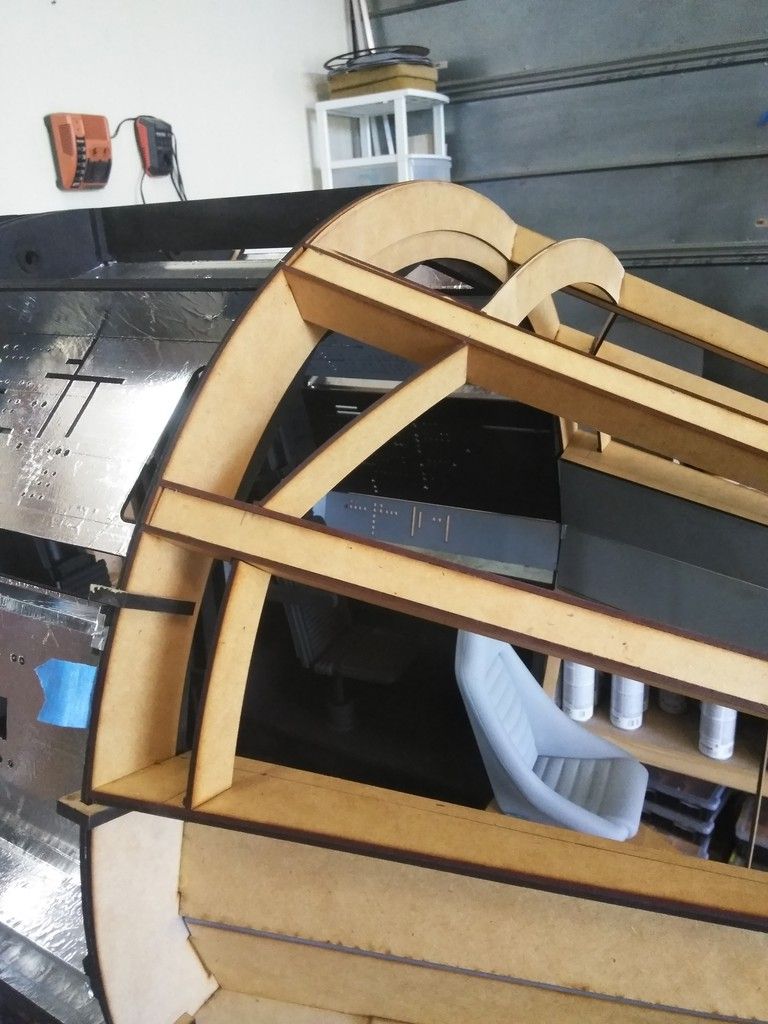
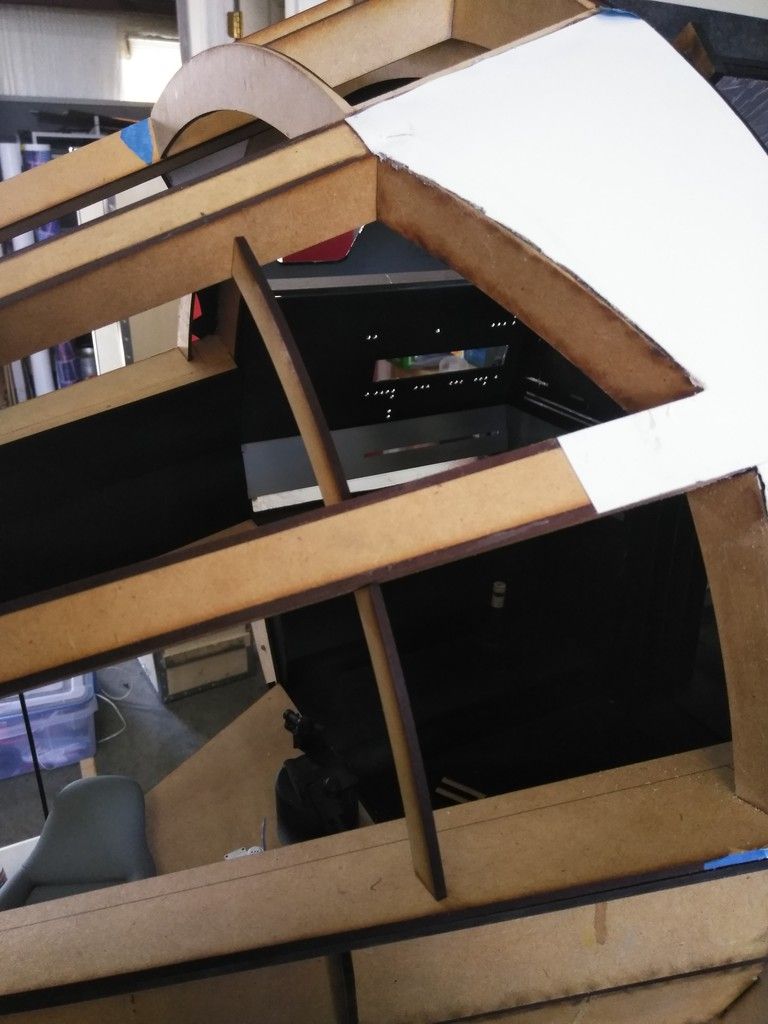
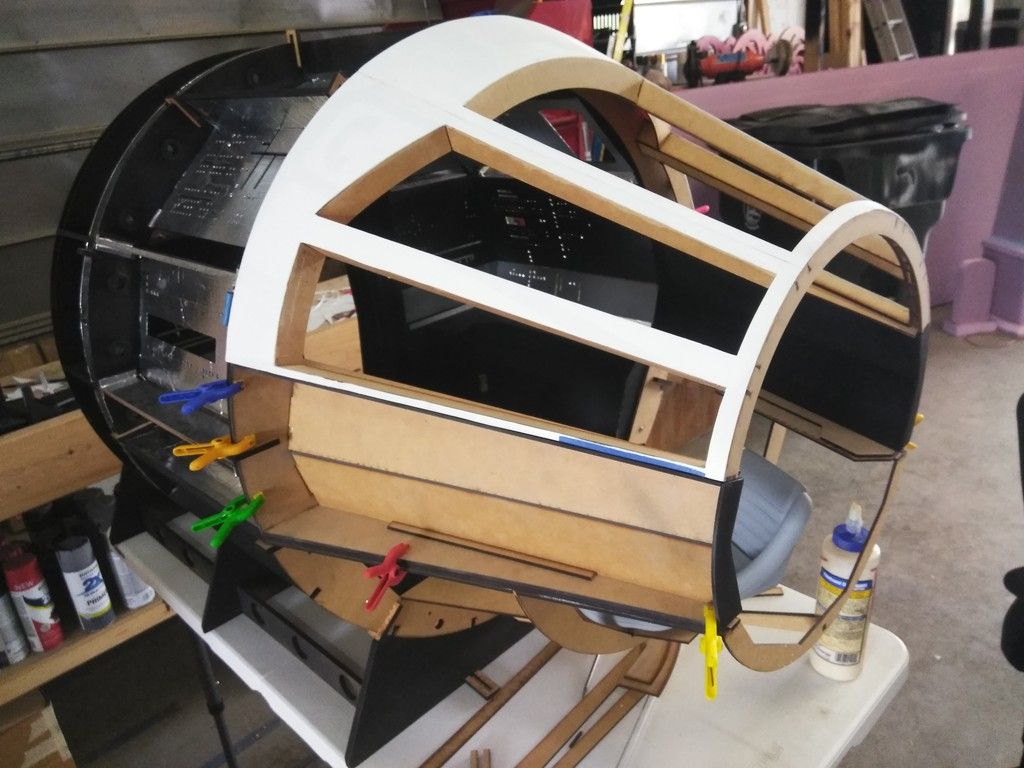
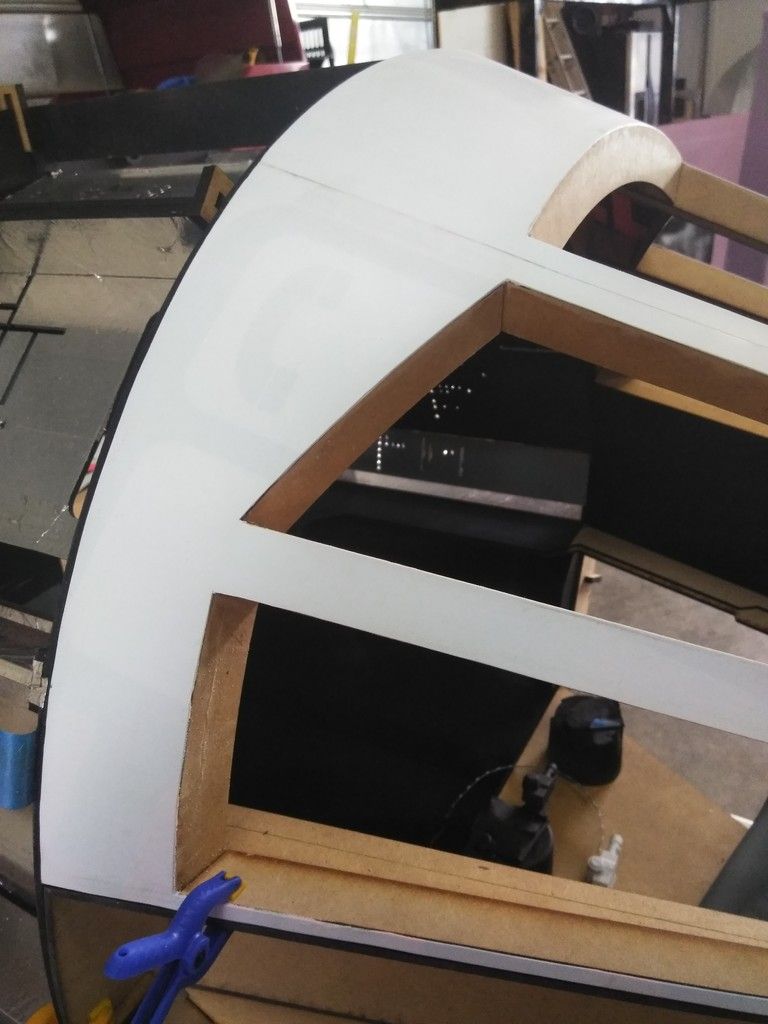
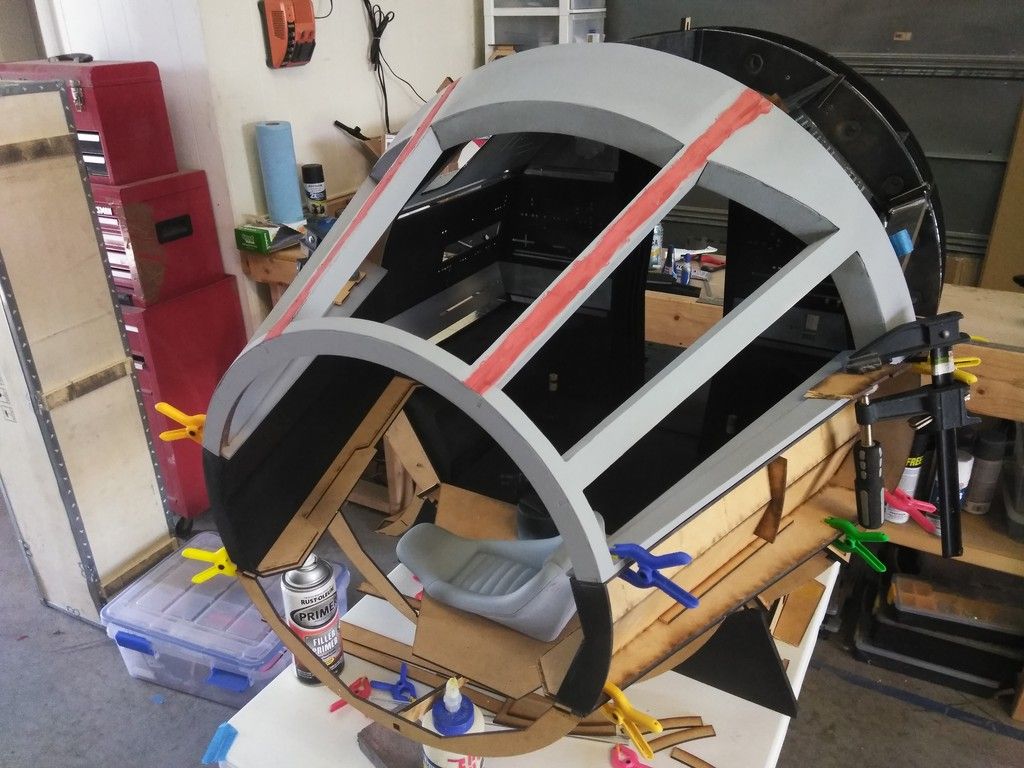
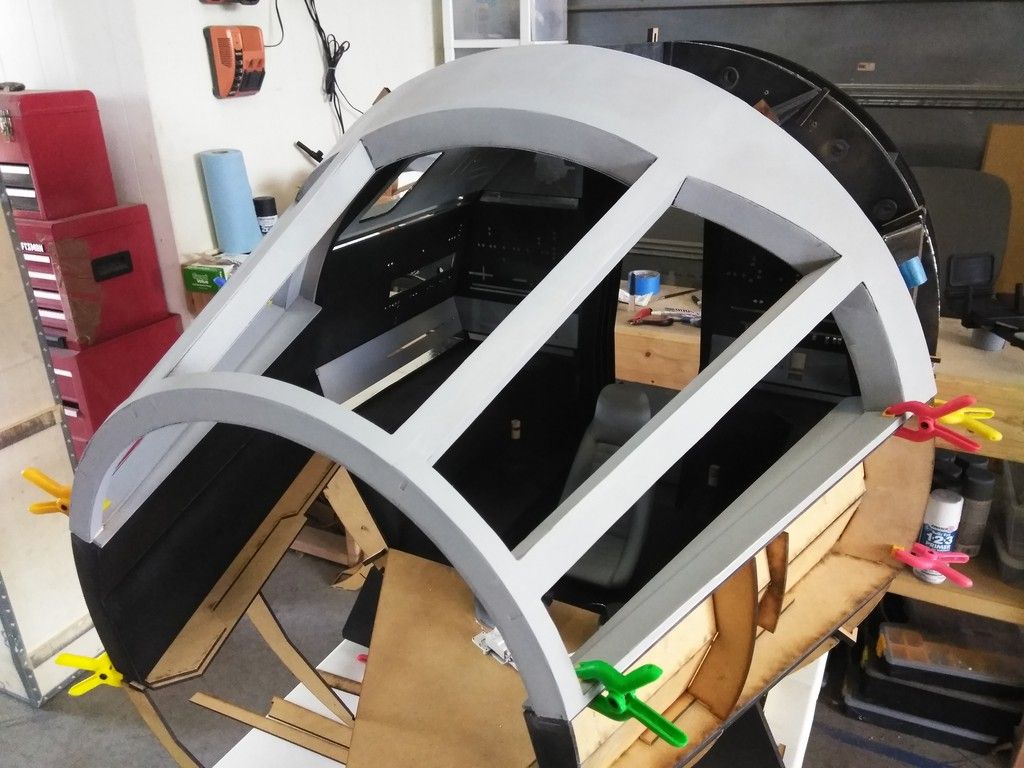
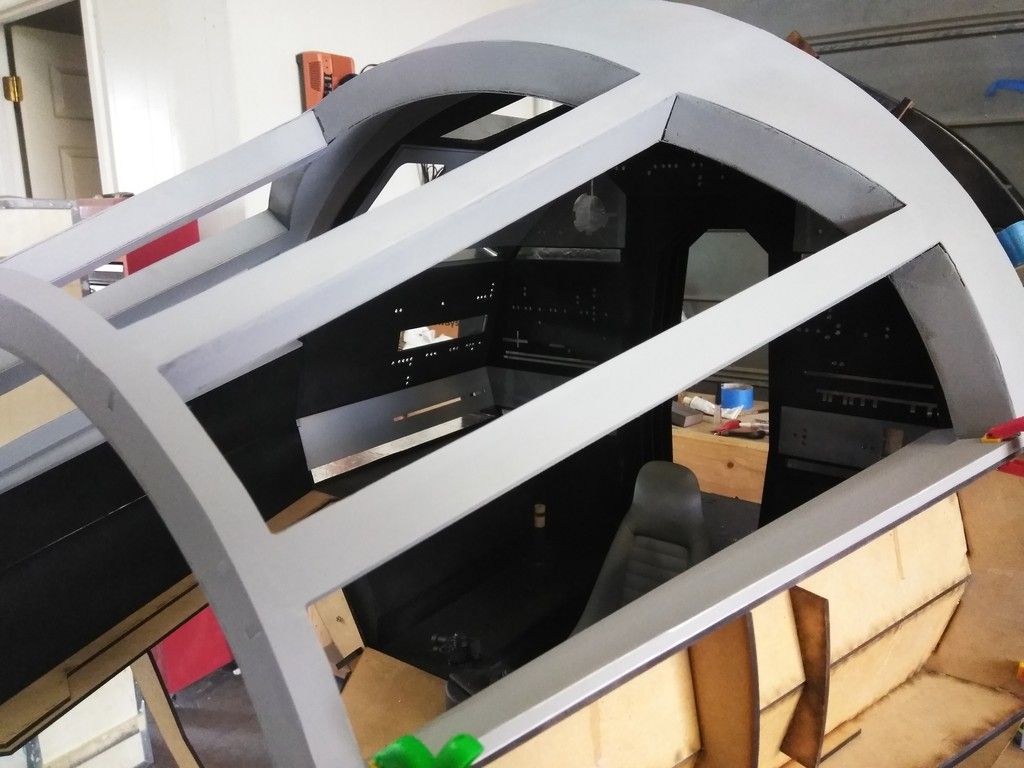
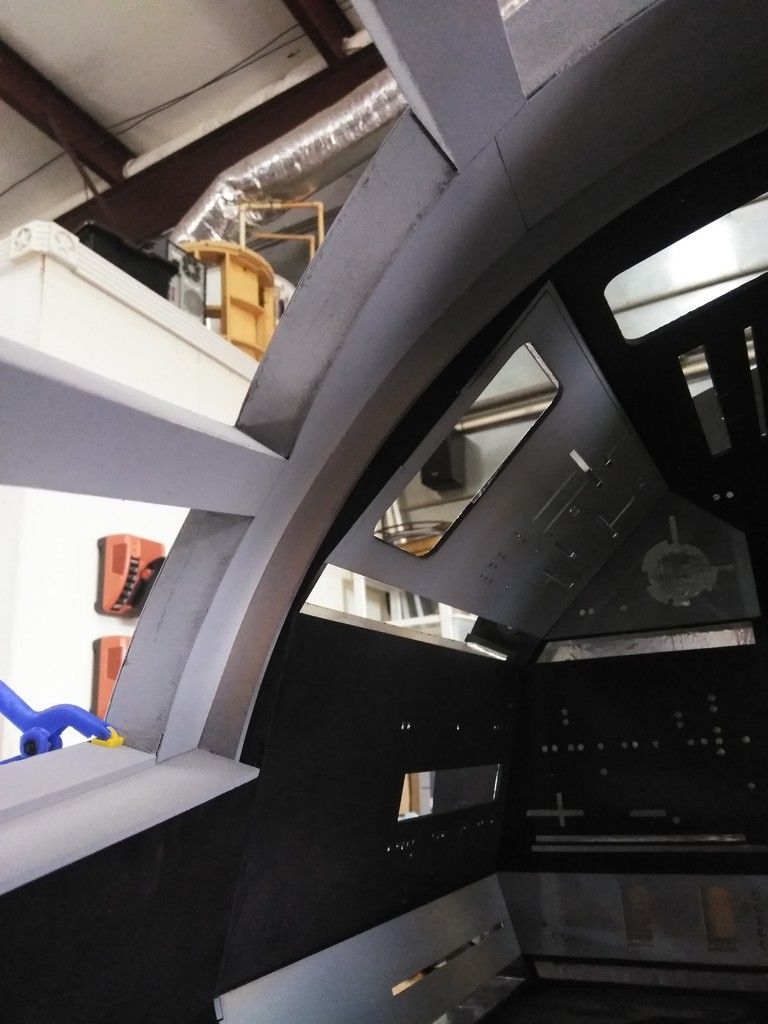
I then worked on the canopy
Adhered the upper panel in place
Had to sand the edges to make fit
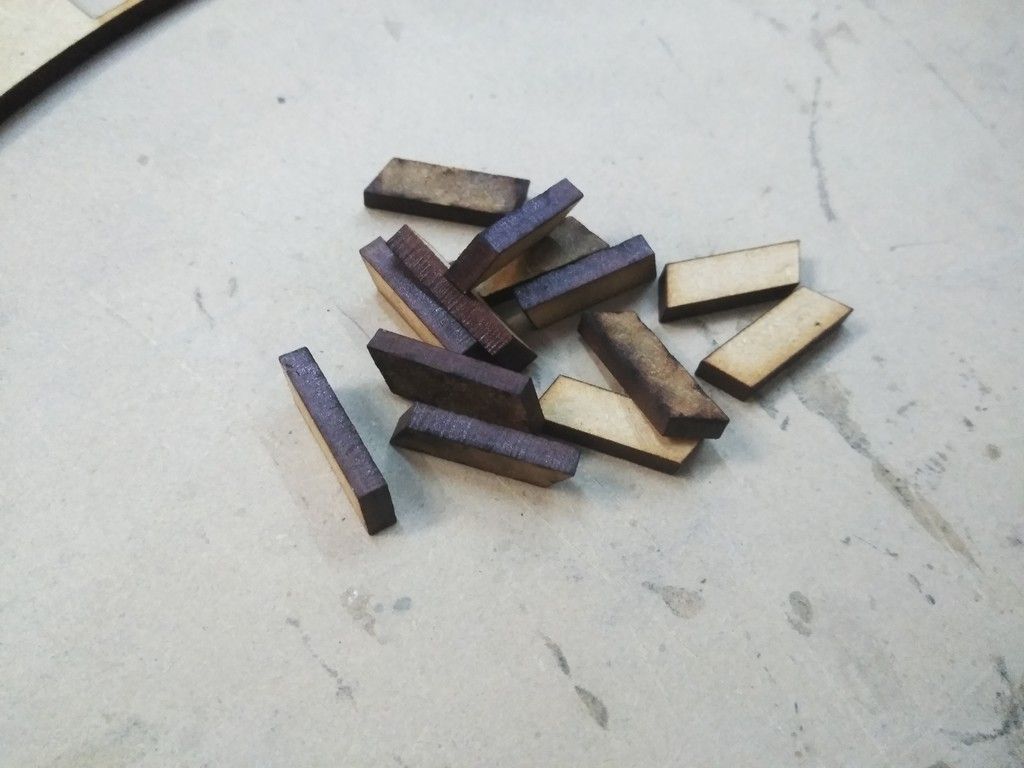
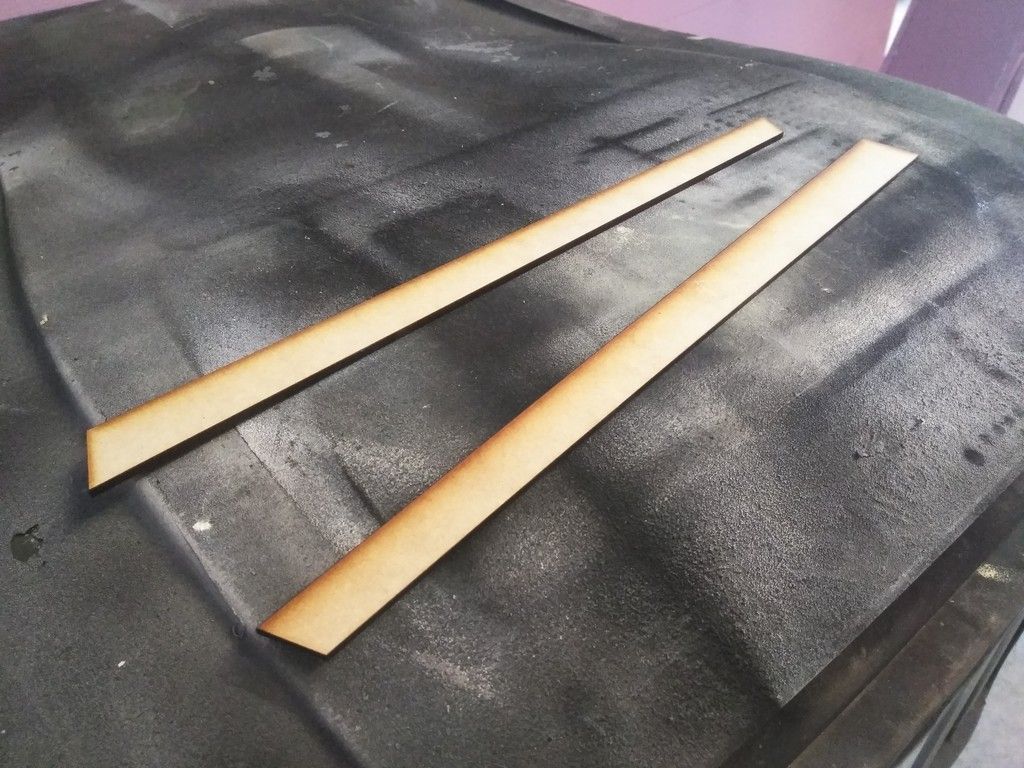
I then cut these little angles
Adhered into place
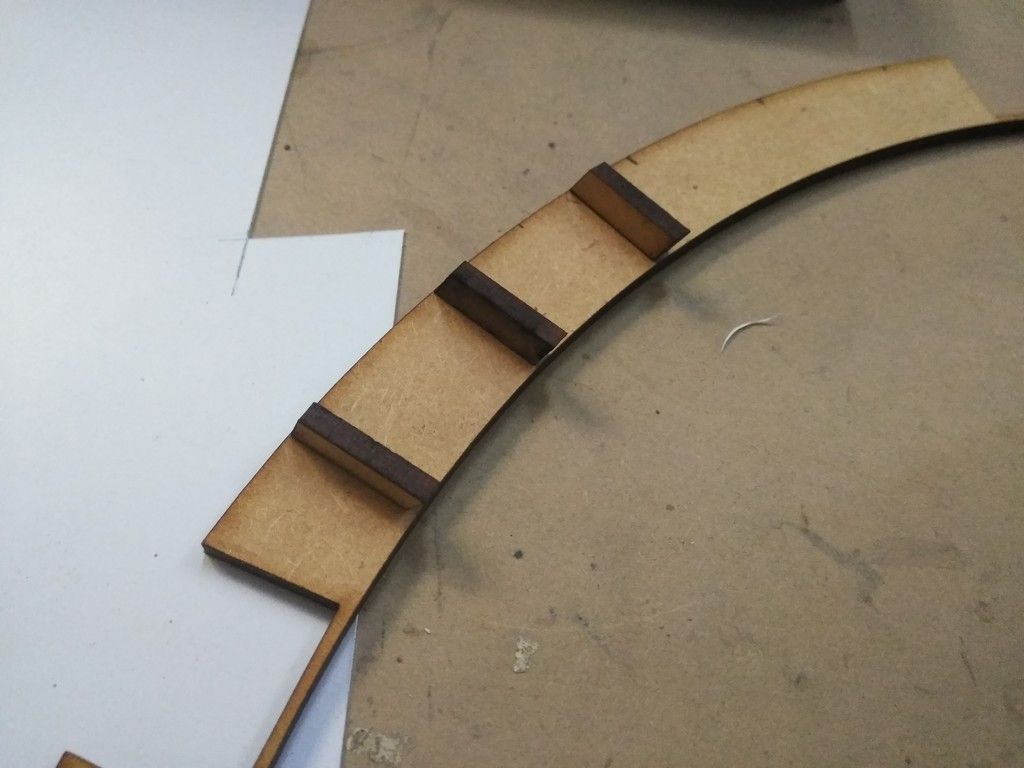
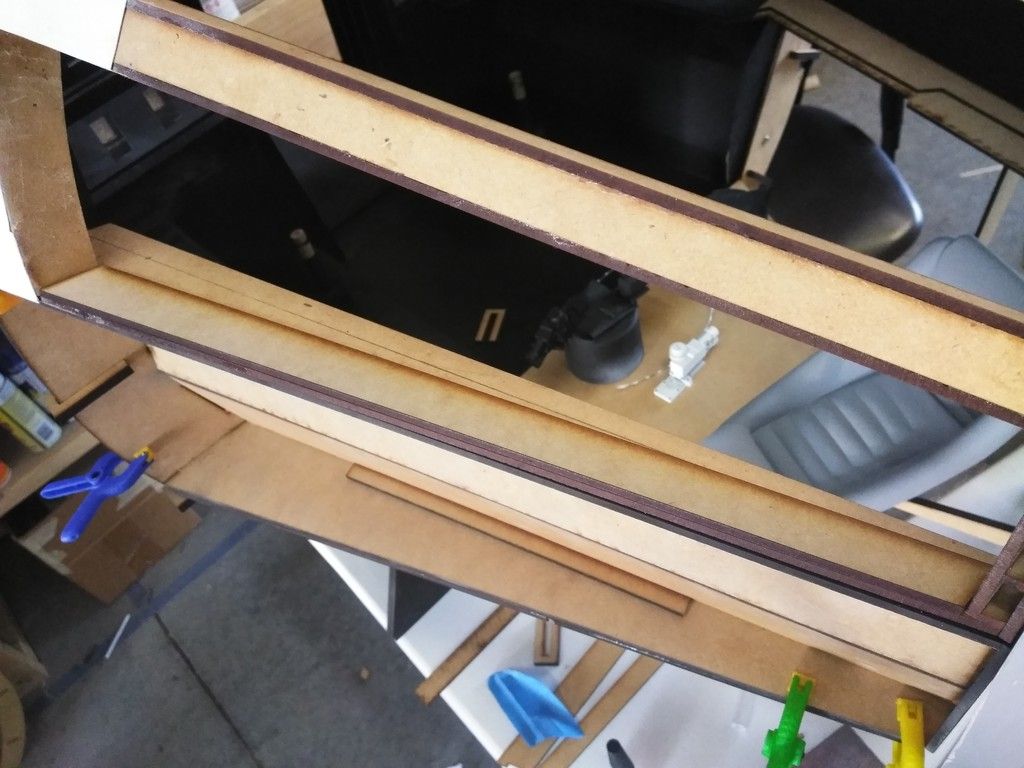
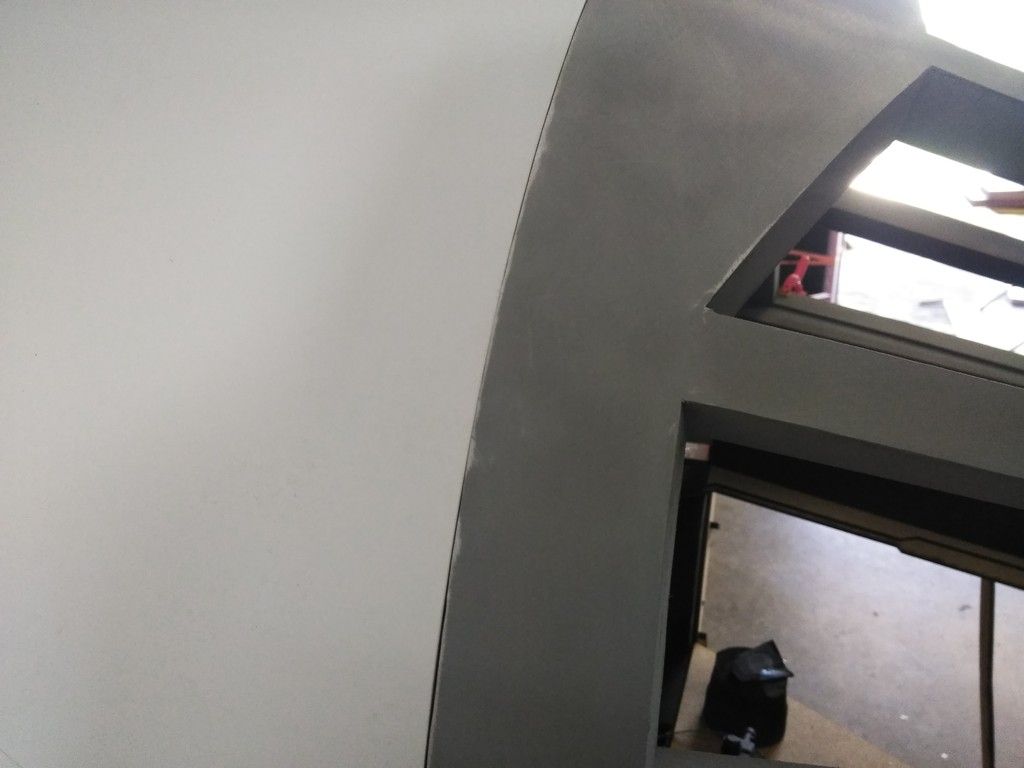
Added some bulk to the front of the canopy
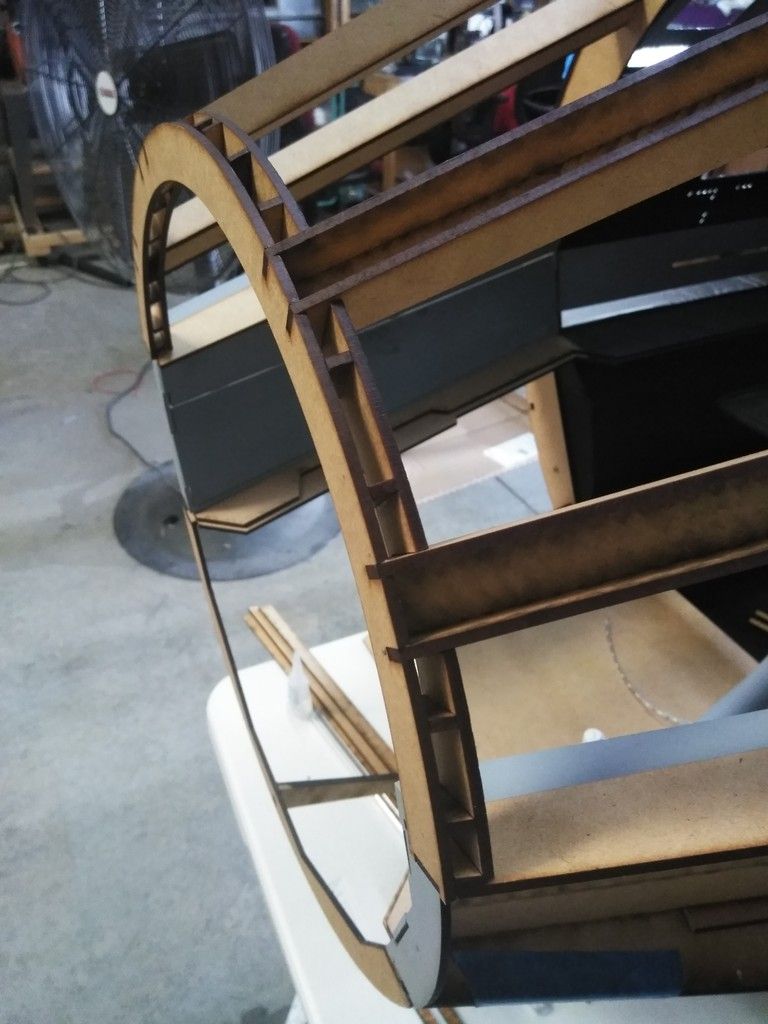
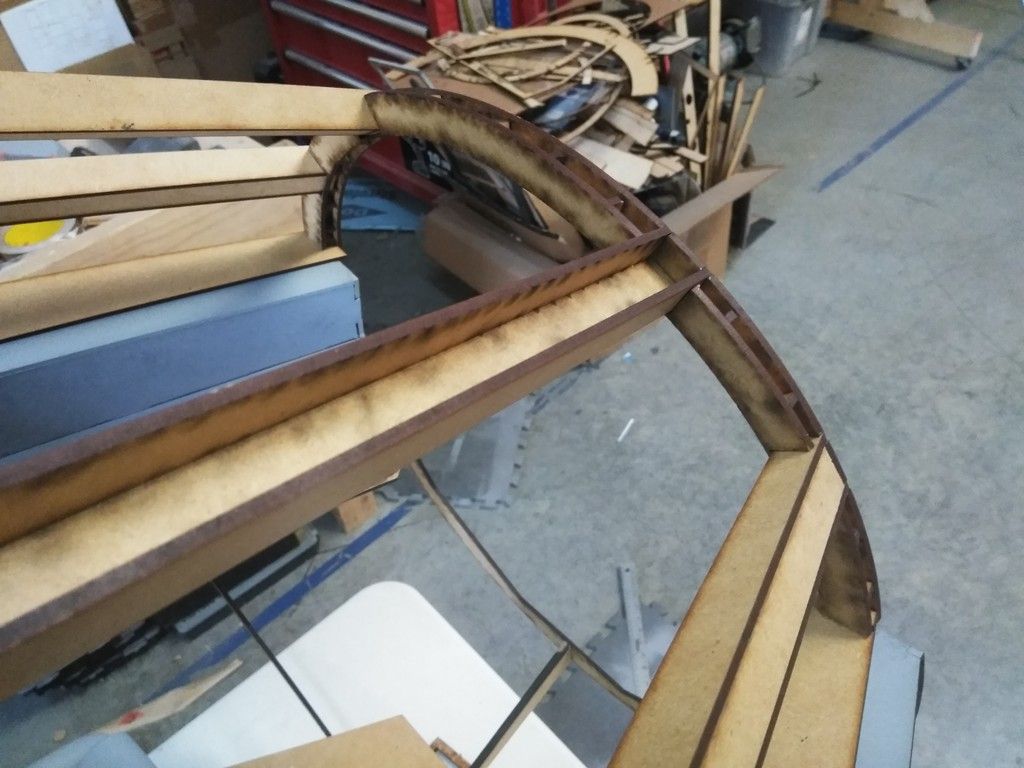
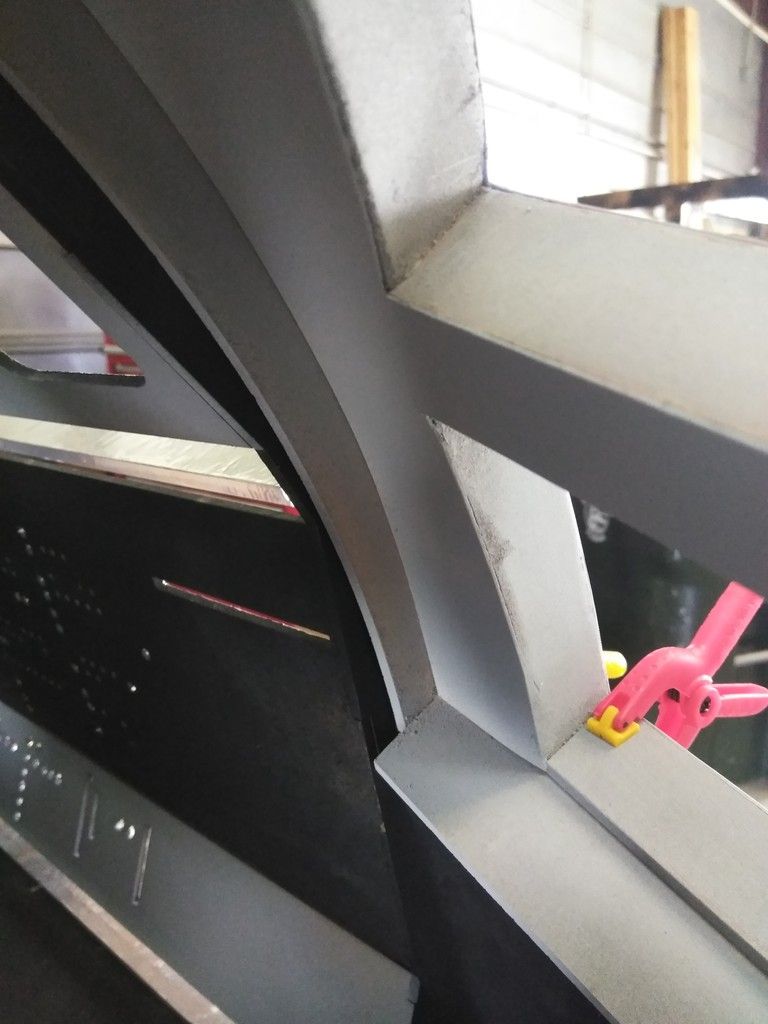
I boxed in the beams
These were the toughest pieces to cut!

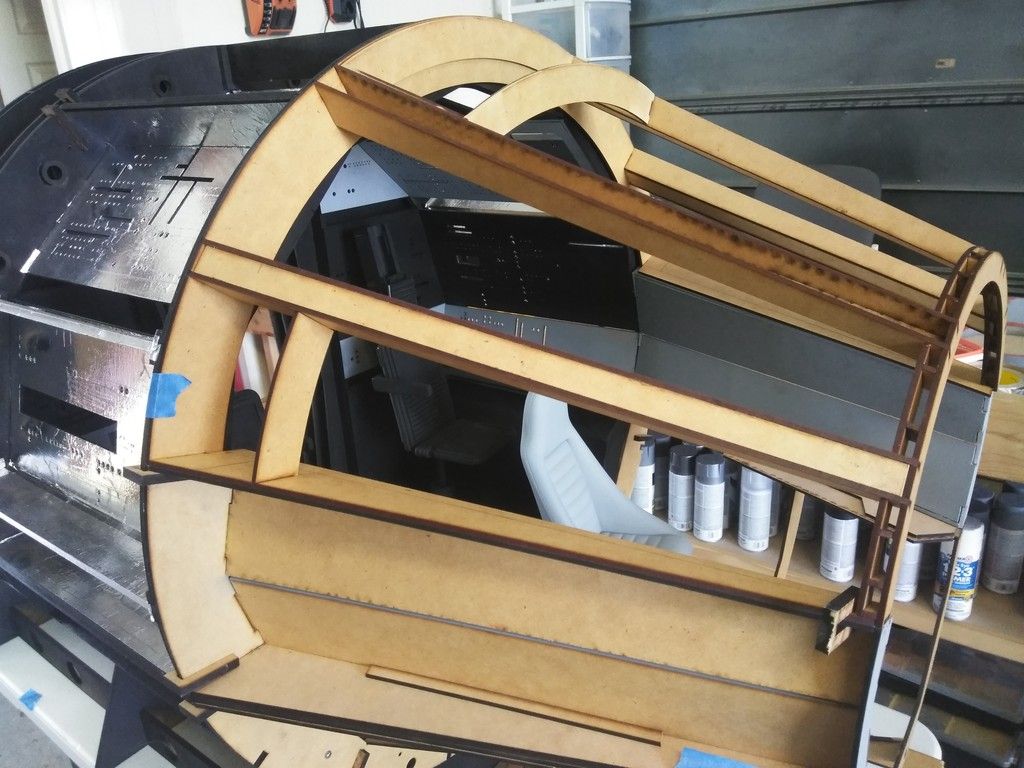
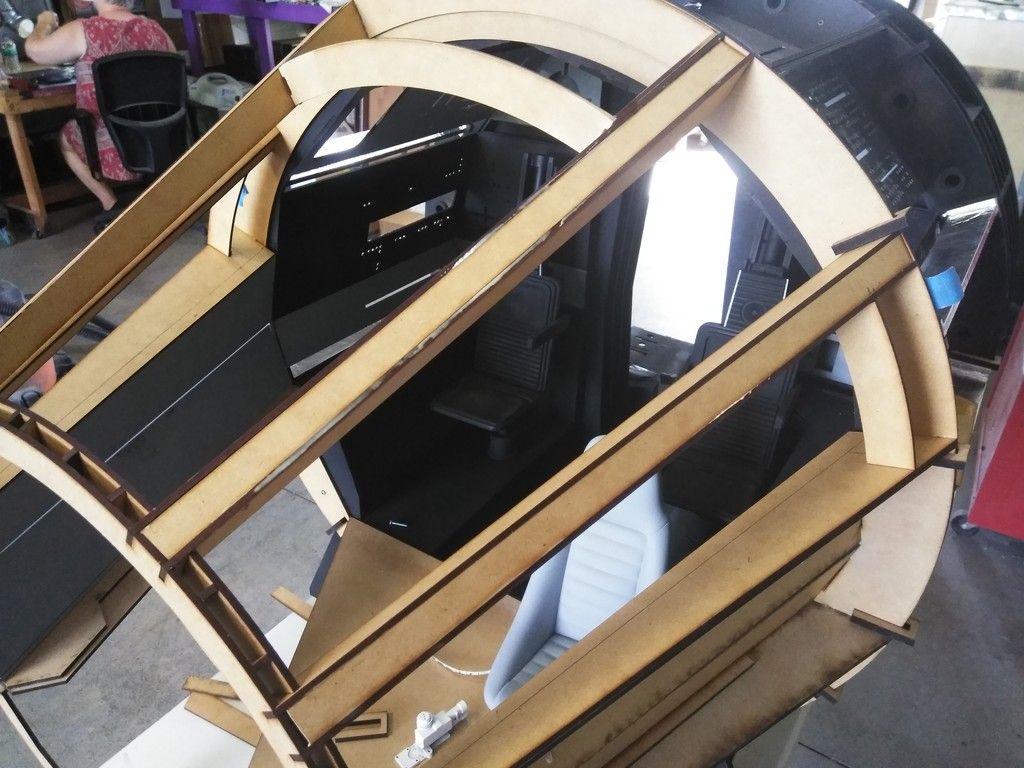
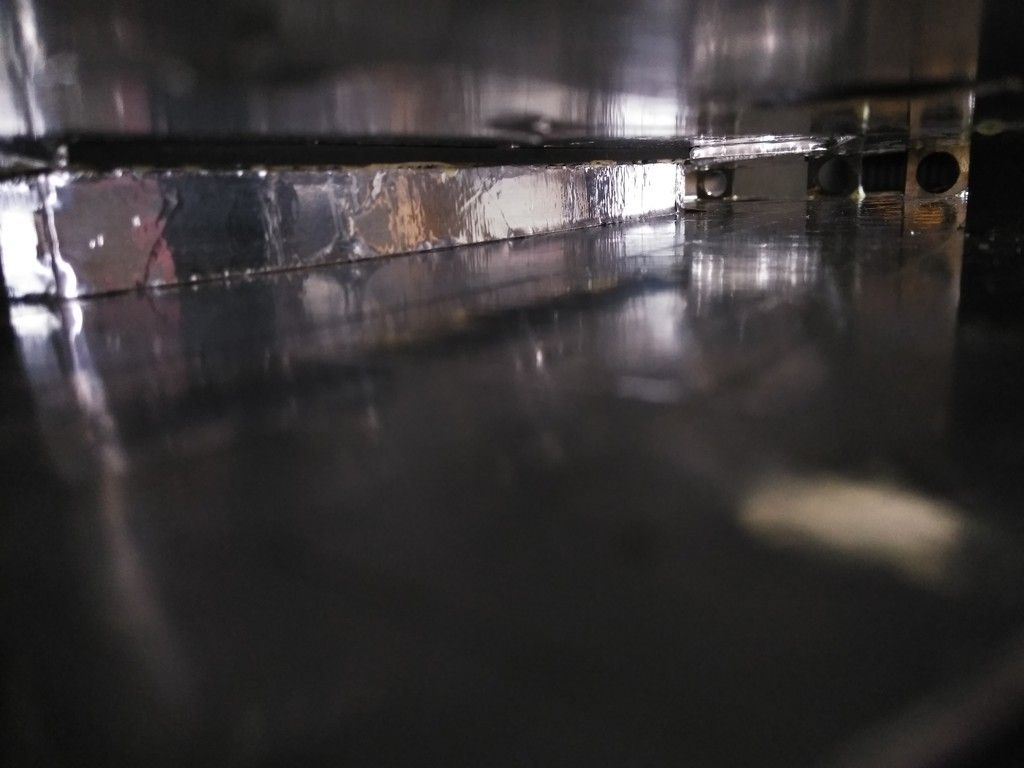
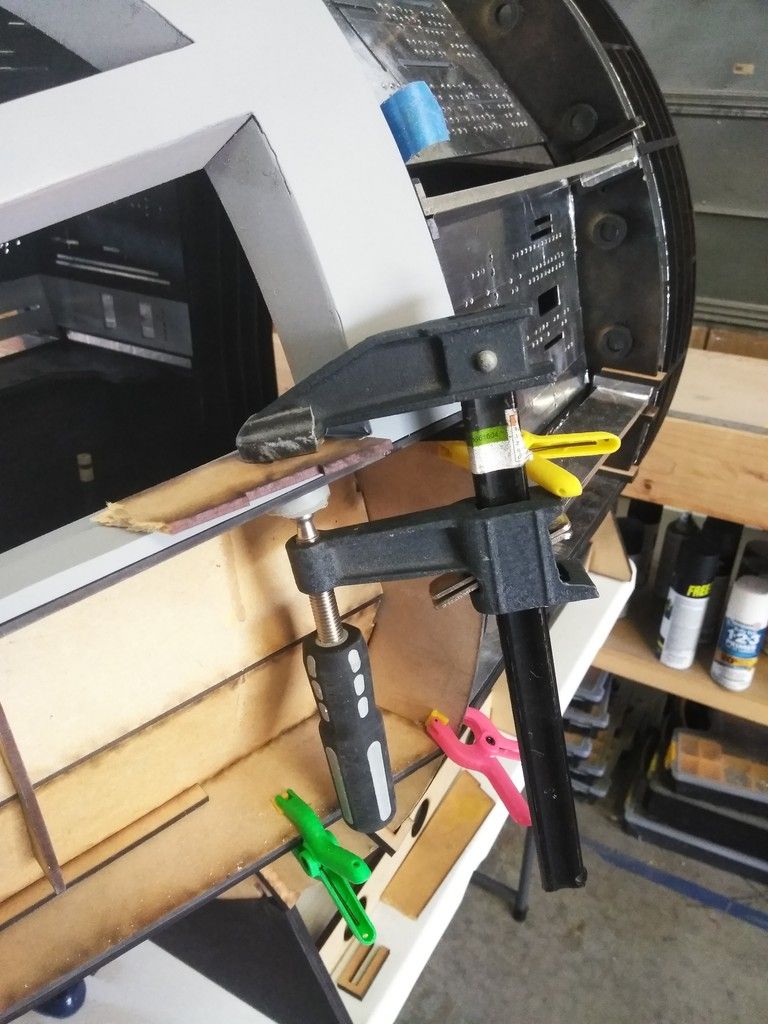
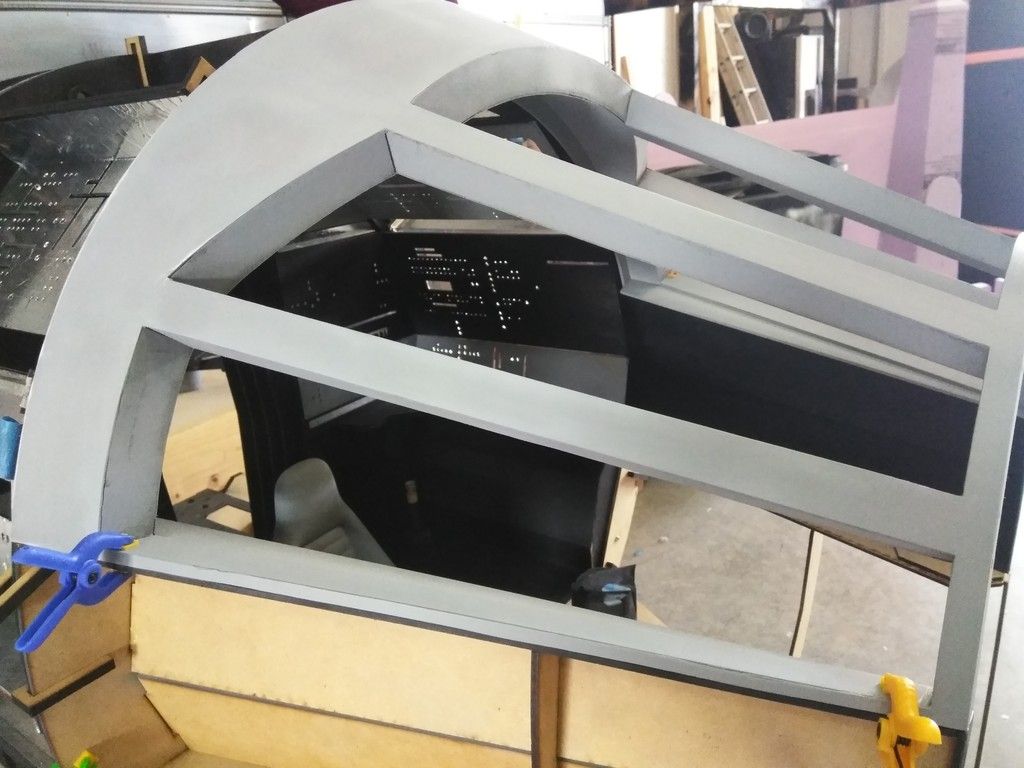
Window TEMP in place

Perfect 1/8" gap between the canopy and the window!
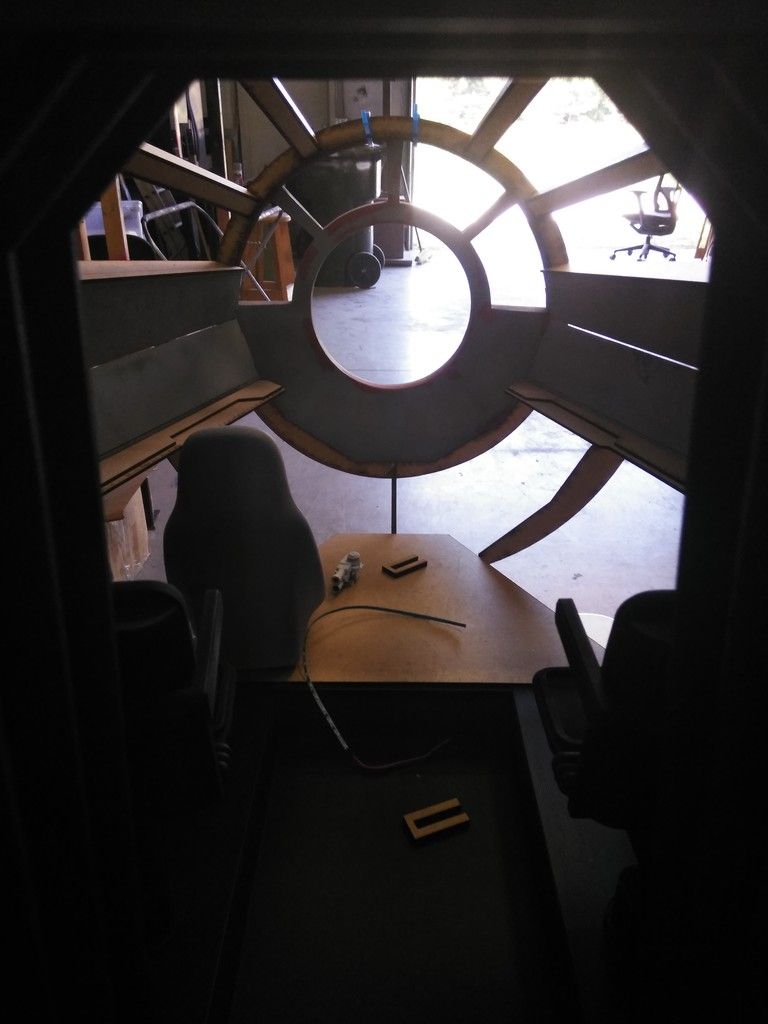
PLEASE NOTE: There is an incredible amount of visual differences between the Full Scale Interior "Set" window frame and the Full Scale "Exterior" window frame. The two set pieces do NOT match up visually so Steve Starkiller had to find compromises in order to make these two very different looking windows work together - more on that later
Because the Volvo panels are so big, I laser cut practice cover panels made from cardboard
Once I found the perfect fit I laser cut using 1/16th acrylic
Removed the protective paper backing and adhered in place using E6000
Primer
I left some of the edges with a little bit of overhang to ensure the panels fit
Good ol Filler
MMMMM Primer
MMMMM even better... black primer
Back to the window... I went round and round and round TRYING to design and laser cut these window trim pieces but they NEVER aligned or fit. All the sanding, filling, sanding, filling, adding styrene, etc changed the size of the opening. UGH...
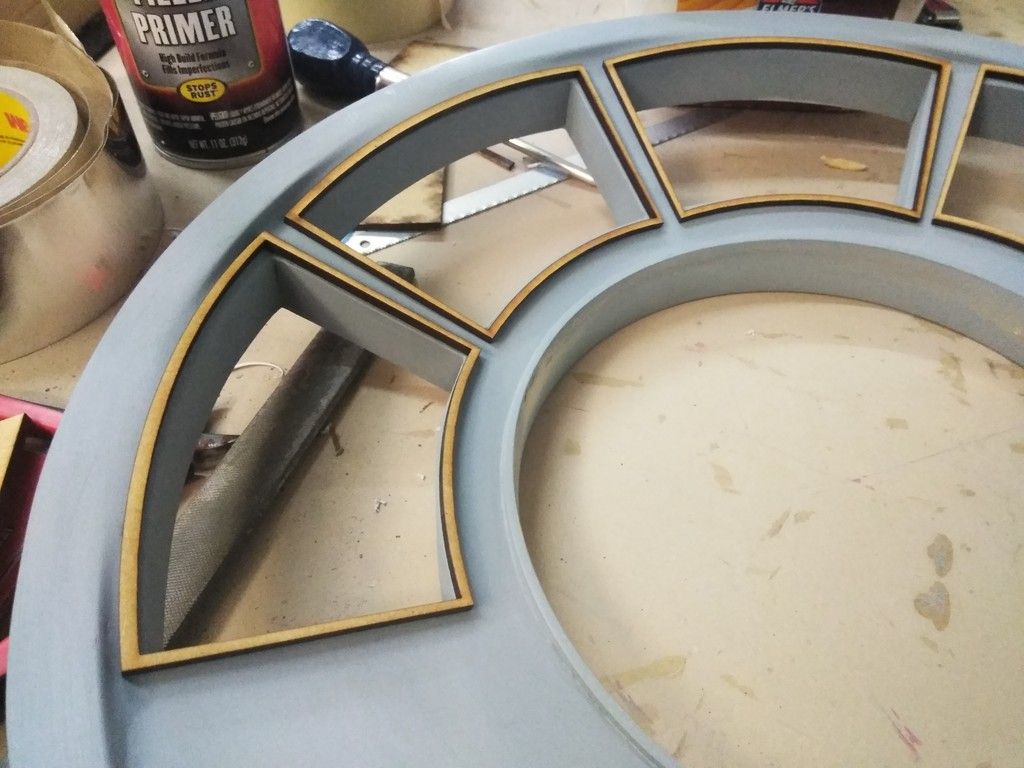
I have another idea!")
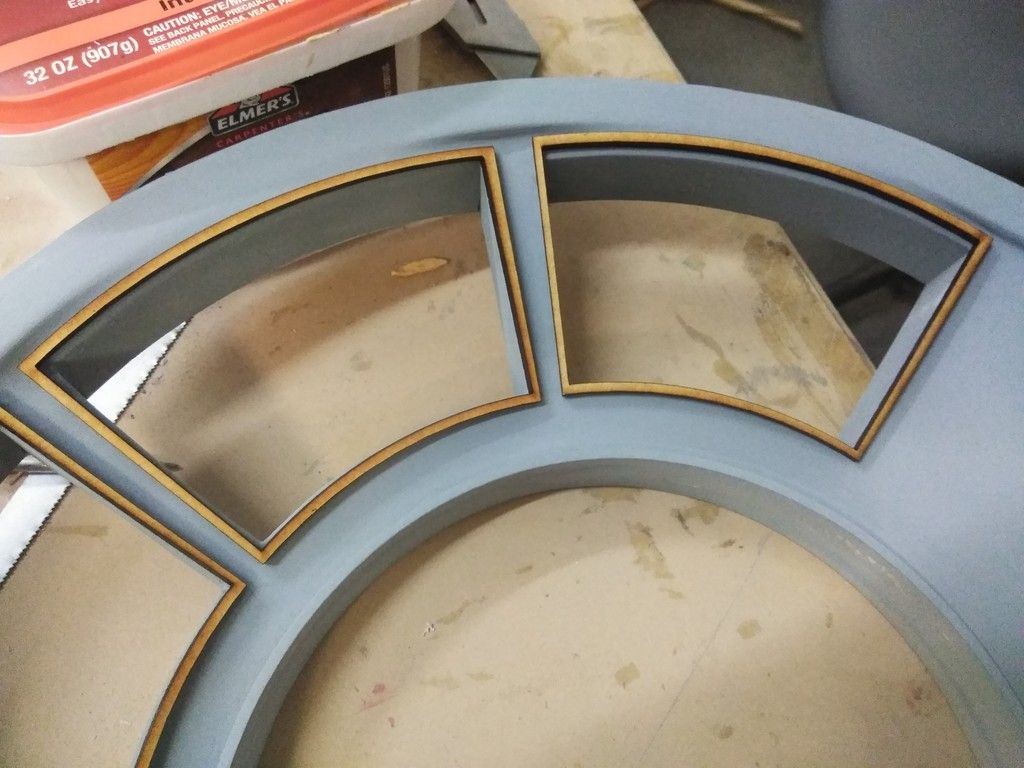
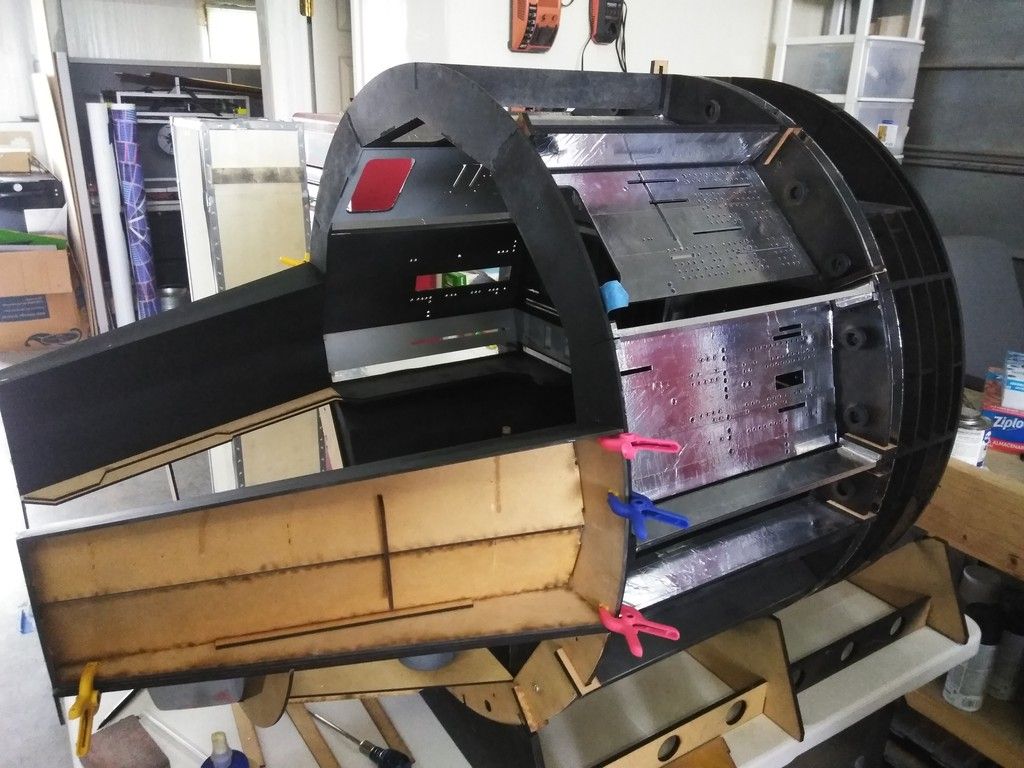
But this will be the basic look
And this is where we are!
I have to perform some MAJOR surgery on the door housing panel this weekend. Fingers crossed it goes smoothly!
More to Follow!
FINALLY! I'm updating last weeks progress. WHEW... what a hectic week. Enjoy!
I laser cut these console LED strip mounting plates
The window saw a LOT of work...
But still lots of little imperfections to fix
I then laser cut a slightly mod'd interior side of the window
These fill in the gaps and level out the edges - the two lower panels needed to be shaved to fit
Note the edges
The panels added only 1/8" of depth to the overall window
I then used painters tape to find the edges of the interior window sills
Remove the tape, adhere to thin sheet of styrene
Cut the edges of both the tape and styrene
Adhere in place and clean up the edges
Rinse, Lather & Repeat
And maybe add some filler
16 total pieces of styrene cut and placed
Primer!
Gotta clean those edges
More filler
Interior side needed a LOT of work
A LOT of work
Still lots of work to do
I then worked on the canopy
Adhered the upper panel in place
Had to sand the edges to make fit
I then cut these little angles
Adhered into place
Added some bulk to the front of the canopy
I boxed in the beams
These were the toughest pieces to cut!
Window TEMP in place
Perfect 1/8" gap between the canopy and the window!
PLEASE NOTE: There is an incredible amount of visual differences between the Full Scale Interior "Set" window frame and the Full Scale "Exterior" window frame. The two set pieces do NOT match up visually so Steve Starkiller had to find compromises in order to make these two very different looking windows work together - more on that later
Because the Volvo panels are so big, I laser cut practice cover panels made from cardboard
Once I found the perfect fit I laser cut using 1/16th acrylic
Removed the protective paper backing and adhered in place using E6000
Primer
I left some of the edges with a little bit of overhang to ensure the panels fit
Good ol Filler
MMMMM Primer
MMMMM even better... black primer
Back to the window... I went round and round and round TRYING to design and laser cut these window trim pieces but they NEVER aligned or fit. All the sanding, filling, sanding, filling, adding styrene, etc changed the size of the opening. UGH...
I have another idea!
But this will be the basic look
And this is where we are!
I have to perform some MAJOR surgery on the door housing panel this weekend. Fingers crossed it goes smoothly!
More to Follow!
Lt Washburn
Sr Member
Great update Sofa. I was wondering if you might be putting glass in this version.
Hi Gang,
Its time! That end of the weekend update!!! ENJOY!
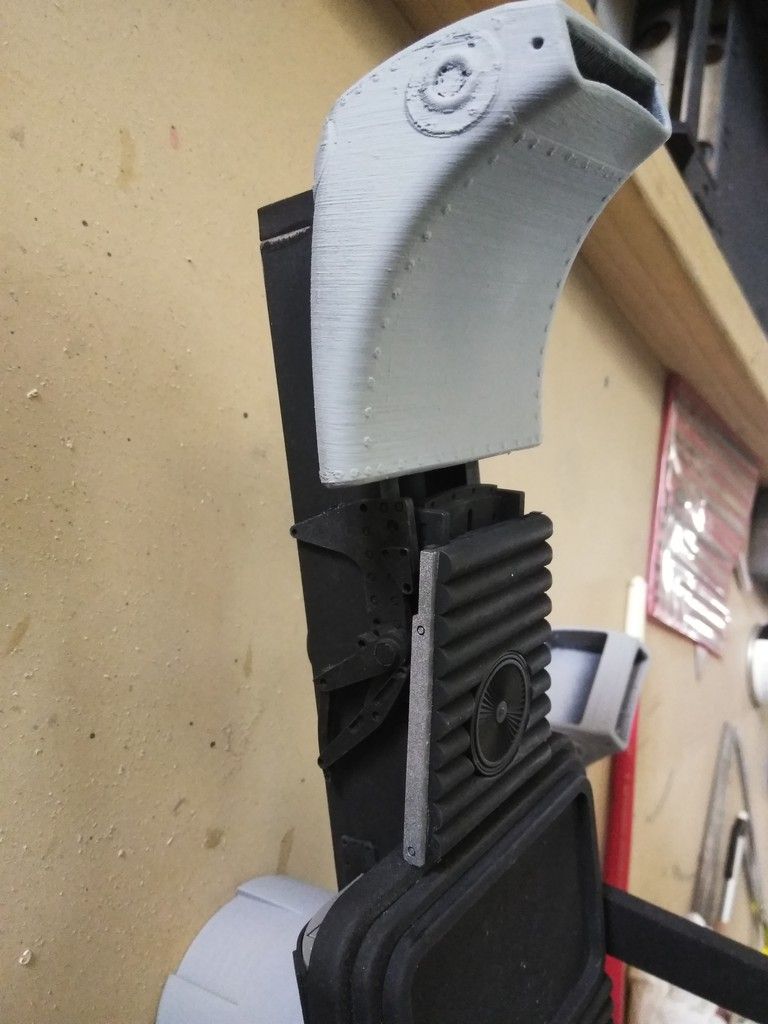
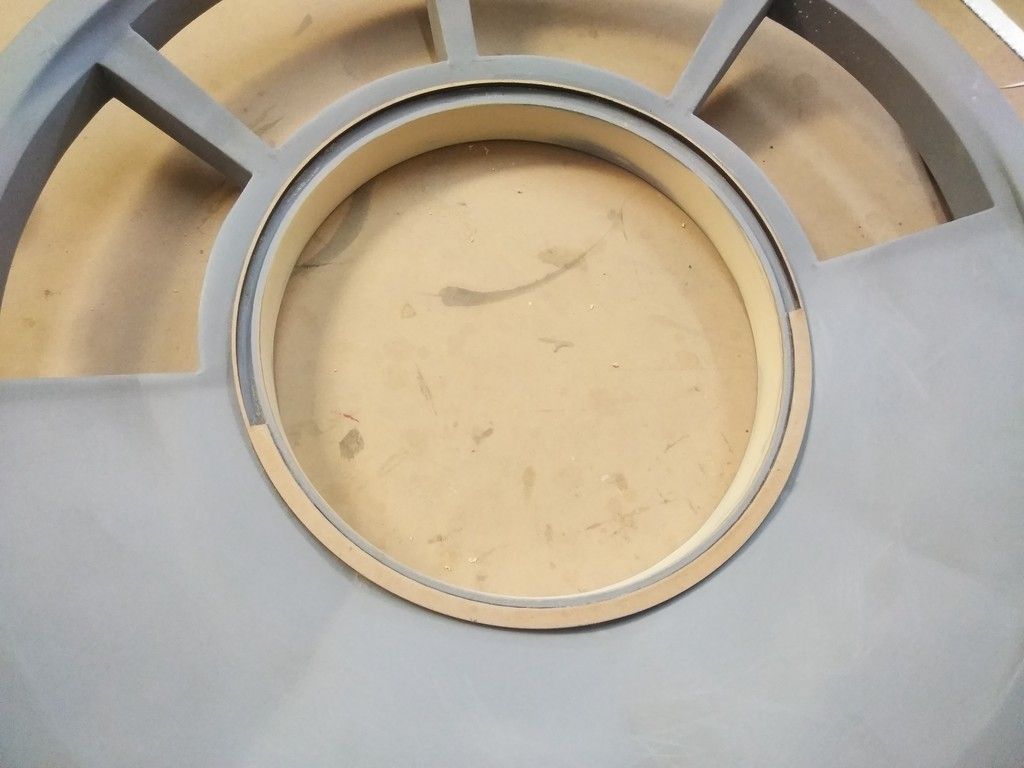
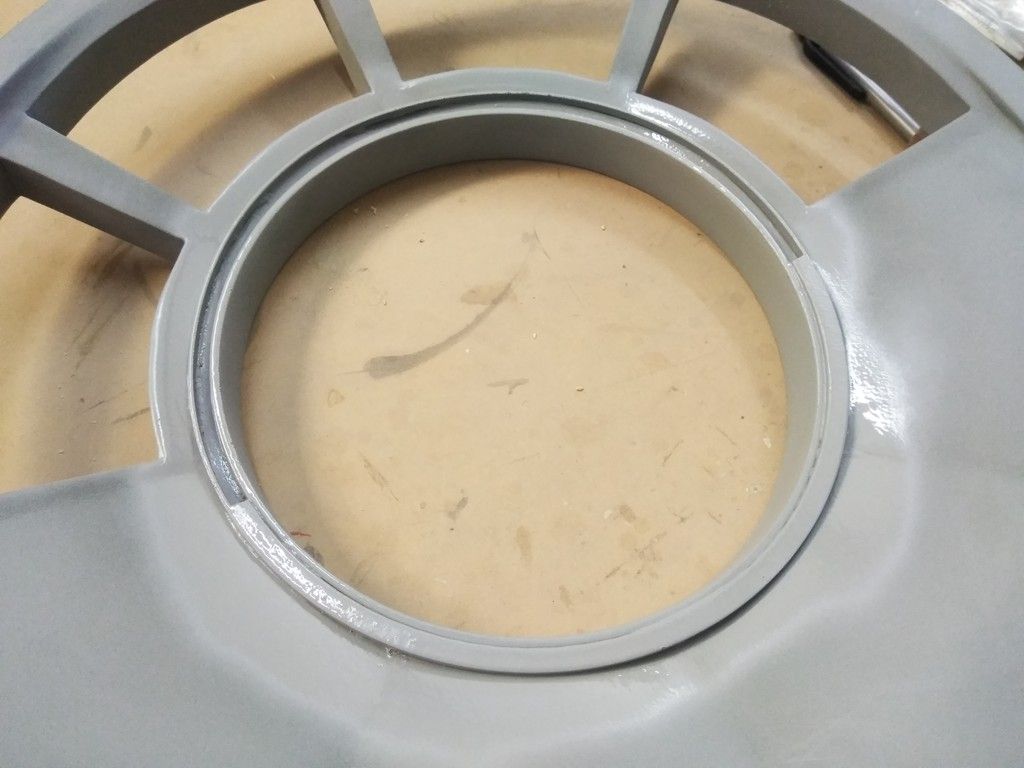
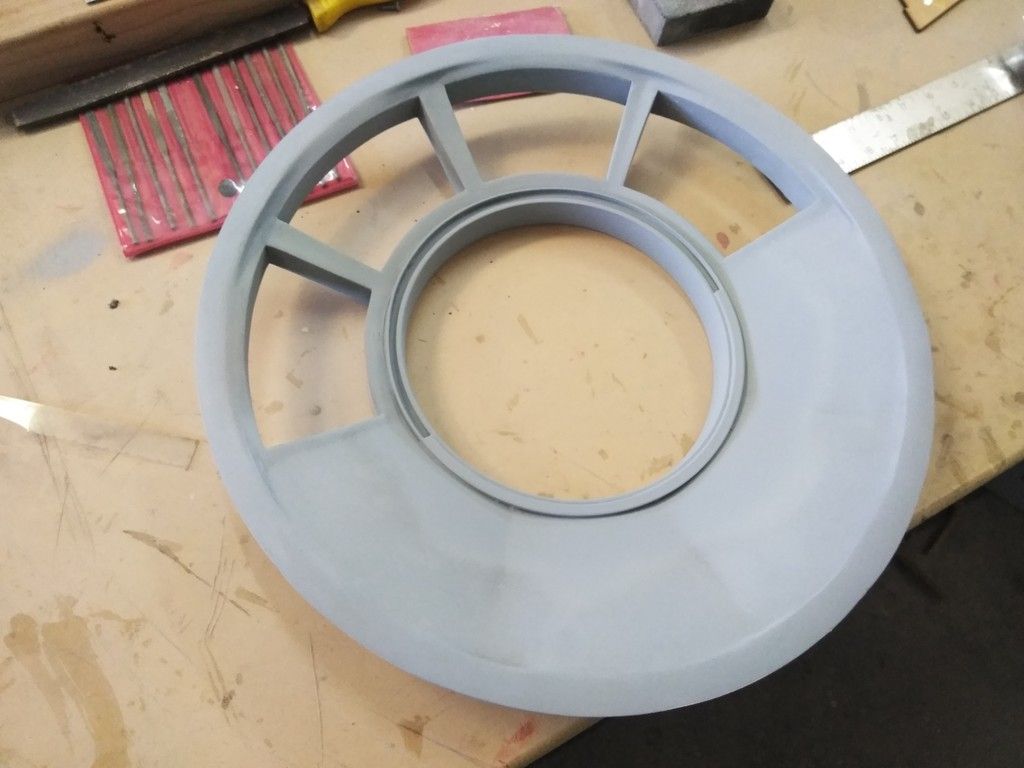
Izzy sent me these 3D prints of the 1/4 scale Nav Chair head piece and a few other pieces...
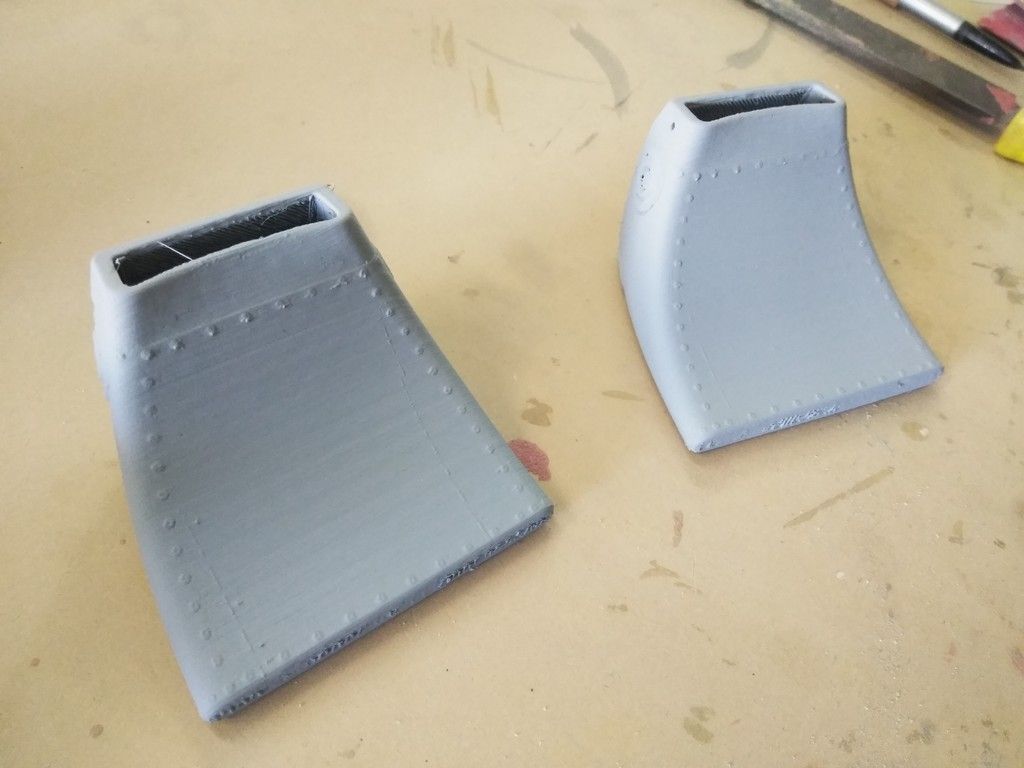
Back side no primer yet
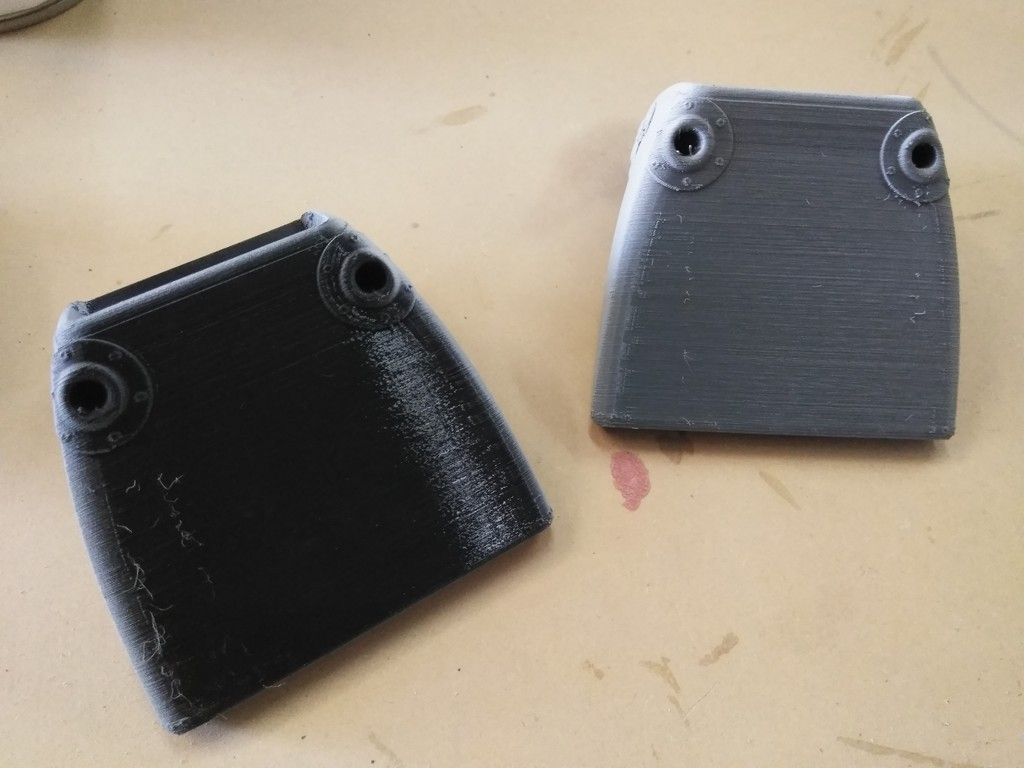
1st layer of primer
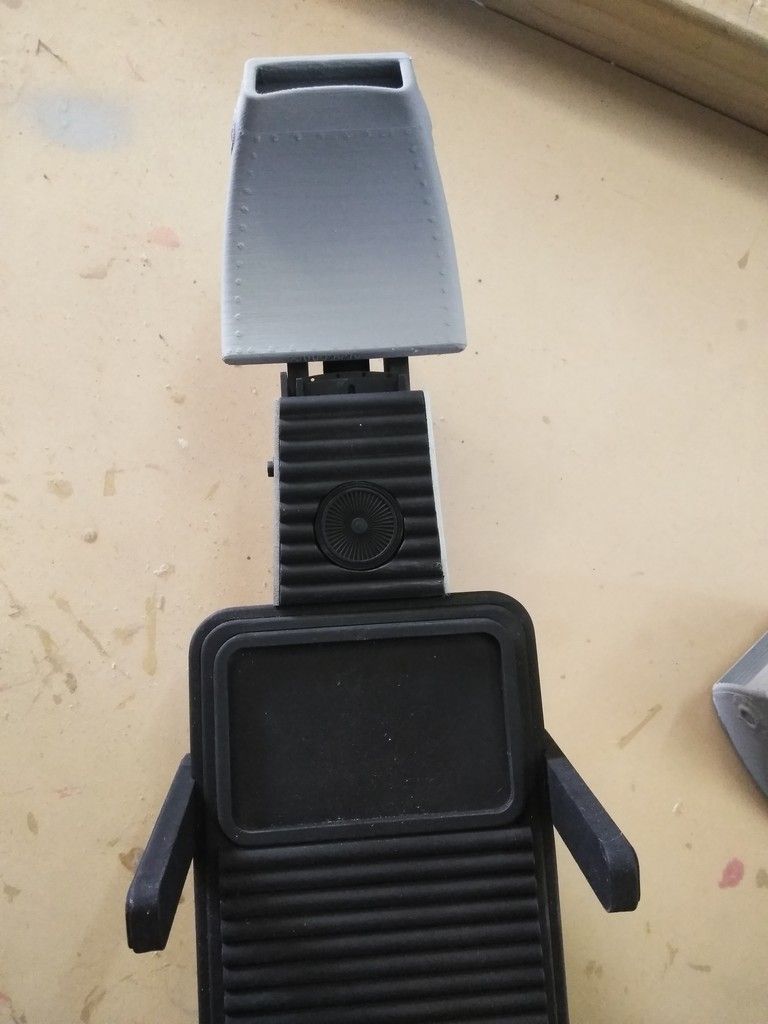
VERY COOL! Thanks, Iz!
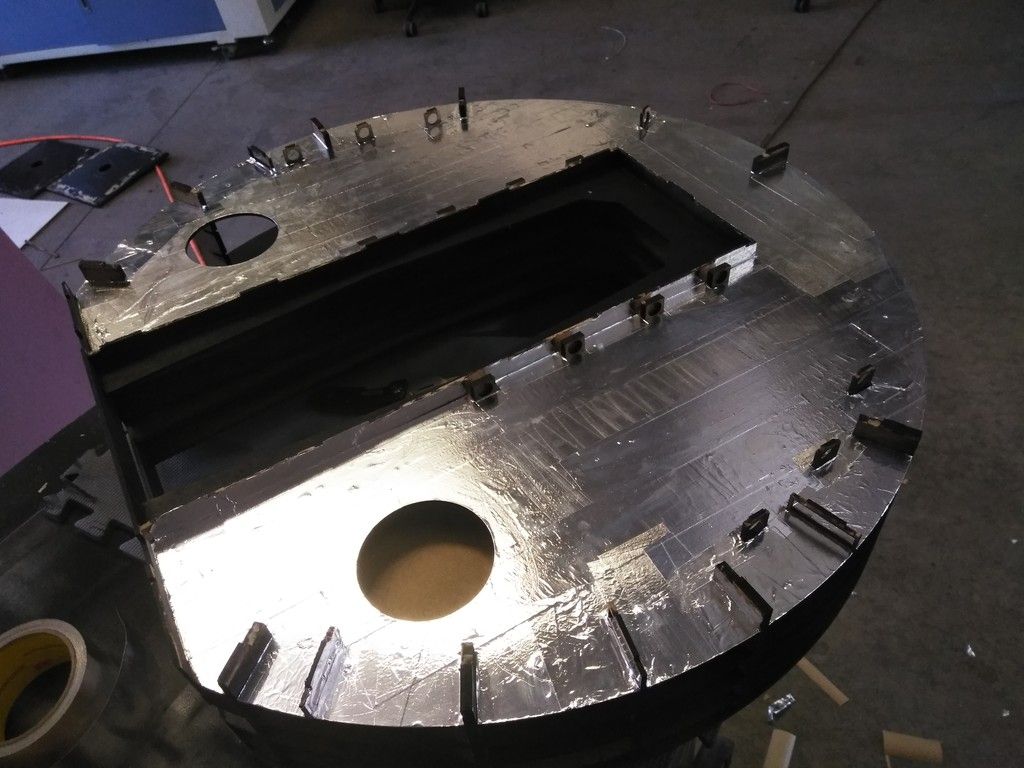
A good buddy of mine, Philip, who has helped on the project in the past and taken some excellent photos of the console, quad, etc, is helping me light the nav computer!
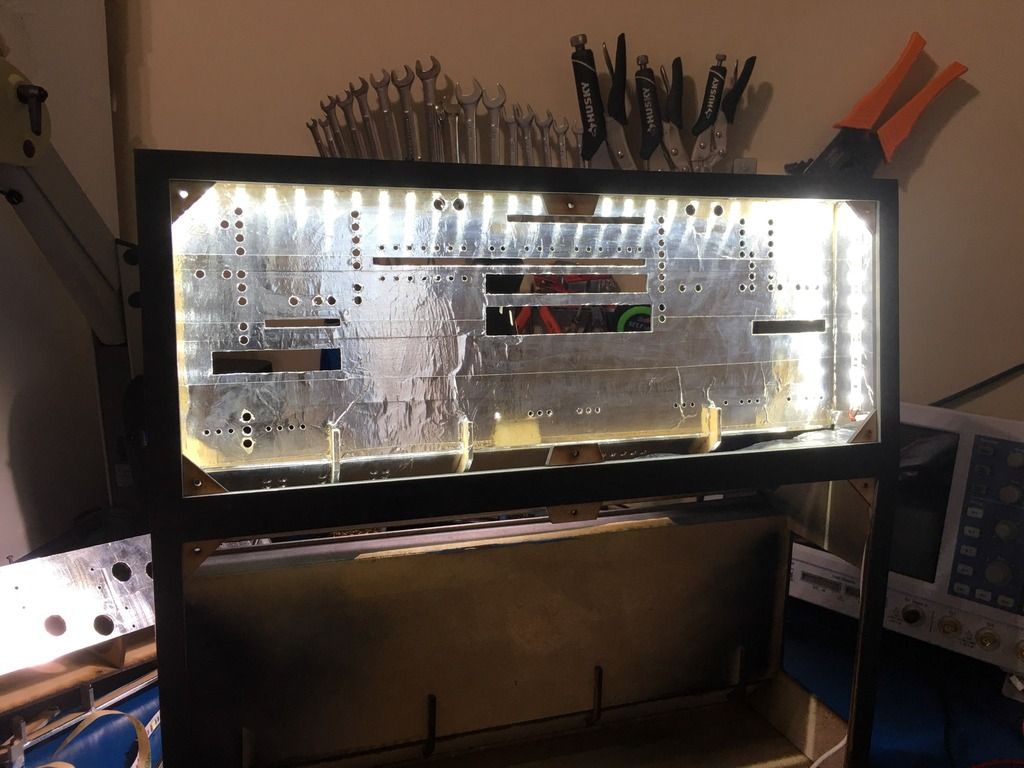
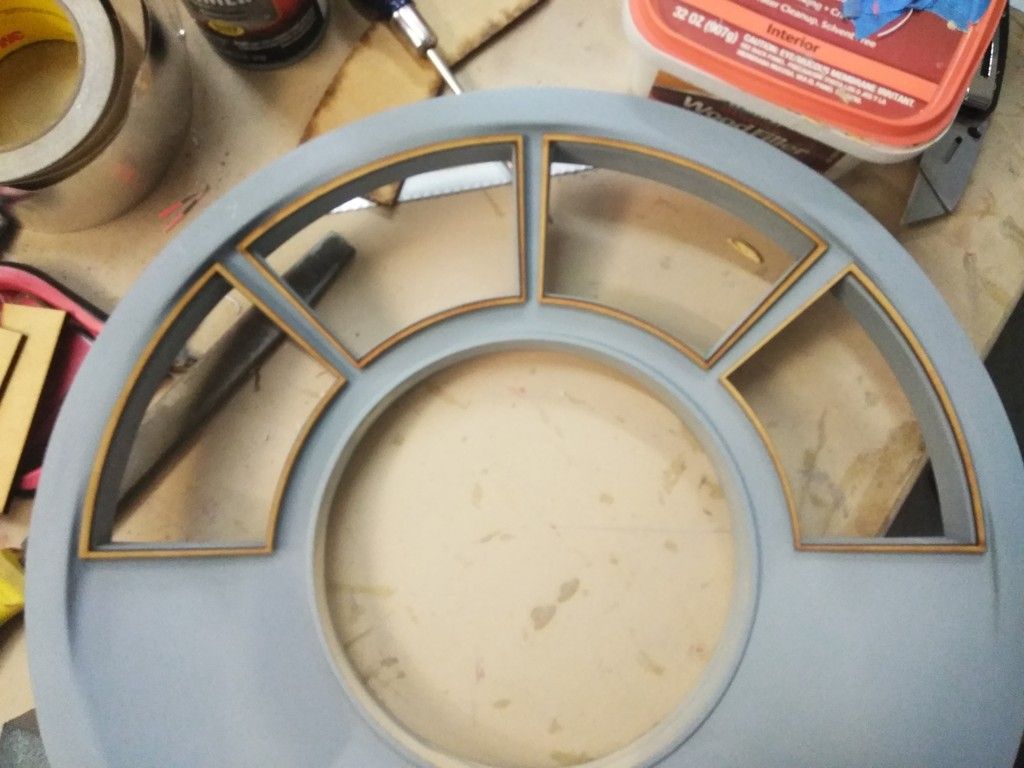
We went back and forth with where to put the LED strips but Philip thought adding a bit more reflective tape and placing the LEDs around the outer edges would work best. We put a white sheet of paper behind the panel to see how the LED strip would work around the edge... NICE! THANKS, P!
He also asked me to designed a new Nav Computer shelf with a housing to help with the LEDs. More later!
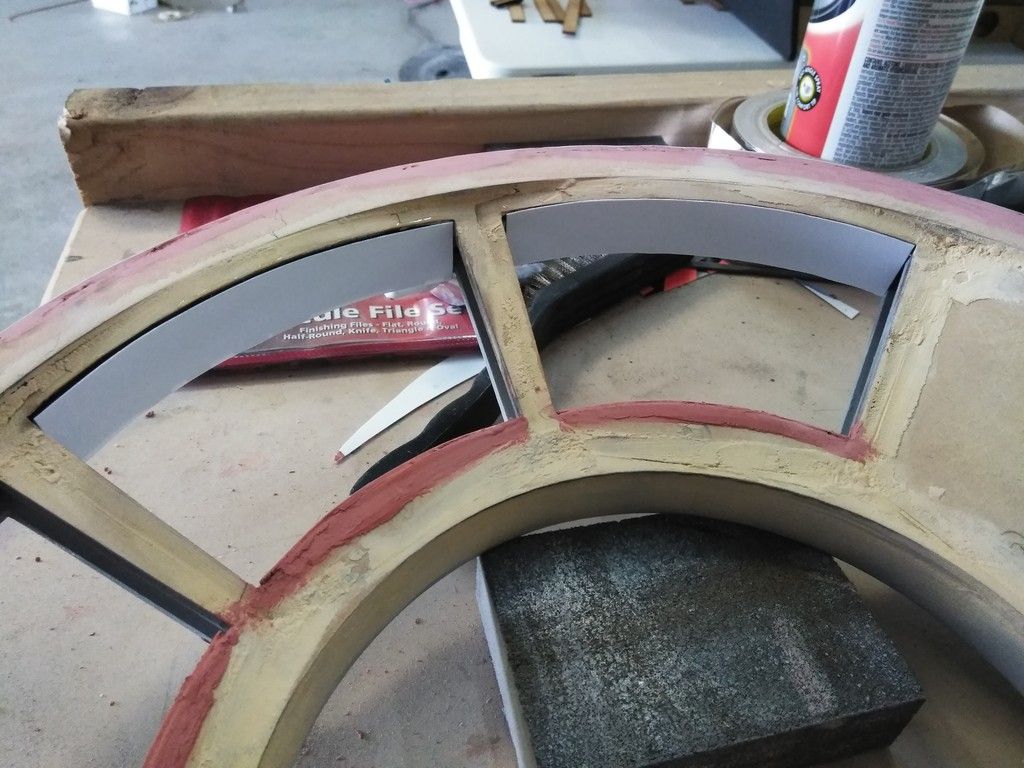
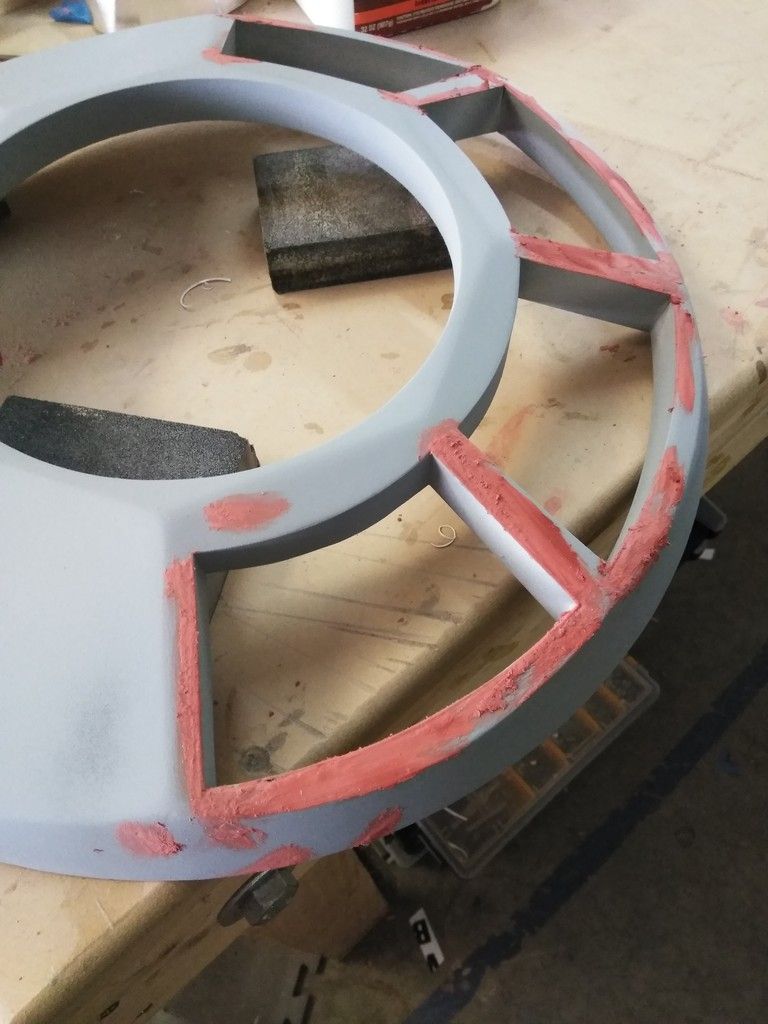
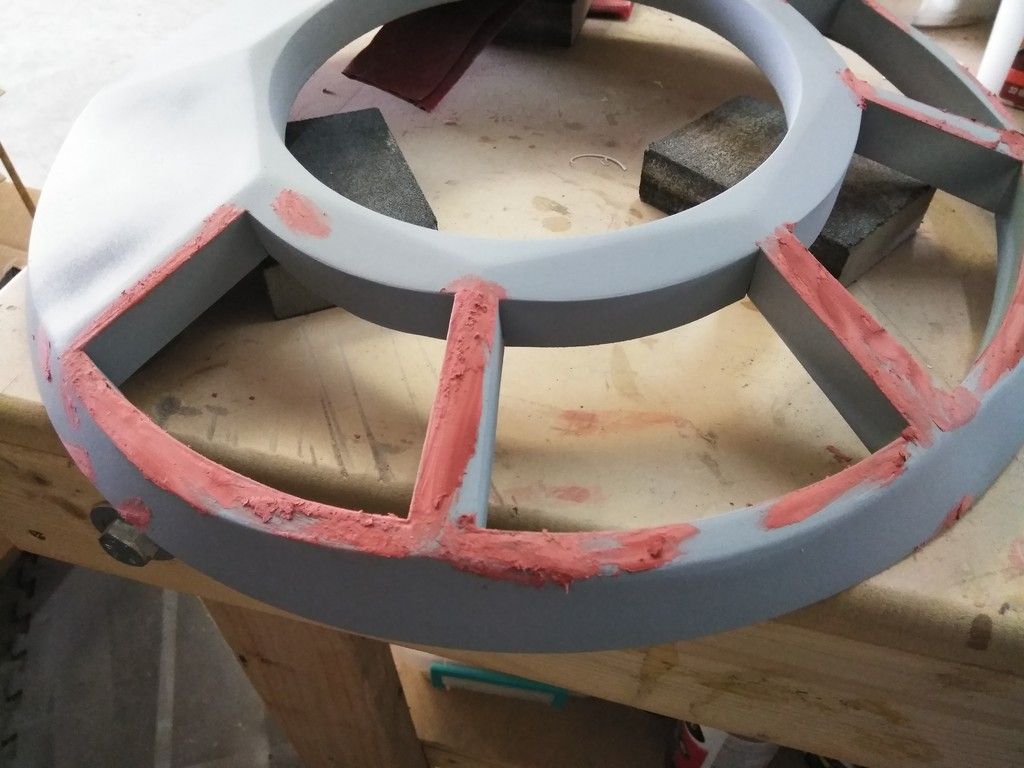
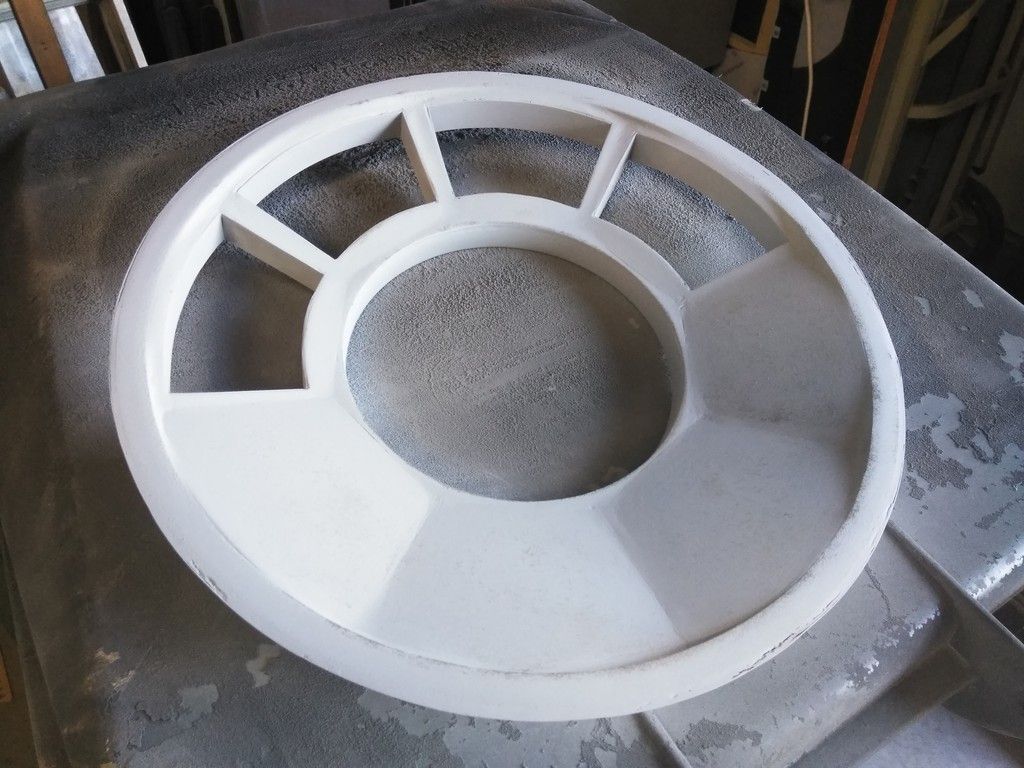
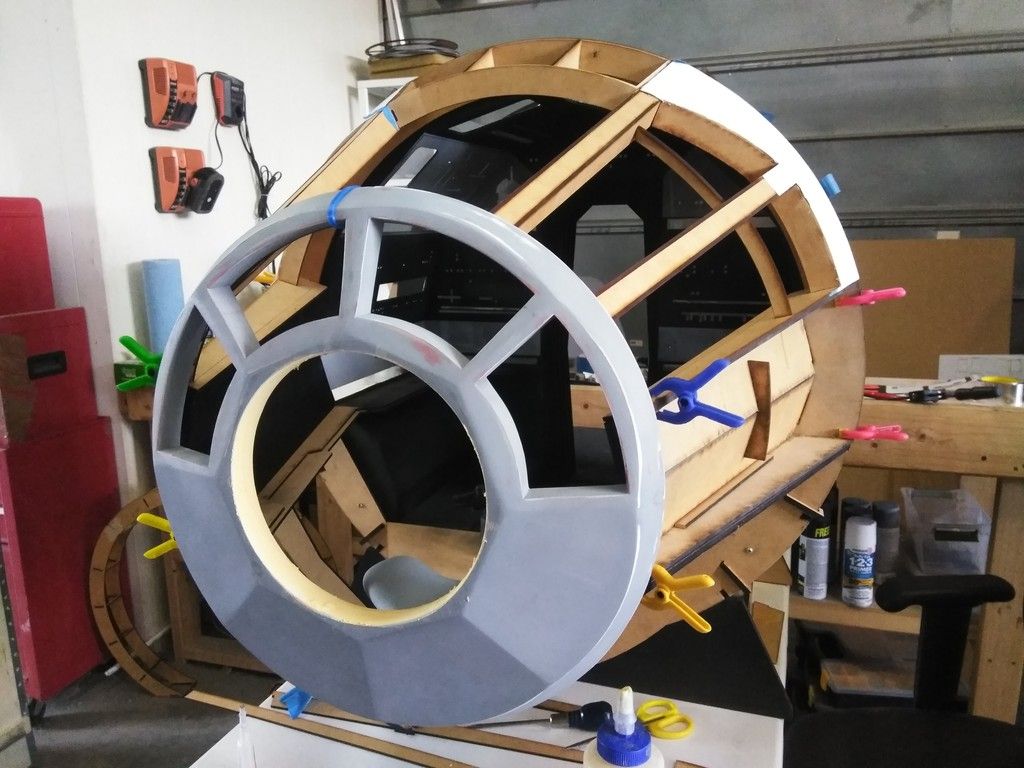
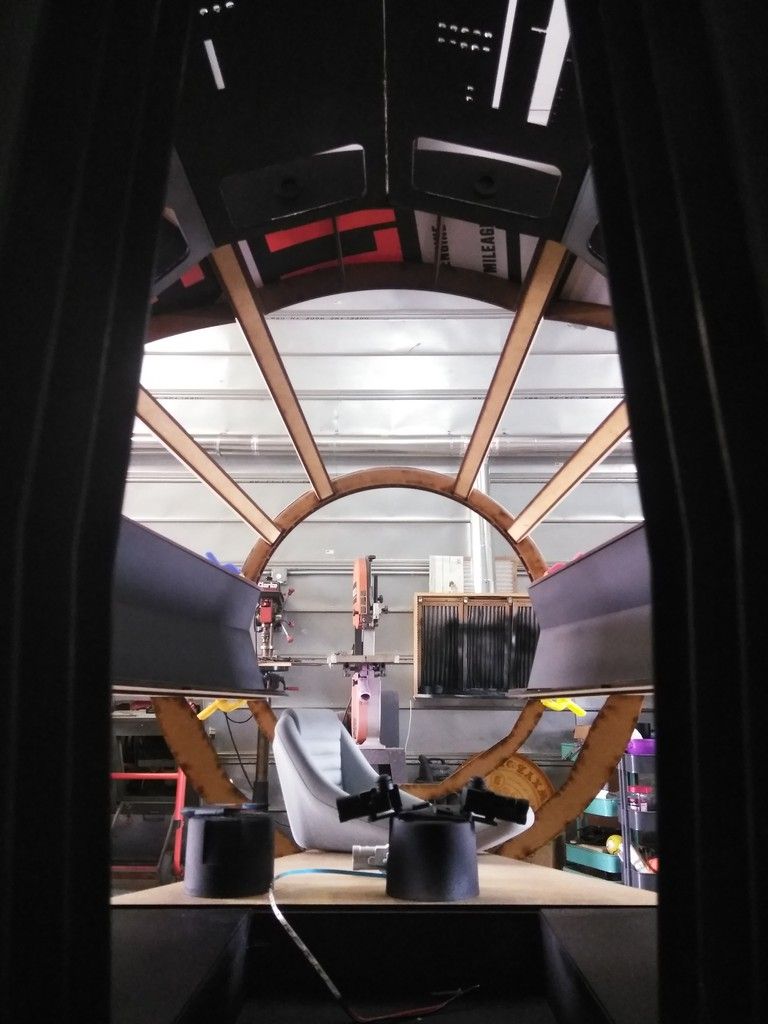
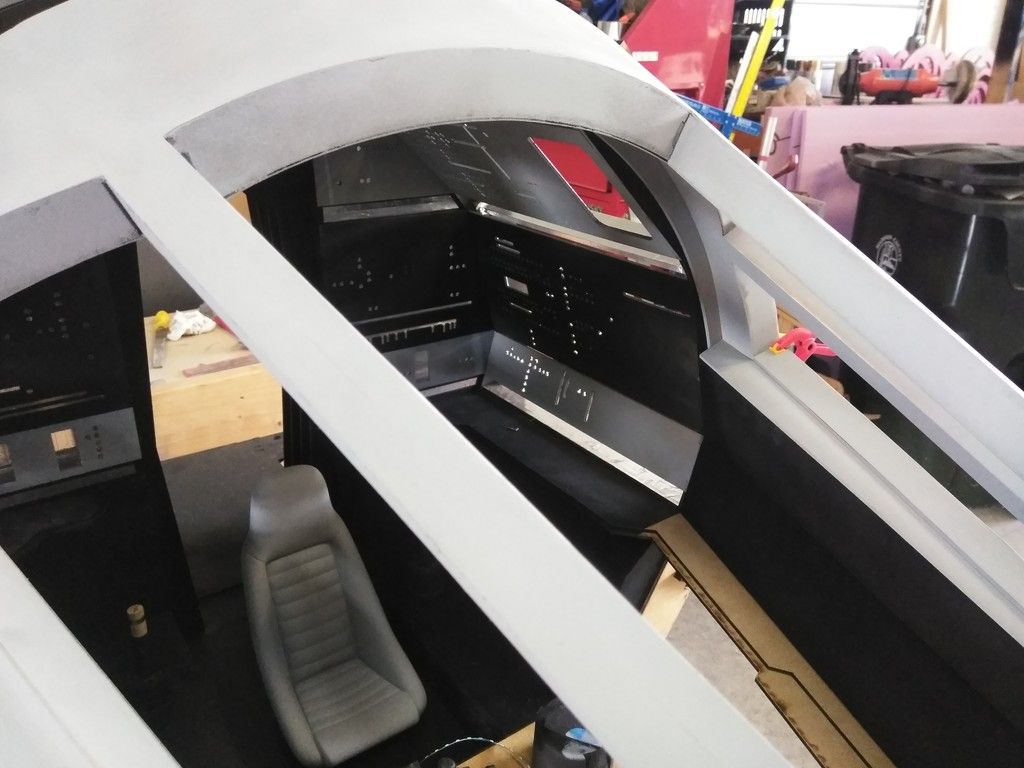
The window is getting some MUCH needed interior detail!

Primer
I can't wait to add all the beam greeblies and hoses!
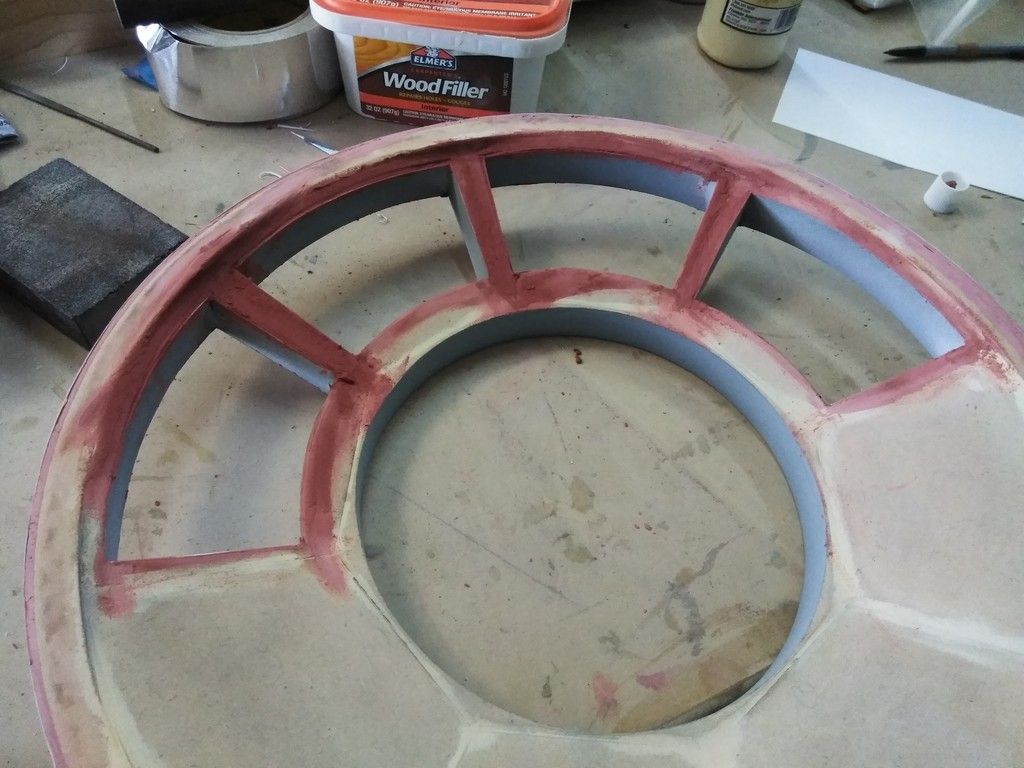
Lots to fill!
Added more filler
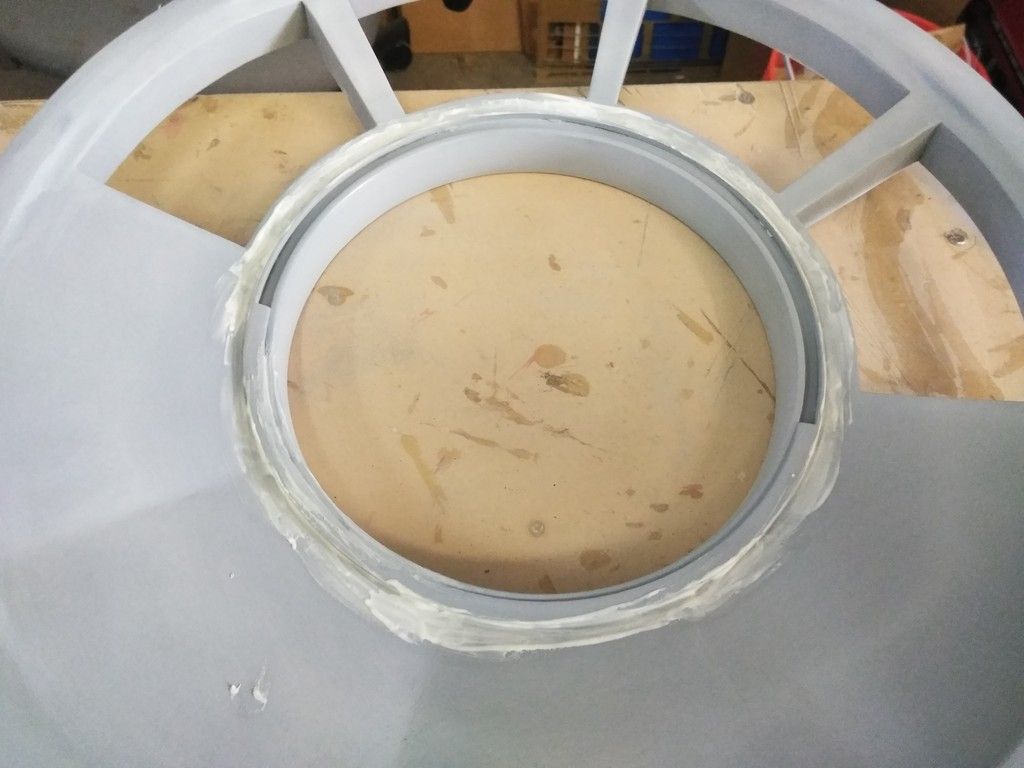
I wound up taking apart the door housing (having forgot about lighting) so I could lay reflective tape to help the LED light reflect... :facepalm
Took some effort to put back together
This should help back light those panels
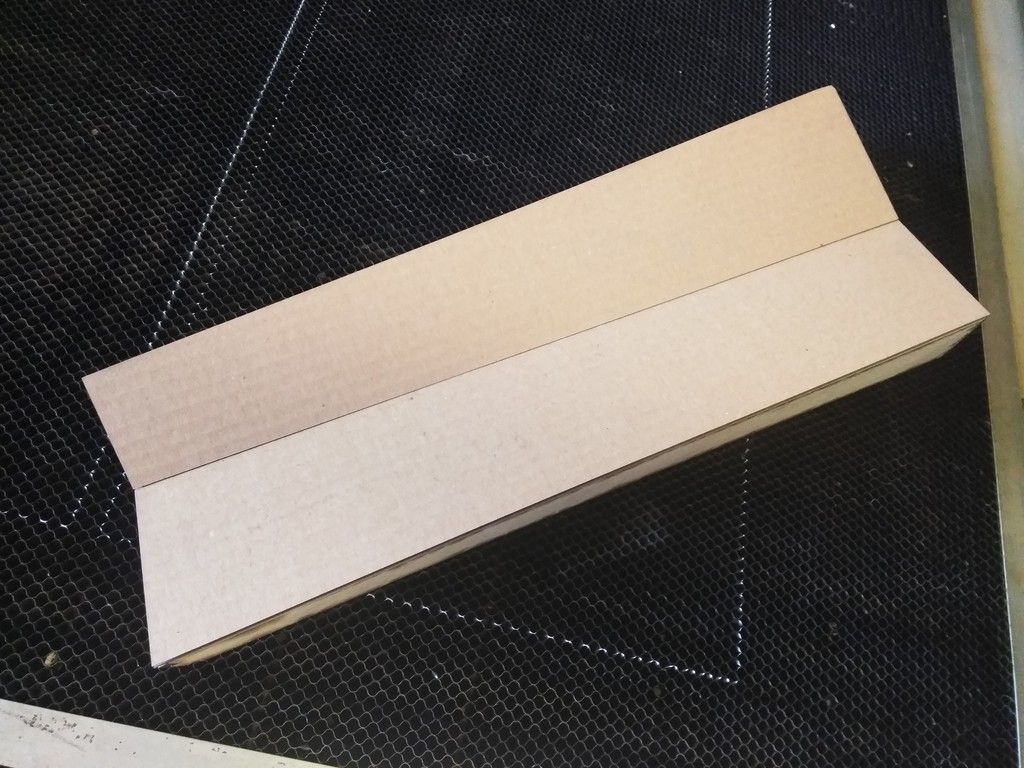
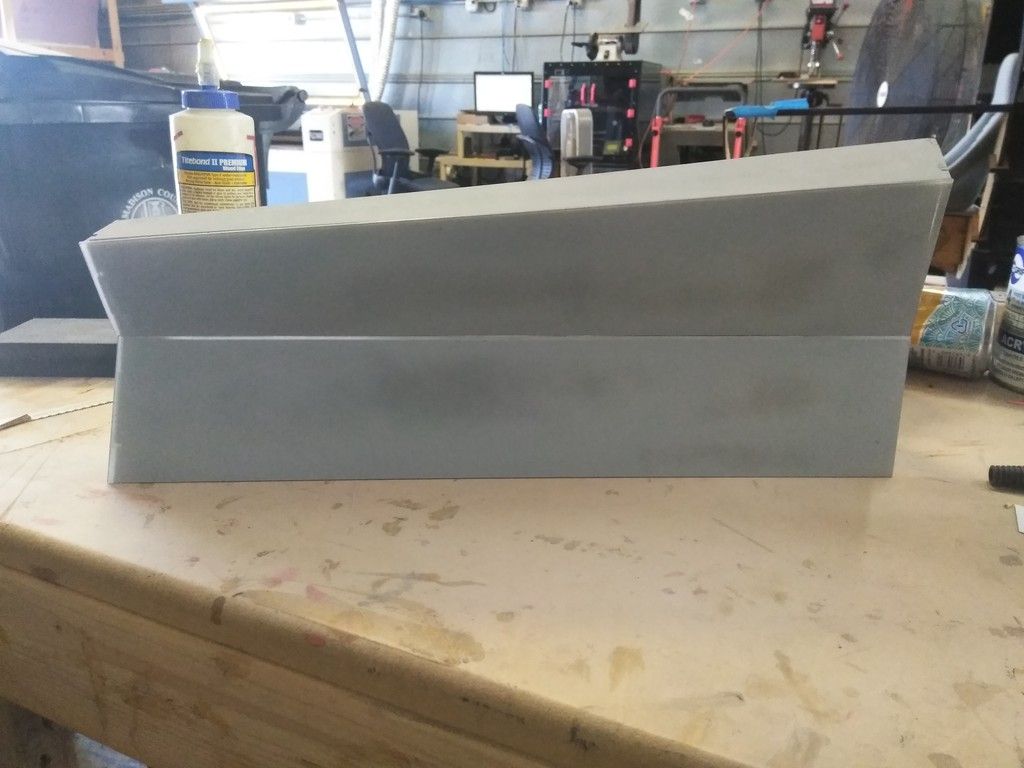
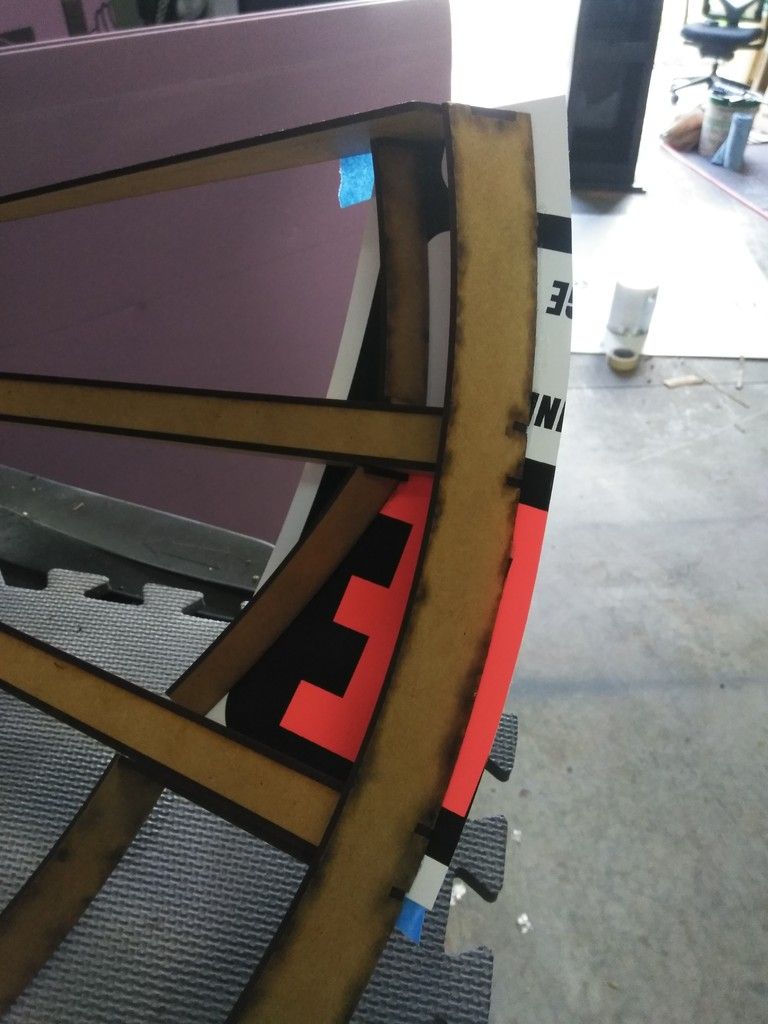
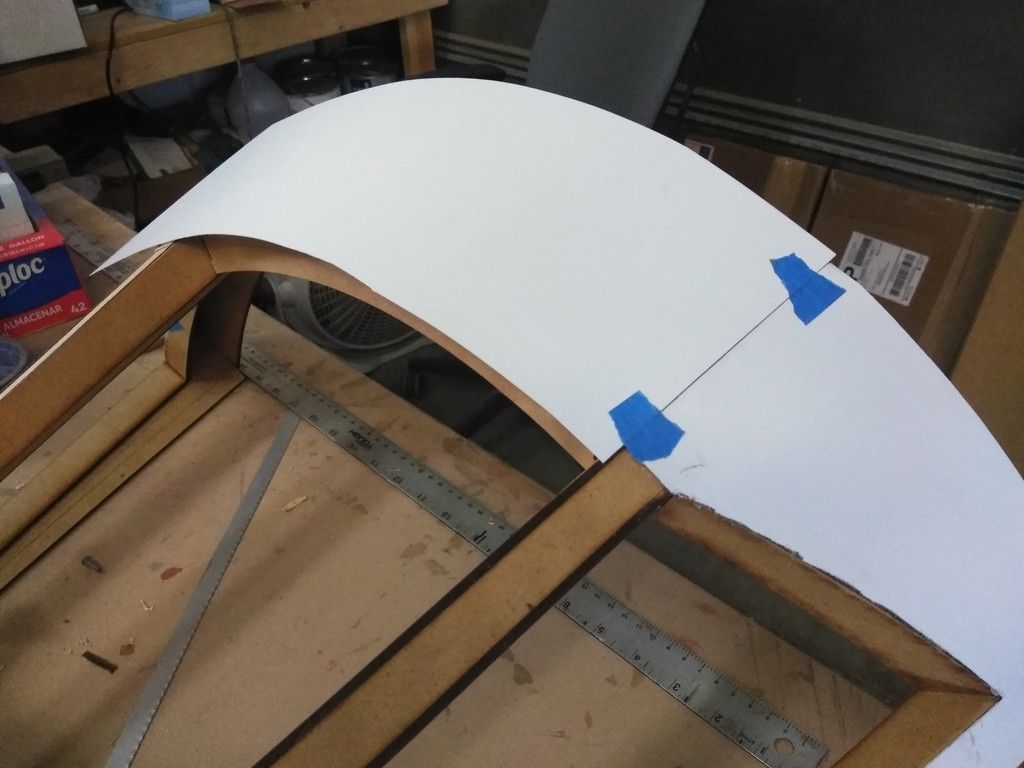
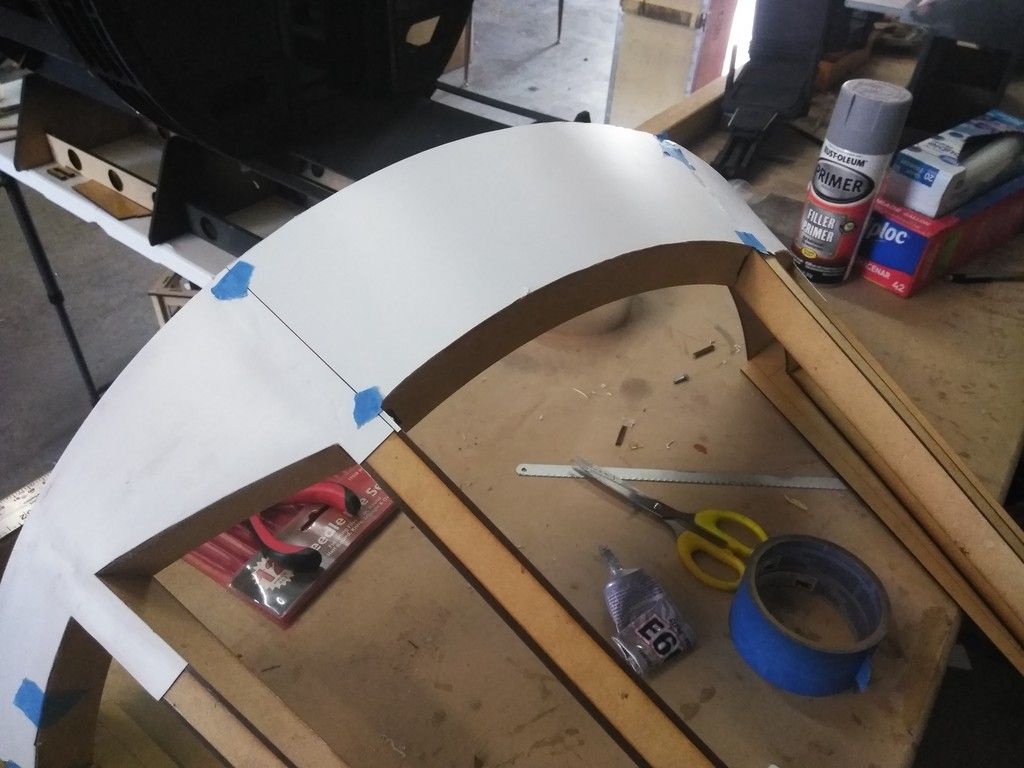
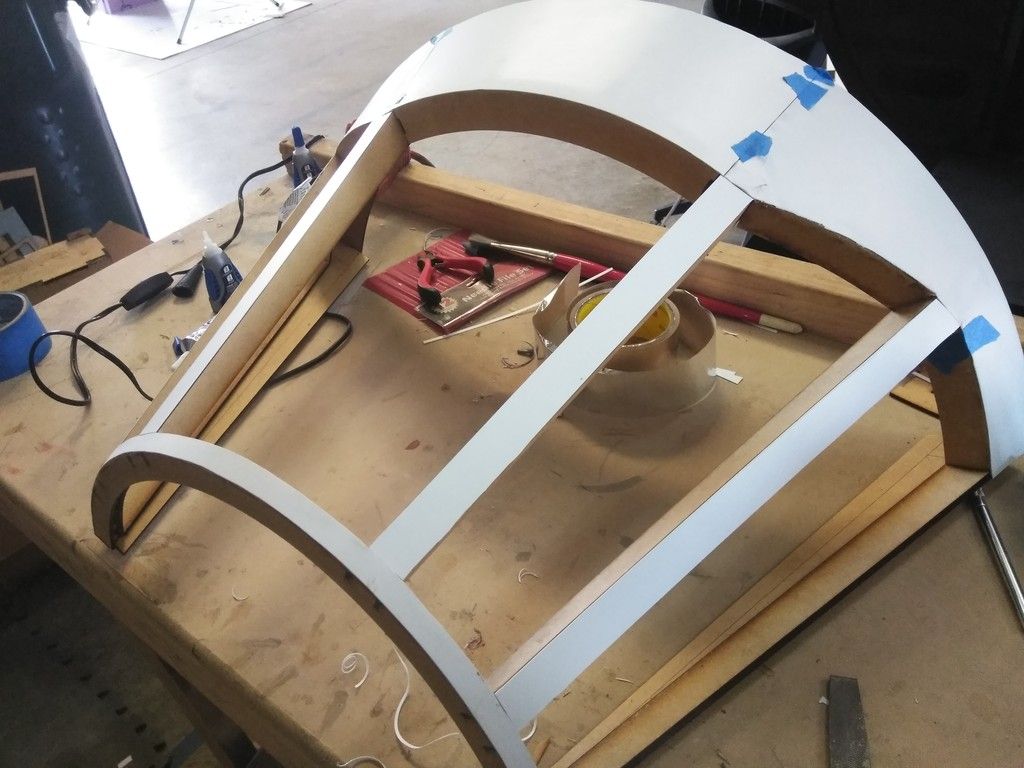
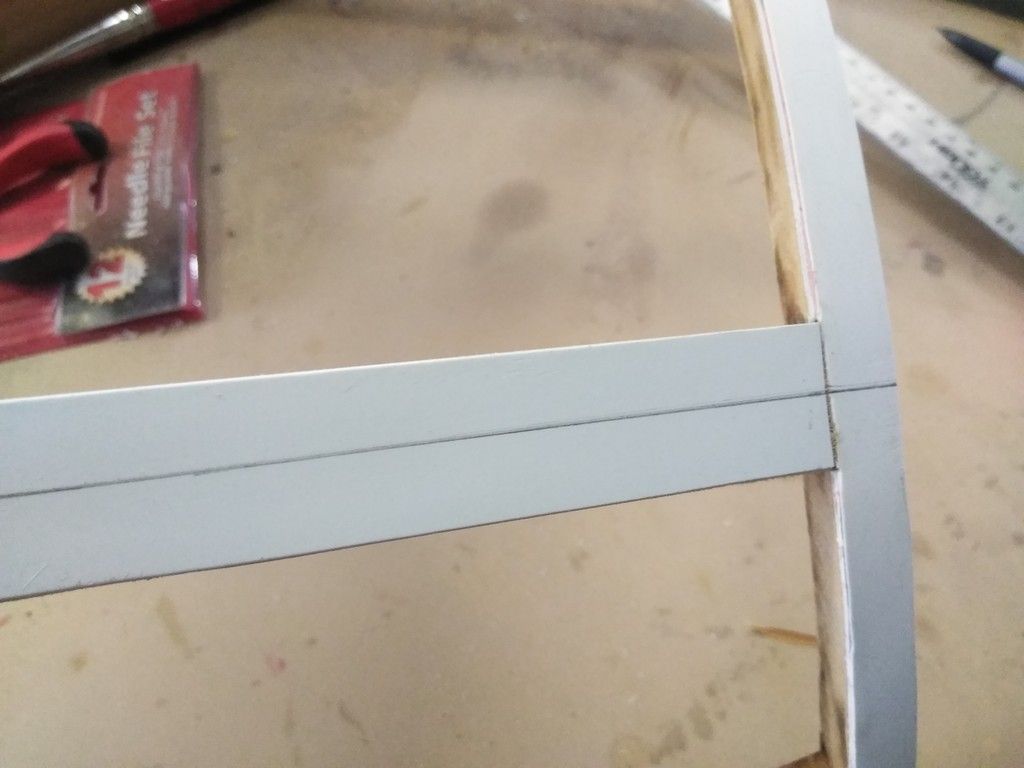
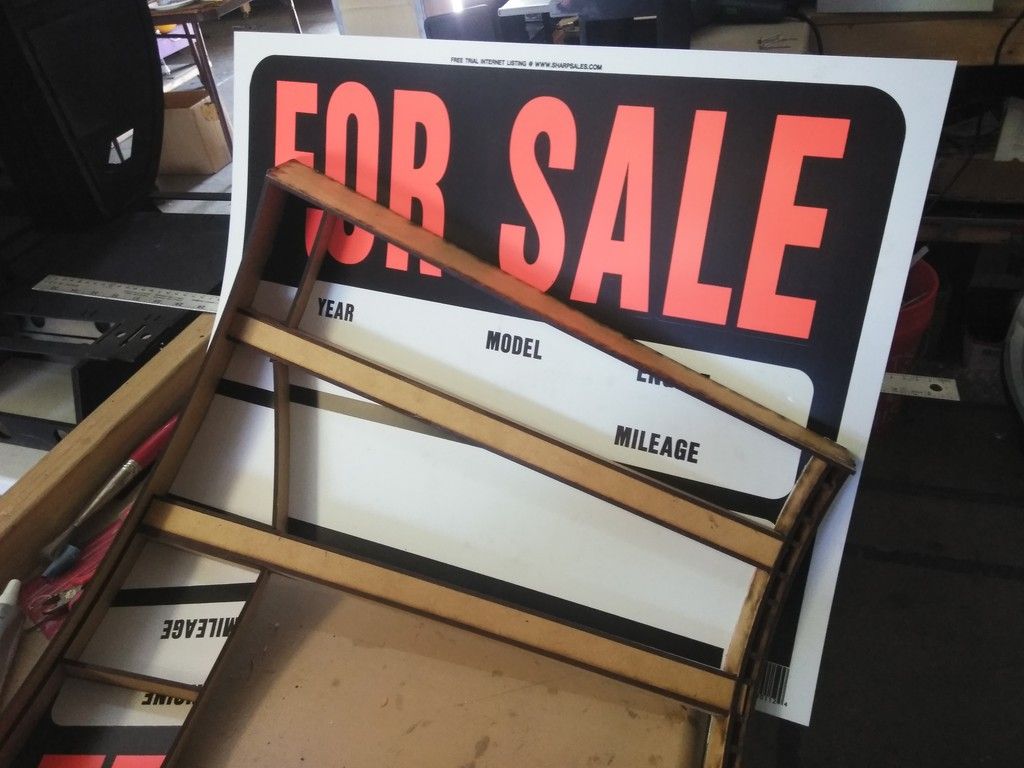
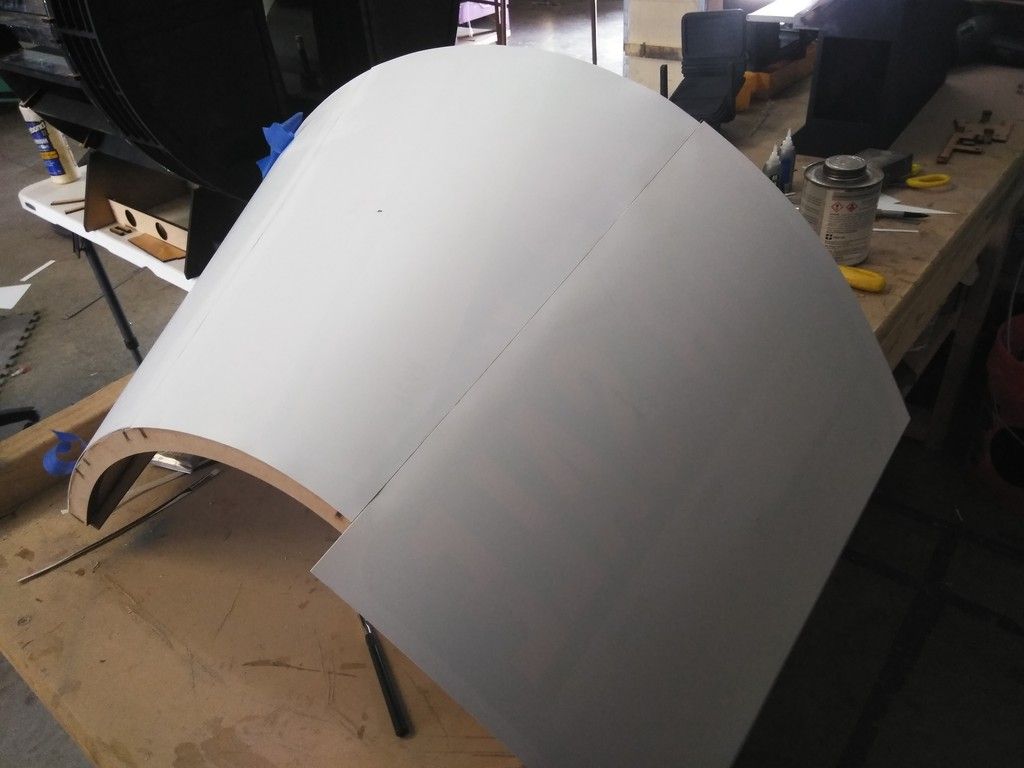
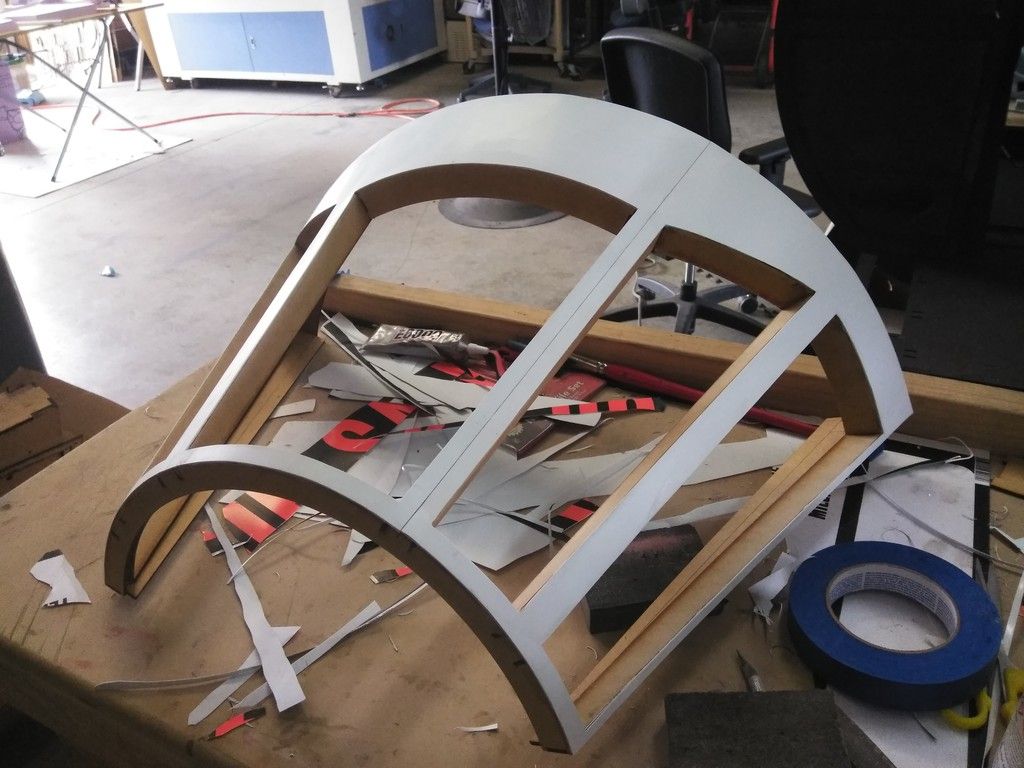
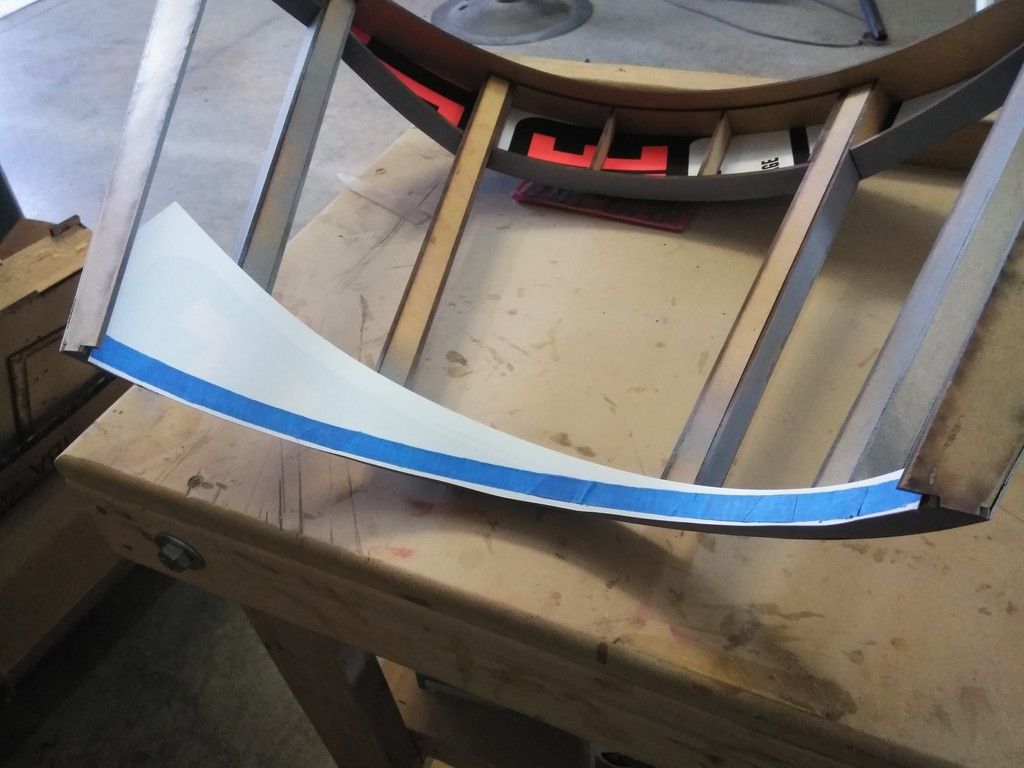
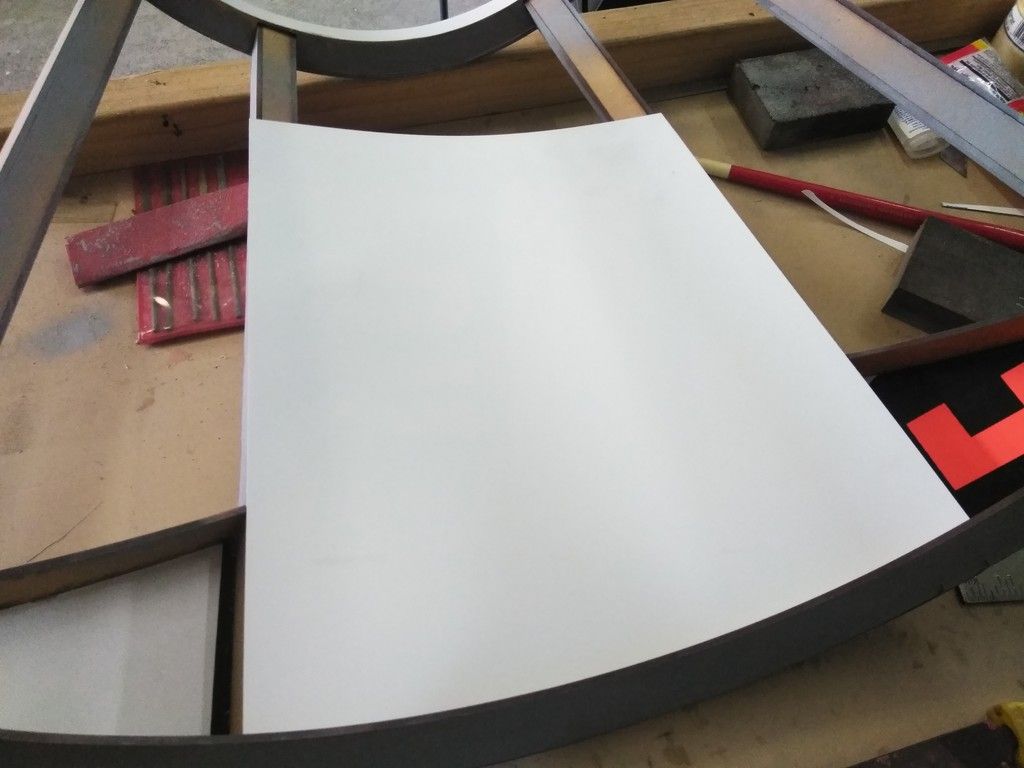
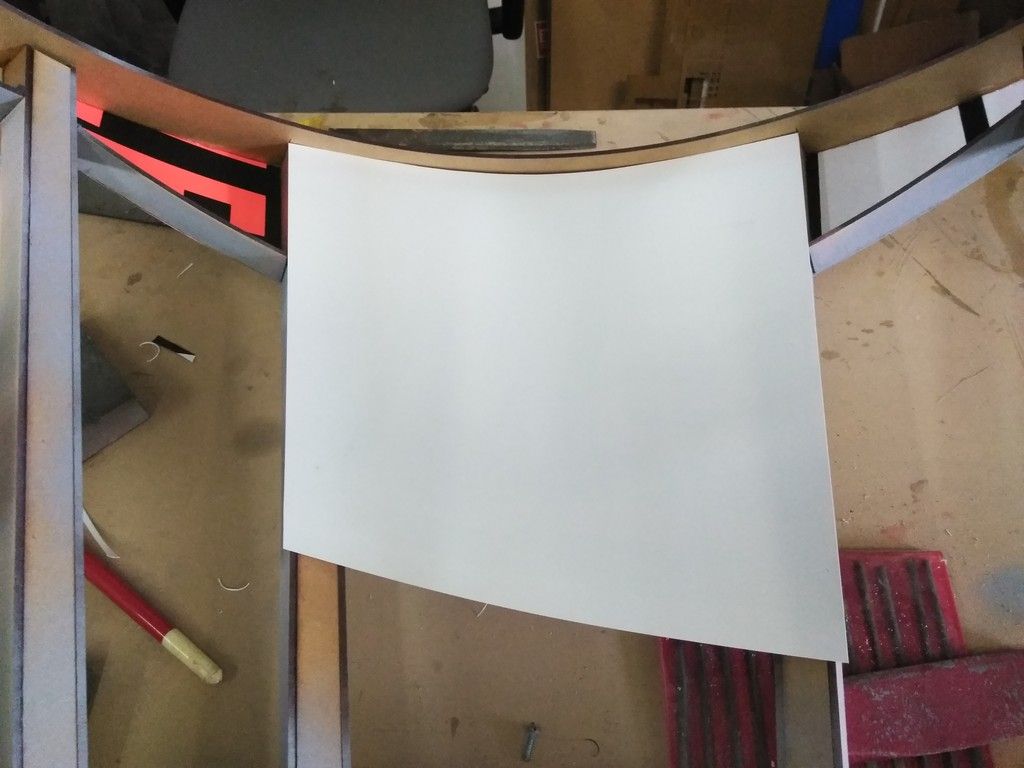
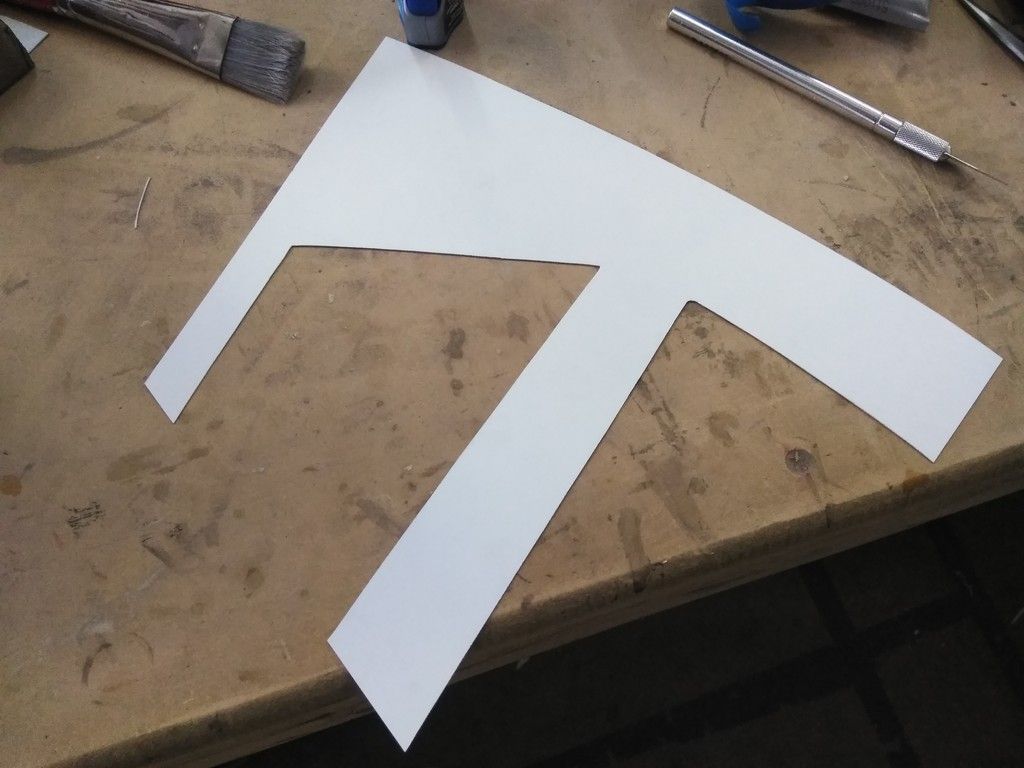
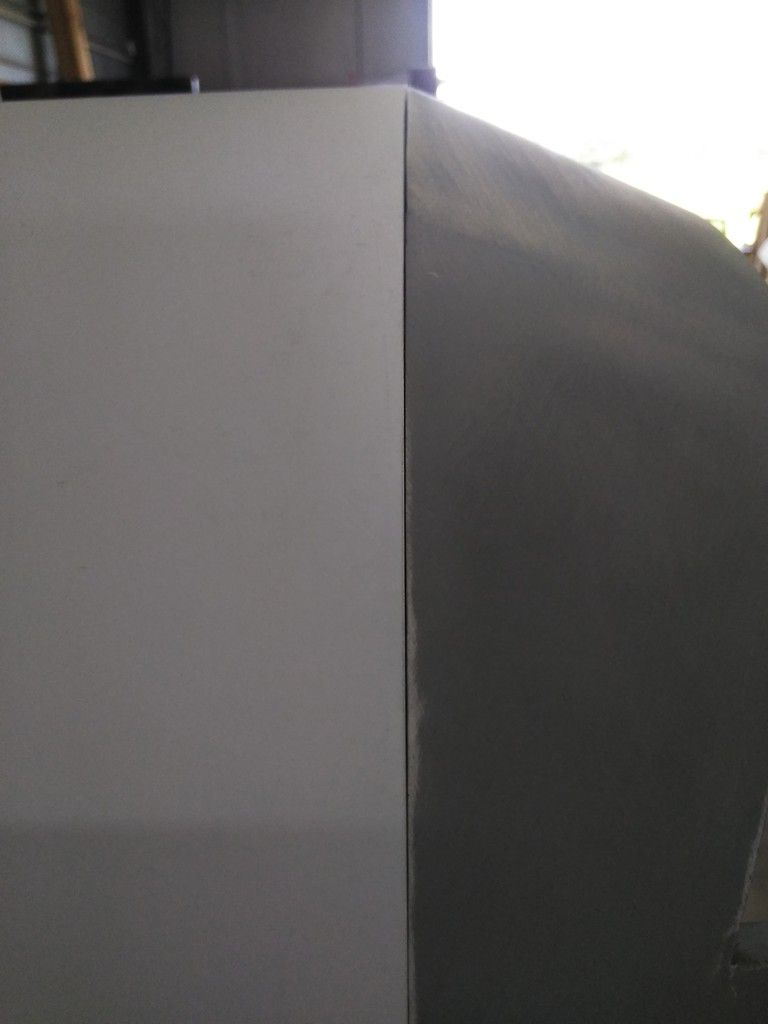
Time to skin the canopy! I bought a bunch of cheap "For Sale" signs at the local Wally World for $1.88 ea and started to cut
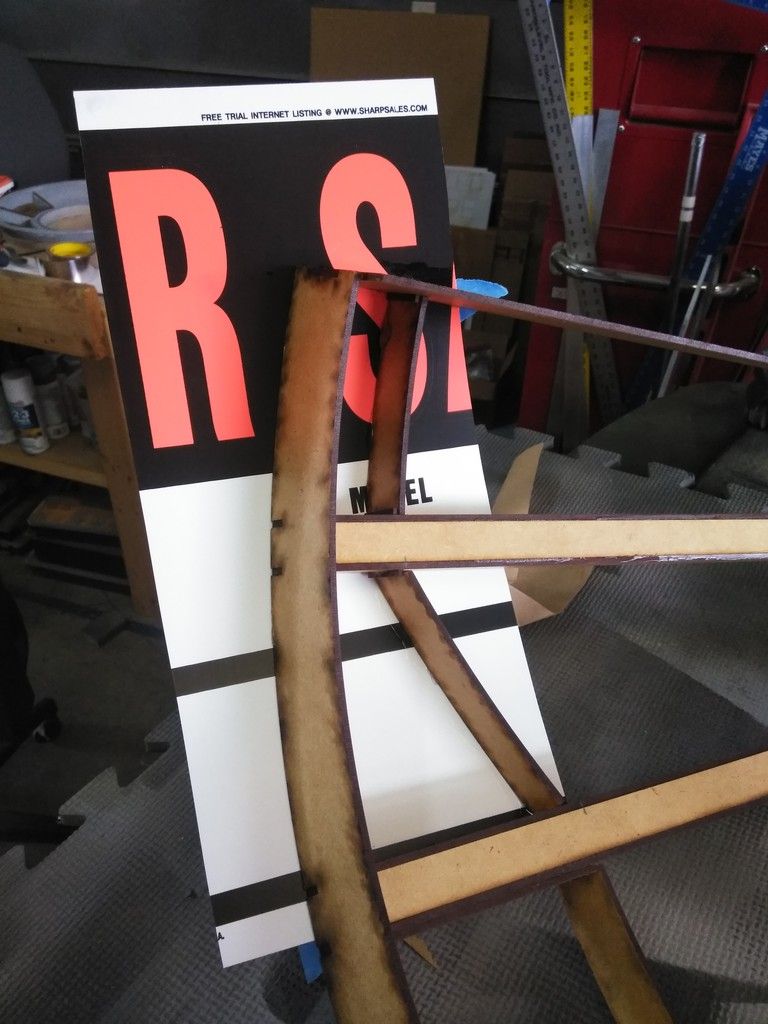
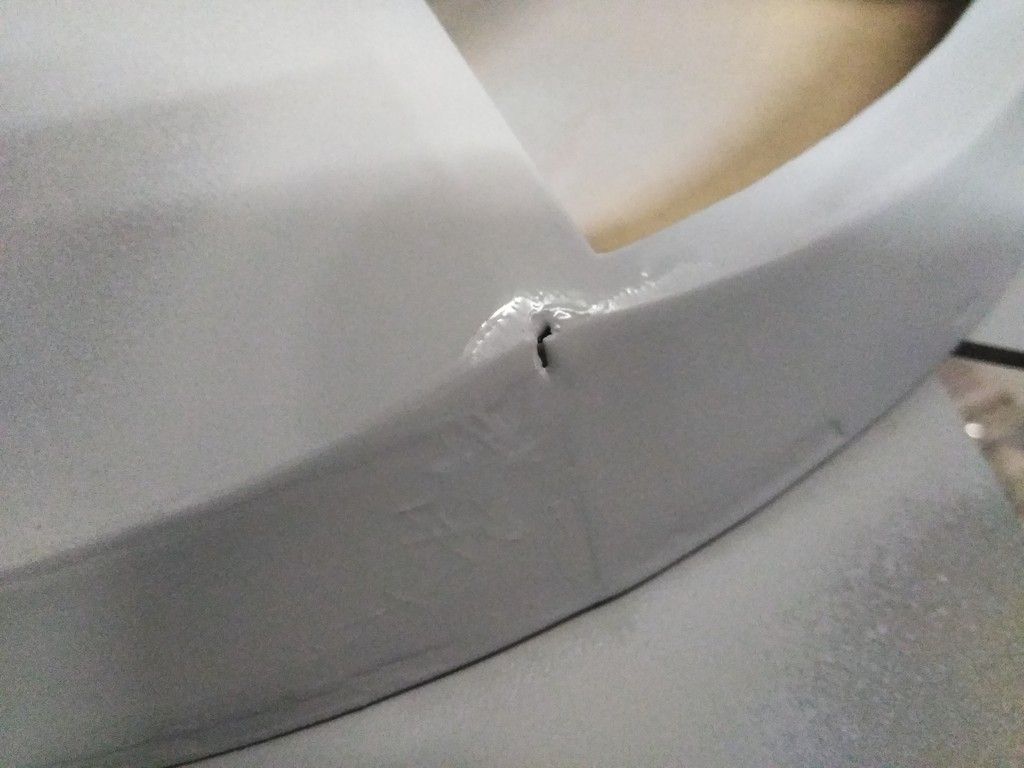
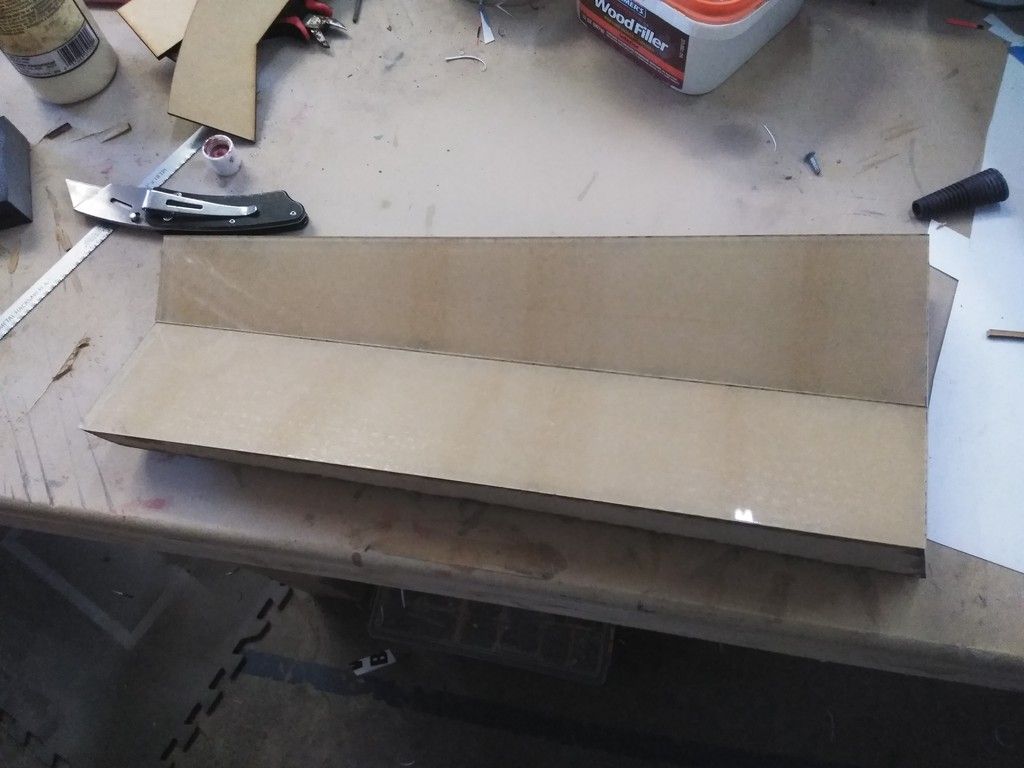
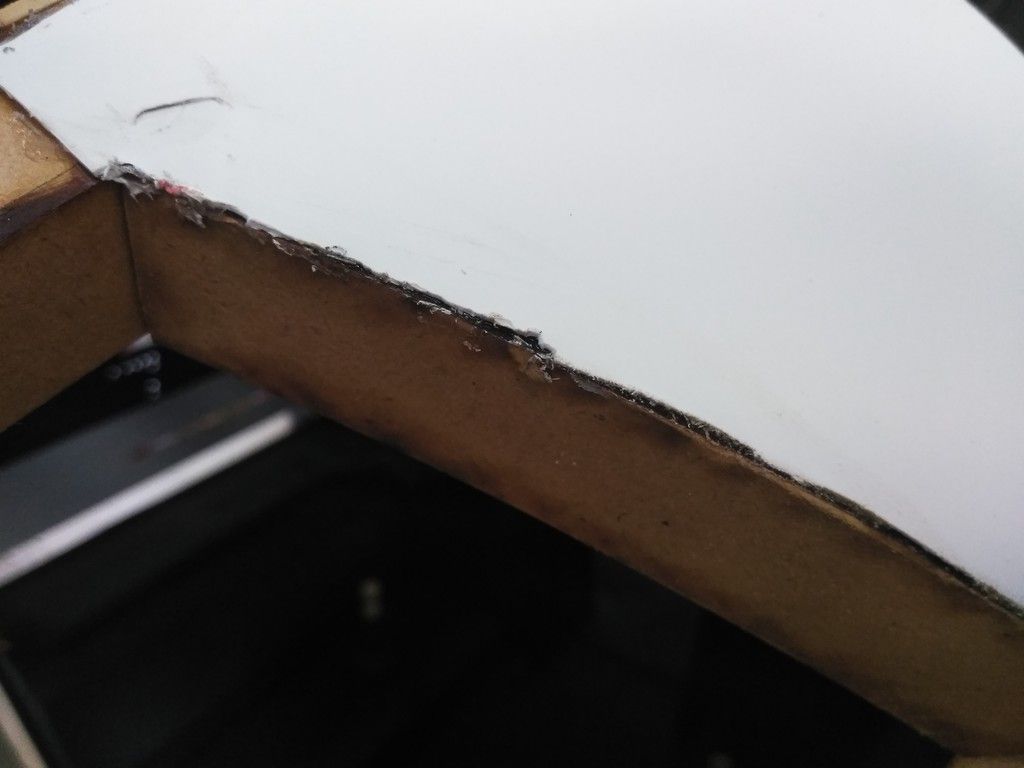
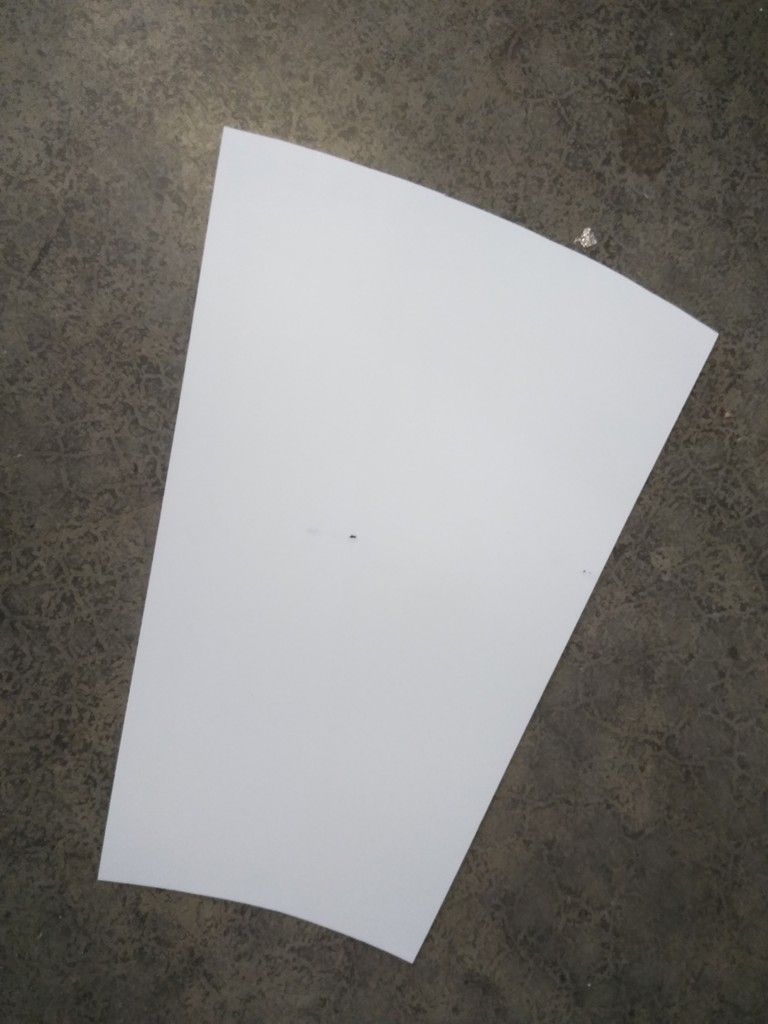
Fairly simple approach... Cut the basic shape, apply some E6000 to the frame and press into place. When the adhesive dries I carefully cut away the excess using a sharp blade or hot knife
You can clearly see where the hot knife edge slipped out of position... UGH

YUCK!
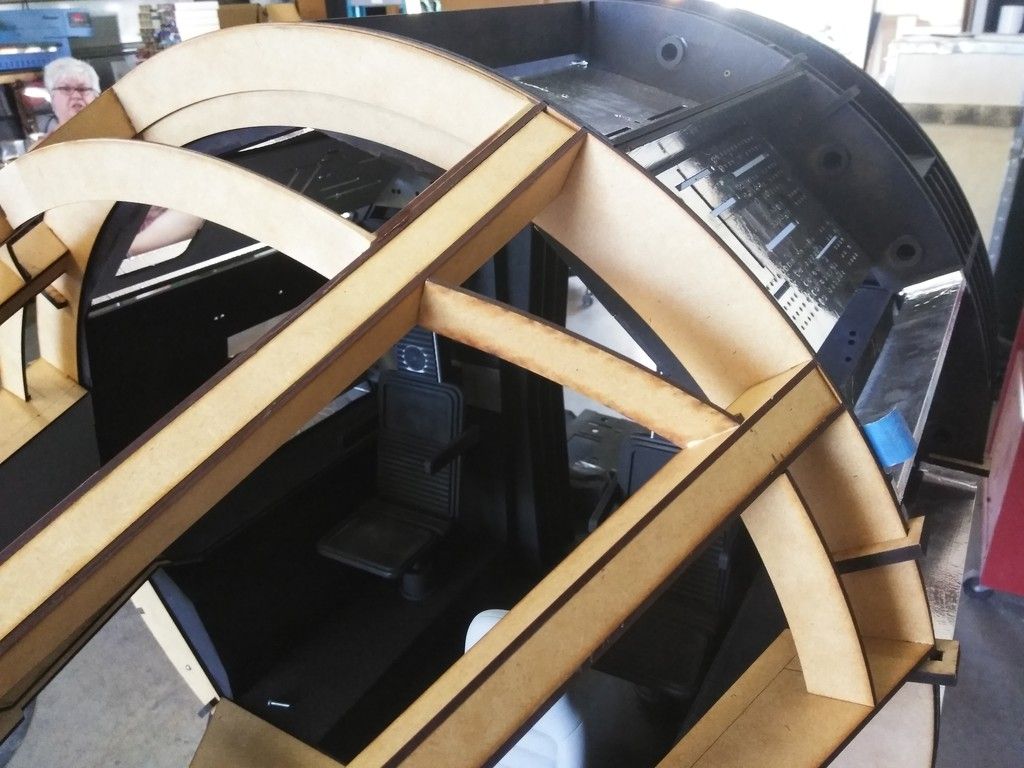
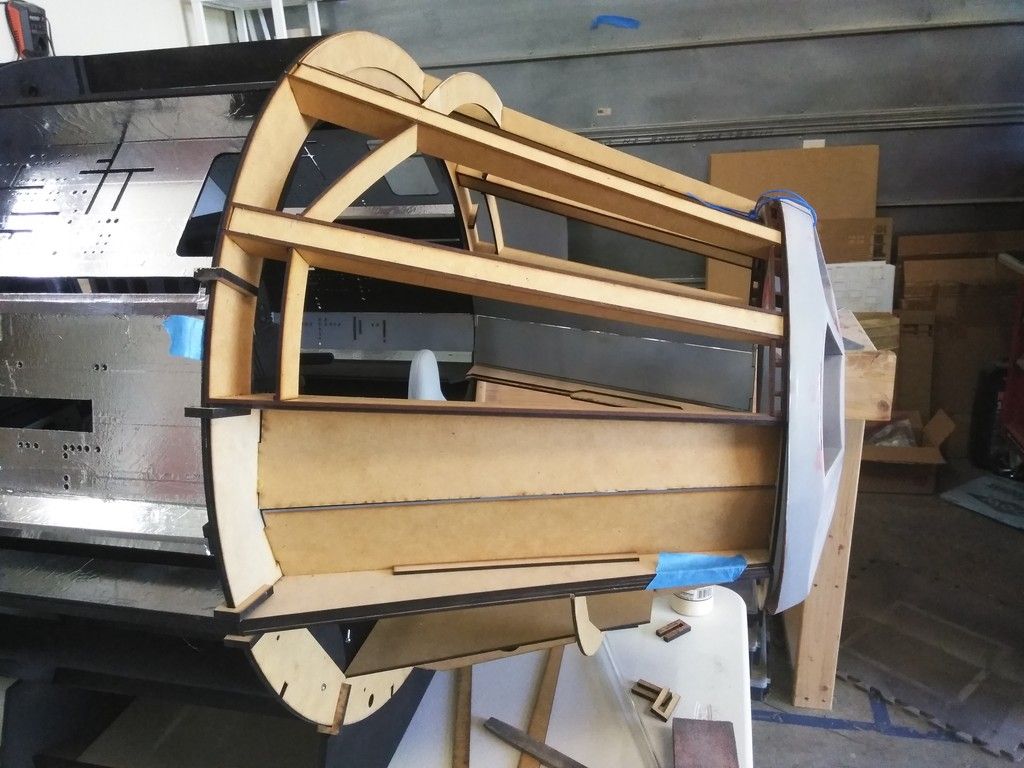
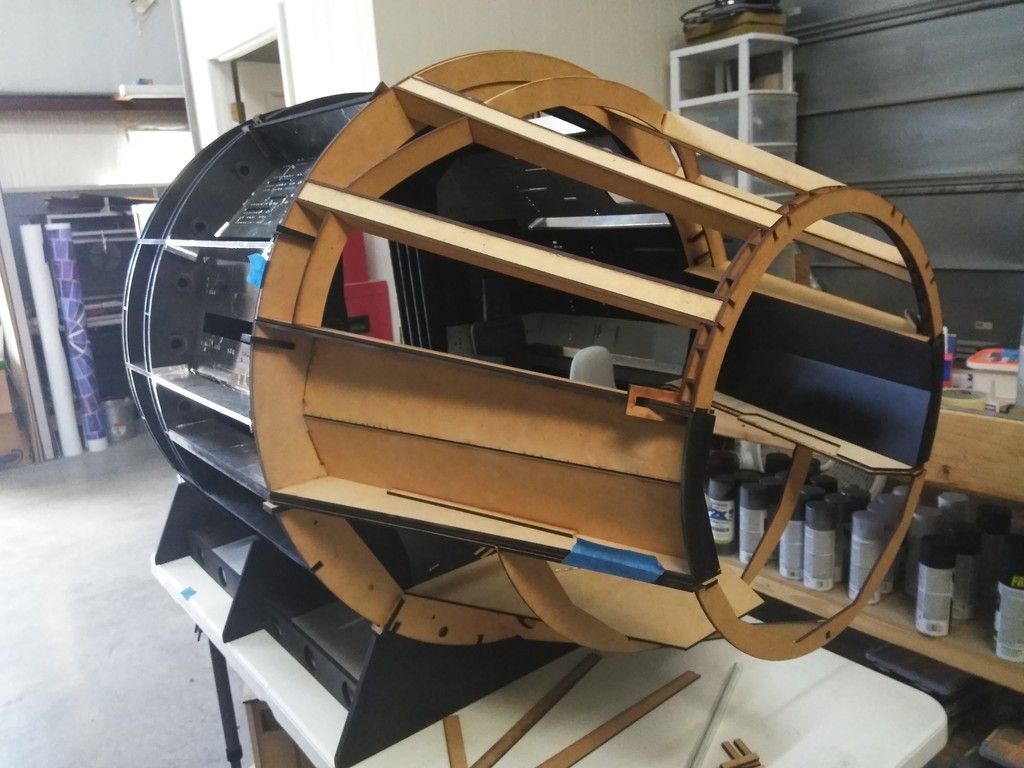
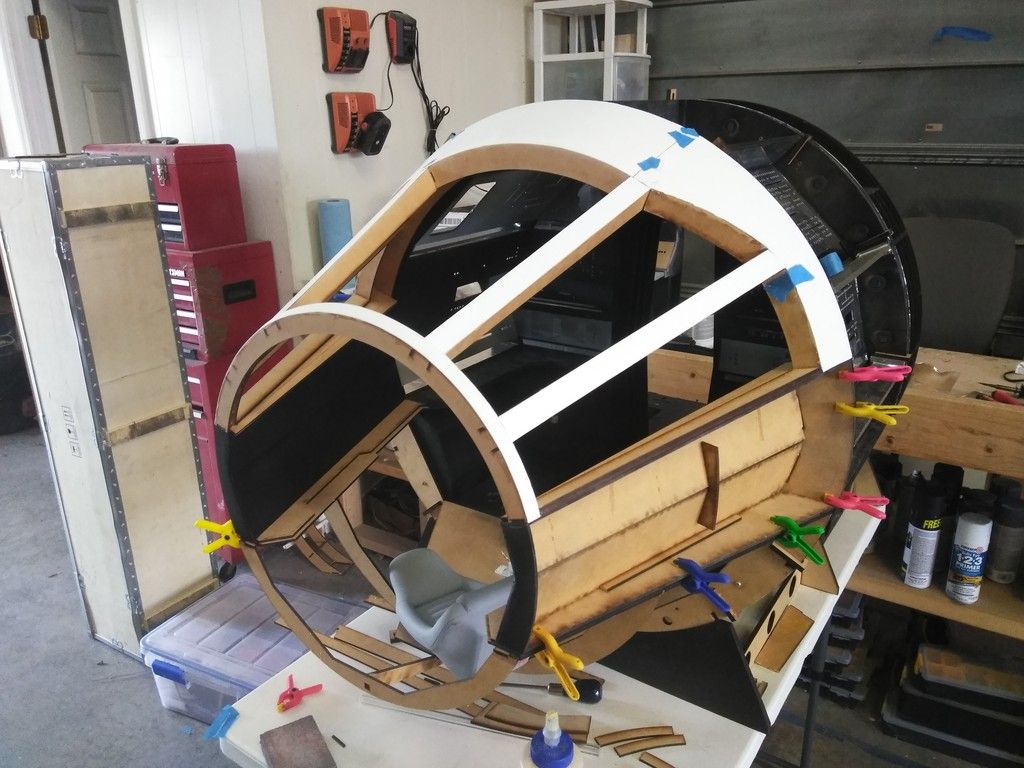
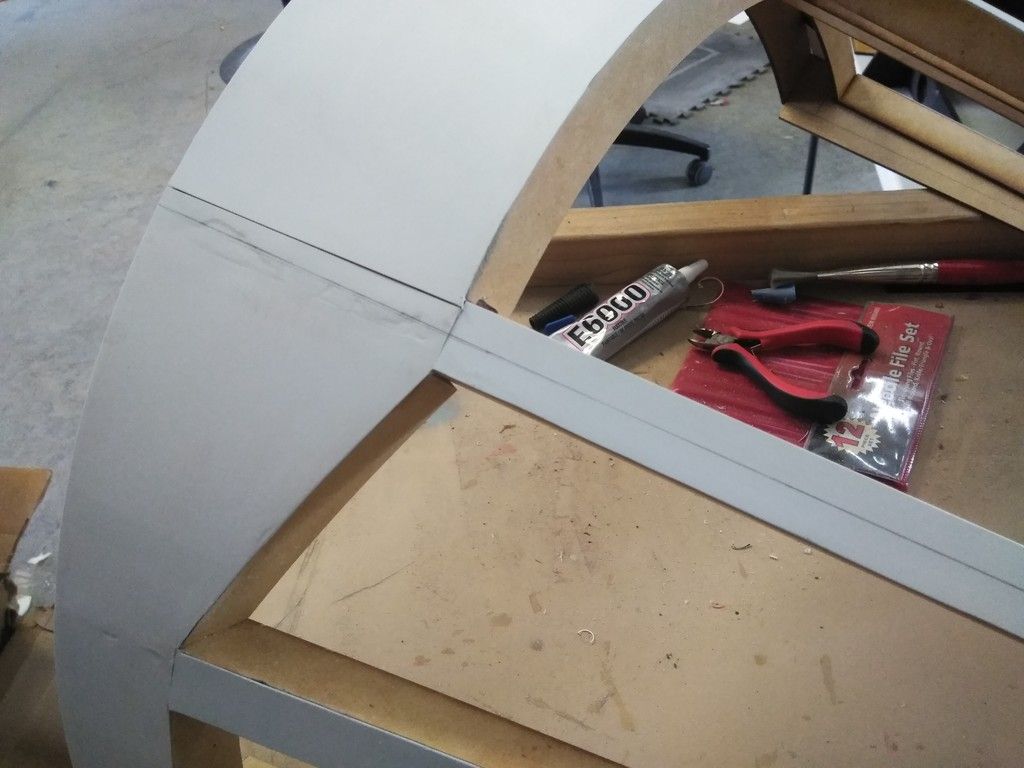
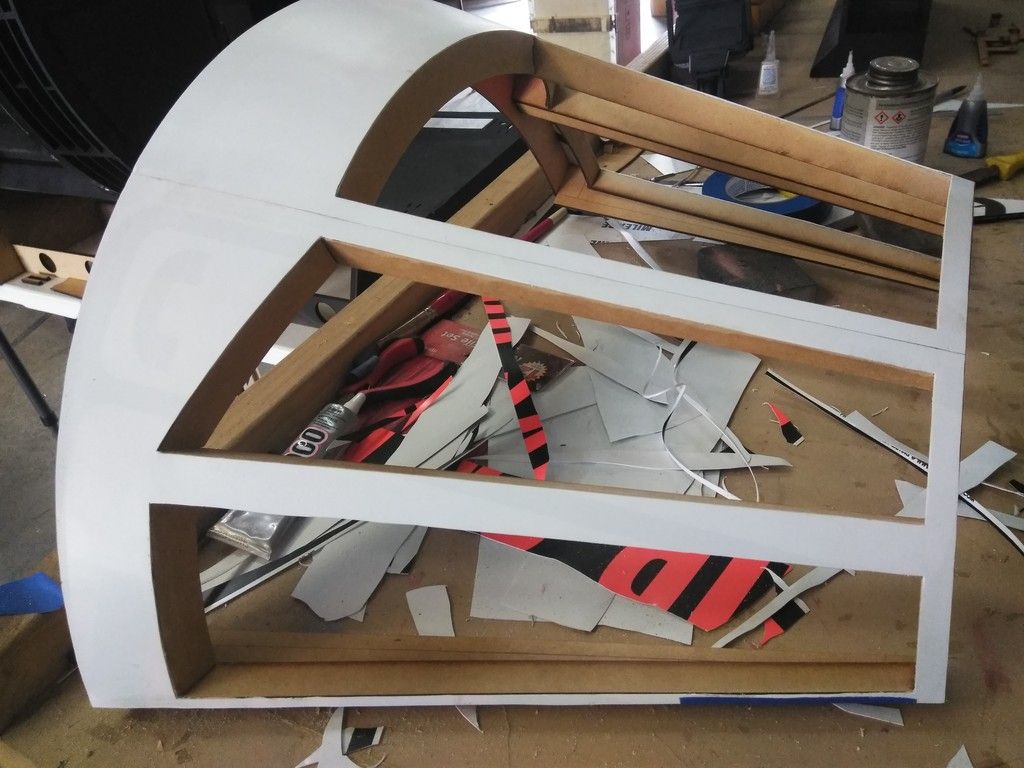
I also started the last of the beams! These vertical beams are going to be fun! Not really...
So far so good!
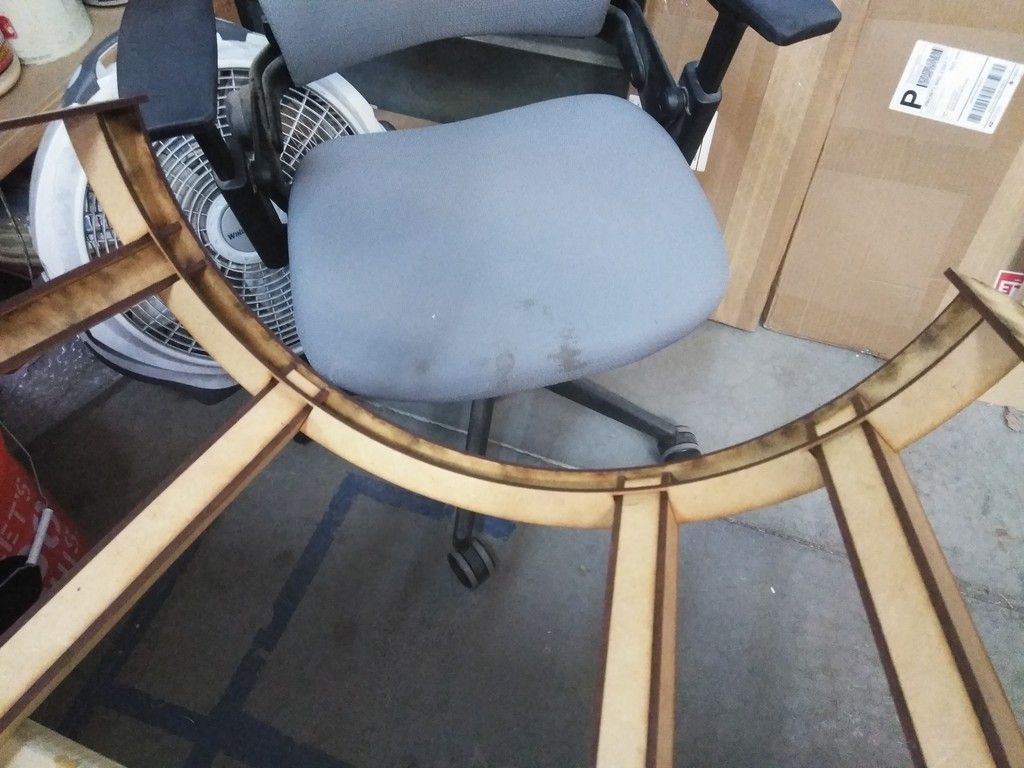
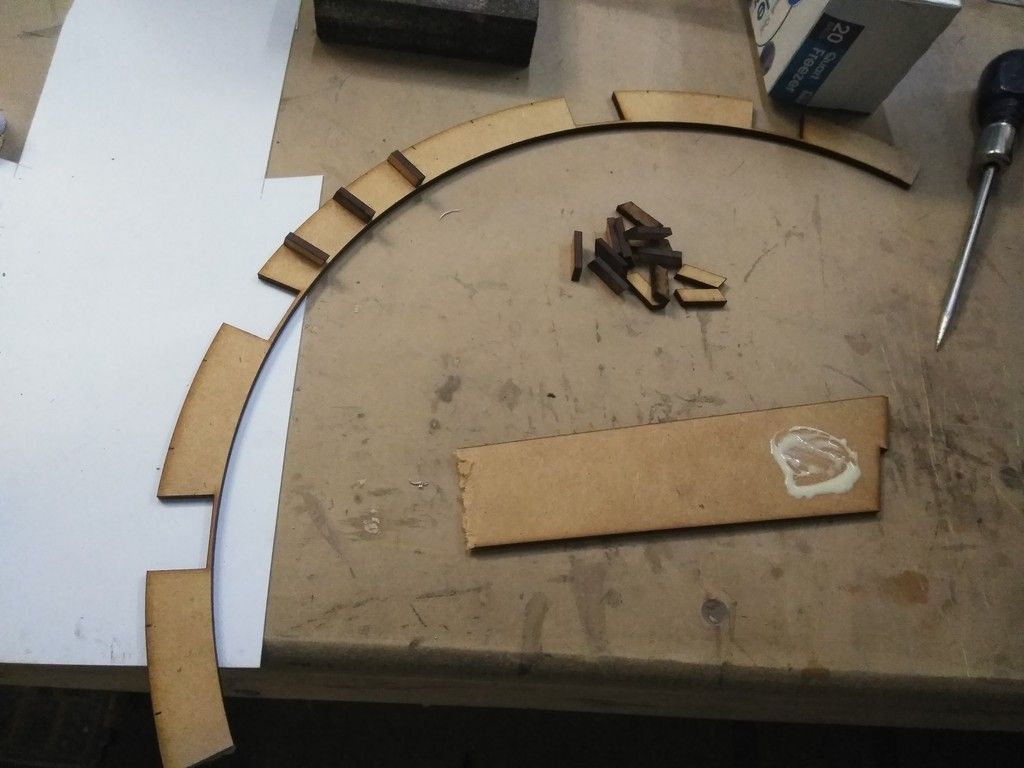
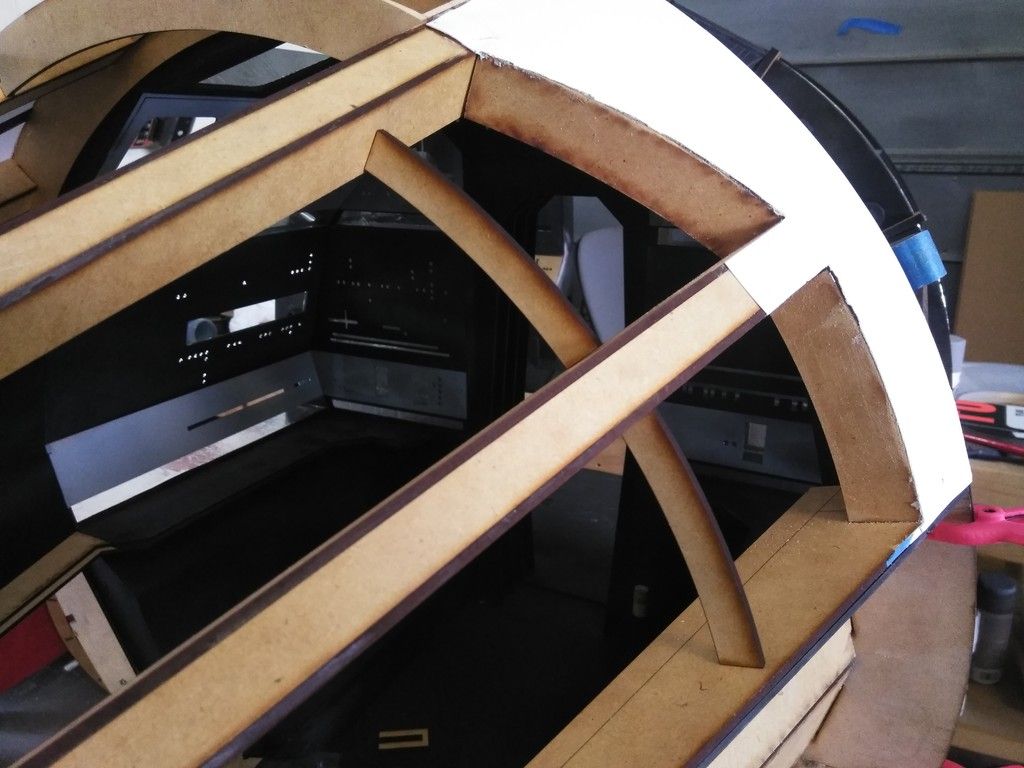
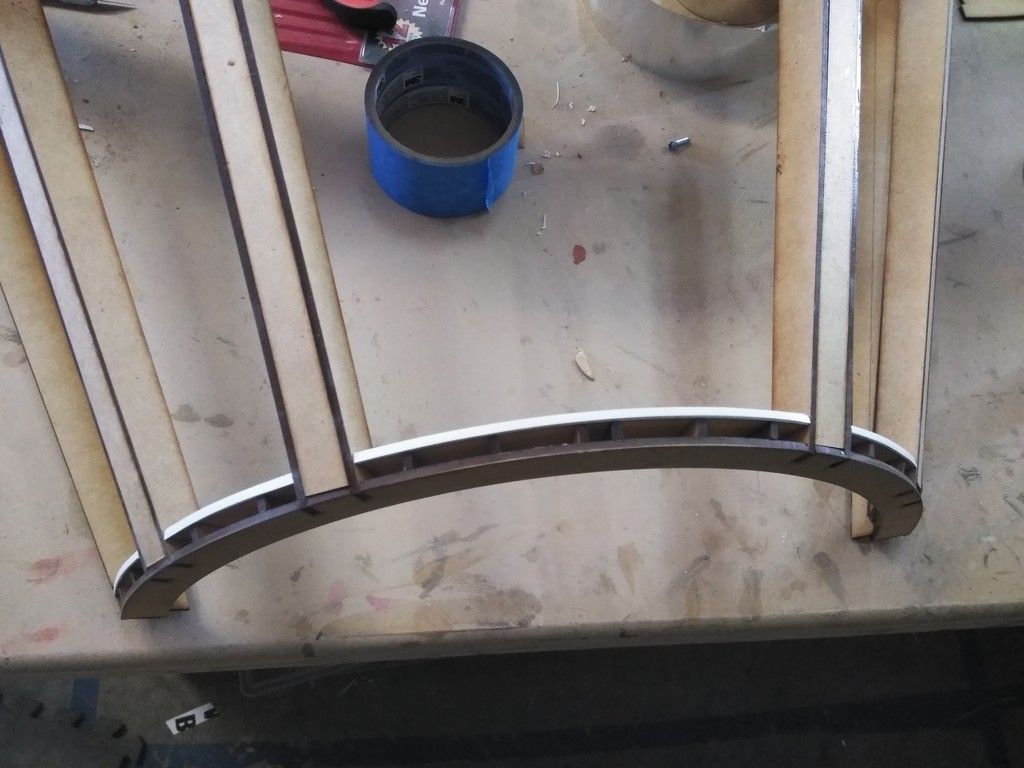
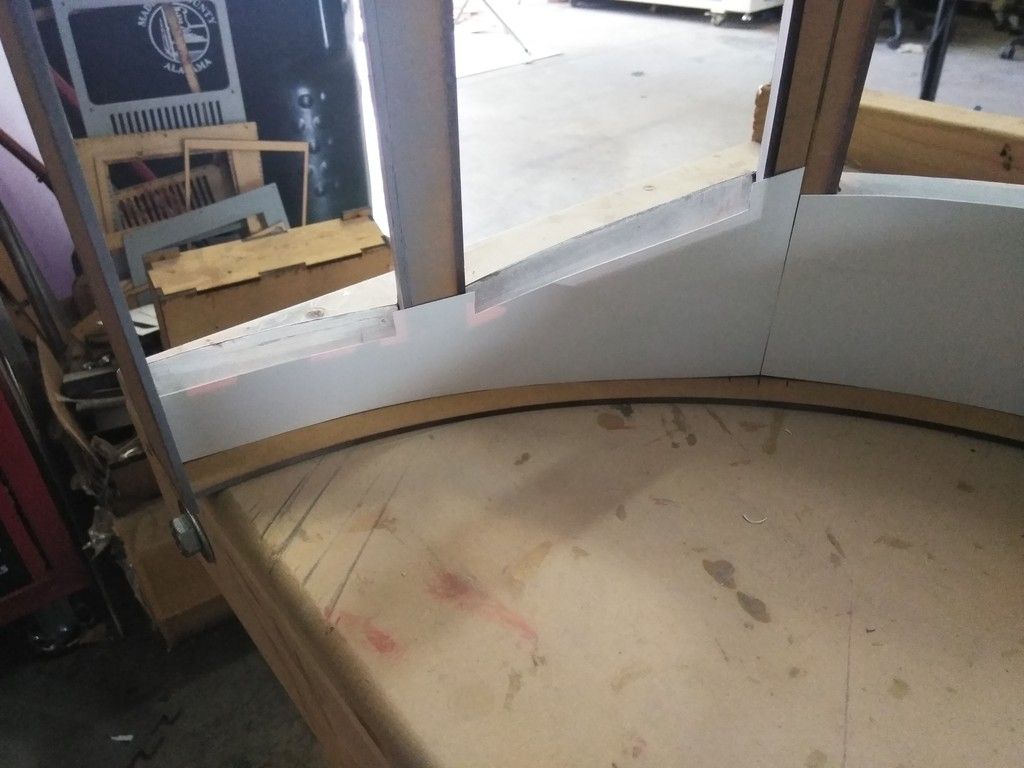
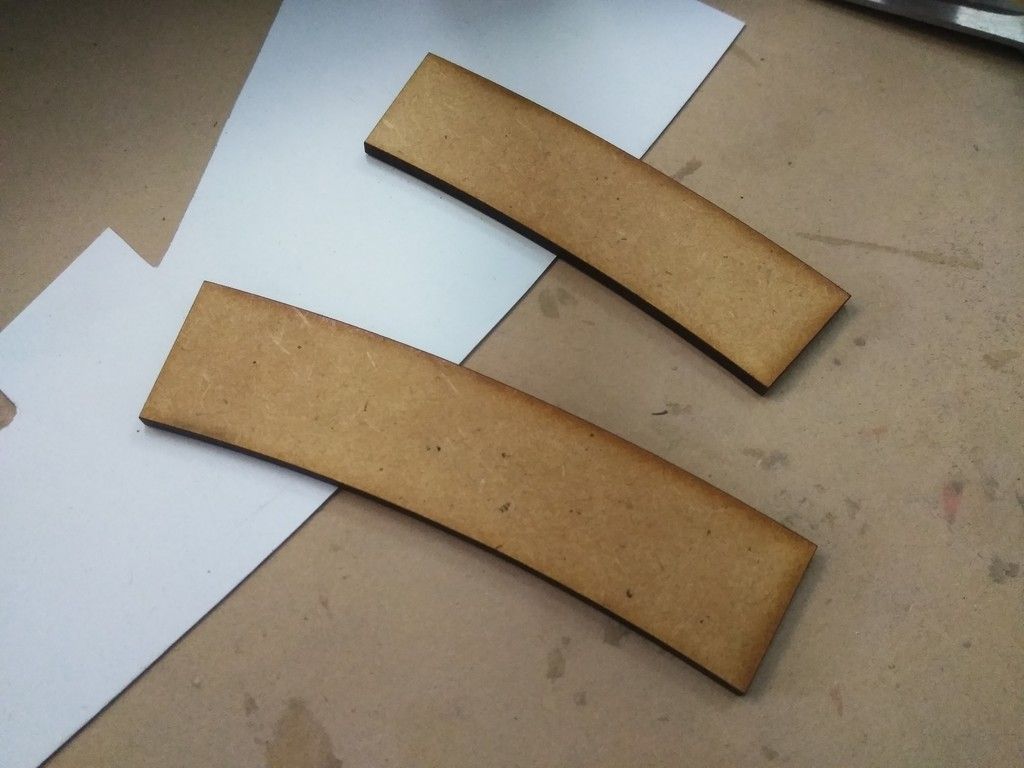
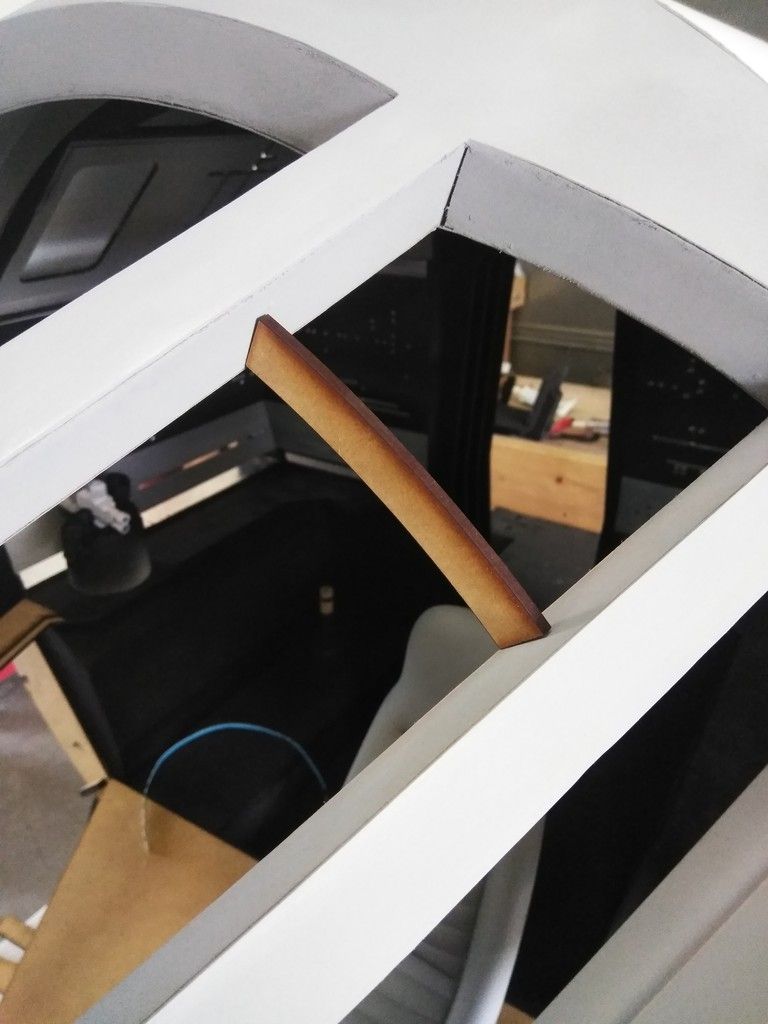
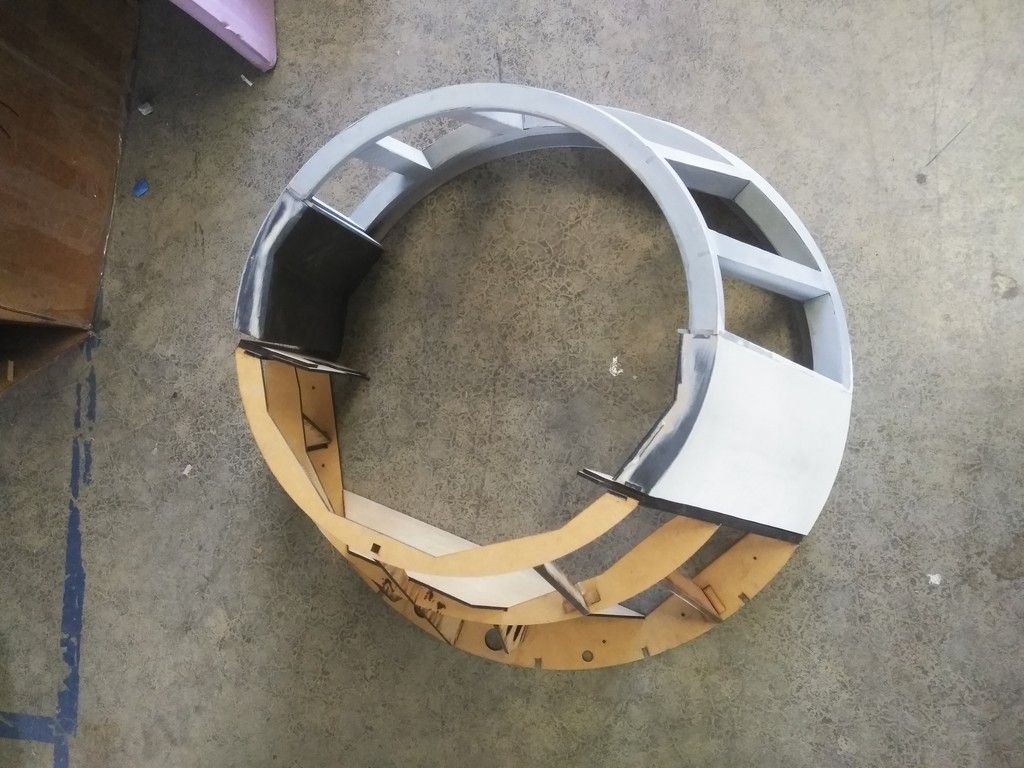
The interior and the exterior views of the cockpit, as I explained, do NOT match up so there is a LOT of playing around to do trying to get all these edges to match and actually work together... I had to cut these extra shelf pieces to help align the front and back arches
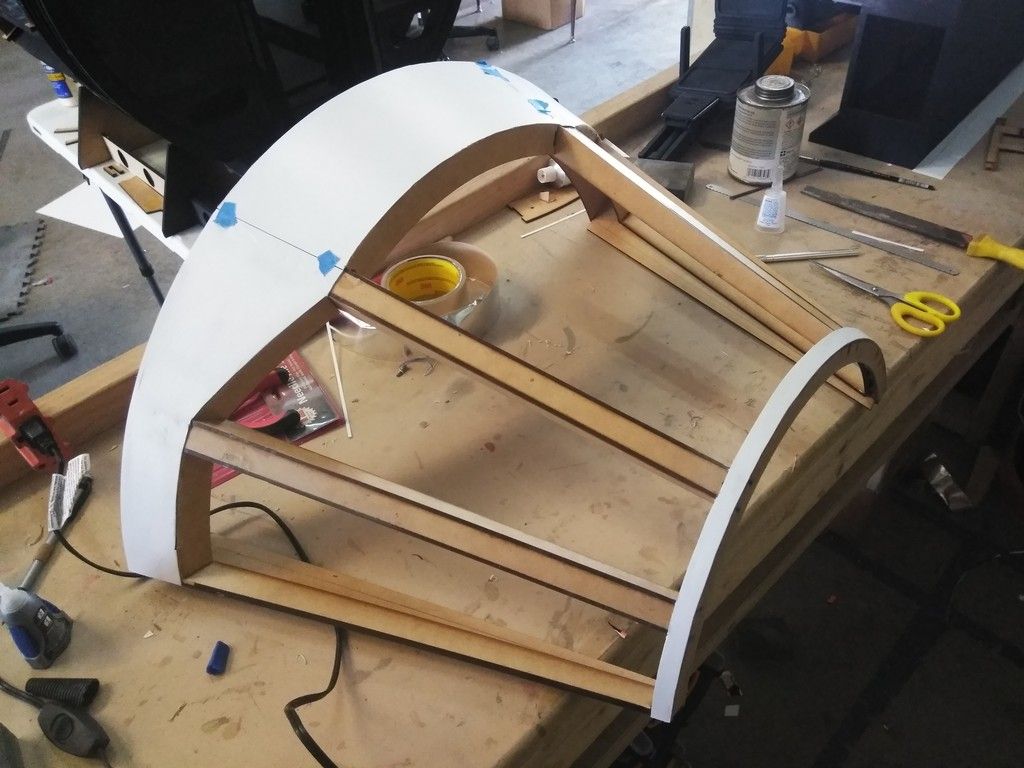
OK... Back to the canopy!
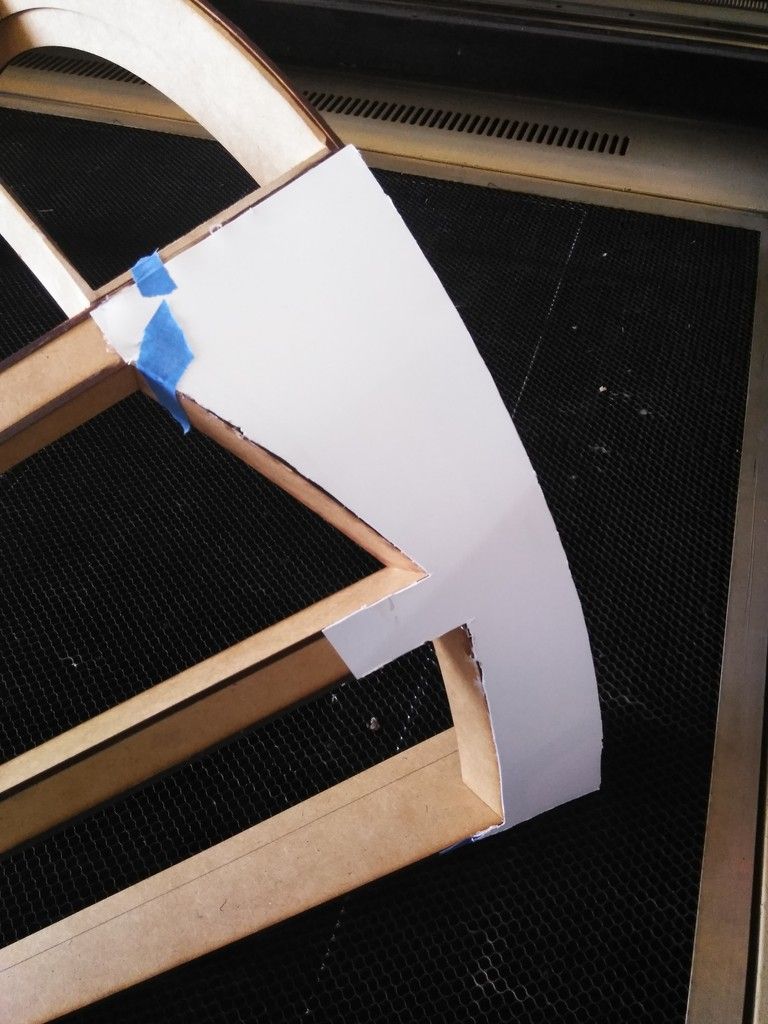
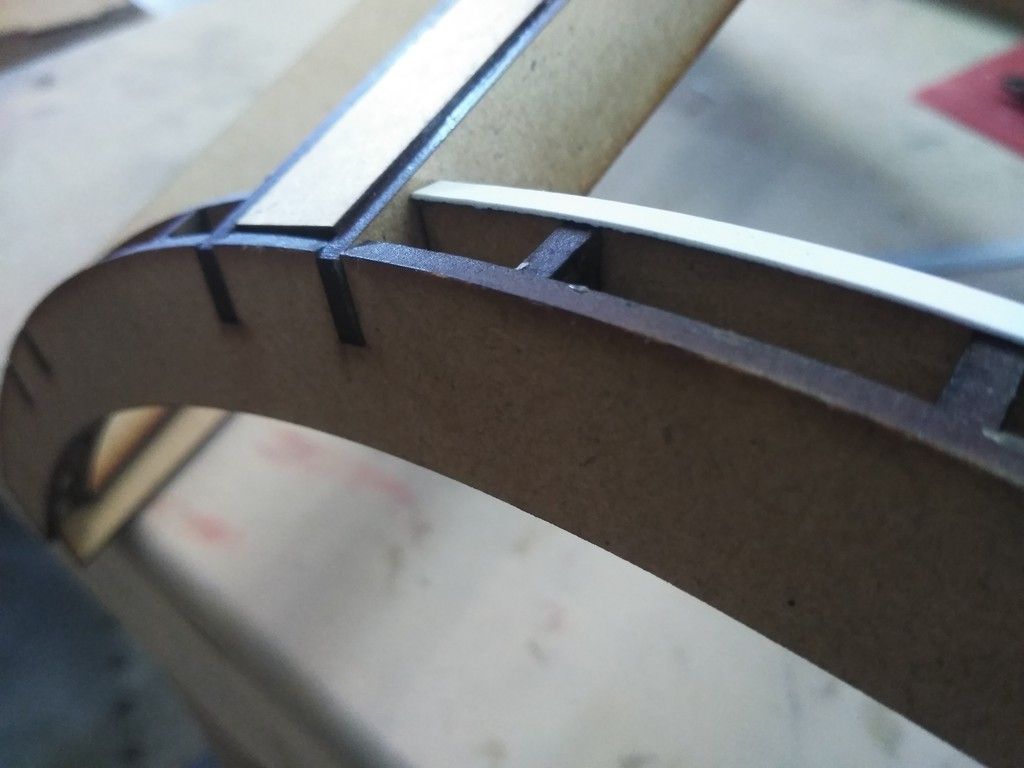
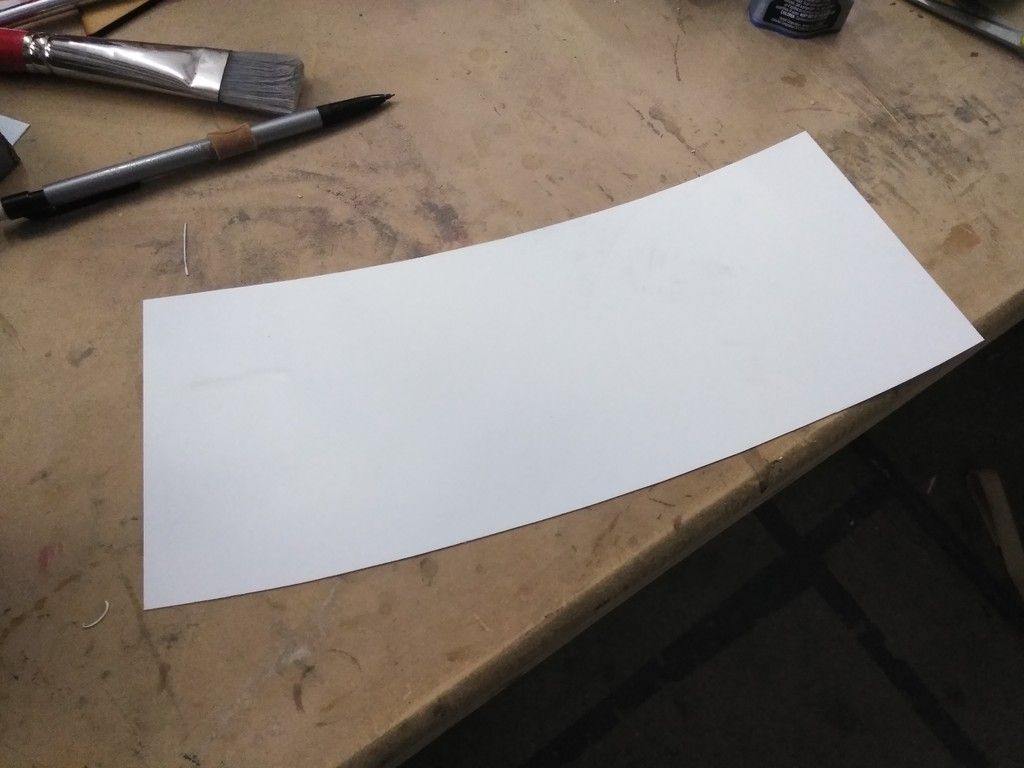
I wanted to do this in separate sections to make sure I had total coverage of the MDF
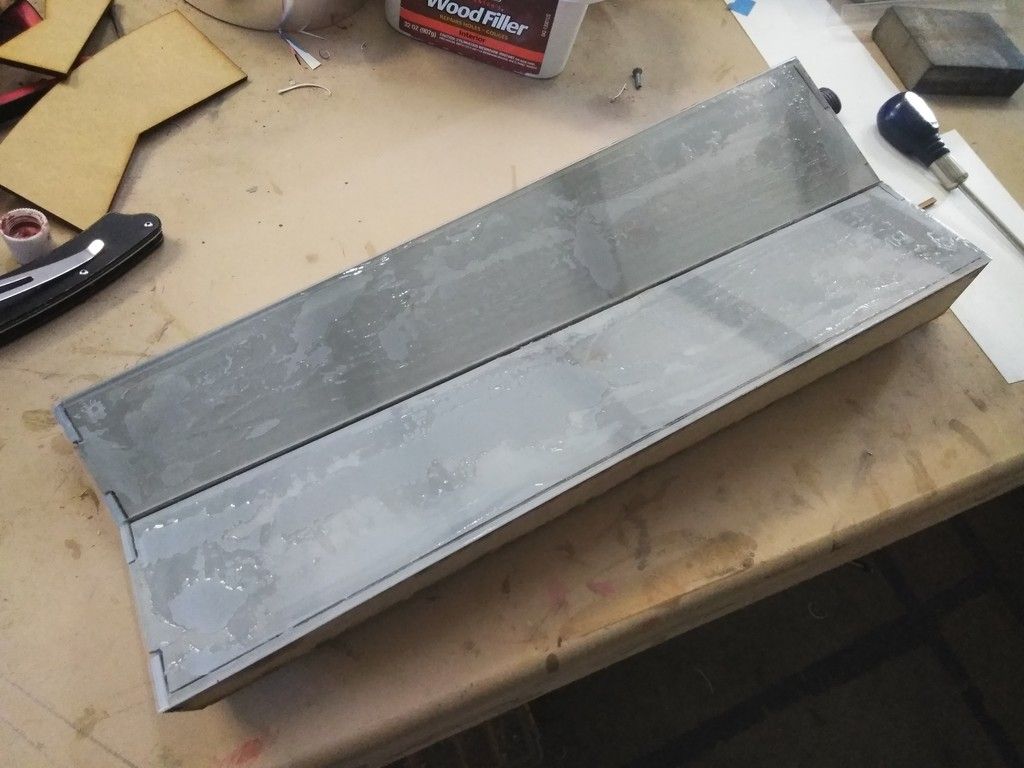
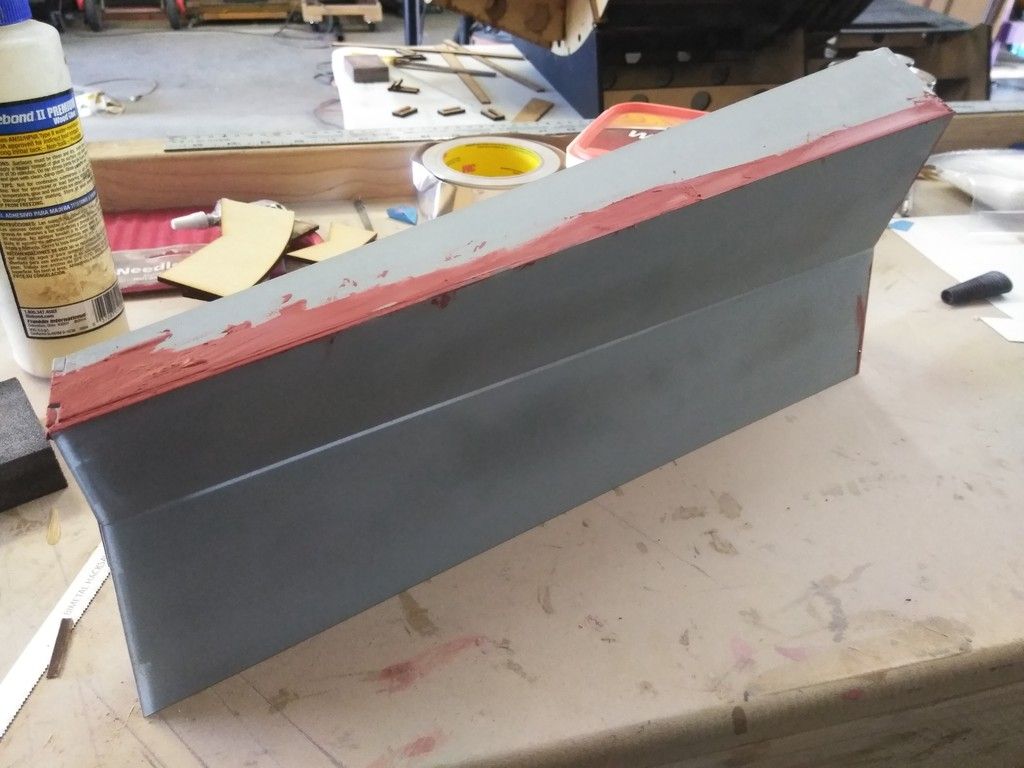
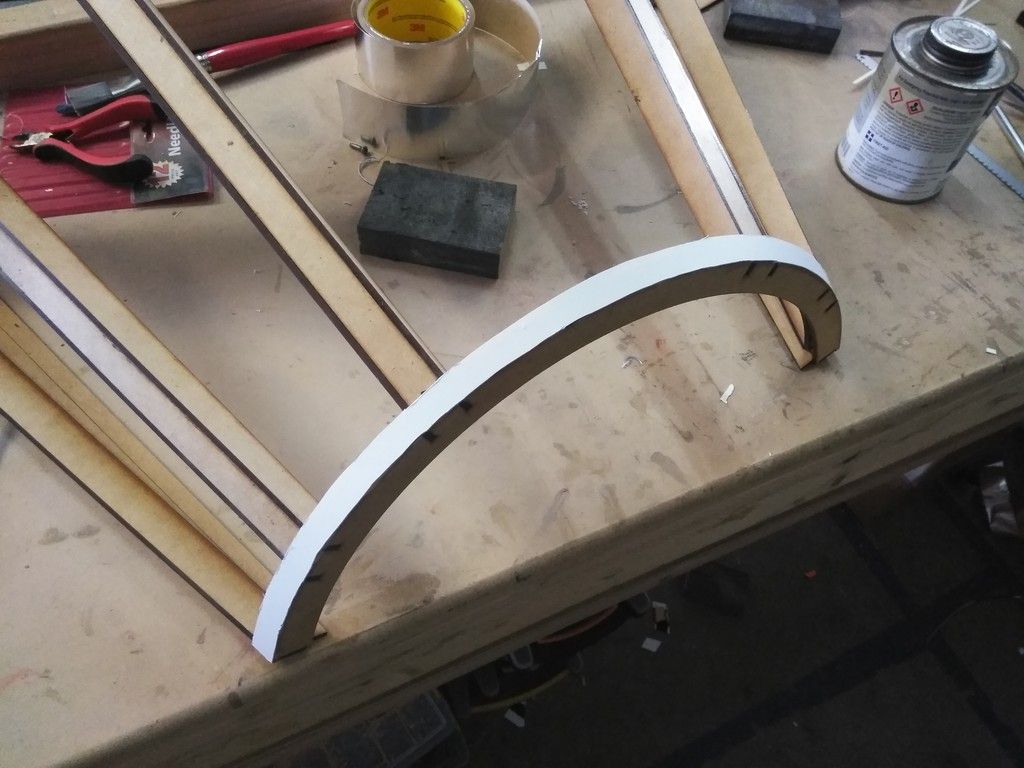
Filler strips

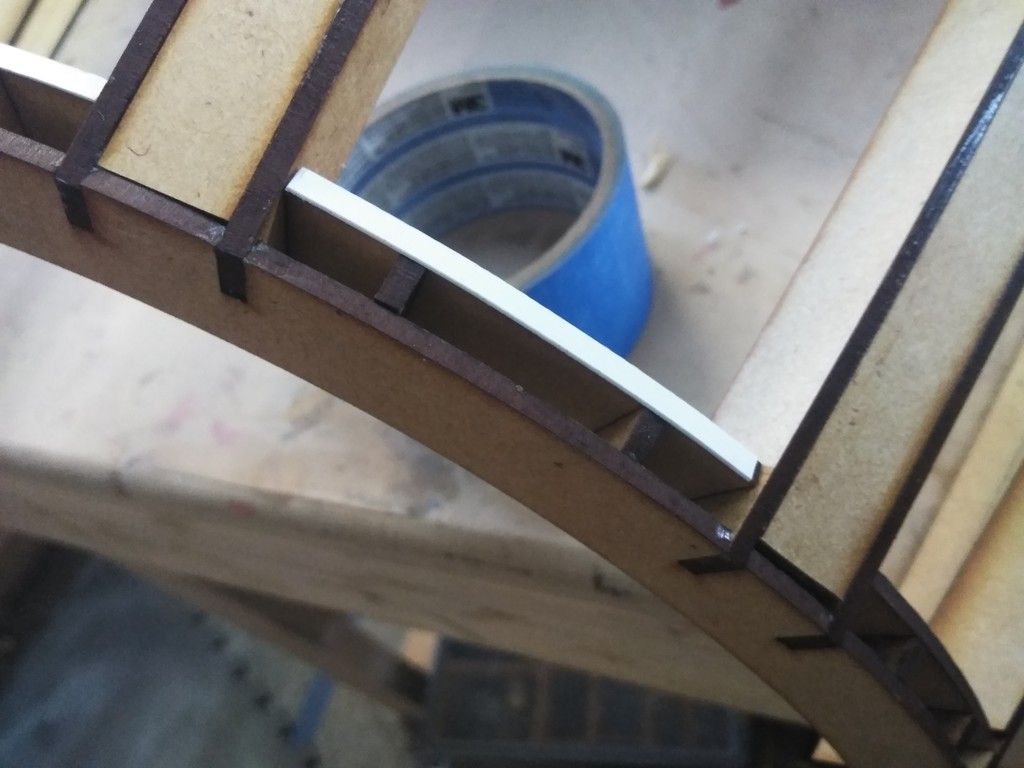
As you can see the interior arch was cut just a bit too short so build up was necessary
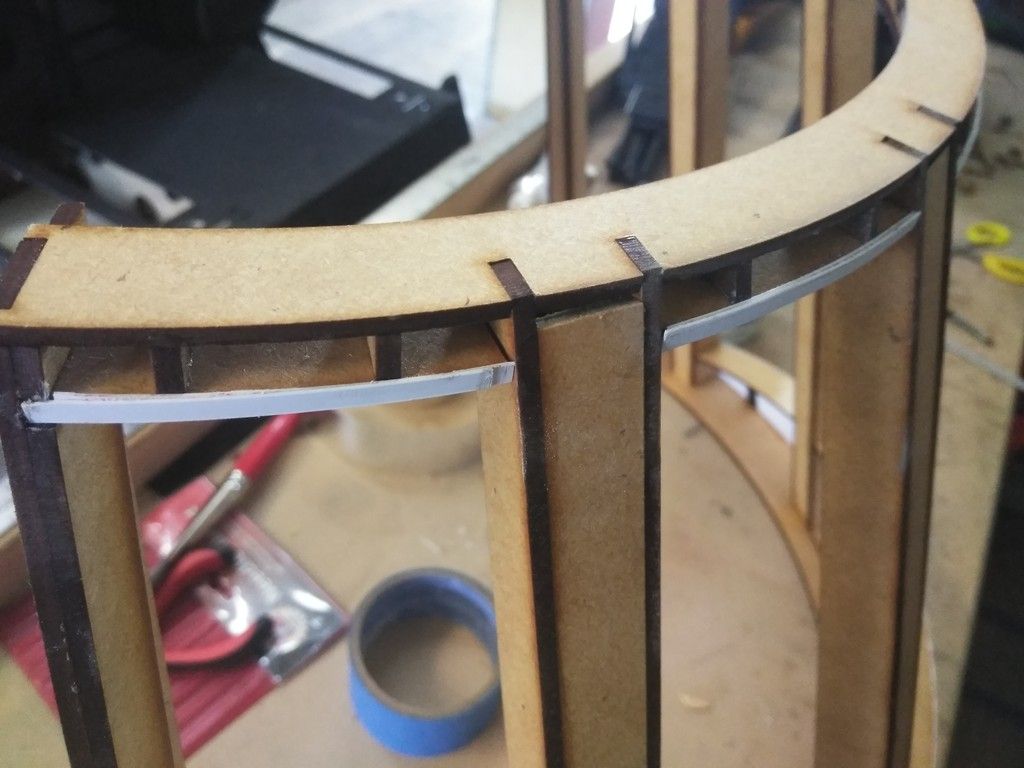
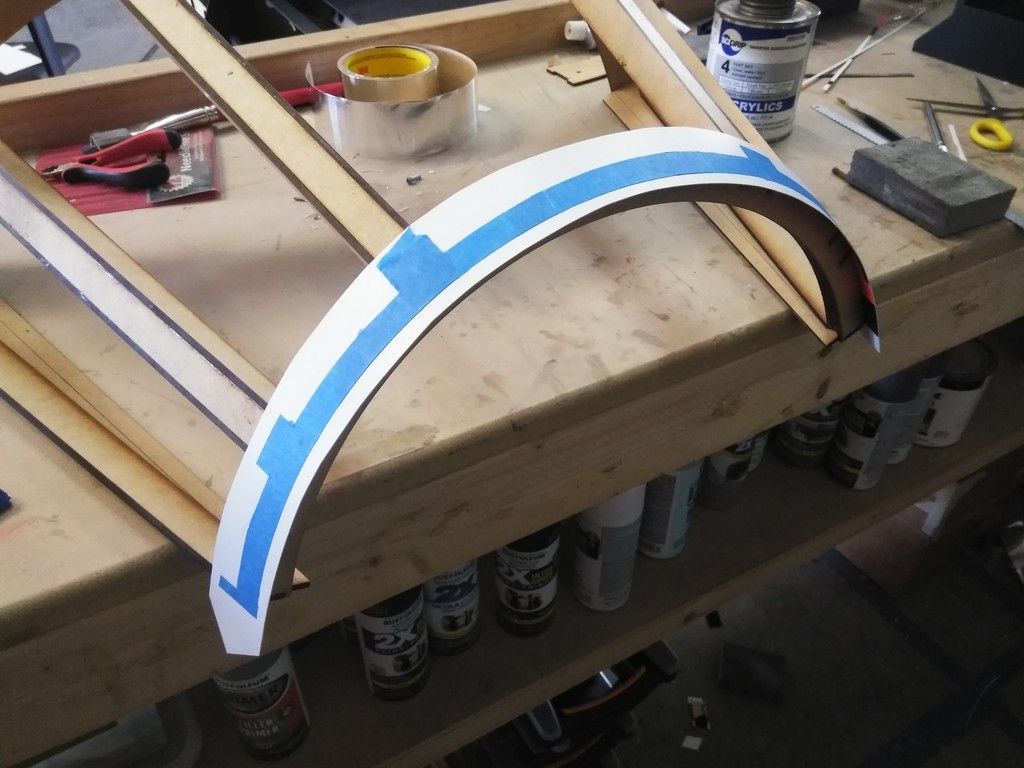
Using the "Tape" method
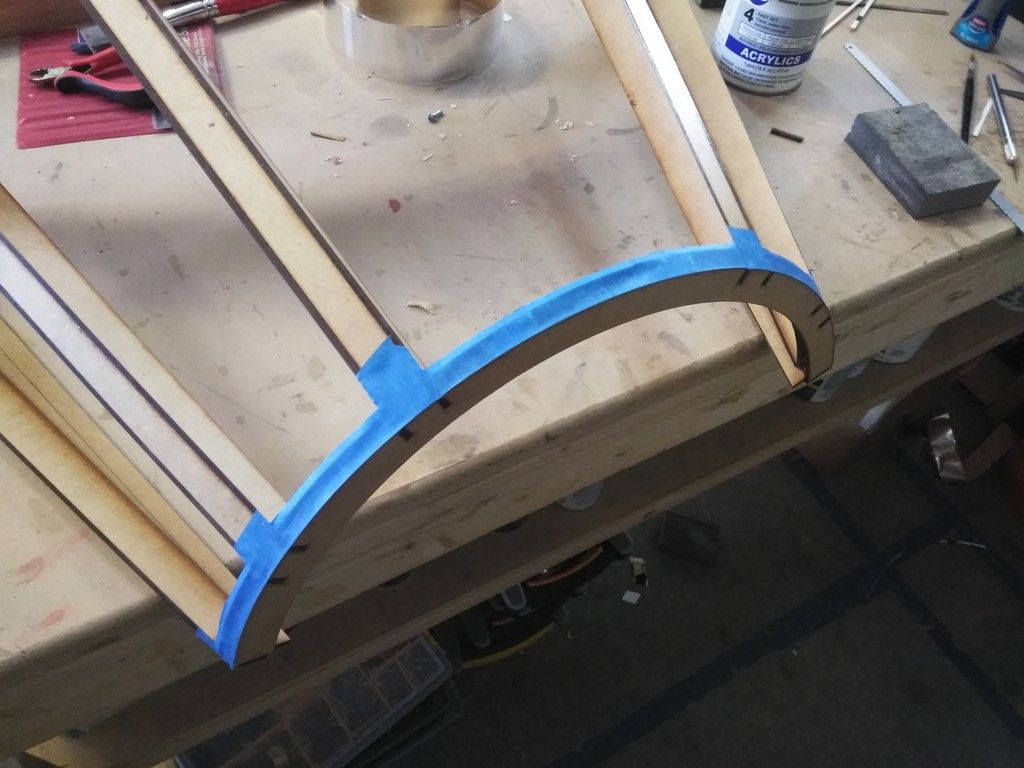
Cut the tape around the shape, remove and place onto styrene
Leave enough excess
Adhere into place
Looking at the interior side

Trim to fit! Then gently sand the edges smooth
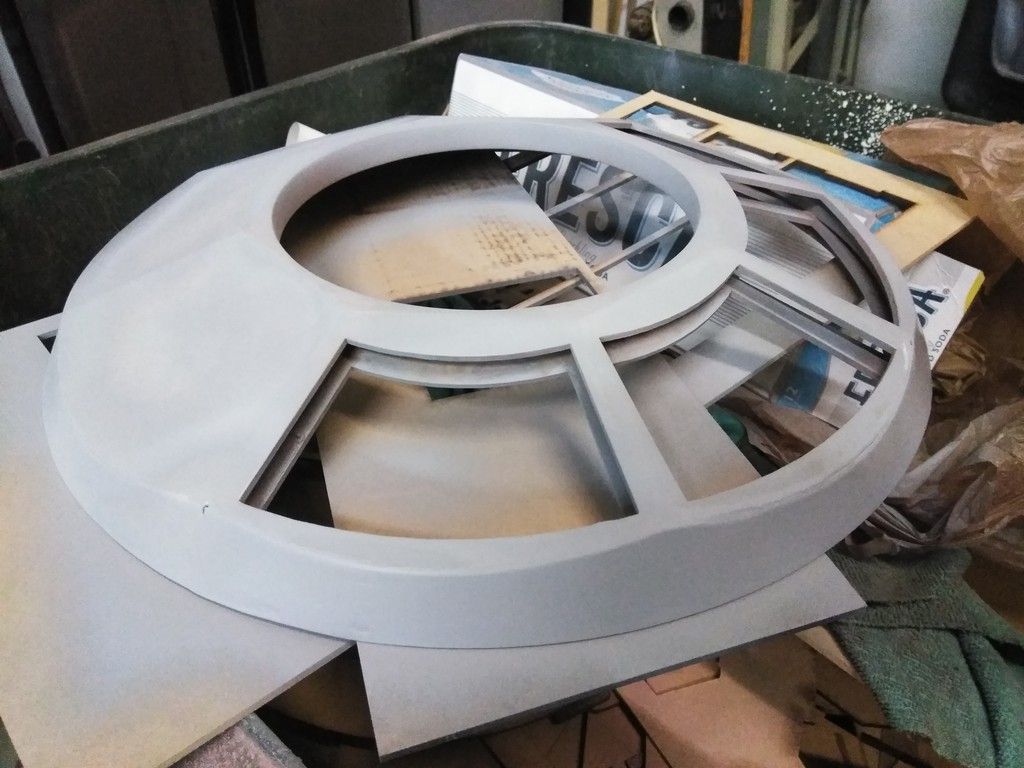
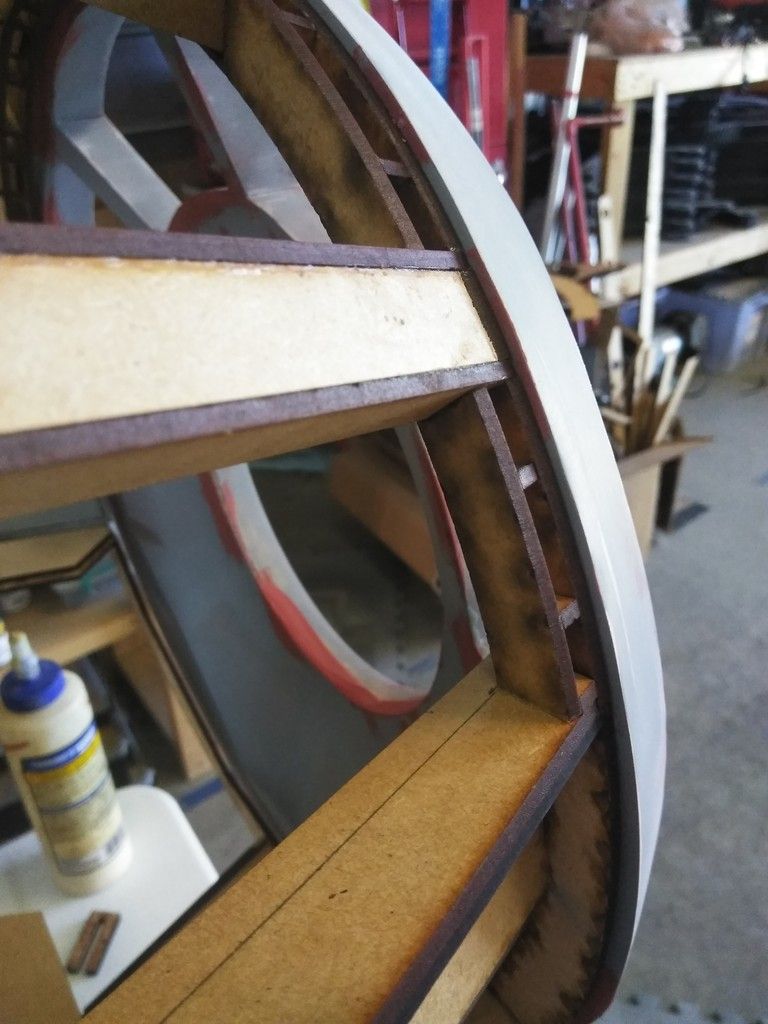
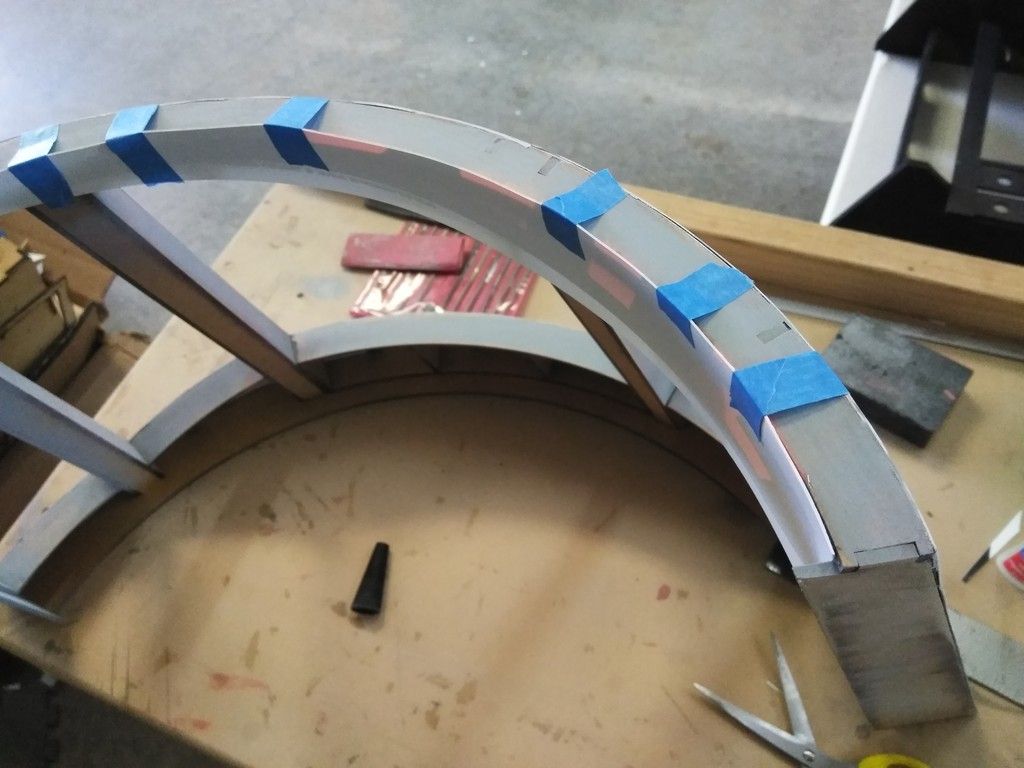
Covering the beams
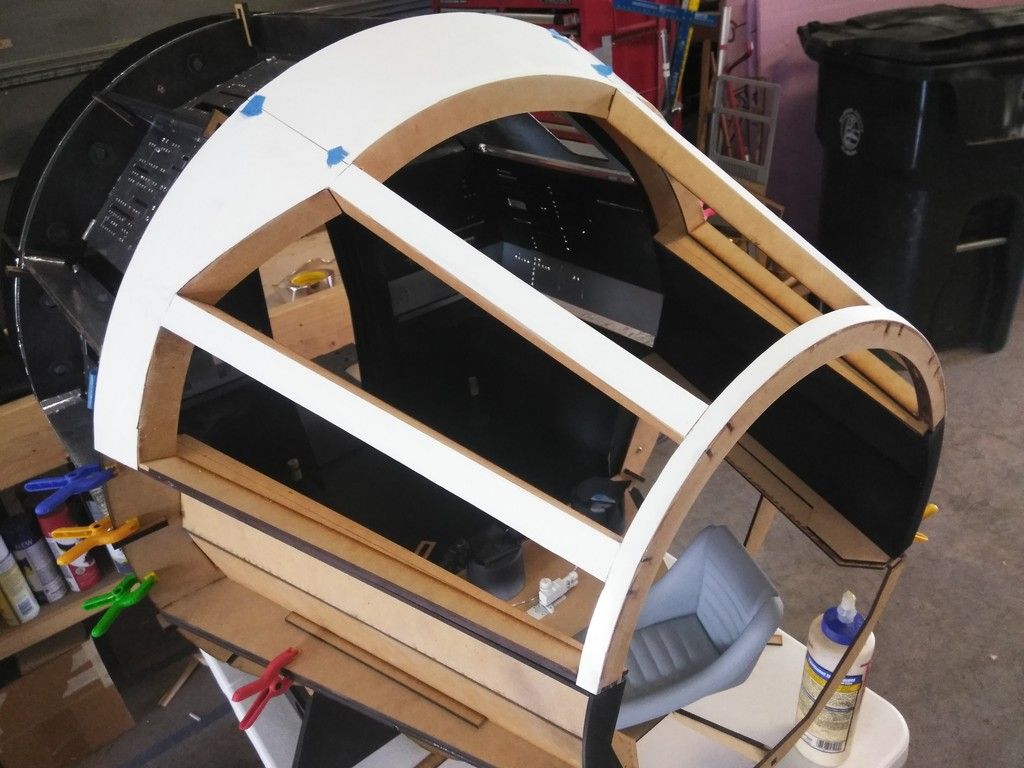
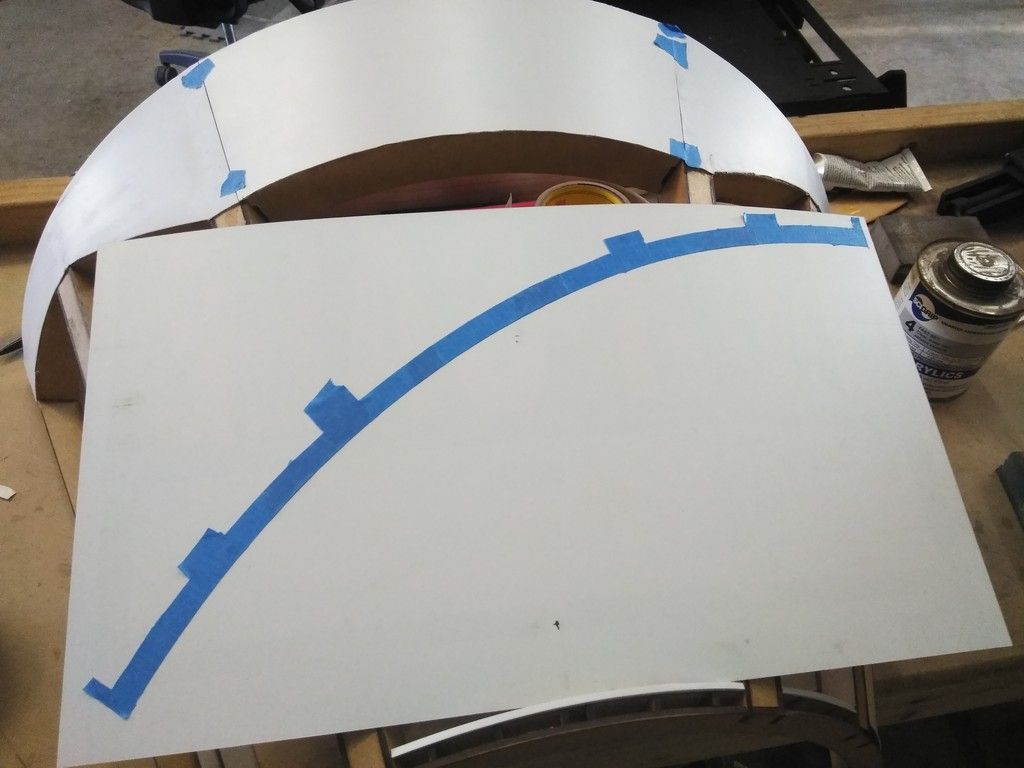
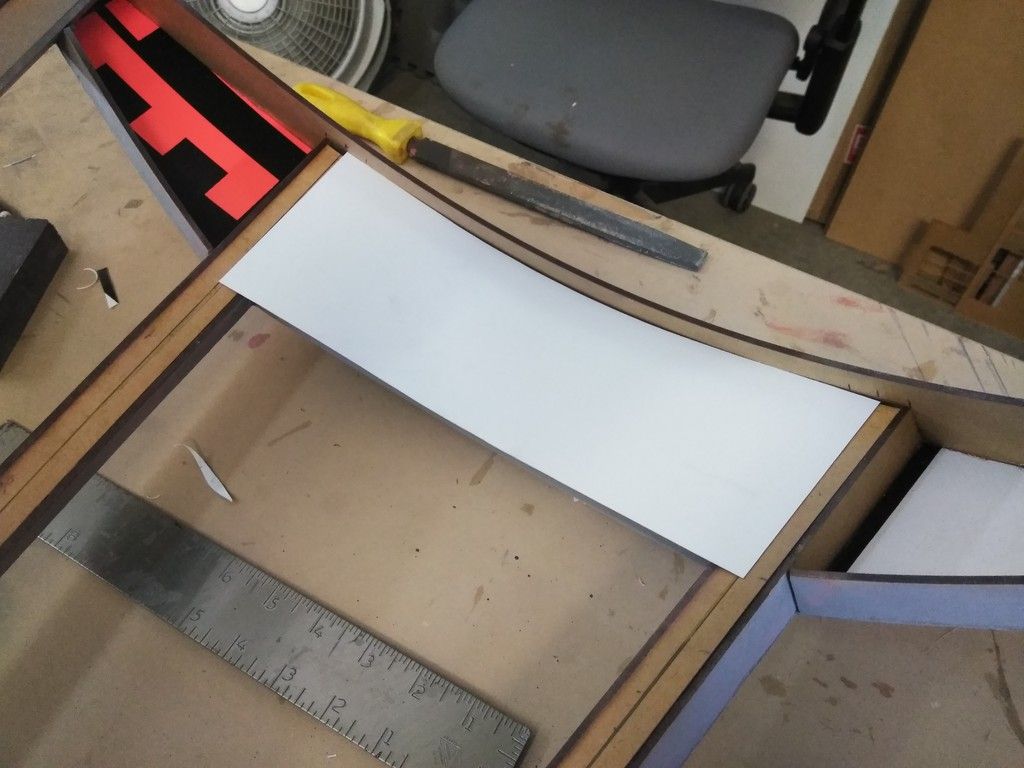
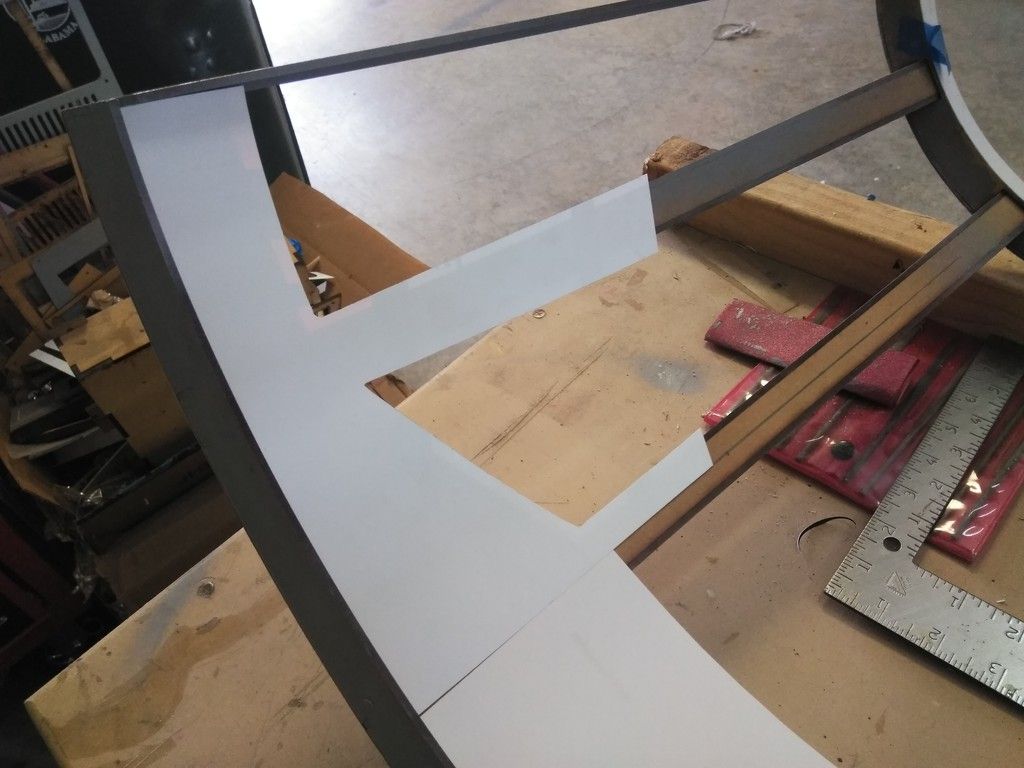
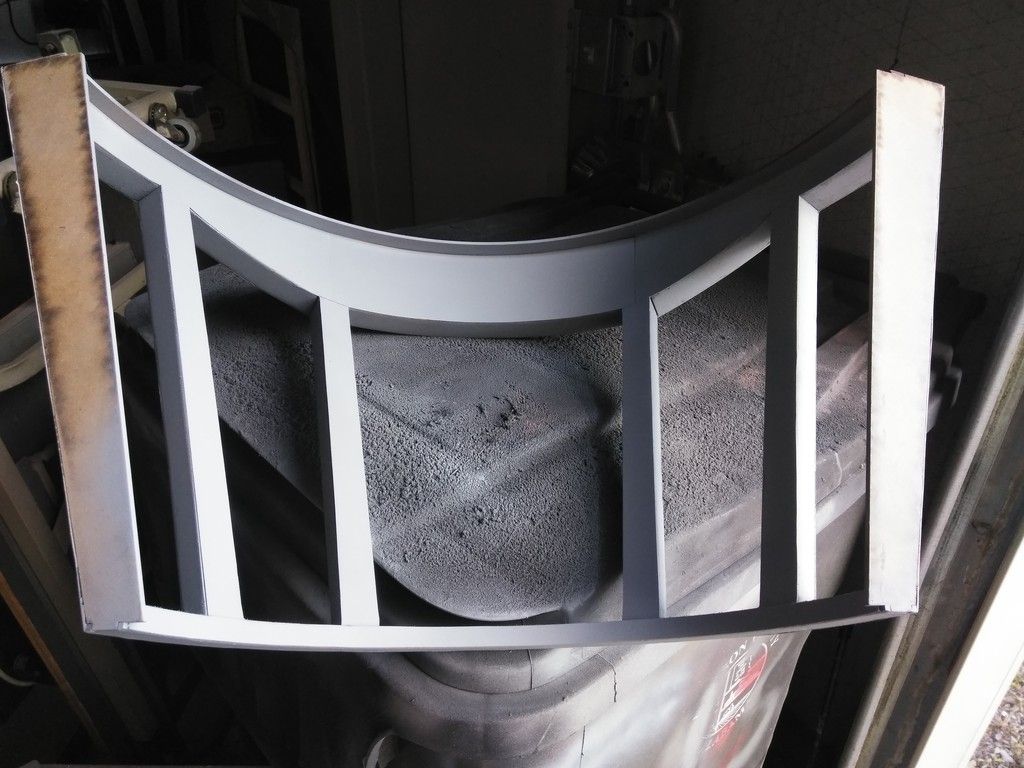
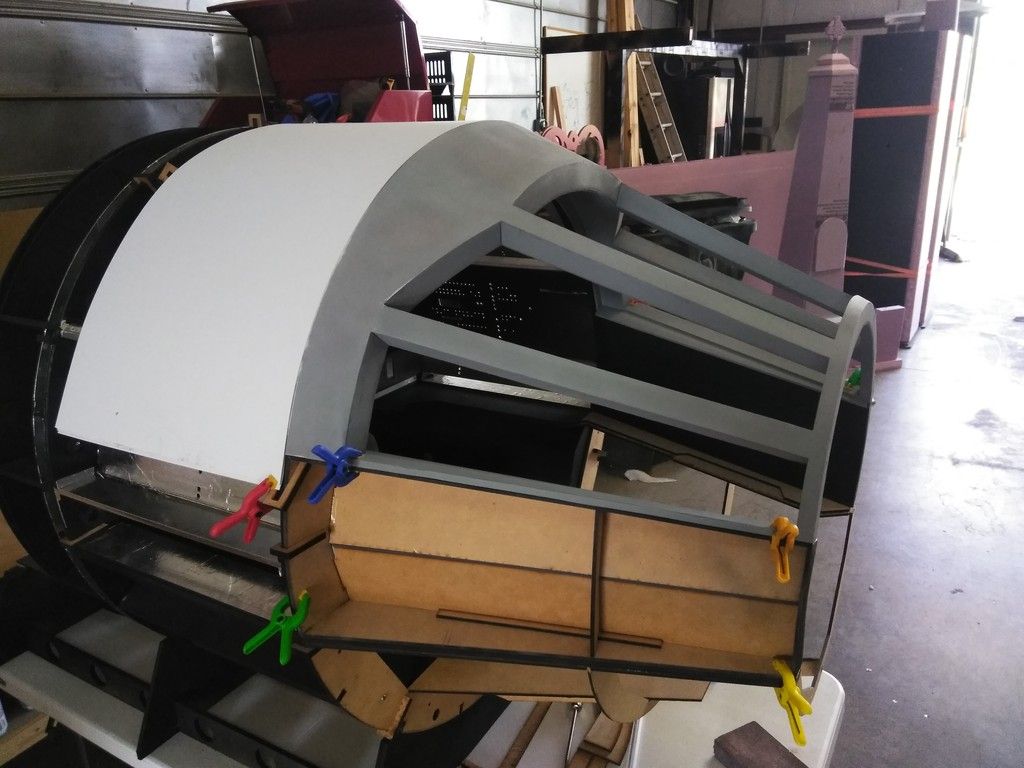
DONE! Now that the canopy is covered in styrene it was time to cover all those individual piece into 3 larger pieces of styrene
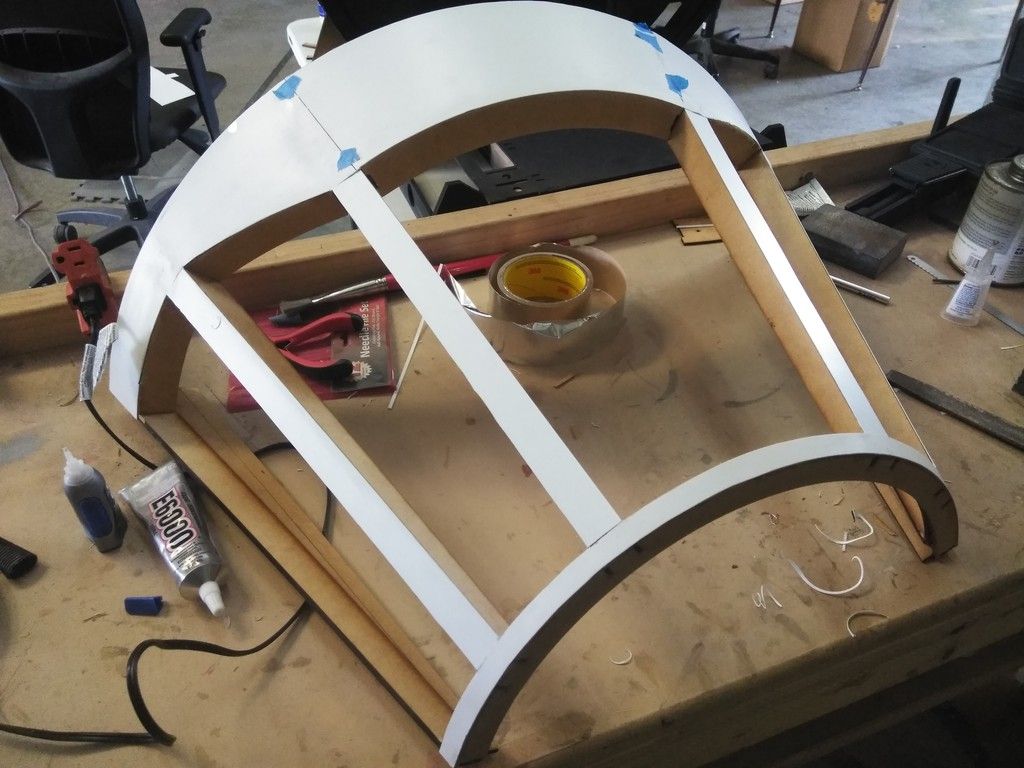
I marked the centers of the upper beams from end to end
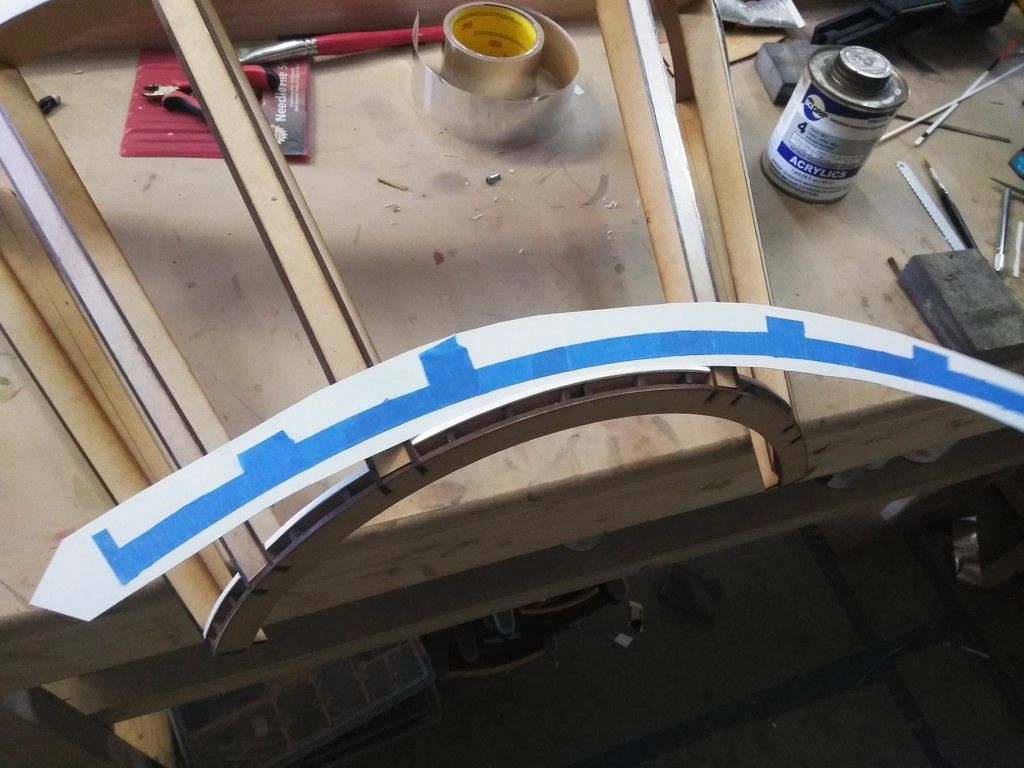
I laid one edge of a sign along the pencil mark and adhered styrene to styrene covering 1/3 of the canopy
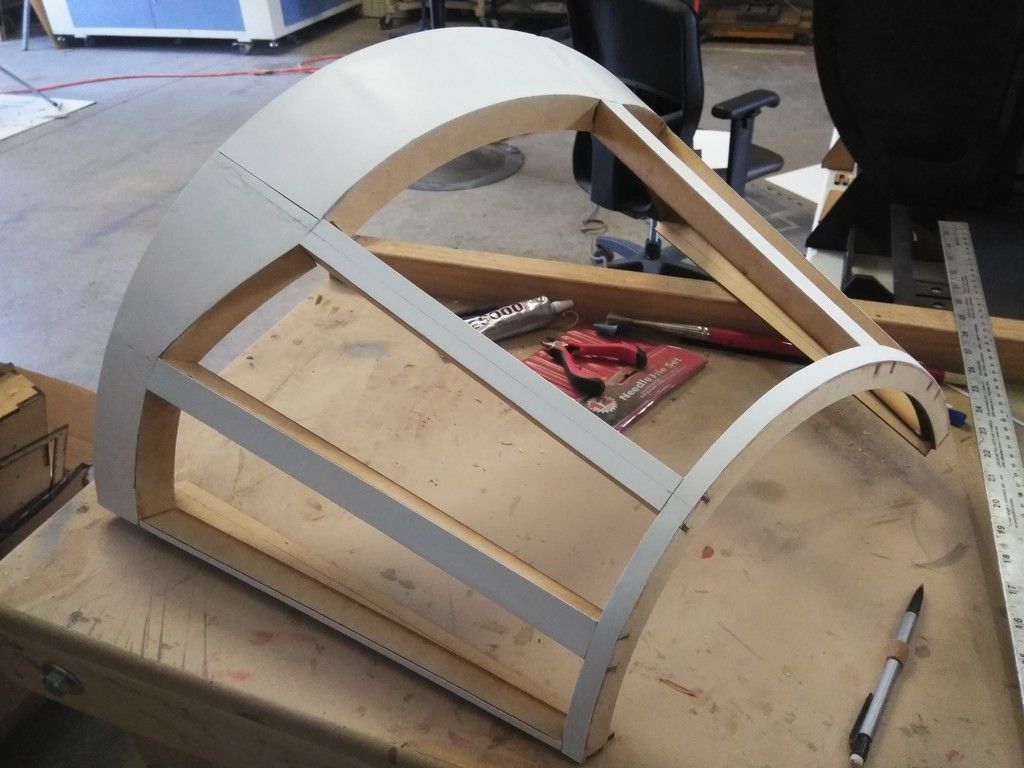
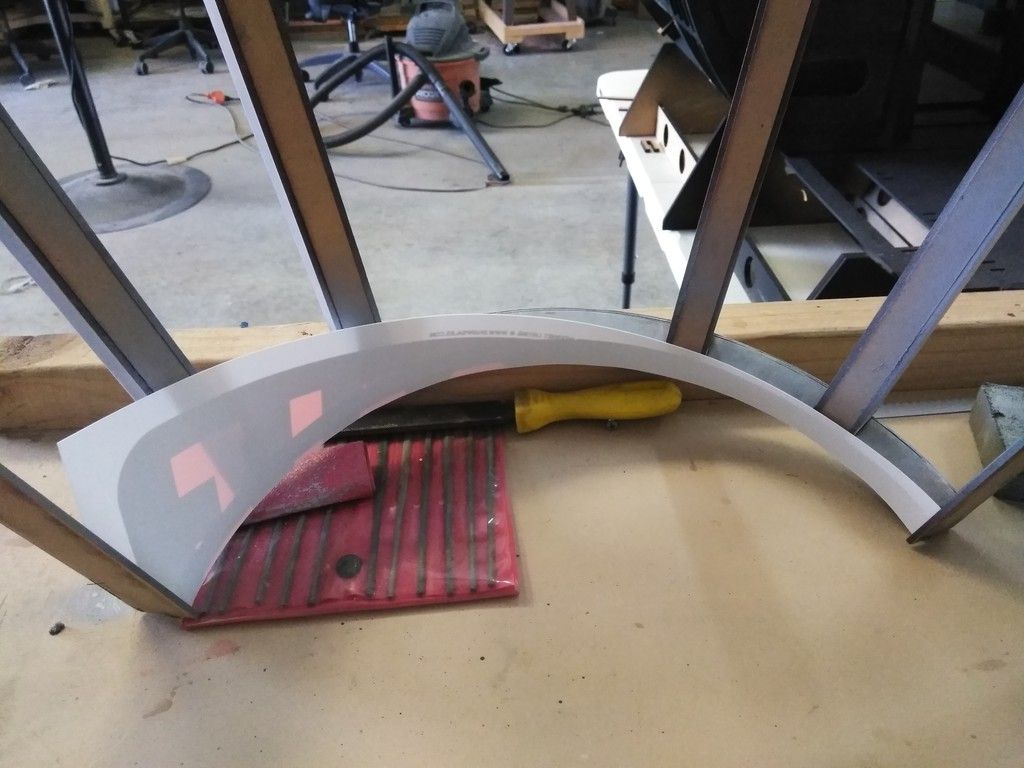
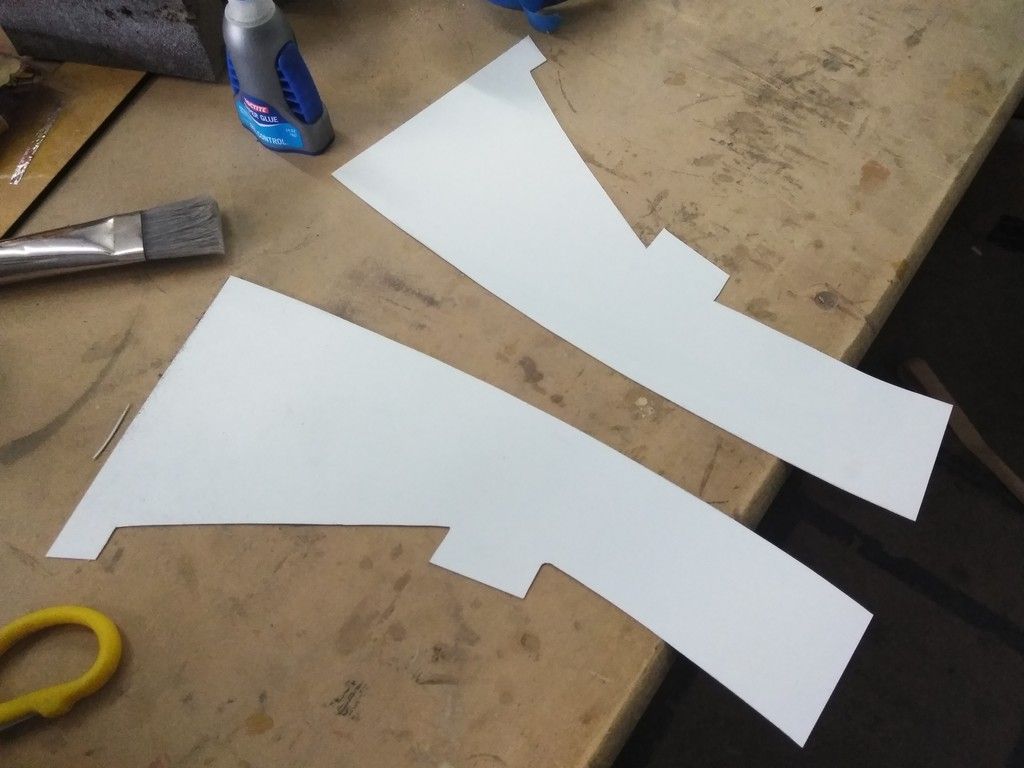
I then cut the center piece
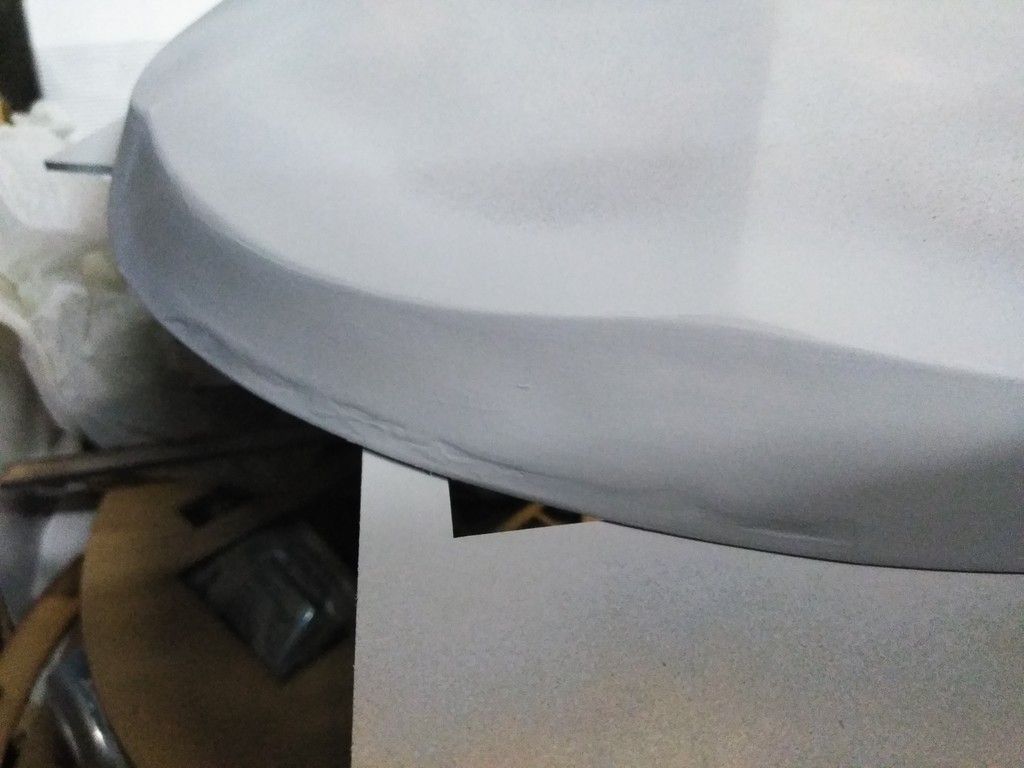
Laid the final piece in place creating a smoother 2nd layer of styrene
Cut to fit! NICE!
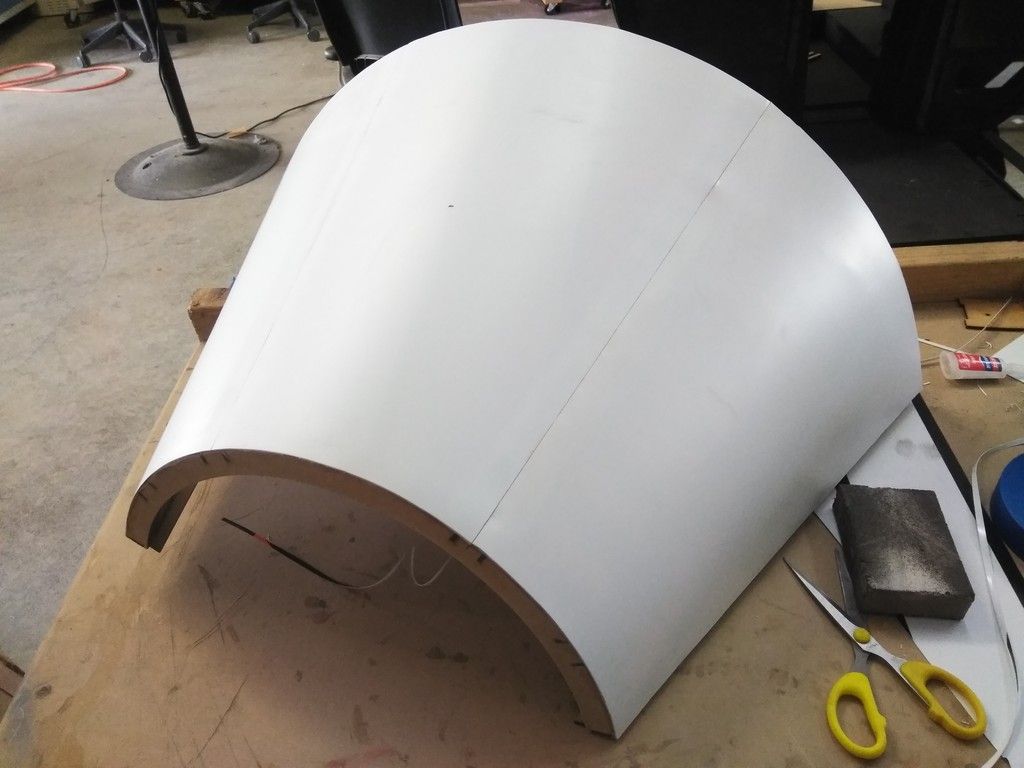
Perfect!
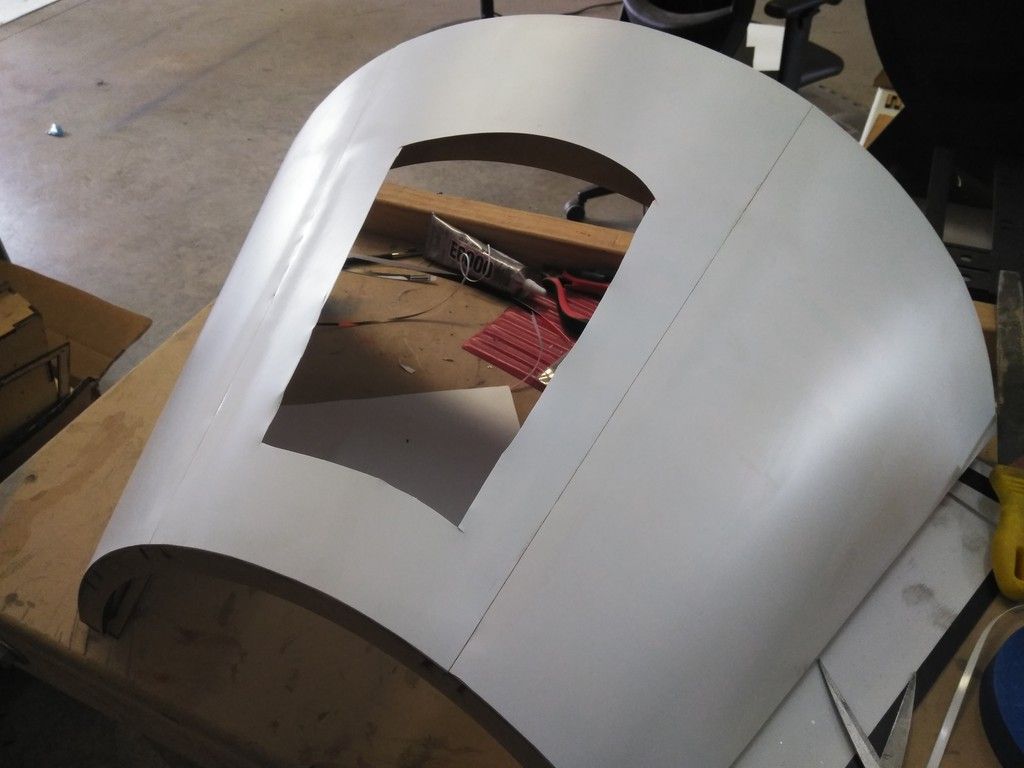
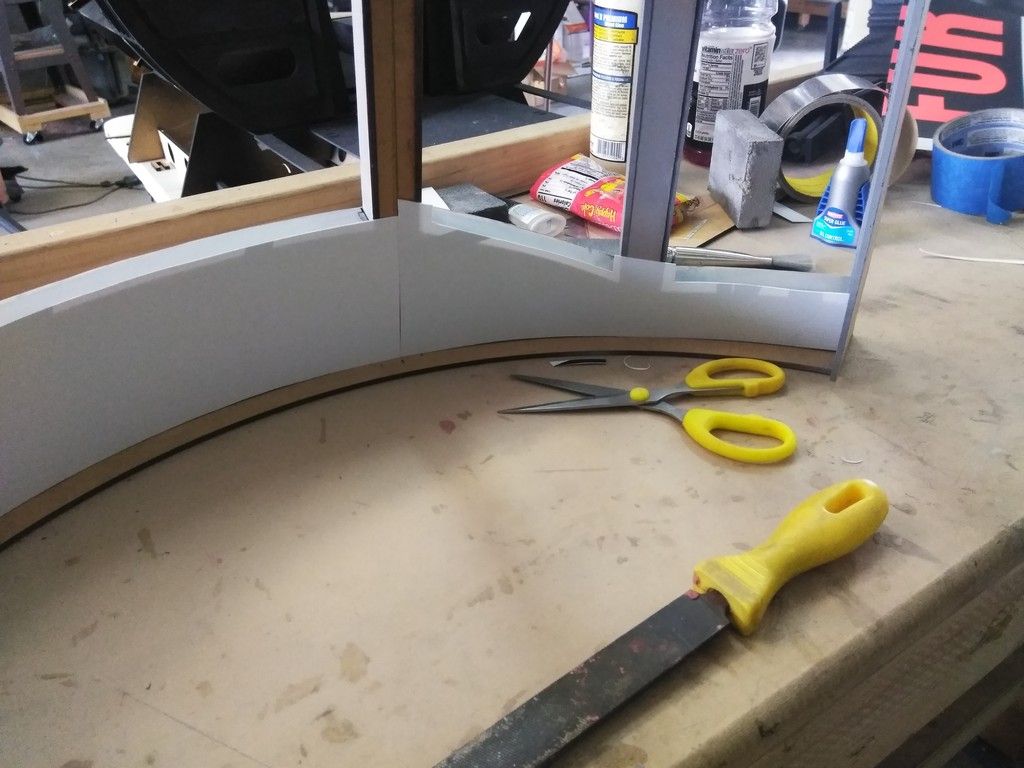
On window cut, 4 more to go
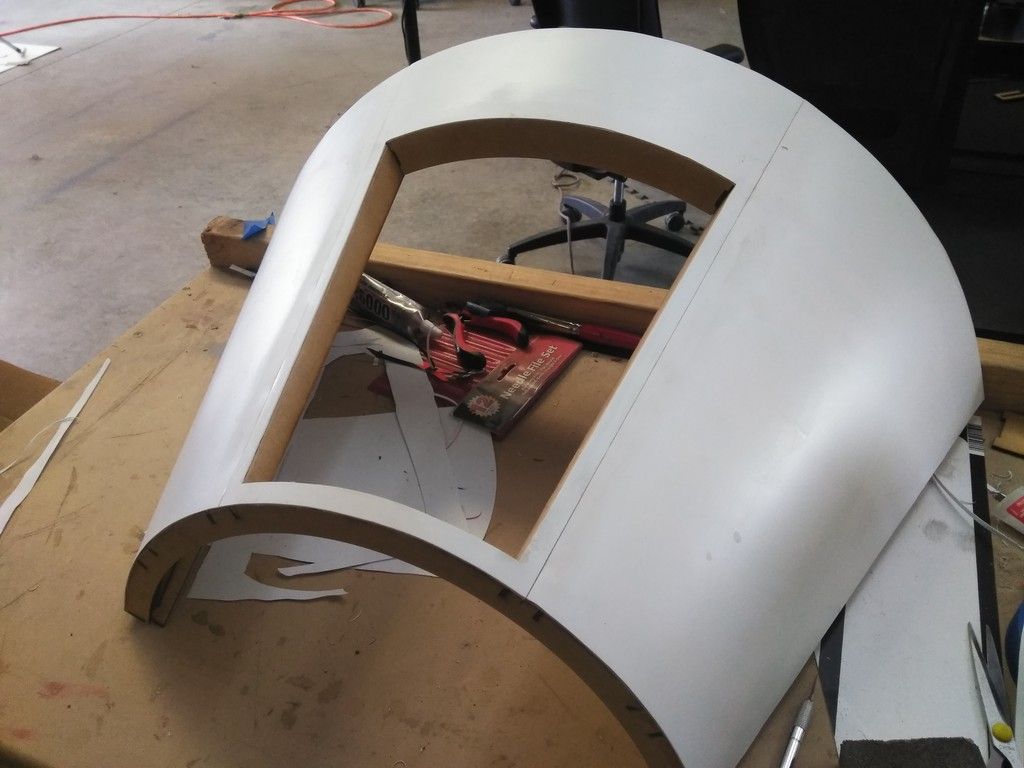
It worked!
Now there are only 2 seam lines to fill
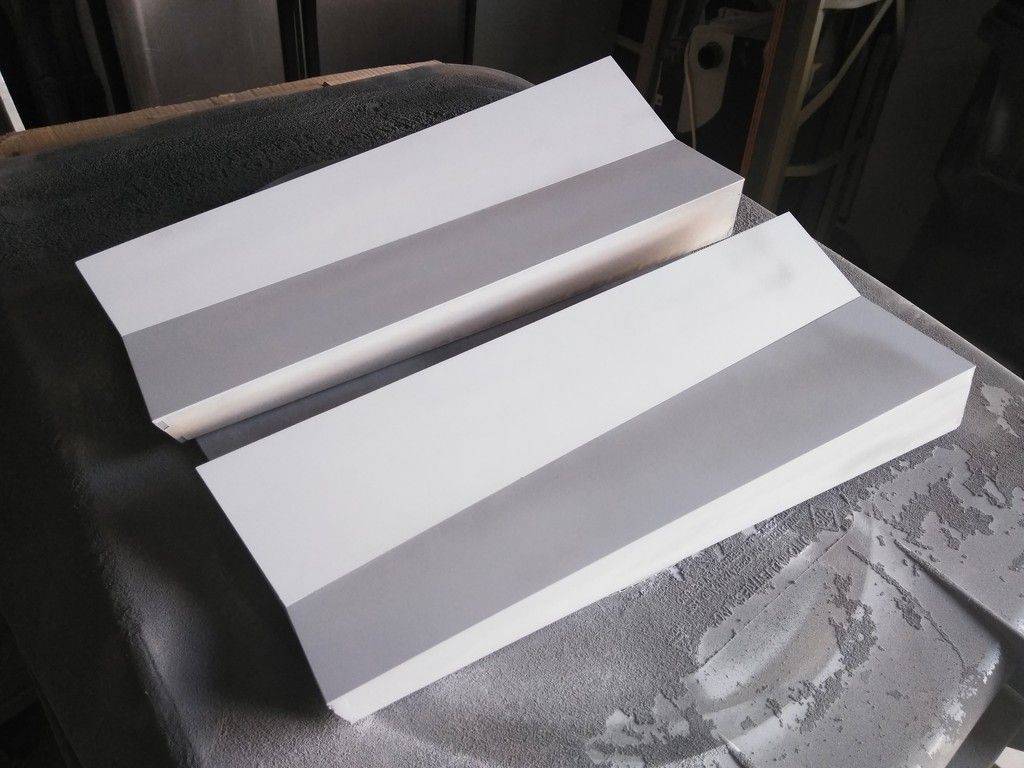
I might lay 2 more layers of styrene - depends on how thick I make the skin for the main body
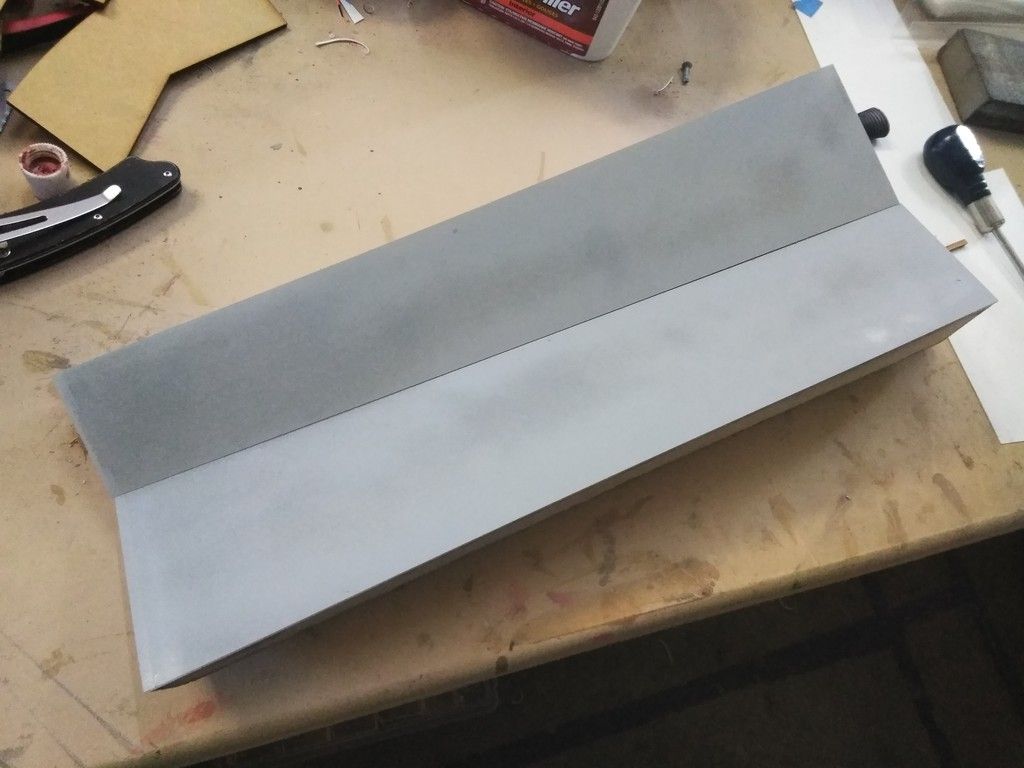
MMMMM primer
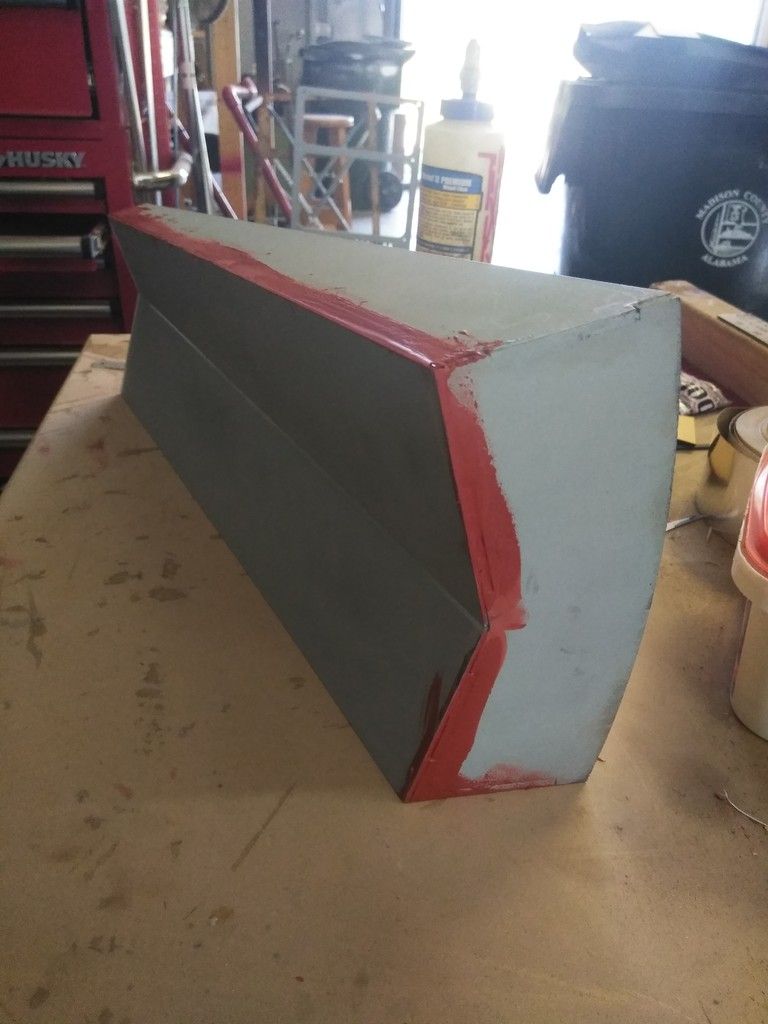
Filler
Had to clamp into place as the styrene wants to pull the canopy apart
Working the interior side
LOTS of adhesive was needed for this sheet of styrene... probably the color print on the front side
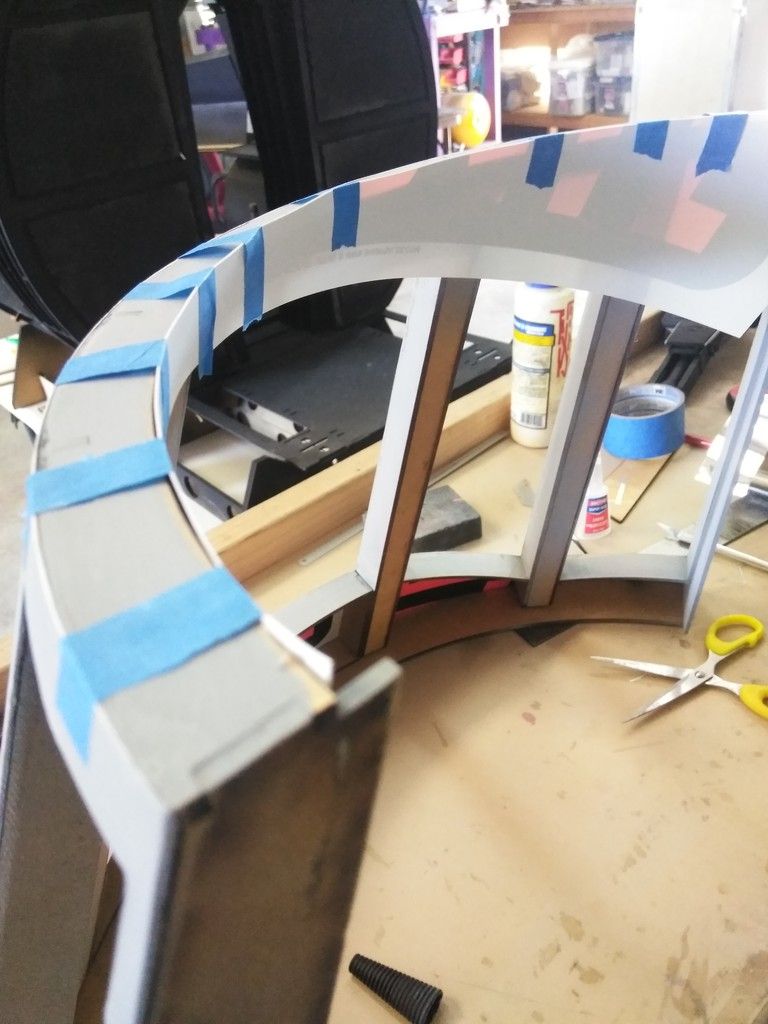
As the adhesive dries I cut the interior center piece to fit
The interior shape was simple... I simply laid the styrene against the outside edge of the canopy and traced. The interior and exterior are only 1/8" difference so there was minimal difference between the two curves
Again, I marked the centers of the beams as a guide
Side pieces
Removed much of the excess beam material
Dry fit
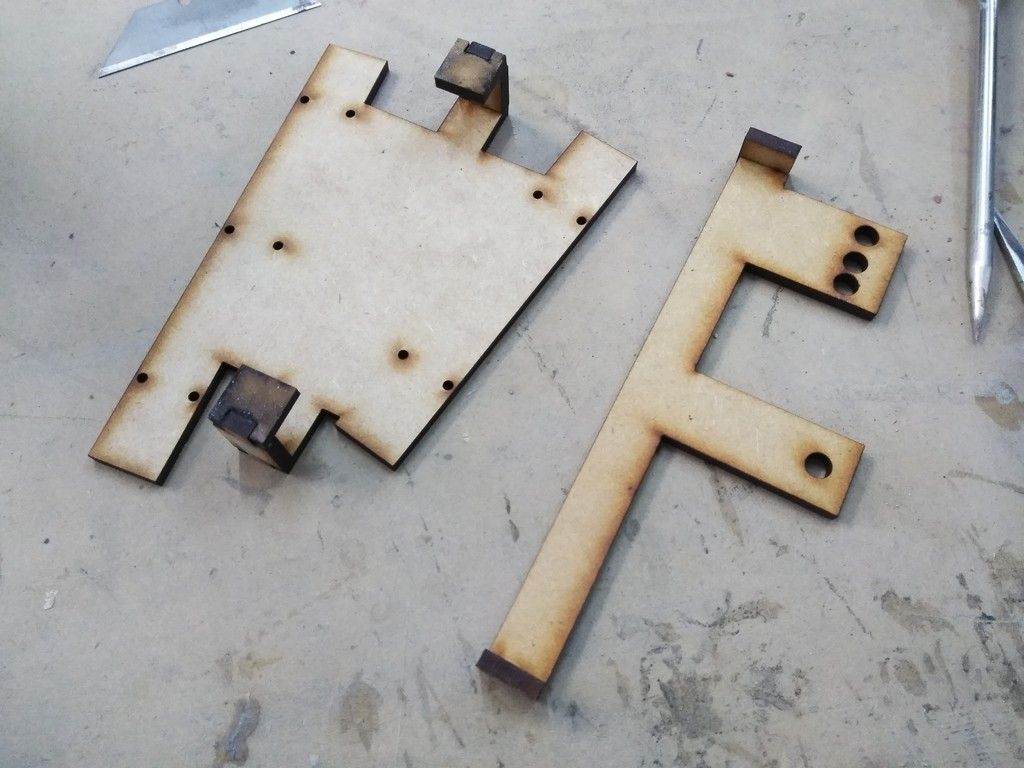
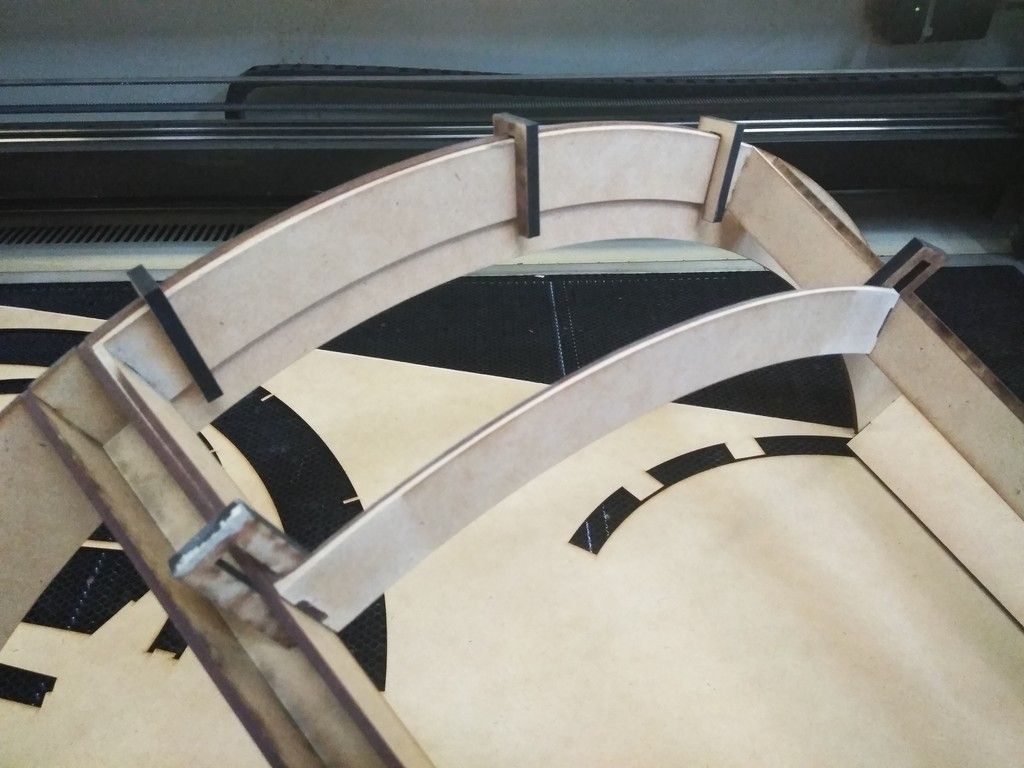
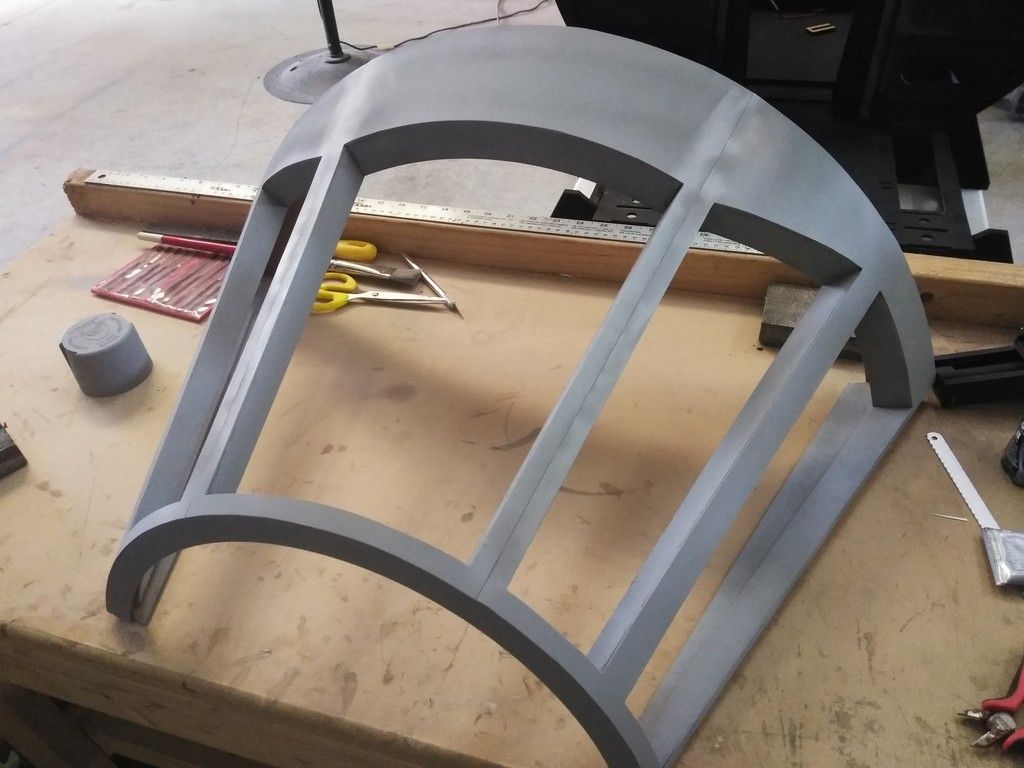
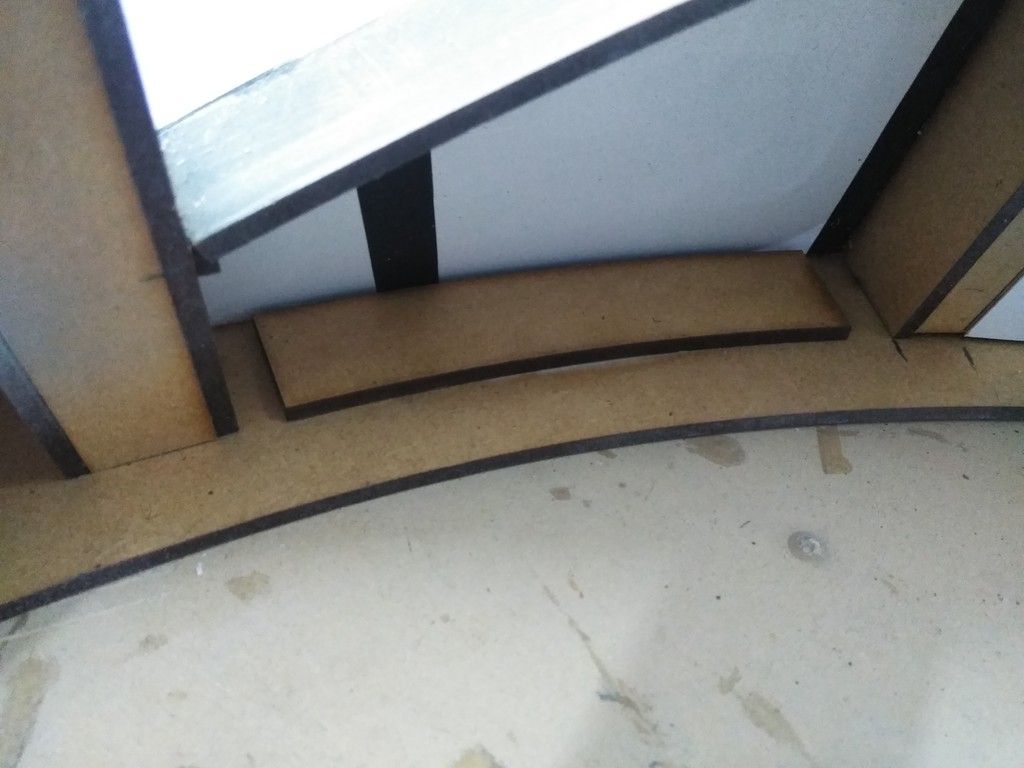
There was nothing behind those side pieces to act as a support for the styrene so I laser cut these pieces
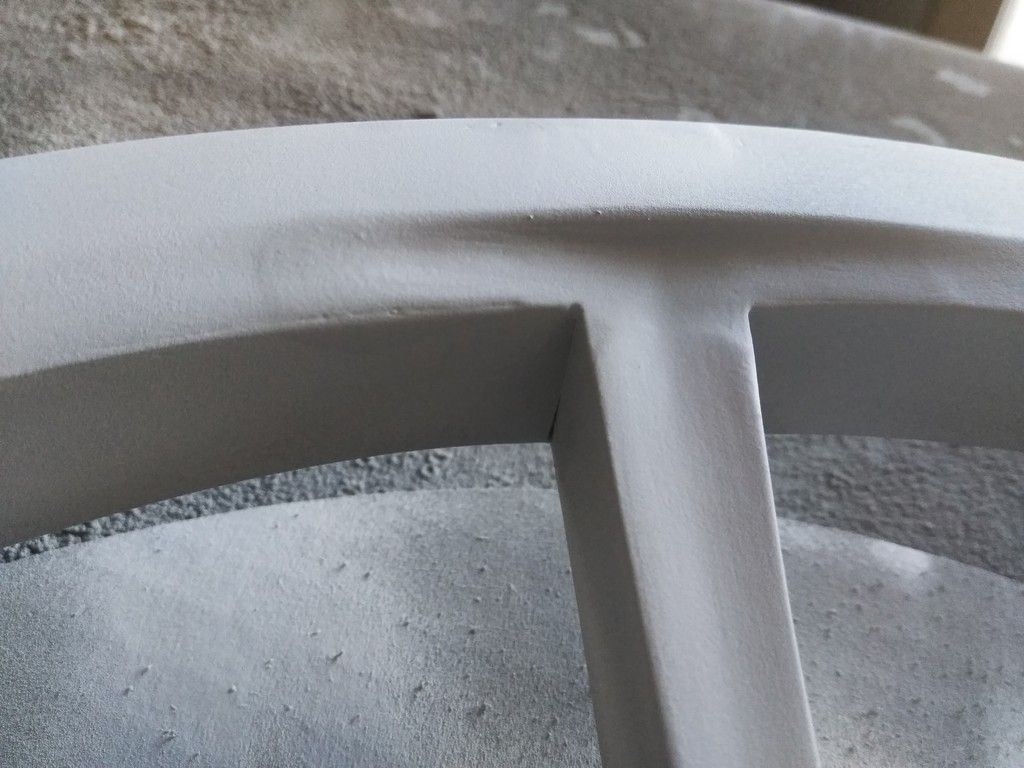
I then covered the beams and added primer!
The interior will NOT receive another layer of styrene as most of the interior panel (full scale version) is covered with the diamond pattern blanket. I have to find something comparable in scale
Those side edges DEF need some attention - not sure if I'll cover with styrene or simply add filler? if I add the windows I DEF have to use styrene
These interior pieces are frustrating!
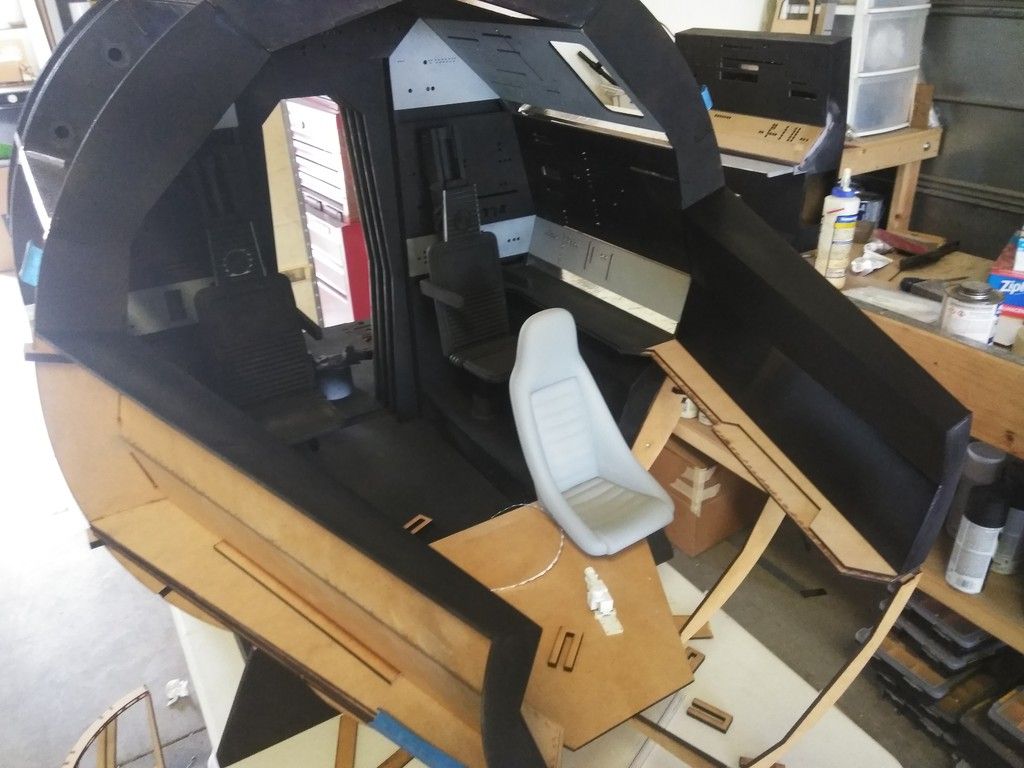
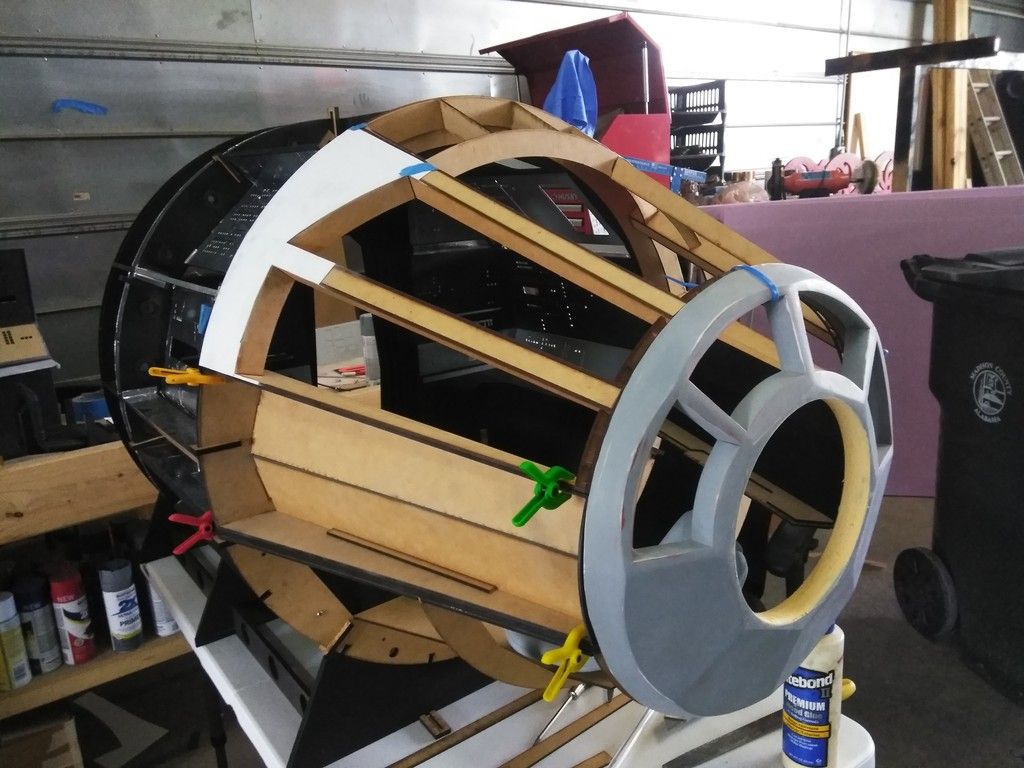
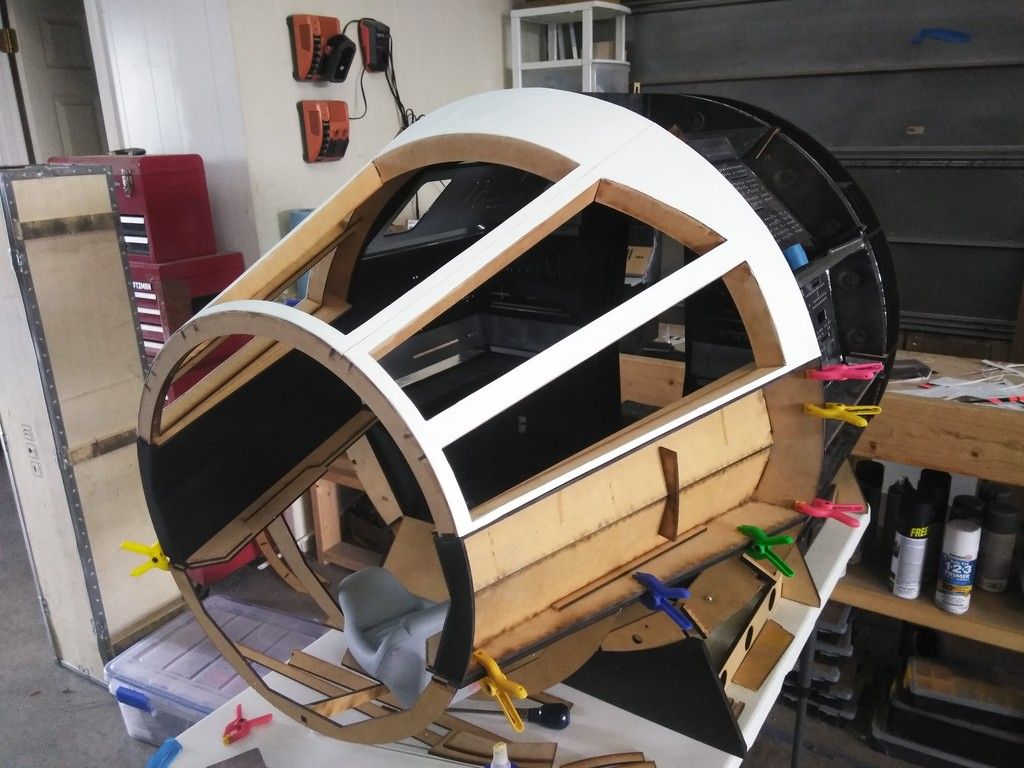
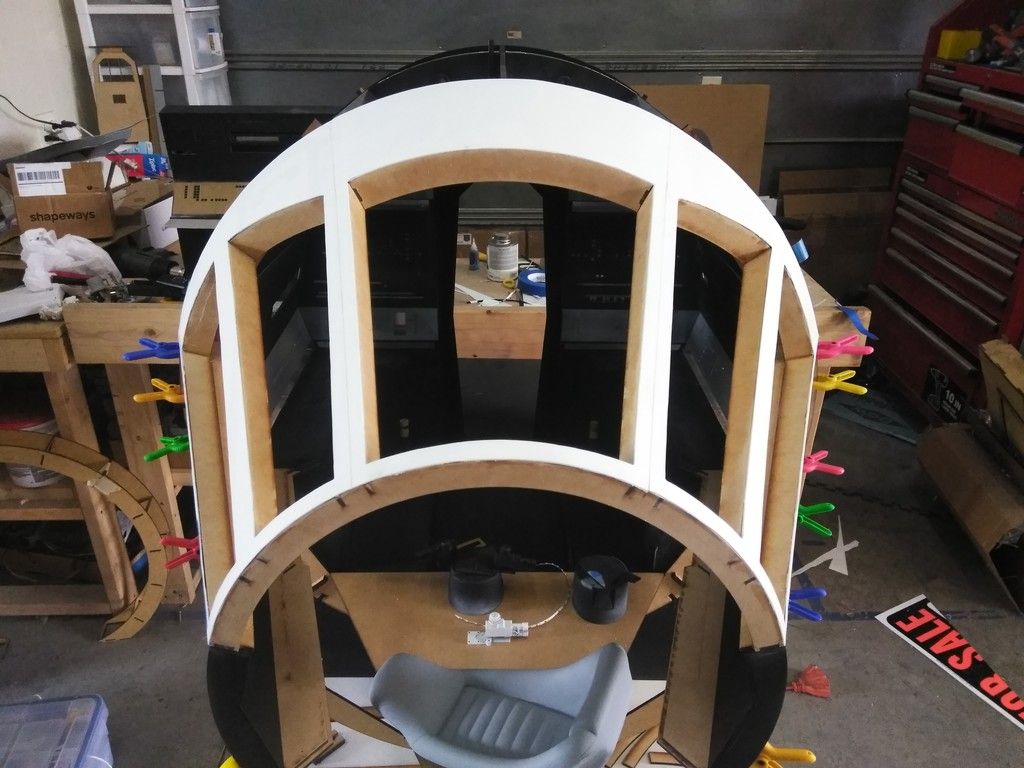
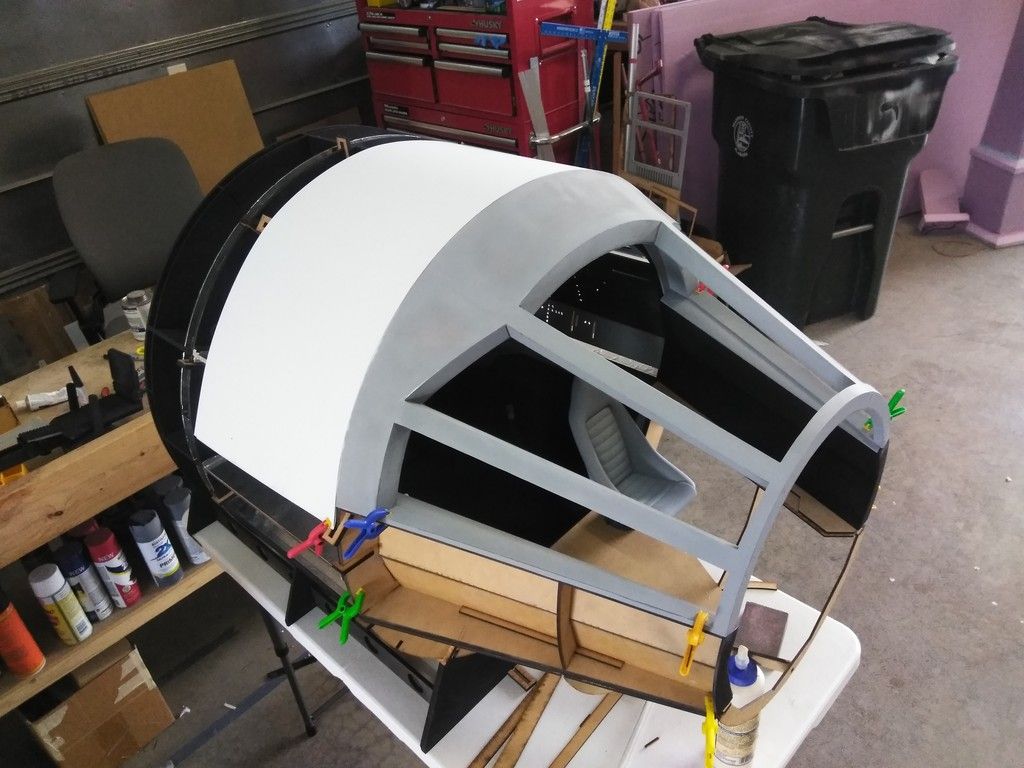
For fun I laid styrene across the exterior body to get an idea how it will all look
Nice clean edges! When does that ever happen?
I laid 4 sheets of styrene across the body. Might have to order some thicker material
I guess I'll get to these vertical beams next time!
And this is where we are!
I hope you guys/gals are enjoying this project. Its been a wonderful change of pace / focus and has been very therapeutic. I know it's not the full scale cockpit, as the thread title describes, but images are coming so stay tuned!
Also, I'll be in Irvine, TX for the Fan Days Con this Oct 19-21!!!! So for those in the TX area, be sure to get your tickets and I hope to see you there!
Its time! That end of the weekend update!!! ENJOY!
Izzy sent me these 3D prints of the 1/4 scale Nav Chair head piece and a few other pieces...
Back side no primer yet
1st layer of primer
VERY COOL! Thanks, Iz!
A good buddy of mine, Philip, who has helped on the project in the past and taken some excellent photos of the console, quad, etc, is helping me light the nav computer!
We went back and forth with where to put the LED strips but Philip thought adding a bit more reflective tape and placing the LEDs around the outer edges would work best. We put a white sheet of paper behind the panel to see how the LED strip would work around the edge... NICE! THANKS, P!
He also asked me to designed a new Nav Computer shelf with a housing to help with the LEDs. More later!
The window is getting some MUCH needed interior detail!
Primer
I can't wait to add all the beam greeblies and hoses!
Lots to fill!
Added more filler
I wound up taking apart the door housing (having forgot about lighting) so I could lay reflective tape to help the LED light reflect... :facepalm
Took some effort to put back together
This should help back light those panels
Time to skin the canopy! I bought a bunch of cheap "For Sale" signs at the local Wally World for $1.88 ea and started to cut
Fairly simple approach... Cut the basic shape, apply some E6000 to the frame and press into place. When the adhesive dries I carefully cut away the excess using a sharp blade or hot knife
You can clearly see where the hot knife edge slipped out of position... UGH
YUCK!
I also started the last of the beams! These vertical beams are going to be fun! Not really...
So far so good!
The interior and the exterior views of the cockpit, as I explained, do NOT match up so there is a LOT of playing around to do trying to get all these edges to match and actually work together... I had to cut these extra shelf pieces to help align the front and back arches
OK... Back to the canopy!
I wanted to do this in separate sections to make sure I had total coverage of the MDF
Filler strips
As you can see the interior arch was cut just a bit too short so build up was necessary
Using the "Tape" method
Cut the tape around the shape, remove and place onto styrene
Leave enough excess
Adhere into place
Looking at the interior side
Trim to fit! Then gently sand the edges smooth
Covering the beams
DONE! Now that the canopy is covered in styrene it was time to cover all those individual piece into 3 larger pieces of styrene
I marked the centers of the upper beams from end to end
I laid one edge of a sign along the pencil mark and adhered styrene to styrene covering 1/3 of the canopy
I then cut the center piece
Laid the final piece in place creating a smoother 2nd layer of styrene
Cut to fit! NICE!
Perfect!
On window cut, 4 more to go
It worked!
Now there are only 2 seam lines to fill
I might lay 2 more layers of styrene - depends on how thick I make the skin for the main body
MMMMM primer
Filler
Had to clamp into place as the styrene wants to pull the canopy apart
Working the interior side
LOTS of adhesive was needed for this sheet of styrene... probably the color print on the front side
As the adhesive dries I cut the interior center piece to fit
The interior shape was simple... I simply laid the styrene against the outside edge of the canopy and traced. The interior and exterior are only 1/8" difference so there was minimal difference between the two curves
Again, I marked the centers of the beams as a guide
Side pieces
Removed much of the excess beam material
Dry fit
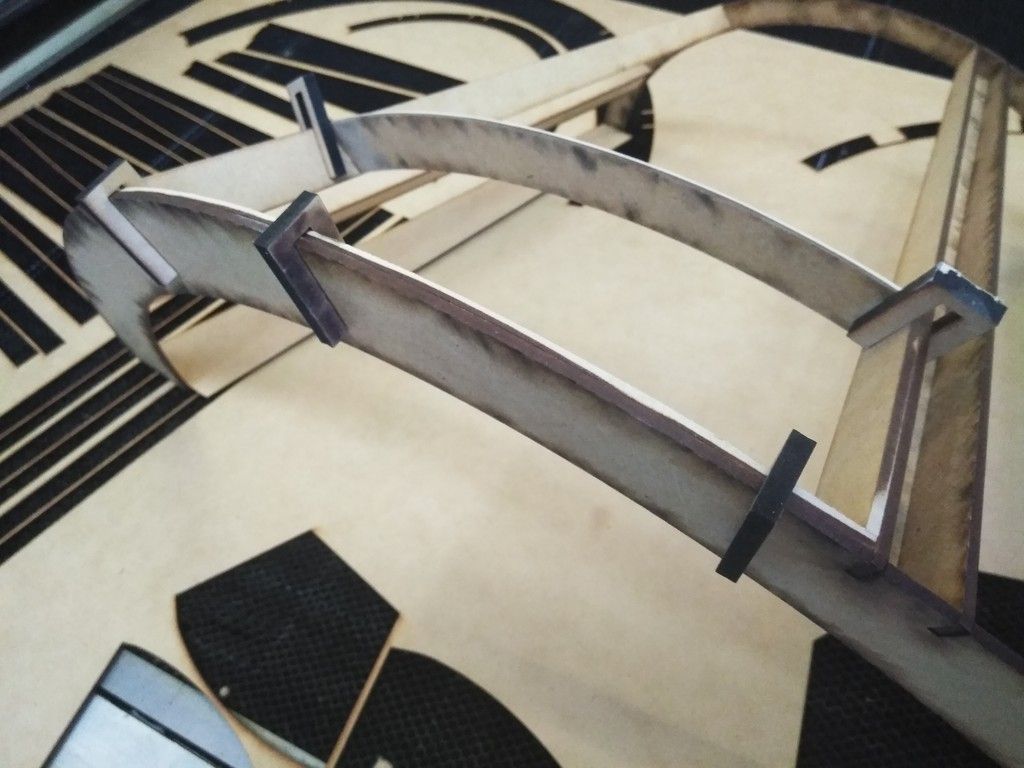
There was nothing behind those side pieces to act as a support for the styrene so I laser cut these pieces
I then covered the beams and added primer!
The interior will NOT receive another layer of styrene as most of the interior panel (full scale version) is covered with the diamond pattern blanket. I have to find something comparable in scale
Those side edges DEF need some attention - not sure if I'll cover with styrene or simply add filler? if I add the windows I DEF have to use styrene
These interior pieces are frustrating!
For fun I laid styrene across the exterior body to get an idea how it will all look
Nice clean edges! When does that ever happen?
I laid 4 sheets of styrene across the body. Might have to order some thicker material
I guess I'll get to these vertical beams next time!
And this is where we are!
I hope you guys/gals are enjoying this project. Its been a wonderful change of pace / focus and has been very therapeutic. I know it's not the full scale cockpit, as the thread title describes, but images are coming so stay tuned!
Also, I'll be in Irvine, TX for the Fan Days Con this Oct 19-21!!!! So for those in the TX area, be sure to get your tickets and I hope to see you there!
Last edited:
I wonder how sheet styrene would do in a laser cutter or a c and c machine.
Hey SC,
Its not really a good idea to laser cut styrene. The fumes can be toxic and you really need a good ventilation system. Styrene also has a much lower melting temp than acrylic. The laser melts the styrene and creates a small rounded edge that needs to be sanded down smooth - can be very frustrating.
Honestly, I dont know how a CNC would handle styrene. Depending on the thickness, I can imagine the styrene getting torn to shreds!
Great update Sofa. I was wondering if you might be putting glass in this version.
Hey LtW,
I am considering it. I just have to work out all the angles, widths, etc not to mention create the window sills that glass/plexi will rest. I probably should have cut the beams in half (vertically) and made it a little easier for me to figure out.
- - - Updated - - -
Nice work as always, and love how quickly the small one is coming right along!
By the way, I knew about the WIRED article and video, but never knew you made ABC World News Tonight earlier this year. Nice job! Video... https://www.youtube.com/watch?v=VId8c82HWuQ
Hey T,
Thanks so much! It is amazing how quickly this model is going compared to the full scale version!
Hey! We made it to ABC news! COOLNESS!
- - - Updated - - -
Simply amazing work my friend. Very impressive. Looking forward to seeing it completed.
Thank you, my friend!
generalvenduu
New Member
Any chance the Full size cockpit will be making it to Michigan? I so want to see it...but really can’t justify travel costs to Texas.
Any chance the Full size cockpit will be making it to Michigan? I so want to see it...but really can’t justify travel costs to Texas.
Hey G,
We are planning to attend next years Star Wars Celebration in Chicago! That's a bit closer than TX.
- - - Updated - - -
Great work you guys (Sofa and Izzy and all) Always a pleasure to see that cockpit grow at every post
Thanks, J! Izzy is doing a fantastic job with all these 3D model and prints. He's gone above and beyond! I'm also thinking we can be headed for some SERIOUS electrical work within the month!
Lt Washburn
Sr Member
I was wondering, do you know how much the full-size cockpit weighs?
I was wondering, do you know how much the full-size cockpit weighs?
Hey LtW,
I'm pretty sure it's between 500 and 1000 lbs total weight. The cockpit corridor is really light compared to the nose section.
Hi Gang,
Just a quick mid-week update!
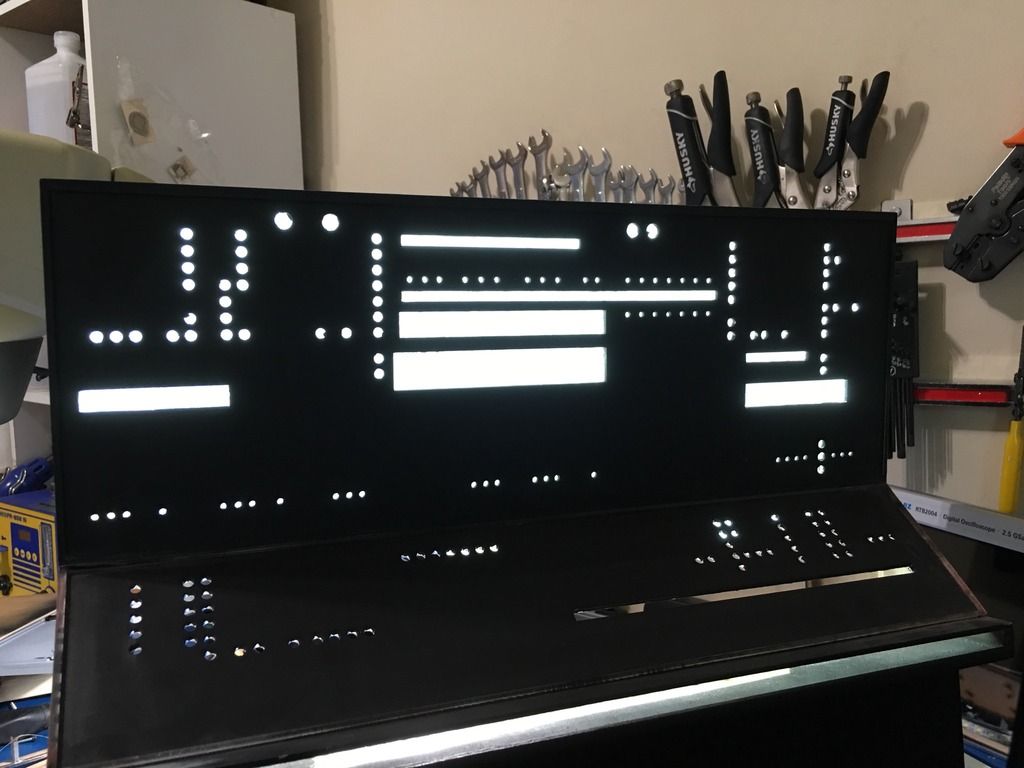
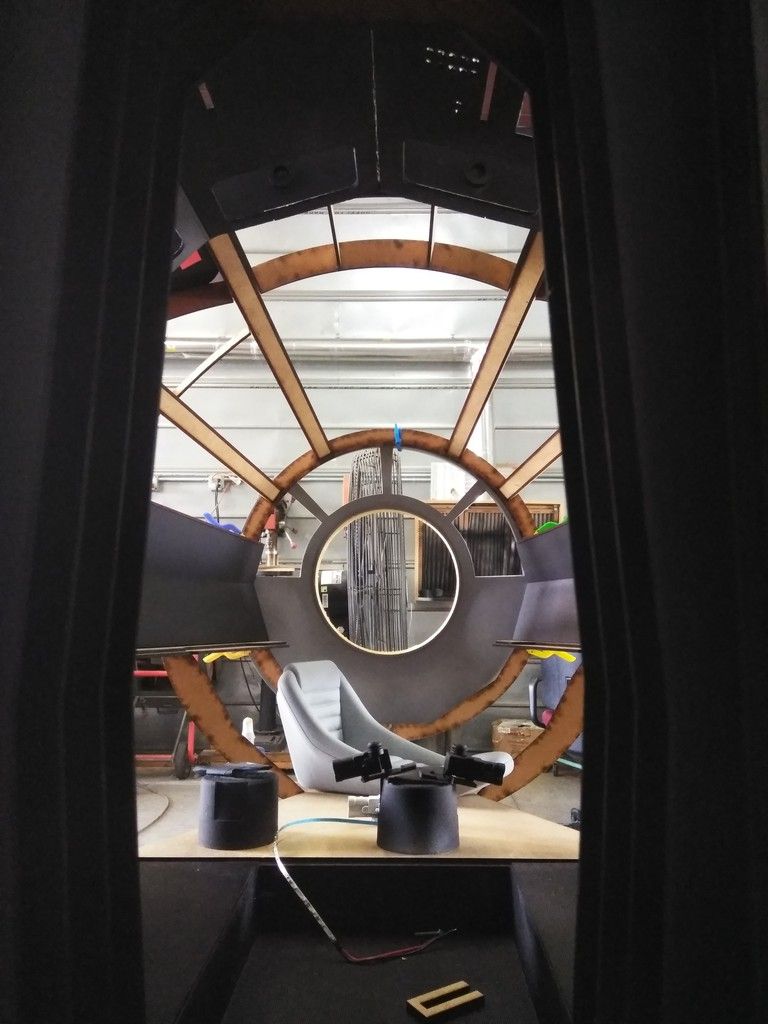
Philip finished up the preliminary wiring on the Nav Computer!

He had to create 3 notches to allow the new interior LED shelf to fit

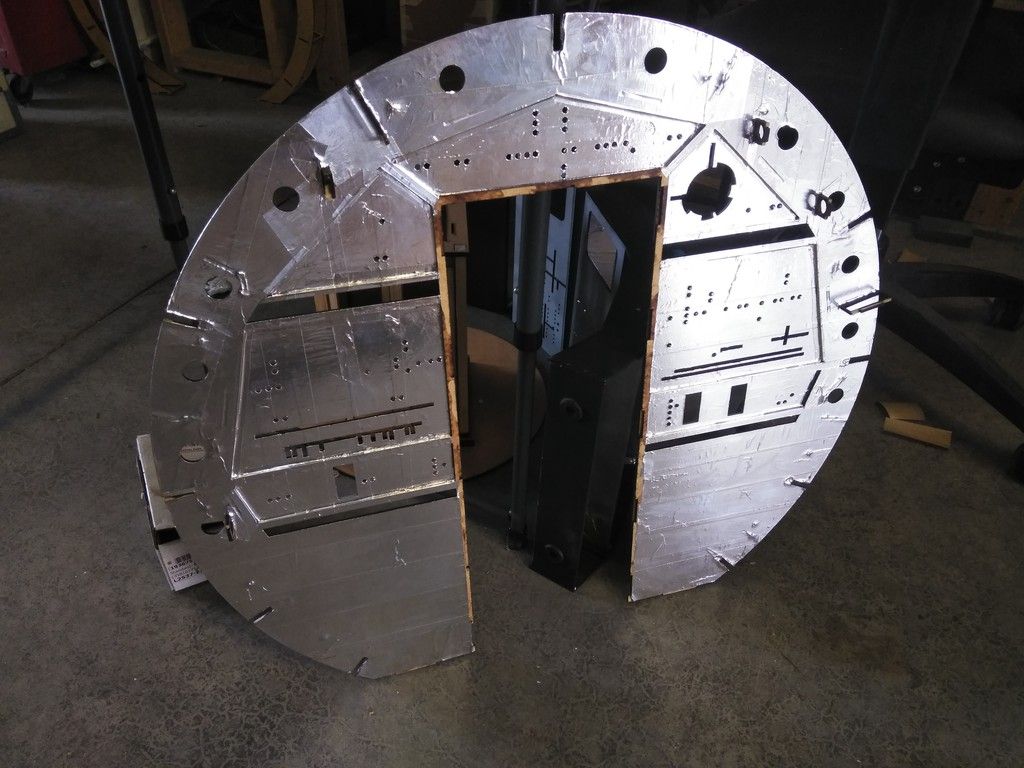
Both panels are now backlit!

Looks like I have some work to do on these main panels!

Thanks, Philip!
Just a quick mid-week update!
Philip finished up the preliminary wiring on the Nav Computer!
He had to create 3 notches to allow the new interior LED shelf to fit
Both panels are now backlit!
Looks like I have some work to do on these main panels!
Thanks, Philip!
BigBigDave
Active Member
That looks so good, y'all!
Hi Gang,
A quick sneak peek of this weekends activities!
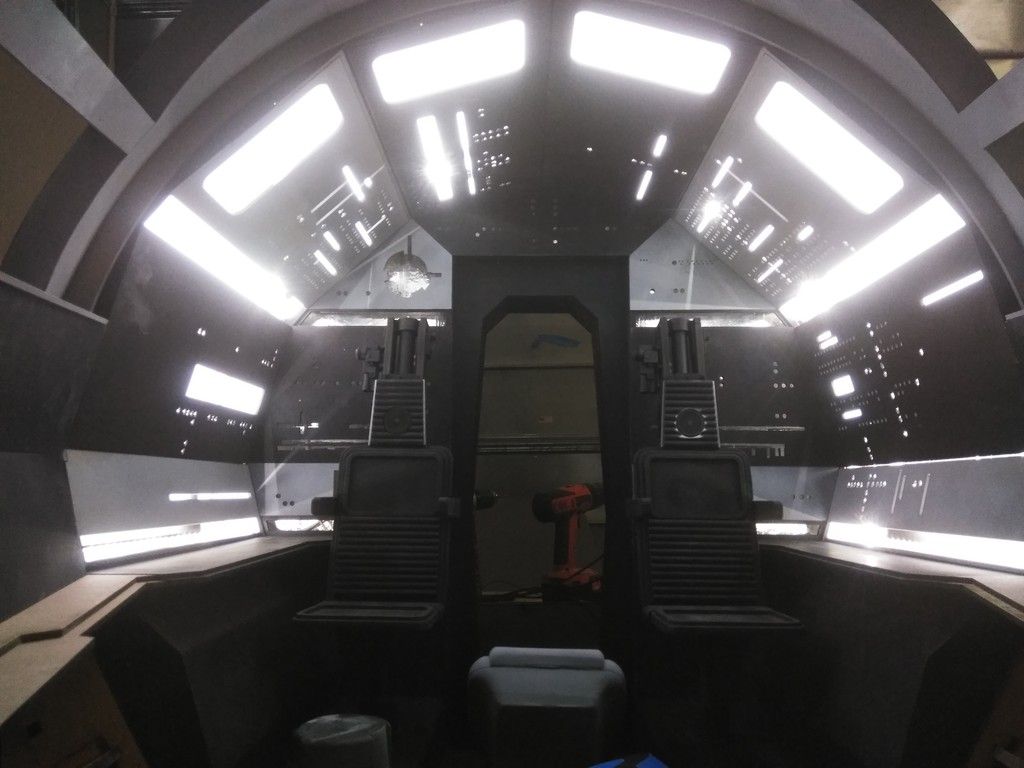
Lots of good stuff!
A quick sneak peek of this weekends activities!
Lots of good stuff!
Last edited:
Wow, that looks great all lit up!
Thanks, K! A HUGE thanks goes out to Philip for his continued help. Just wait until everything is place! Should be fun!!!
Similar threads
- Replies
- 11
- Views
- 1,100
- Replies
- 2
- Views
- 921
- Replies
- 2
- Views
- 961
- Replies
- 13
- Views
- 2,239