You are using an out of date browser. It may not display this or other websites correctly.
You should upgrade or use an alternative browser.
You should upgrade or use an alternative browser.
1:1 Millennium Falcon Cockpit Replica - Group Build
- Thread starter SteveStarkiller
- Start date
The panels are looking GREAT!!!
Thank you, Sir! I love how the new greeblies look. I was hoping to get a little more done. Got side tracked when Daniel popped over to drop off a few things and chatted about various upcoming/continuing projects. I'm going to push myself this weekend.
")
SK,
I agree. I, too, think the UK did use imperial standards very much like the US back then, at least for many linear measurements. Their screw thread systems were/are different though, as are some other weights & measures. They probably had a better familiarity with the metric system than the US did back then, though I think it is even more widespread today. Perhaps some UK readers can shed some light on the state of UK measuring systems back then…perhaps Wavey, if he is old enough to have lived through the era. Apologies to Wavey if he is not that aged.
The US is still struggling a bit with the metric system. There was a US movement back in those days to switch from the national imperial standard to the metric standard. In fact, the US government stated they would give preference to contractors who used the metric system. Ultimately, it didn’t really pan out, at least not completely. Sure, we find more and more metric fasteners on products, but there still is a healthy amount of imperial fasteners, and the construction industry is still largely imperial.
I find the key to reconstructing OT SW base designs is to think in the imperial system. Yes, I know there were objects used that were designed and built to metric standards, but those tended to be found parts that were repurposed for various elements on props and greeblies on models. But if there were a design on paper to actually fabricate a thing, all I have ever seen is imperial dimensions. Could there have been metric working drawings? Maybe, but none that I’ve come across.
Mark
Hi M,
I remember WAY back in 5th or 6th grade being "Forced" to learn the metric system. It didn't last. Had I lived in the UK, I would have grown up with the metric system. I'm in the US and I'm comfortable with the standard system. I haven't heard of any movement to reintroduce the metric system. I would suspect that it would be met with huge resistance.
Wavey is approx 347 years old. Having spent several years looking for greeblies... he has aged rapidly... and horribly! OH WAIT! He still has the seats and misc greeblies. I need to be nice until "AFTER" I get them.
So the Imperial System is essentially the same as the standard system - 1" = 25.5mm? So then that would mean all the dims and measurements are true?
Wavey
Sr Member
OH WAIT!
With the age thingy comes a terrible short term memory, mine gets practically wiped after every cup of tea so you're all good around eleven times per day.... Until Tuesday week 2039!
With the age thingy comes a terrible short term memory, mine gets practically wiped after every cup of tea so you're all good around eleven times per day.... Until Tuesday week 2039!
Don't you mean 2049? Because that's what you told us earlier this morning...
I remember WAY back in 5th or 6th grade being "Forced" to learn the metric system. It didn't last. Had I lived in the UK, I would have grown up with the metric system. I'm in the US and I'm comfortable with the standard system. I haven't heard of any movement to reintroduce the metric system. I would suspect that it would be met with huge resistance.
I can actually remember doing a play in grade school and I was Mr. Meter... I still don't remember anything about the metric system! LOL
rubble
Active Member
I live in the UK and was around that time, though only a wee nipper snapper. Imperial was the most used form those days in my memory. I grew up learning all of them, still use all of them and more. For nuts and bolts, have you come across the Whitworth standard? They would have been very much in use around those days. I seem to remember reading you were having trouble identifying a bolt the other week.
Some of the parts look like they could be from old Fostex reel to reel machines too.
Love this thread too and the work is fantastic. I love the updates they make my day too when I see them.
Some of the parts look like they could be from old Fostex reel to reel machines too.
Love this thread too and the work is fantastic. I love the updates they make my day too when I see them.
Darth Humorous
Well-Known Member
Apology... Accepted...
< Gasps, holding throat…falls to floor with a thud. Low level workers, grateful for their low levelness, collect body >
Mark
Darth Humorous
Well-Known Member
Hi M,
I remember WAY back in 5th or 6th grade being "Forced" to learn the metric system. It didn't last.
Well, that’s the thing. Maybe if they gave us special medication, strapped us to chairs, kept our eyes open with medical instruments, and showed us metric training films incessantly, all the while playing old Ludwig Van’s 9th, we would have learned it AND embraced it.
I dunno… I overheard him mutter something about when 347 years SofaKing becomes, look as good he will not.Wavey is approx 347 years old. Having spent several years looking for greeblies... he has aged rapidly... and horribly!
I does, but only if 1" = 25.4mm.So the Imperial System is essentially the same as the standard system - 1" = 25.5mm? So then that would mean all the dims and measurements are true?
Mark
Darth Humorous
Well-Known Member
Finally, I was leaving work when I noticed this little bevel light on a scanner...
How sad that I have been walking past this scanner for over a year and NEVER noticed it!
I'm contacting the vendor to see if they are available
I hope you noticed the sign next to it in the past…and avoided it!
Mark
I always wanted to ask Harrison Ford or Peter Mayhew when they were in the cockpit, how did they conceptualize how the controls worked and what did they think each section would be used for when they set the nav computer or engaged the hyperdrive systems. I always thought it would have been cool to get their perspective on things. My guess is they just started flipping switches and turning knobs all over the place because there were so many of them, that would be the general answer that they would probably give, but on reflection I'm sure they sat in the cockpit for a few minutes and just looked around as they were preparing for a scene and thought to themselves "Ok this area would be for navigation controls... those levers I could pull to engage he hyperdrive... etc" because really they were the ones that determined their operation. Know what I mean?
I always wanted to ask Harrison Ford or Peter Mayhew when they were in the cockpit, how did they conceptualize how the controls worked
https://youtu.be/qwQy42F0JzU?t=4m11s
Hi Gang,
Happy Monday... Just a few little updates to kick start the week!
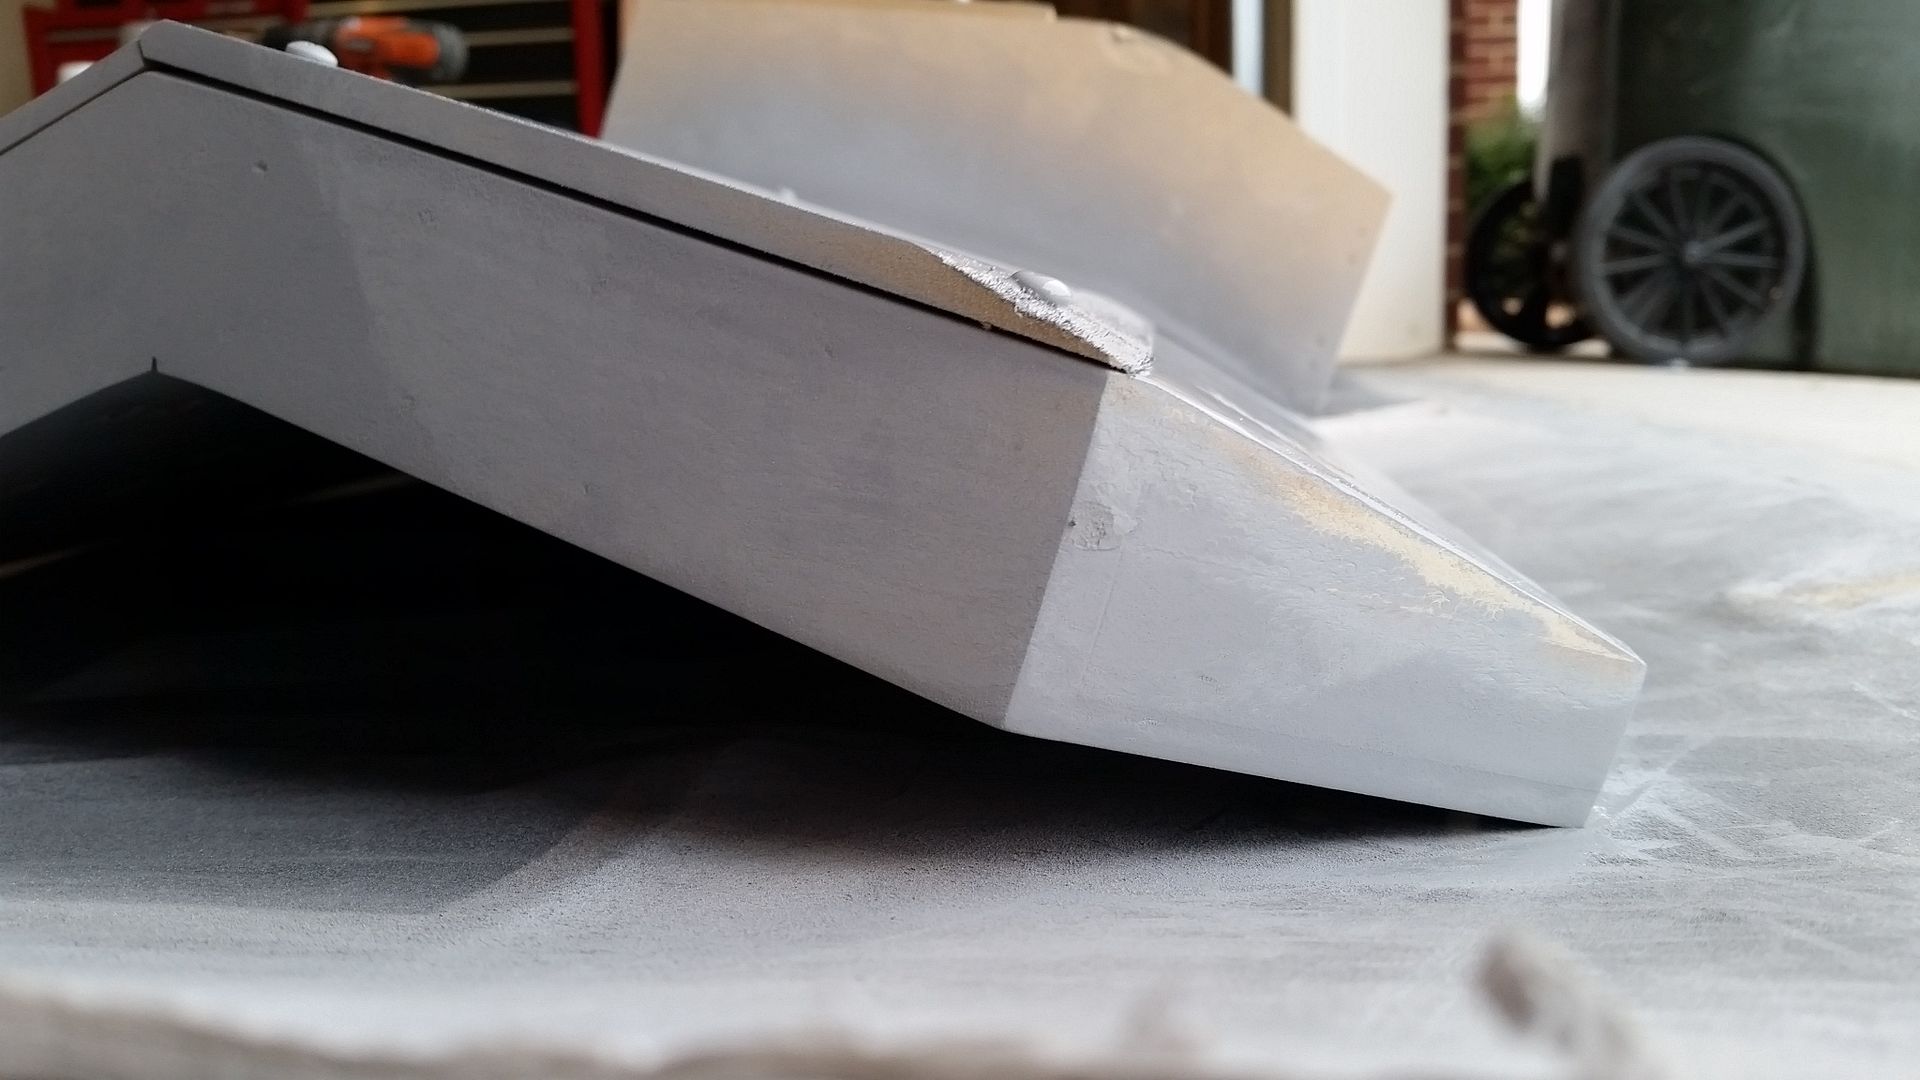
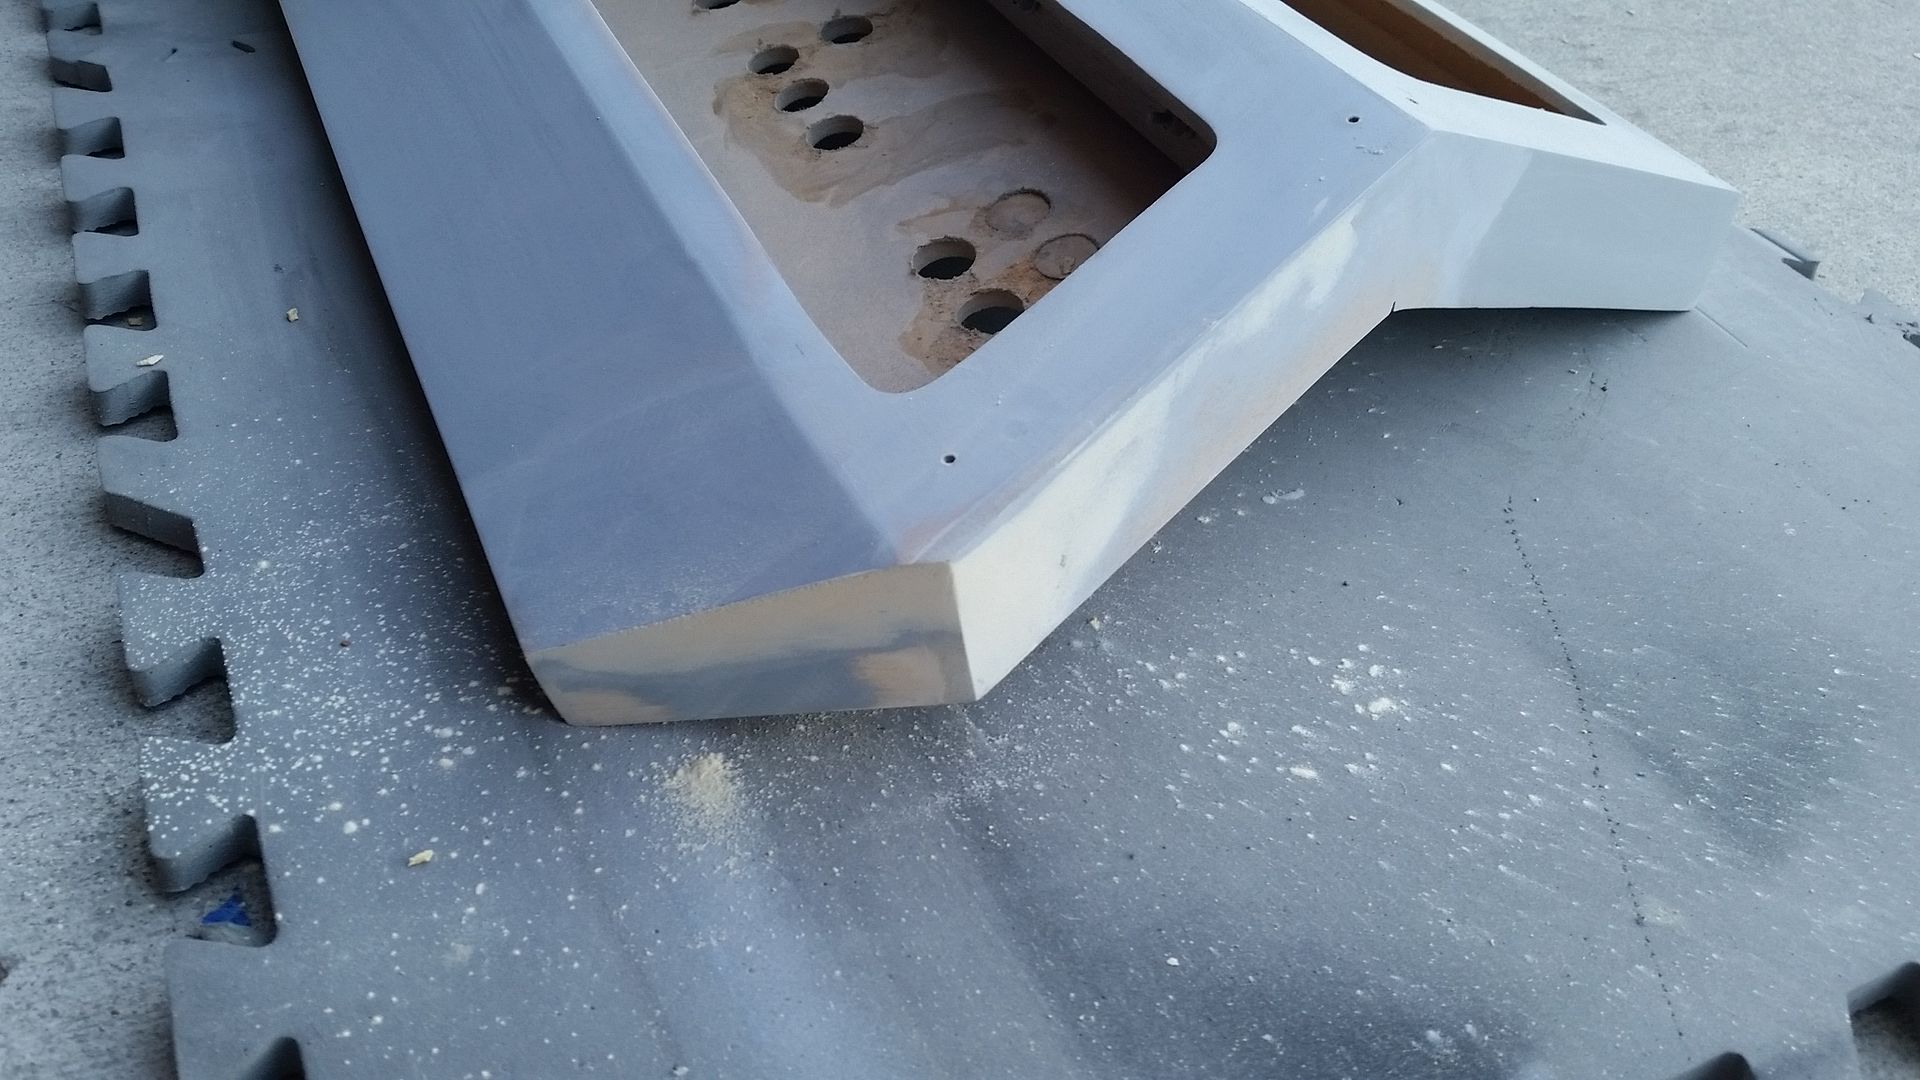
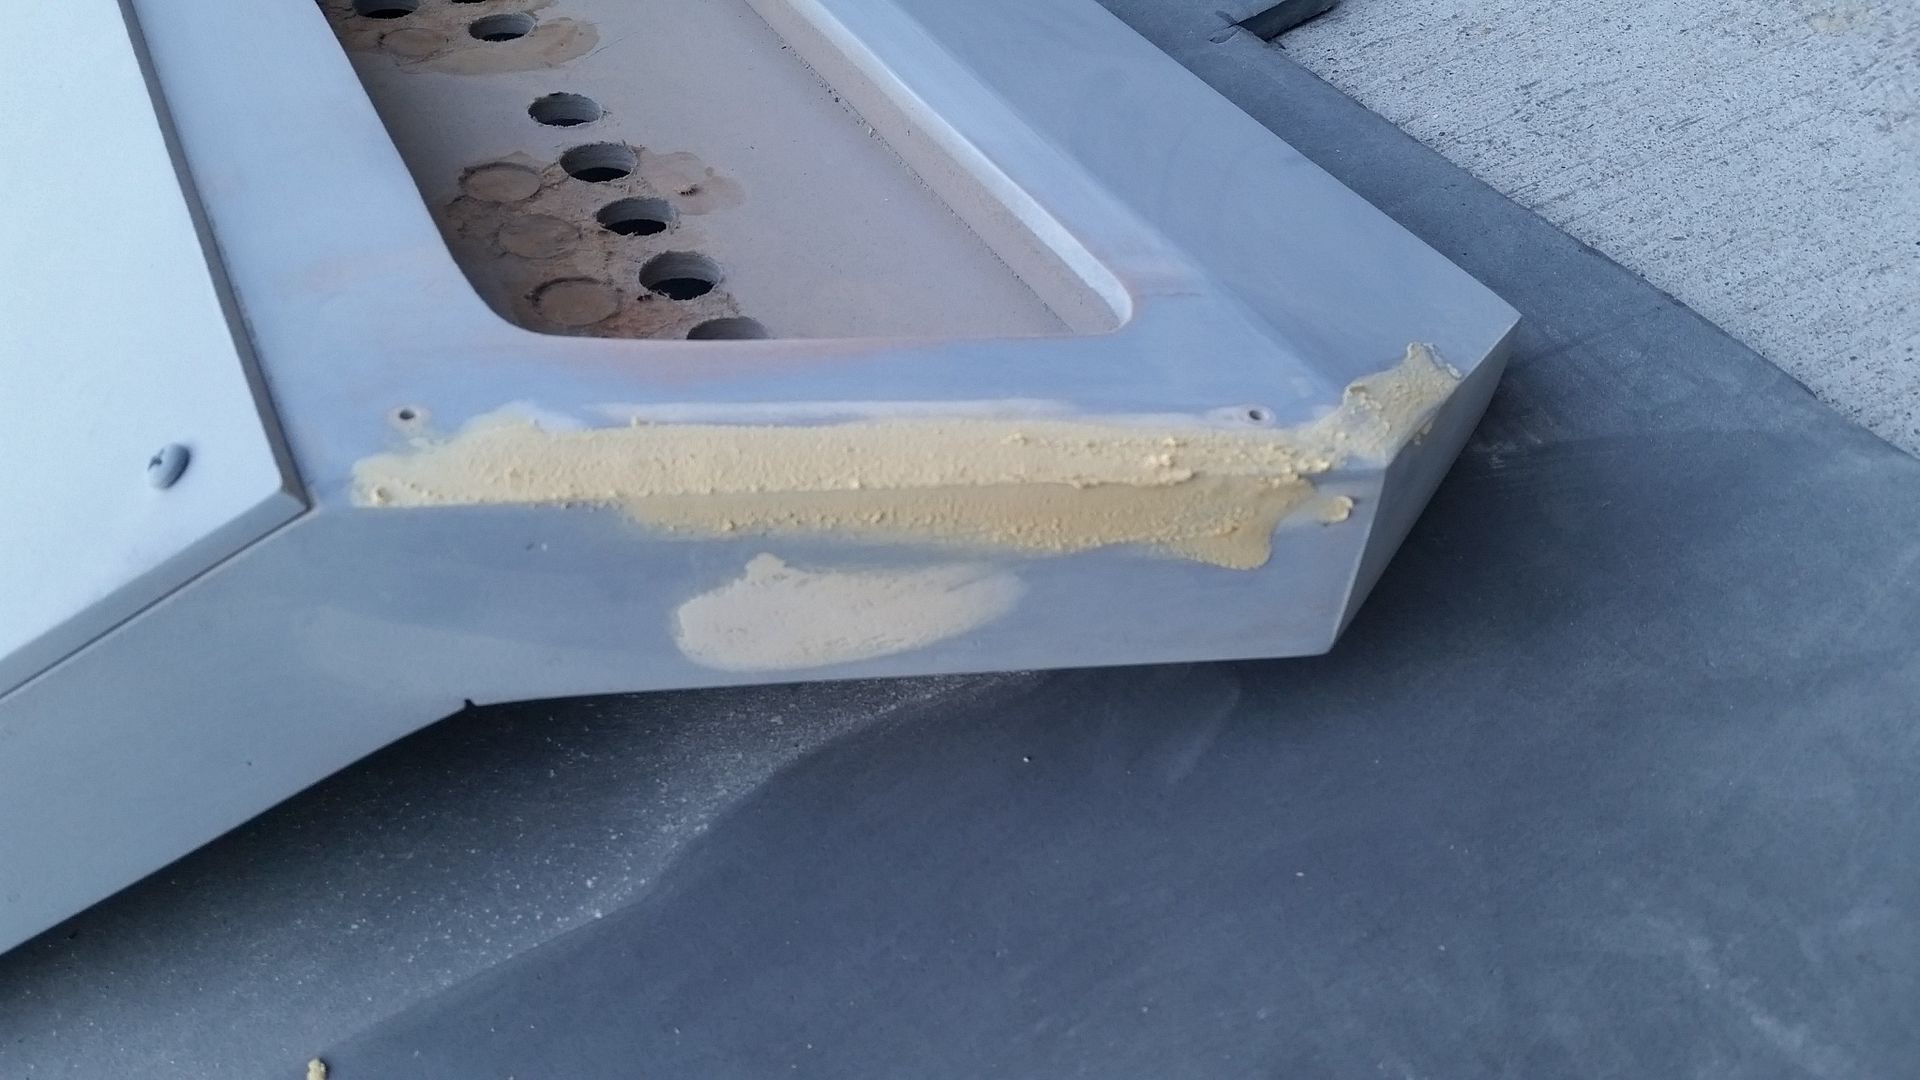
Friday afternoon started with my switching gears and jumping onto the new center console. The cover plates under the instrument panels desperately needed to be sanded down and the edges leveled out to a smooth transition

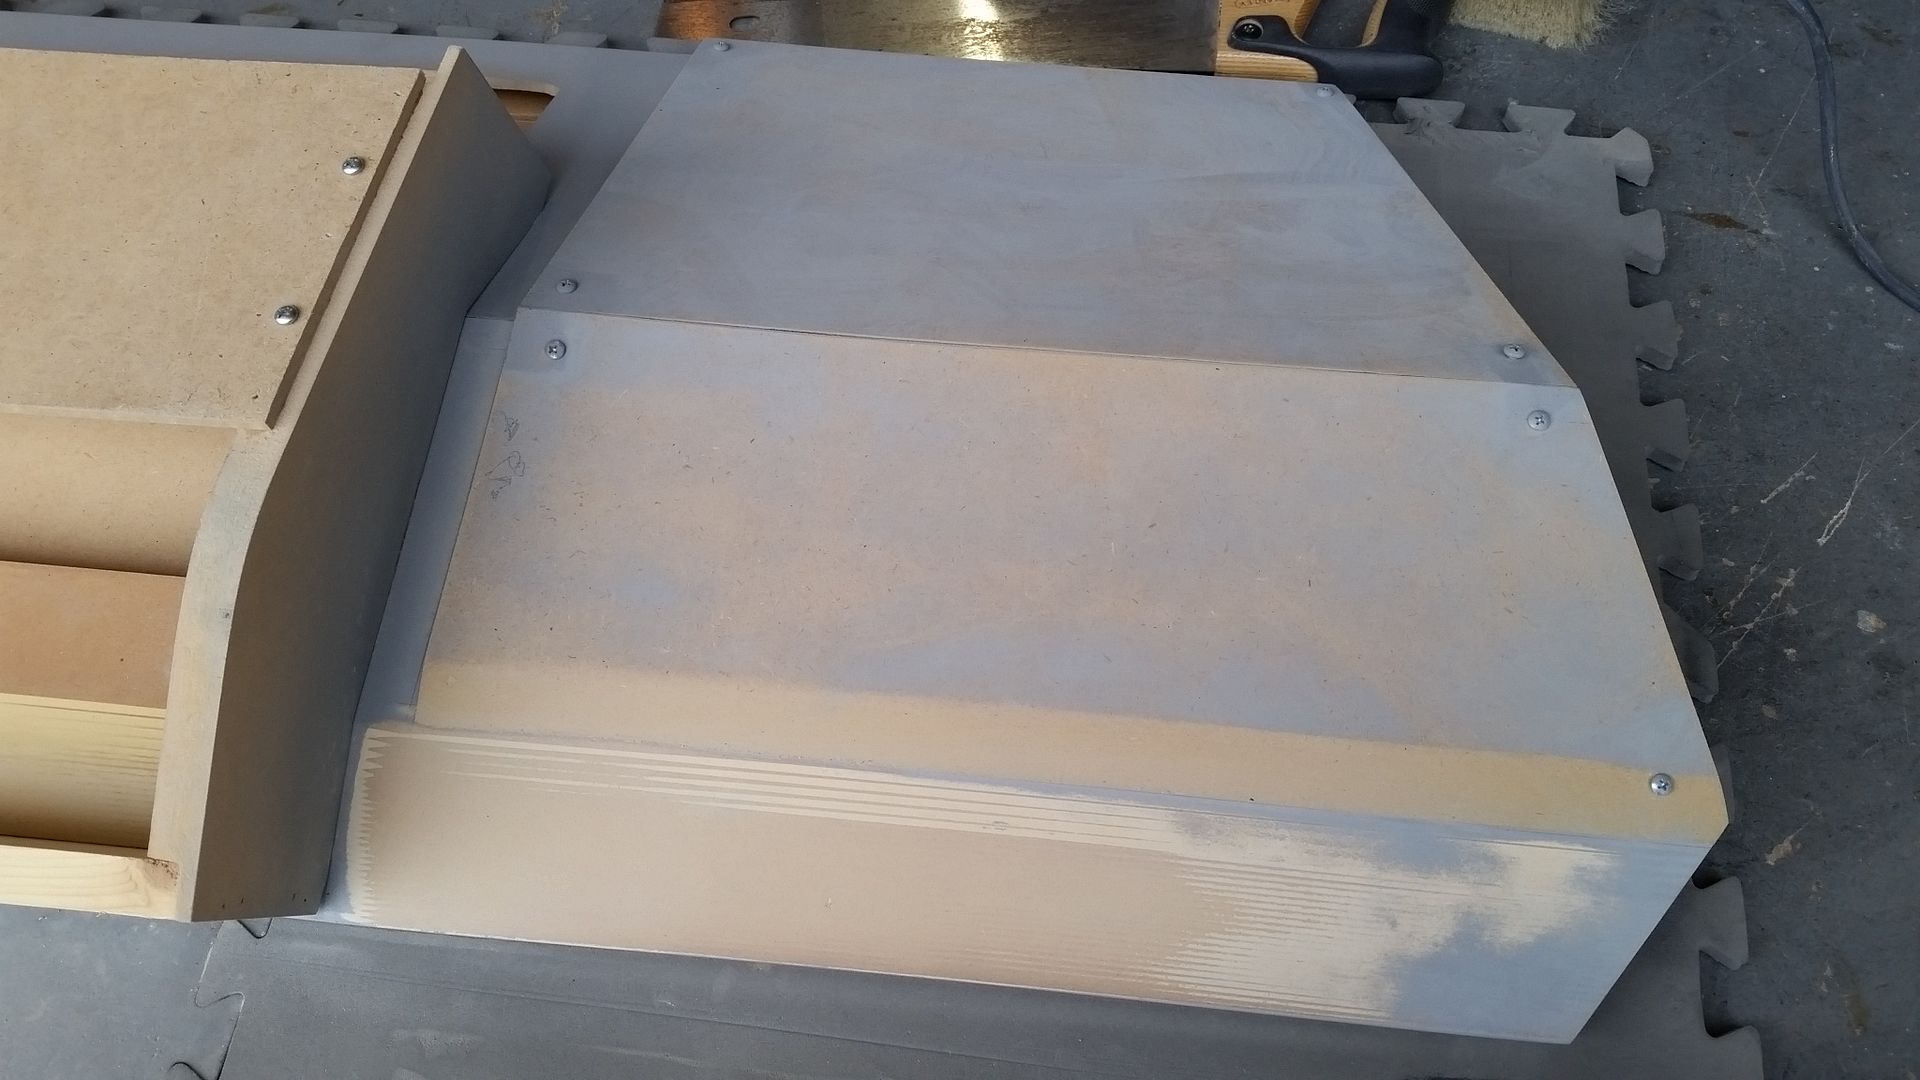
Note the tan horizontal sand mark

Primer / Filler
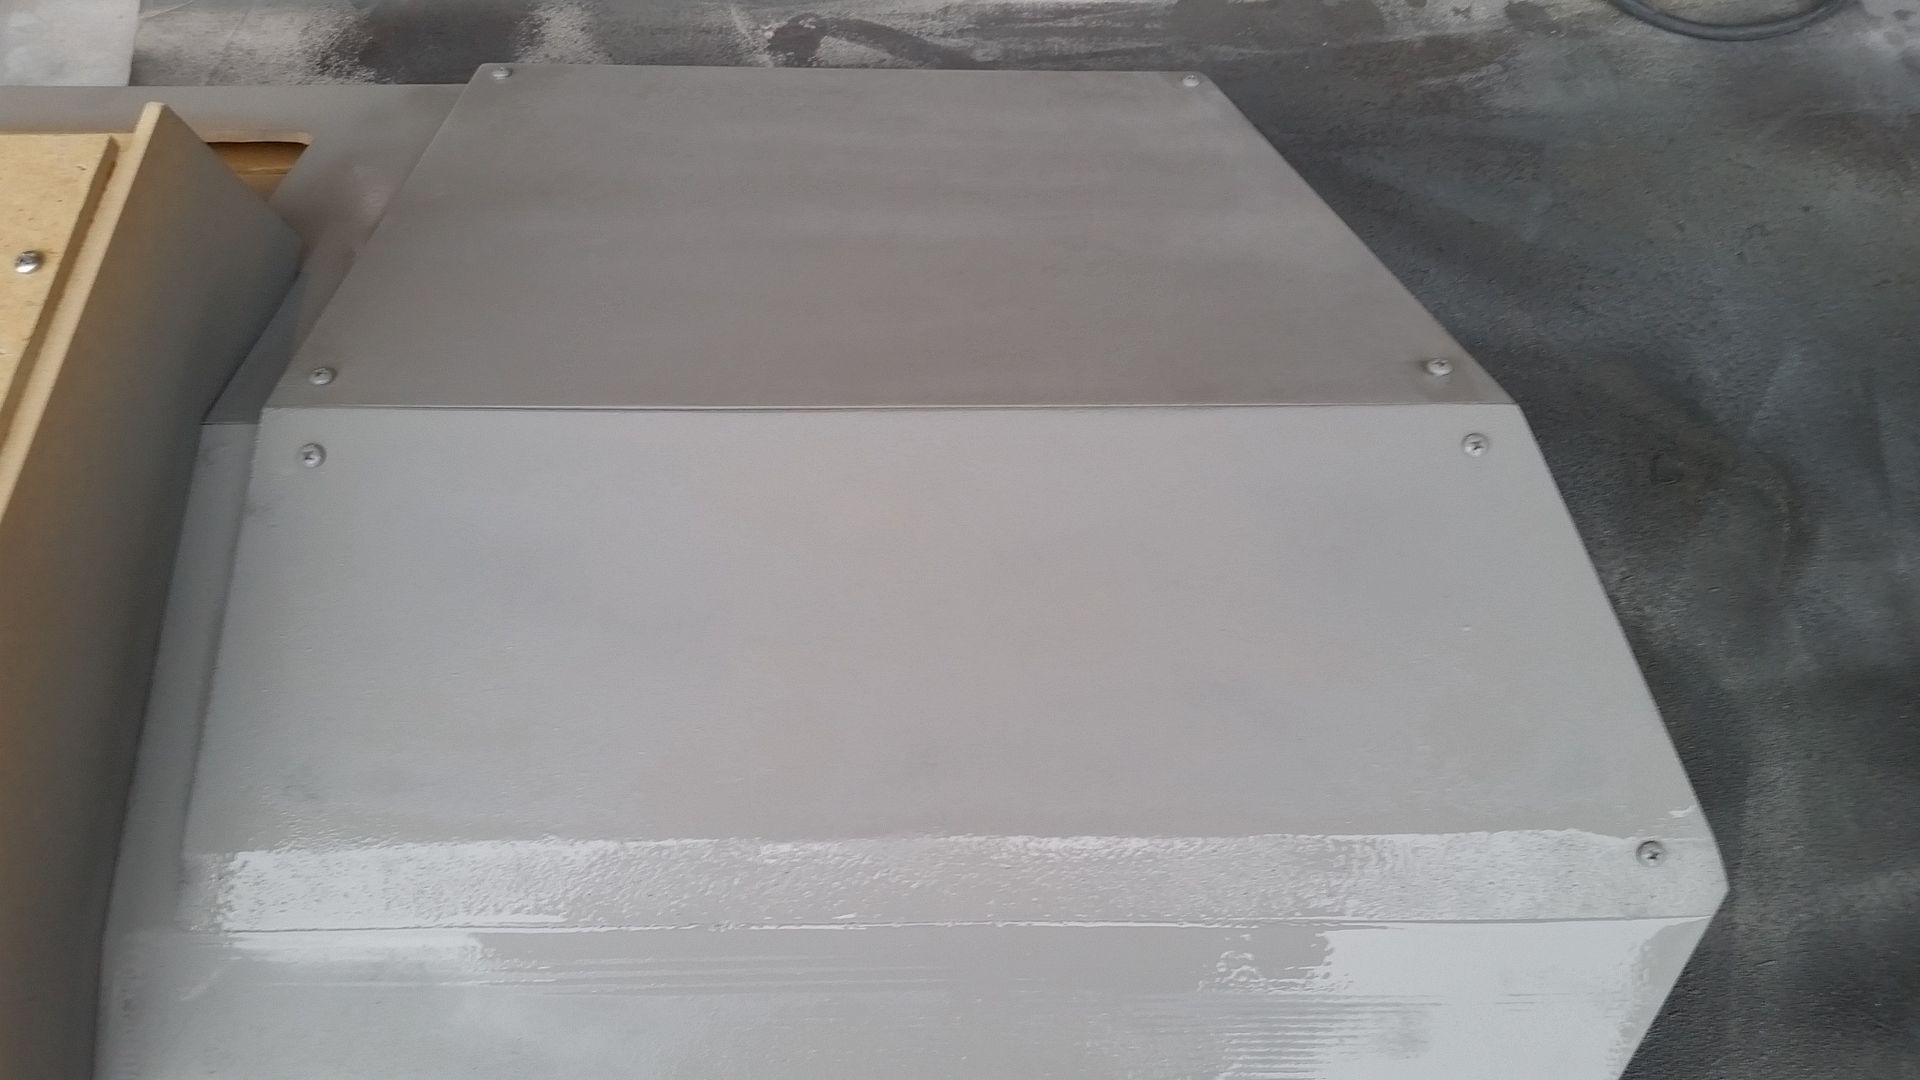
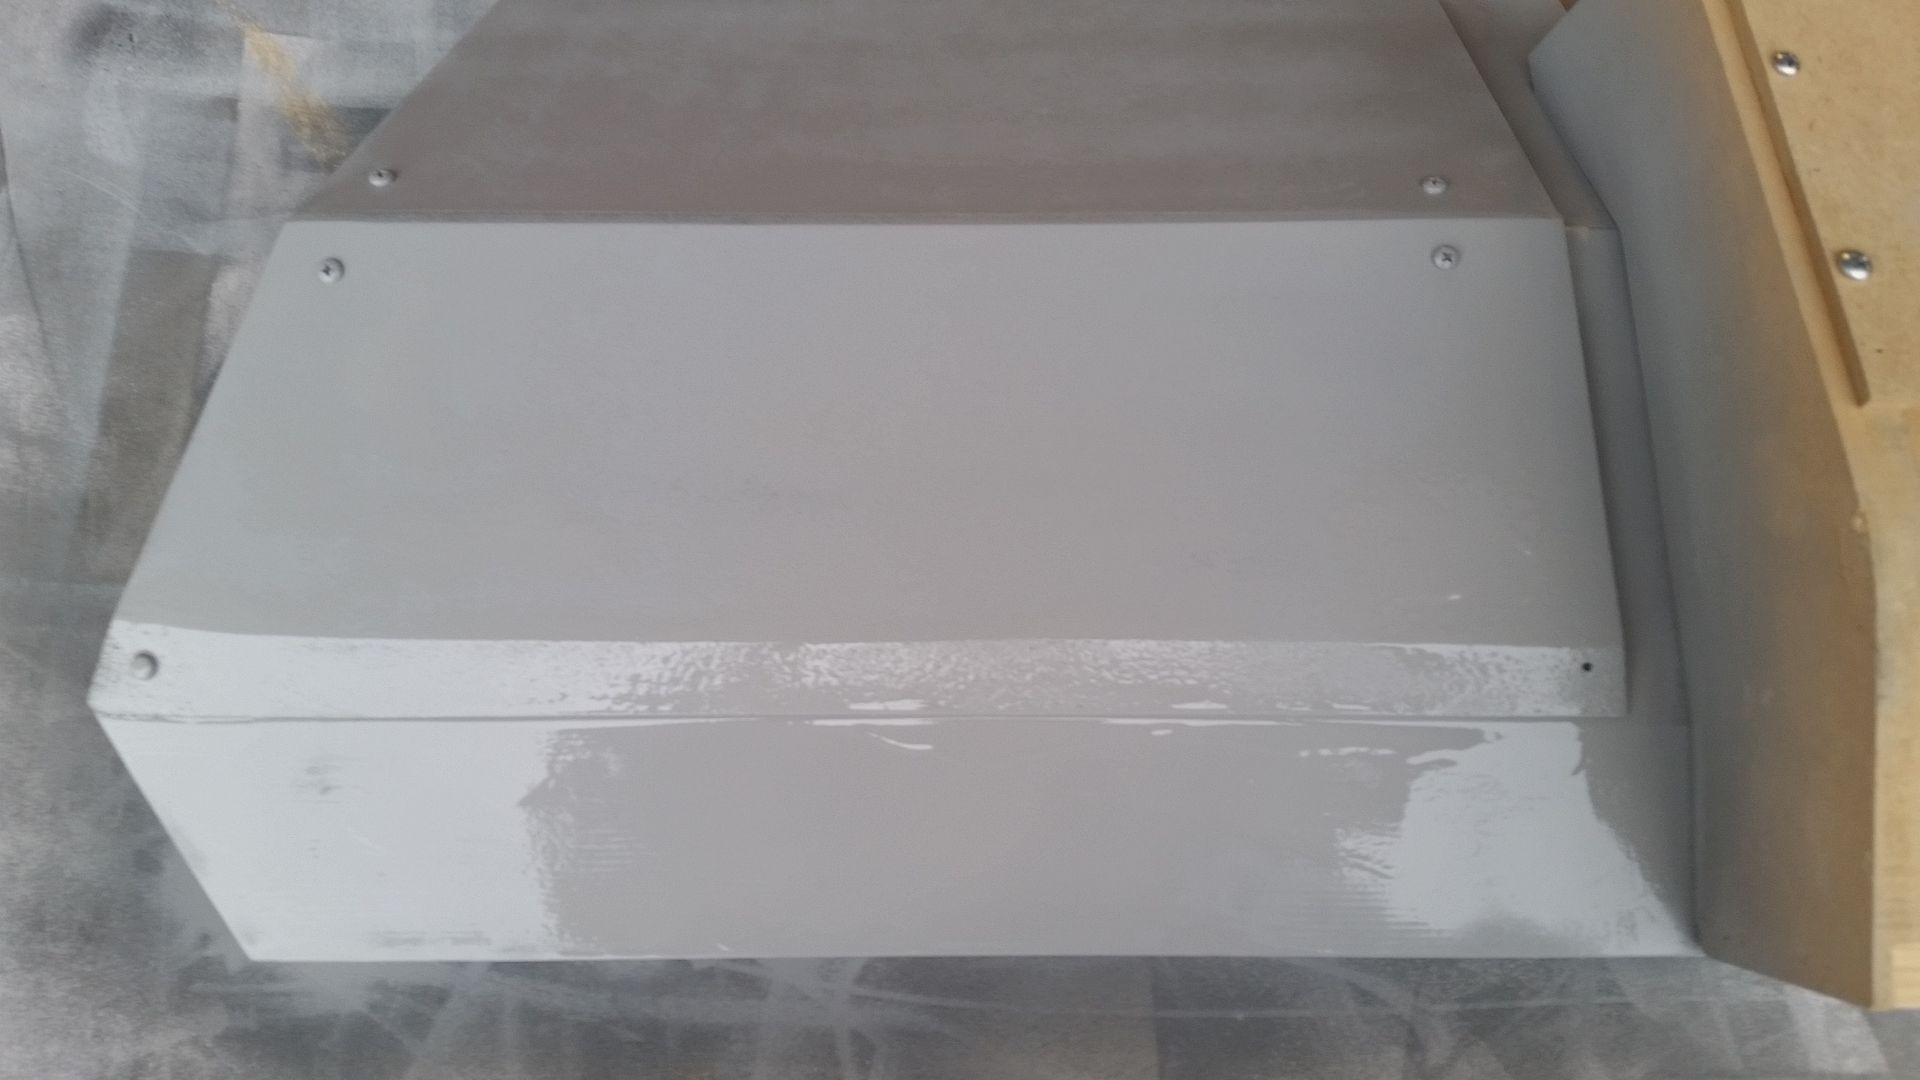
A little better

And then it started to rain. I was really hoping to get to add paint to the console but I did have a few other things to get to
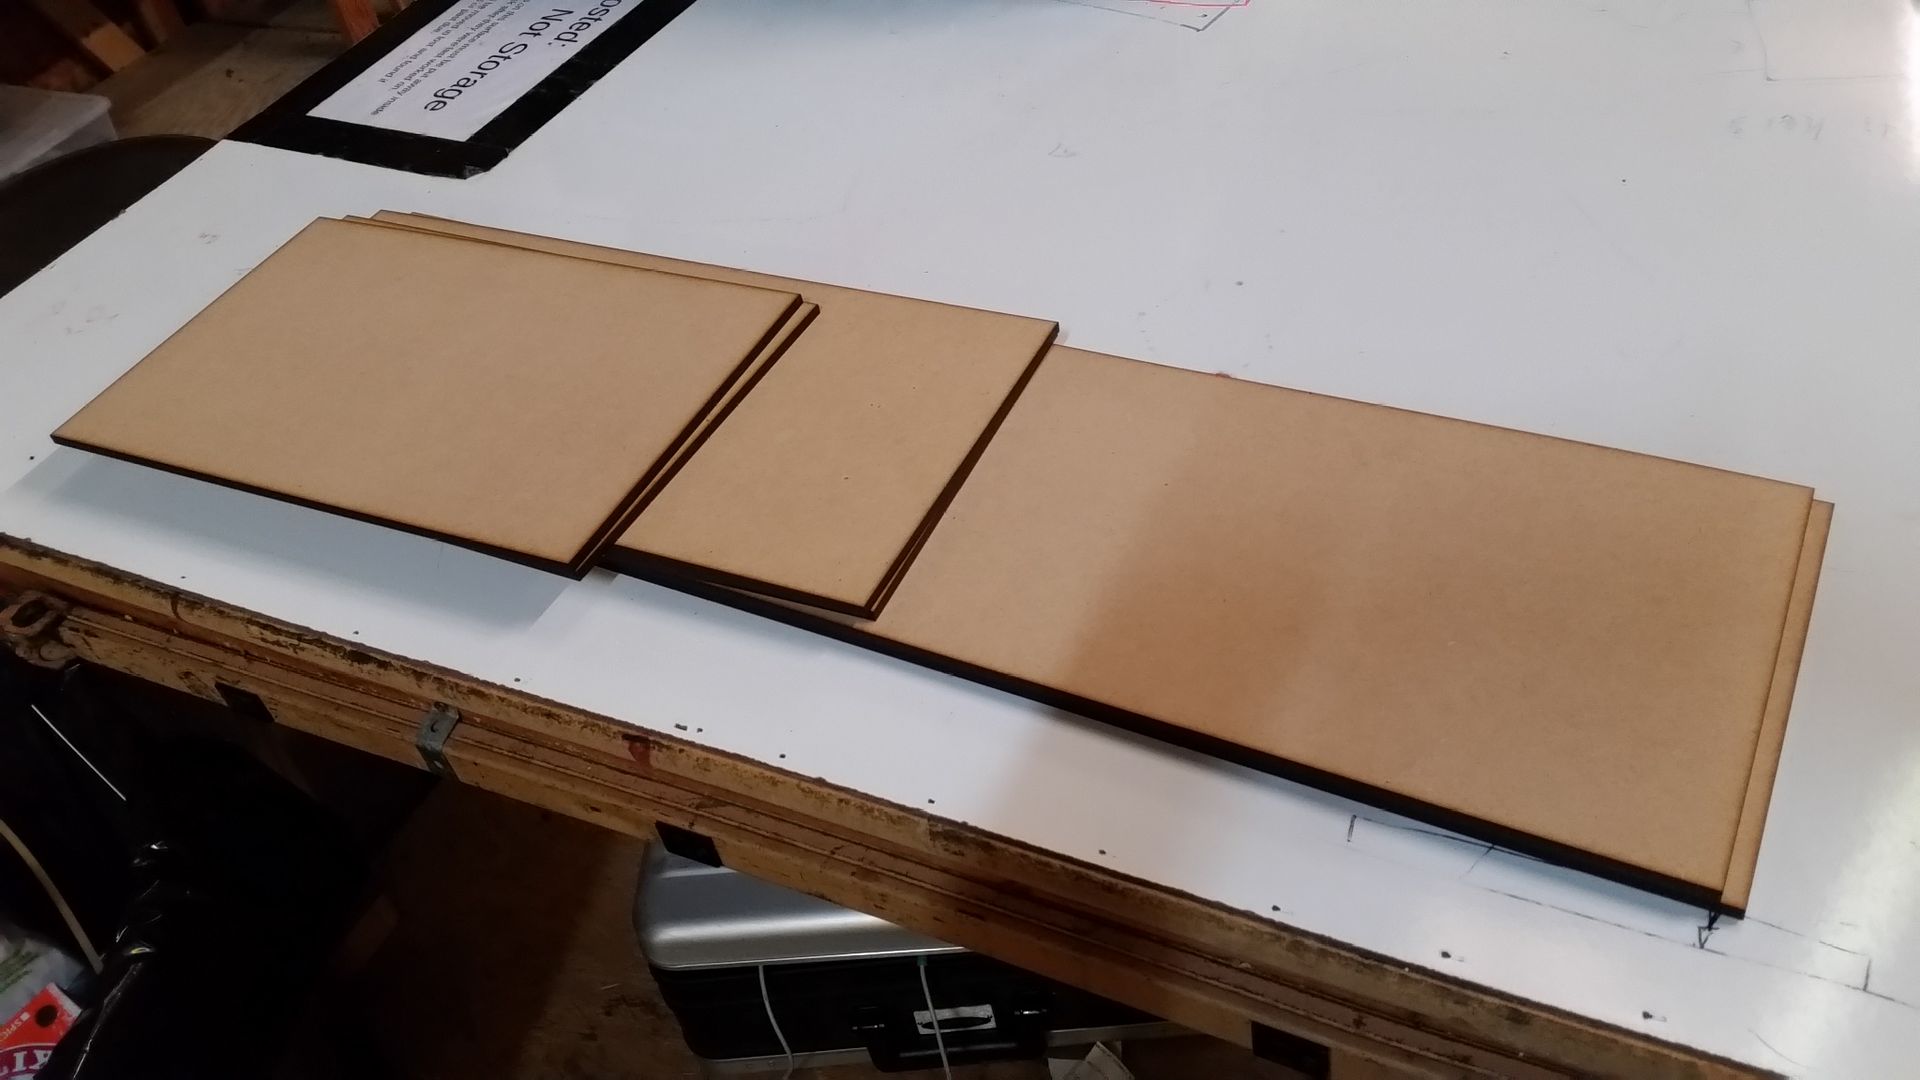
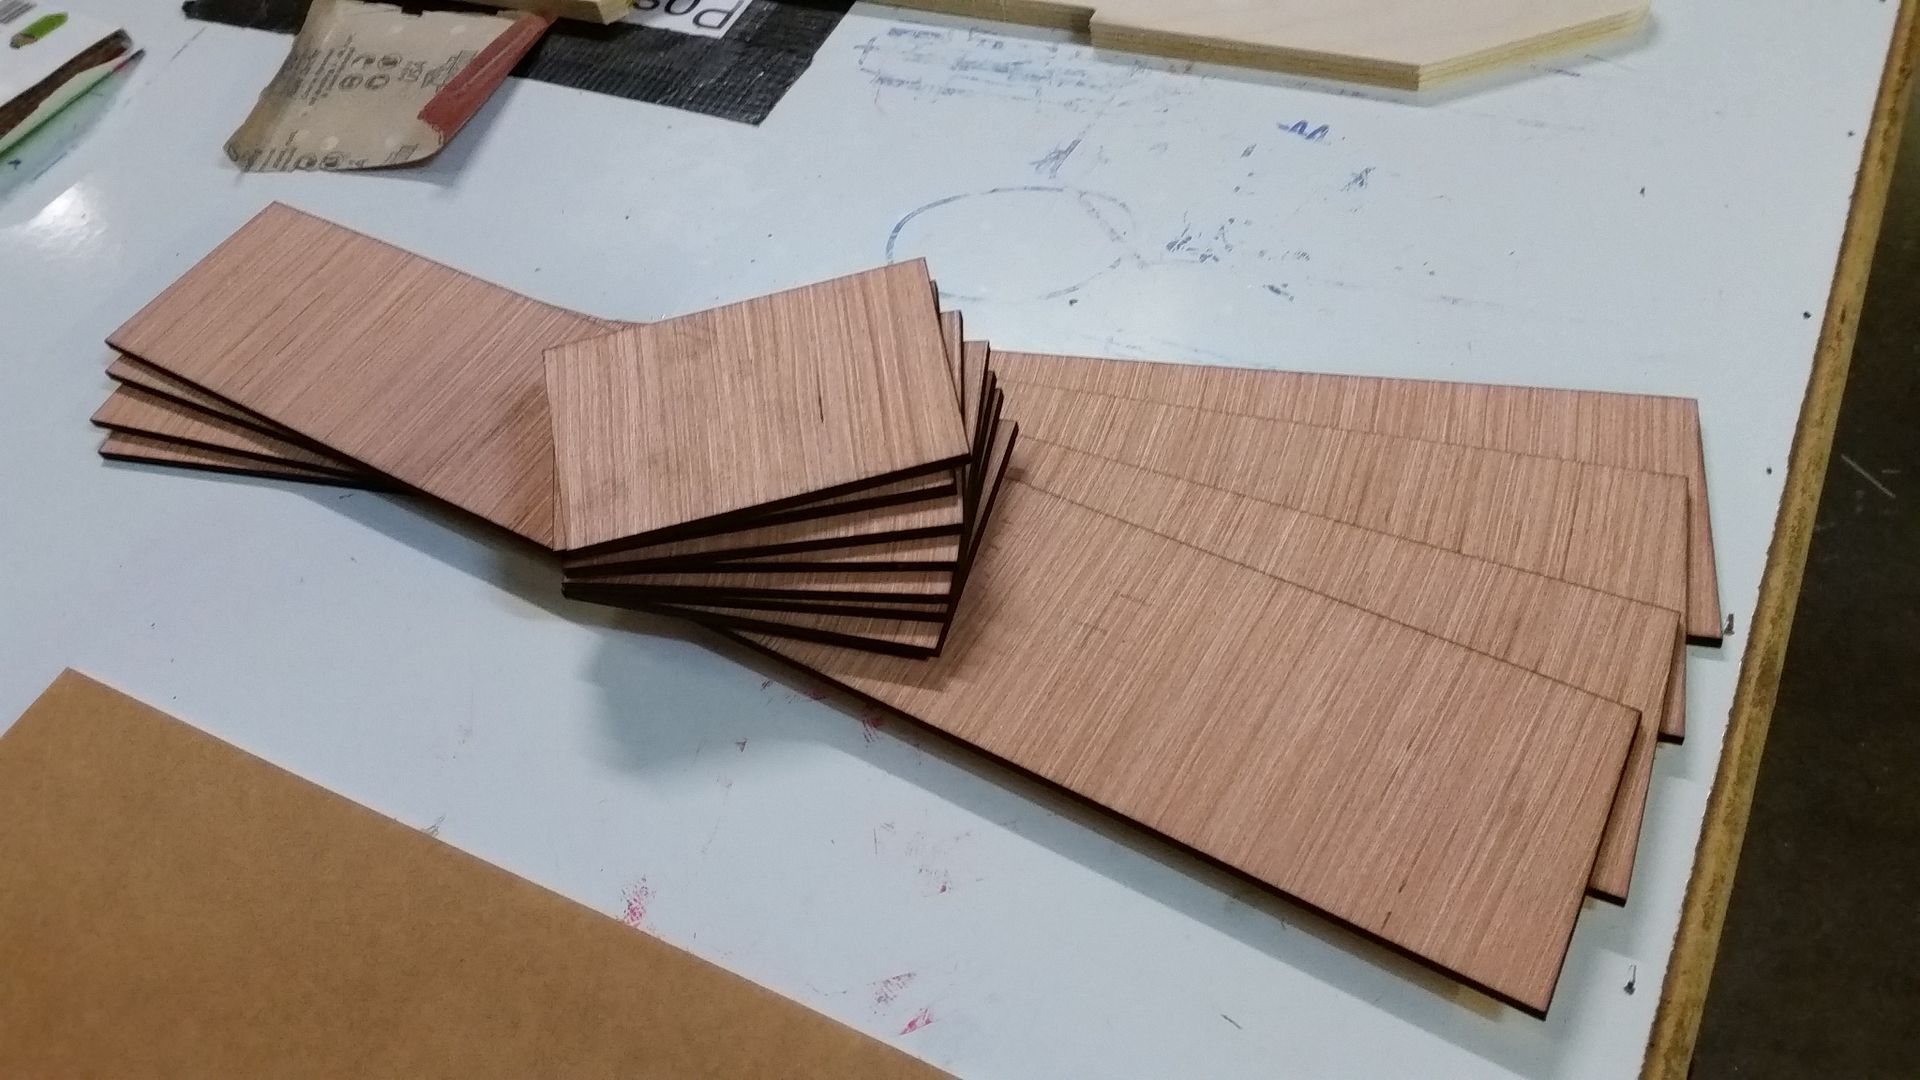
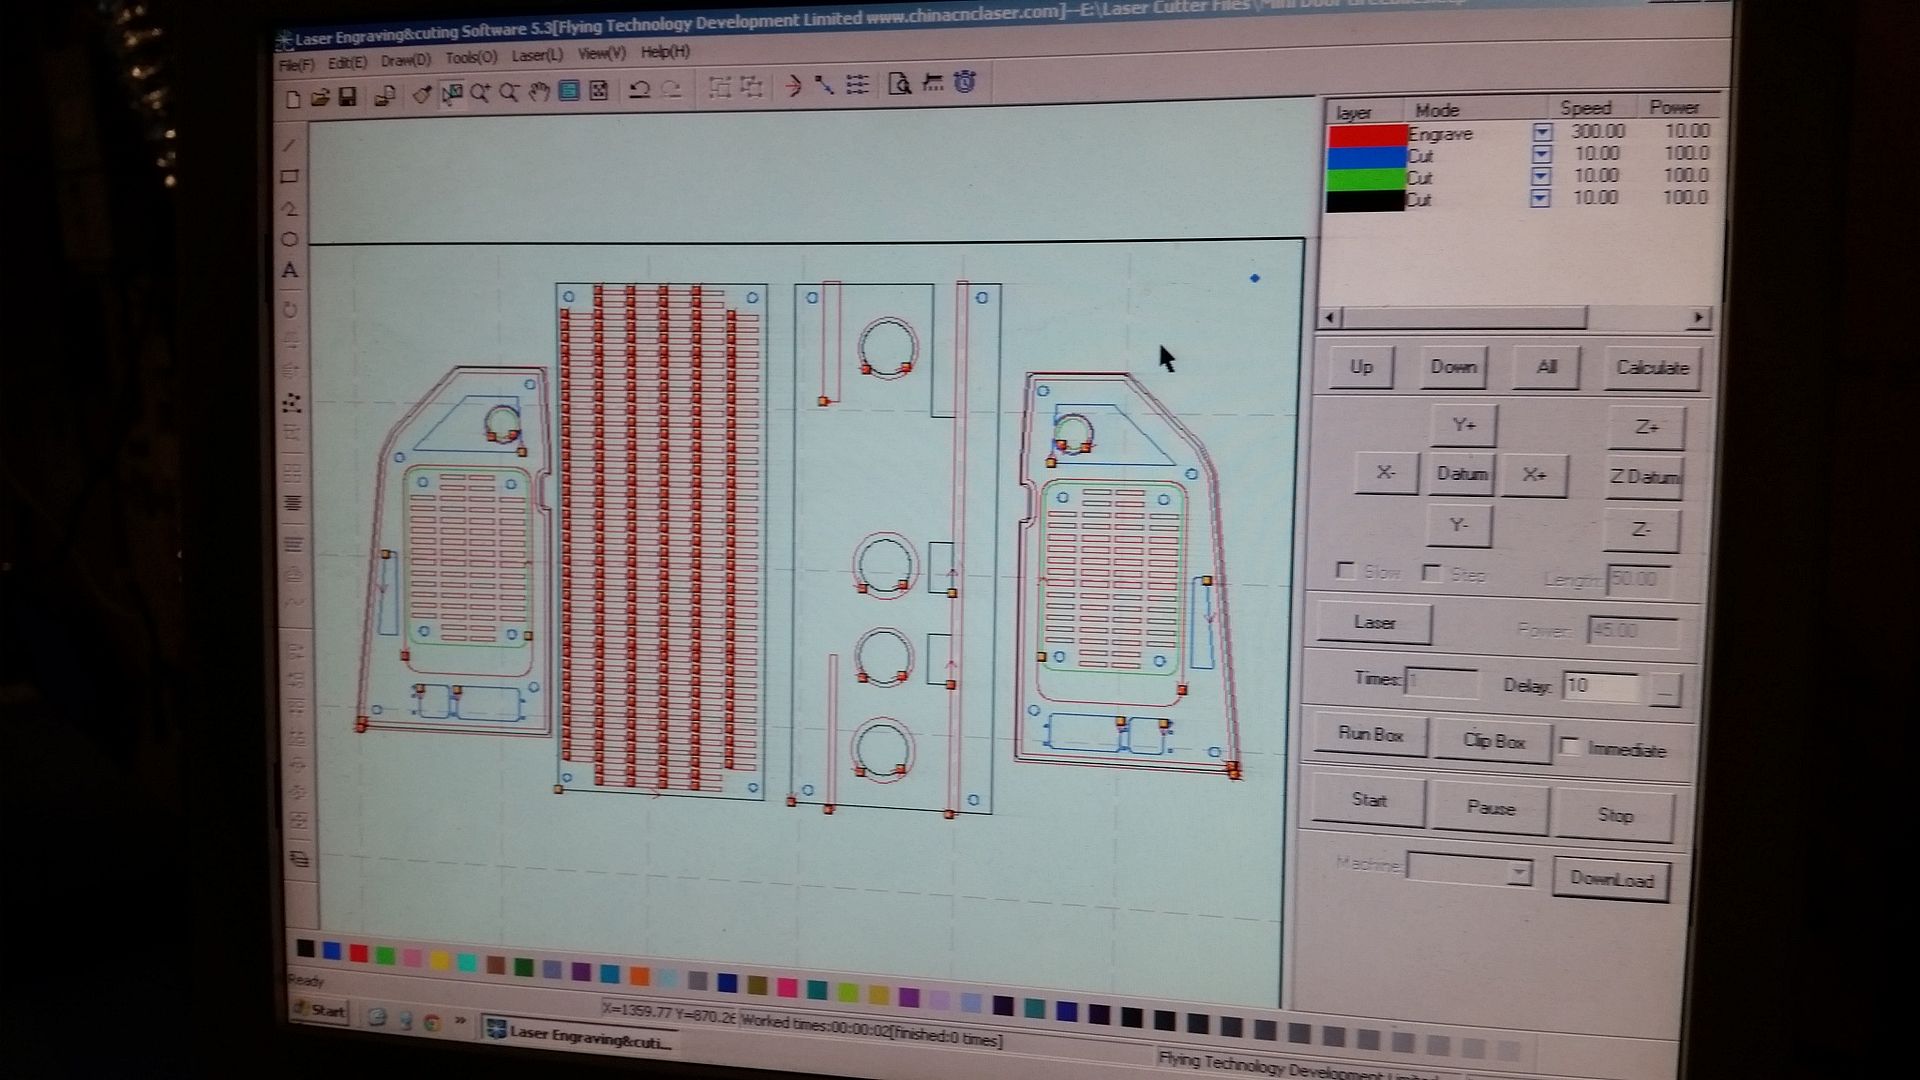
So, we jump to Sat morning where Jessie and I spent most of the day laser cutting. LOTS of new stuff to include the new 9.5" riser panels
Door and Door frame extensions
And this... As you all know the back of the door is some what boring so I decided to take a little artistic license and design a recessed panel greeblie that is heavily influenced by the front recessed panel. Getting ready to laser cut the acrylic
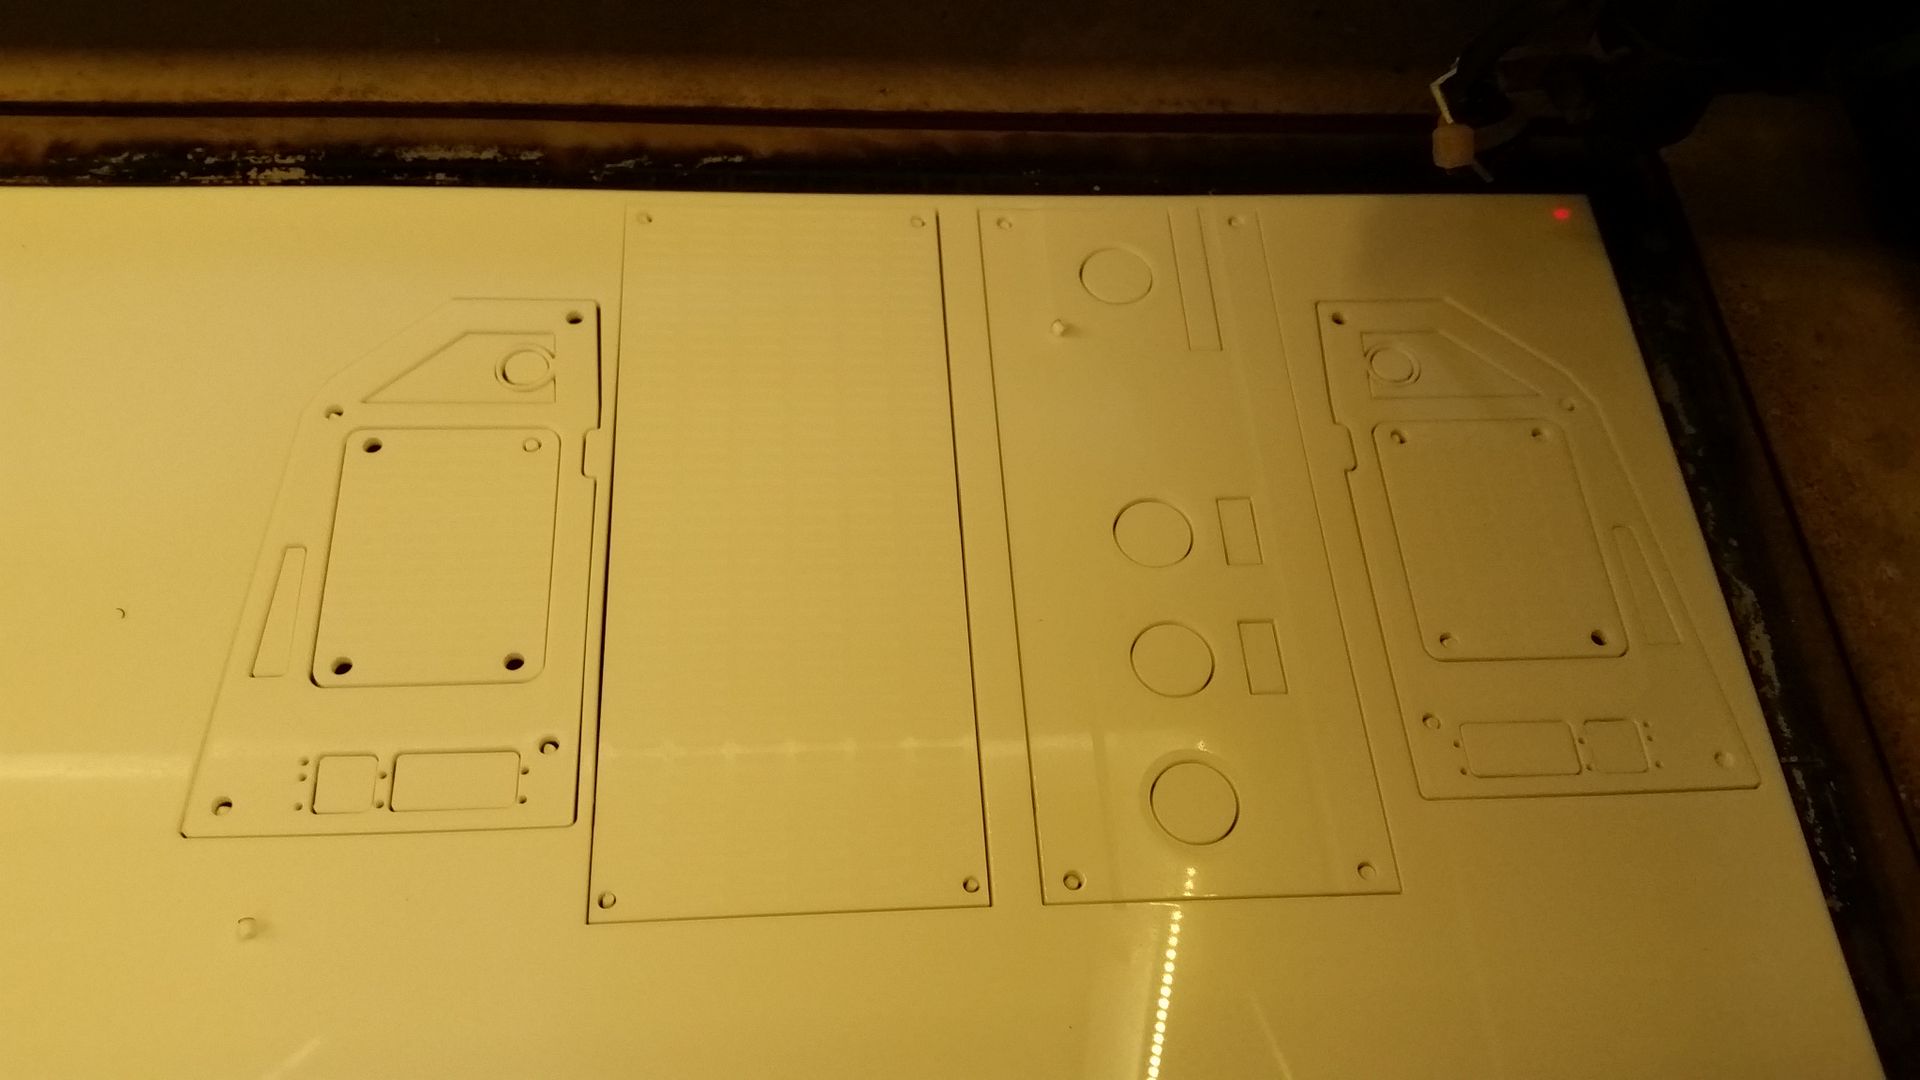
So far so good...?
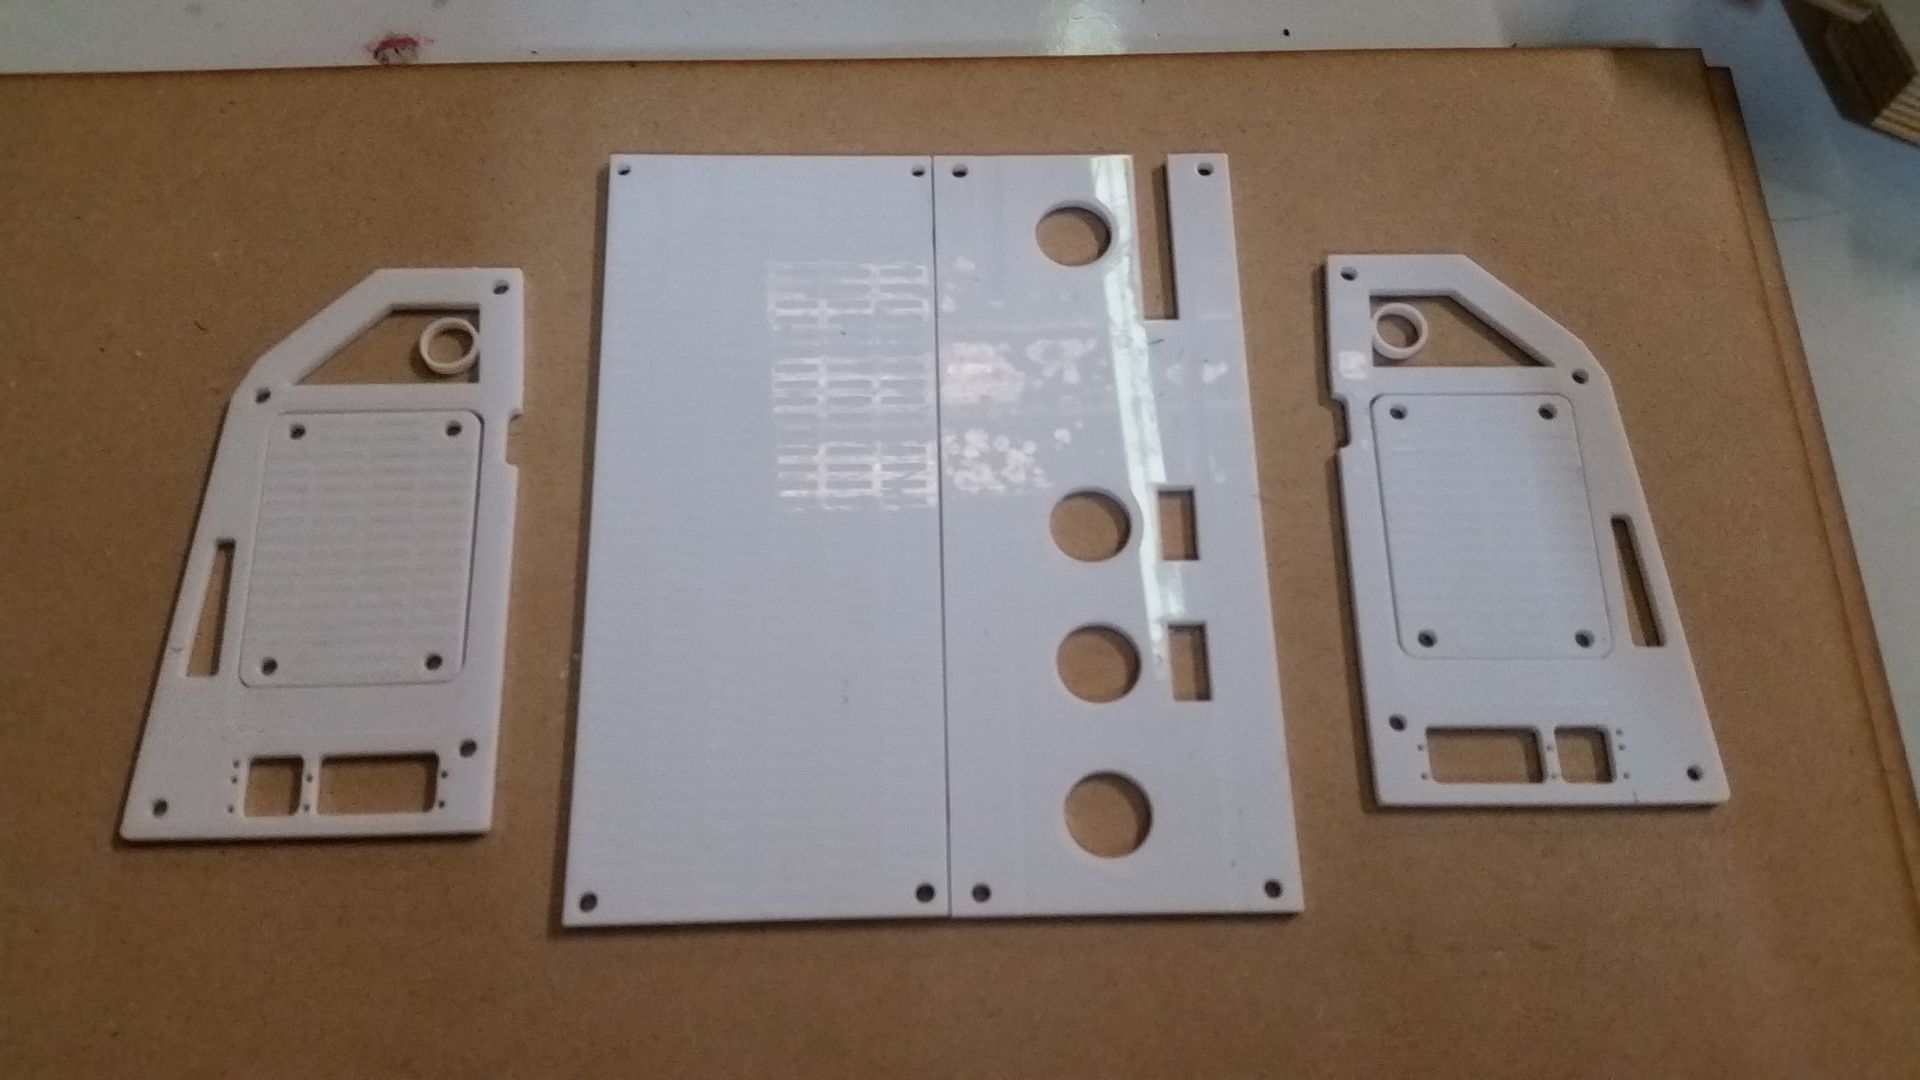
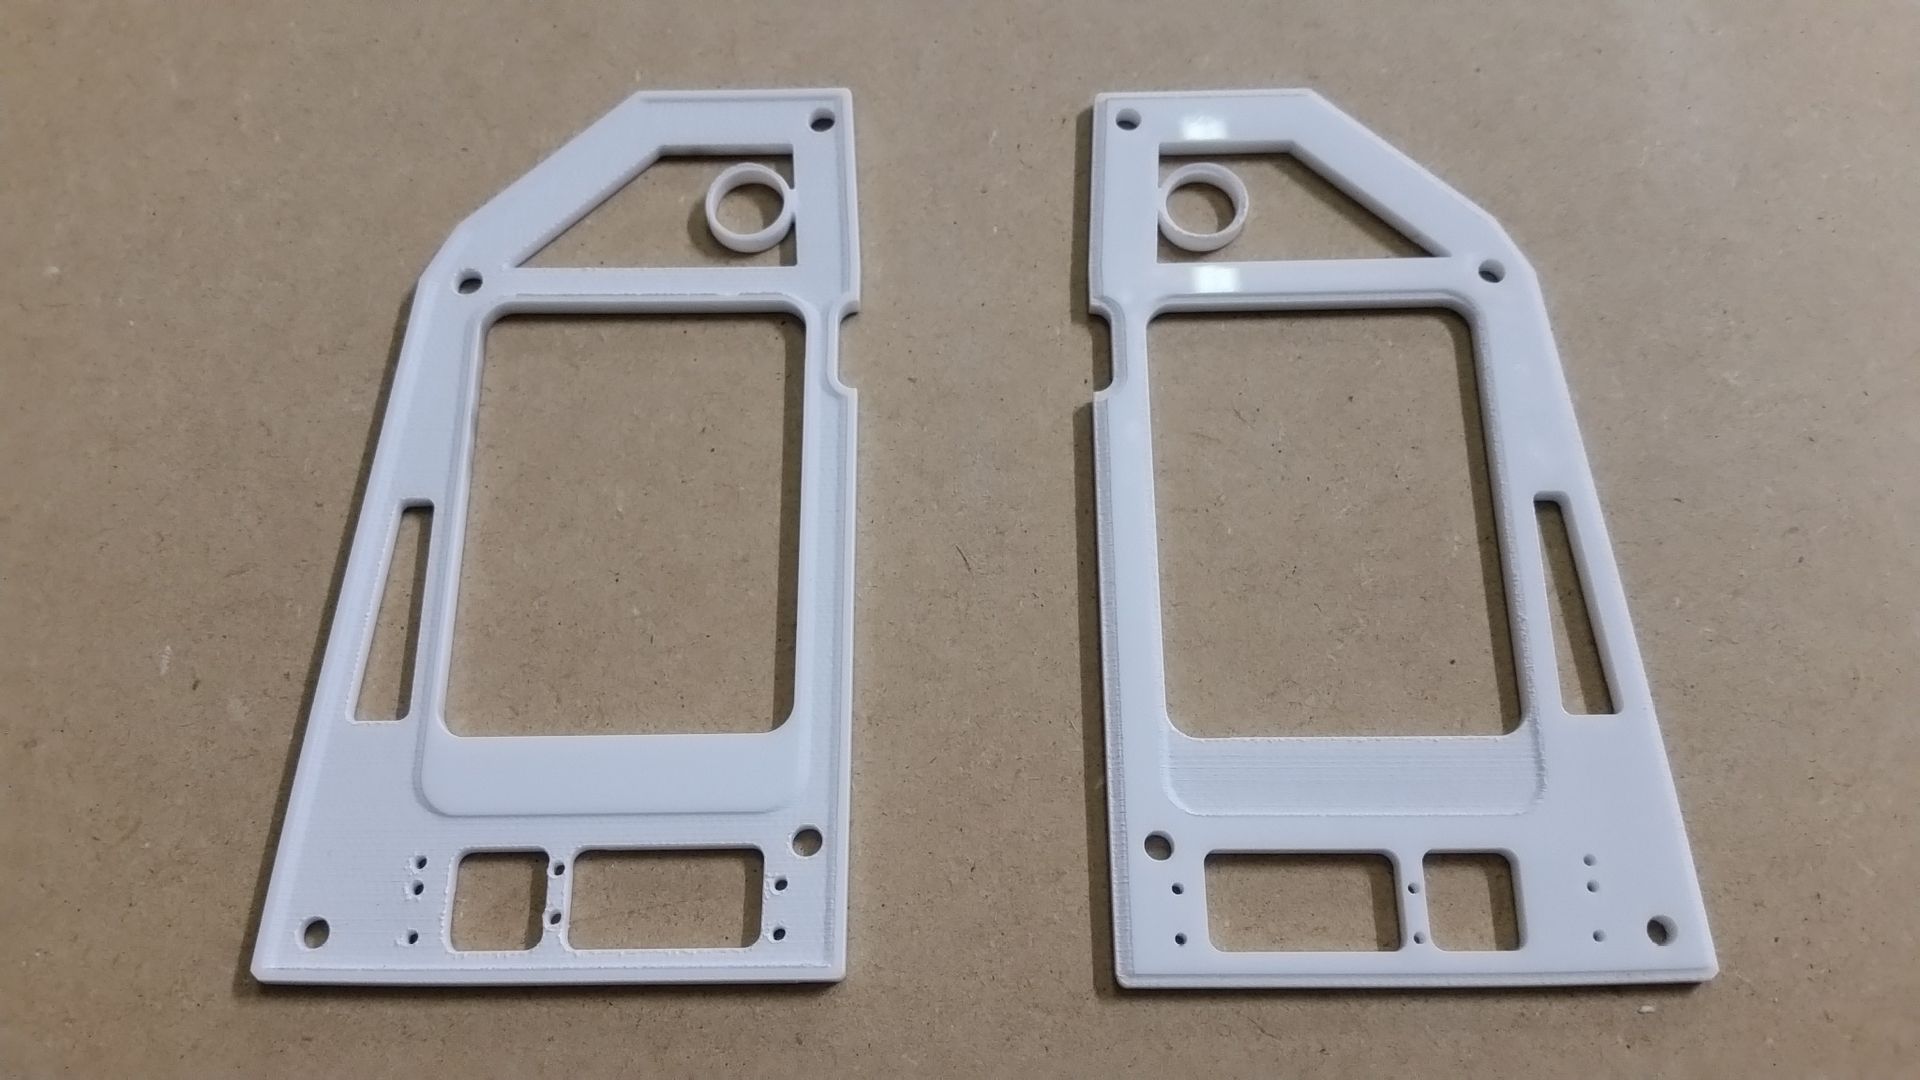
I cut two different versions. One that had a raised side trim and the other a etched side trim
Center piece
We thought the etched edges looked best

I removed the wood filler from the panel so the new acrylic would fit
Rough position

Black paint added
Adding some color - white
Grey
More silver door greeblies
In place.... hmmmm... it has the basic look I wanted but I just felt it was missing something
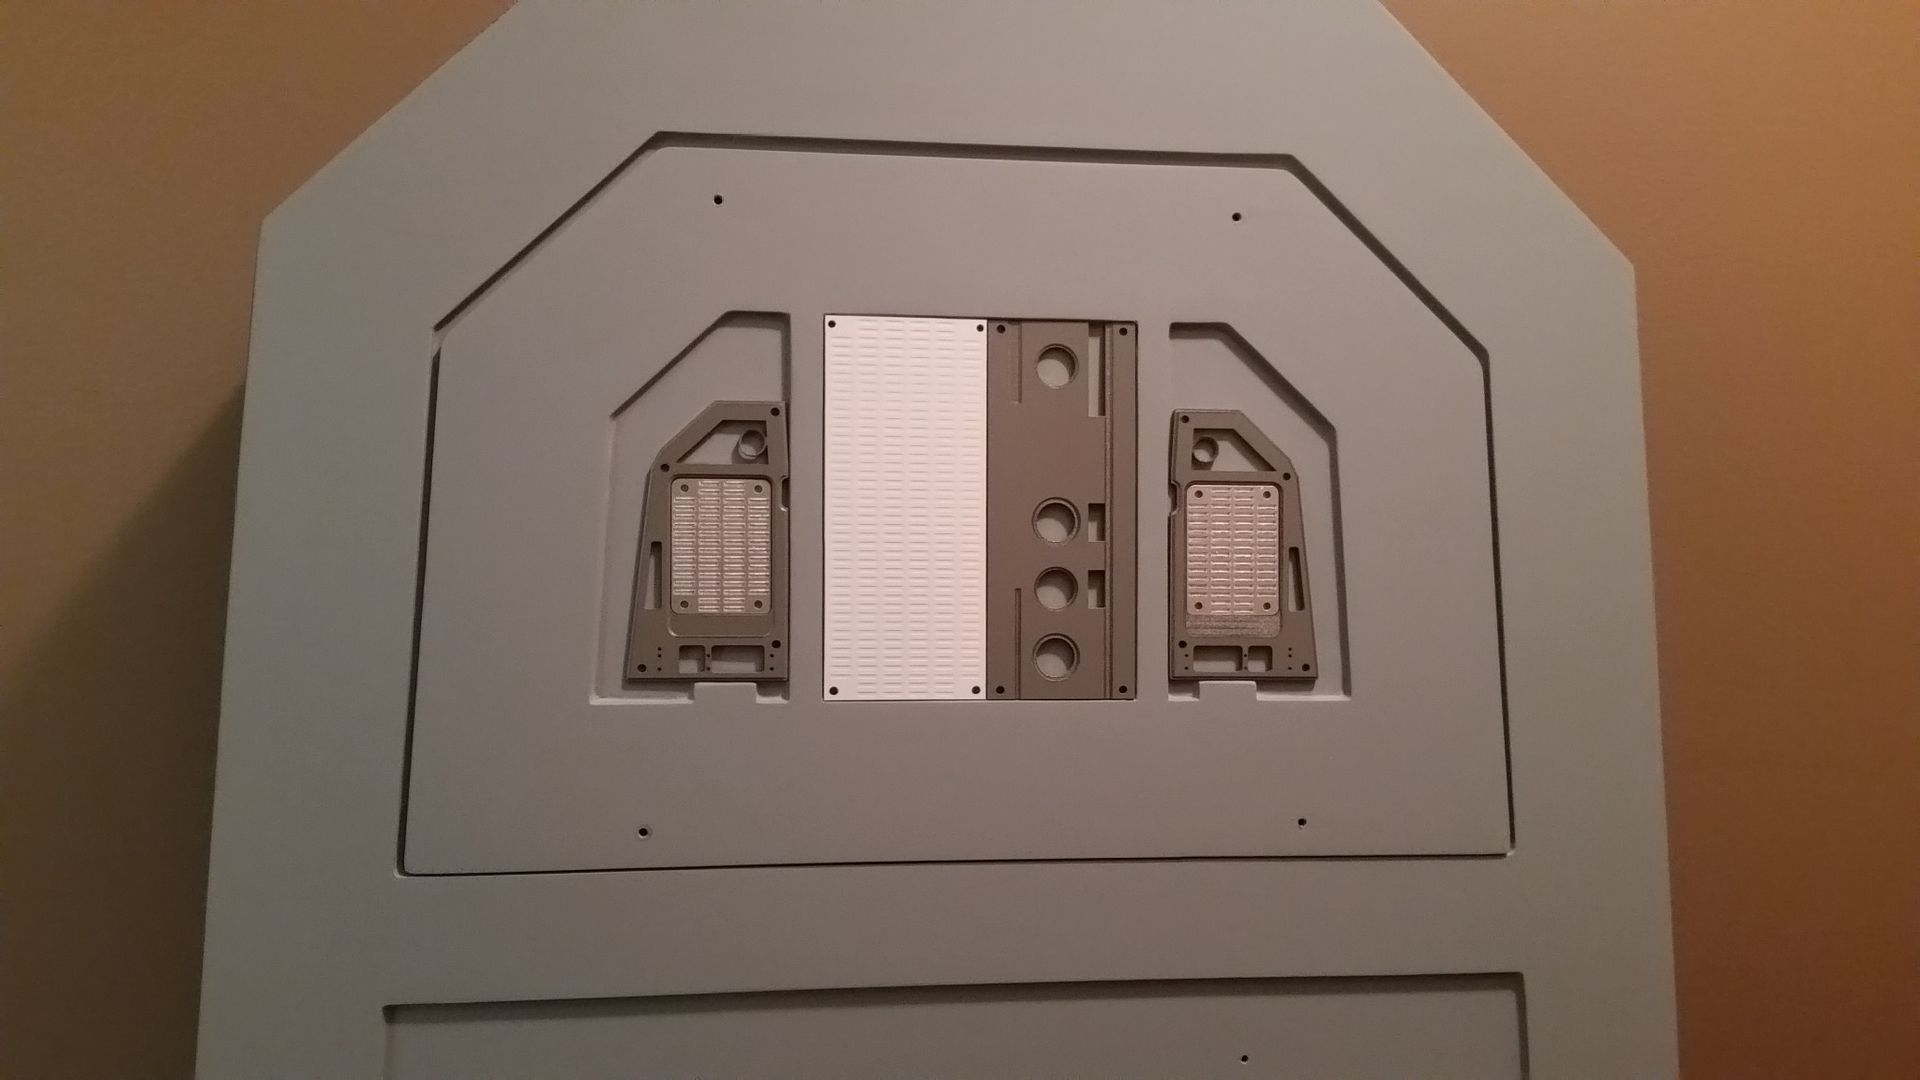
It lacks something... I think I have an idea
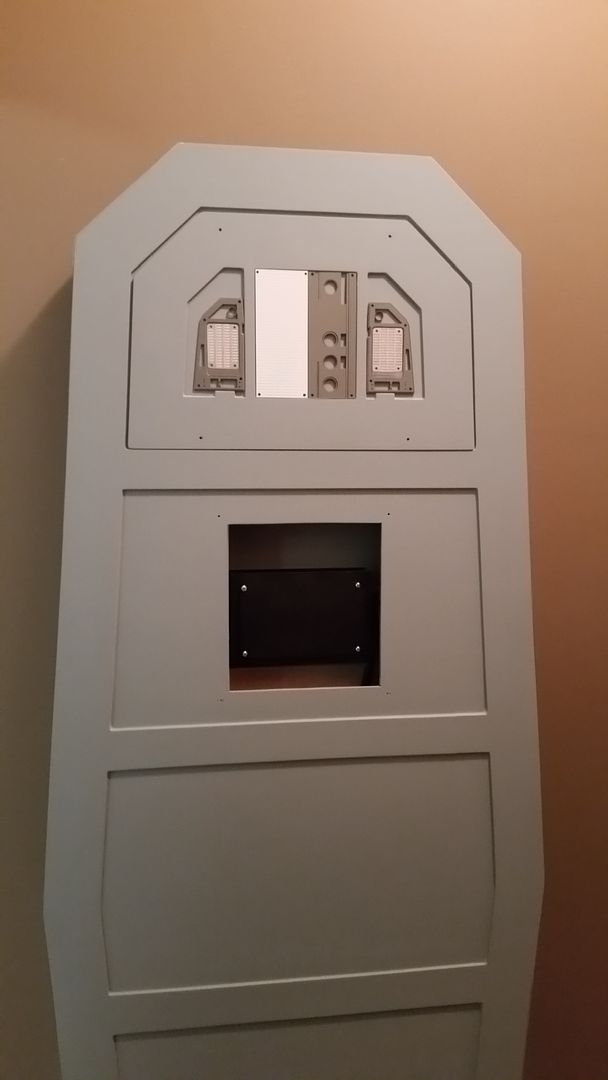
I laser cut a new back panel lid to include a deeper recessed area
Lid

Stacked
With all the extra room I layered up the acrylic and got a bit bolder with the design
MUCH better


Time to adhere the acrylic together
Roughing it in

Primer

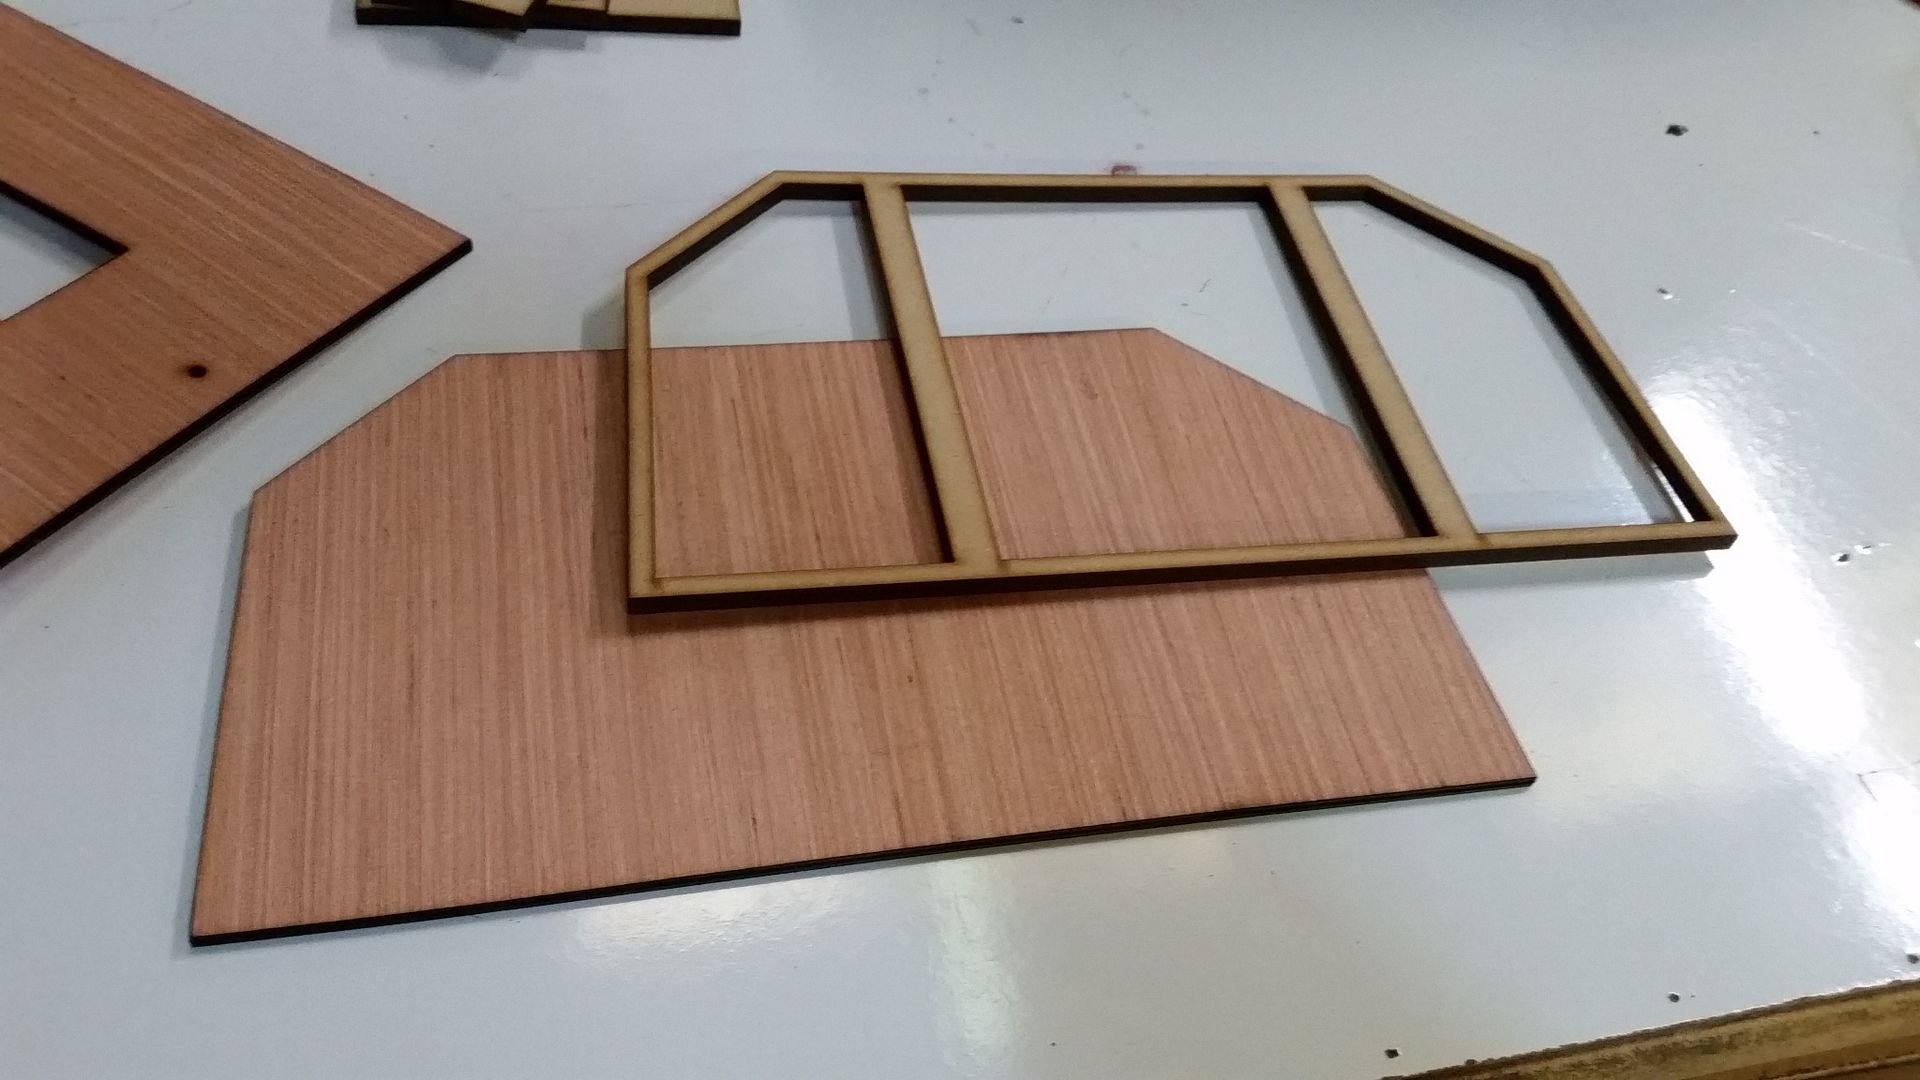
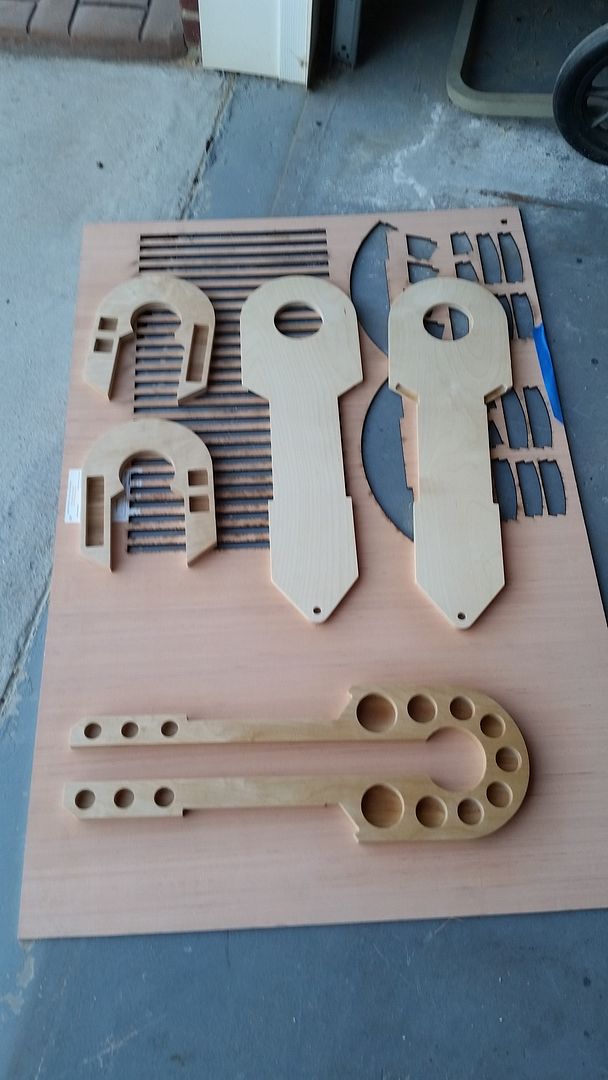
Life gets VERY boring while you're waiting for the laser cutter (Jessie is all too familiar). And with all the rain over the weekend I decided to take advantage of the dry empty Makers space and build something
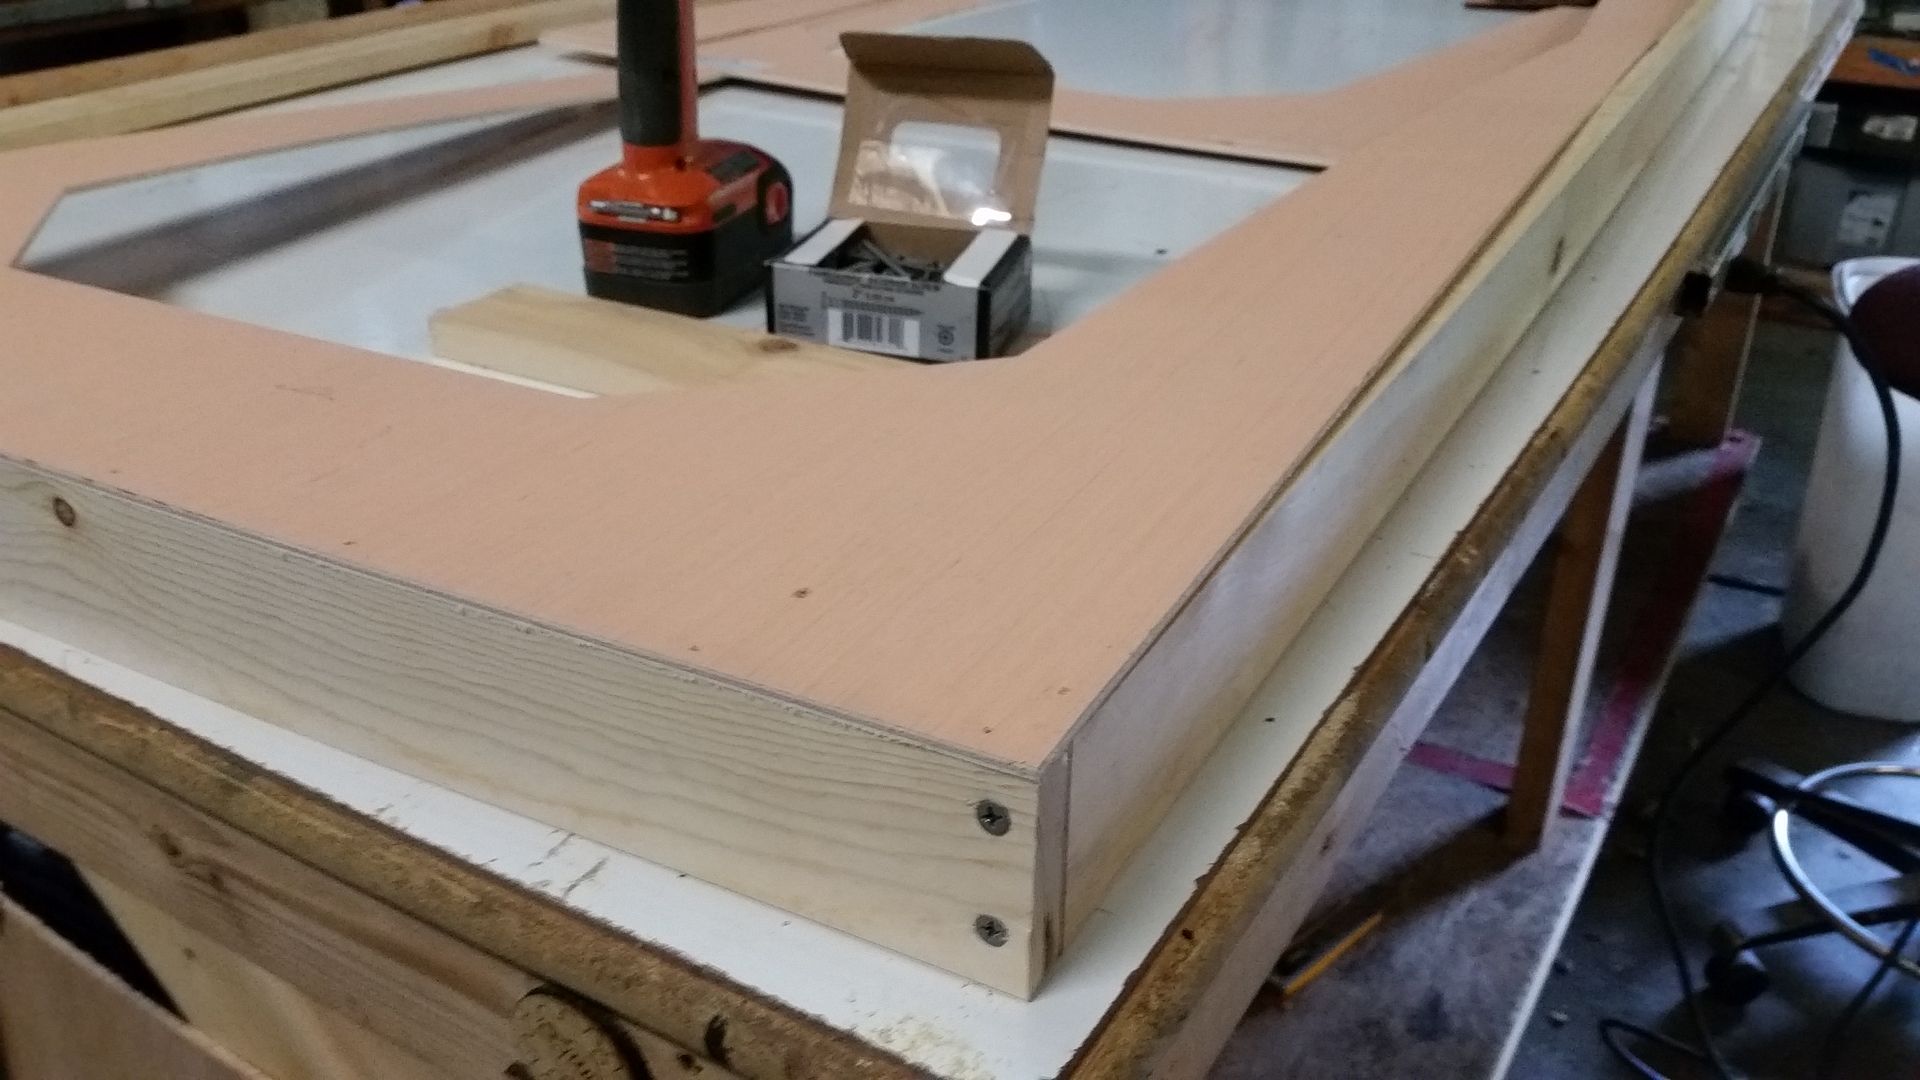

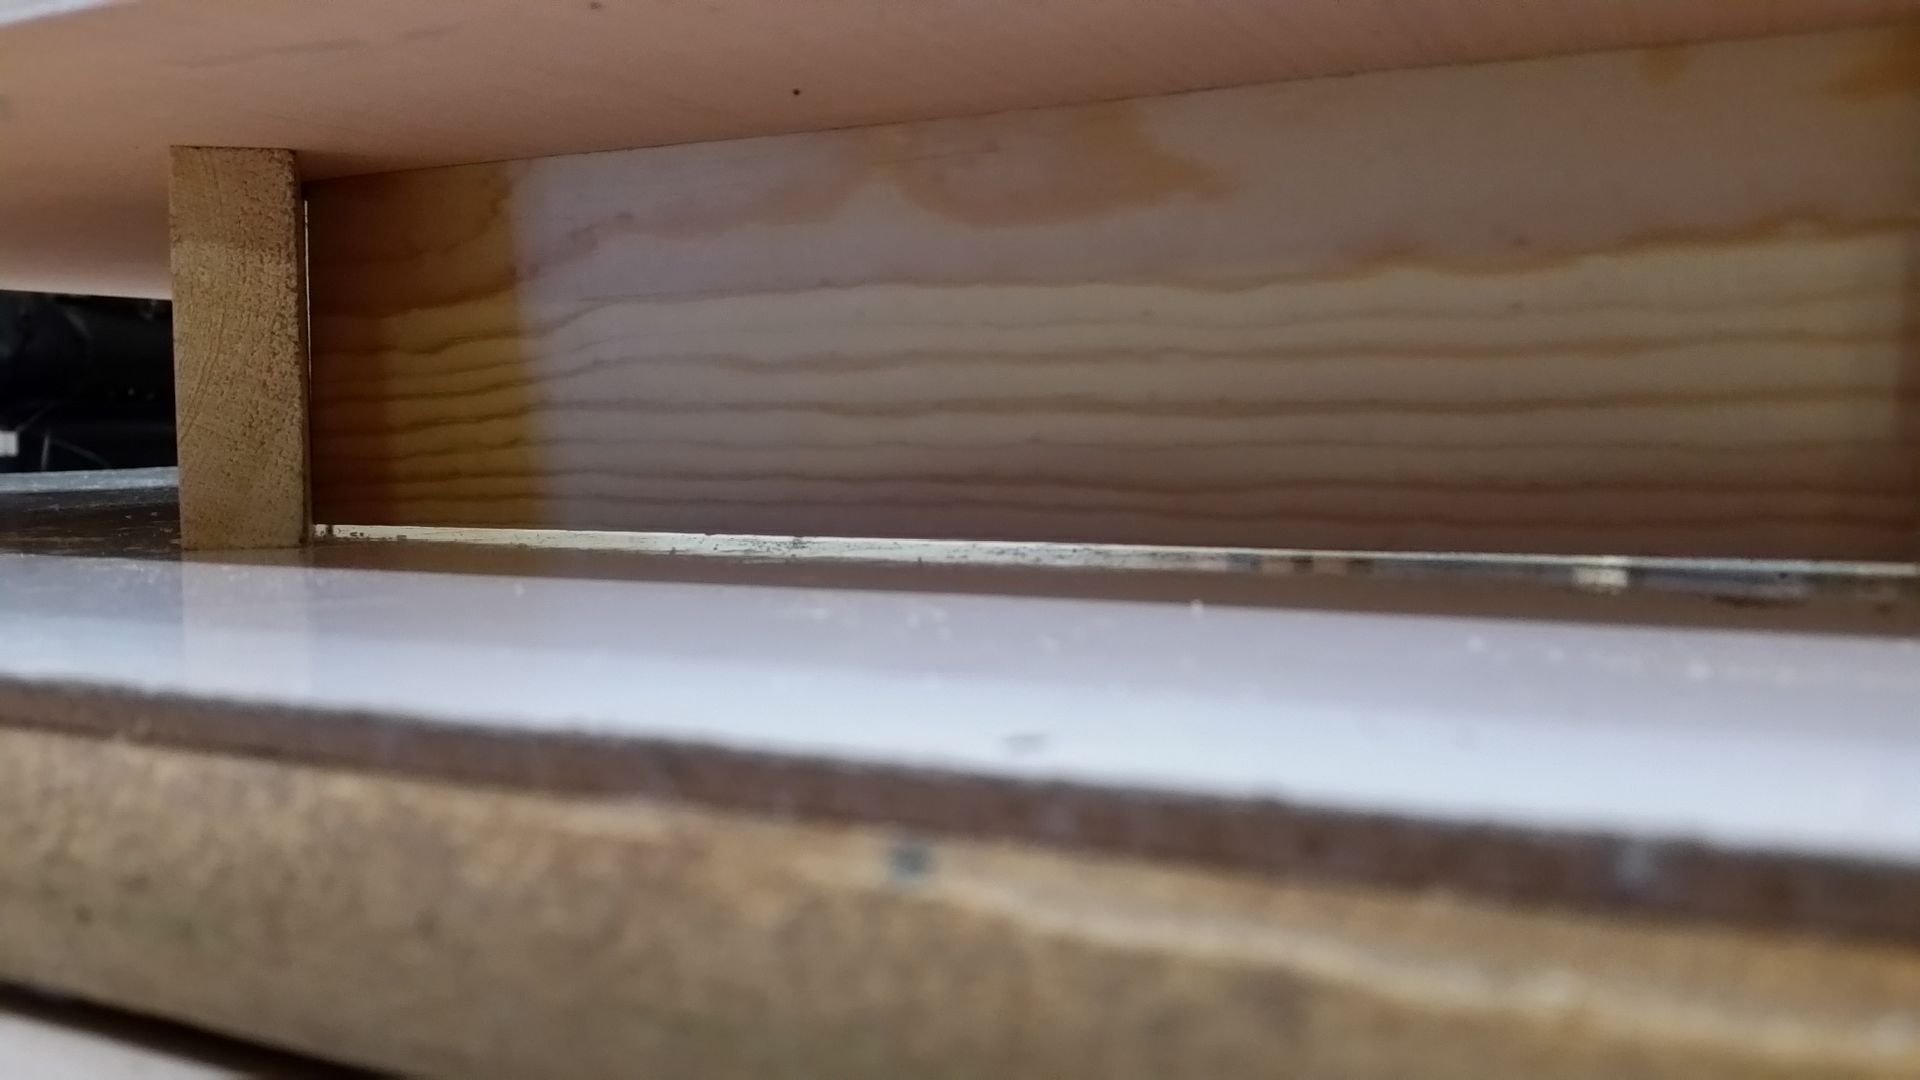
Dont you just love it when the timber is uneven... FILLER!
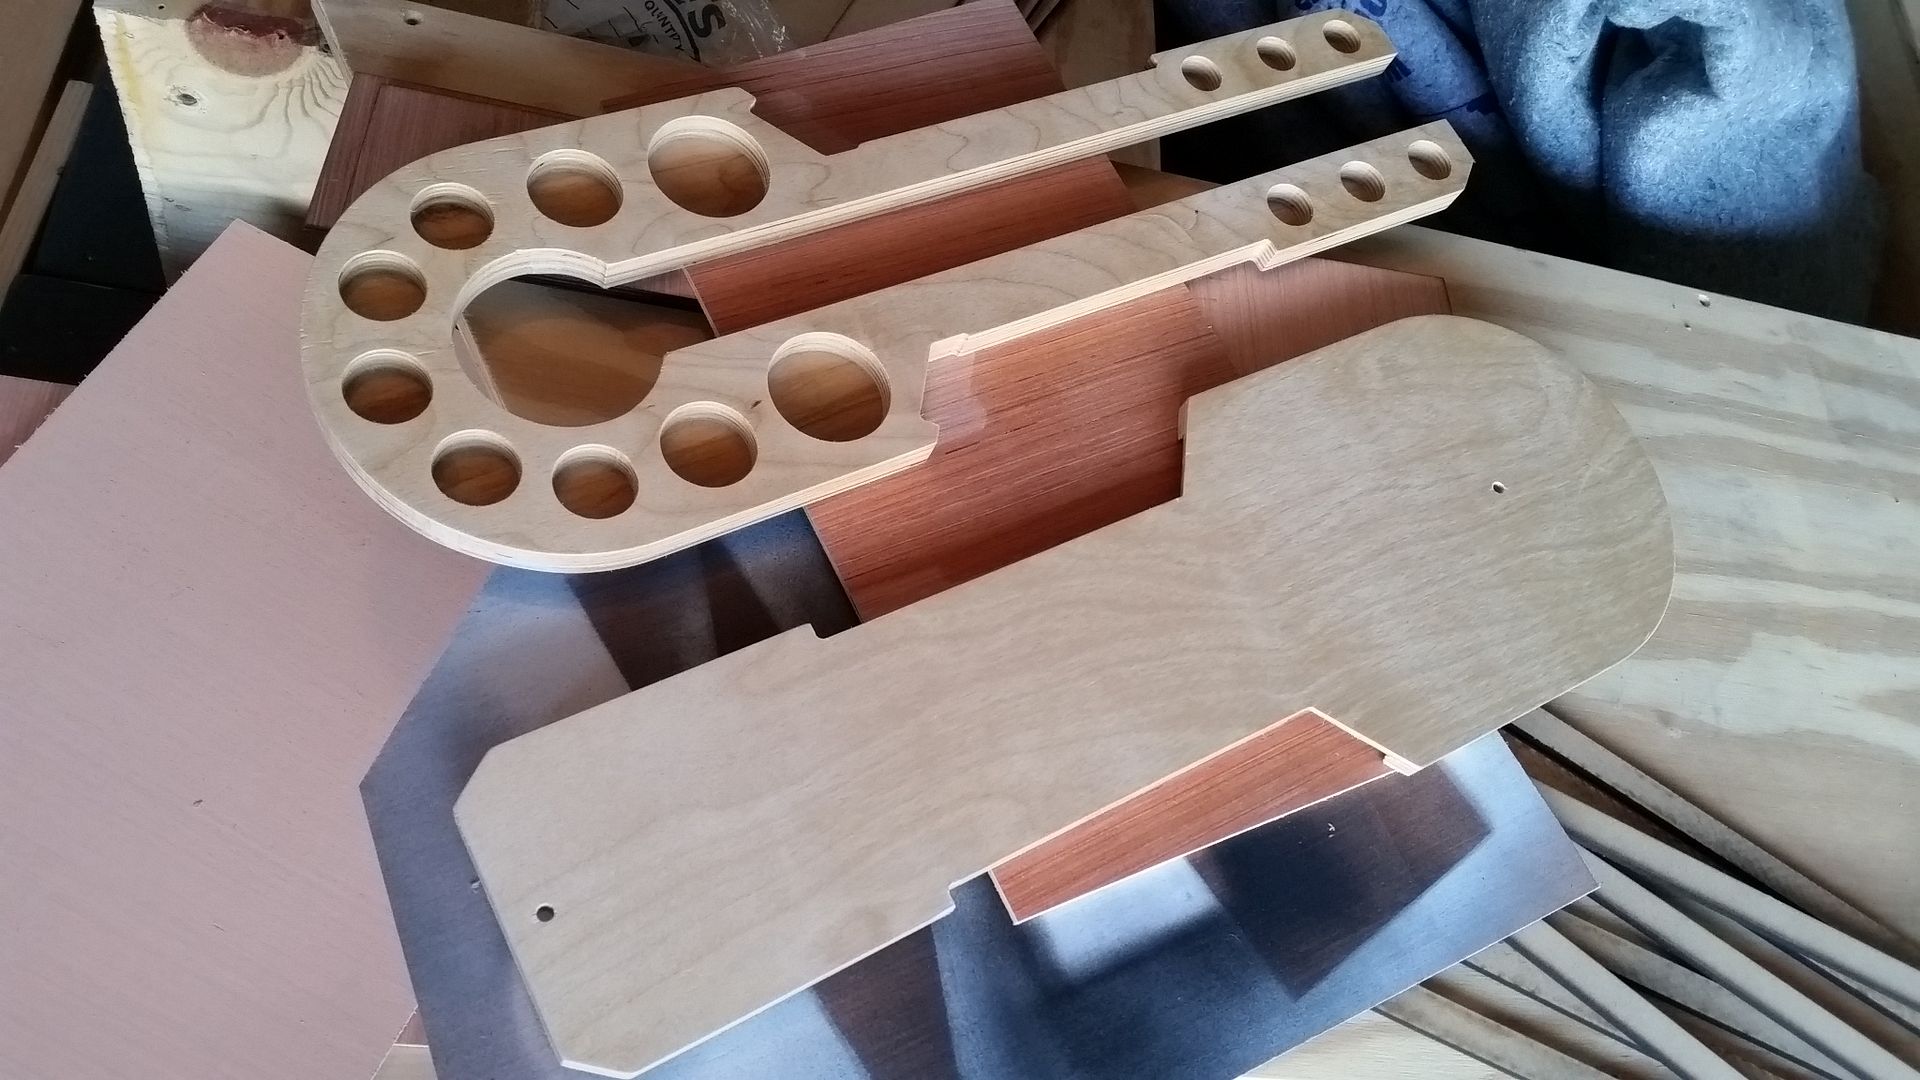
Looks like we got the making of something!
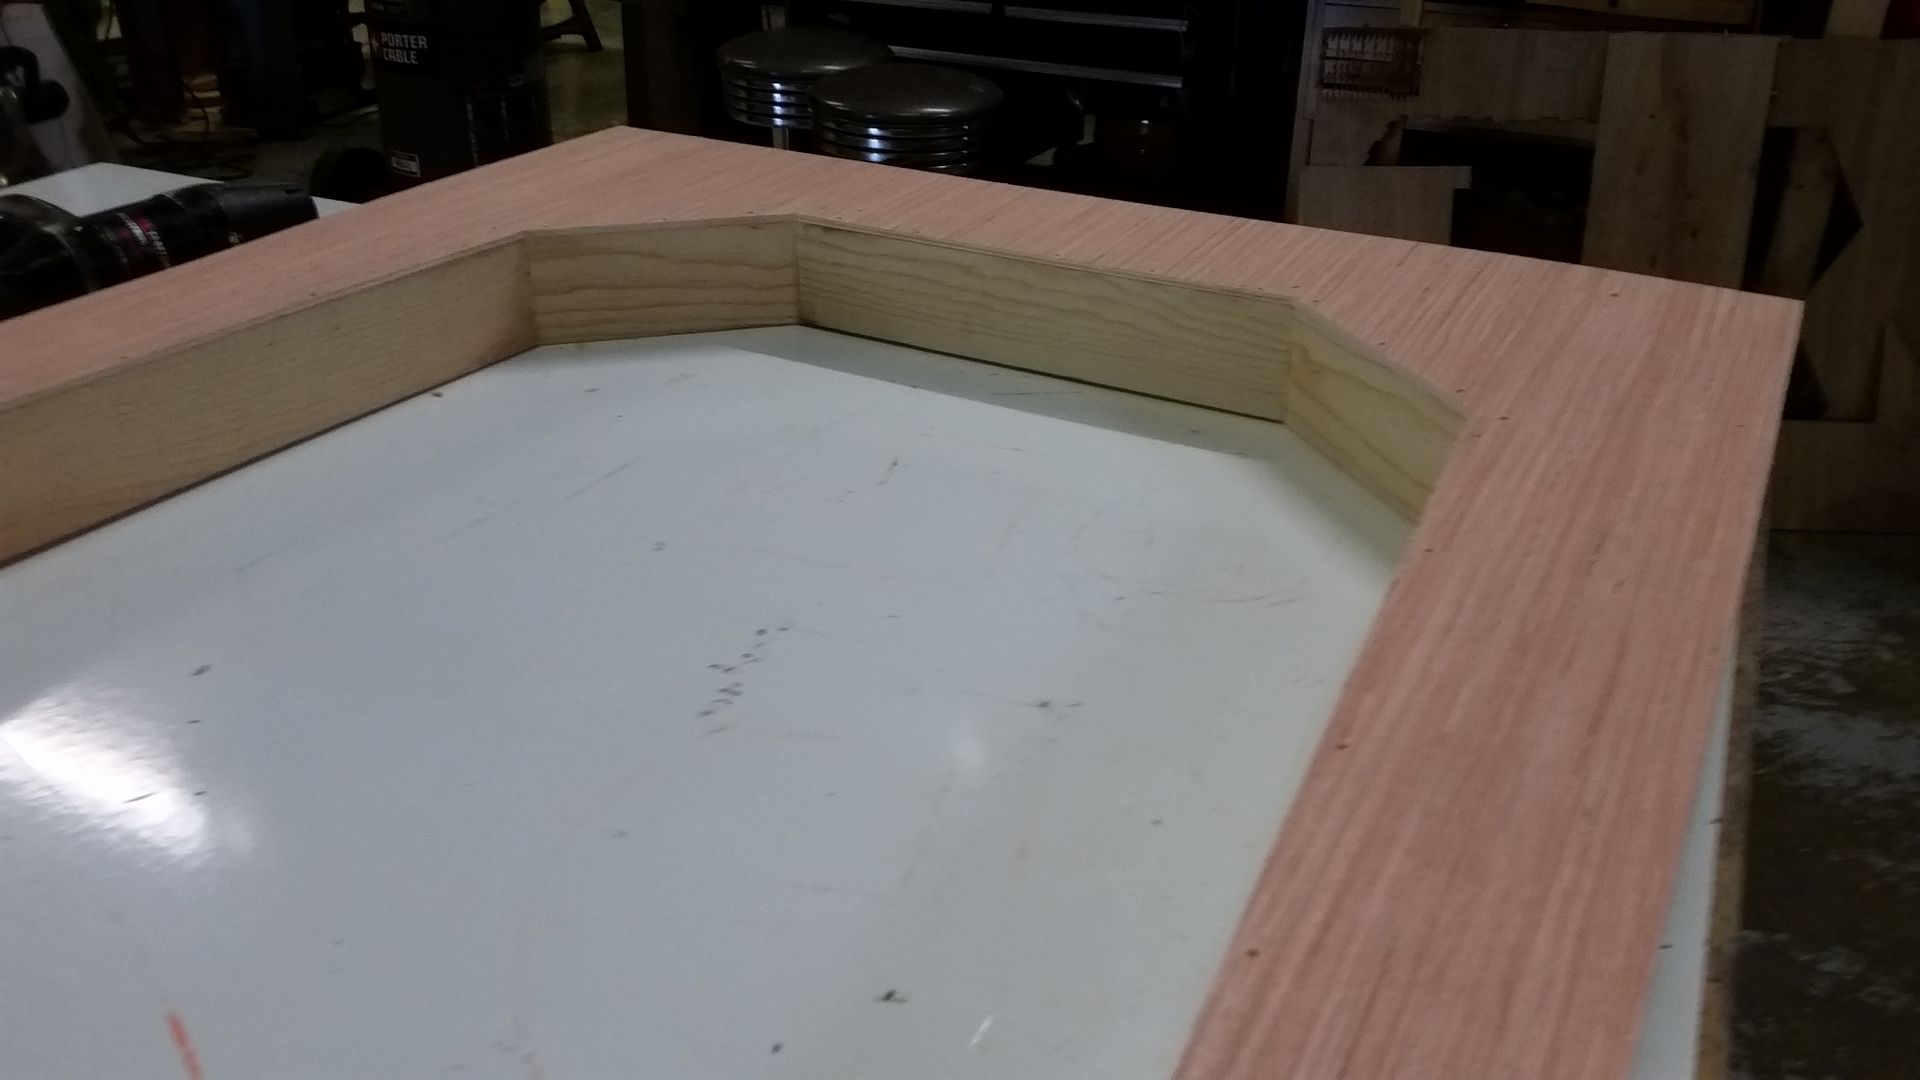
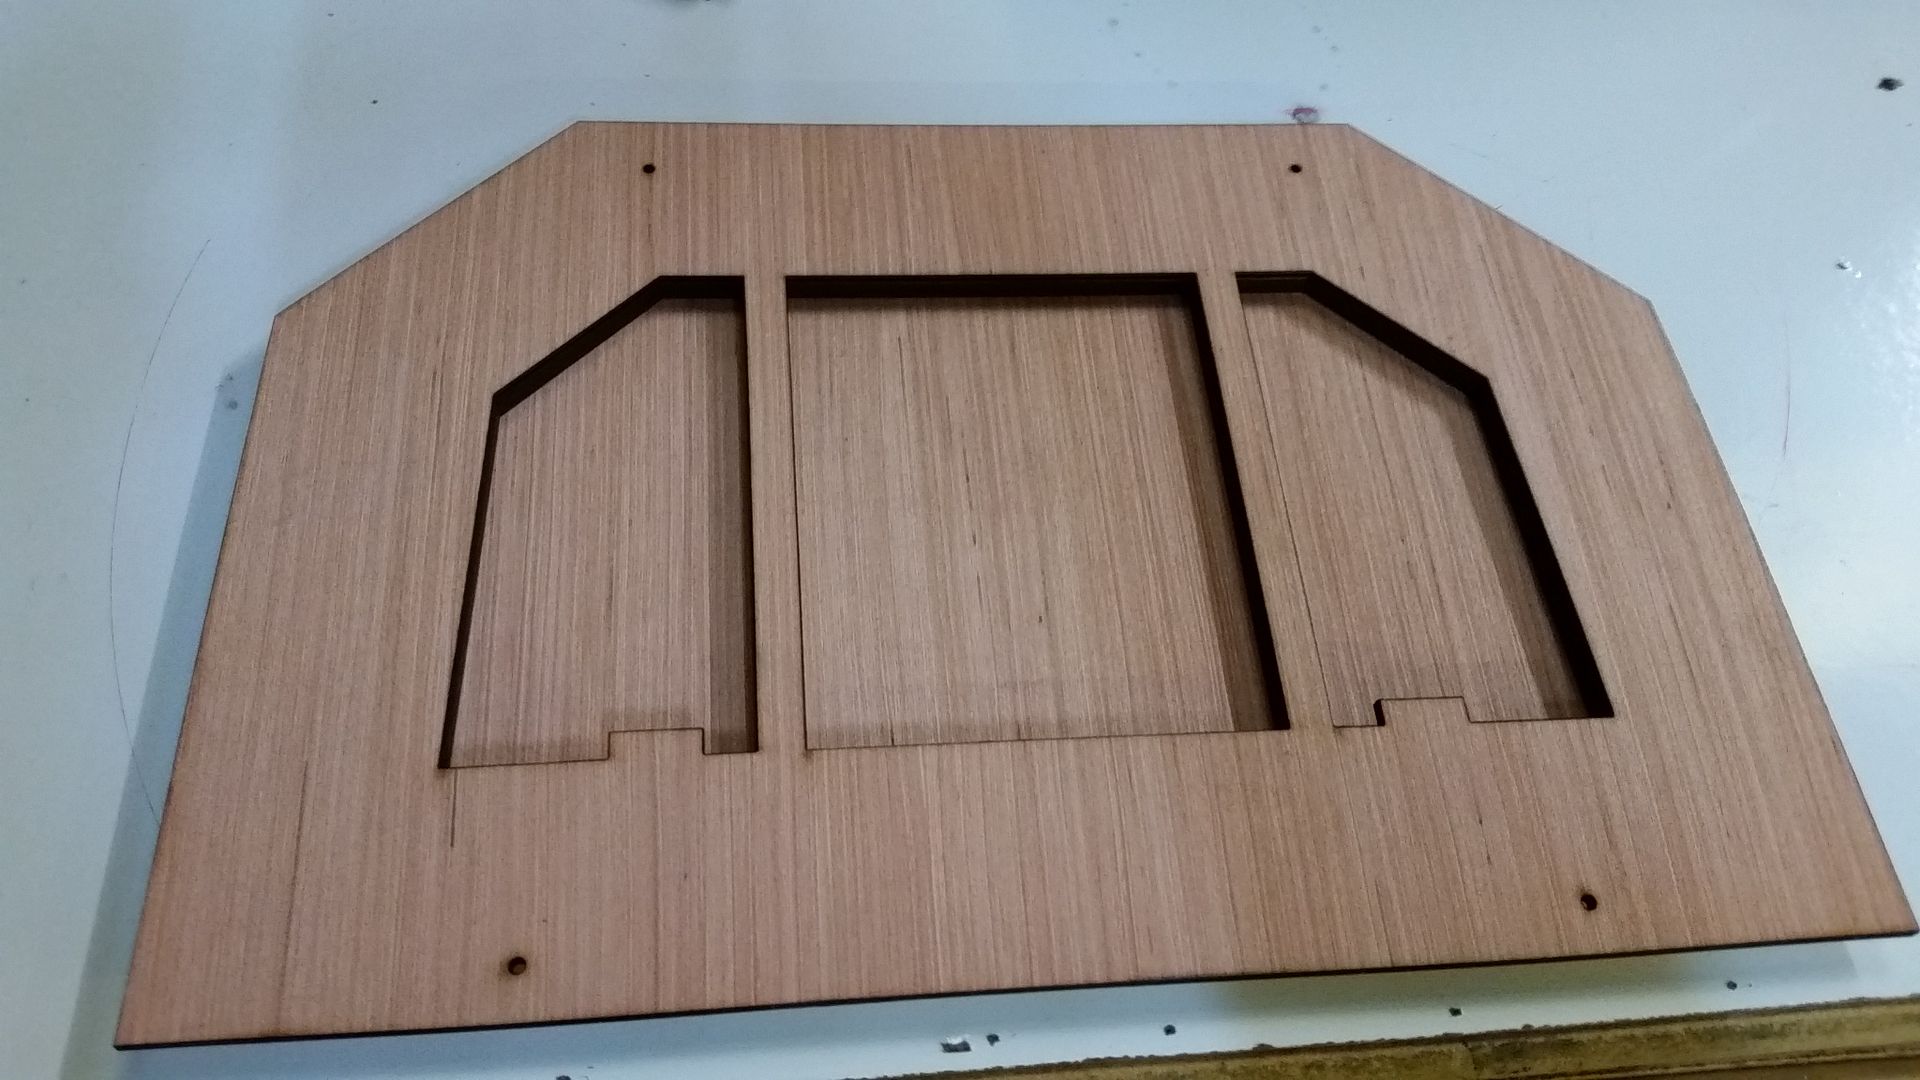
1 of 2 new door frames with 3.5" extensions added
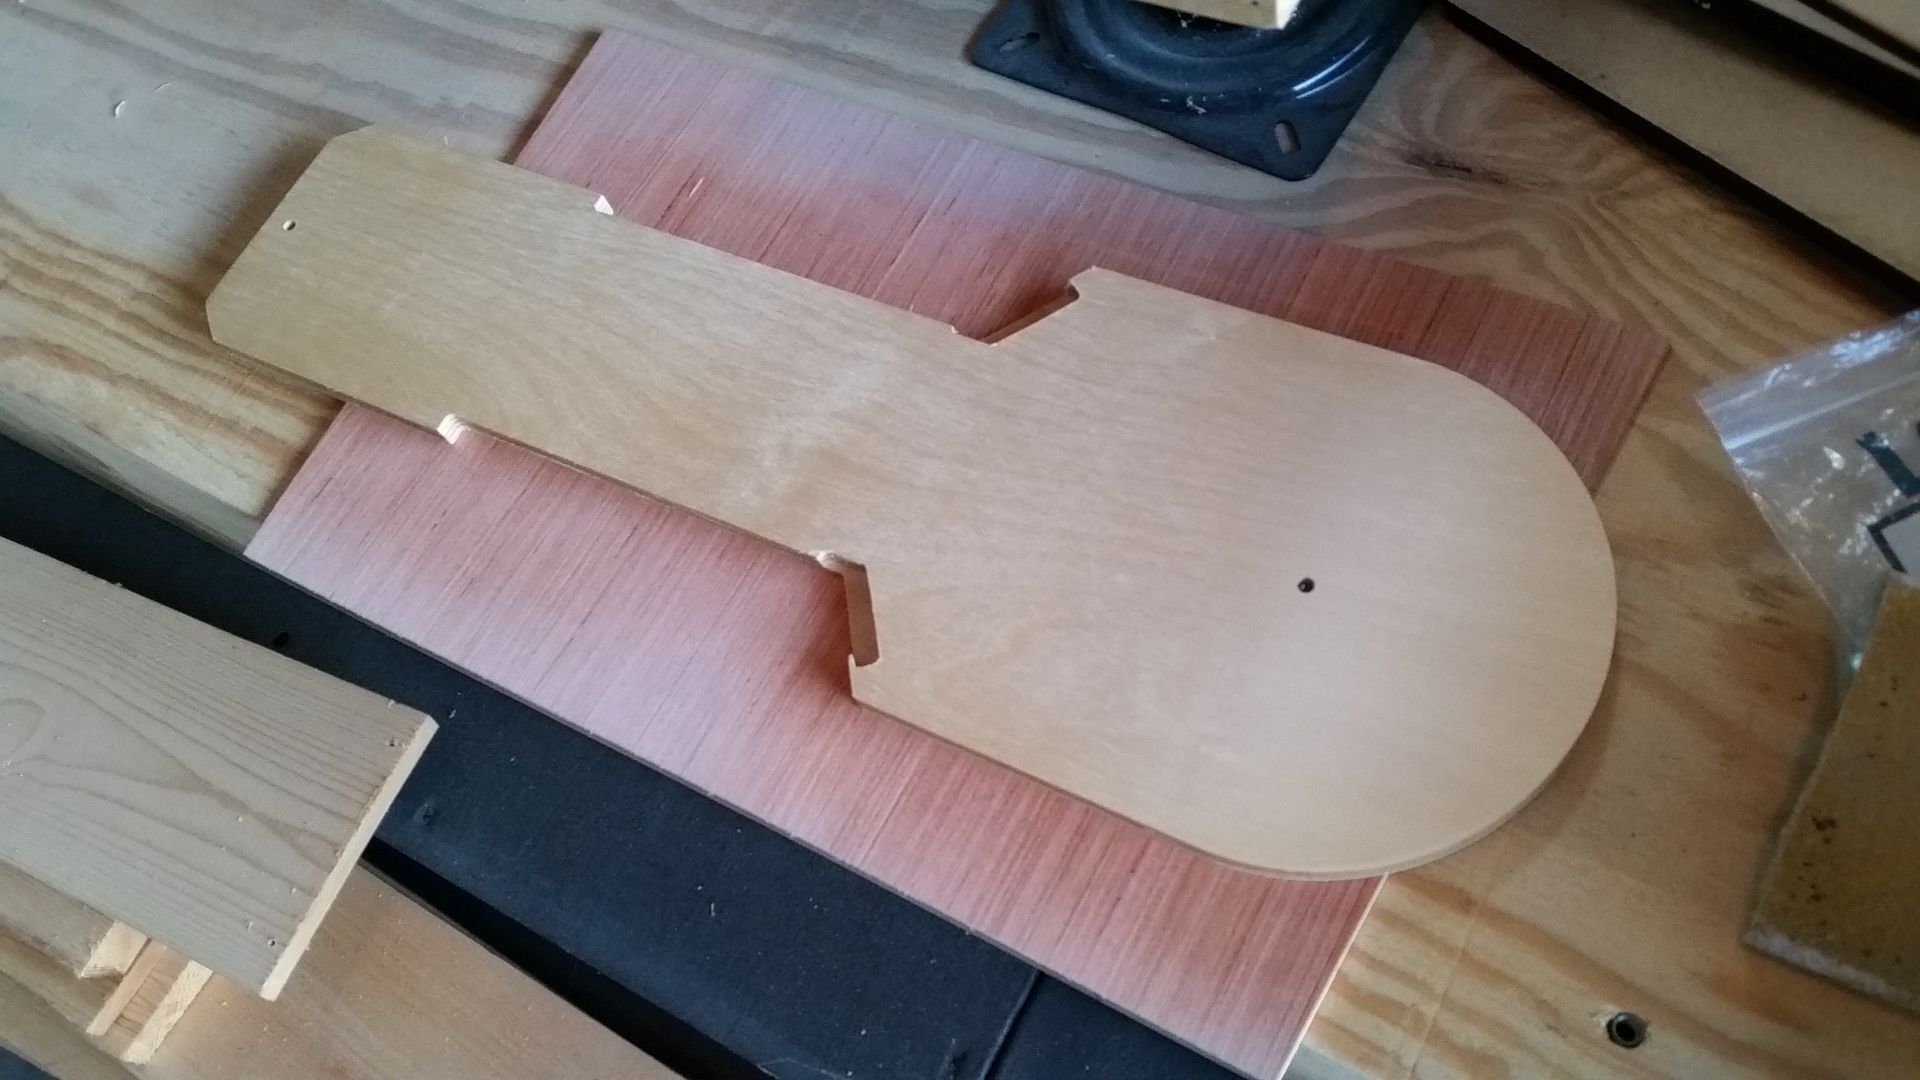
Nice!
Even though I'm very critical and check each piece of wood... a few bad ones get by, I had to take back 3 pieces so I wasn't able to get to the second frame

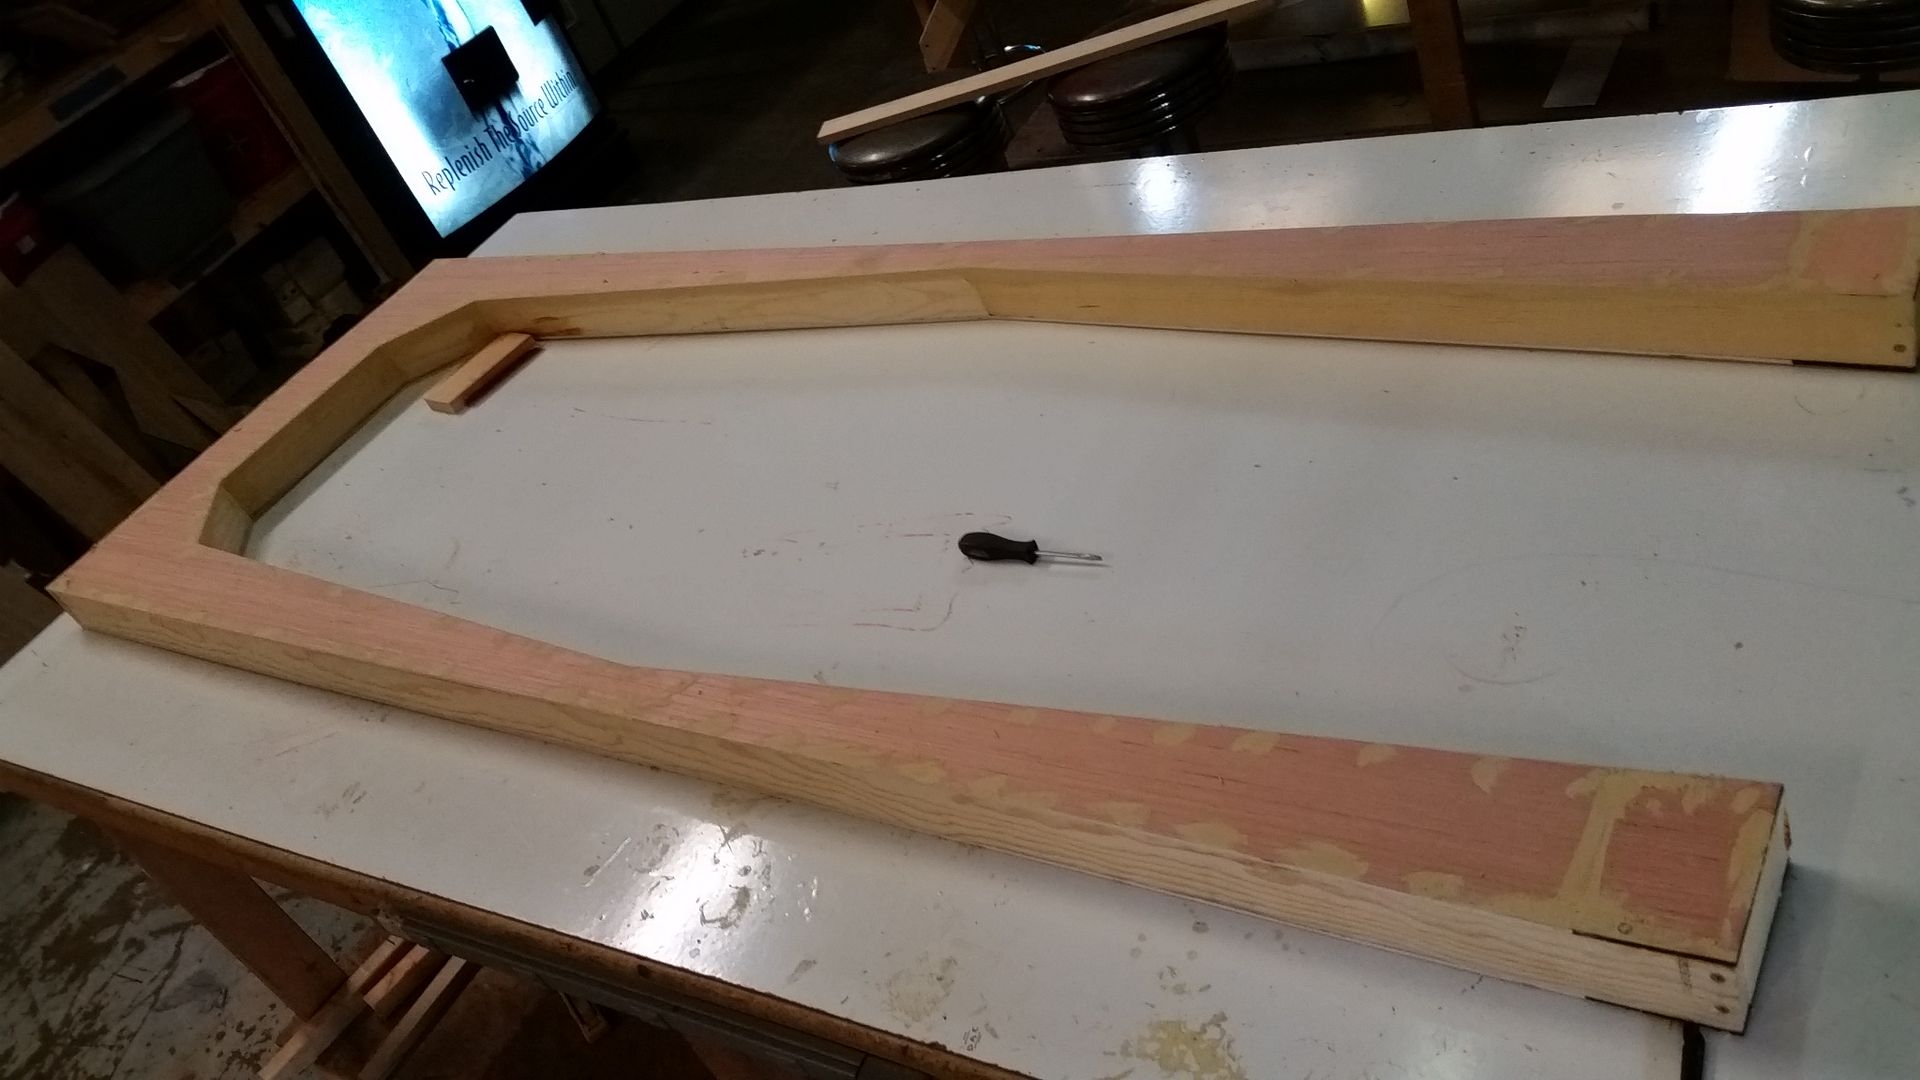
Lots of filler required here

In place - note the previous door frame to the left


Pretty good weekend... I didn't get to the riser panels. But I'll get those this week.
More to Follow!
Happy Monday... Just a few little updates to kick start the week!
Friday afternoon started with my switching gears and jumping onto the new center console. The cover plates under the instrument panels desperately needed to be sanded down and the edges leveled out to a smooth transition
Note the tan horizontal sand mark
Primer / Filler
A little better
And then it started to rain. I was really hoping to get to add paint to the console but I did have a few other things to get to
So, we jump to Sat morning where Jessie and I spent most of the day laser cutting. LOTS of new stuff to include the new 9.5" riser panels
Door and Door frame extensions
And this... As you all know the back of the door is some what boring so I decided to take a little artistic license and design a recessed panel greeblie that is heavily influenced by the front recessed panel. Getting ready to laser cut the acrylic
So far so good...?
I cut two different versions. One that had a raised side trim and the other a etched side trim
Center piece
We thought the etched edges looked best
I removed the wood filler from the panel so the new acrylic would fit
Rough position
Black paint added
Adding some color - white
Grey
More silver door greeblies
In place.... hmmmm... it has the basic look I wanted but I just felt it was missing something
It lacks something... I think I have an idea
I laser cut a new back panel lid to include a deeper recessed area
Lid
Stacked
With all the extra room I layered up the acrylic and got a bit bolder with the design
MUCH better
Time to adhere the acrylic together
Roughing it in
Primer
Life gets VERY boring while you're waiting for the laser cutter (Jessie is all too familiar). And with all the rain over the weekend I decided to take advantage of the dry empty Makers space and build something
Dont you just love it when the timber is uneven... FILLER!
Looks like we got the making of something!
1 of 2 new door frames with 3.5" extensions added
Nice!
Even though I'm very critical and check each piece of wood... a few bad ones get by, I had to take back 3 pieces so I wasn't able to get to the second frame
Lots of filler required here
In place - note the previous door frame to the left
Pretty good weekend... I didn't get to the riser panels. But I'll get those this week.
More to Follow!
Last edited:
I hope you noticed the sign next to it in the past…and avoided it!
Mark
Hey M,
It was a little warm when I stood there... eh... I'll be fine.
- - - Updated - - -
I do like a good bit of structural engineering on a Monday morn'.
Me too!
- - - Updated - - -
I love the smell of drying primer in the morning!
Me too!
Me too!LrdSatyr8 said:I love the smell of drying primer in the morning!
Well you love everything in the morning... it's right after you take your morning meds... they make ya love everything!
IzzyMel
Sr Member
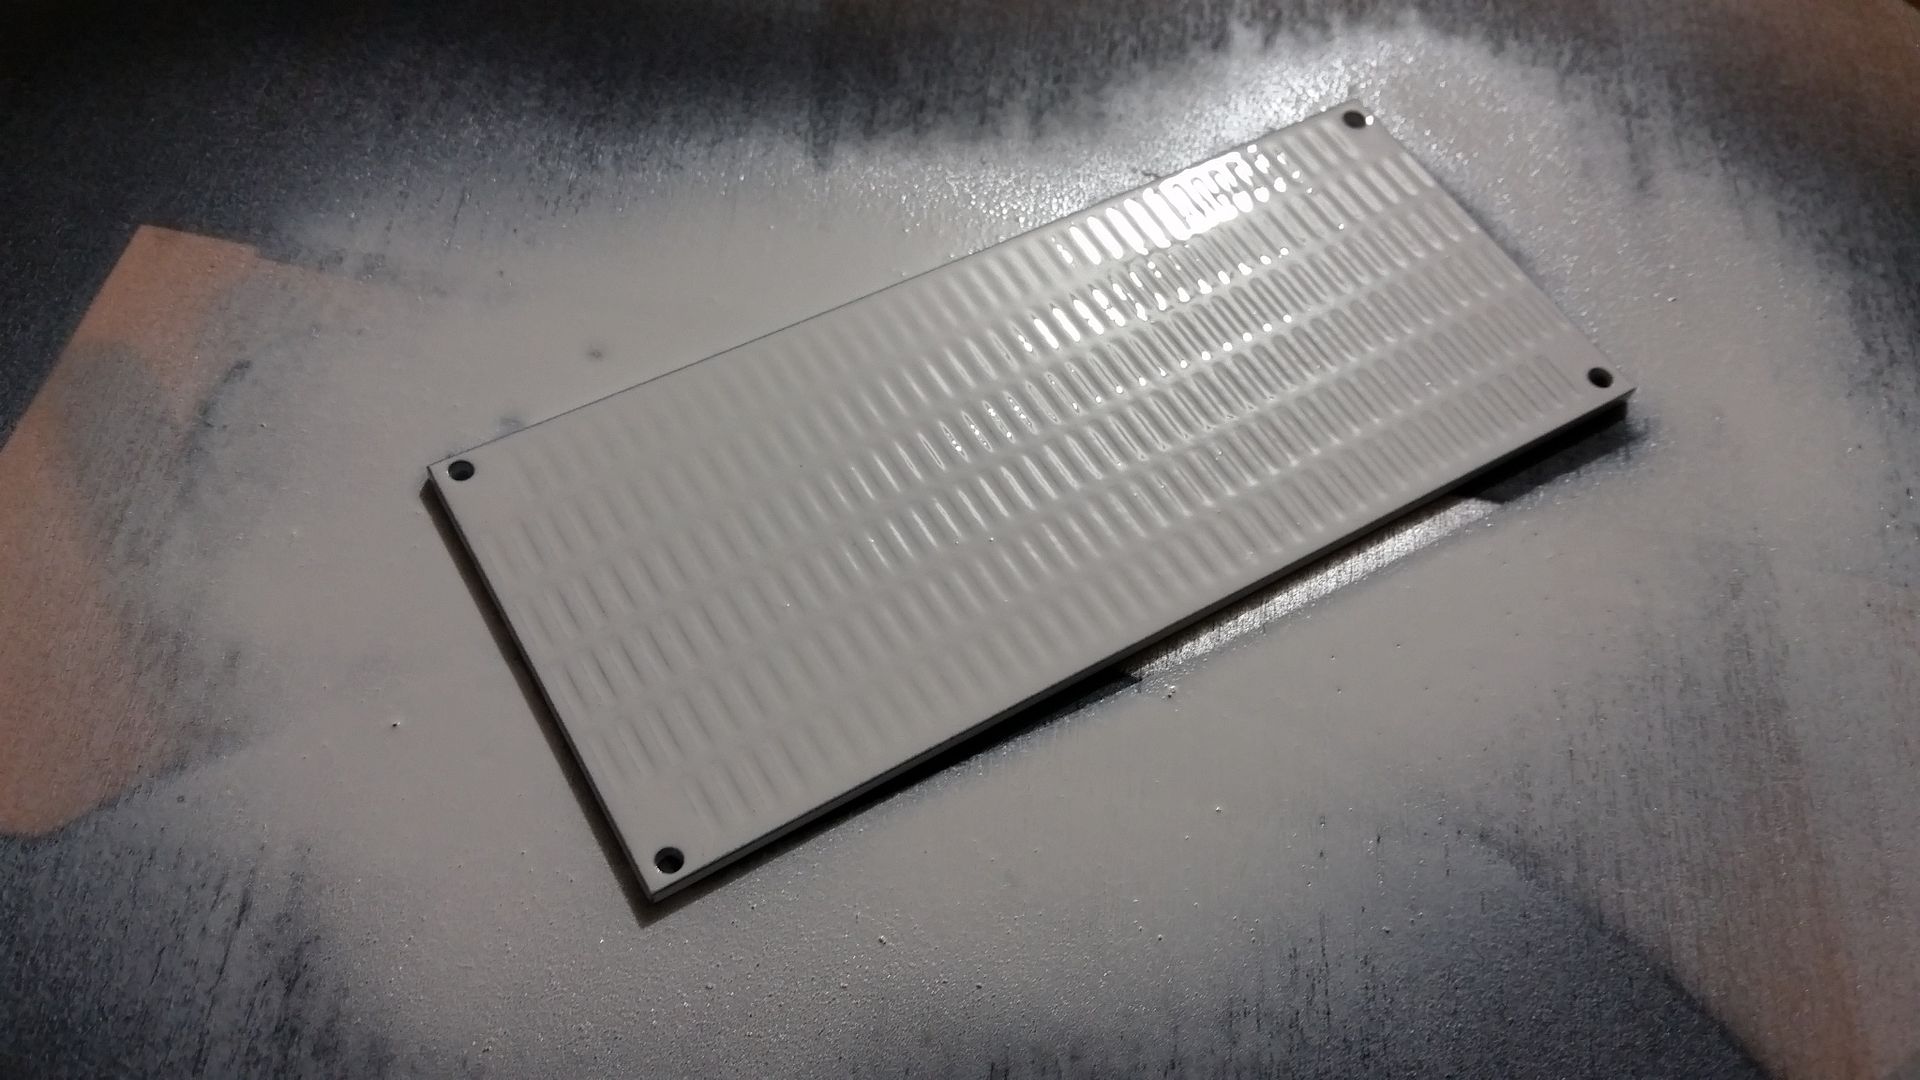
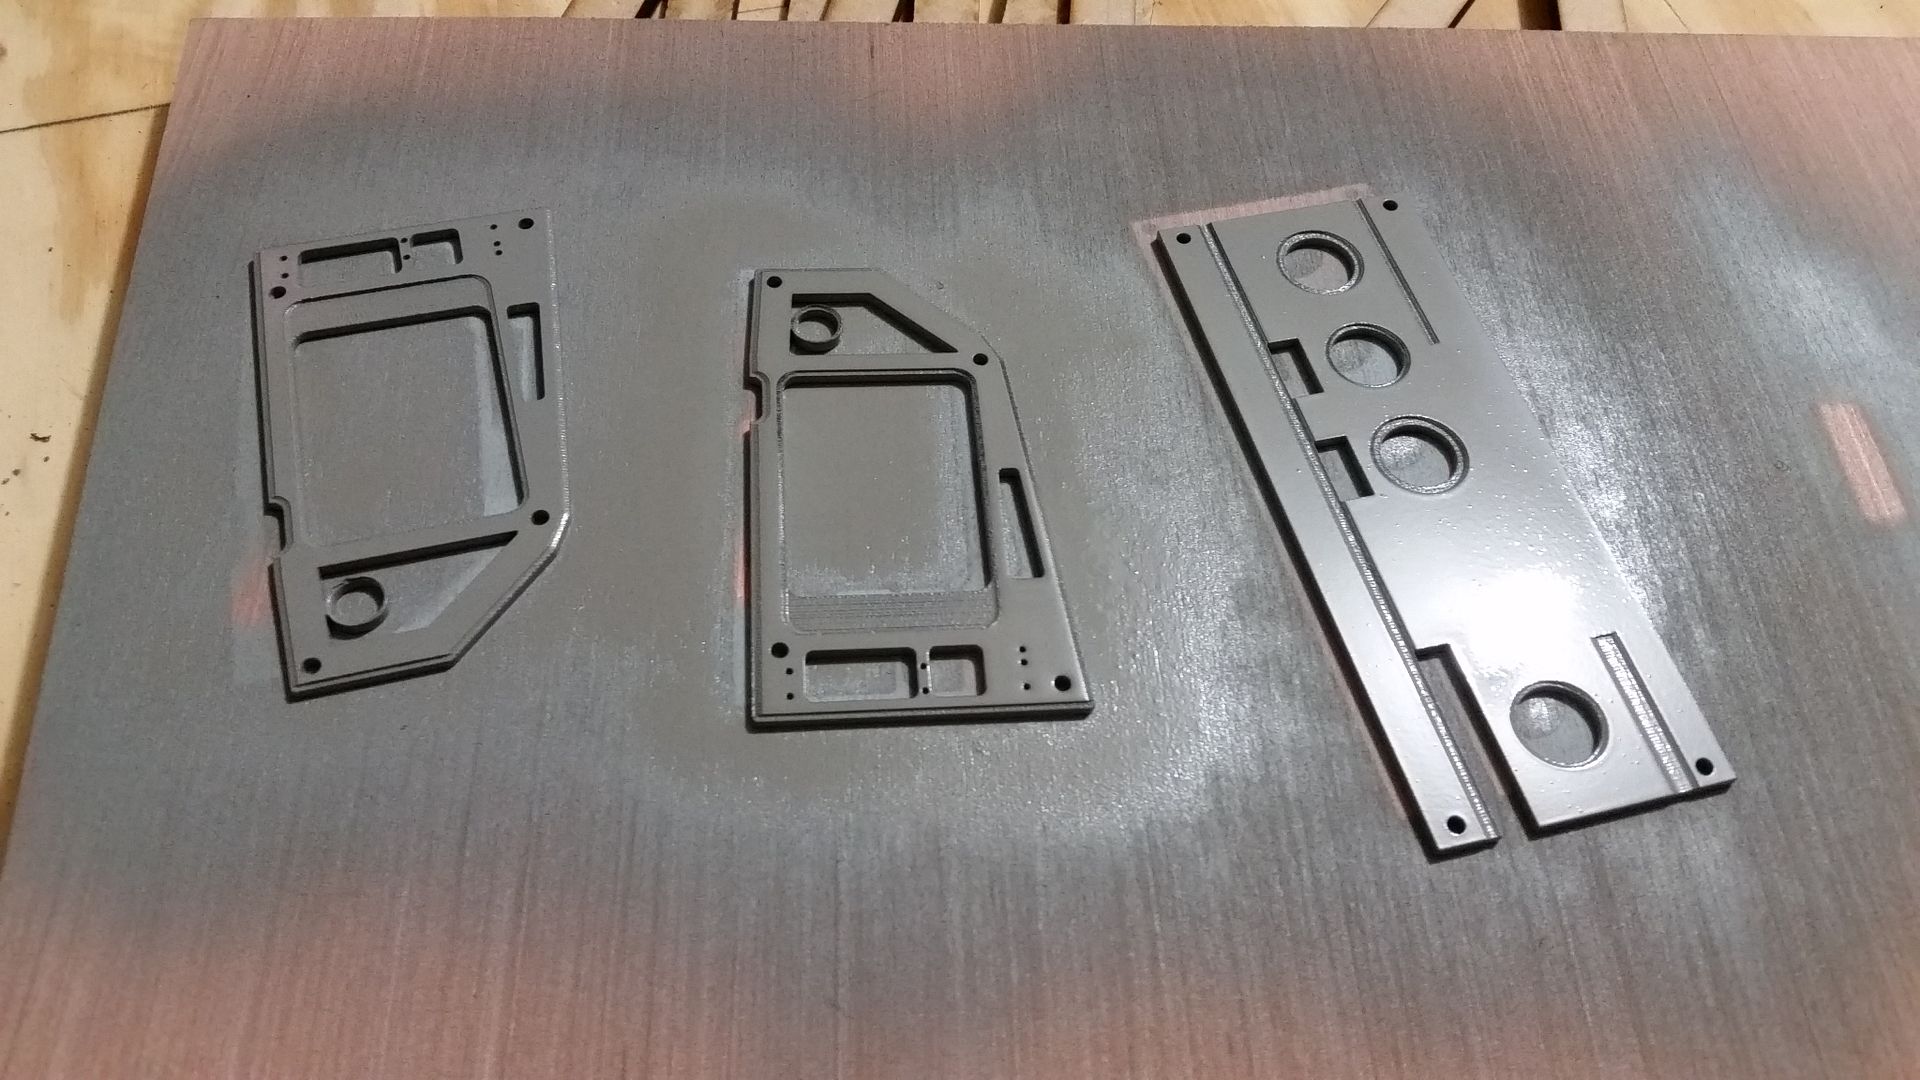
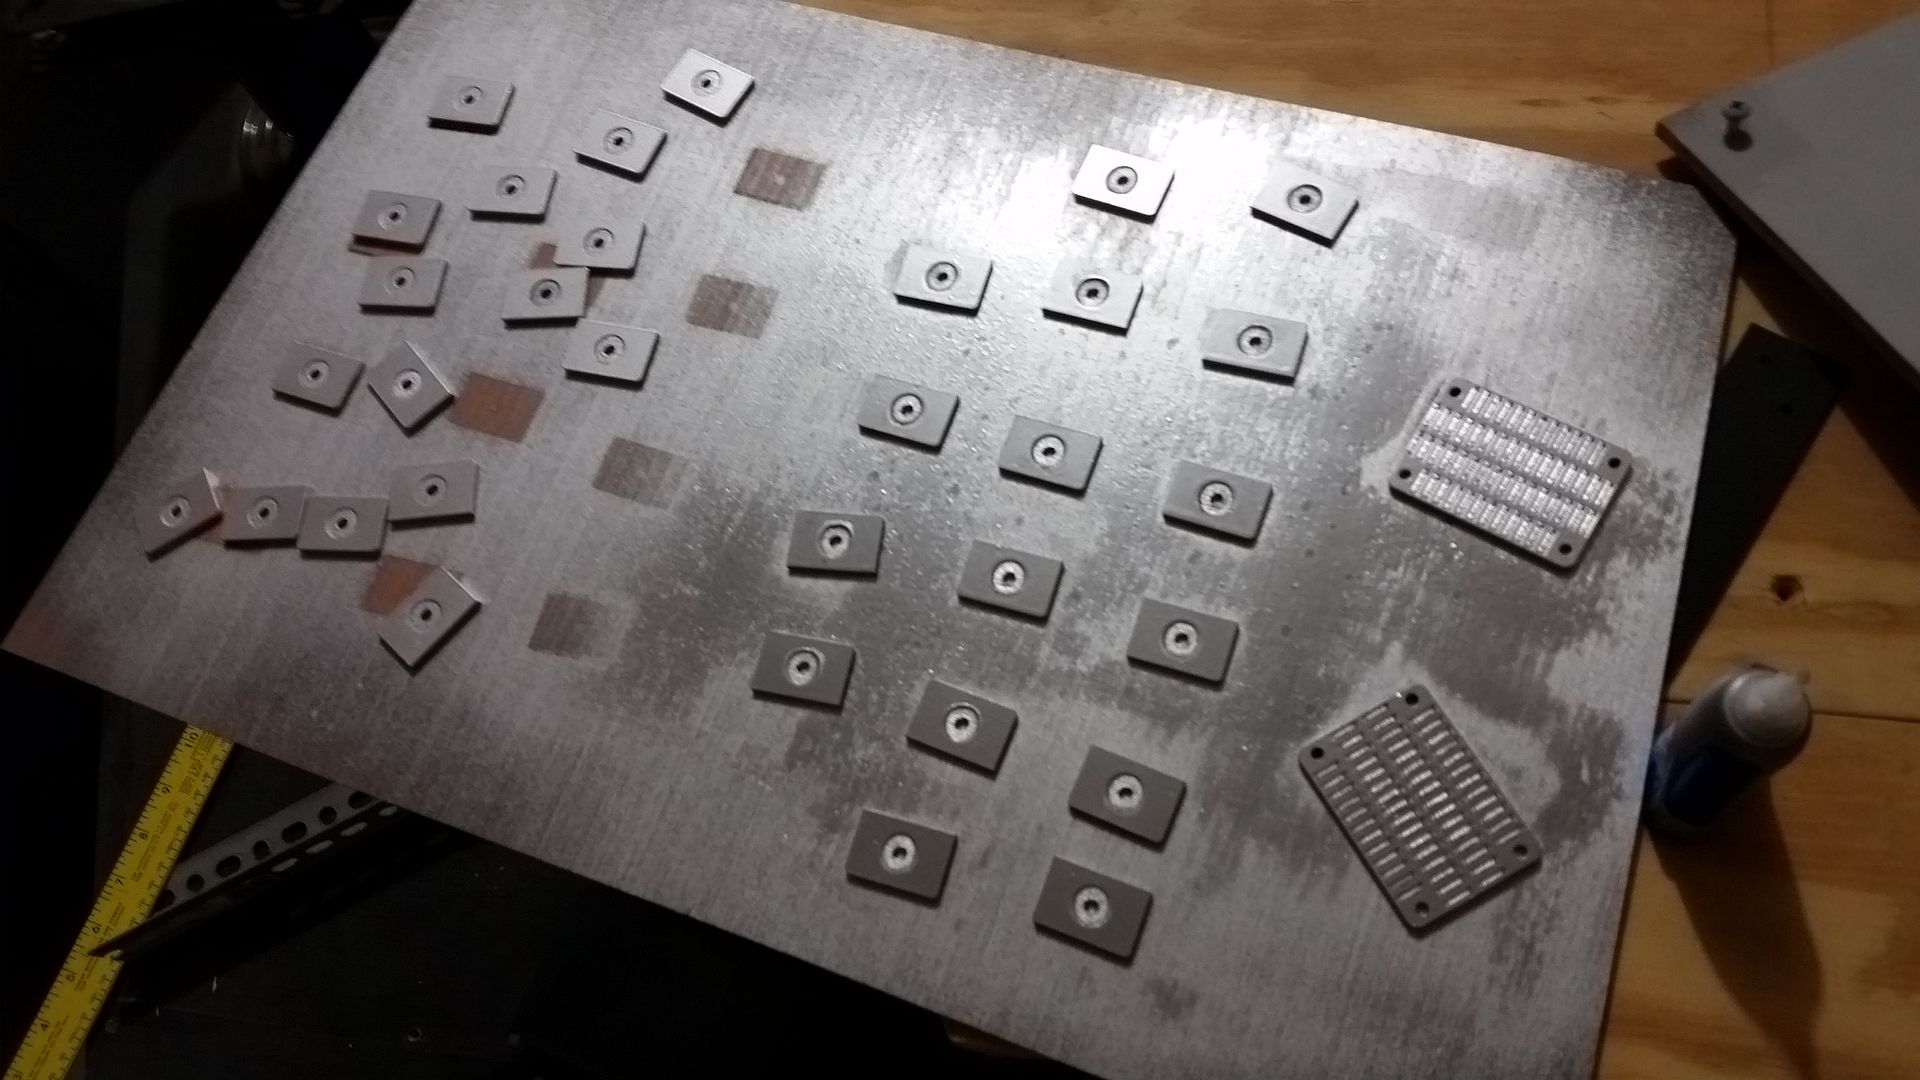
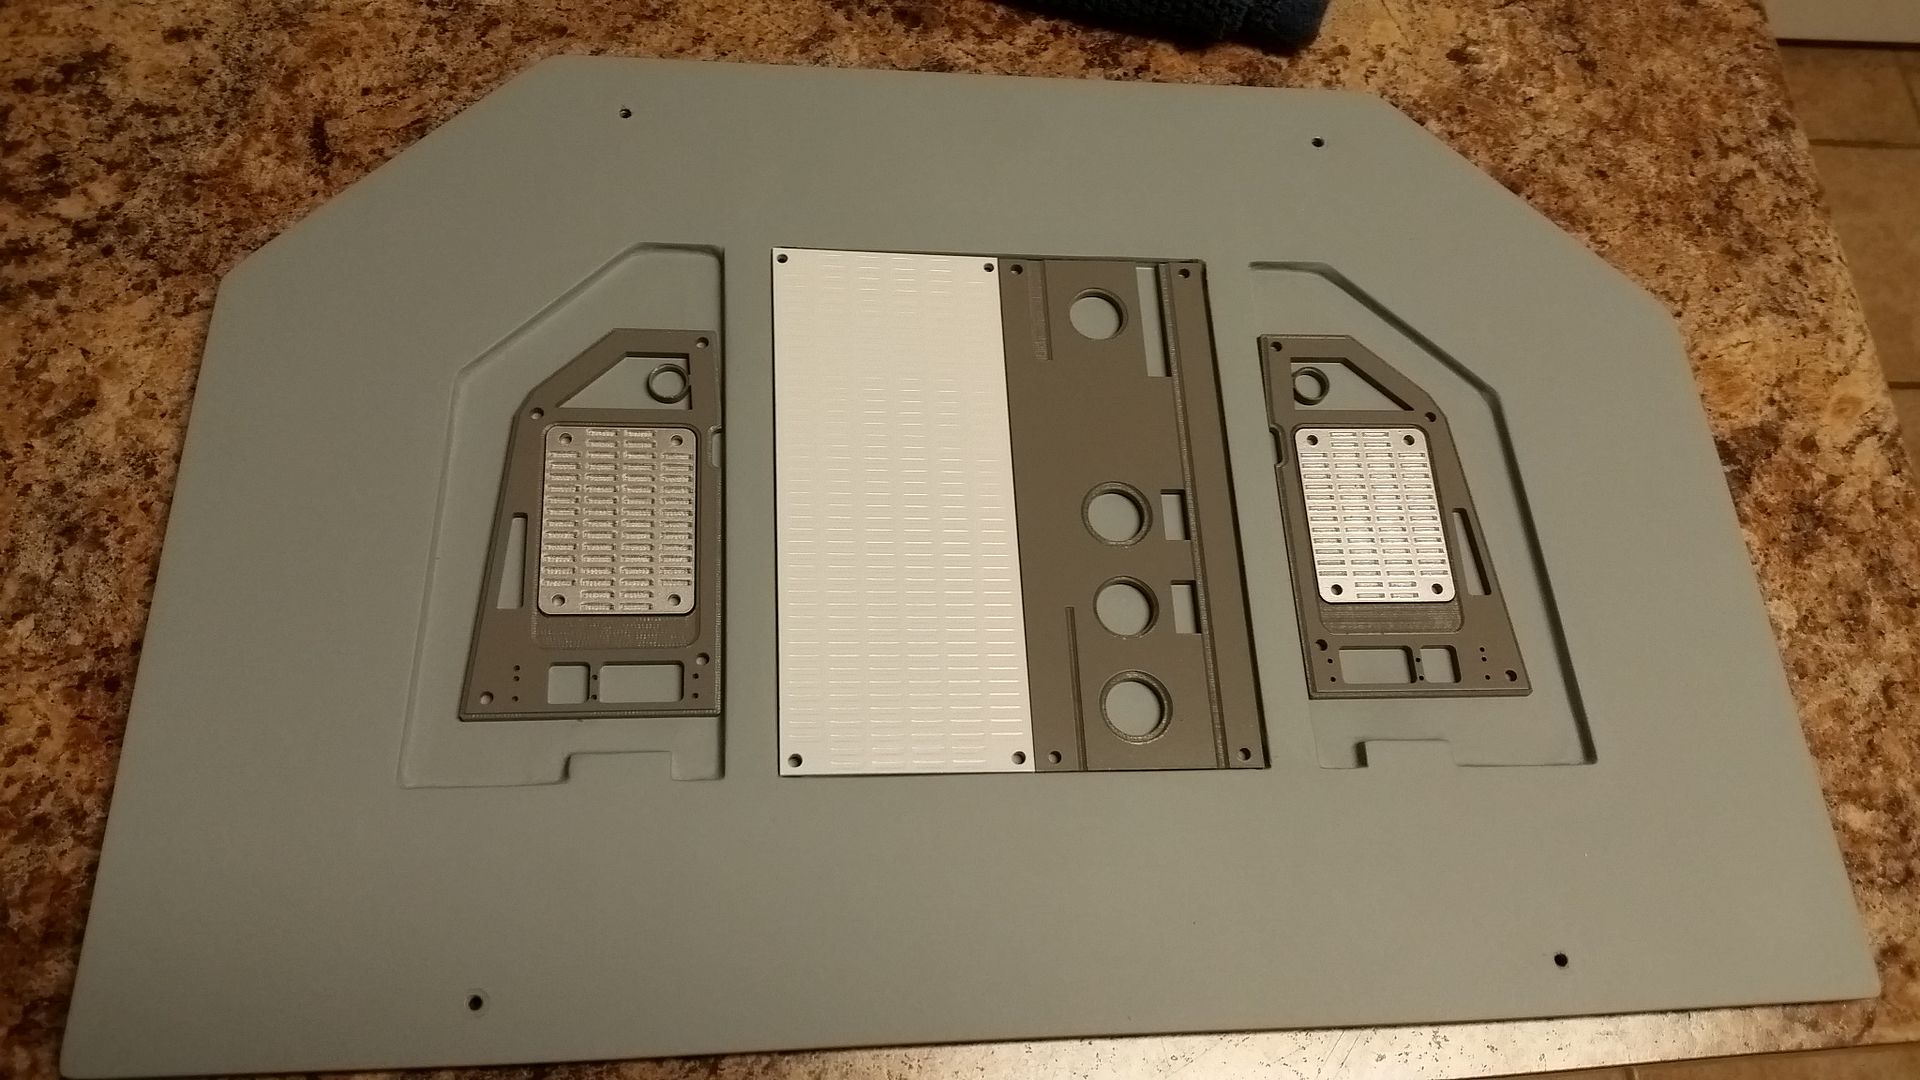
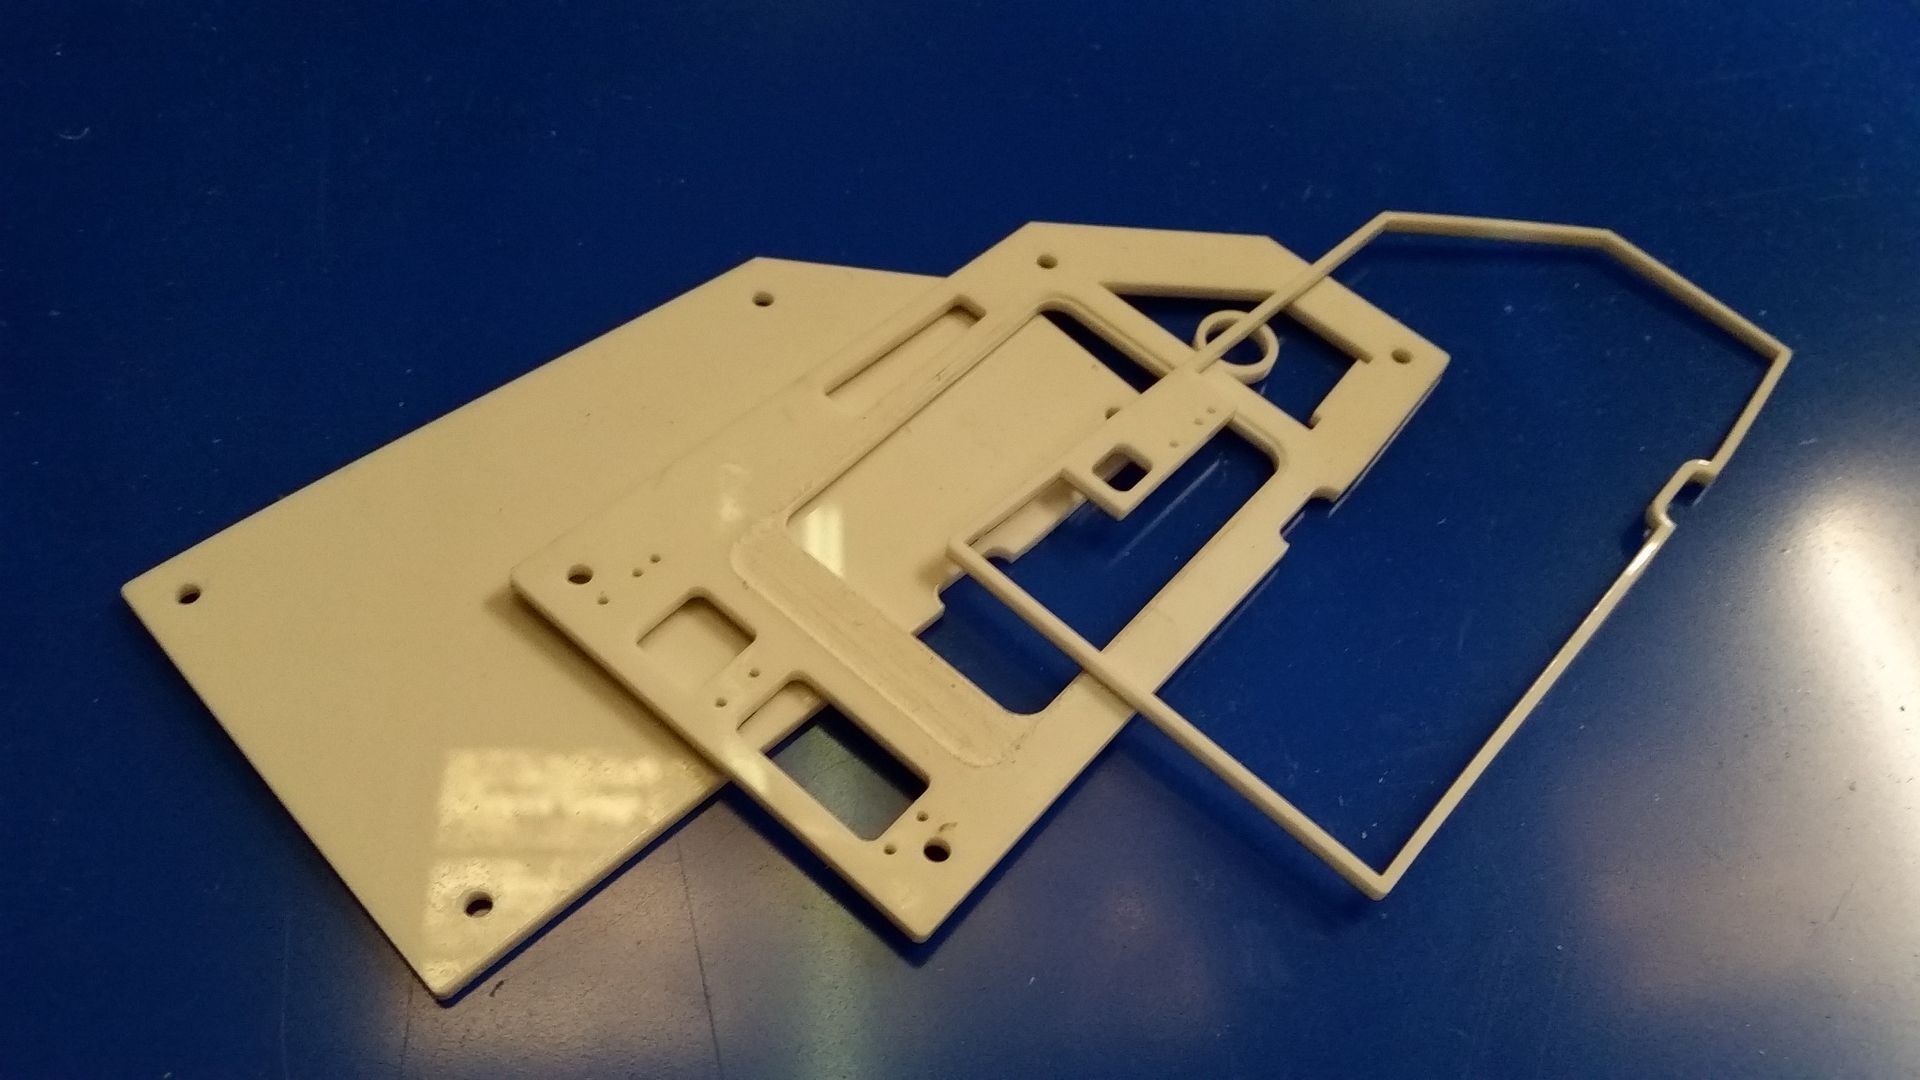
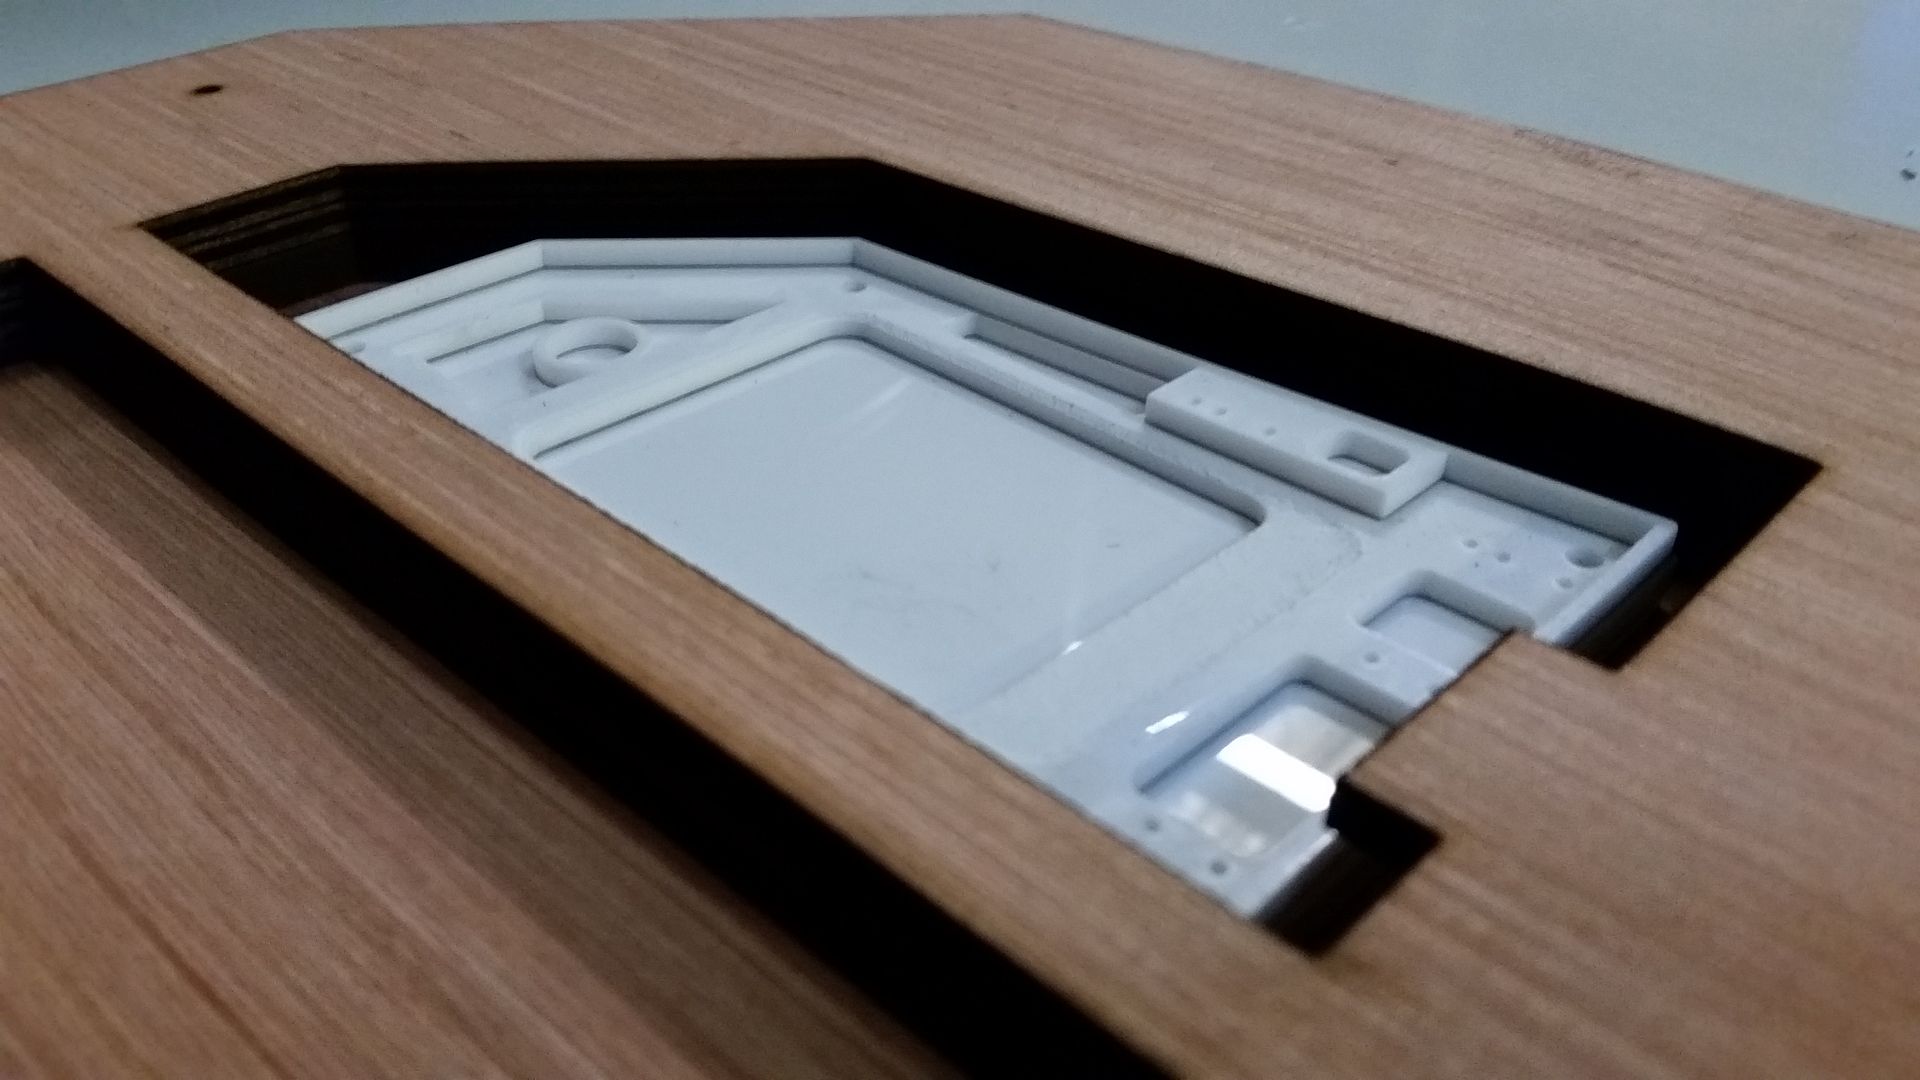
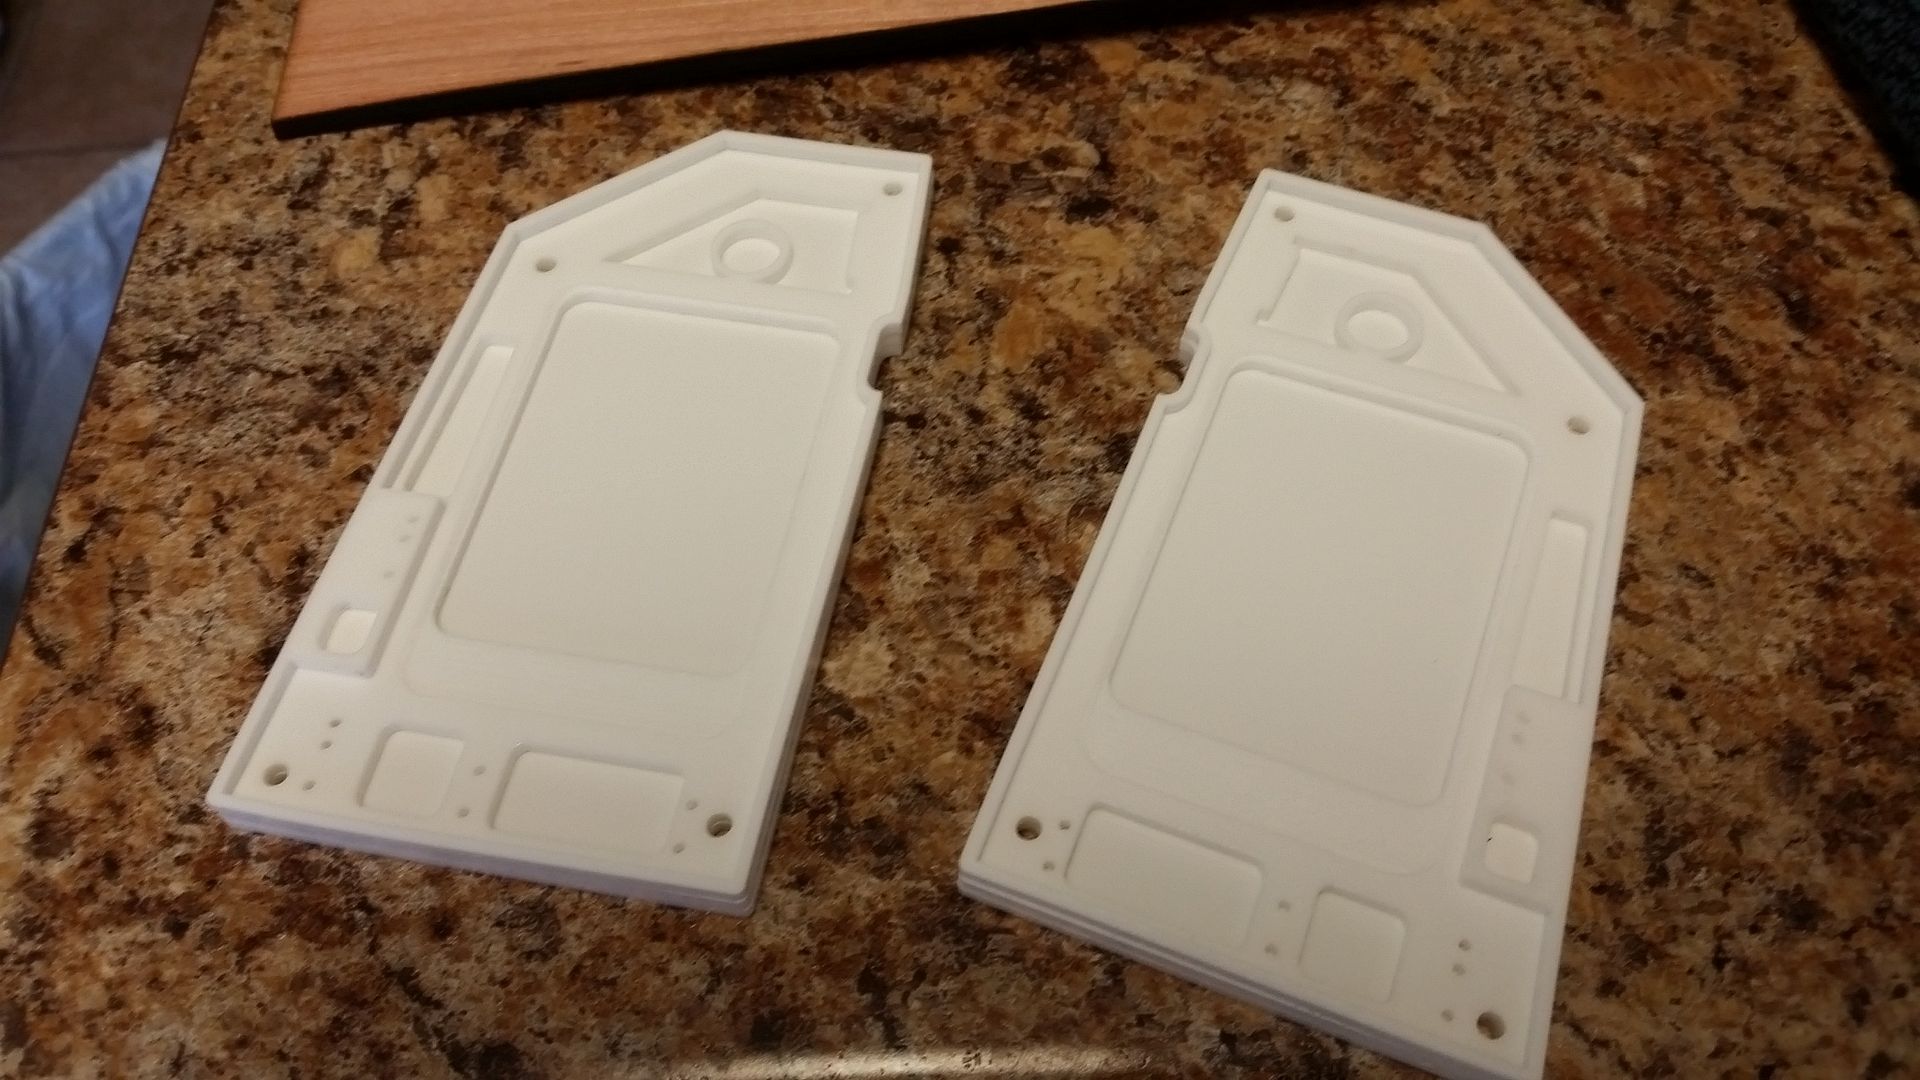
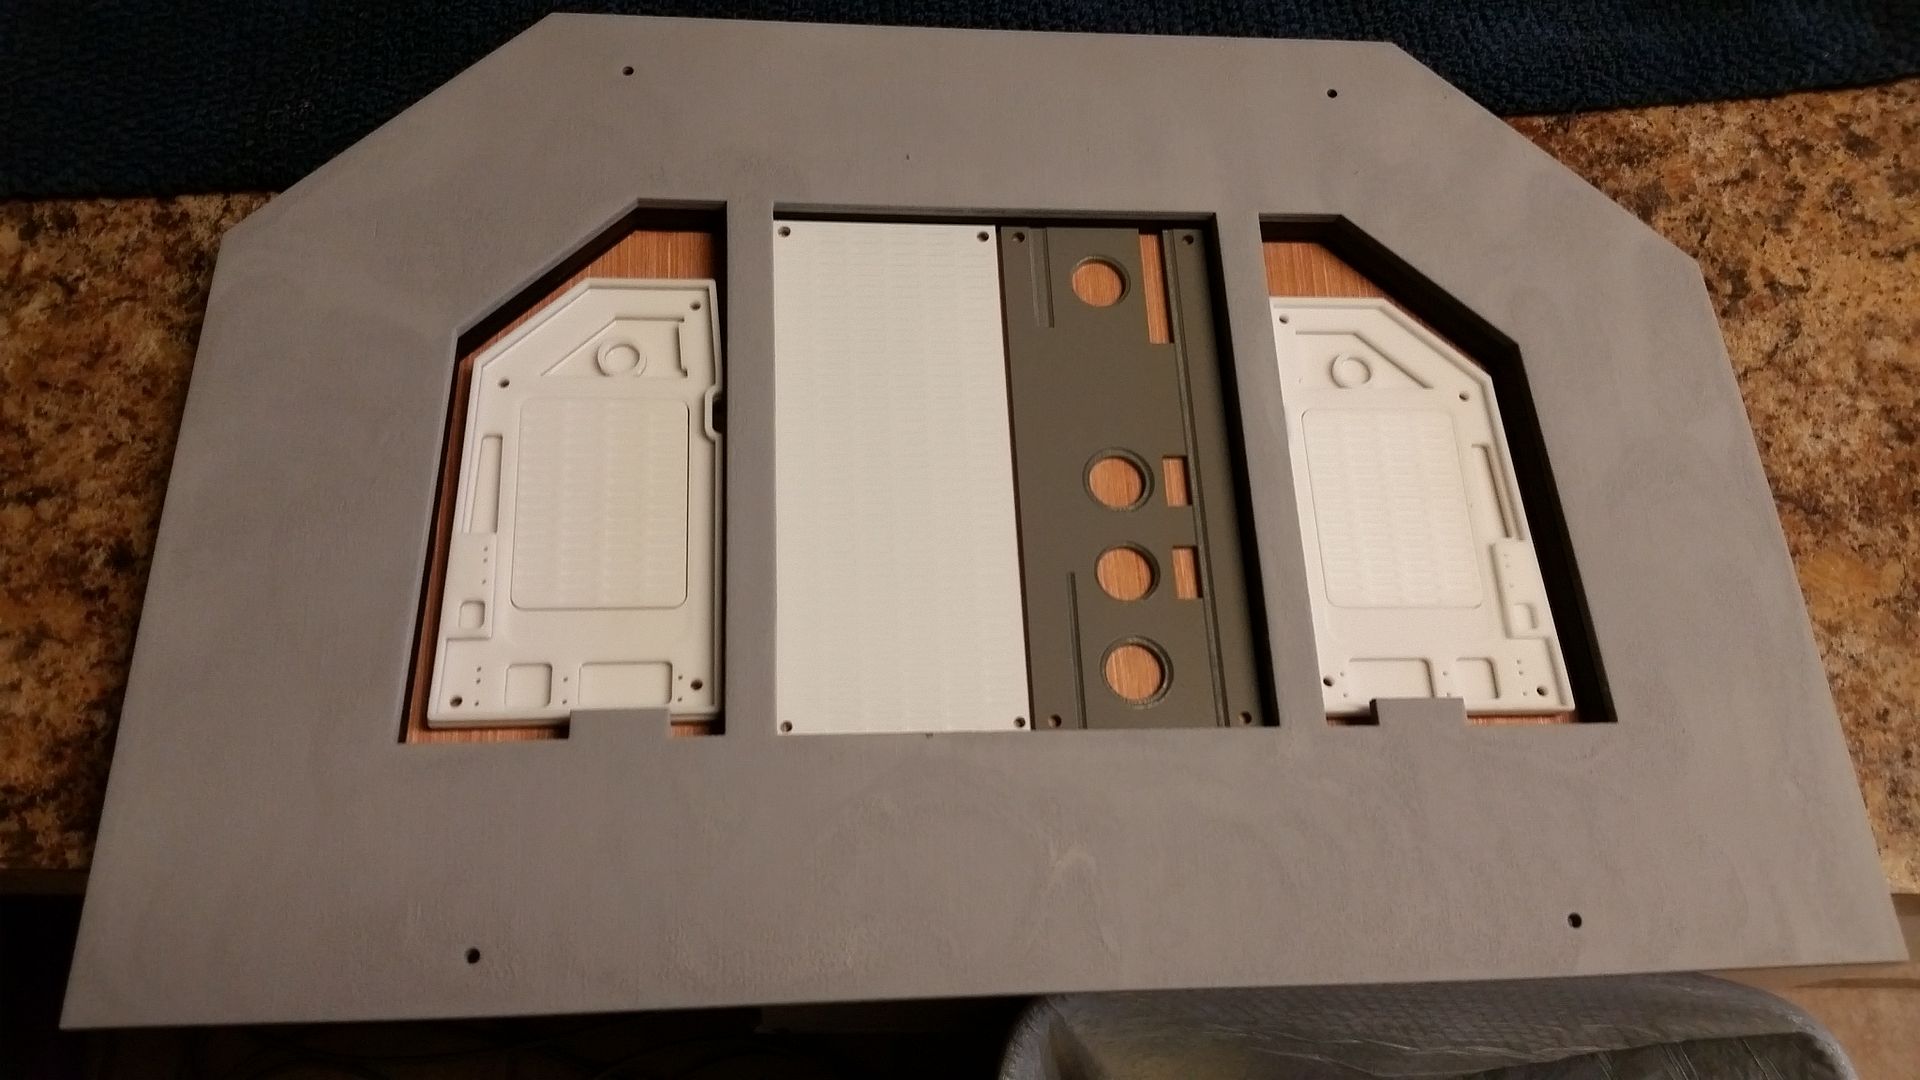
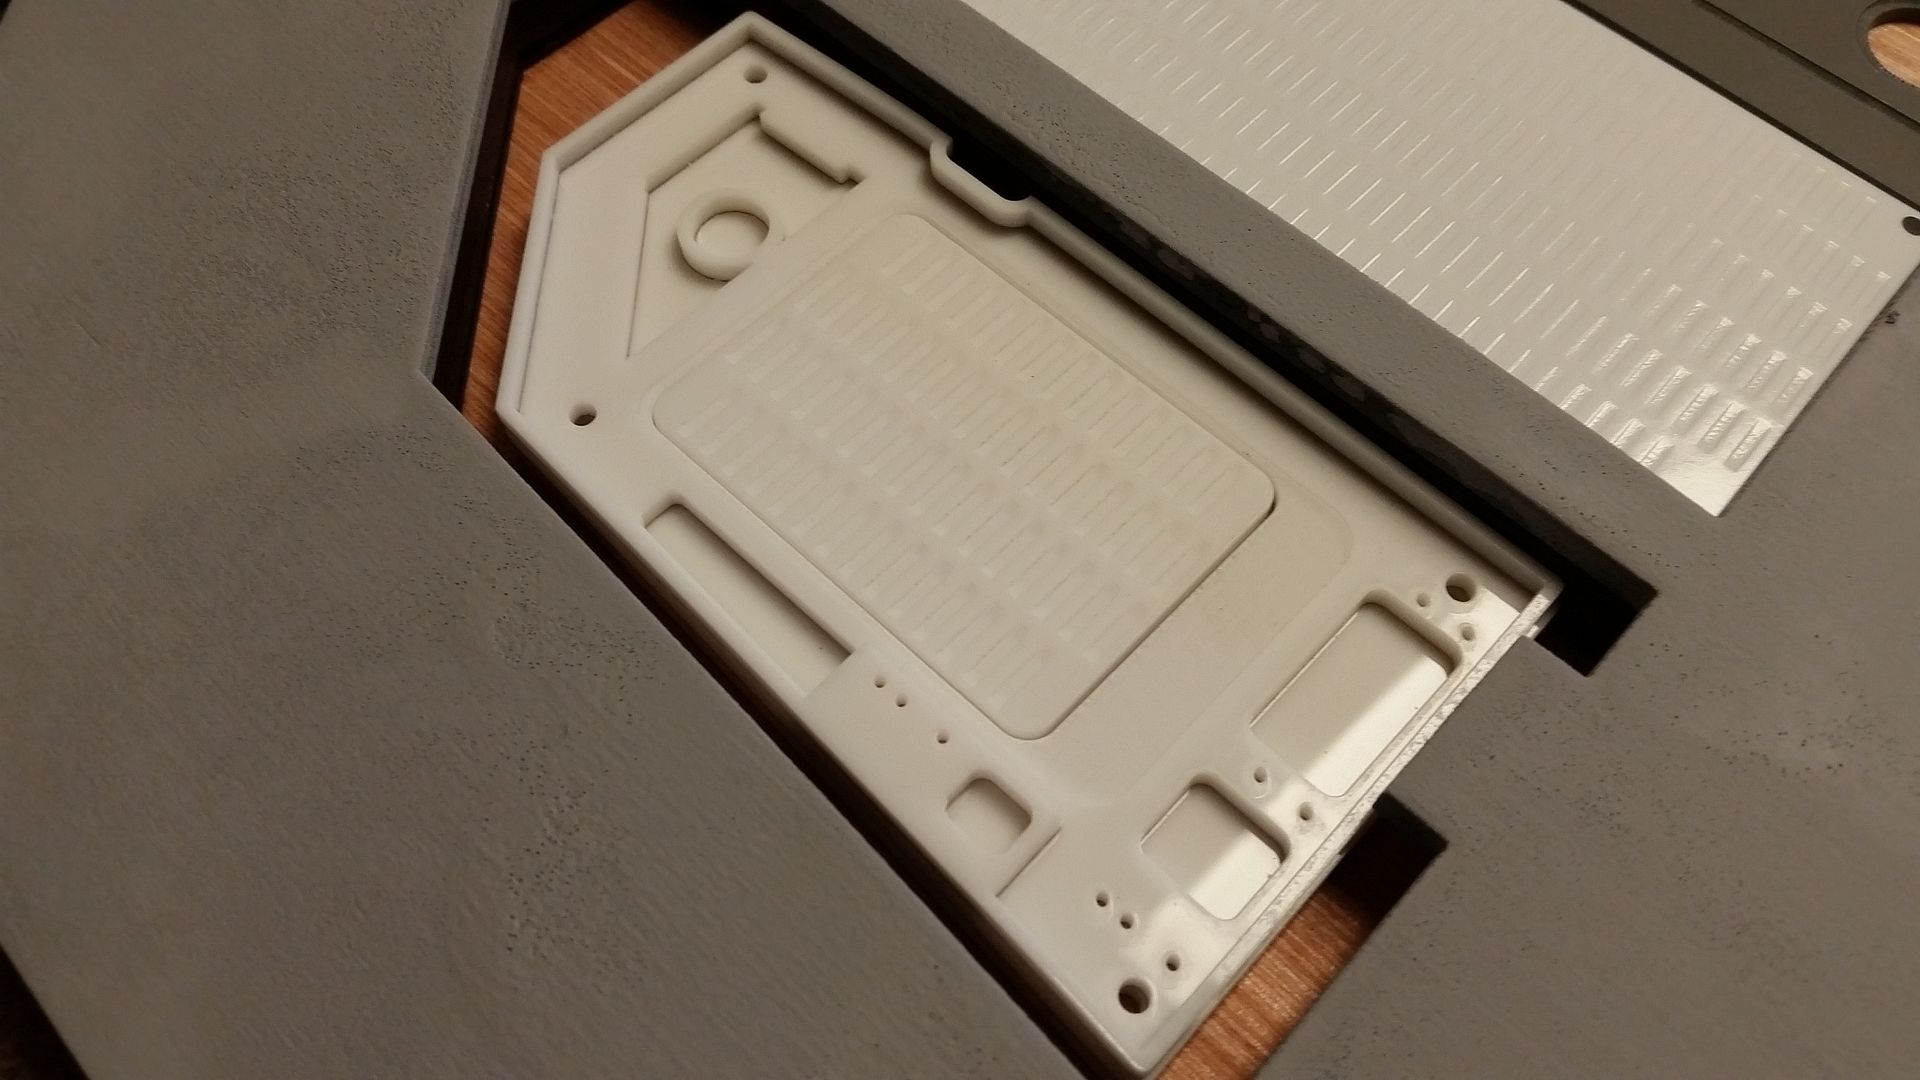
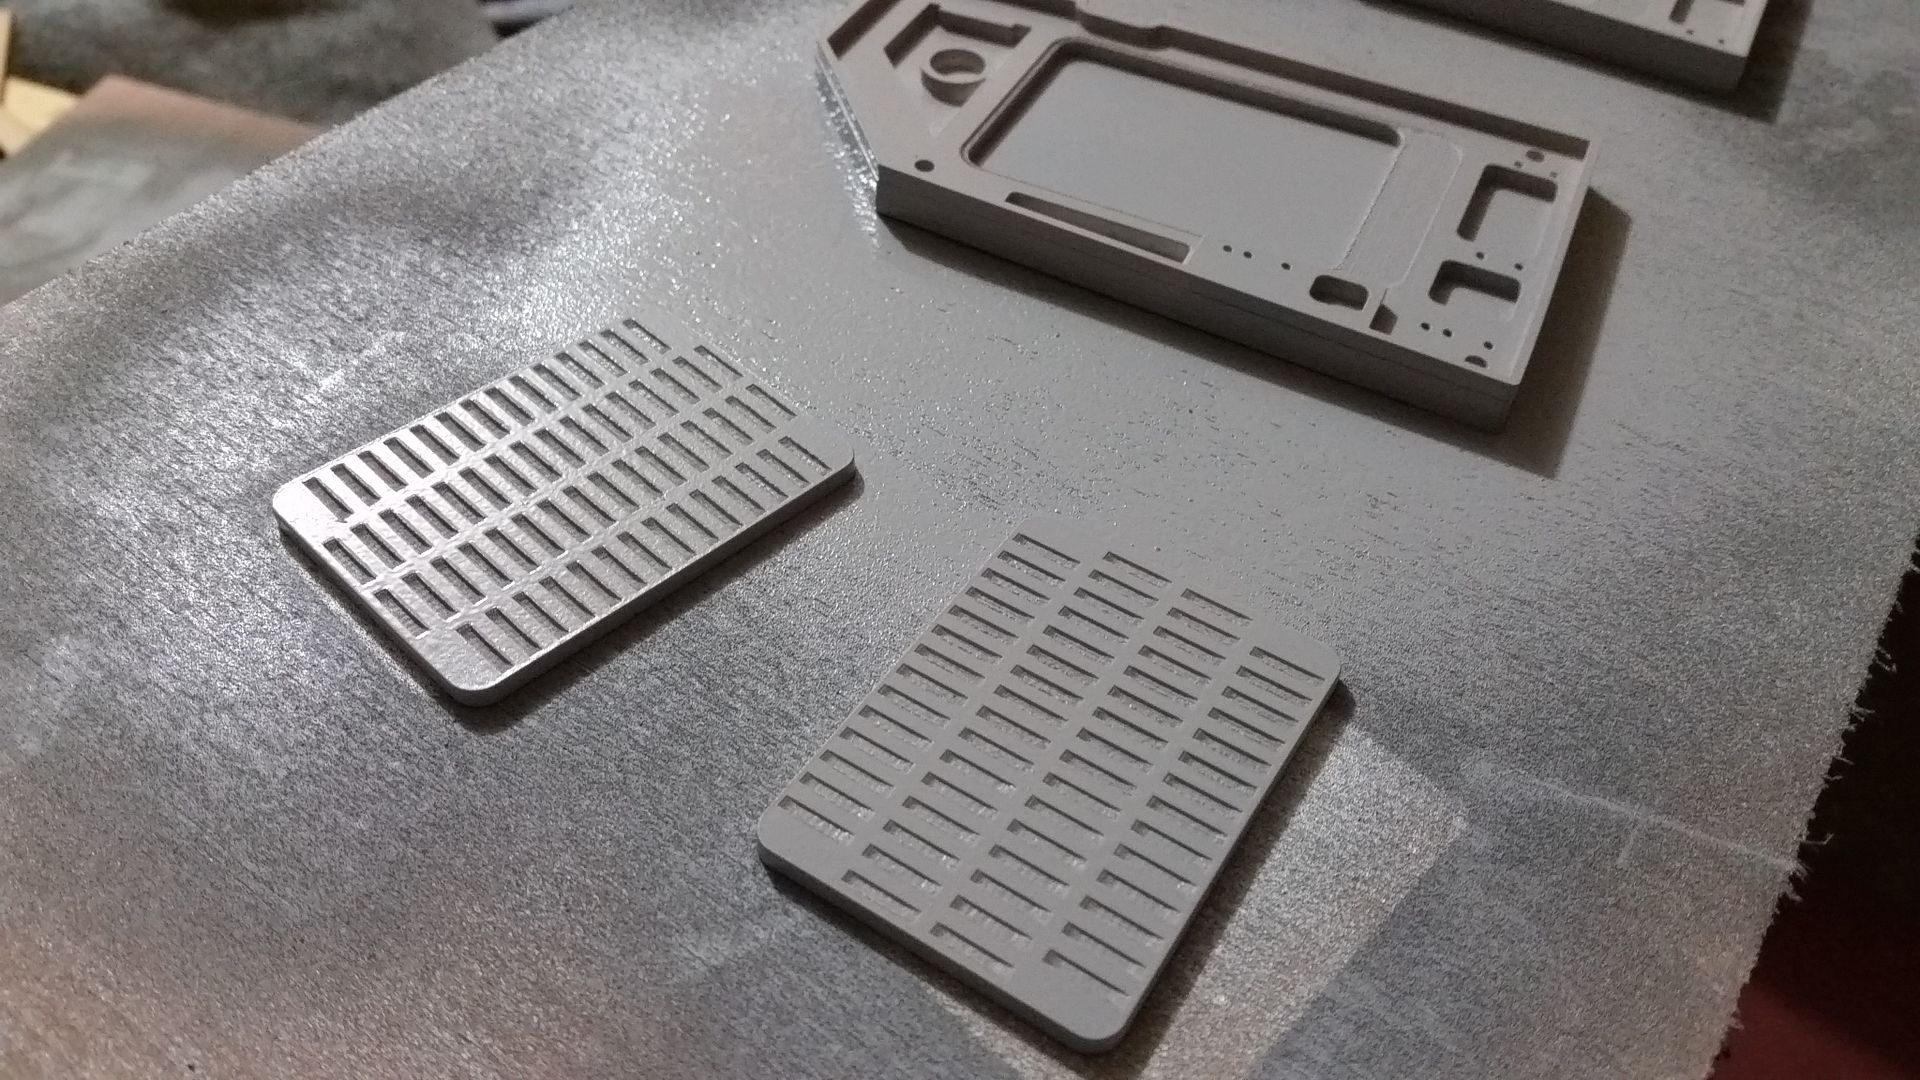
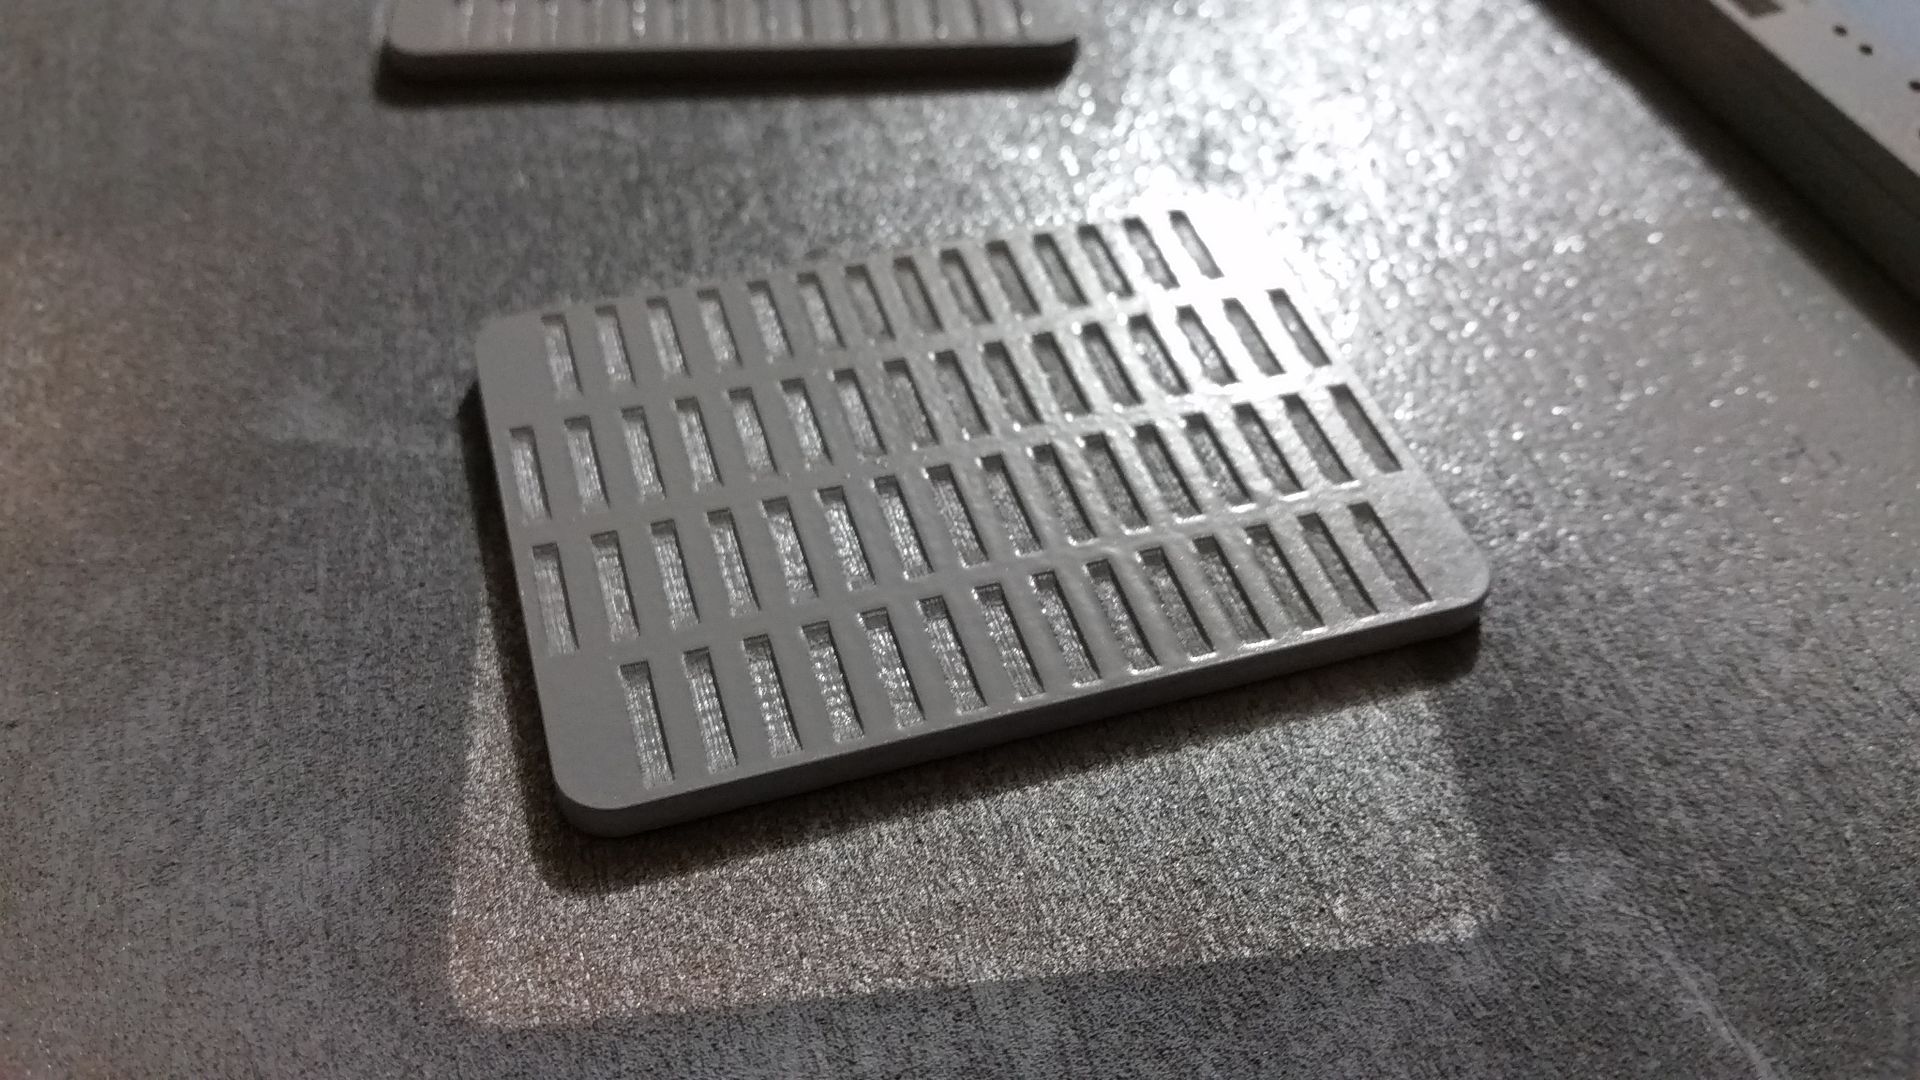
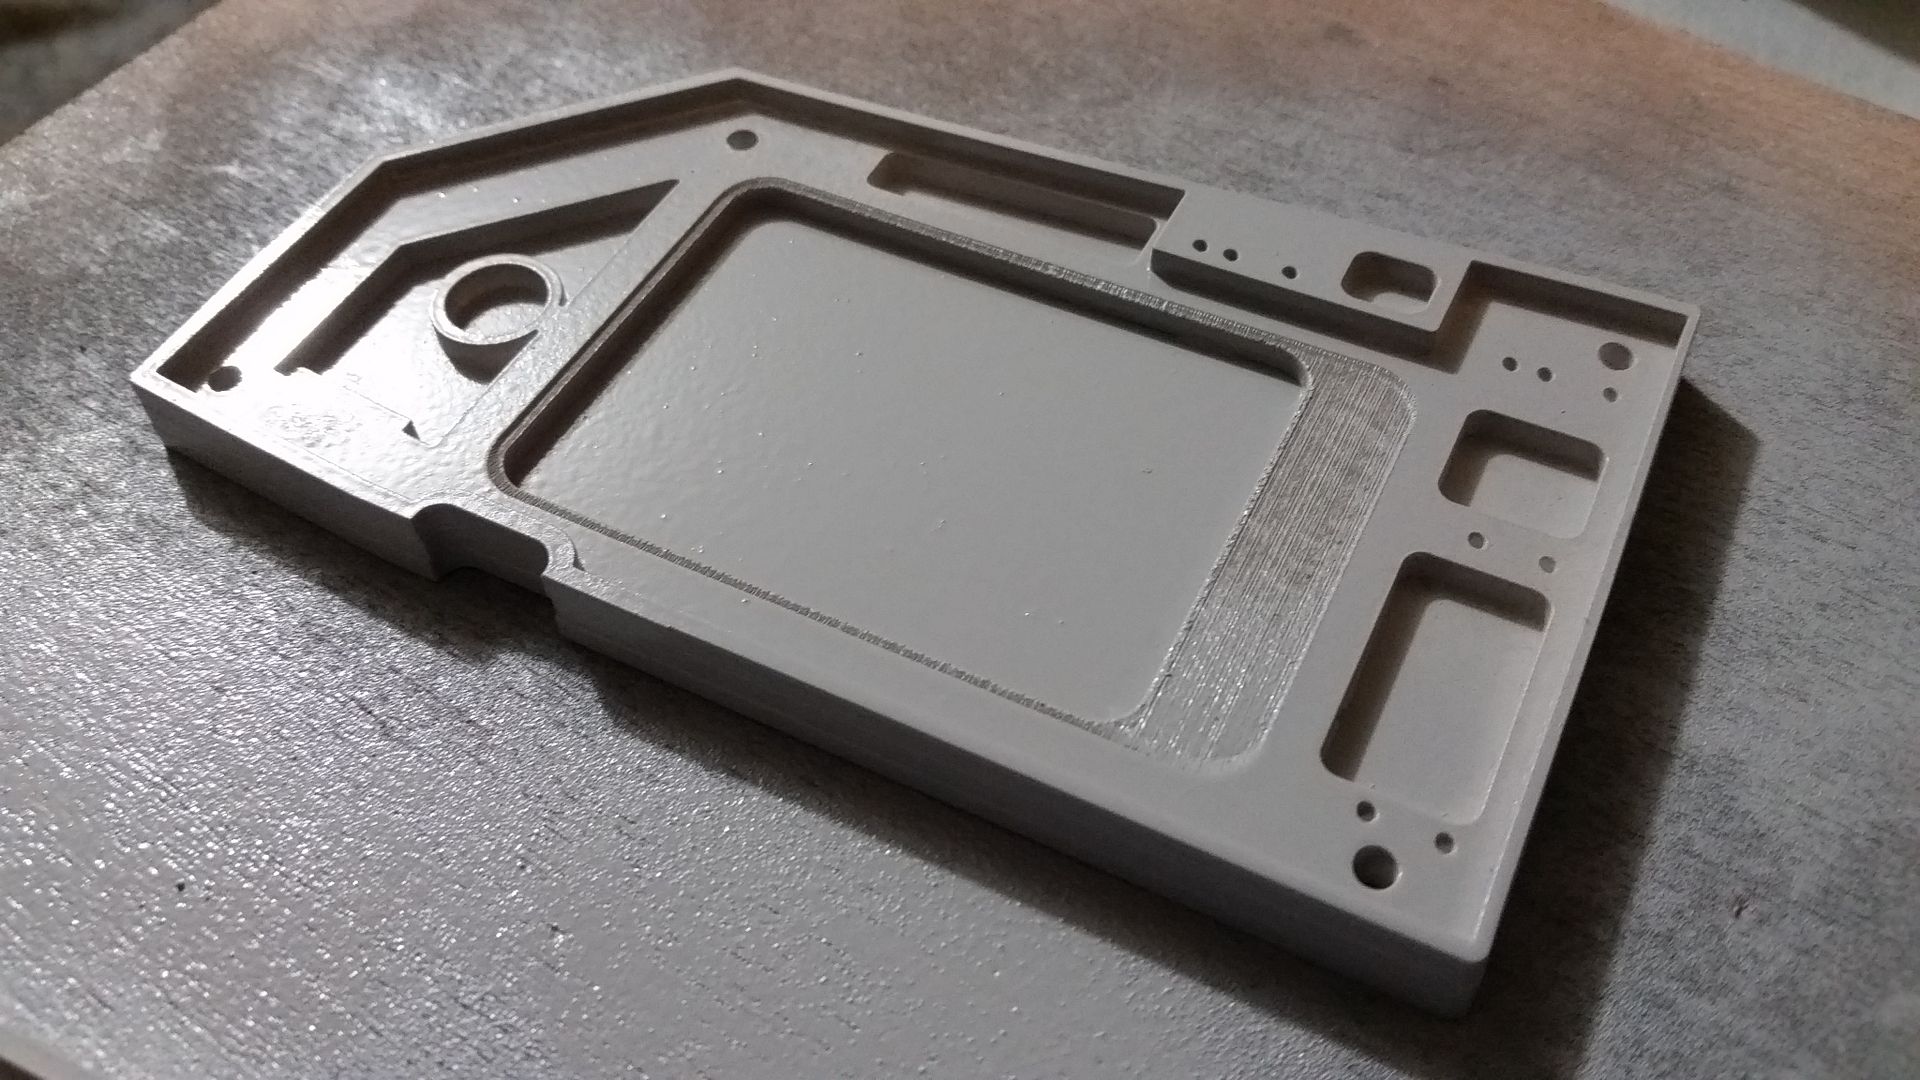
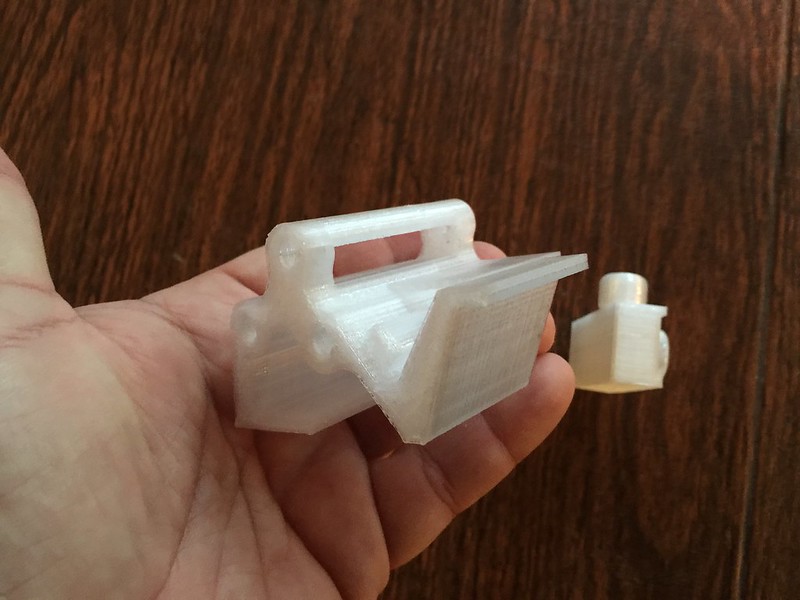
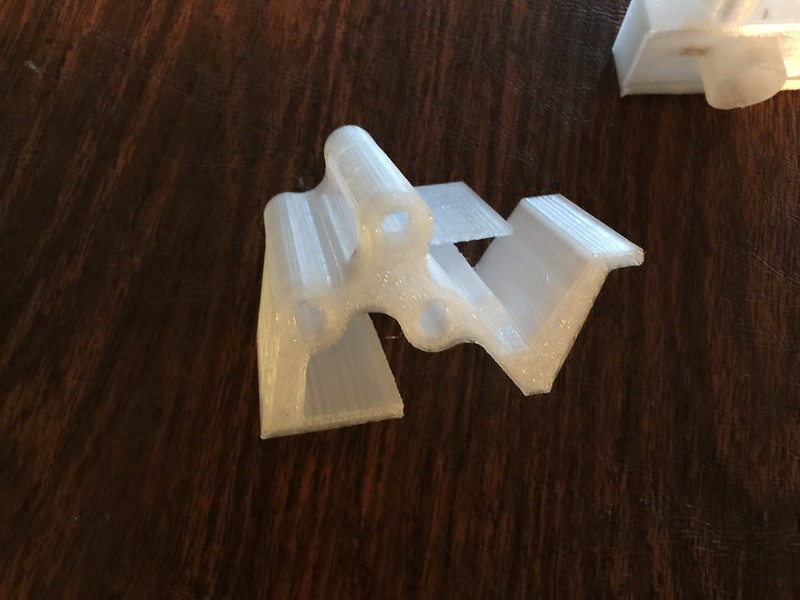
Here are some of the rear Console greeblies designed by SteveStarkiller that I printed.
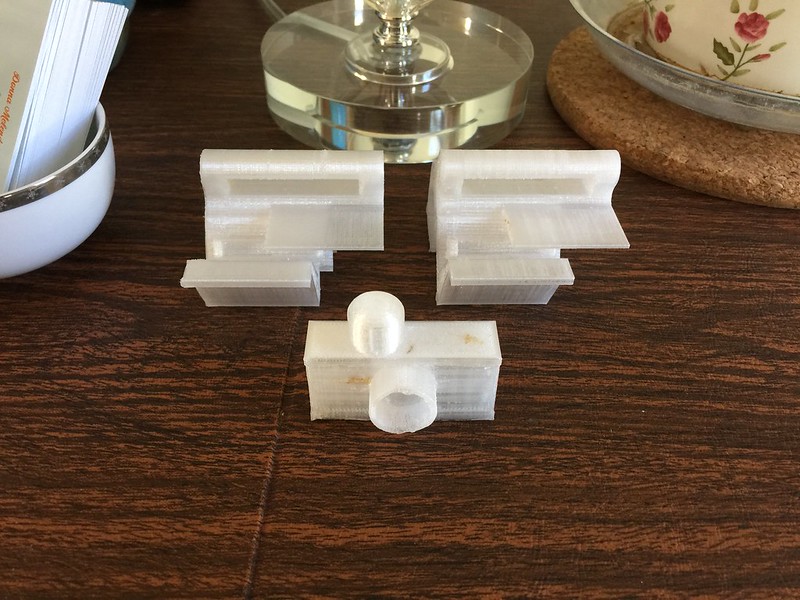 Rear console greeblies by Izzy Mel, on Flickr
 Rear console greeblies by Izzy Mel, on Flickr
 Rear console greeblies by Izzy Mel, on Flickr
 Rear console greeblies by Izzy Mel, on Flickr
Rear console greeblies by Izzy Mel, on FlickrRear console greeblies by Izzy Mel, on FlickrRear console greeblies by Izzy Mel, on FlickrRear console greeblies by Izzy Mel, on Flickr
Last edited:
Hi Guys,
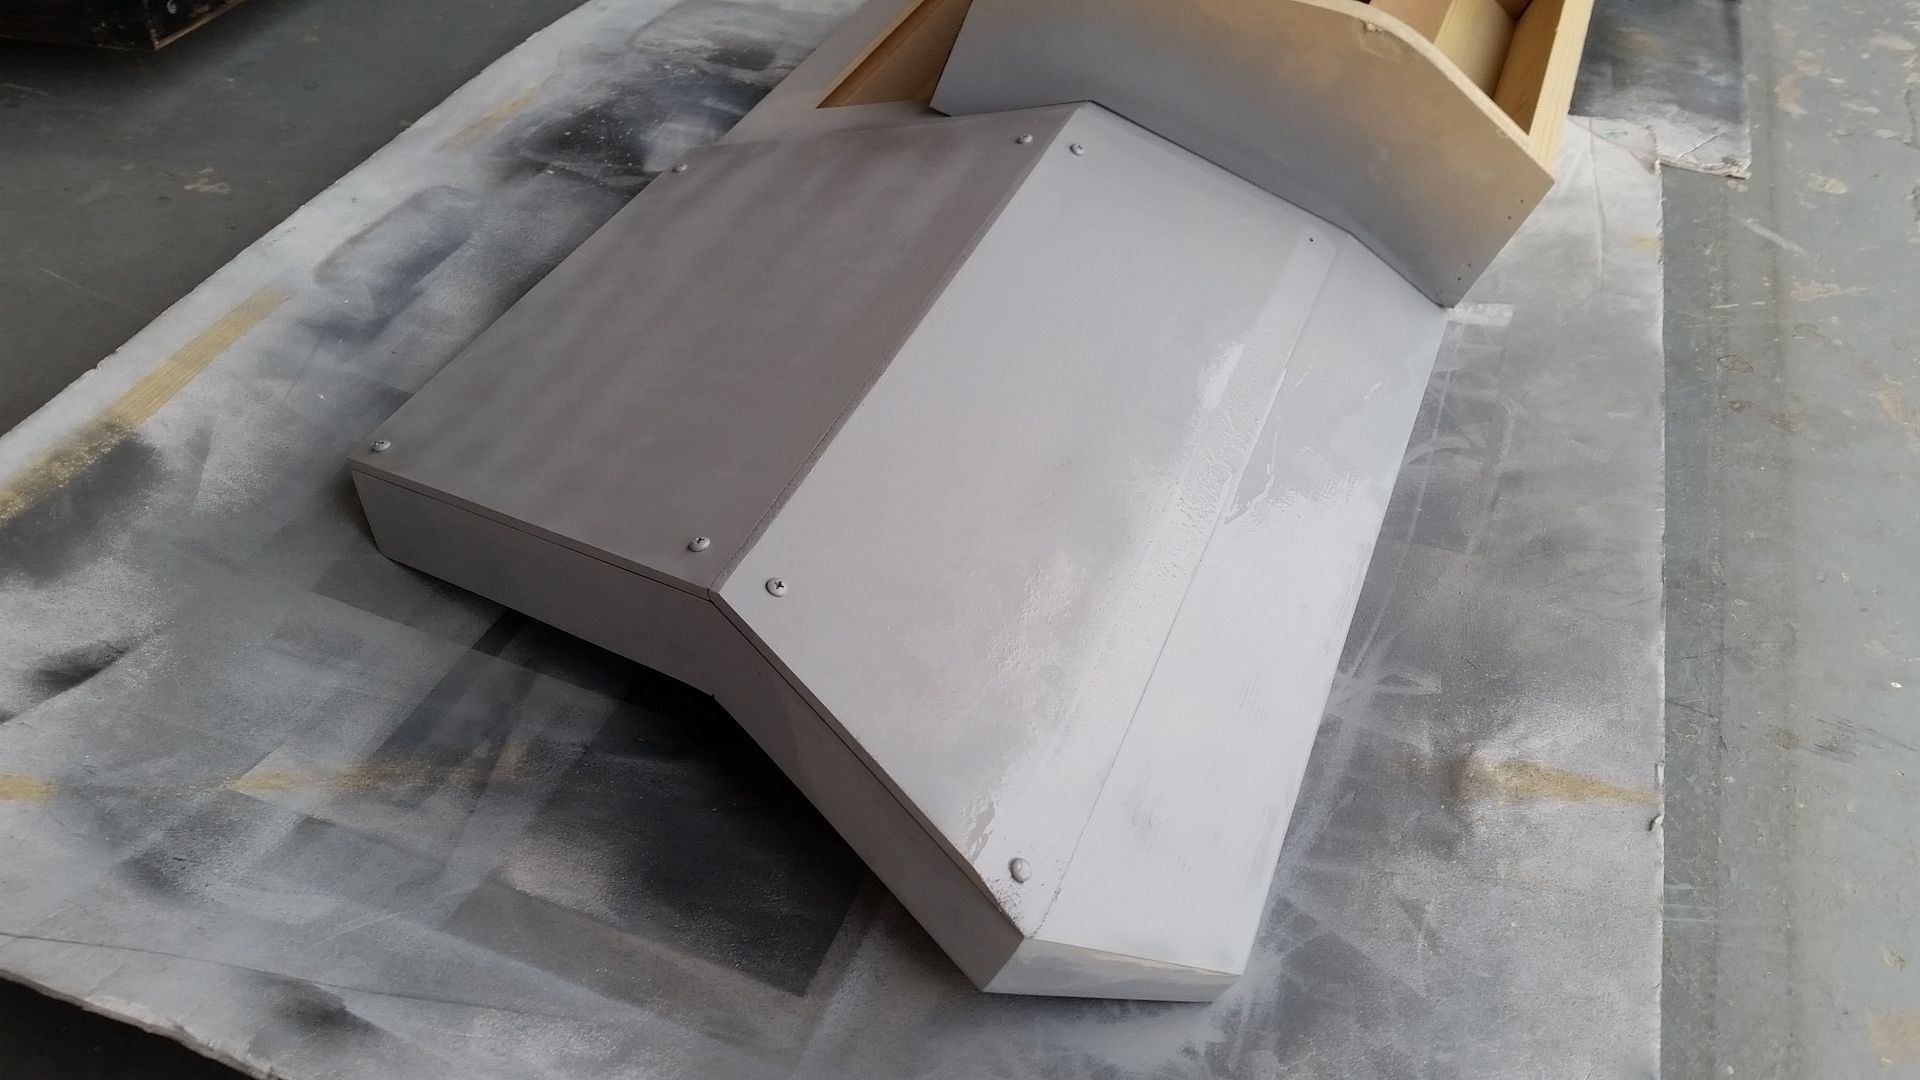
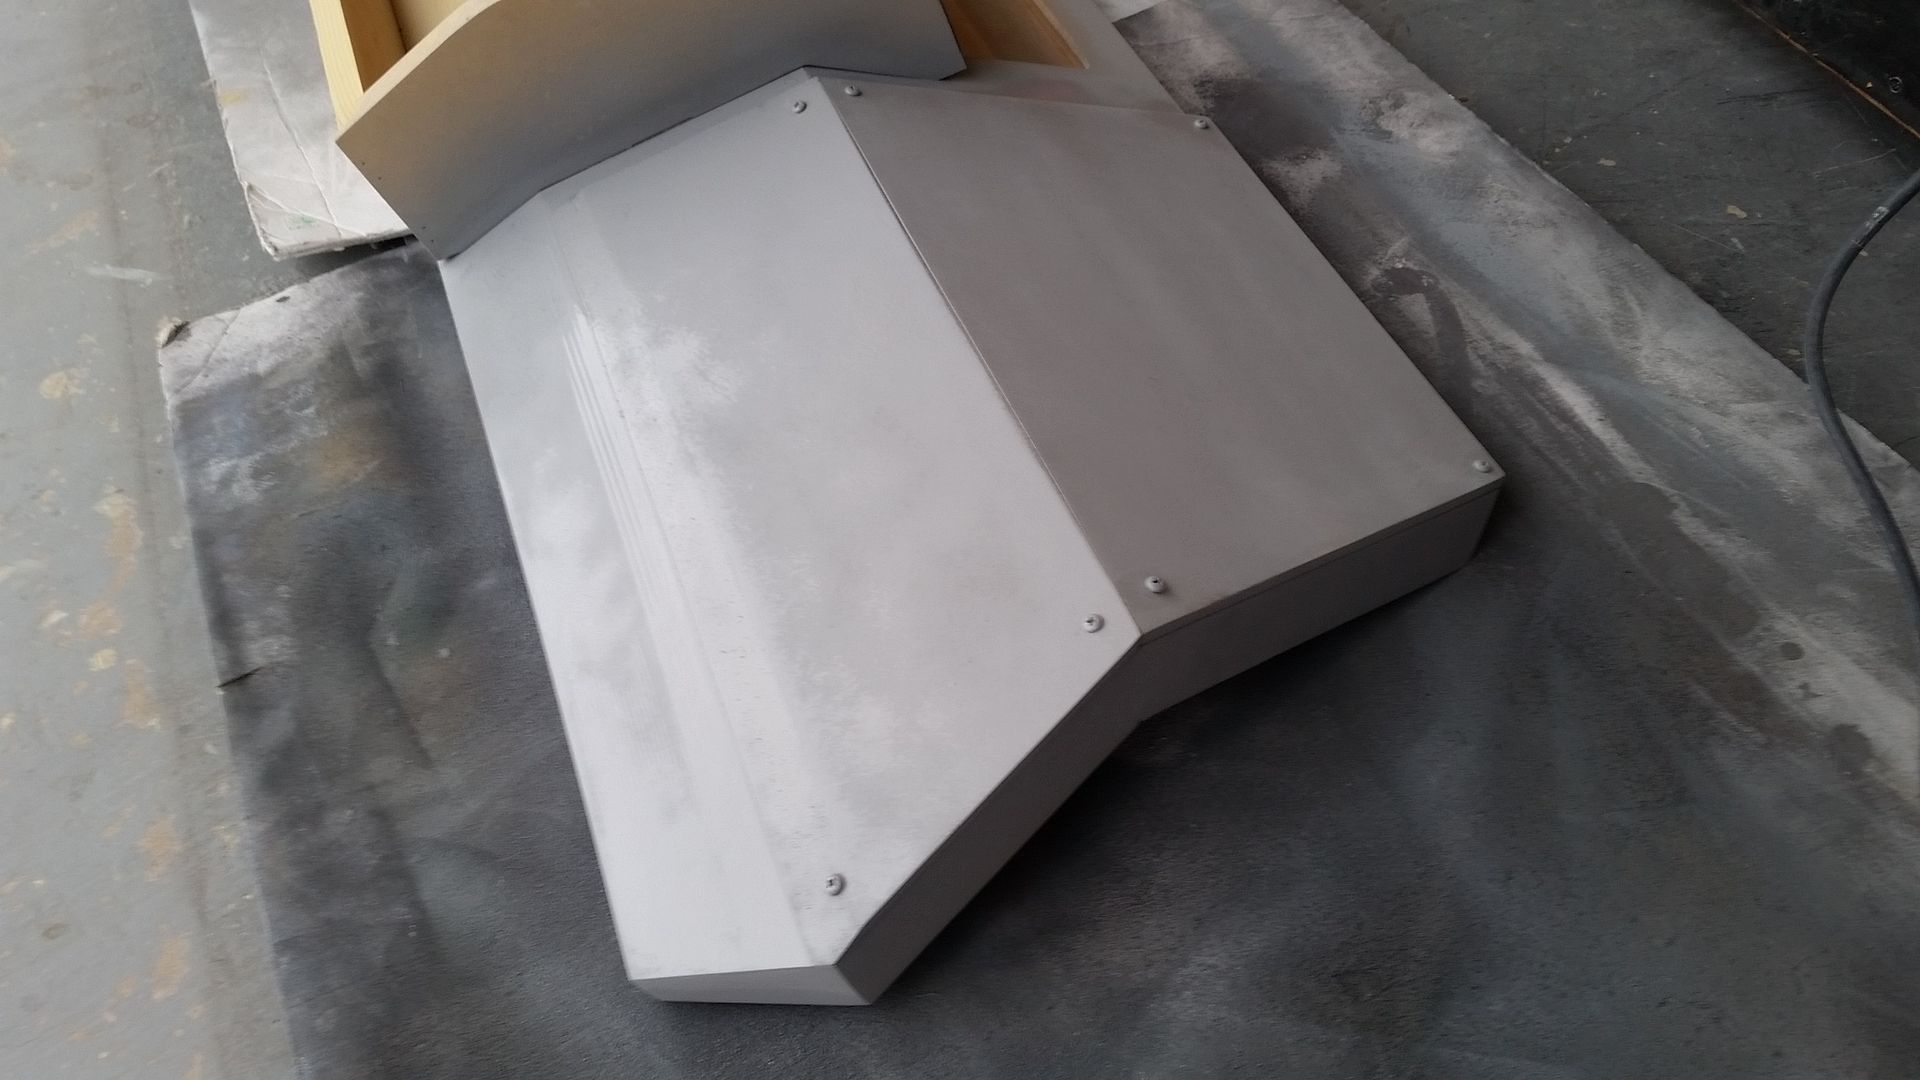
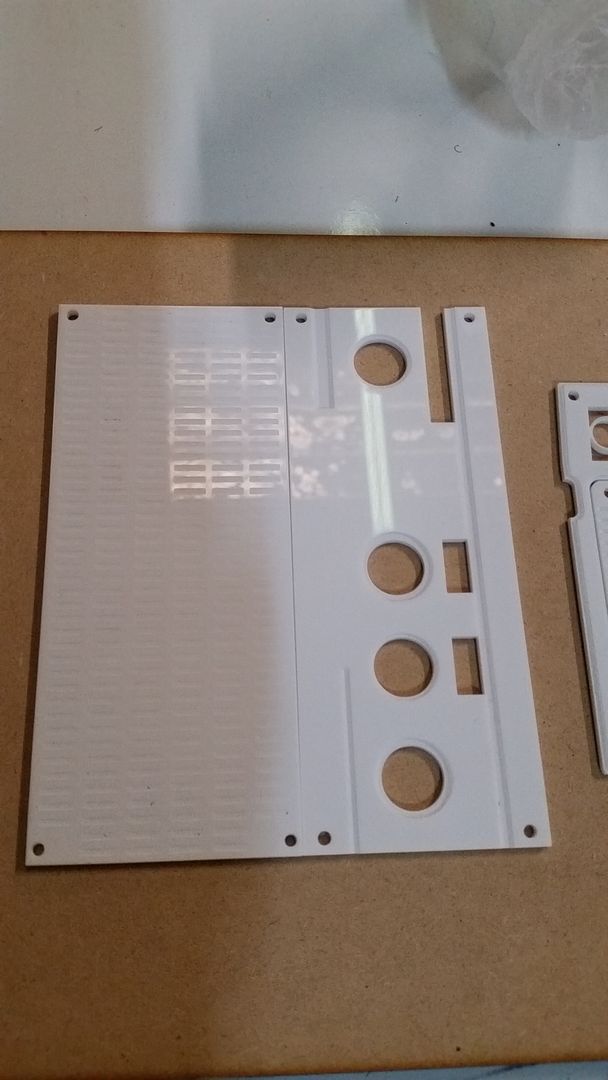
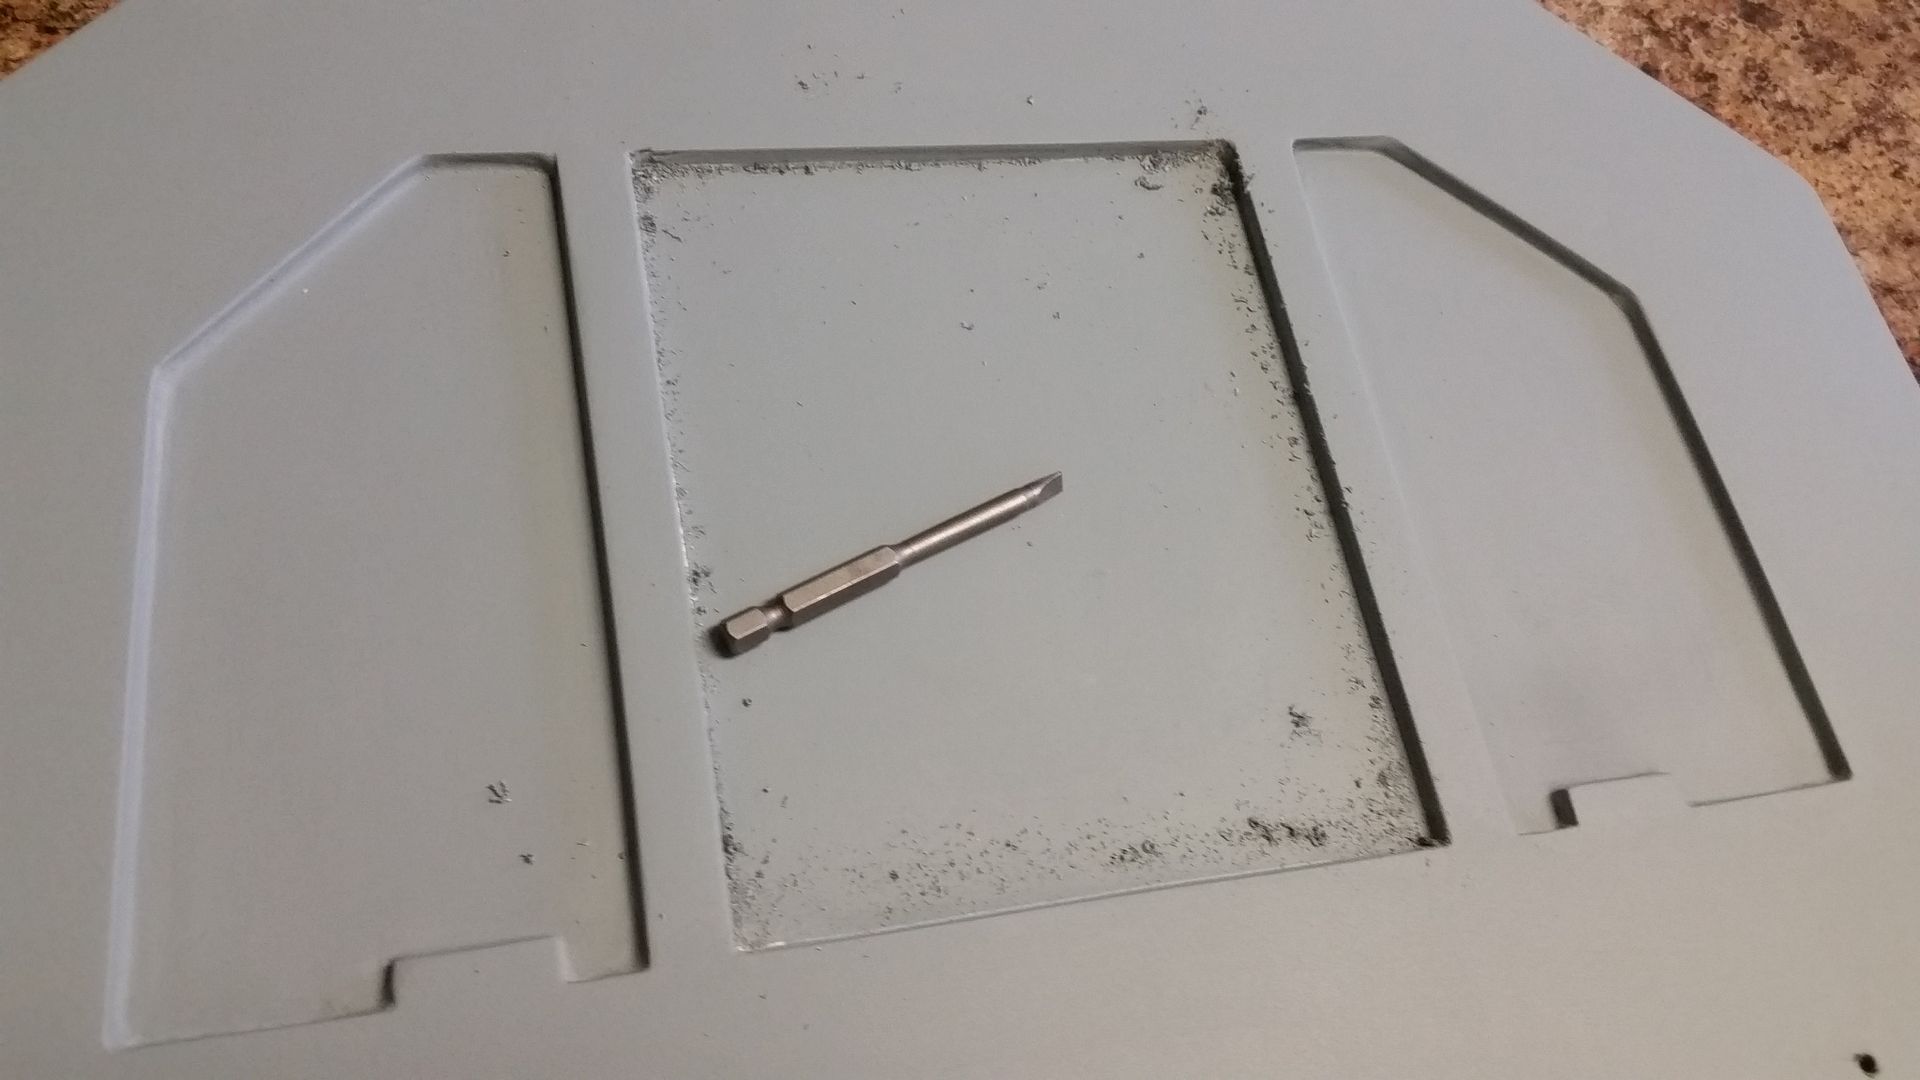
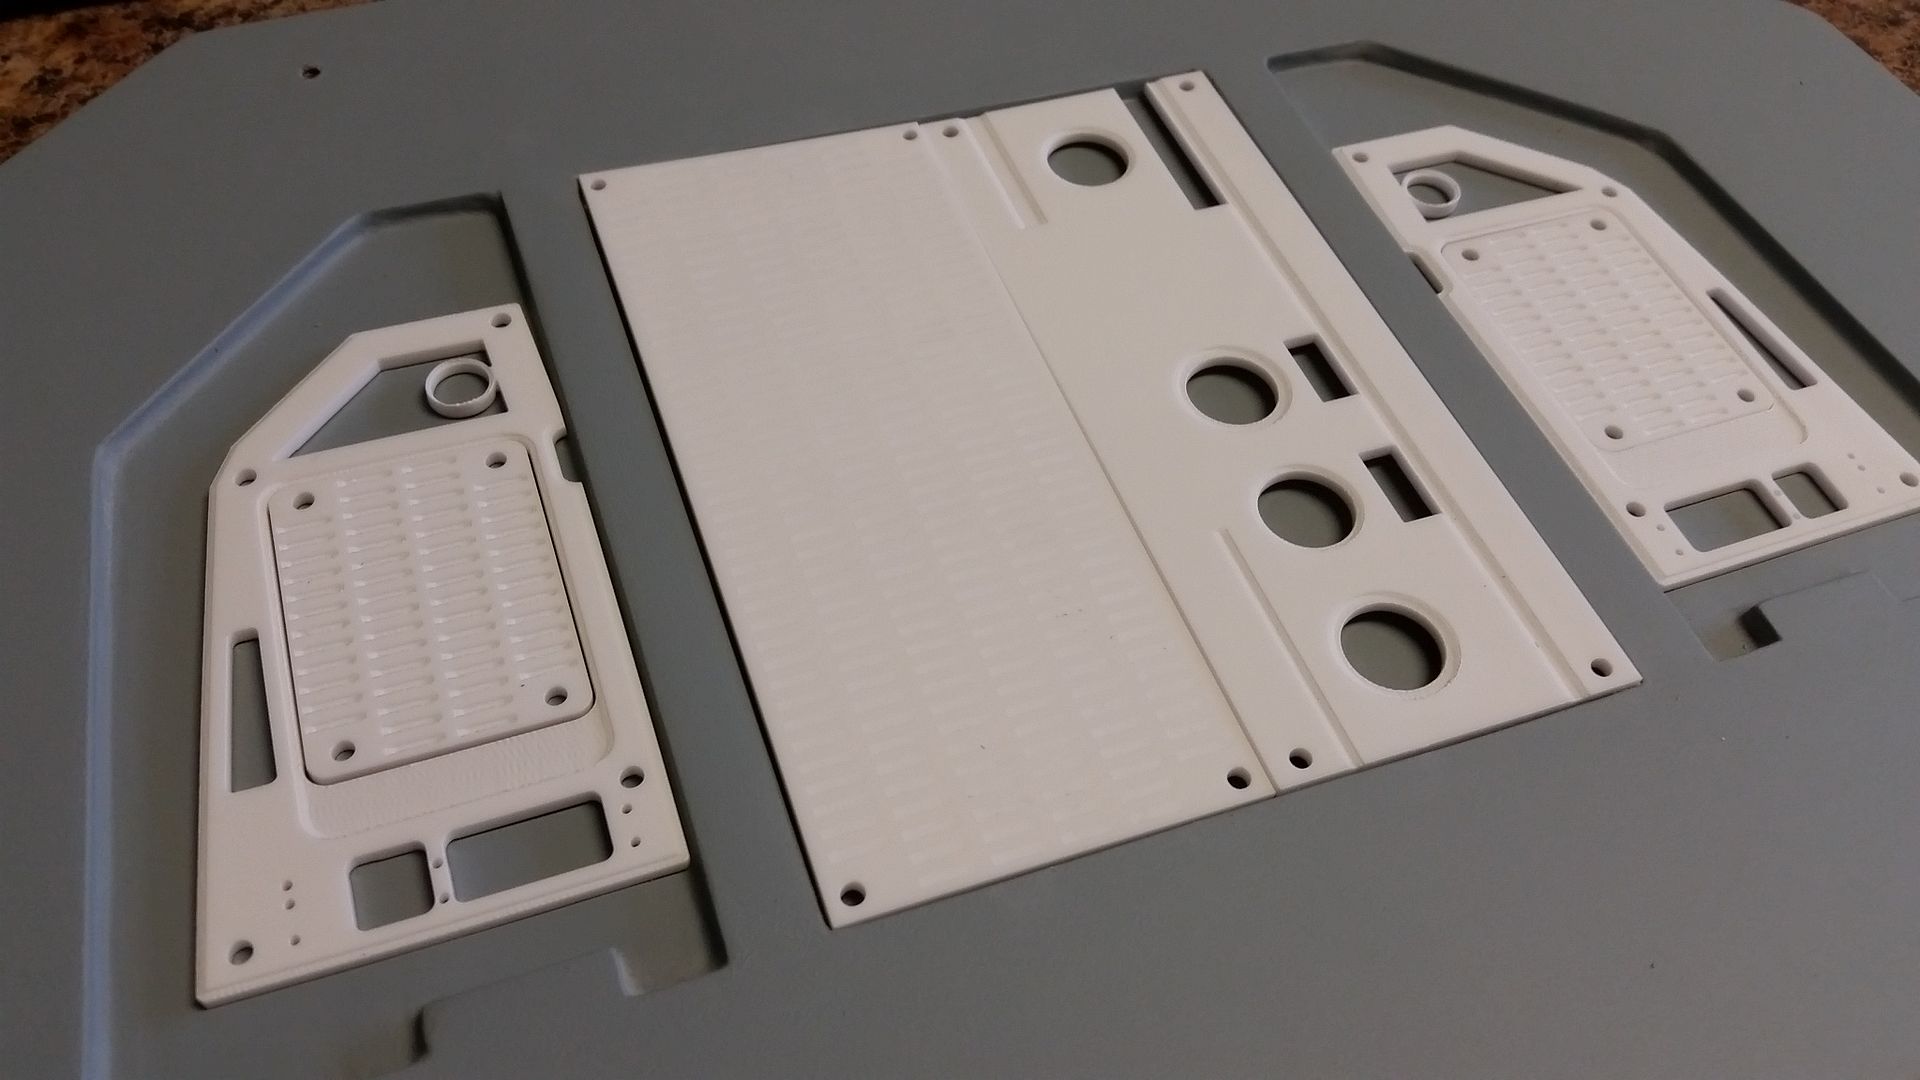
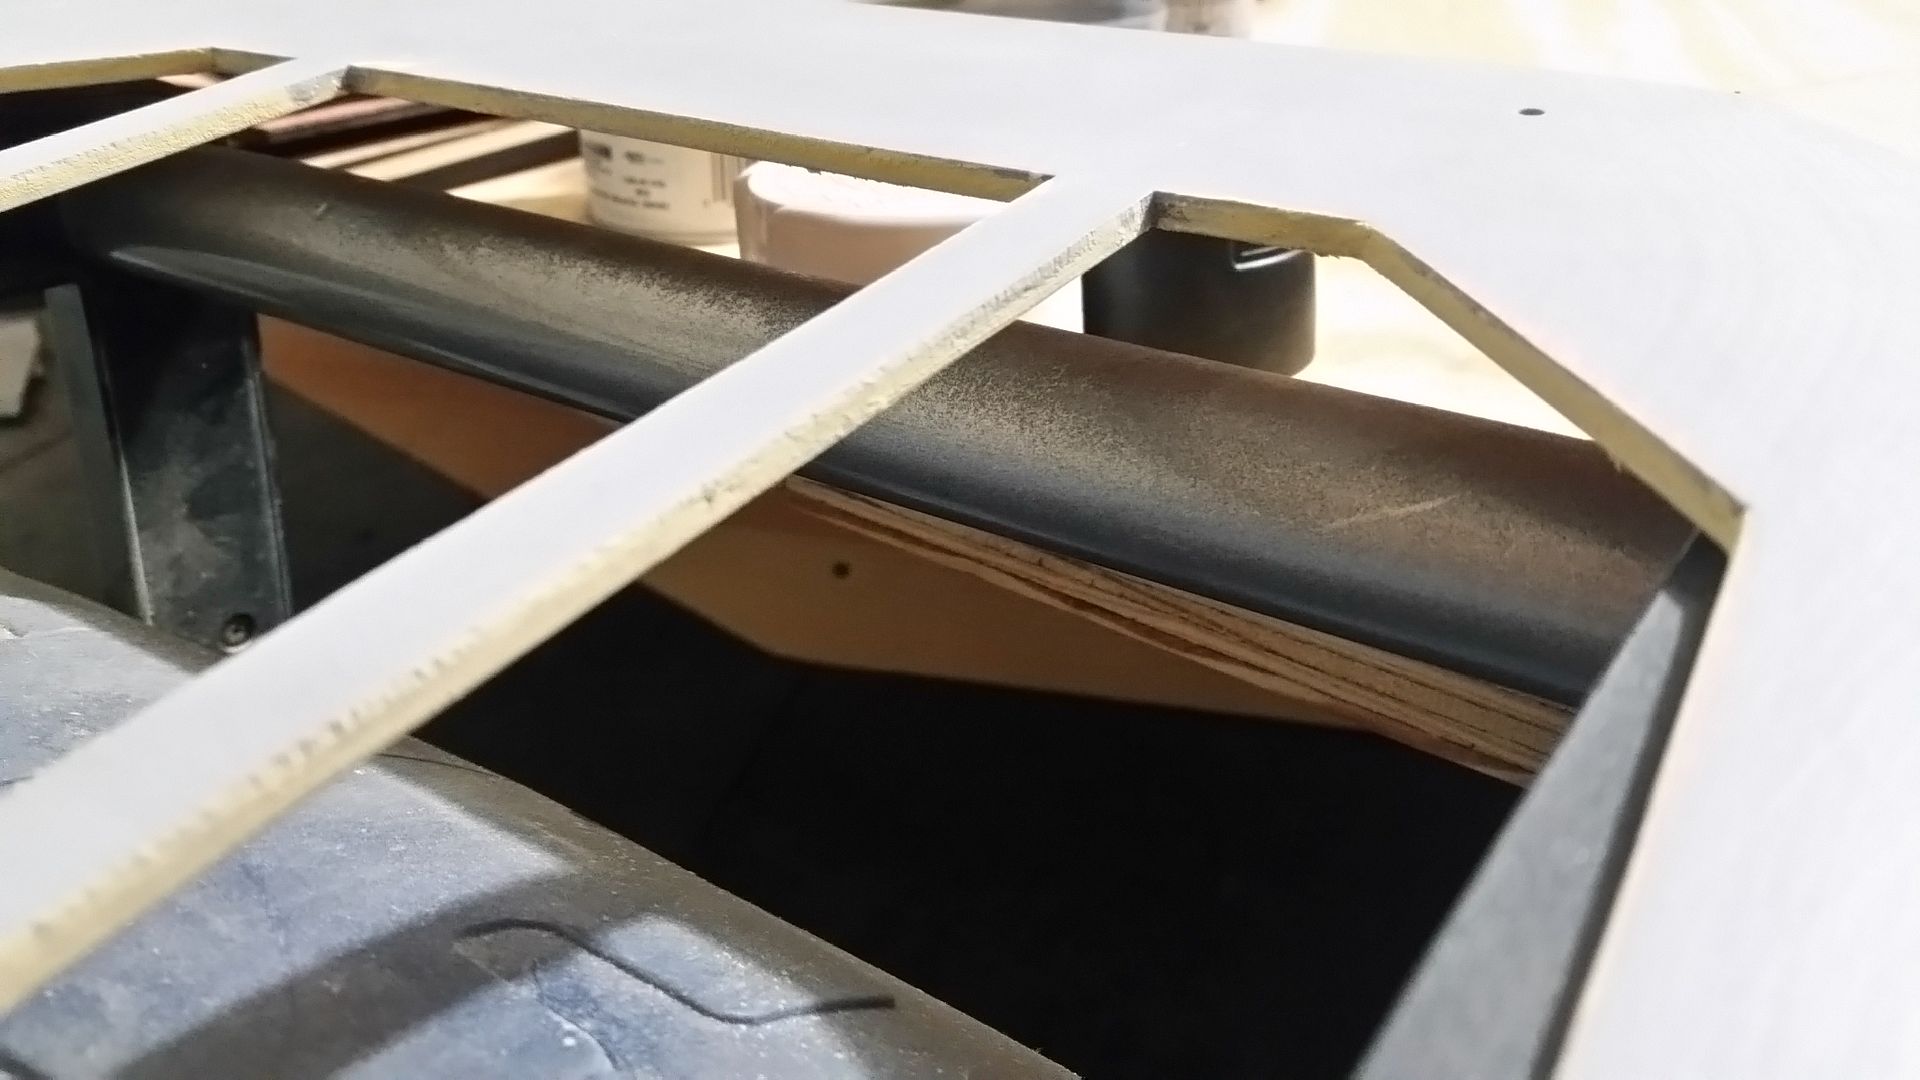
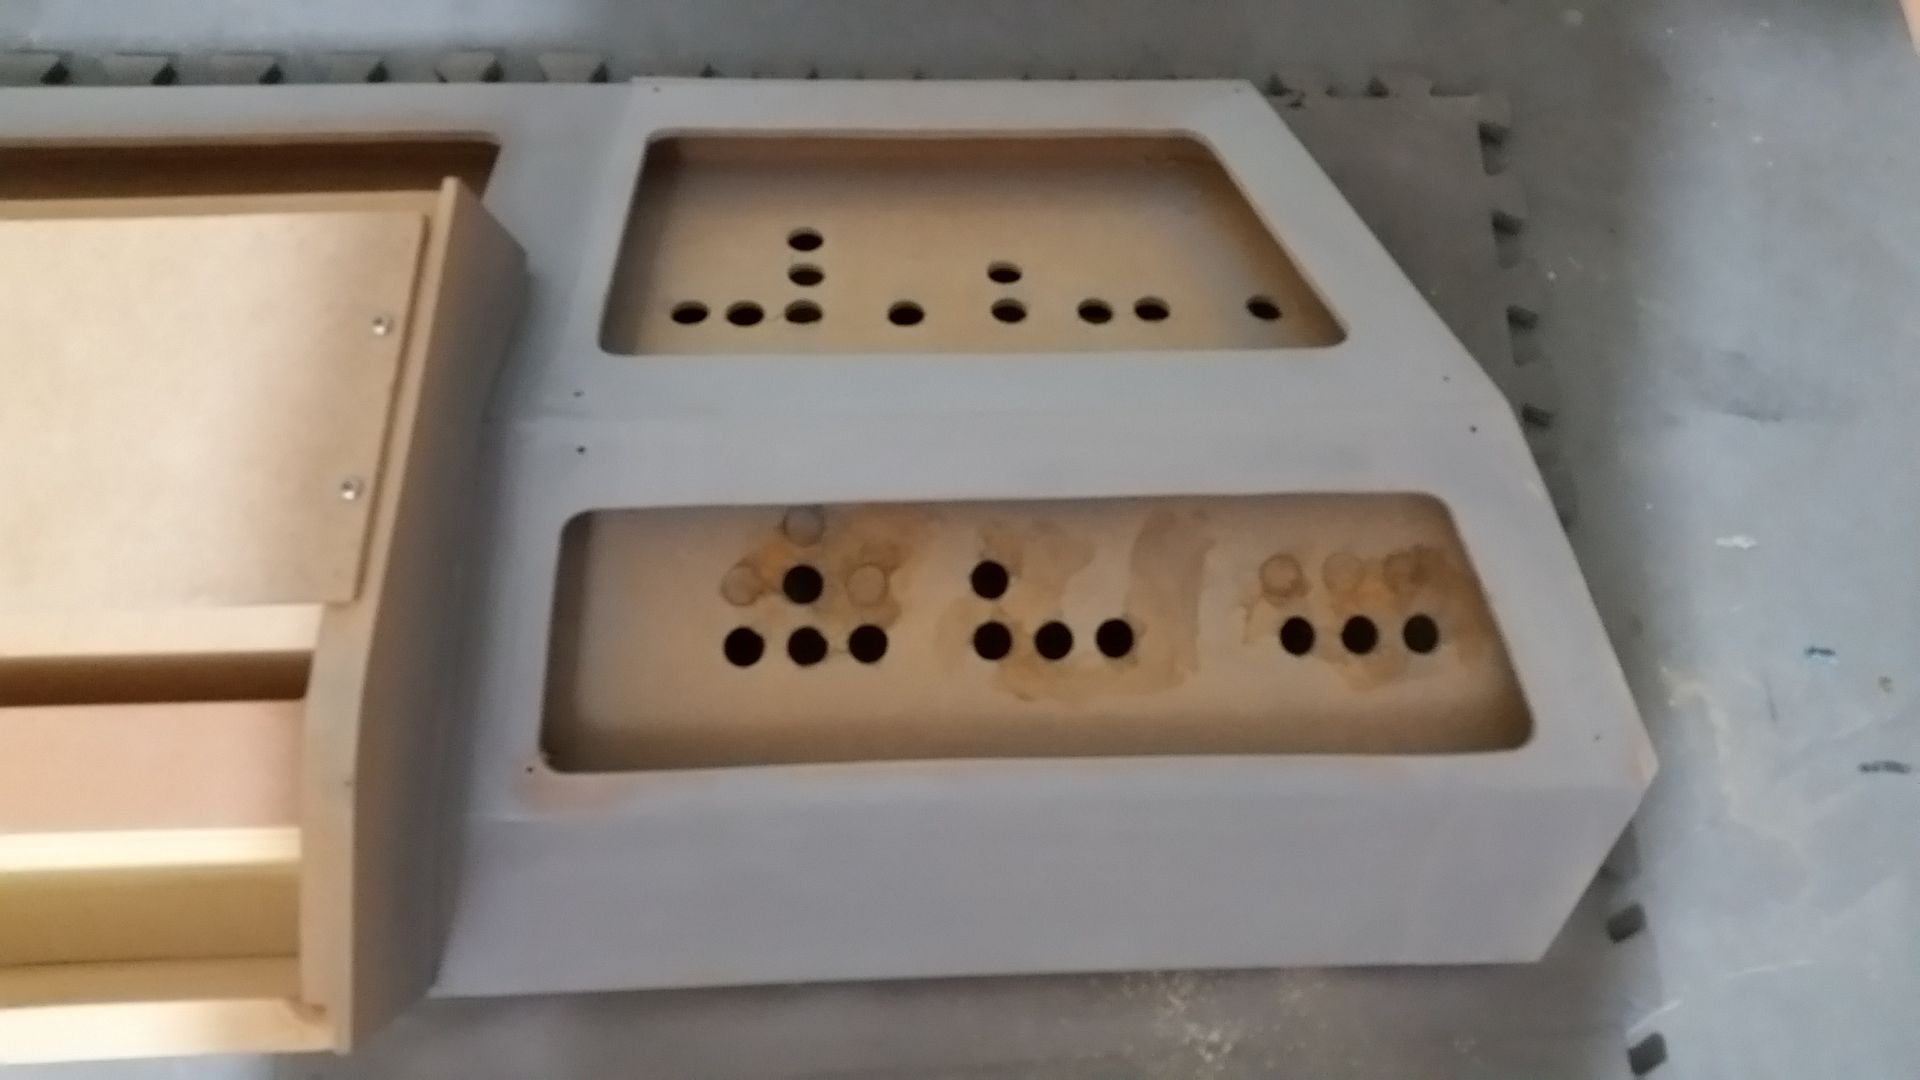
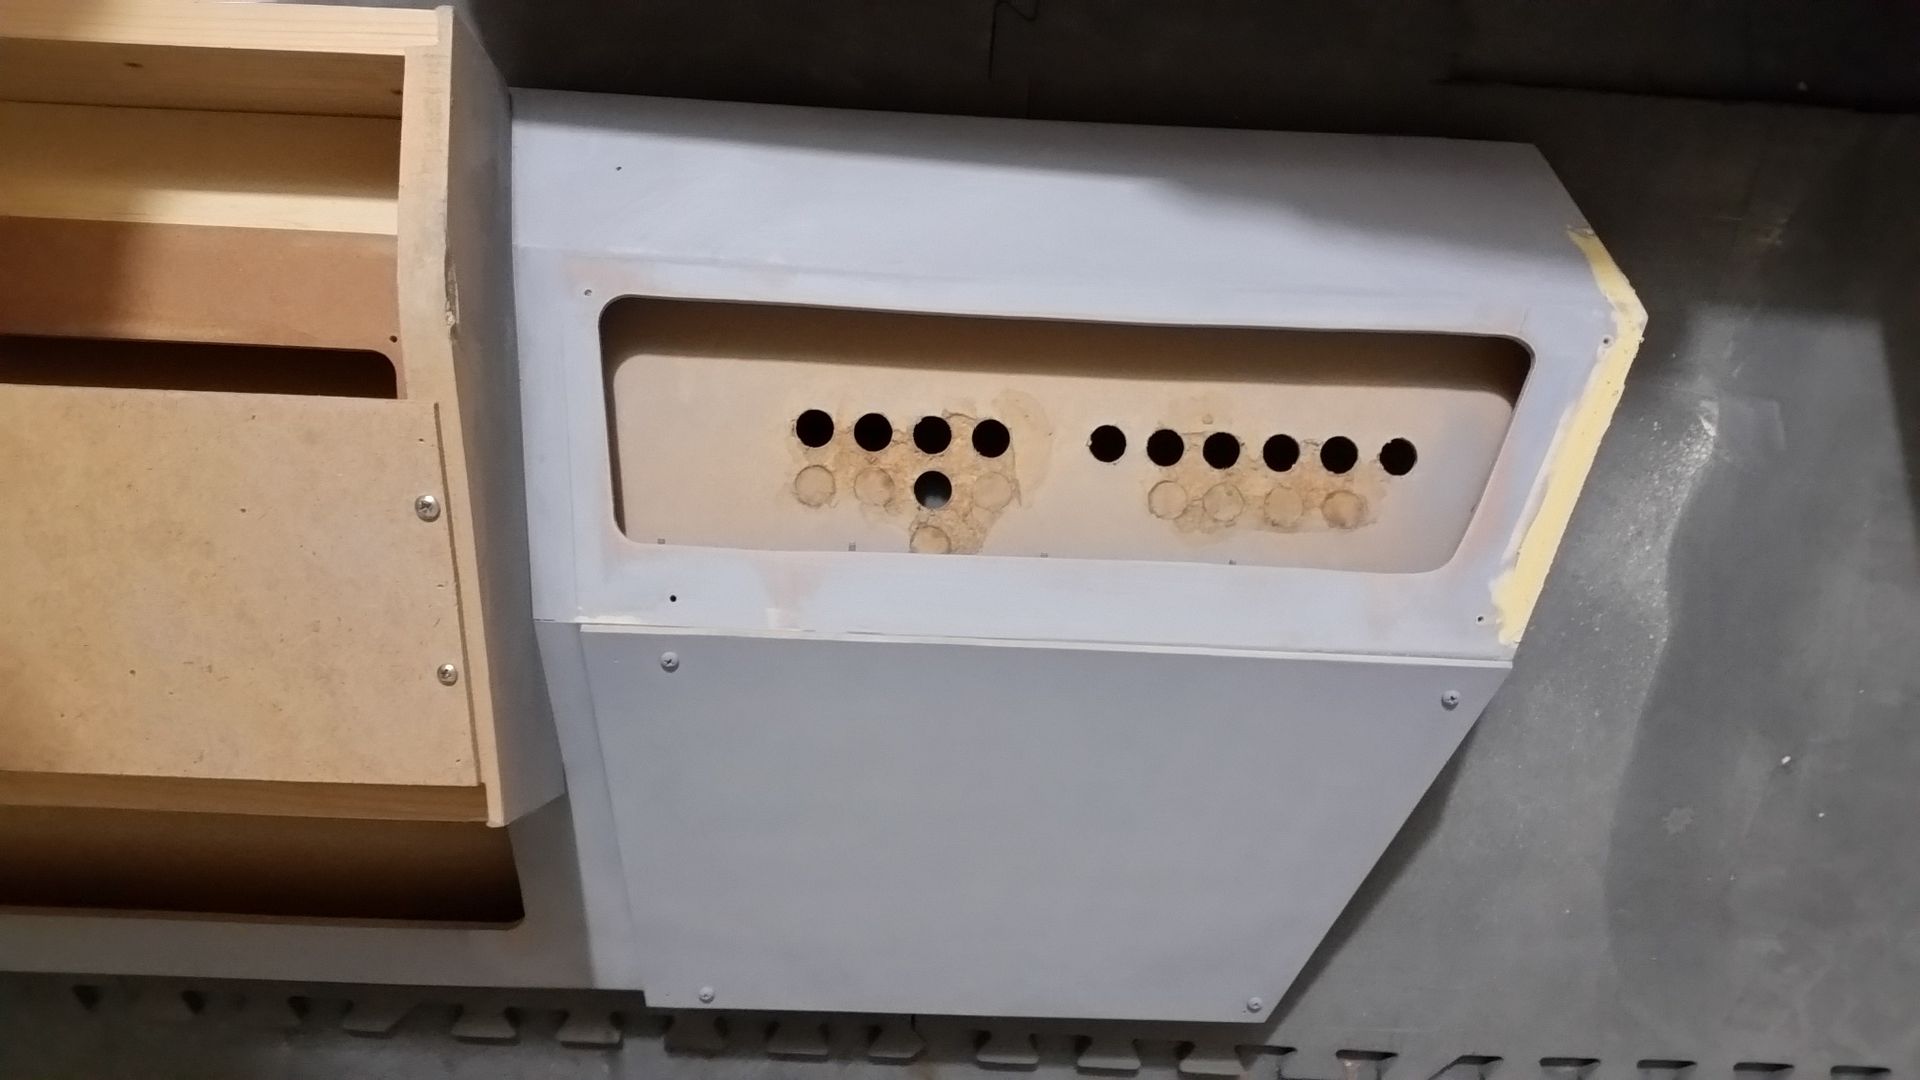
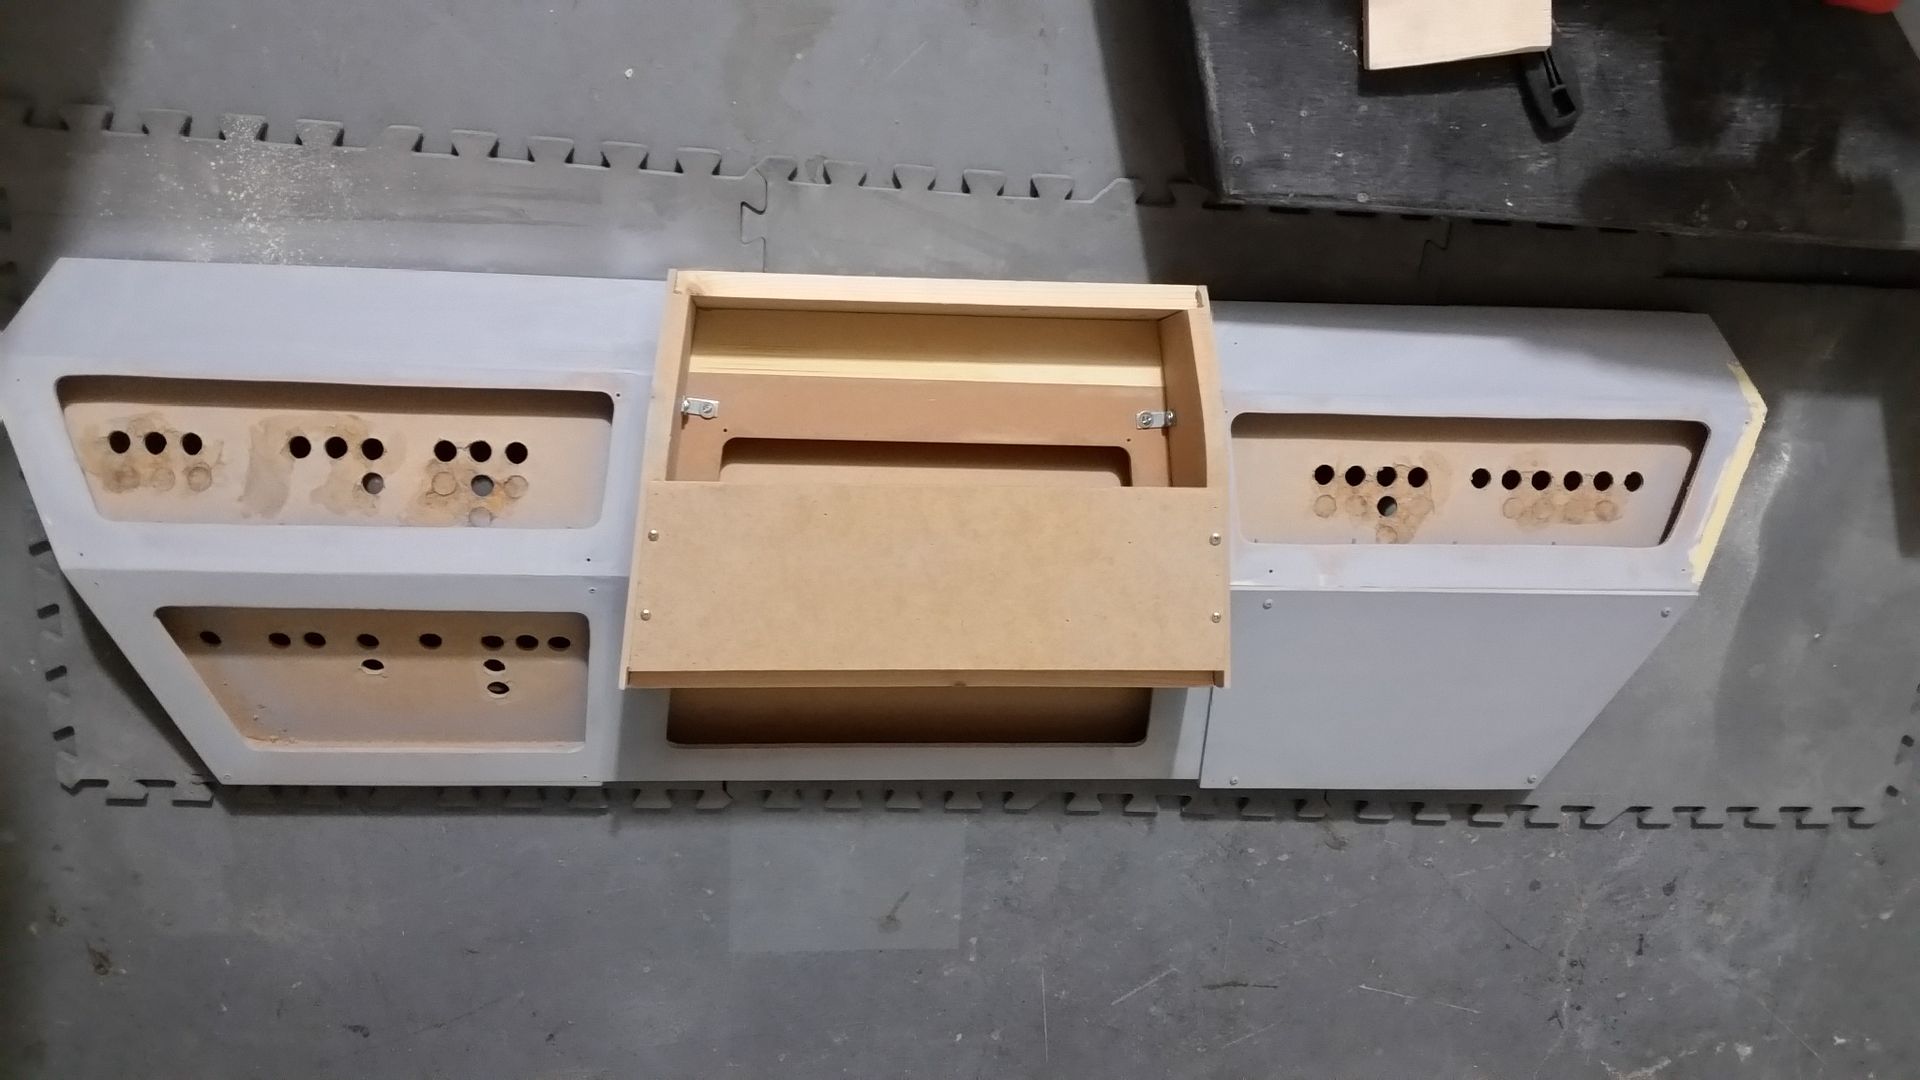
Spent a few hours after work getting two of the four new panels built.
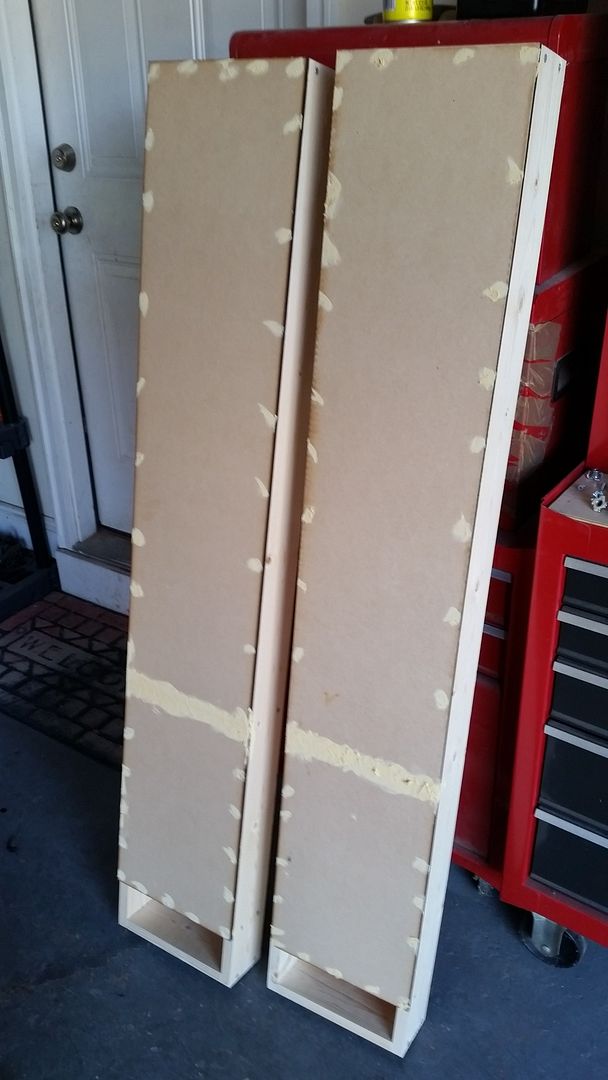
These panels were pretty dinged up and I never filled the brad holes
Work on the console continues
Even though this is the underside and will never be seen - gotta make it look the part
Sanded and added filler to the new door recessed panel

Sanding later today
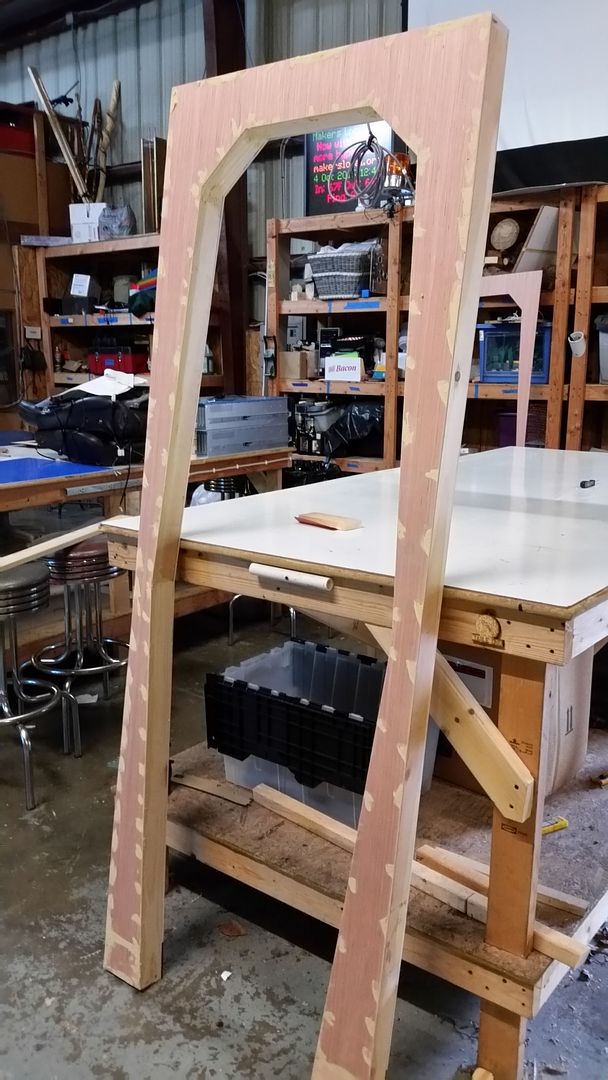
And... as if I dont have enough to do, Daniel and I are putting together our own 1:1 scale R2 units! Adding poly to the wood legs. I've got to dig out the frame and get that sealed as well
I'm hoping to make it back to the laser cutter this afternoon and cut more material.
More to Follow!
Spent a few hours after work getting two of the four new panels built.
These panels were pretty dinged up and I never filled the brad holes
Work on the console continues
Even though this is the underside and will never be seen - gotta make it look the part
Sanded and added filler to the new door recessed panel
Sanding later today
And... as if I dont have enough to do, Daniel and I are putting together our own 1:1 scale R2 units! Adding poly to the wood legs. I've got to dig out the frame and get that sealed as well
I'm hoping to make it back to the laser cutter this afternoon and cut more material.
More to Follow!
Whoops... A few more images
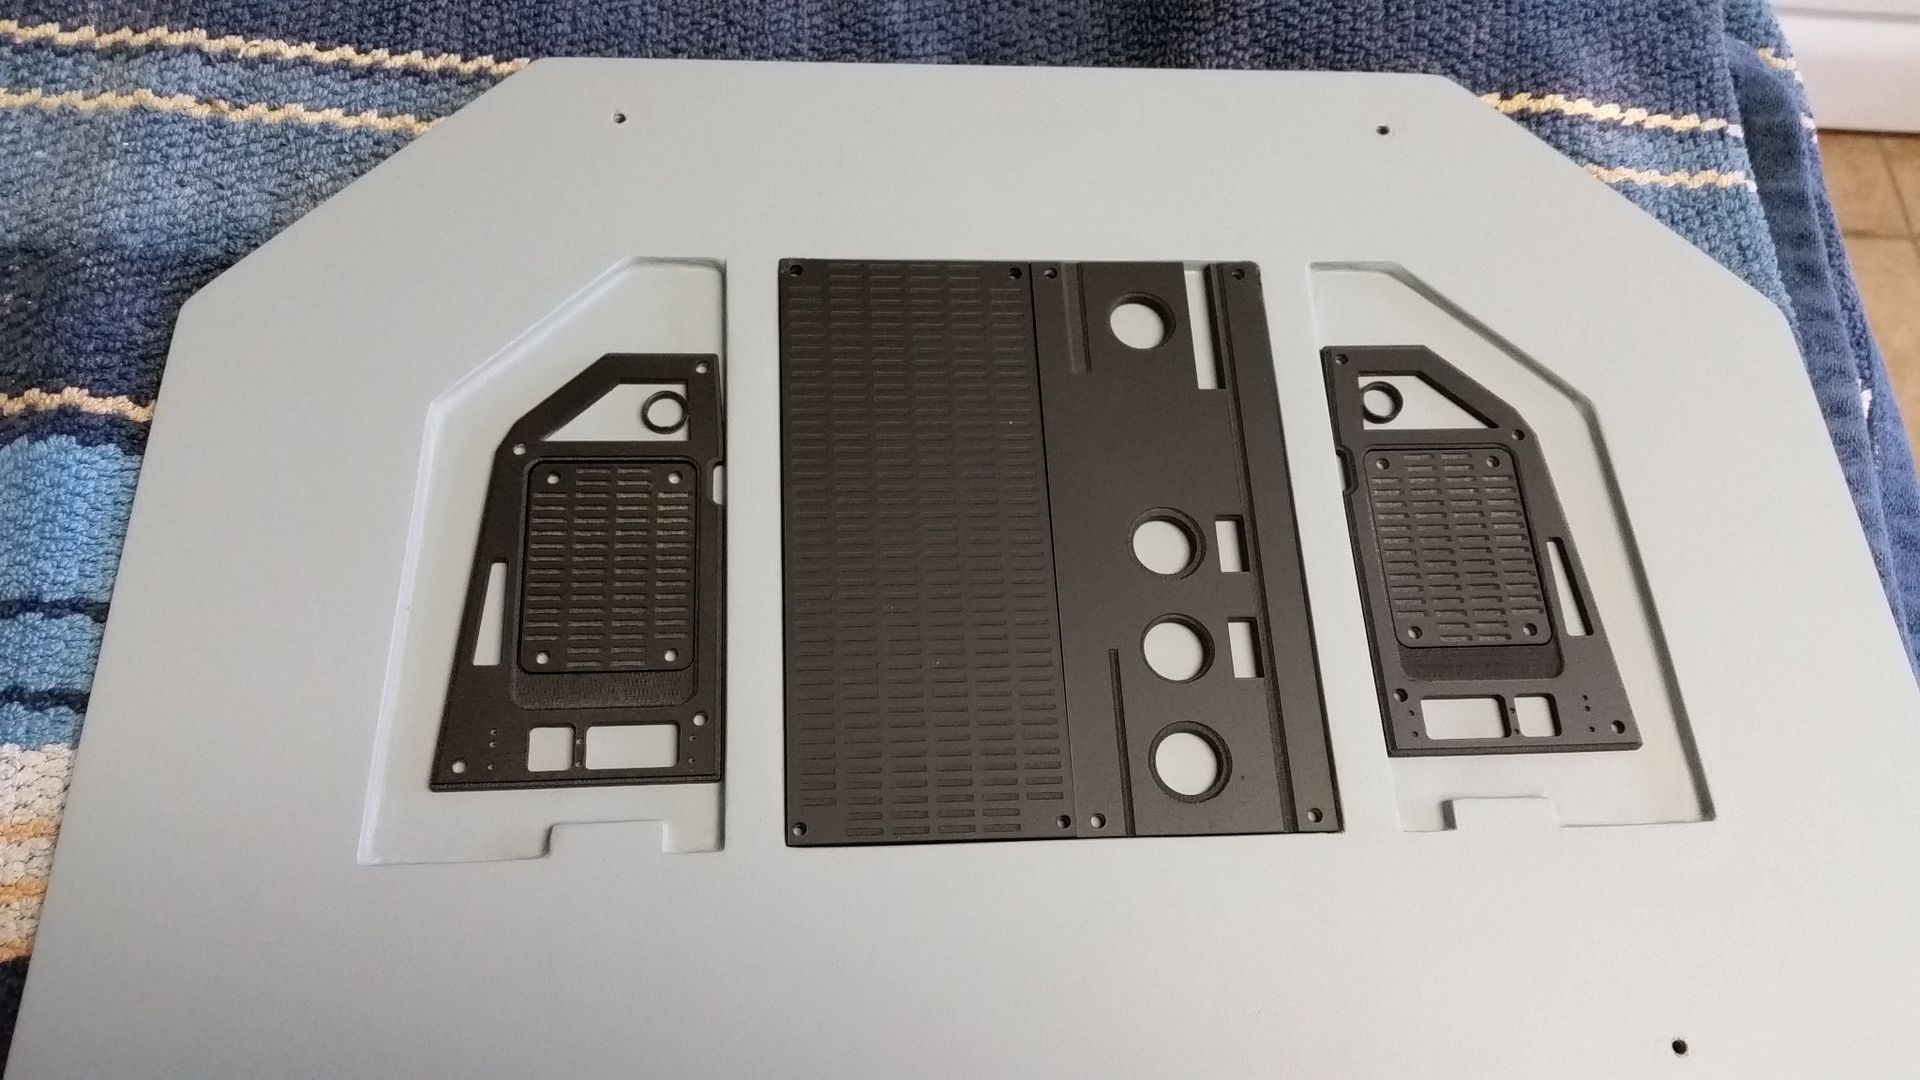
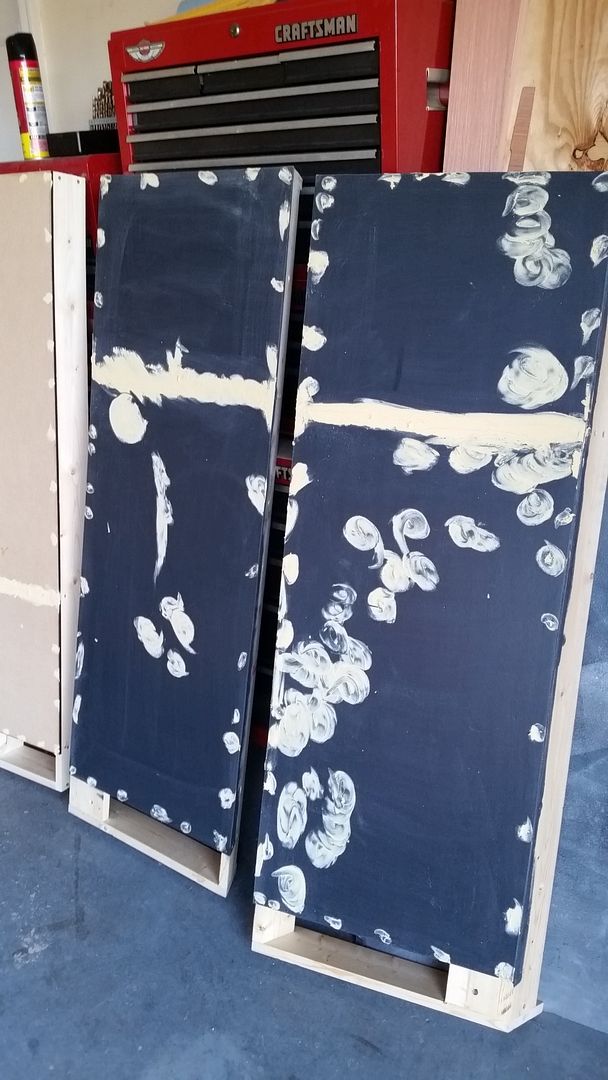
Painted the new door greeblies their traditional black before adding color
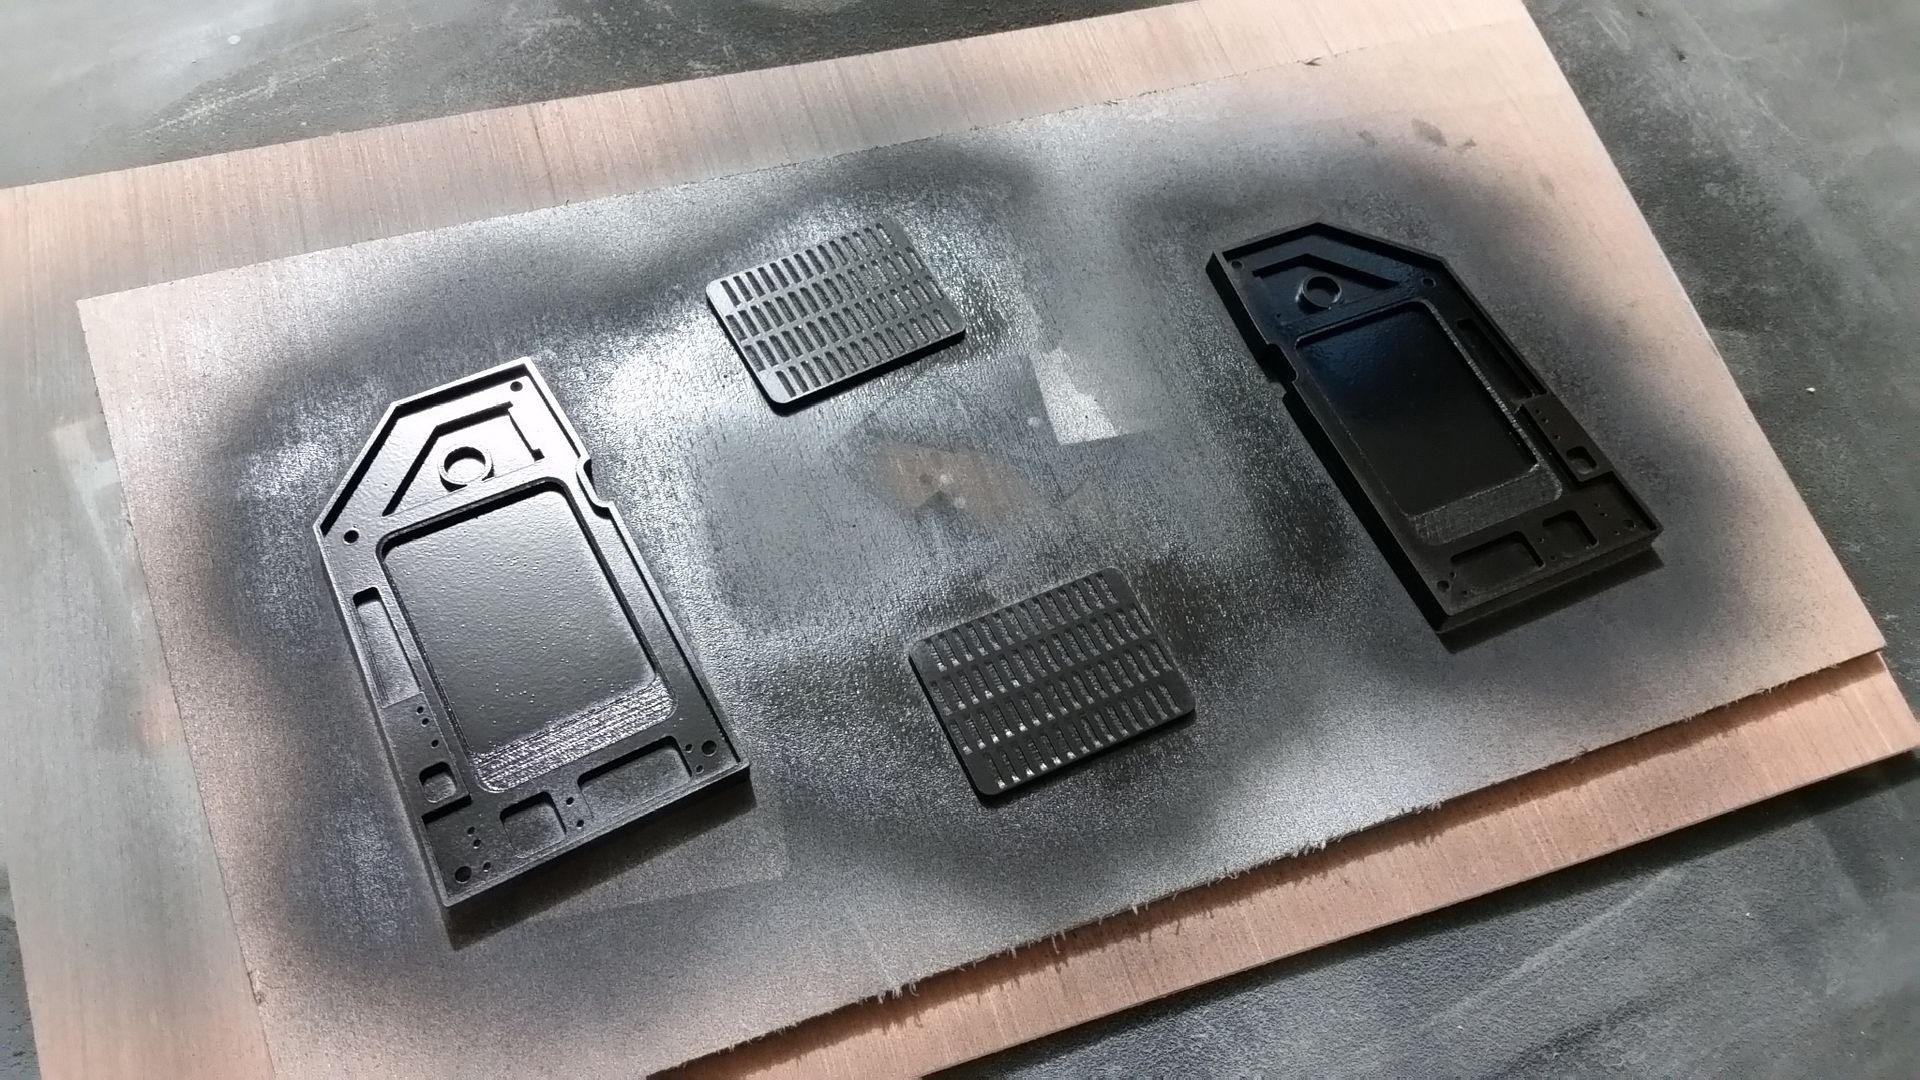
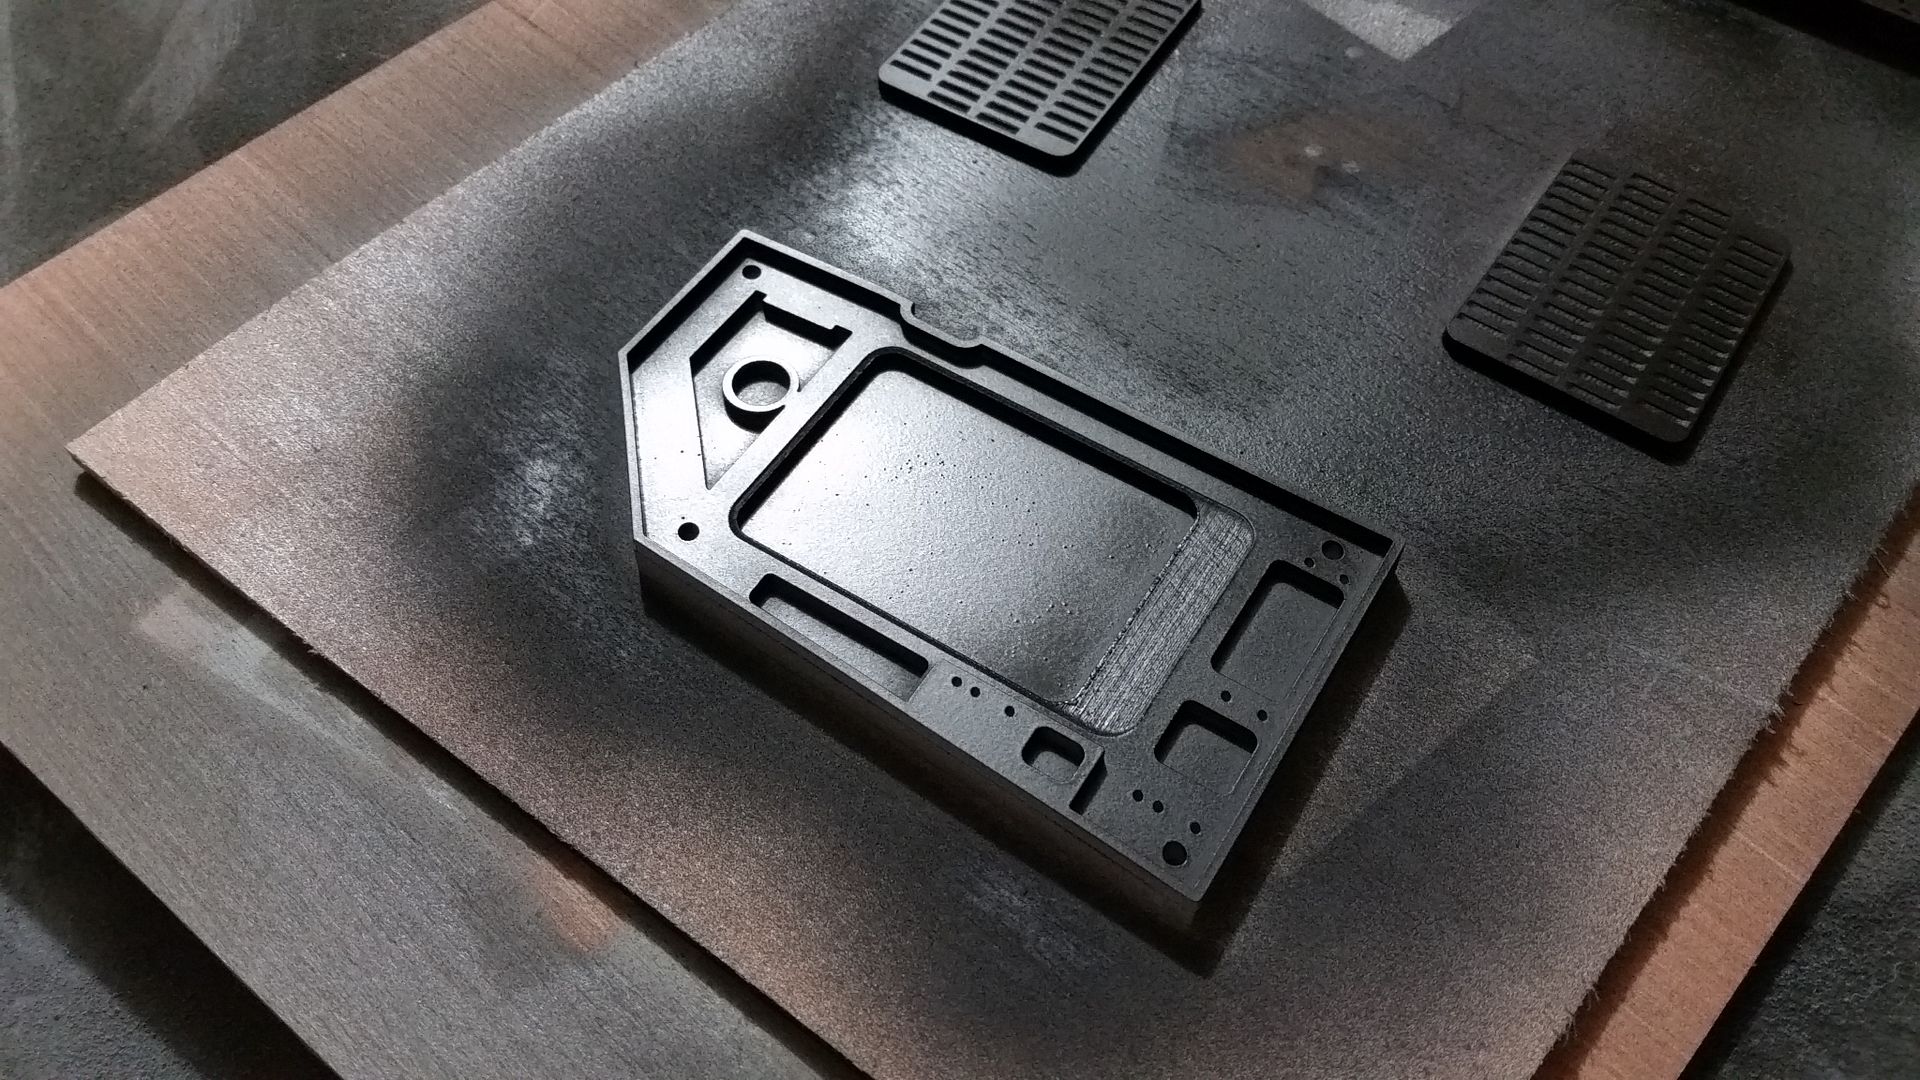
I might give these a light "weathering"... what do you guys think?
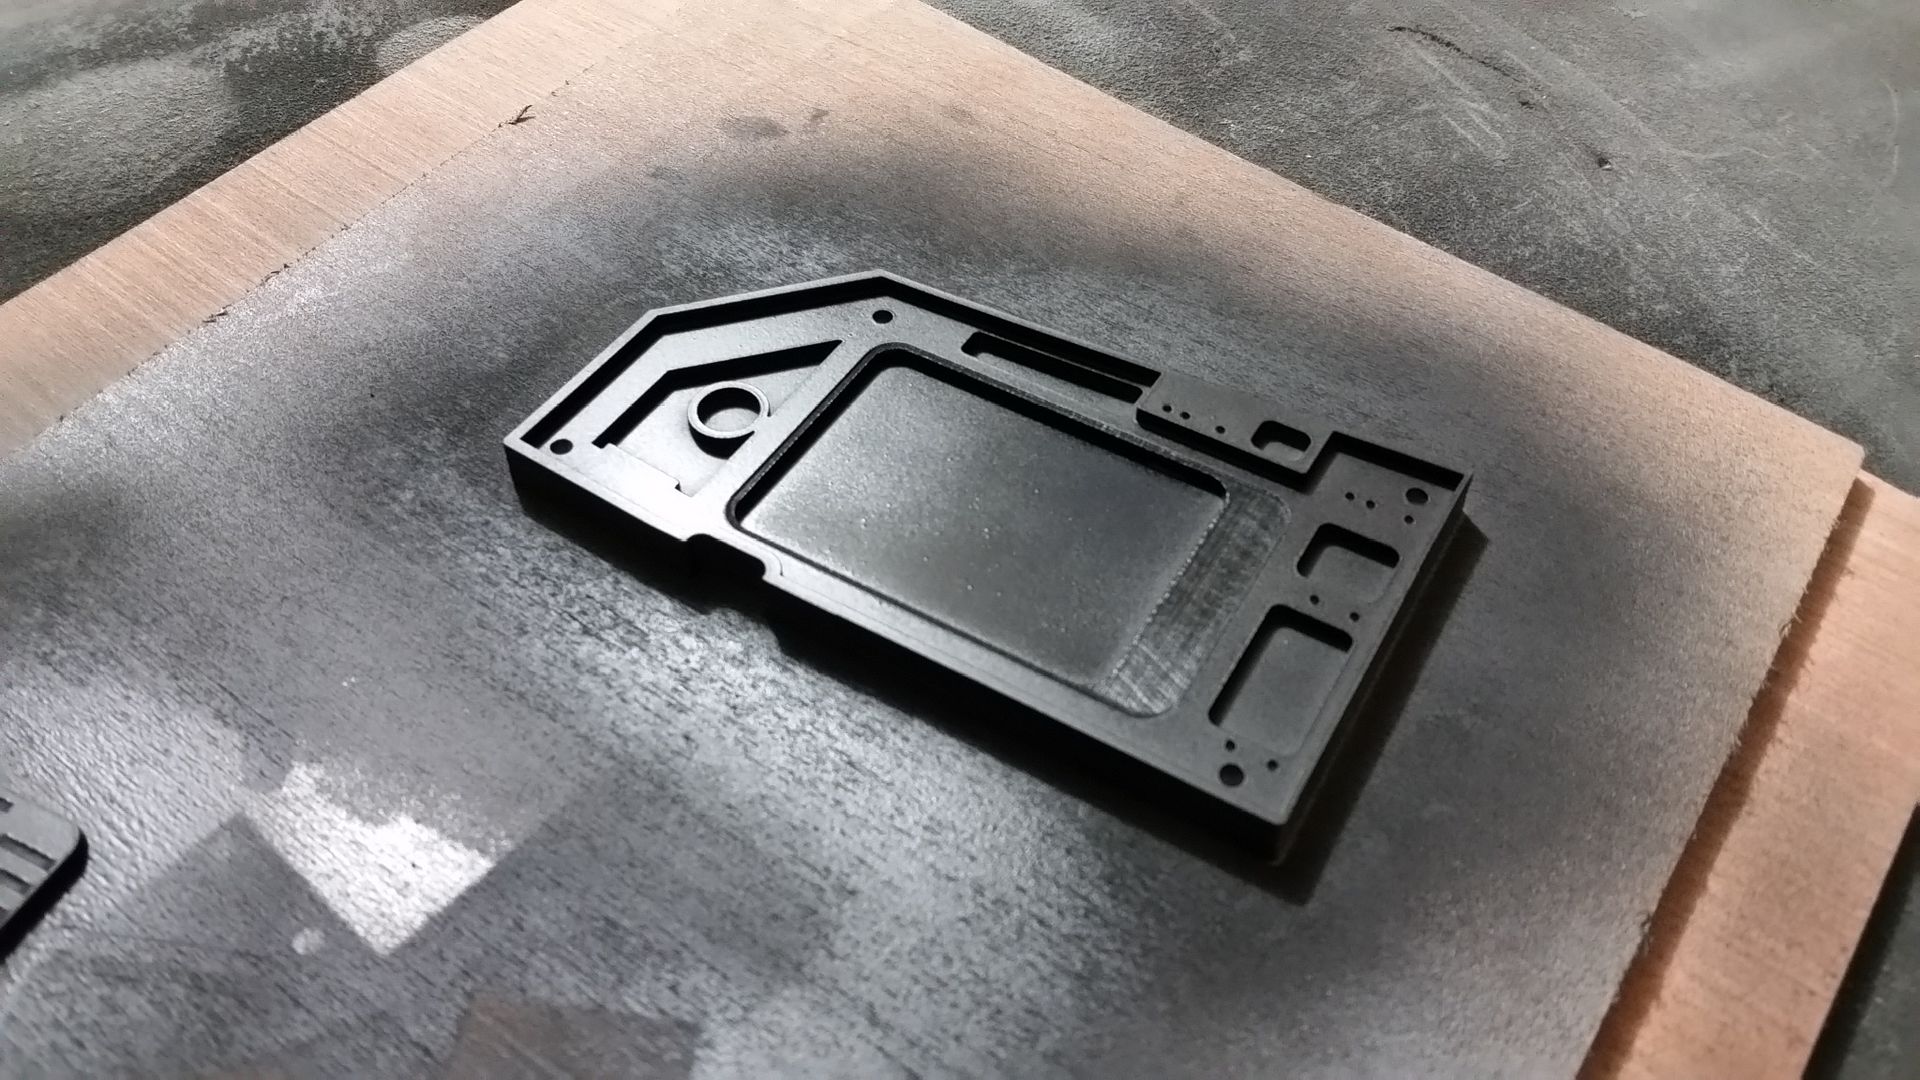
If all goes well I might be able to add paint to the instrument panel this week - underside needs a bit more sanding
The entire under/back side will be painted black along with the upper instrument panel.
More to Follow
Painted the new door greeblies their traditional black before adding color
I might give these a light "weathering"... what do you guys think?
If all goes well I might be able to add paint to the instrument panel this week - underside needs a bit more sanding
The entire under/back side will be painted black along with the upper instrument panel.
More to Follow
Similar threads
- Replies
- 11
- Views
- 1,170
- Replies
- 2
- Views
- 960
- Replies
- 2
- Views
- 983
- Replies
- 13
- Views
- 2,297